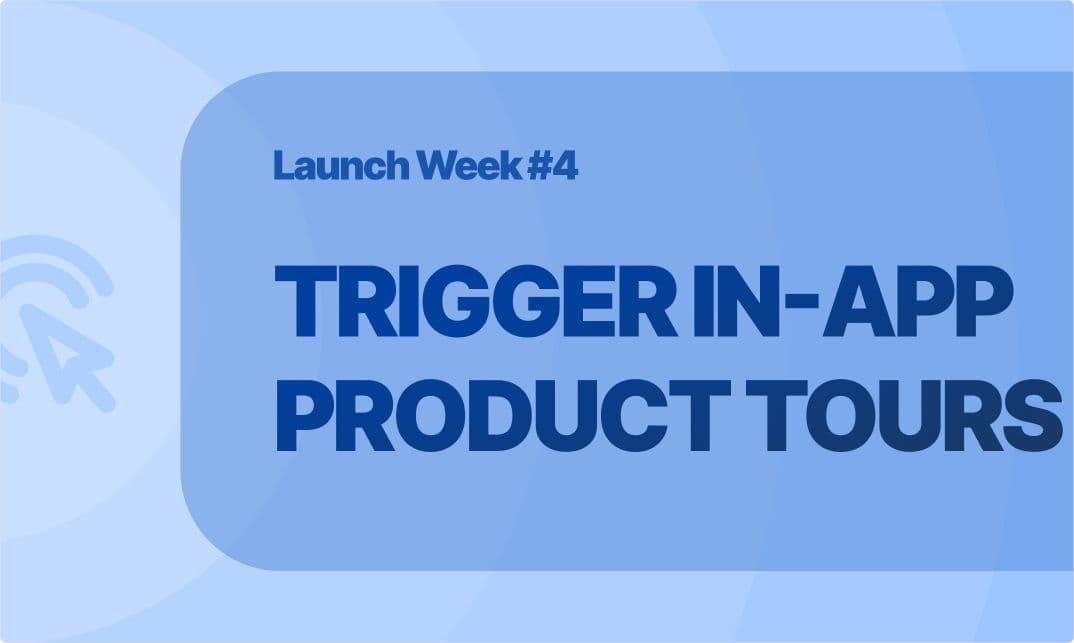
Welcome to Supademo's first ever Launch Week
On Day 1,
, on Day 2, we launched our
, and on Day 3 we launched
Today is the 4th and final day – where we're announcing the ability to
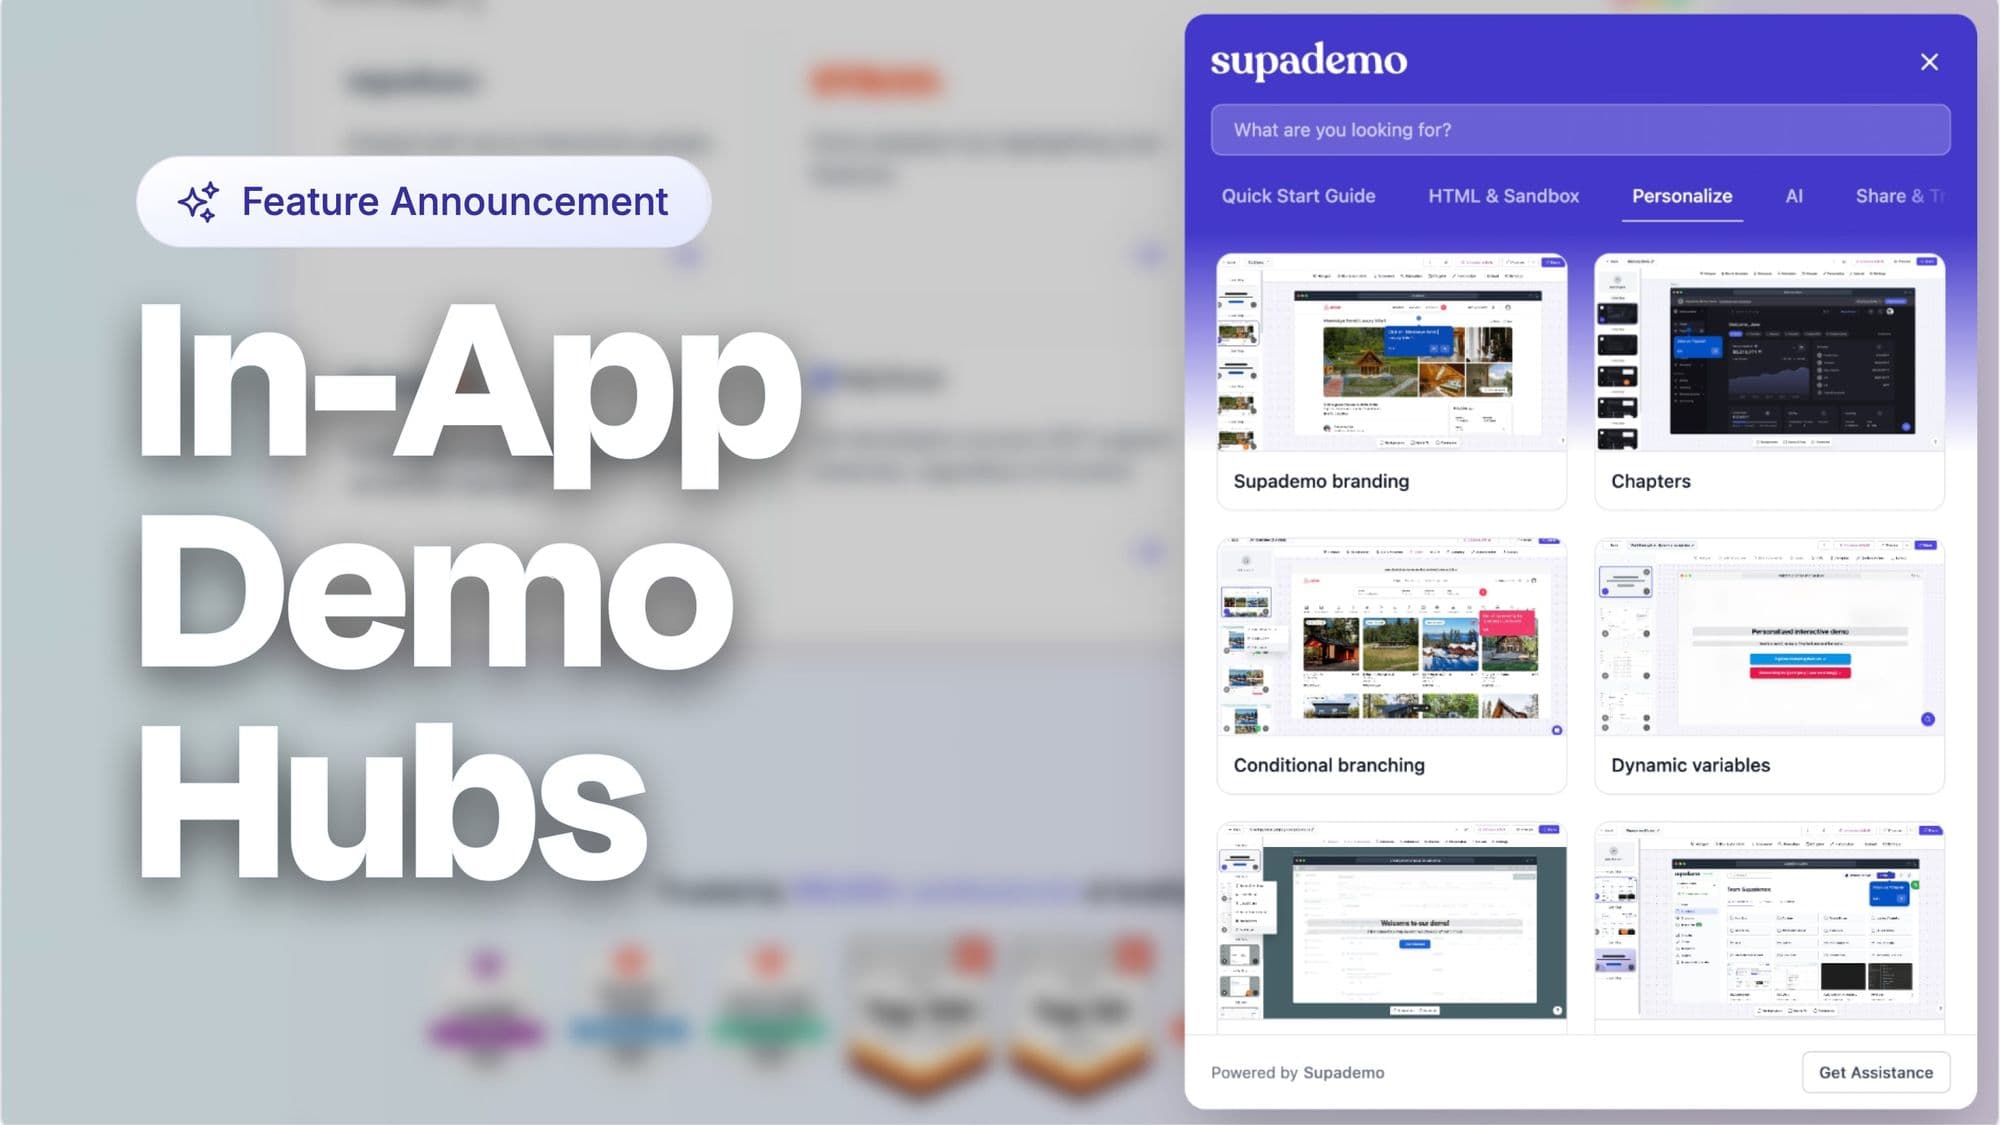
trigger any Supademo in-app as a product tour.
One of the most frequent requests we receive is how folks can trigger Supademo inside their applications to guide and enable their users.
Why? Visual, self-paced onboarding, tutorials, and guidance is increasingly becoming the standard to driving product adoption and user retention.
And while there are a plethora of existing product tours out there, a lot of our customers find them to be clunky, expensive, hard to maintain, and prone to error.

That’s why we’re excited to release In-App Tours, which enables users to trigger any Supademo from their workspace as an in-app modal – directly within their application.
Simply add a few lines of code and you’ll be able to trigger an unlimited number of interactive demos within your application – ideal for:
• In-app onboarding checklists;
• Highlighting new features and releases;
• Adding step-by-step guidance within feature pages;
And best of all, maintaining your product tours is as simple as updating a regular Supademo: simply add, change, or replace hotspot text and slides to propagate changes everywhere, instantly.
How can I try out the In-App Product Tours?
Setting up an in-app product tour is easy. In fact, you can do so in just a few minutes by following the instructions below:
If you prefer written documentation, you can reference the guide below, or visit our documentation page.
Step 1: Add the supademo script

Our client side SDK loads the necessary data to show your Supademo and attach itself to the buttons. Add the following code anywhere in your <head> or <body> tags.
<script src="https://script.supademo.com/script.js"></script>Step 2: Add data attributes to your button, tooltip, or clickable element
The data-supademo-demo attribute lets the script know which element is your button, and it links a certain demo id to the click of that button. You can find this demo id as well as the embed code in the share button in your demo's edit or view page.
<button data-supademo-demo="a9342d2v8a">View Demo</button>Step 3: Initialize the Supademo script
The final step is to initialize the supademo script, which will find the buttons which have the data-supademo-demo attribute and link them to their corresponding Supademos.
HTML
<script> Supademo("b46fff81c6b9cec453acb939404161b2c42ad0669d00baa709c521b9245f25a0", { email: "", // optional user email name: "" // optional user name }); </script>
React
useEffect(() => { Supademo("b46fff81c6b9cec453acb939404161b2c42ad0669d00baa709c521b9245f25a0", { email: "", // optional user email name: "" // optional user name }); }, []);
Angular
ngAfterViewInit() { //@ts-ignore Supademo("b46fff81c6b9cec453acb939404161b2c42ad0669d00baa709c521b9245f25a0", { email: "", // optional user email name: "" // optional user name }); }
Vue JS
mounted() { Supademo("b46fff81c6b9cec453acb939404161b2c42ad0669d00baa709c521b9245f25a0", { email: "", // optional user email name: "" // optional user name }); }

Step 4: Trigger the Supademo
You must pass in your unique app id that is mentioned in the snippet and, optionally, you can pass the email and name of the user viewing the supademo on your website to better track your demo views!
Get started with In-App Tours!
Want to take in-app product tours for a spin? Log into your Supademo dashboard and start triggering engaging interactive demos in just a few minutes.
Joseph Lee
Joseph is the founder and CEO of Supademo. As a two-time startup founder, Joseph is passionate about building zero-to-one products.
