Overview:
Streamline your meeting scheduling process on Zoom with Calendly by creating a meeting poll effortlessly. Optimize your workflow by easily coordinating and organizing meetings with participants. This guide offers a step-by-step walkthrough, empowering you to efficiently utilize Calendly to create meeting polls, enhancing clarity and efficiency in your Zoom meetings.
Who is Calendly best suited for?
Calendly is best suited for a wide range of professionals, including Sales Representatives, Recruiters, and Consultants. For example, Sales Representatives can use Calendly for scheduling meetings and demos with clients, Recruiters can leverage it for coordinating interviews and candidate interactions, and Consultants can use it for managing client appointments and consultations, all benefiting from Calendly’s automated scheduling and calendar integration features.
How to create a meeting poll in Zoom using Calendly
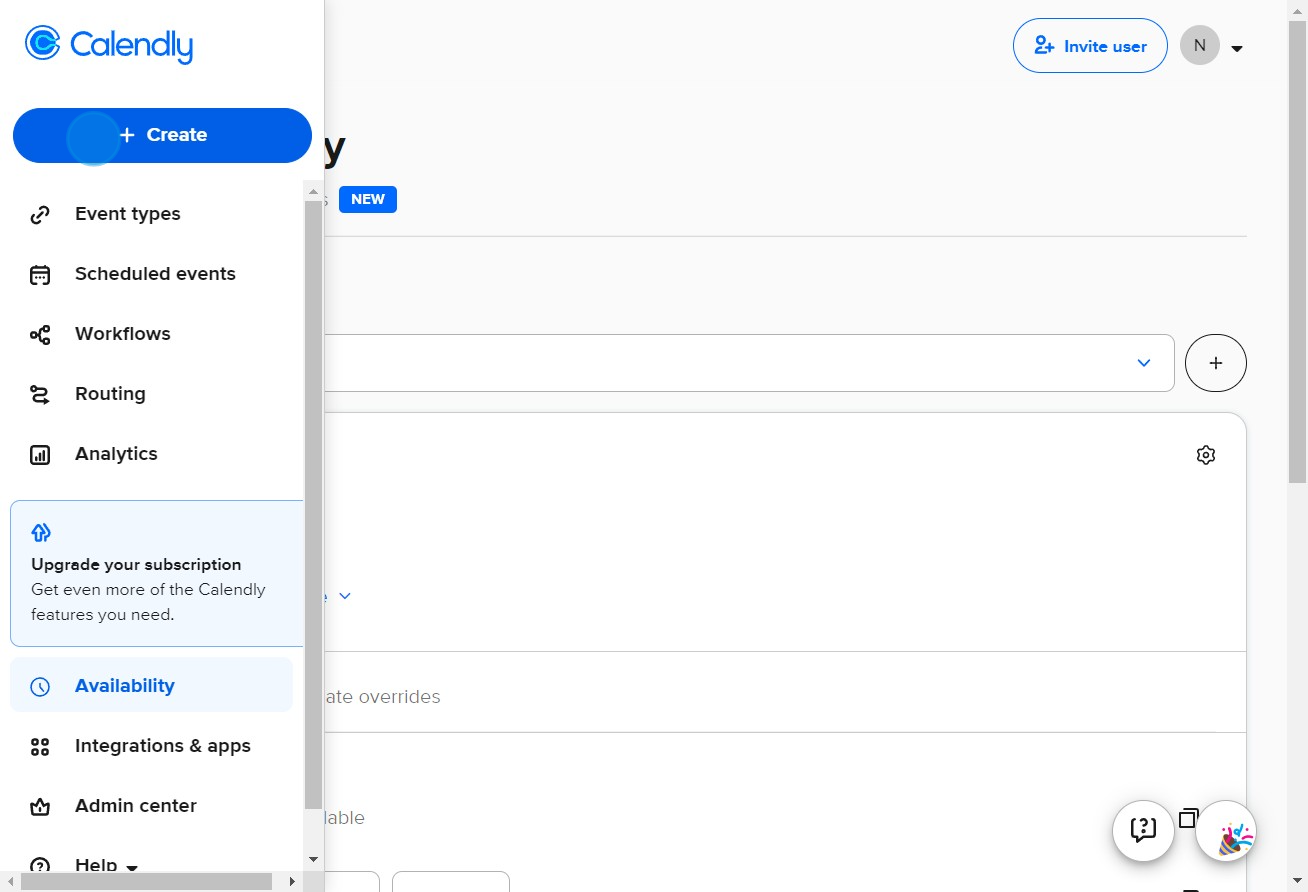
1. First off, press the Create button.
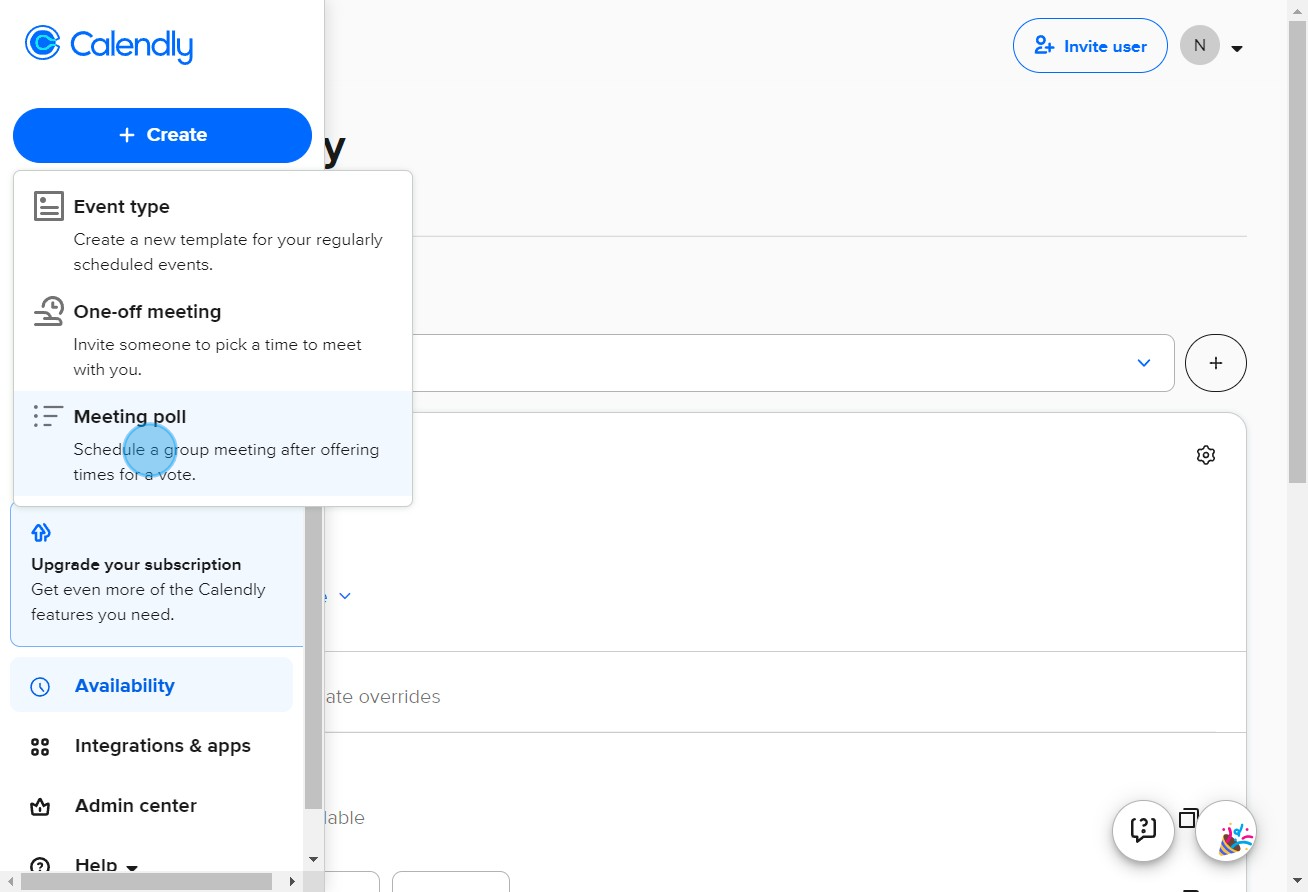
2. Now, select the option named Meeting poll.
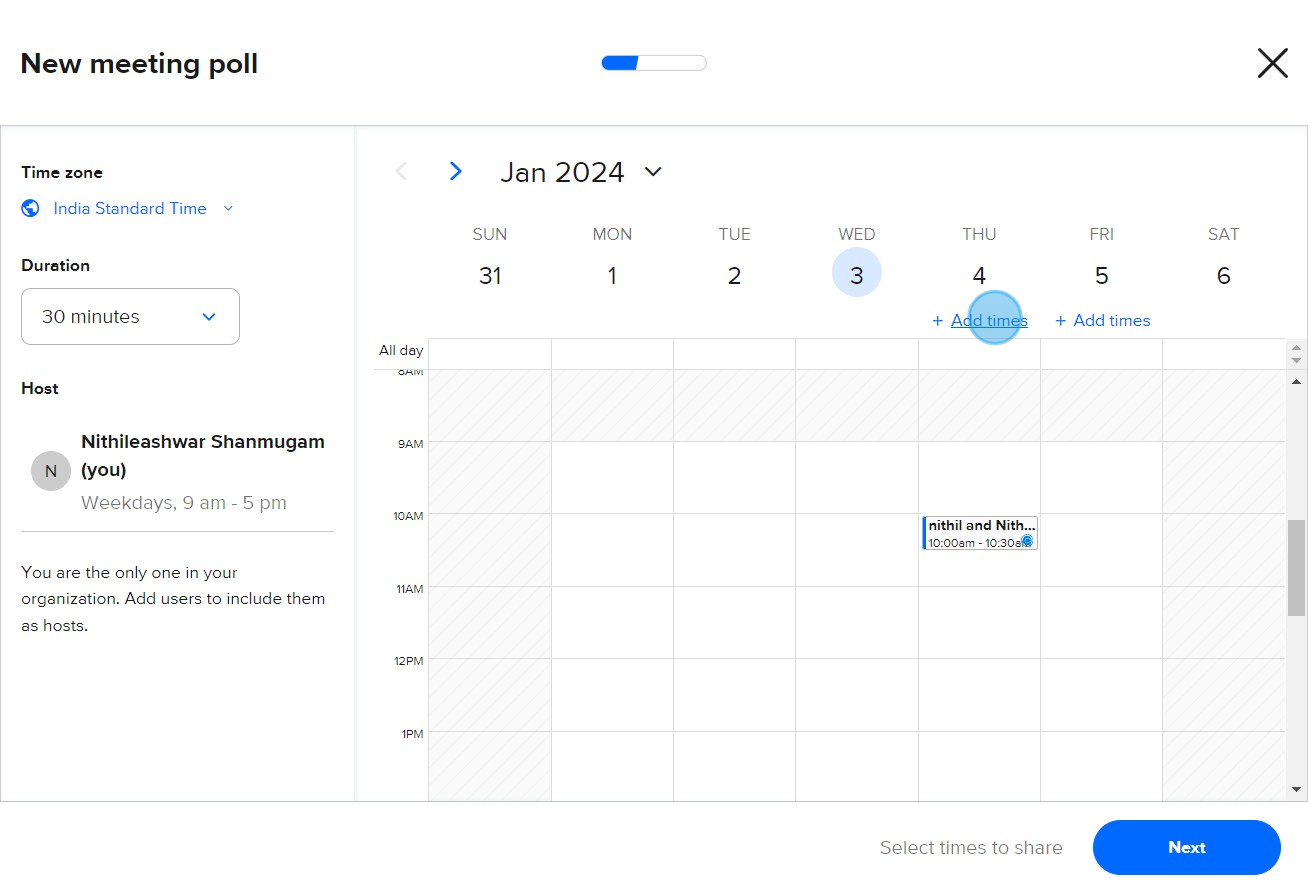
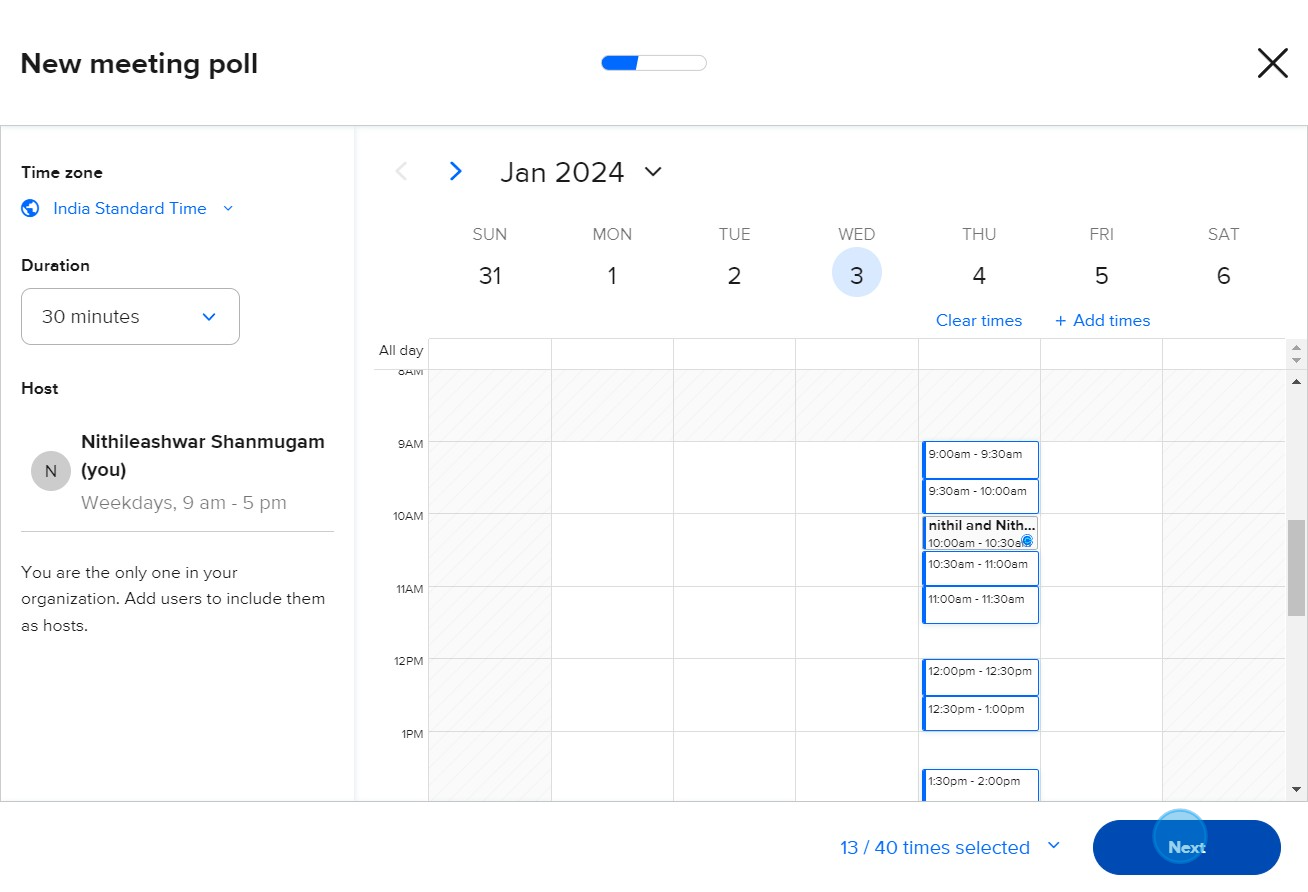
3. Add your available timings by clicking Add times.
4. After that, choose the Next button.
5. Then select Zoom to proceed.
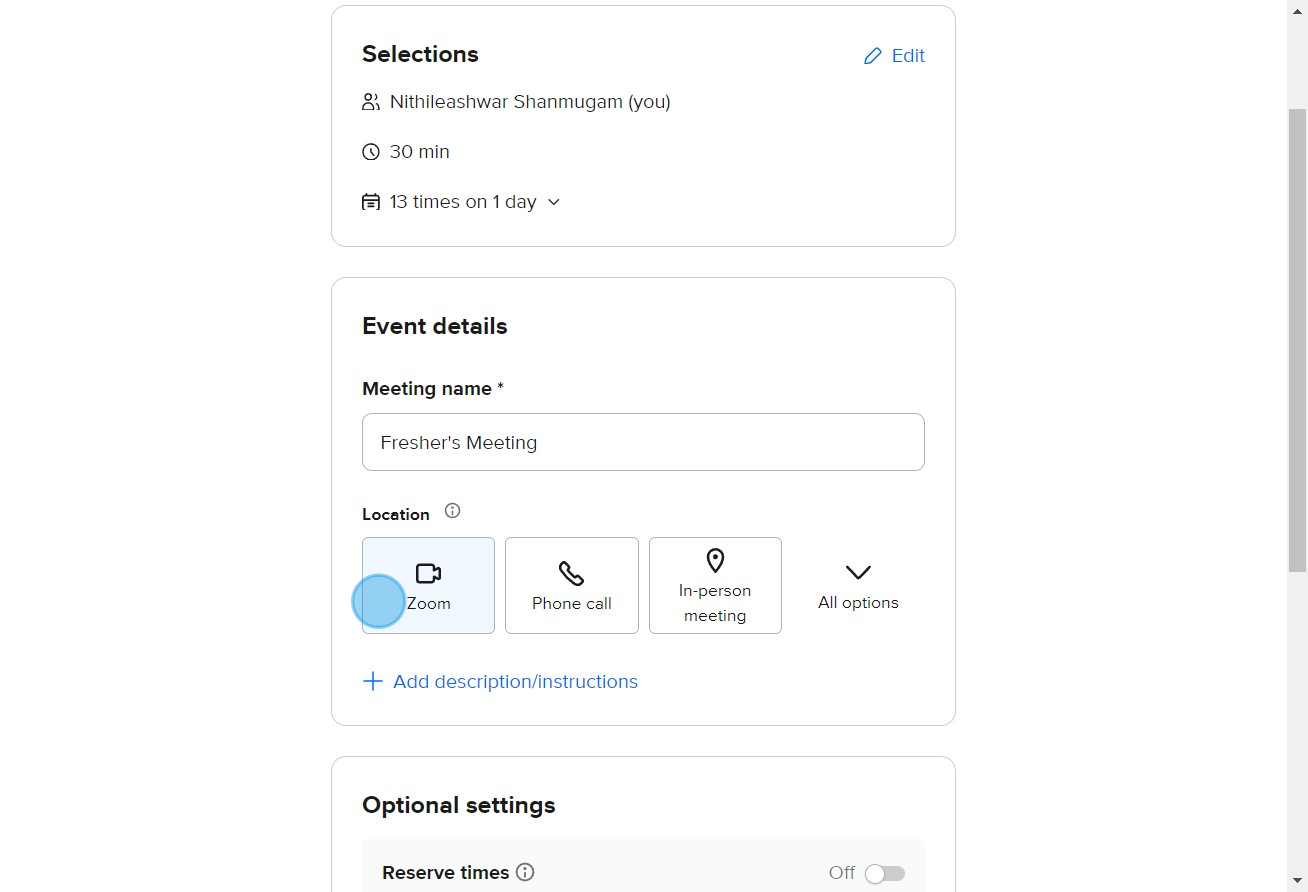
6. Begin writing a thorough description and instructions.

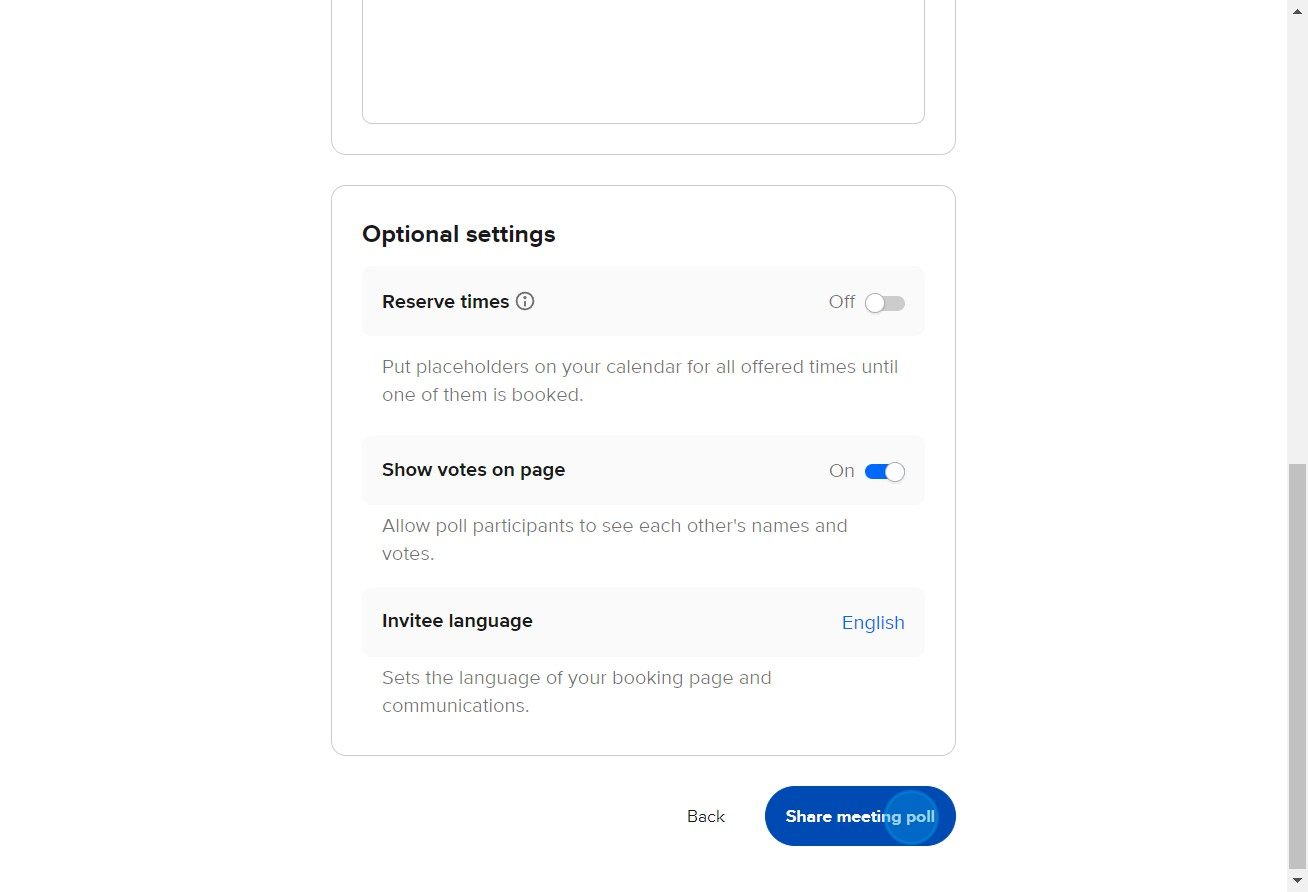
7. Click on Share meeting poll to propagate your planned poll.
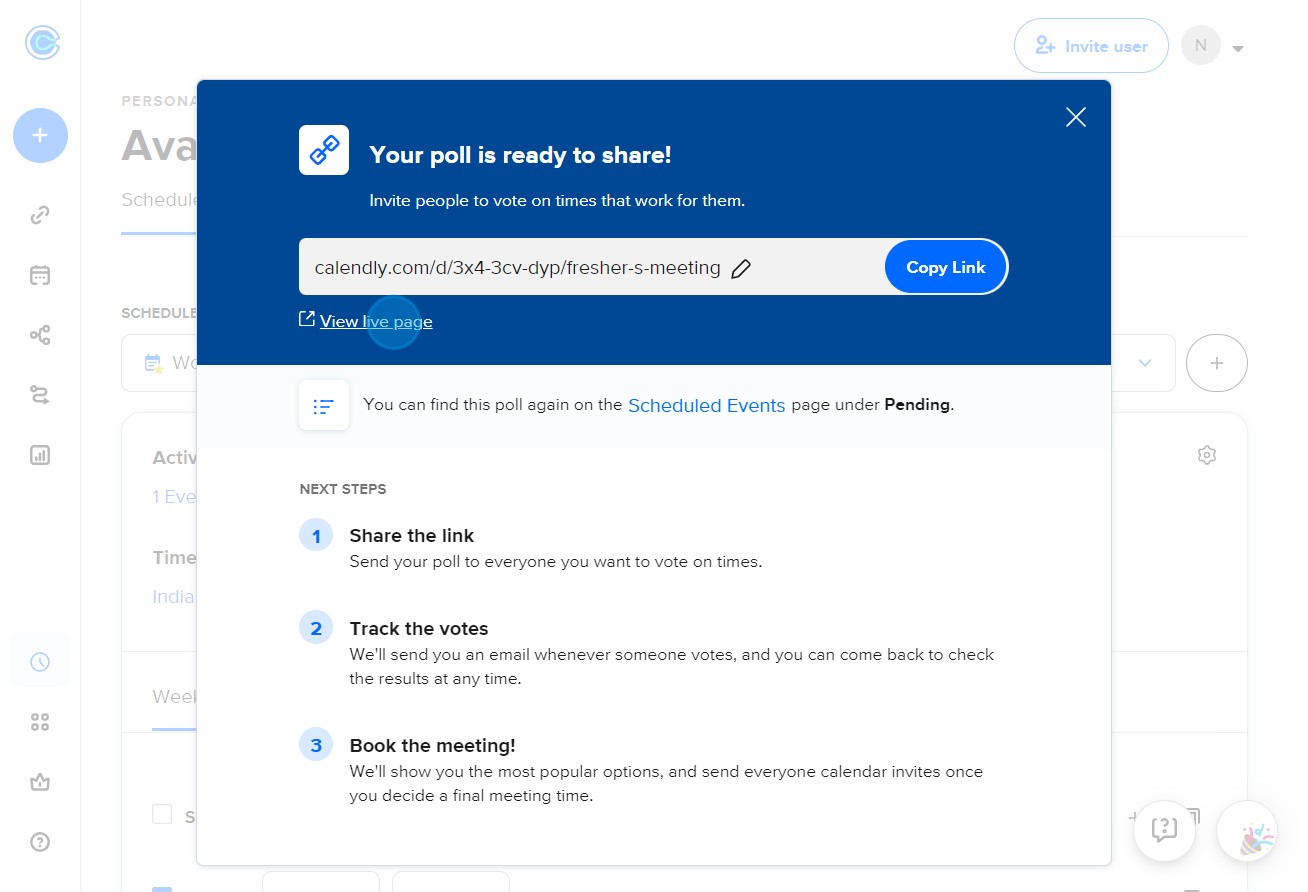
8. Subsequently, see your poll as it looks live by pressing View live page.
9. Press Next once again after picking your meeting slot in the poll.

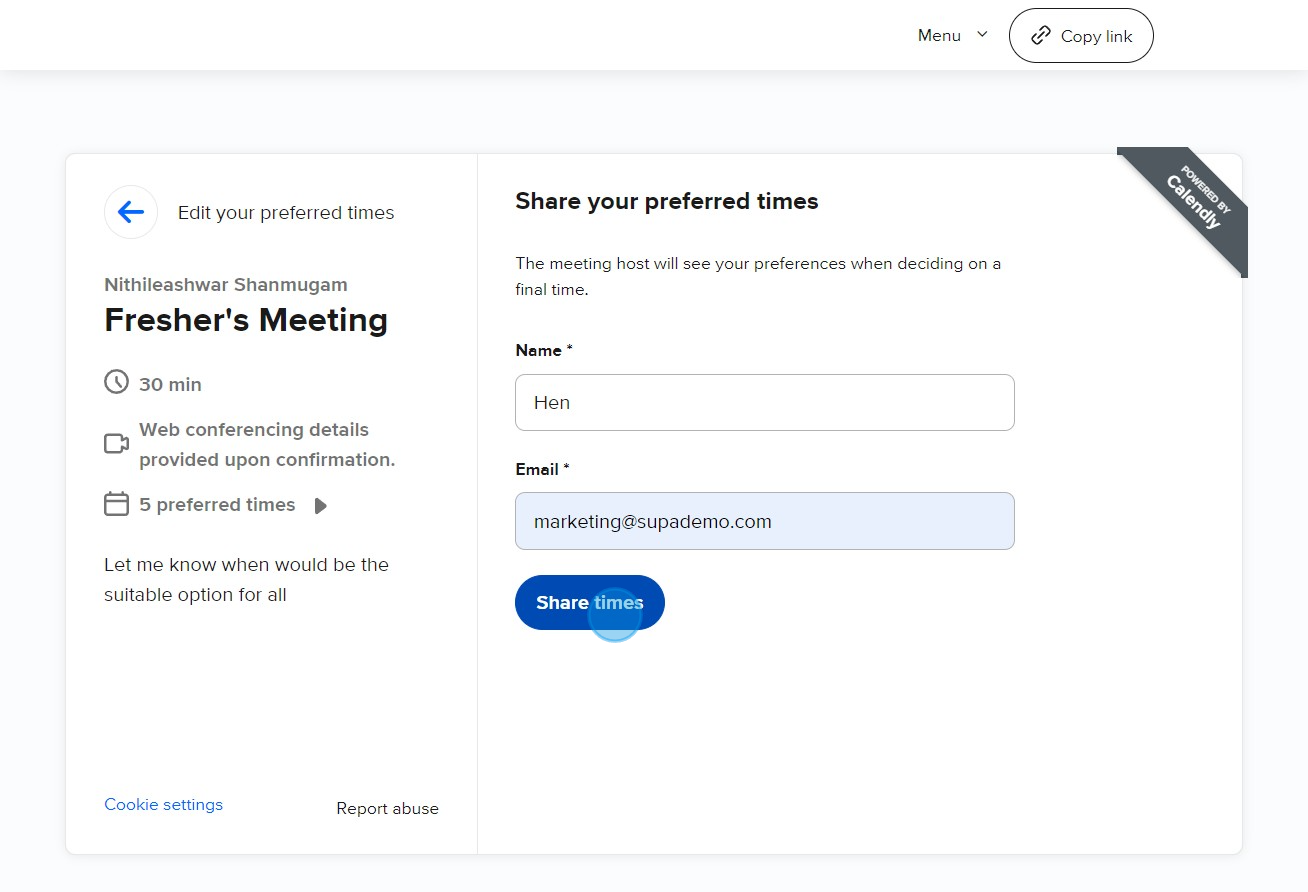
10. Finally, select Share times
Common FAQs on Calendly
Commonly asked questions about this topic.
How do I create and customize an event type in Calendly?
How can I integrate Calendly with my calendar and other tools?
How do I manage and view scheduled events in Calendly?
Create your own step-by-step demo
Nithil Shanmugam
Nithil is a startup-obsessed operator focused on growth, sales and marketing. He's passionate about wearing different hats across startups to deliver real value.


