

Overview:
Streamline your scheduling process with Calendly by following this comprehensive guide on adding and managing your schedule. Enhance user experience by incorporating relevant details and preferences, making it easy for others to identify and book time slots. This step-by-step tutorial ensures a seamless process for creating and utilizing your schedule in Calendly, offering increased efficiency and clarity in managing your appointments and engagements.
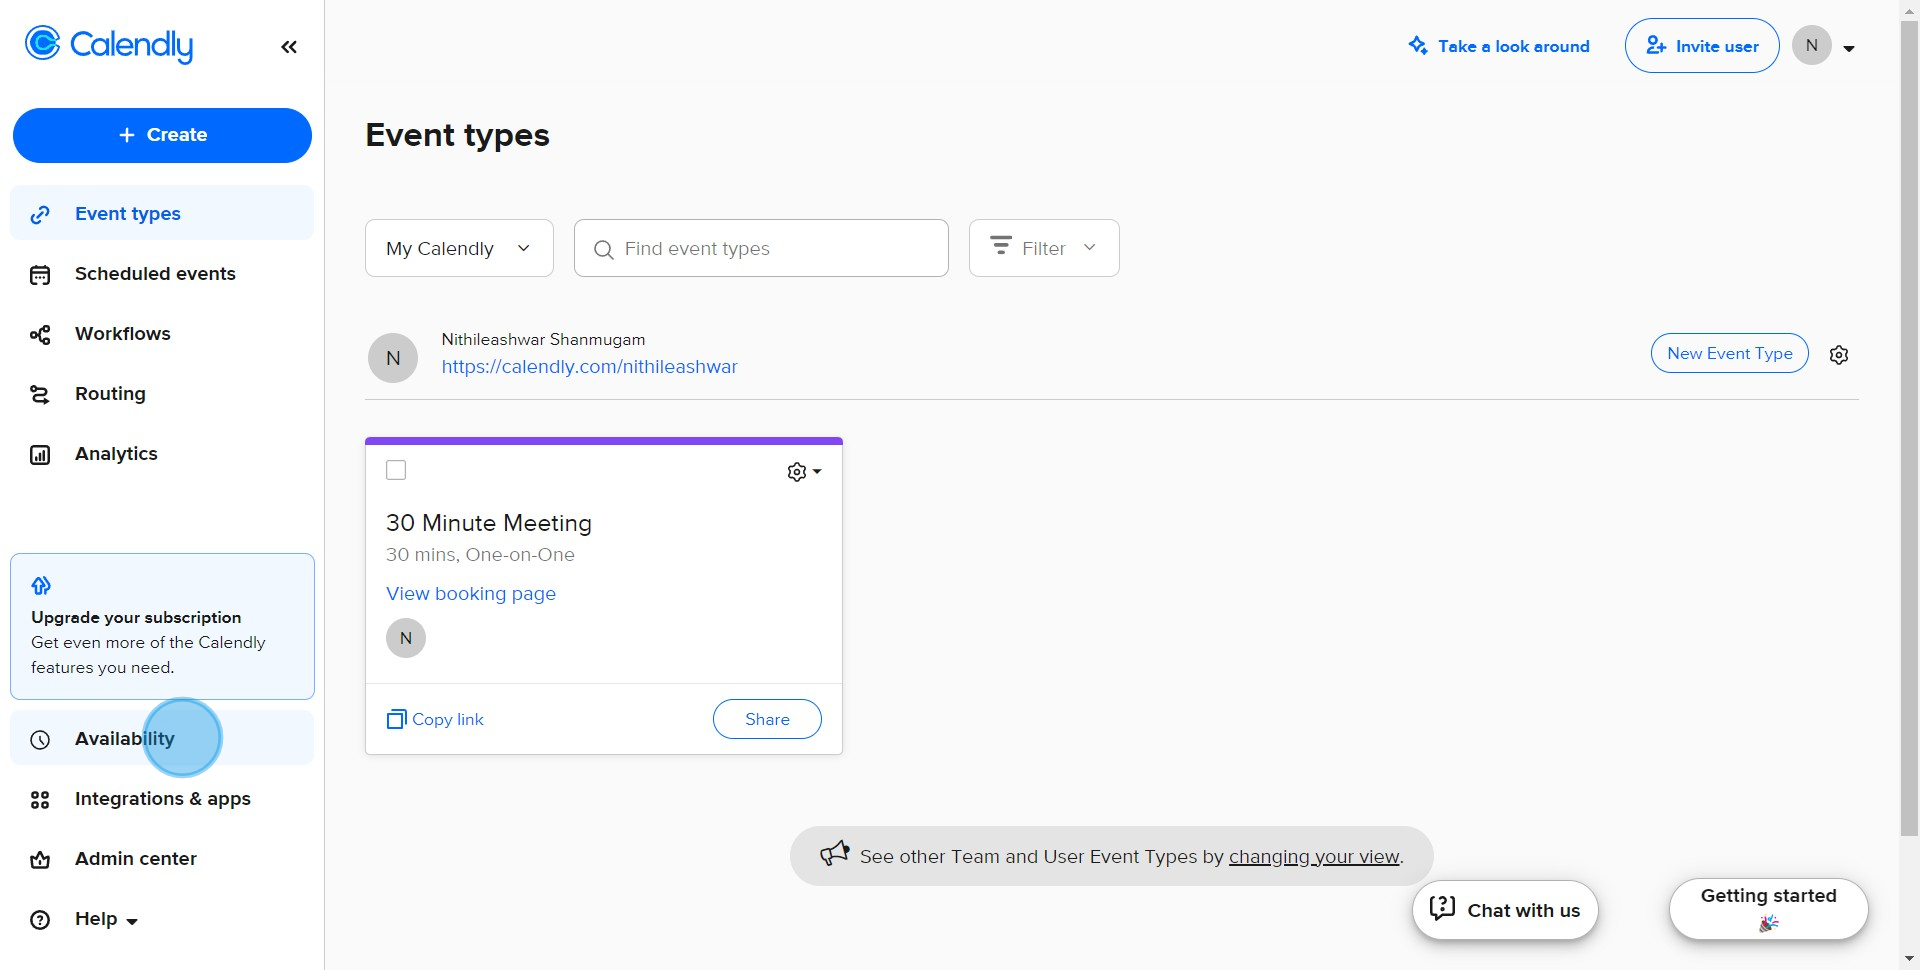
1. Begin by selecting the 'Availability' option.
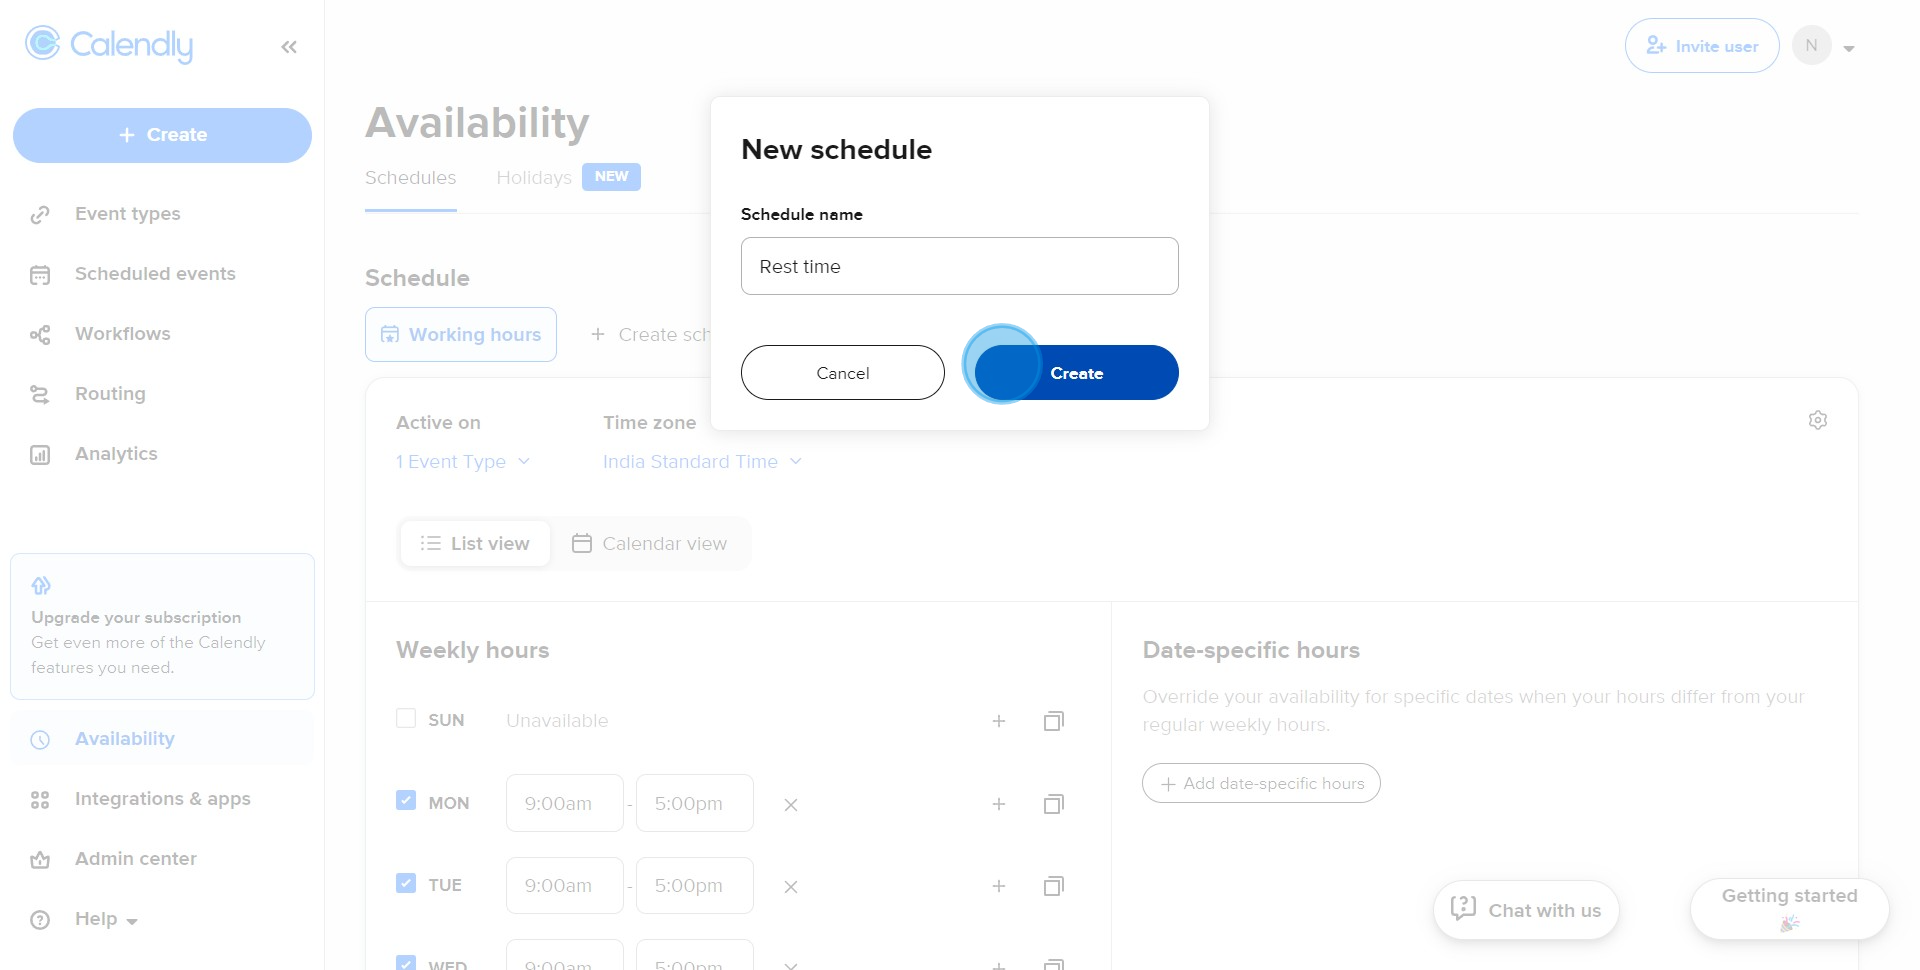
2. Click on the 'Create schedule' button to start creating a new schedule.

3. Once your details are entered, hit the 'Create' button to proceed.
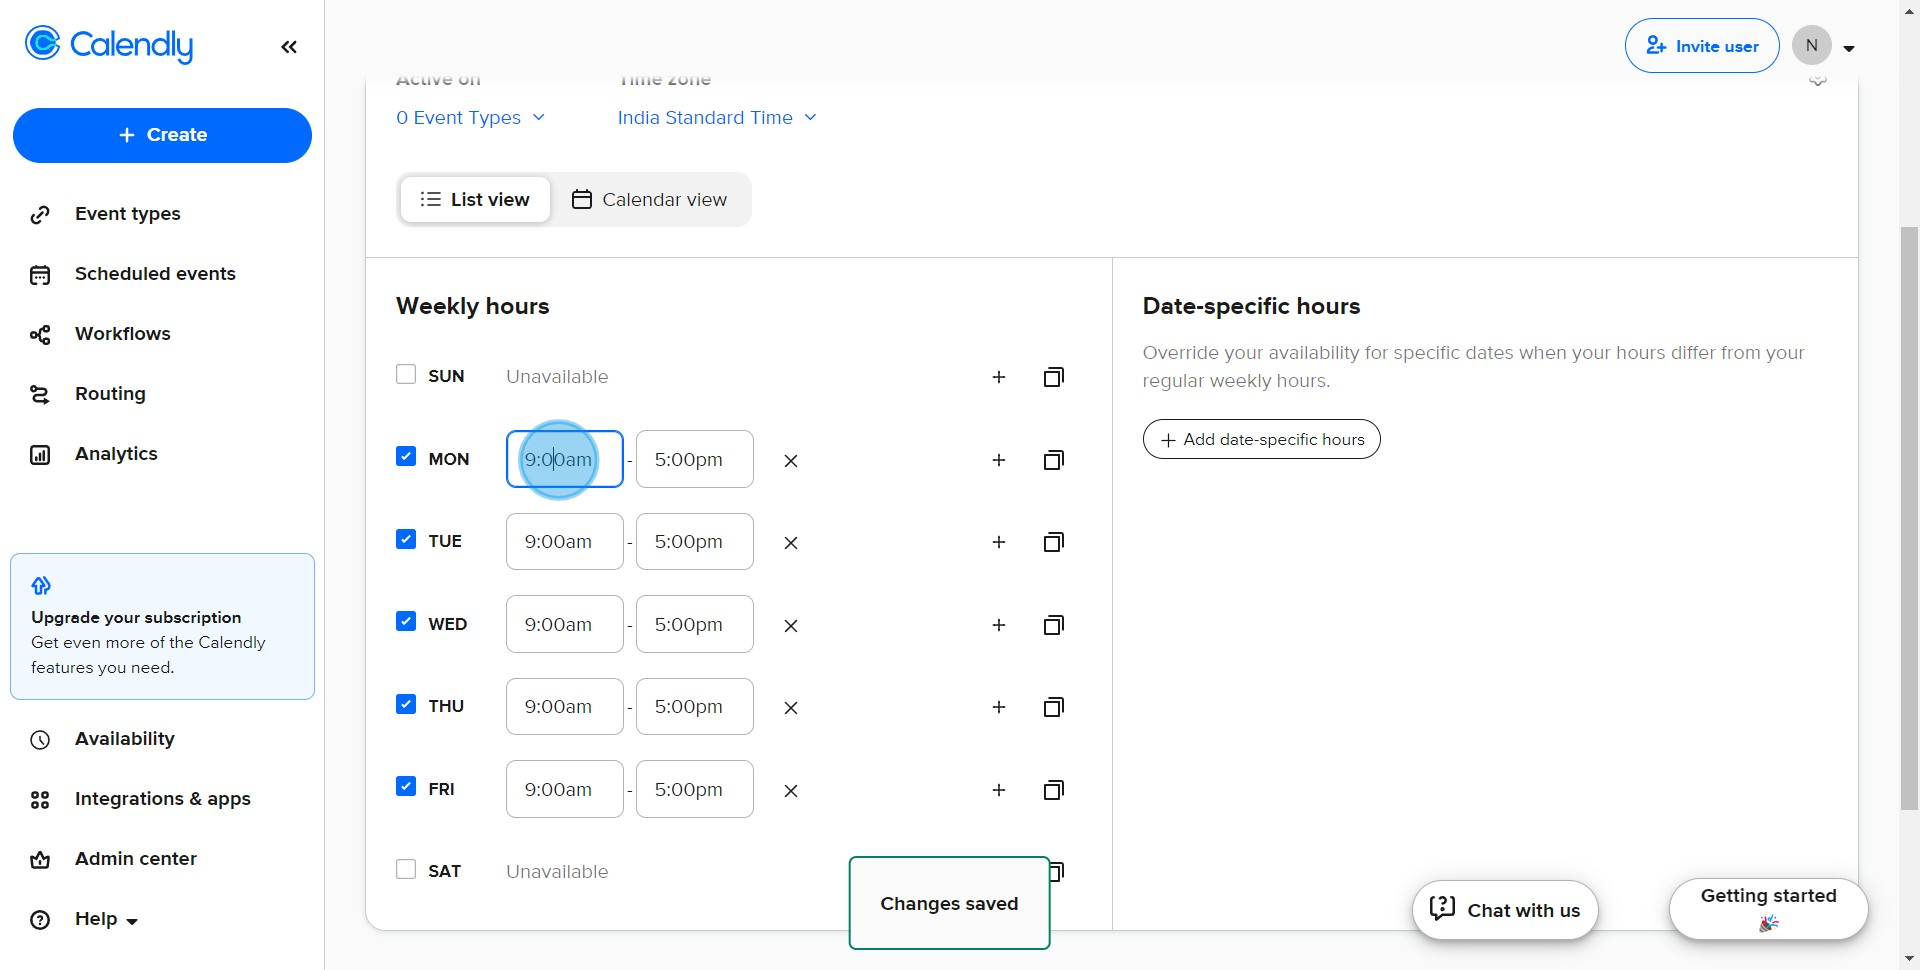
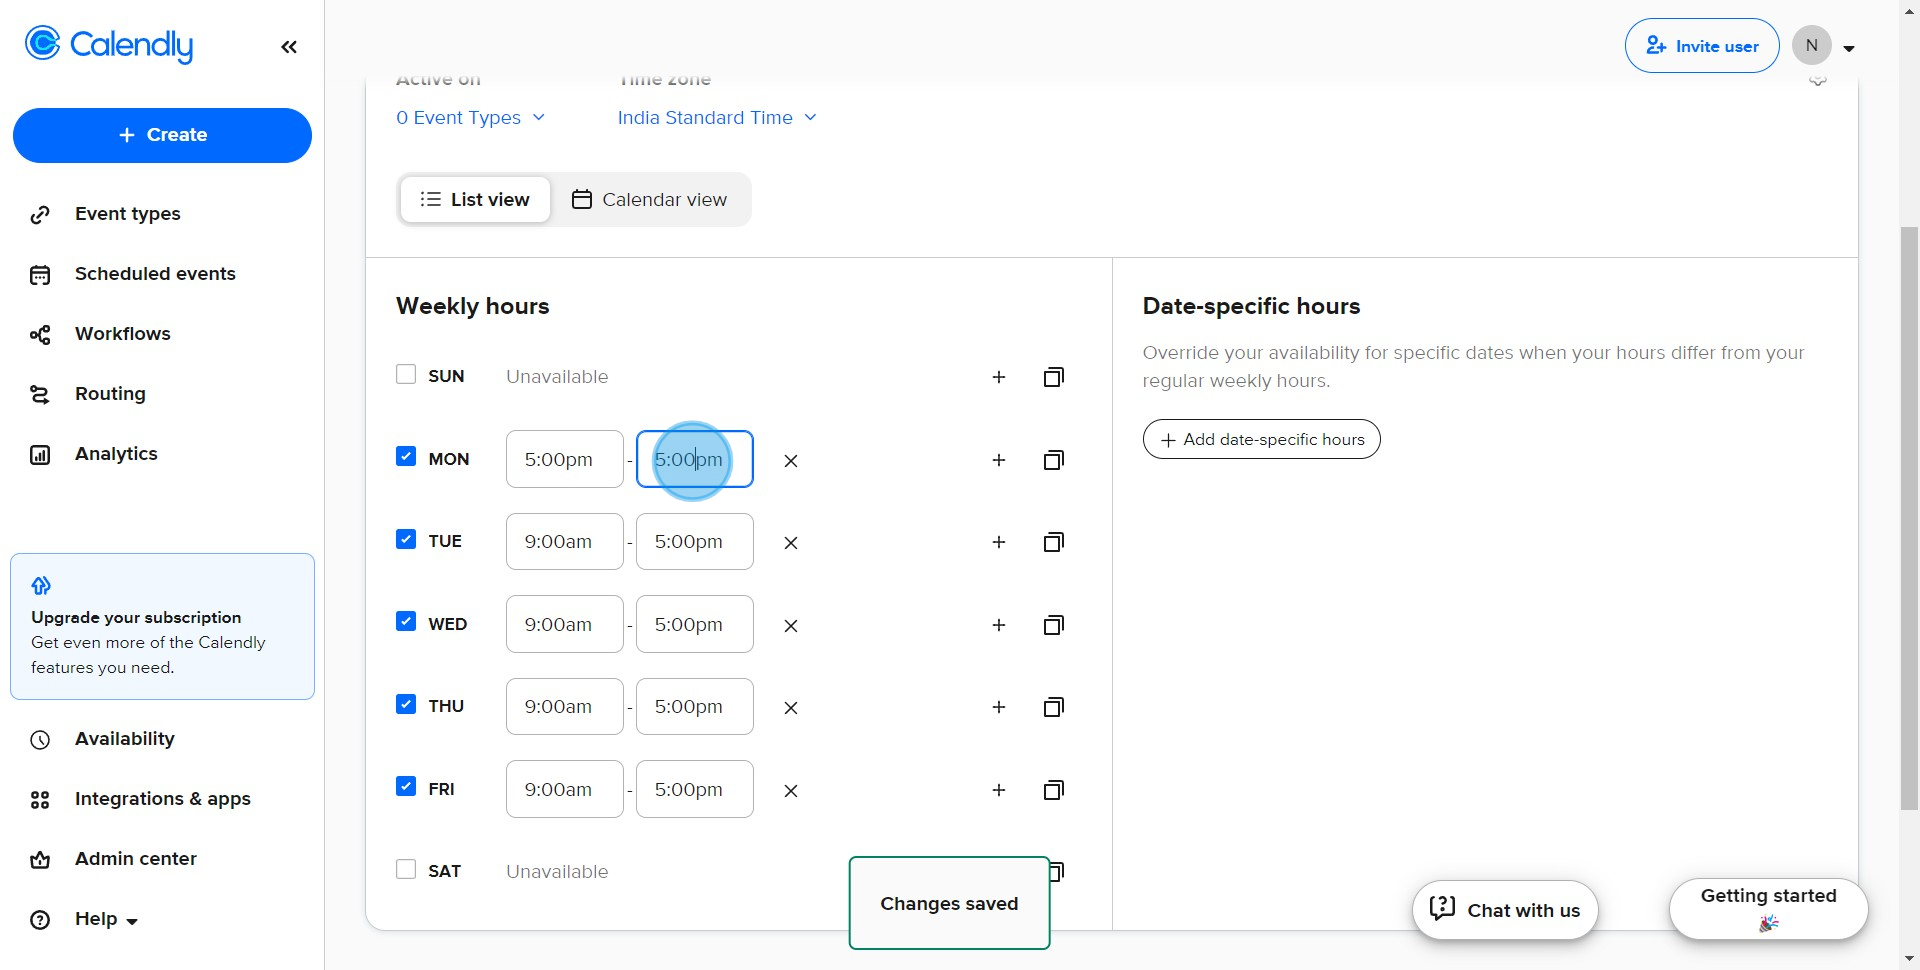
4. Specify your availability by entering a start time in the 'From' section.
5. Select '5:00pm' as your preferred starting time.
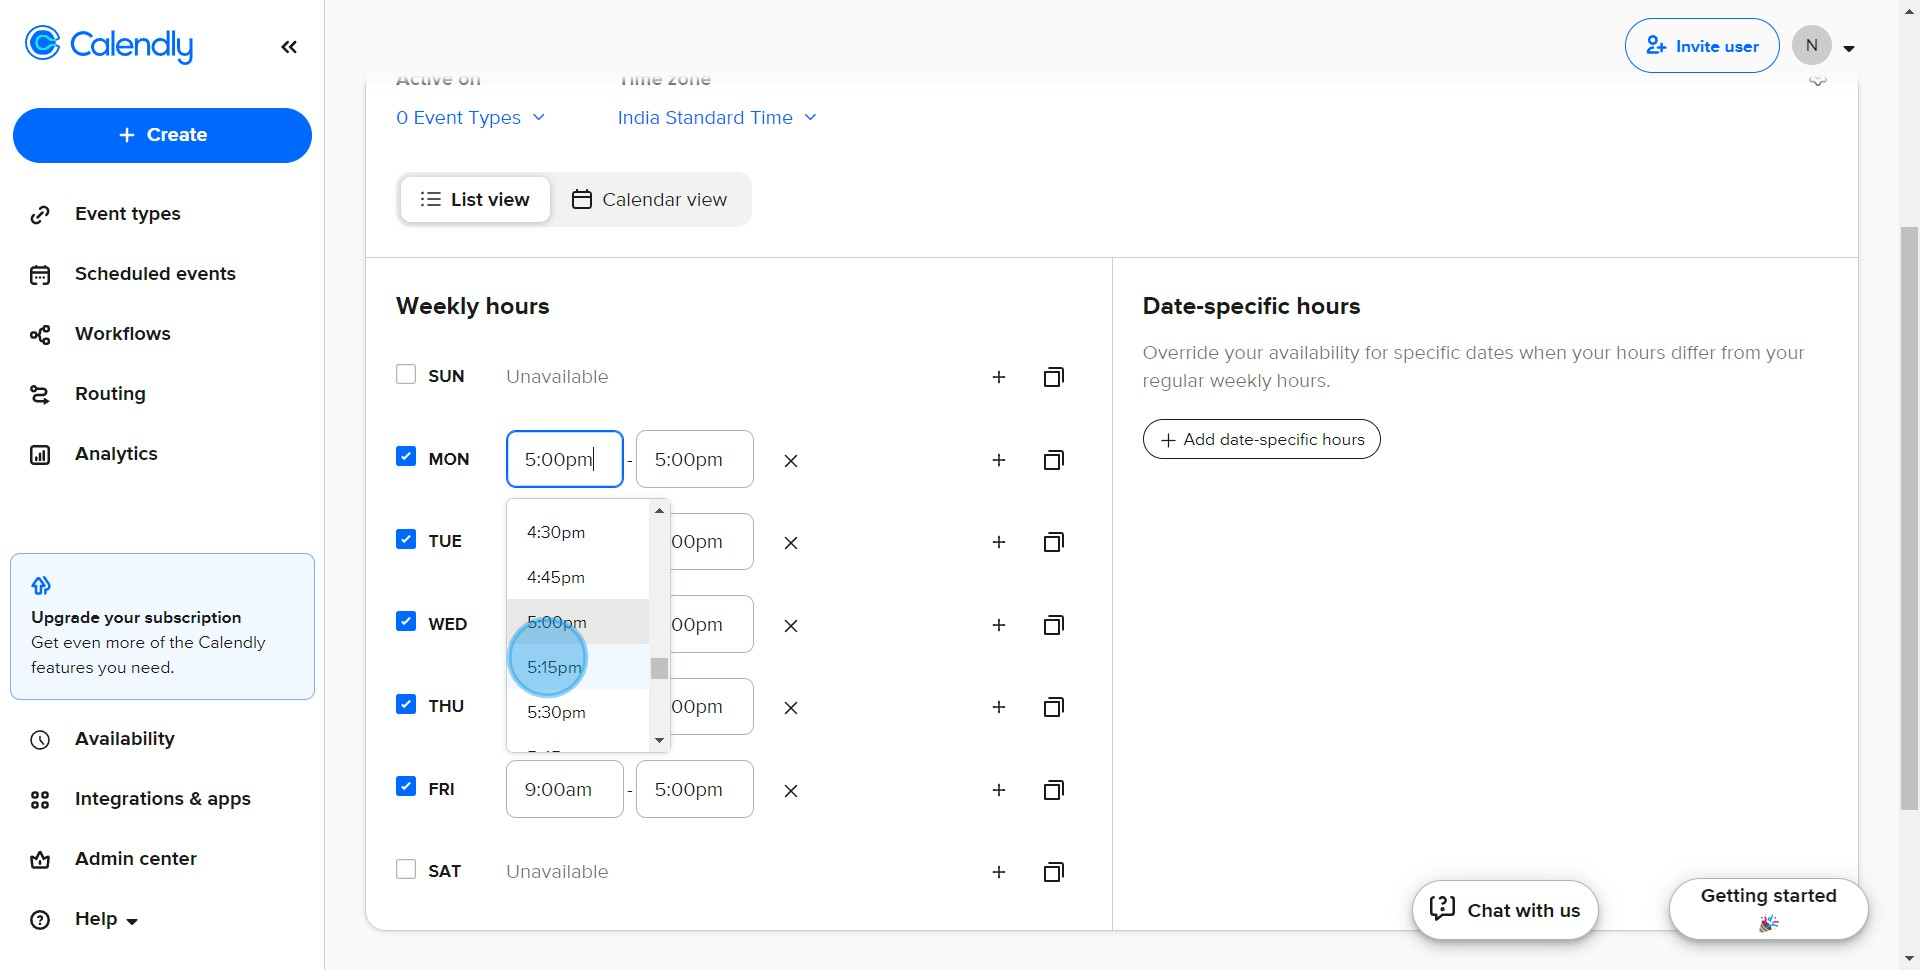
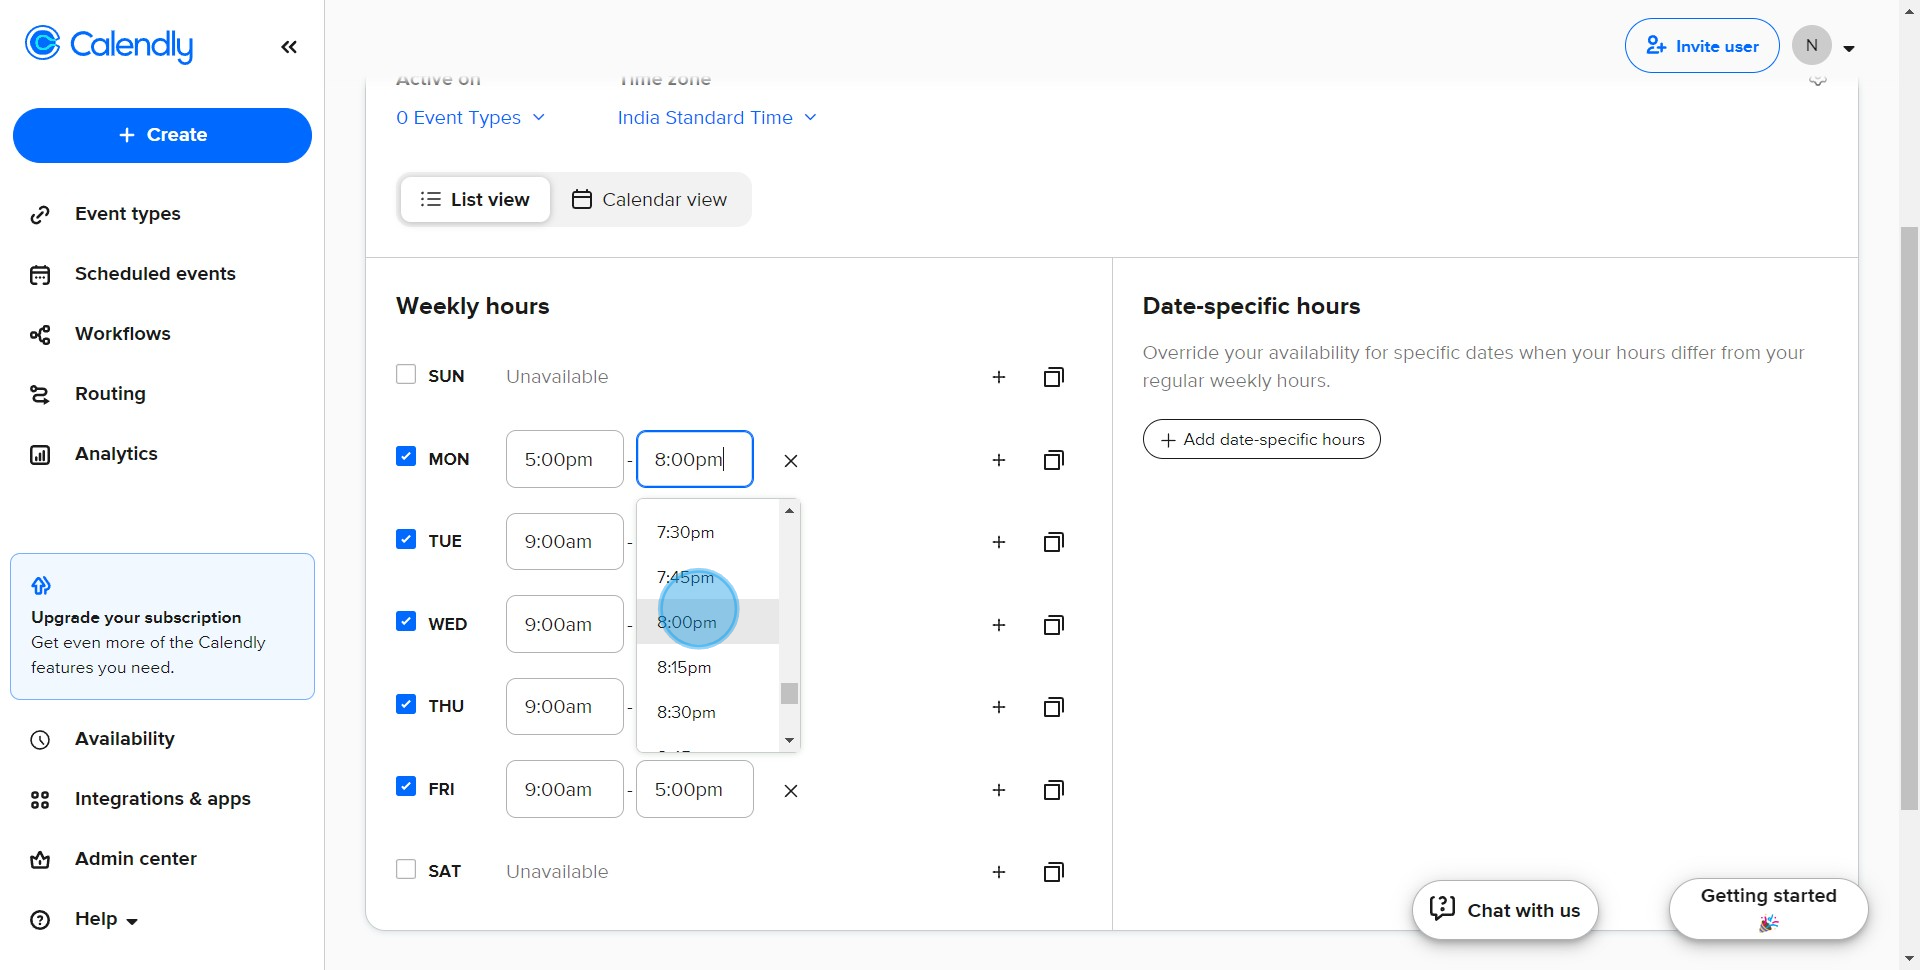
6. Now specify your finishing time in the 'To' section.
7. We'll set '8:00pm' as your preferred finishing time.
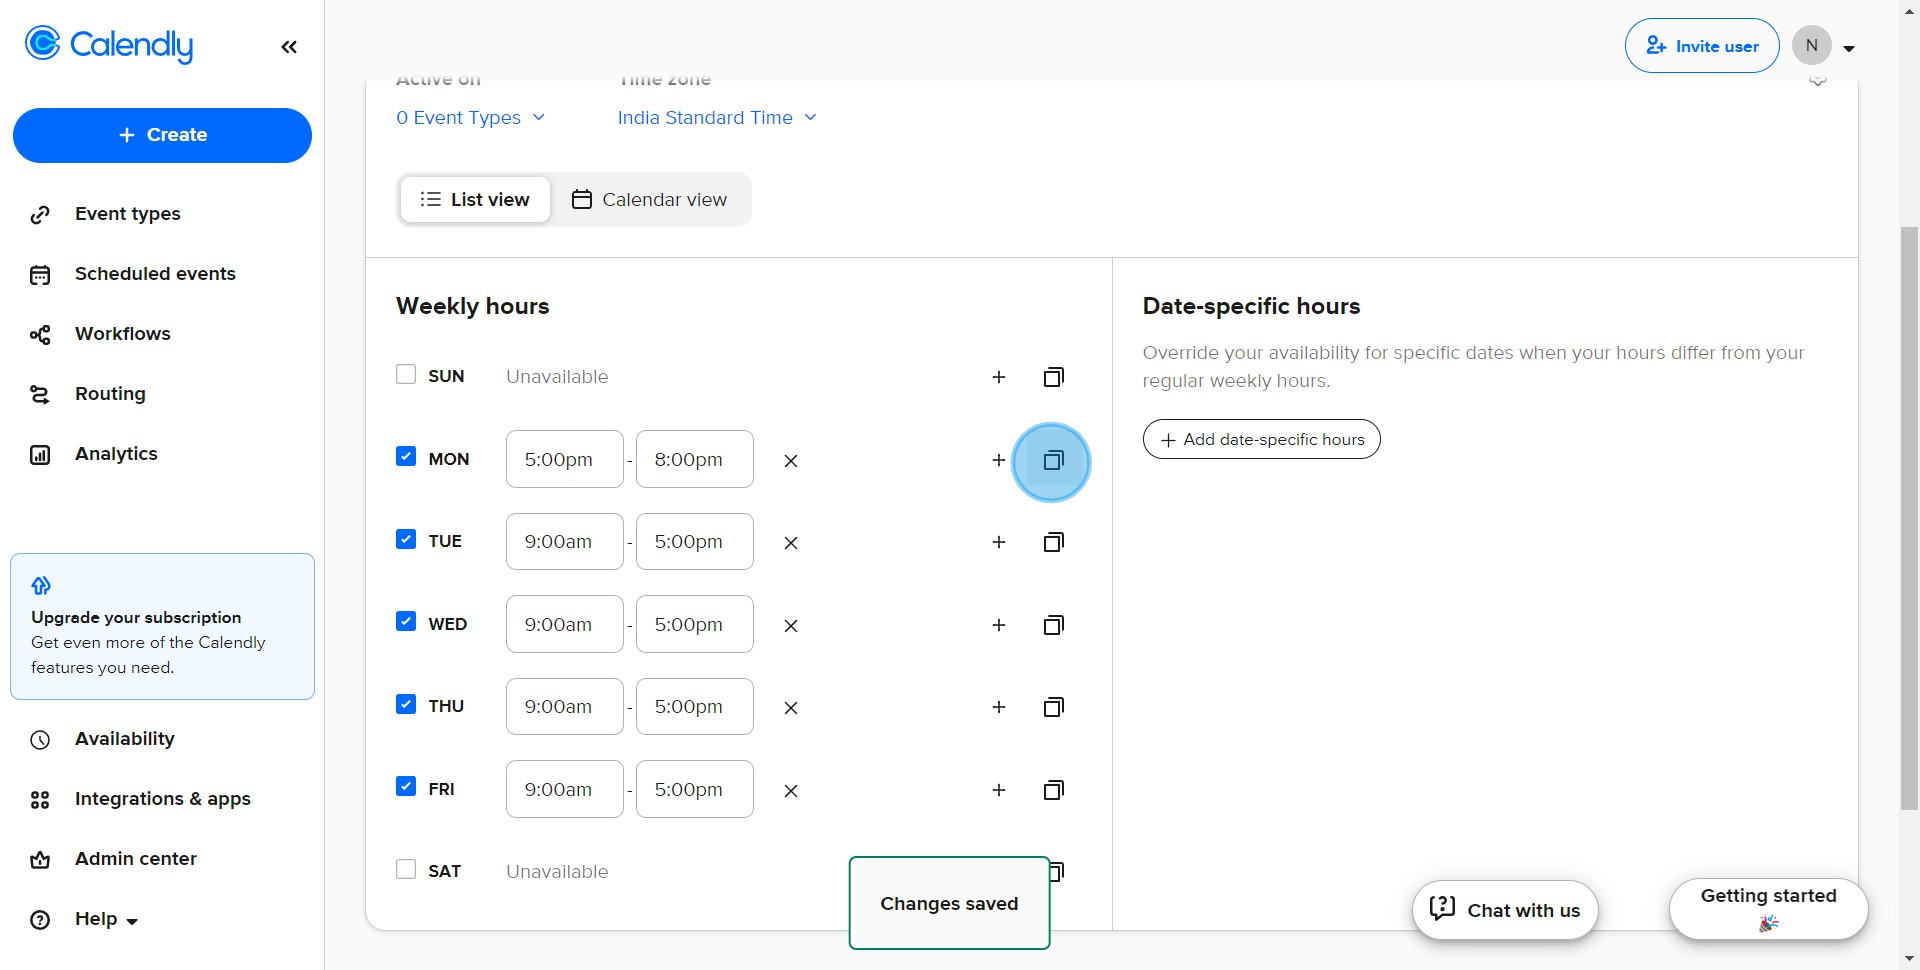
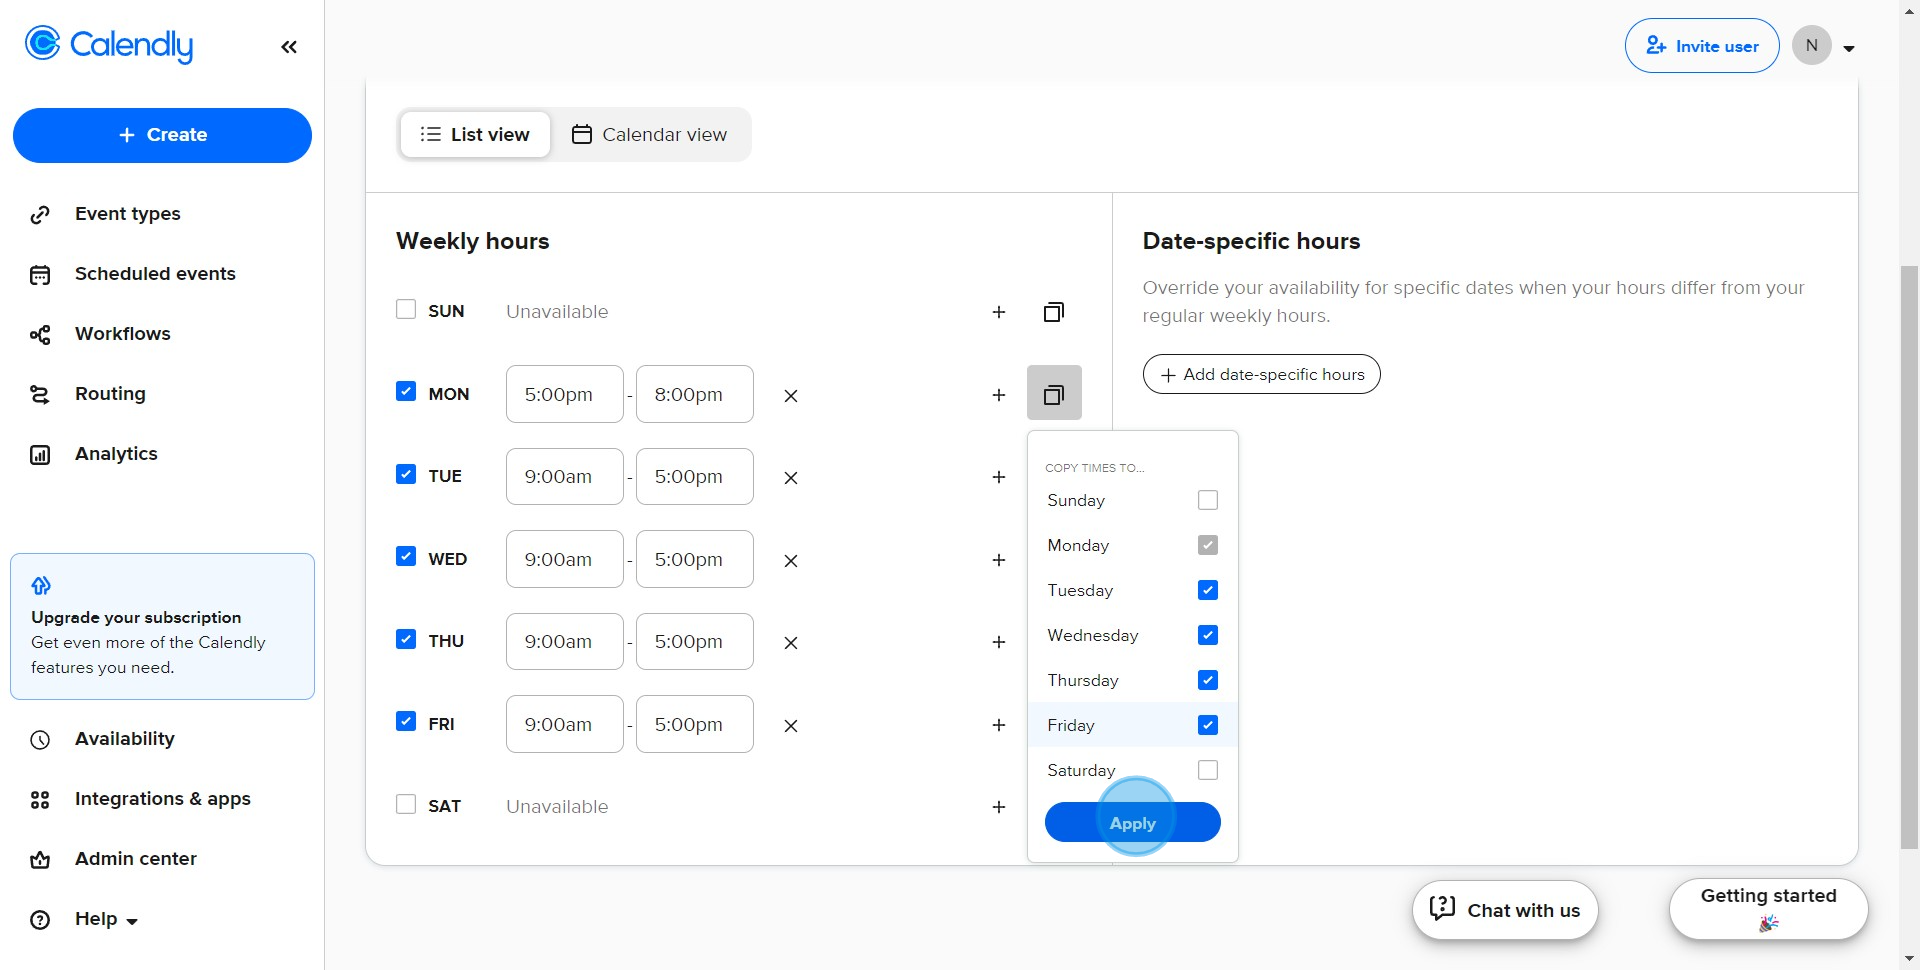
8. Use the replicate feature to quickly duplicate these settings, if needed.
9. Apply these settings by clicking on the 'Apply' button.
10. You've done it! Your new schedule is now set up.

Create your own step-by-step demo
Scale up your training and product adoption with beautiful AI-powered interactive demos and guides. Create your first Supademo in seconds for free.
