

Overview:
Streamline your processes in Brevo by creating organized and efficient forms. Elevate user interaction and simplify data collection with this comprehensive guide on how to seamlessly construct and utilize forms within the Brevo platform. Enhance efficiency and clarity in data management, empowering you to optimize your workflow and improve overall user experience.
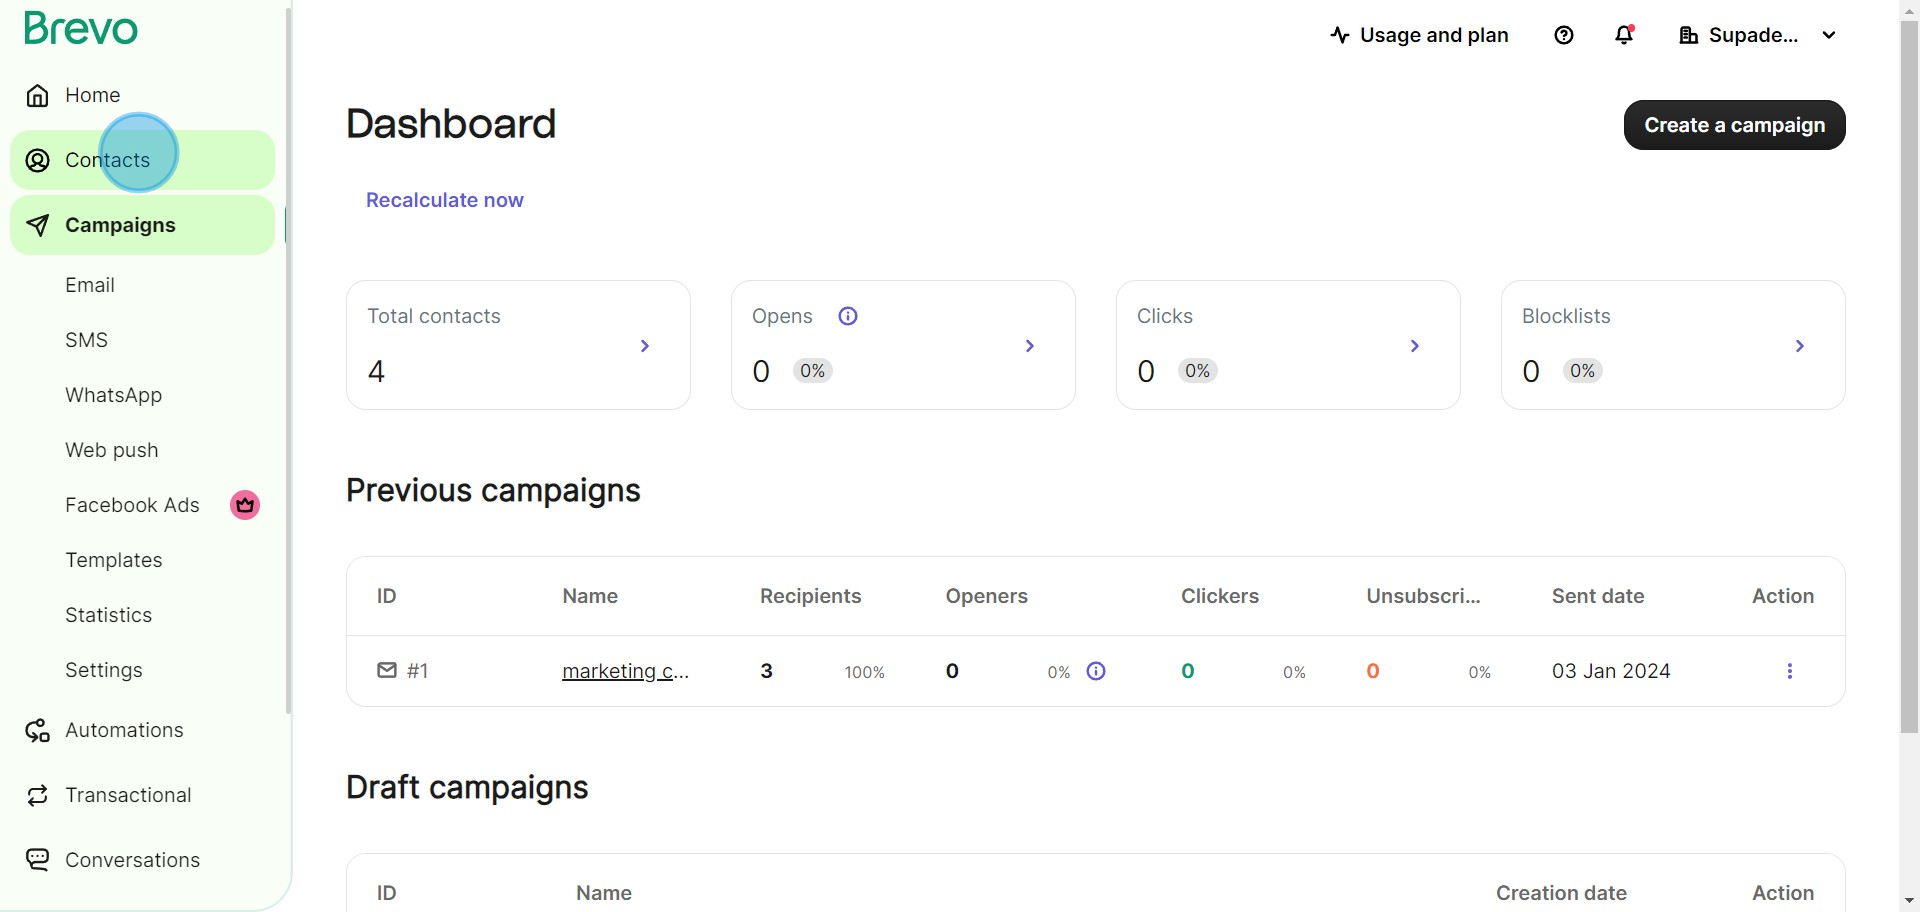
1. Start by selecting 'Contacts' from your menu options.
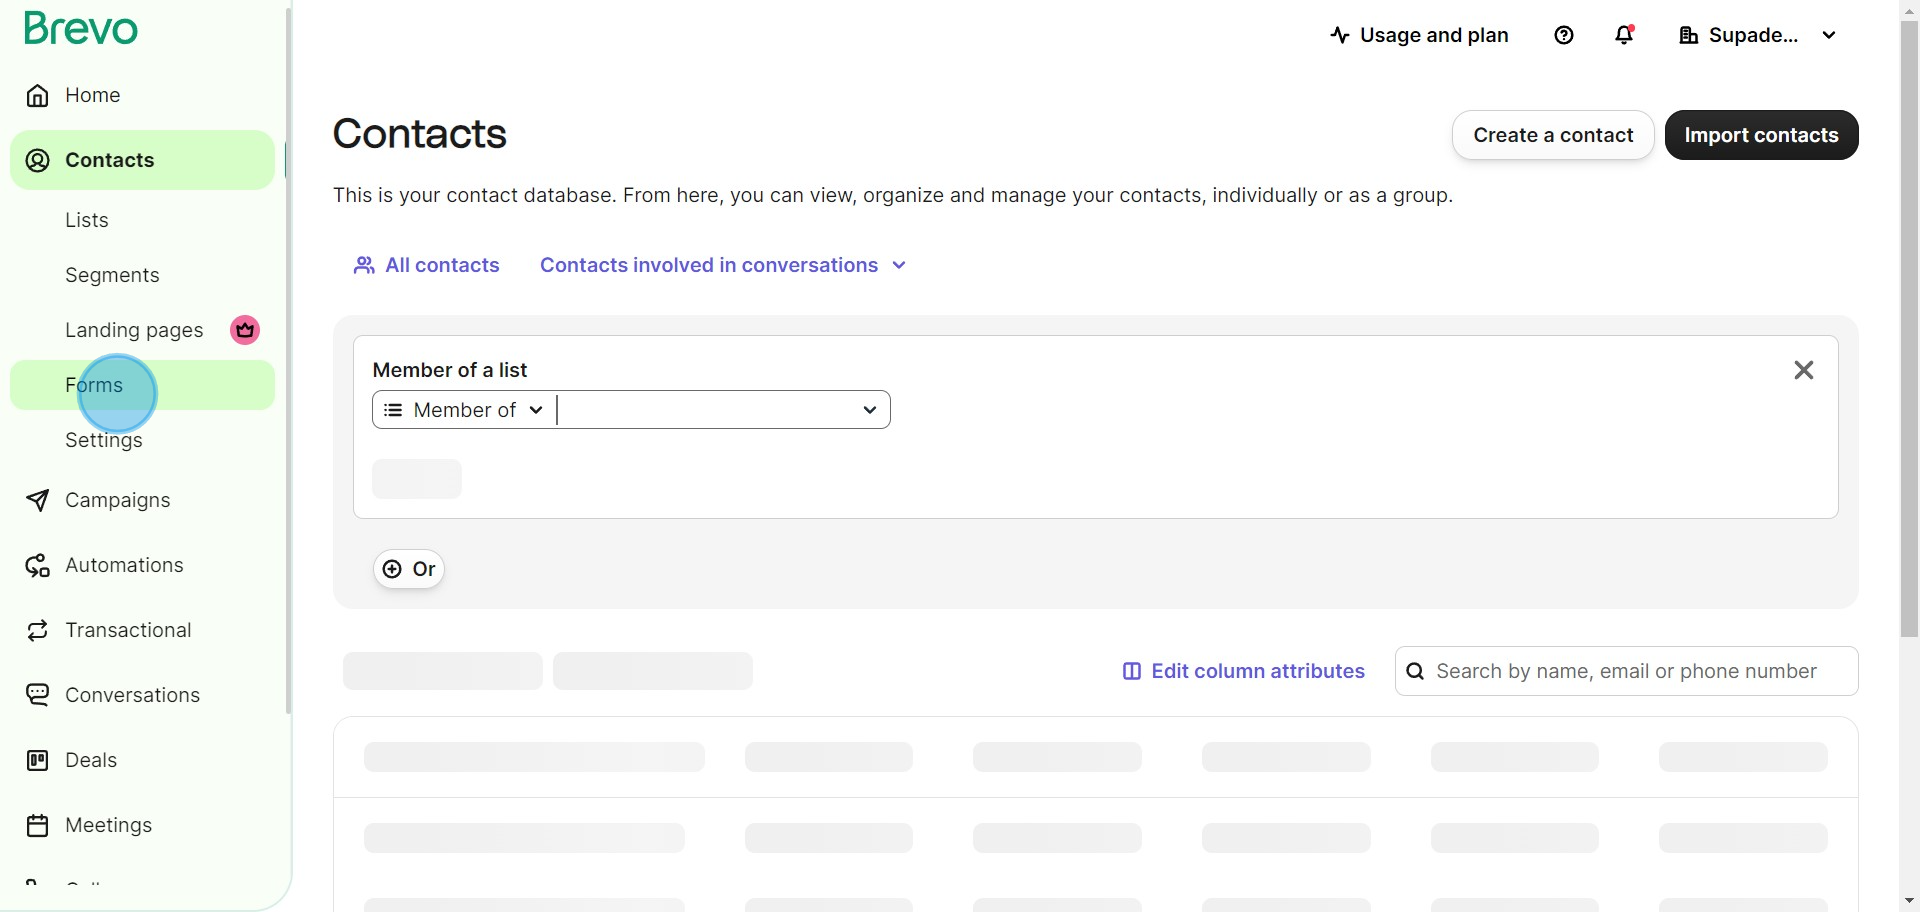
2. Next, look for and select 'Forms' within your contacts area.
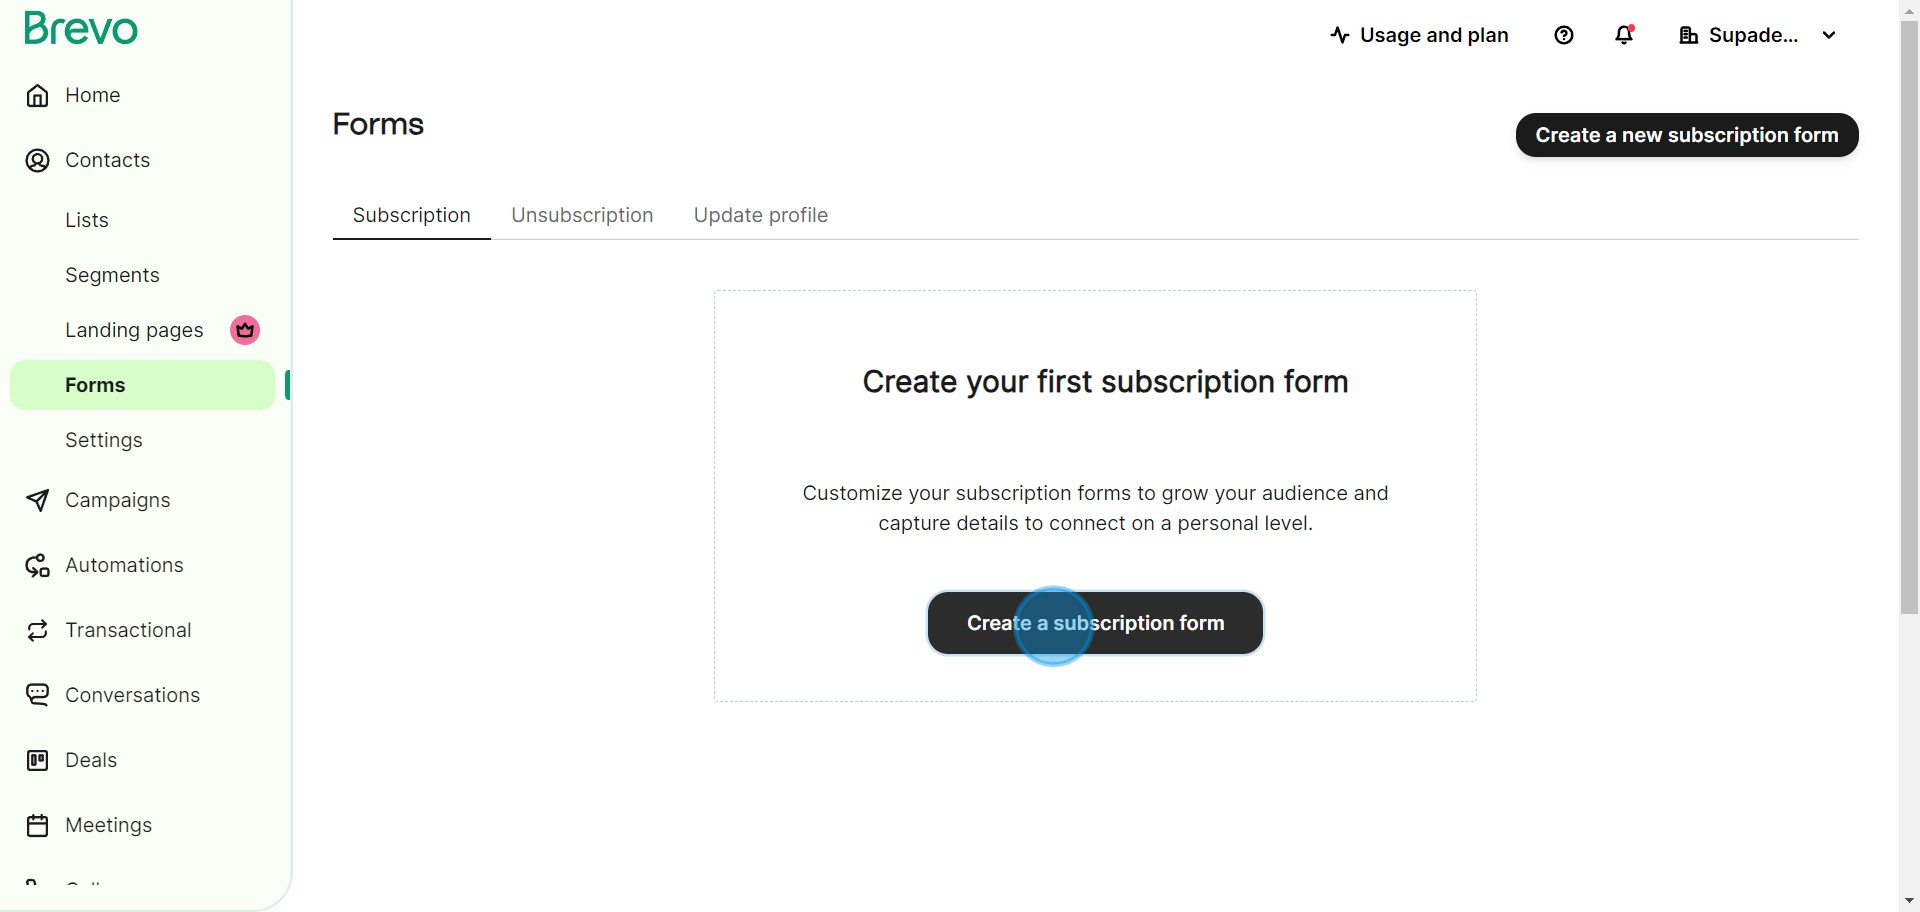
3. Then, locate and select the 'Create a subscription form' option.
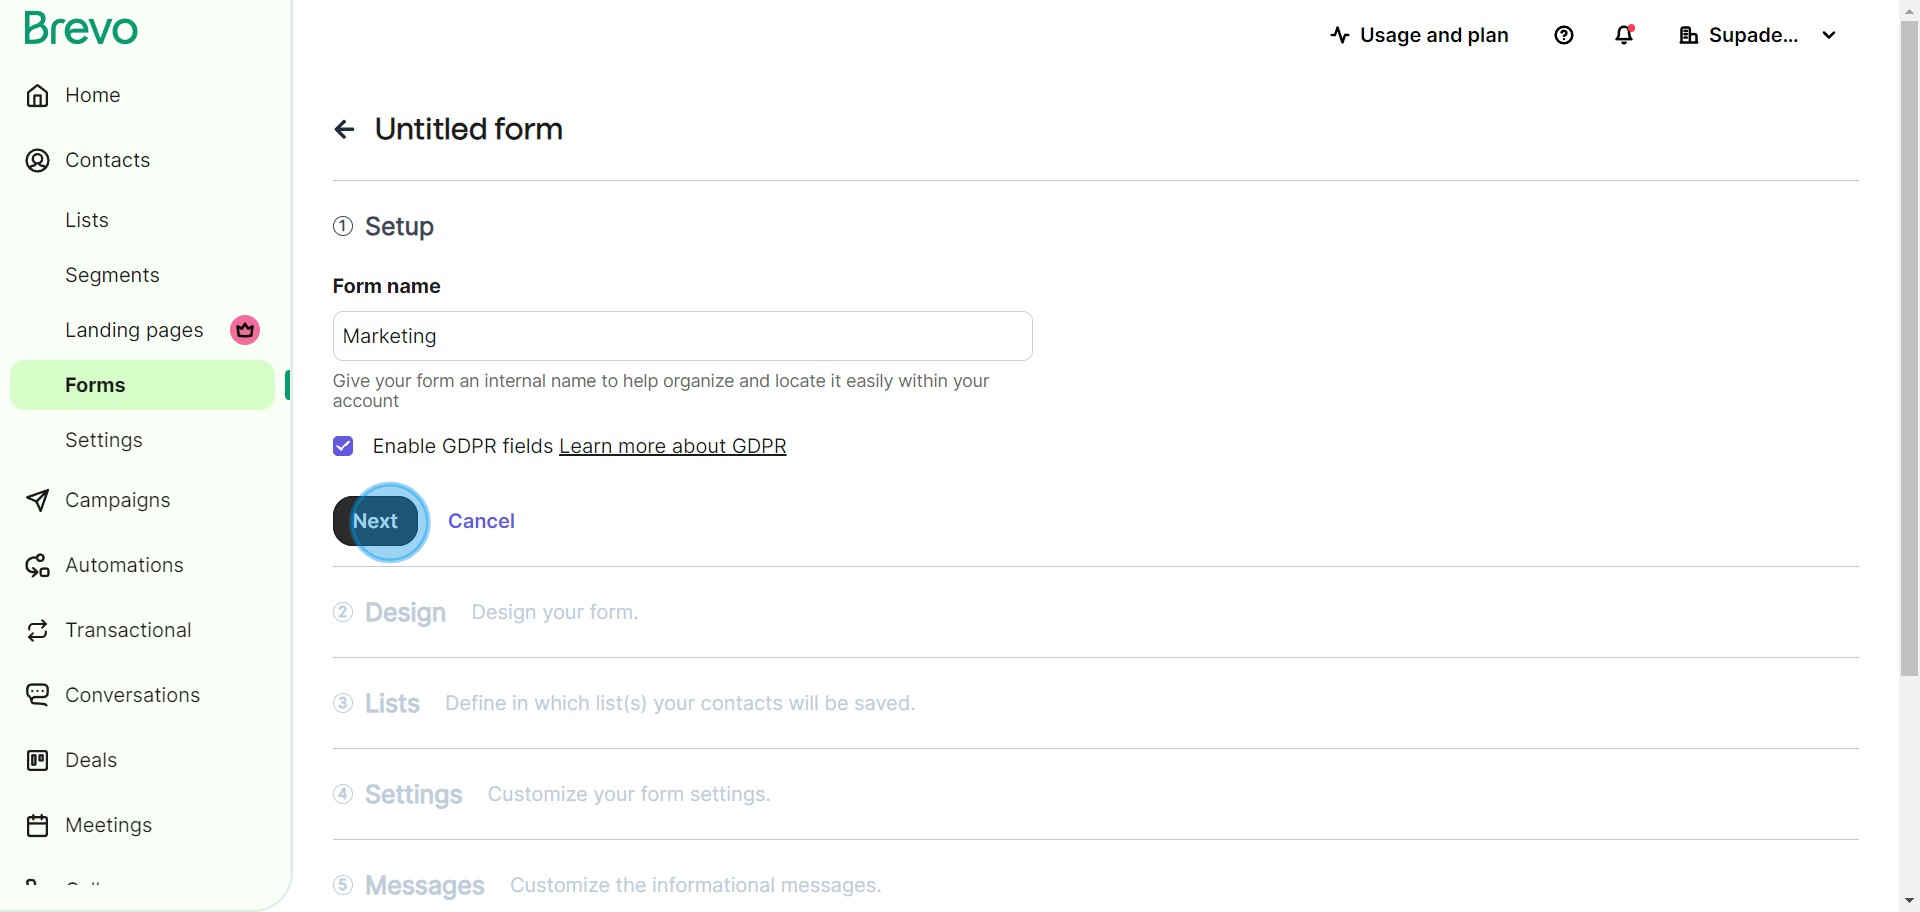
4. Please enter a unique Form name in the provided input field.
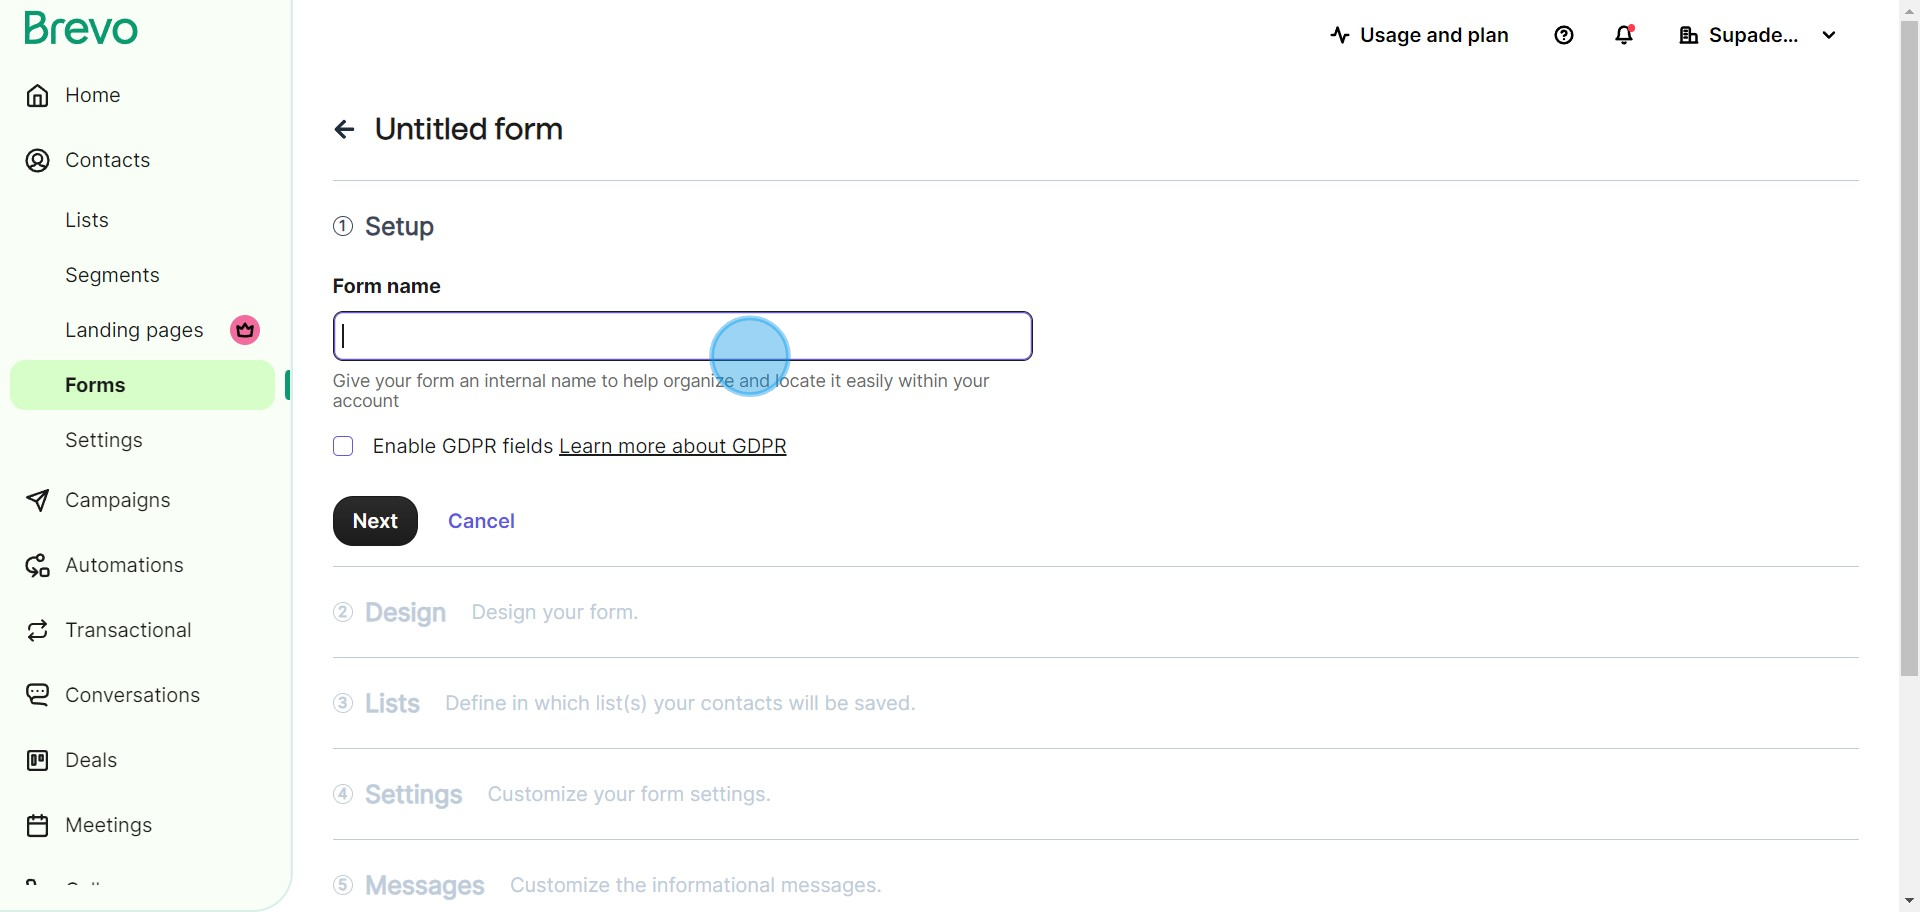
5. When satisfied, proceed by clicking 'Next'.
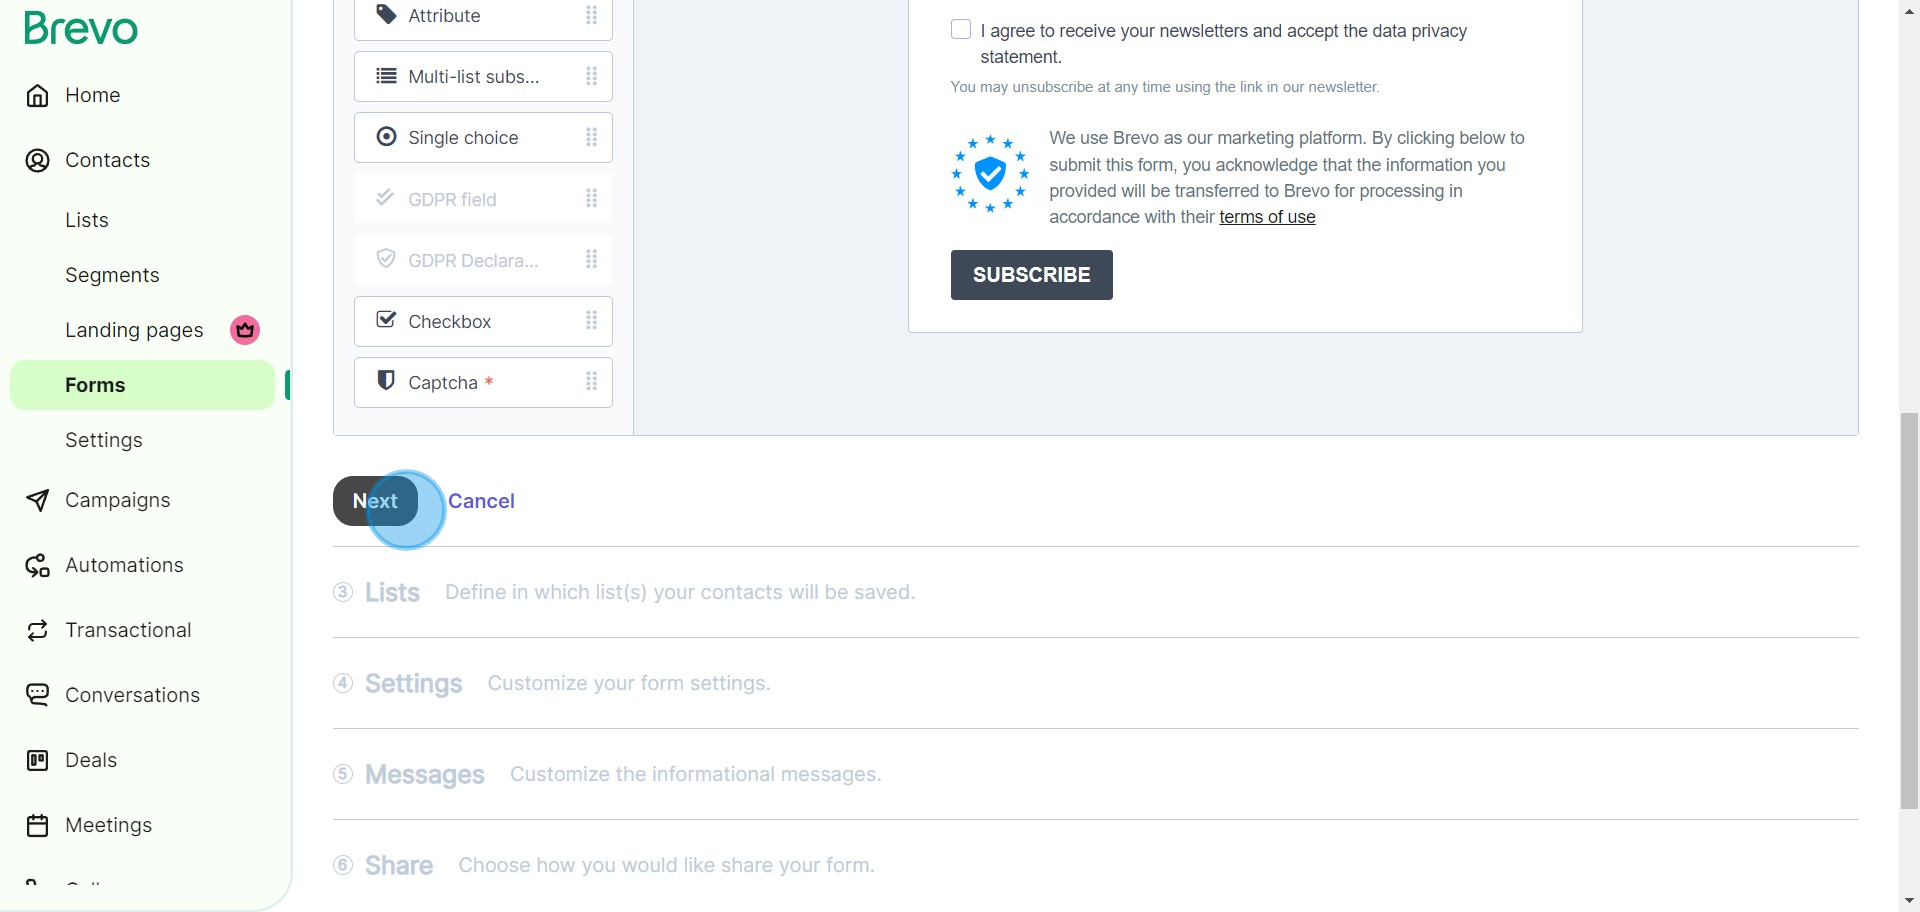
6. Design your Form to your liking and confirm your changes by again clicking 'Next'.
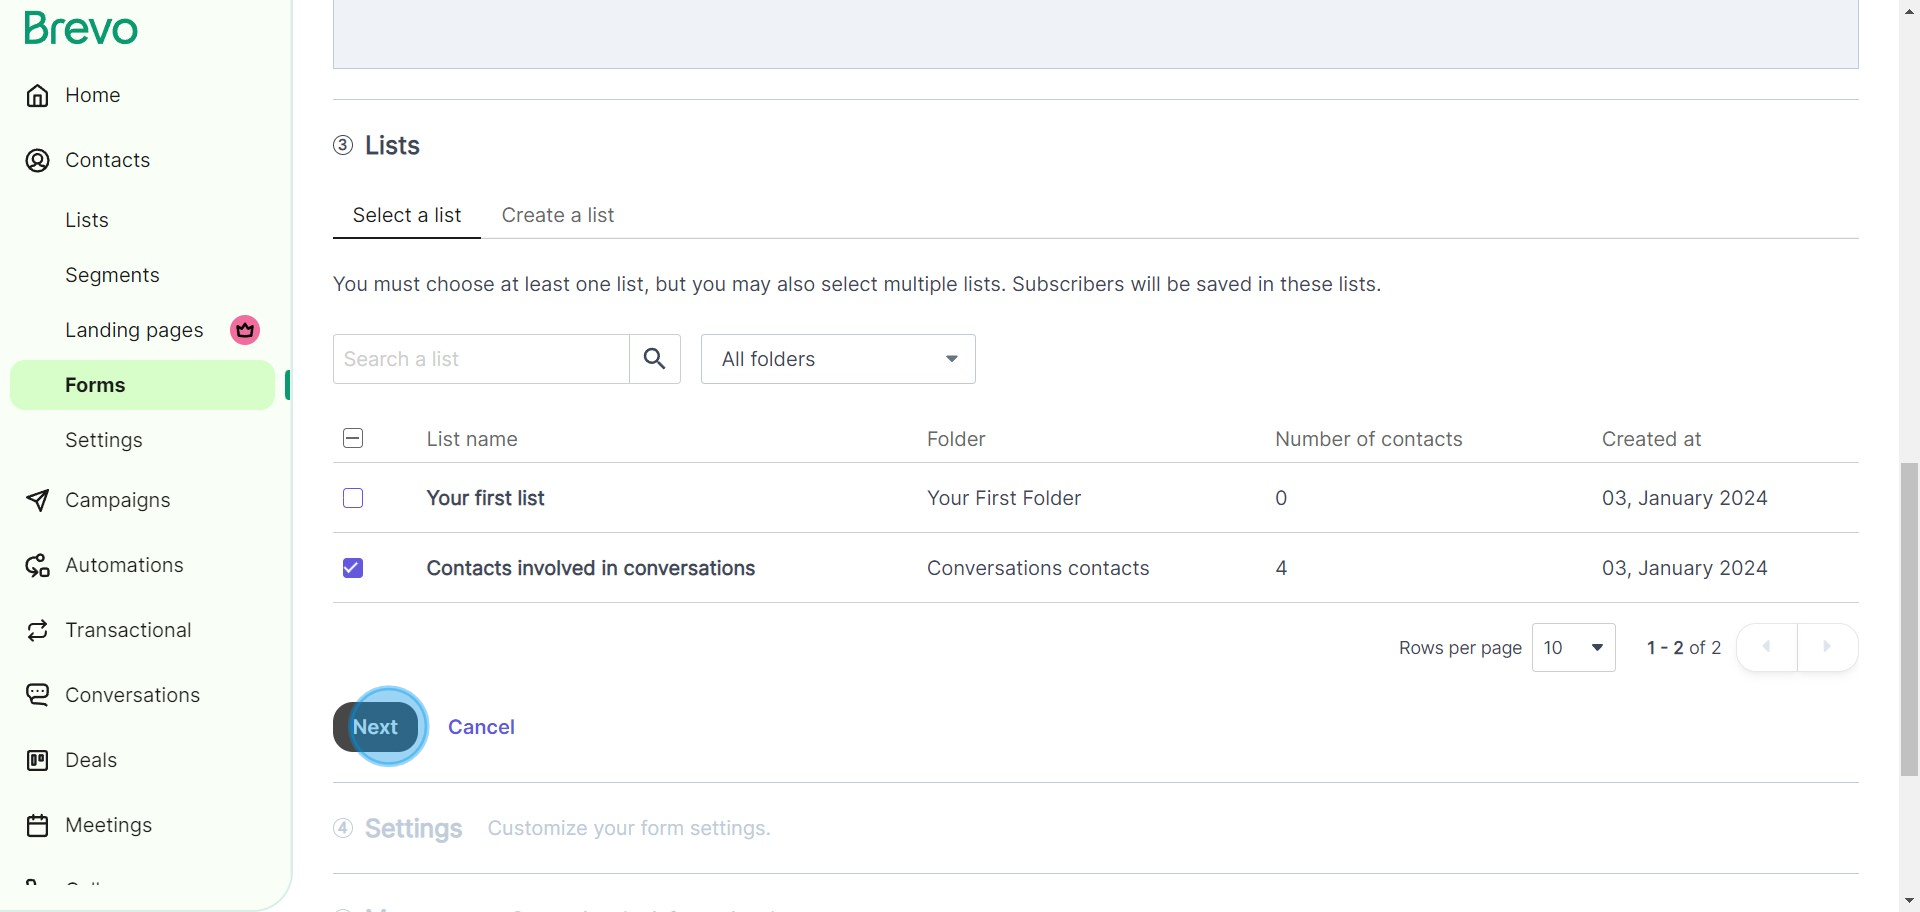
7. Choose the appropriate contact list to share your forms with.
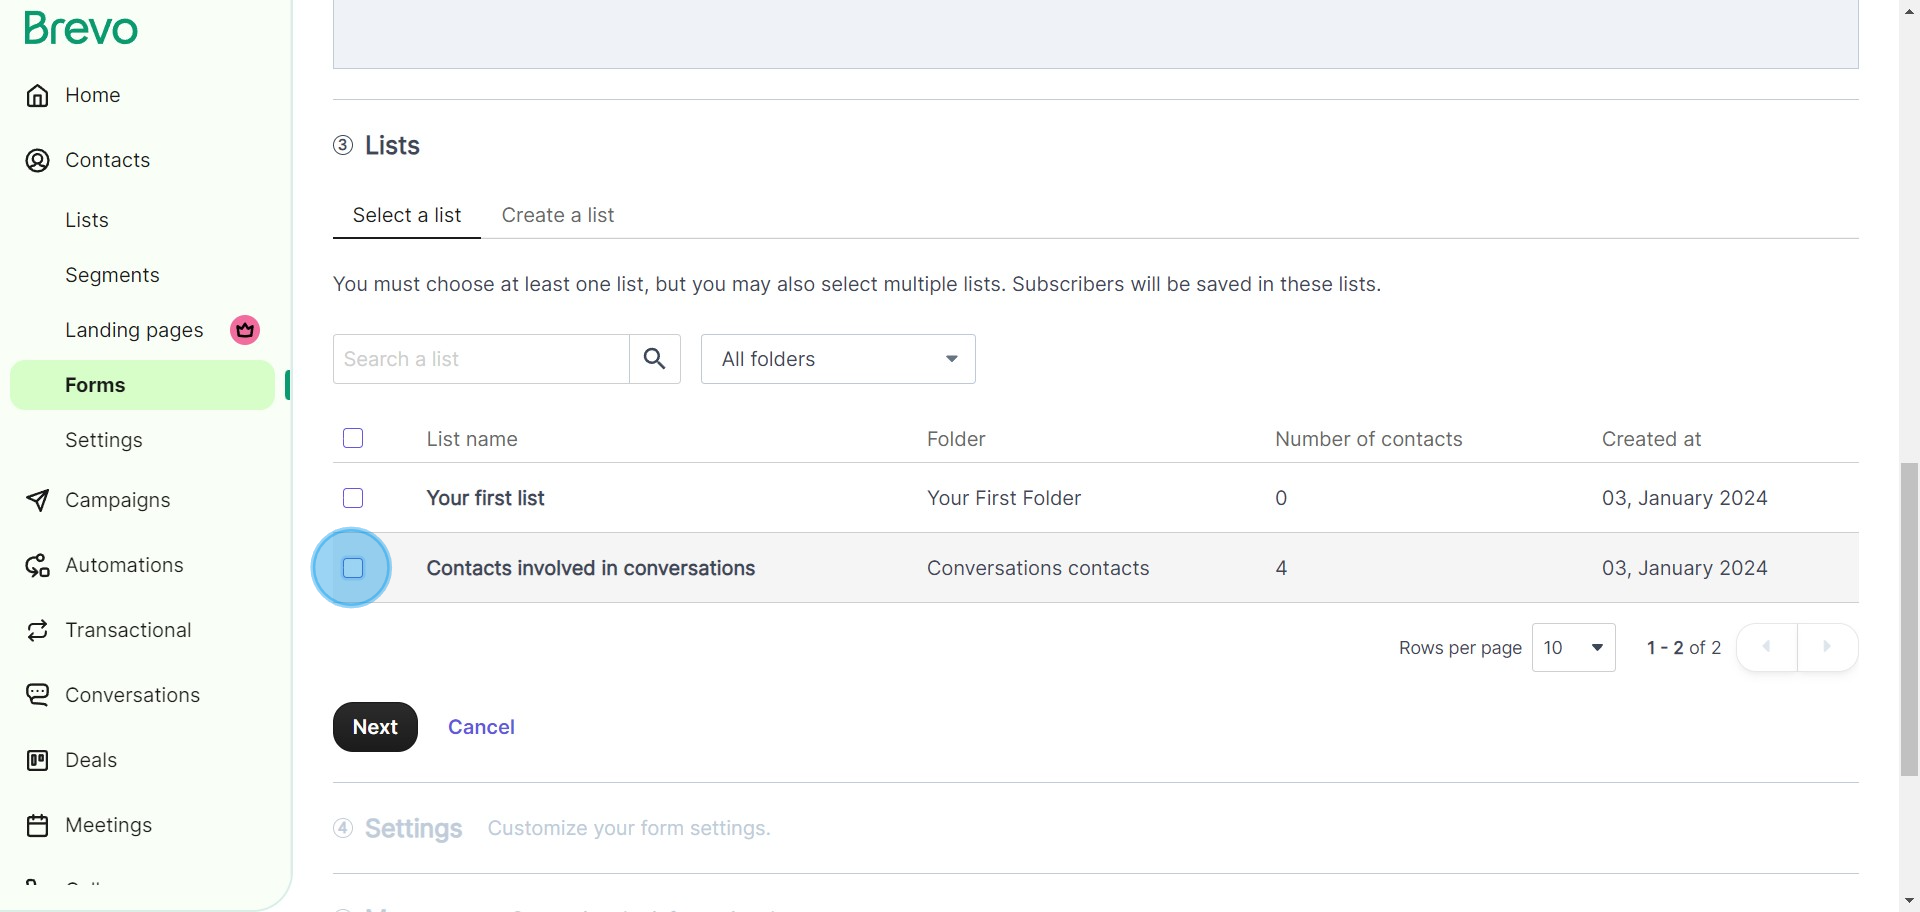
8. Continue your setup by selecting 'Next'.
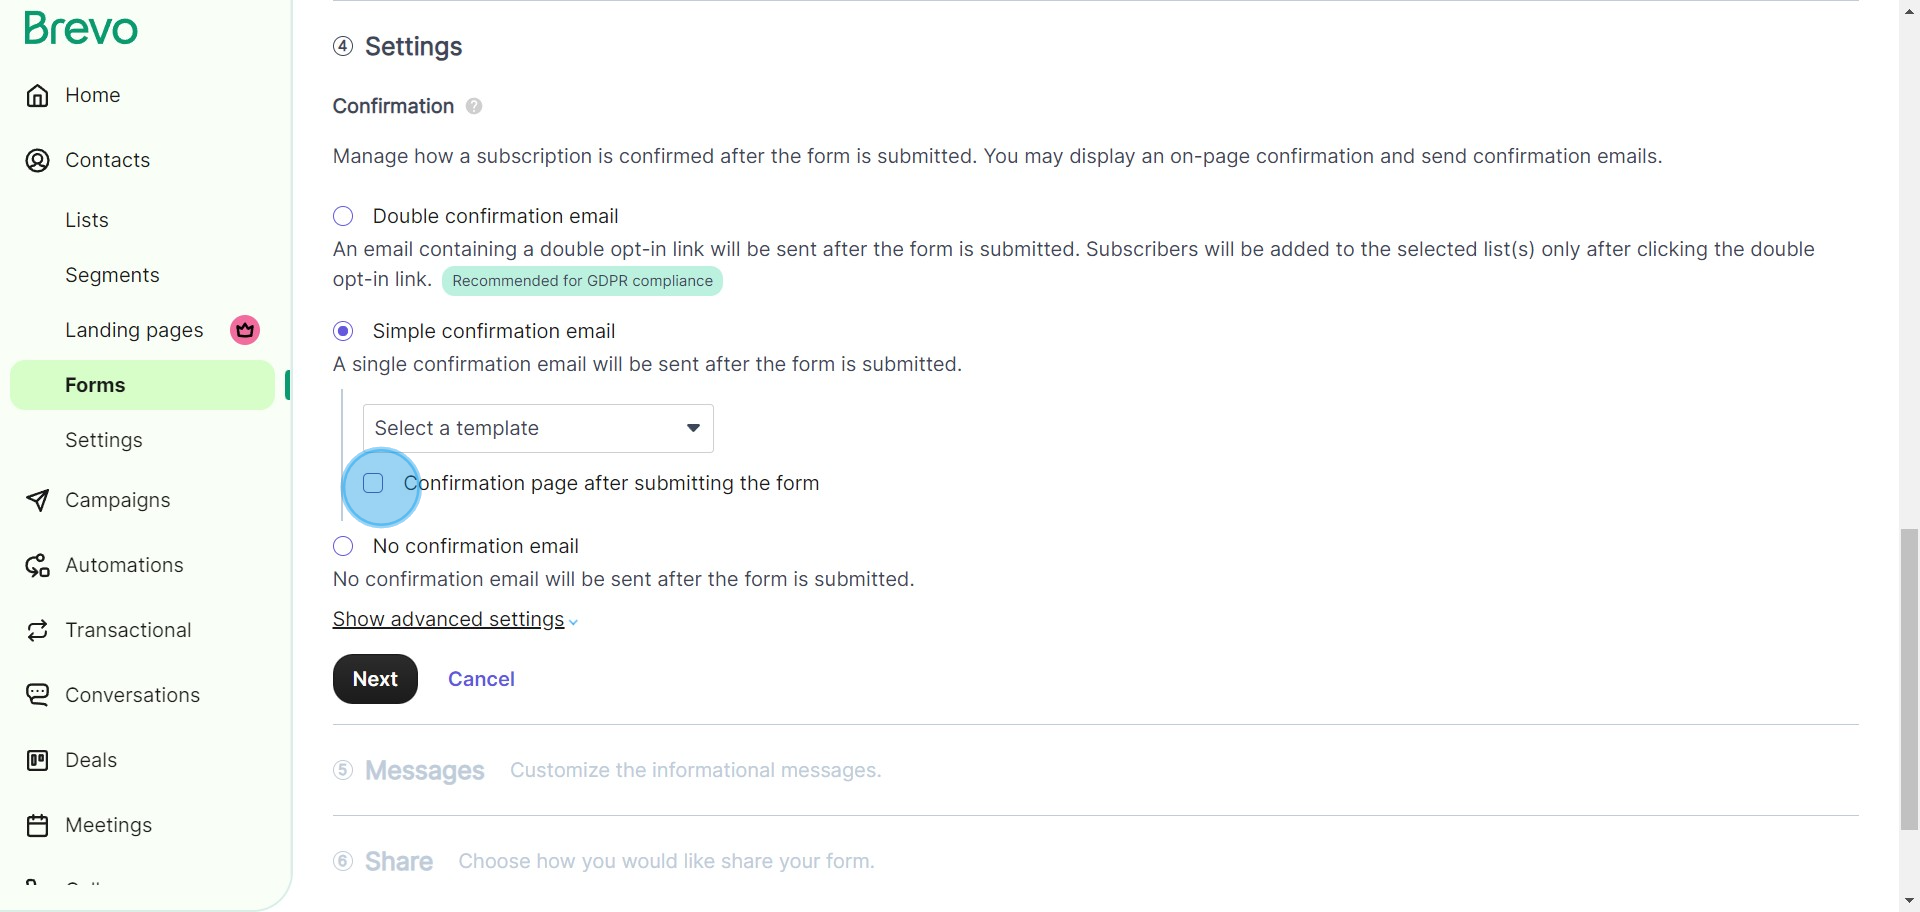
9. If desired, opt to send a confirmation mail by selecting the designated radio button.
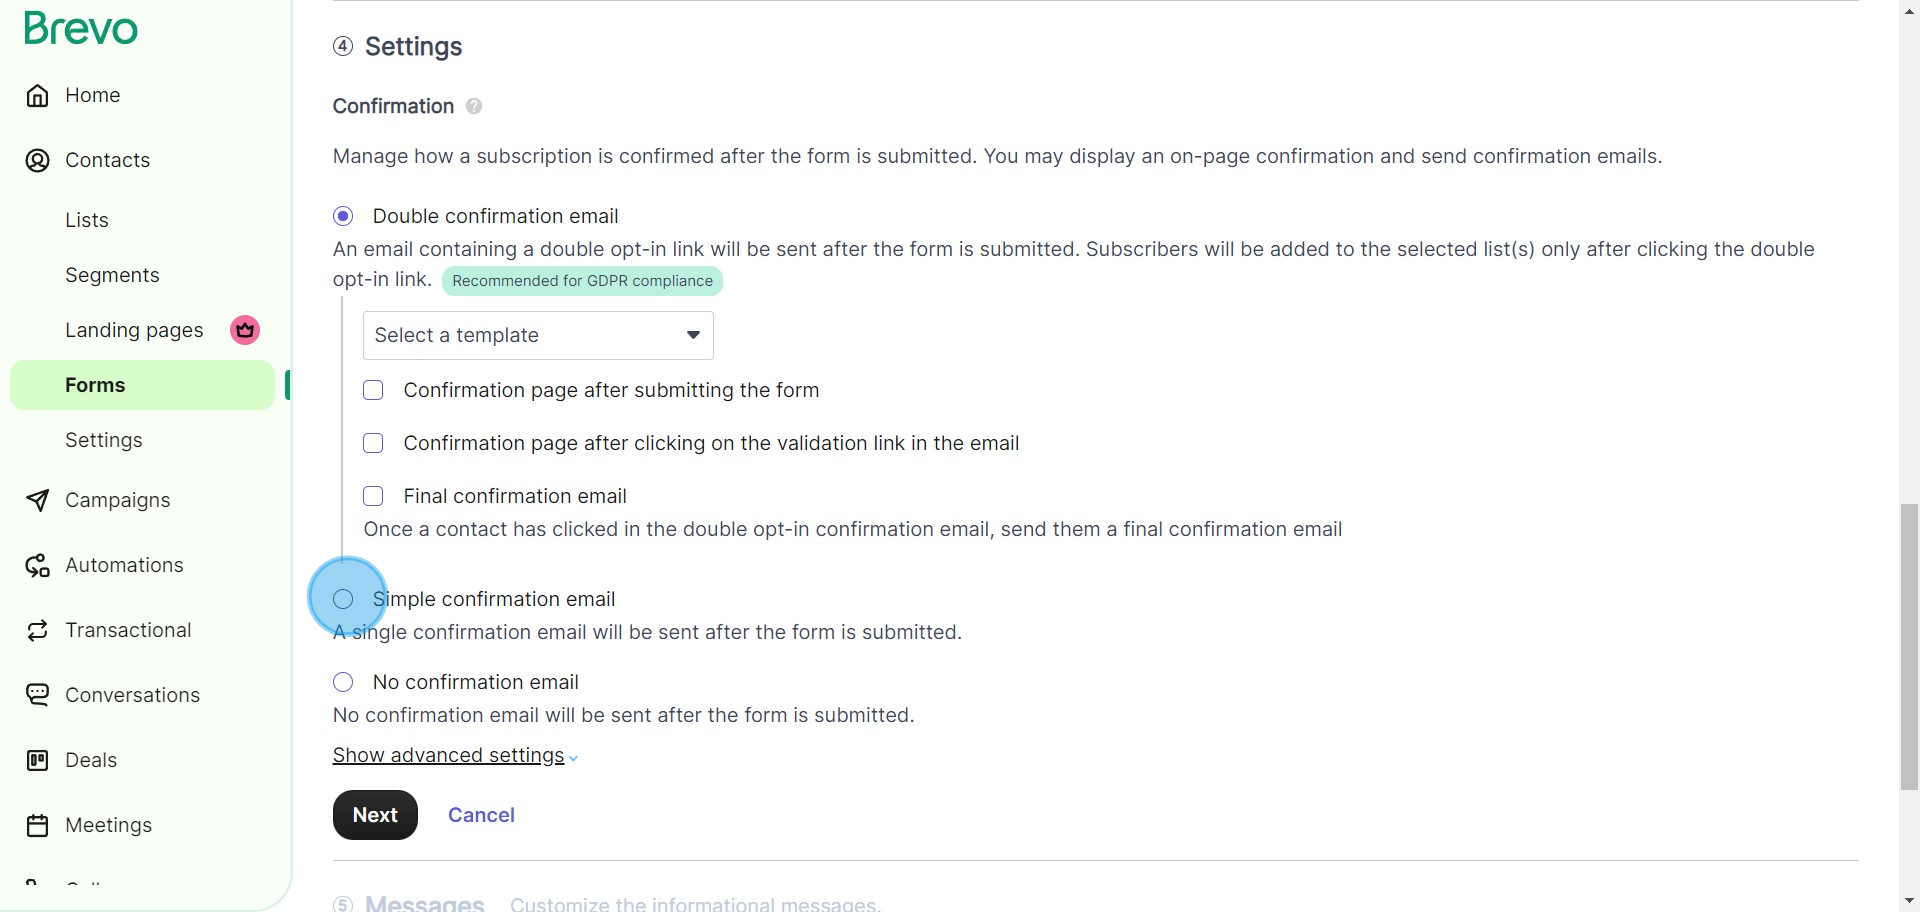
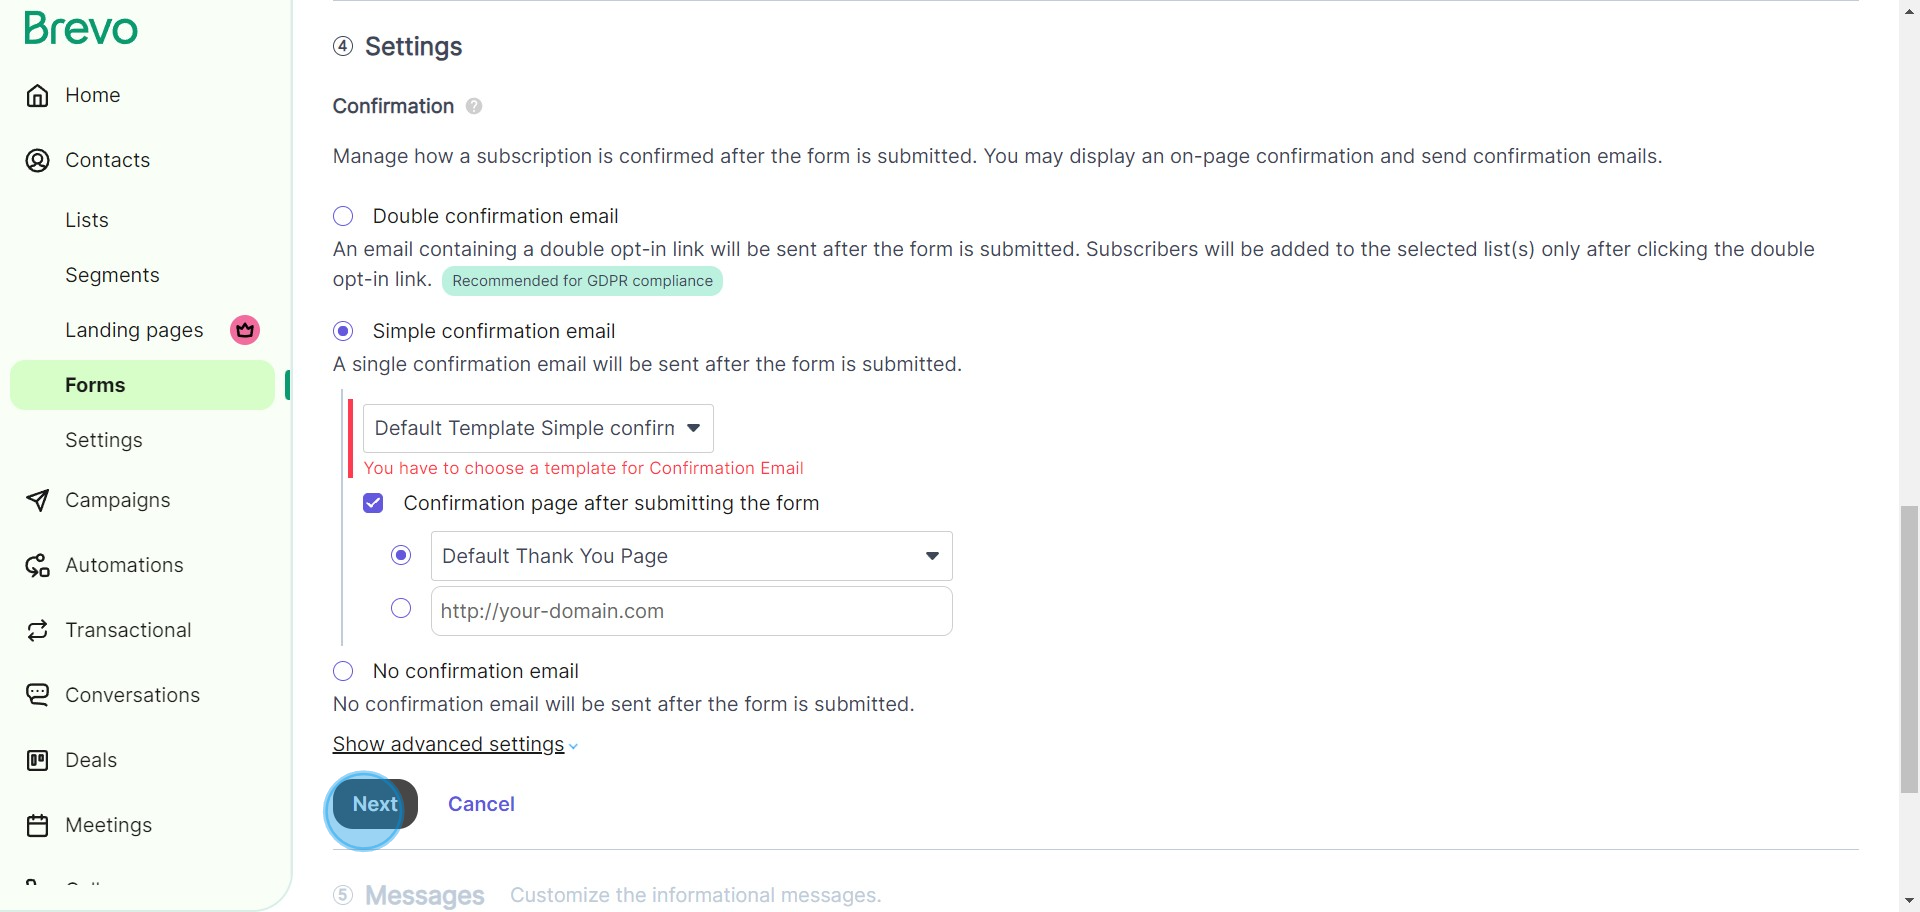
10. You may choose a template for the confirmation email at this time.
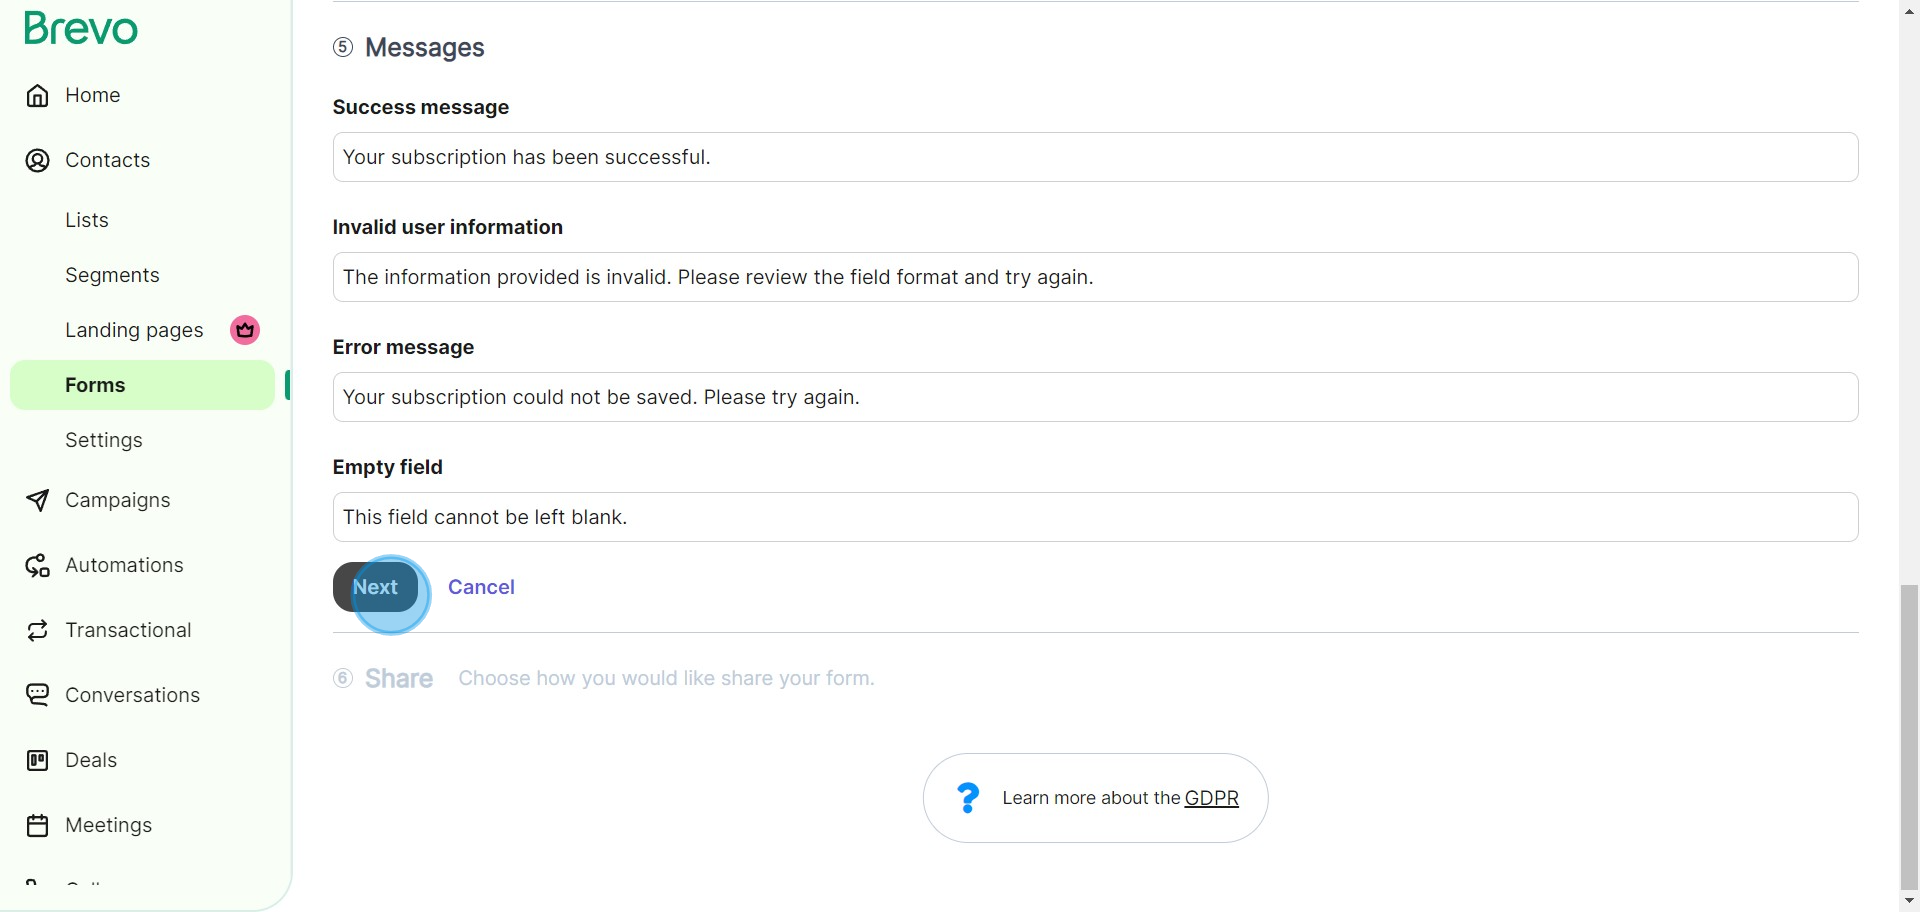
11. Confirm your selection by clicking 'Next'.
12. Now, focus on the content of your form
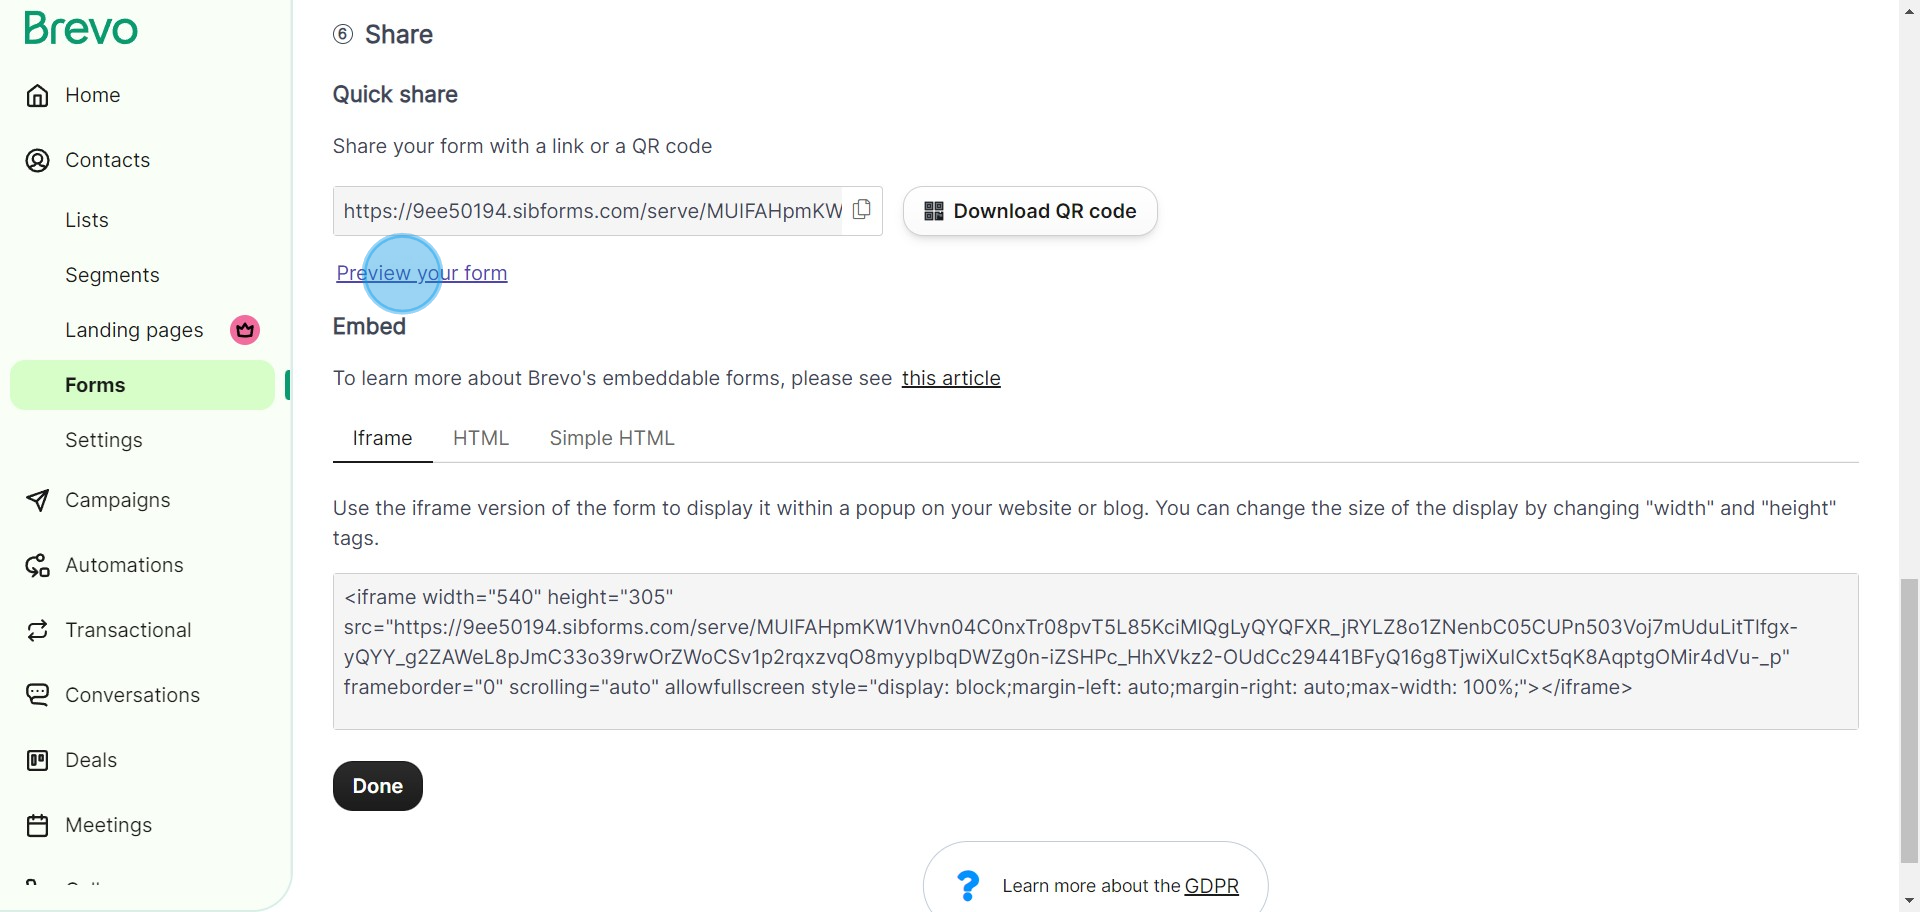
13. Take a moment to preview your form using the 'Preview your form' link.
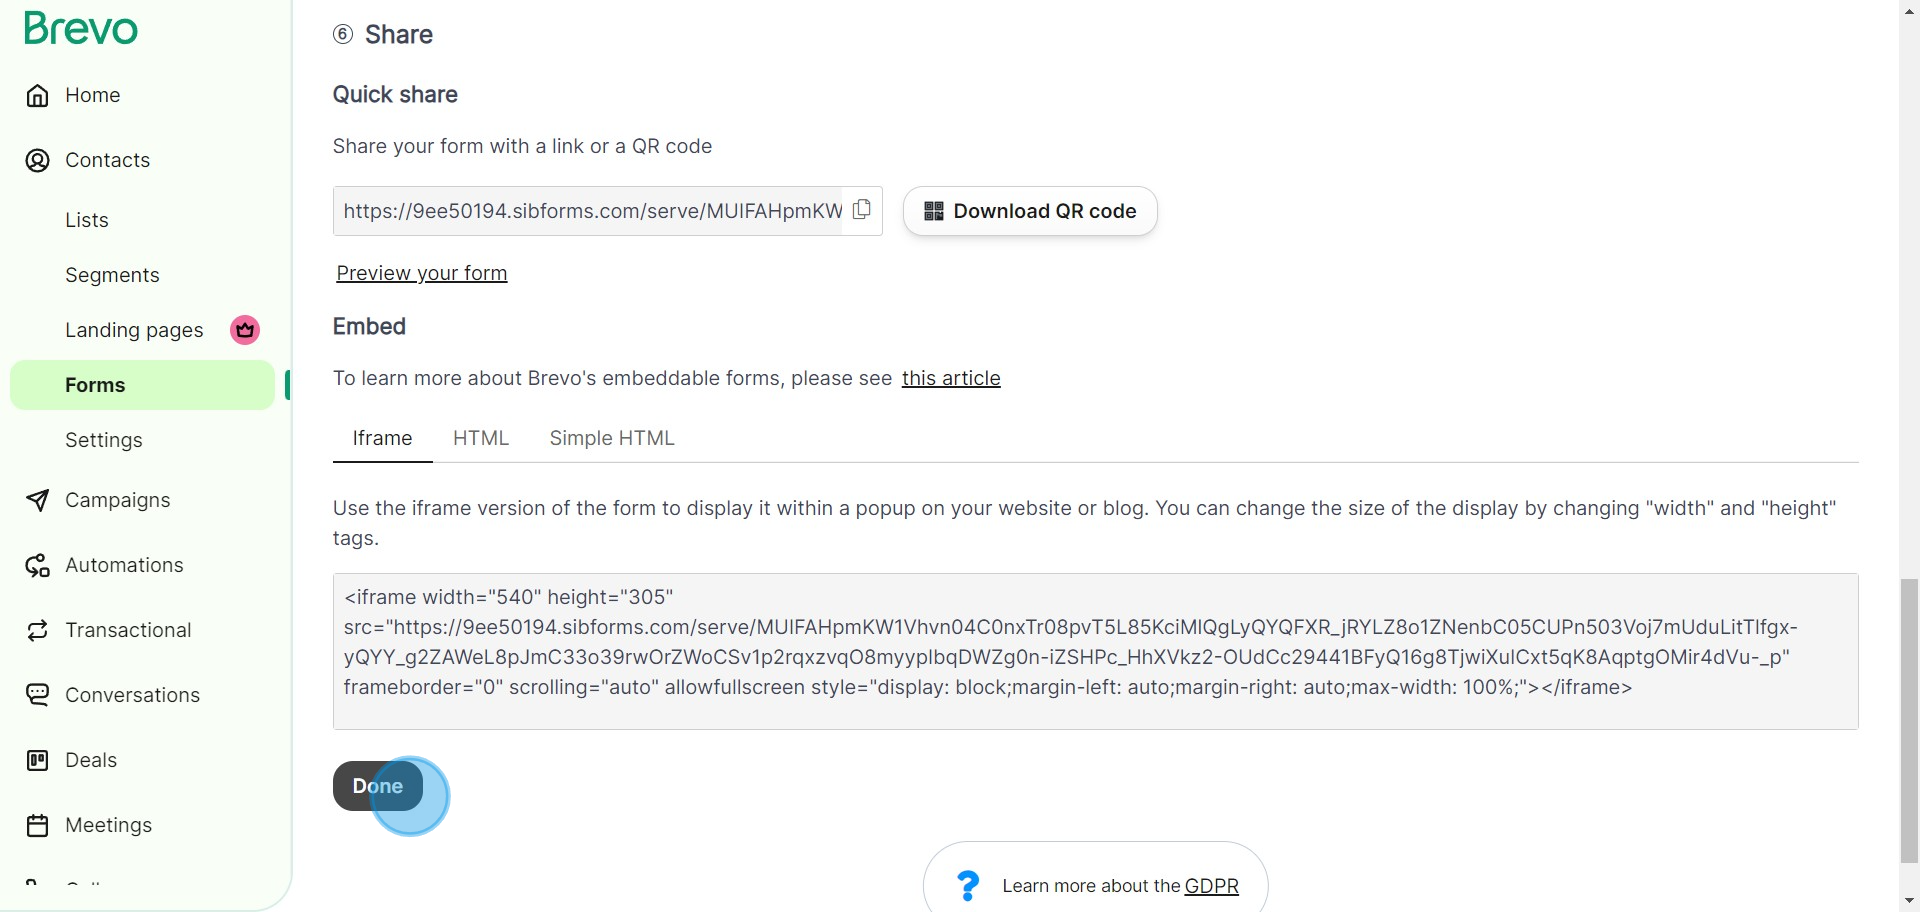
14. When happy with your form, finalize your creation by clicking 'Done'.
Create your own step-by-step demo
Scale up your training and product adoption with beautiful AI-powered interactive demos and guides. Create your first Supademo in seconds for free.
