How to customize roles for users before inviting them to Calendly

Overview:
Streamline your Calendly account management by customizing user roles before inviting them. Optimize workflow organization and enhance user experience by tailoring roles to specific needs. This guide offers a seamless process for creating and customizing roles, ensuring efficiency and clarity in user management within the Calendly platform. Improve collaboration and communication by empowering administrators to set up roles that align with your team's unique requirements.
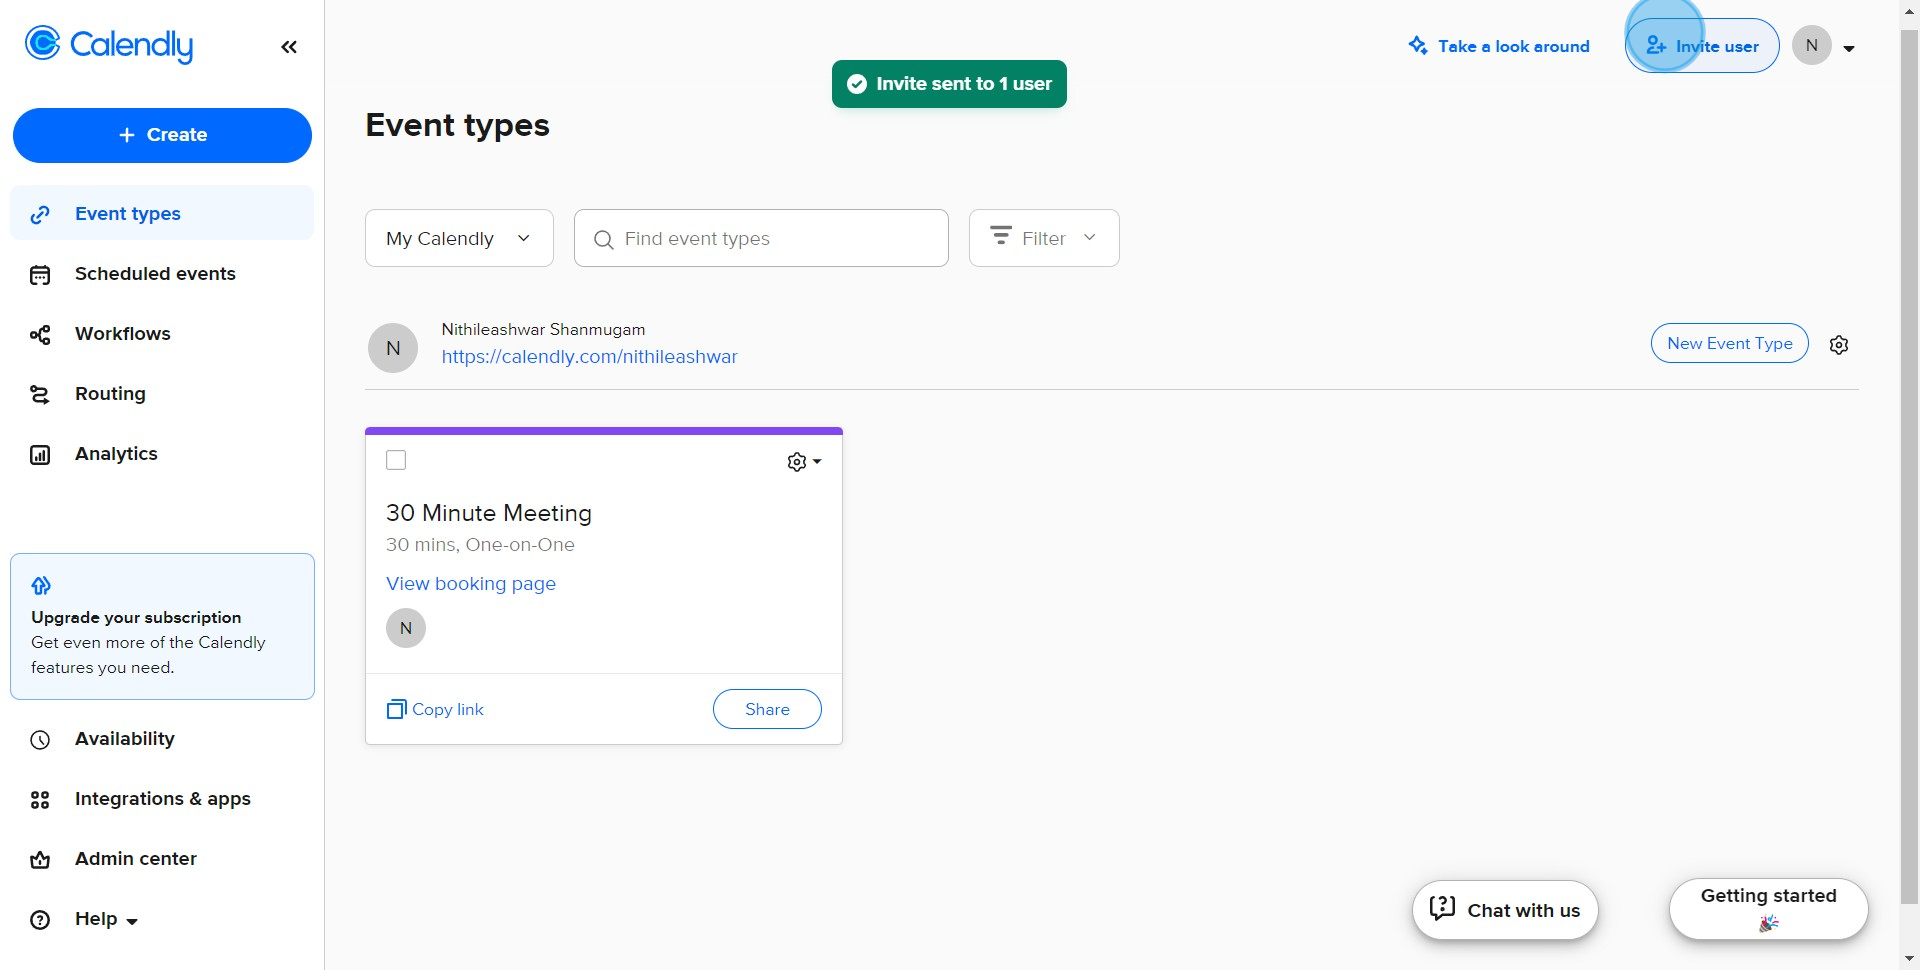
1. Click here to invite user
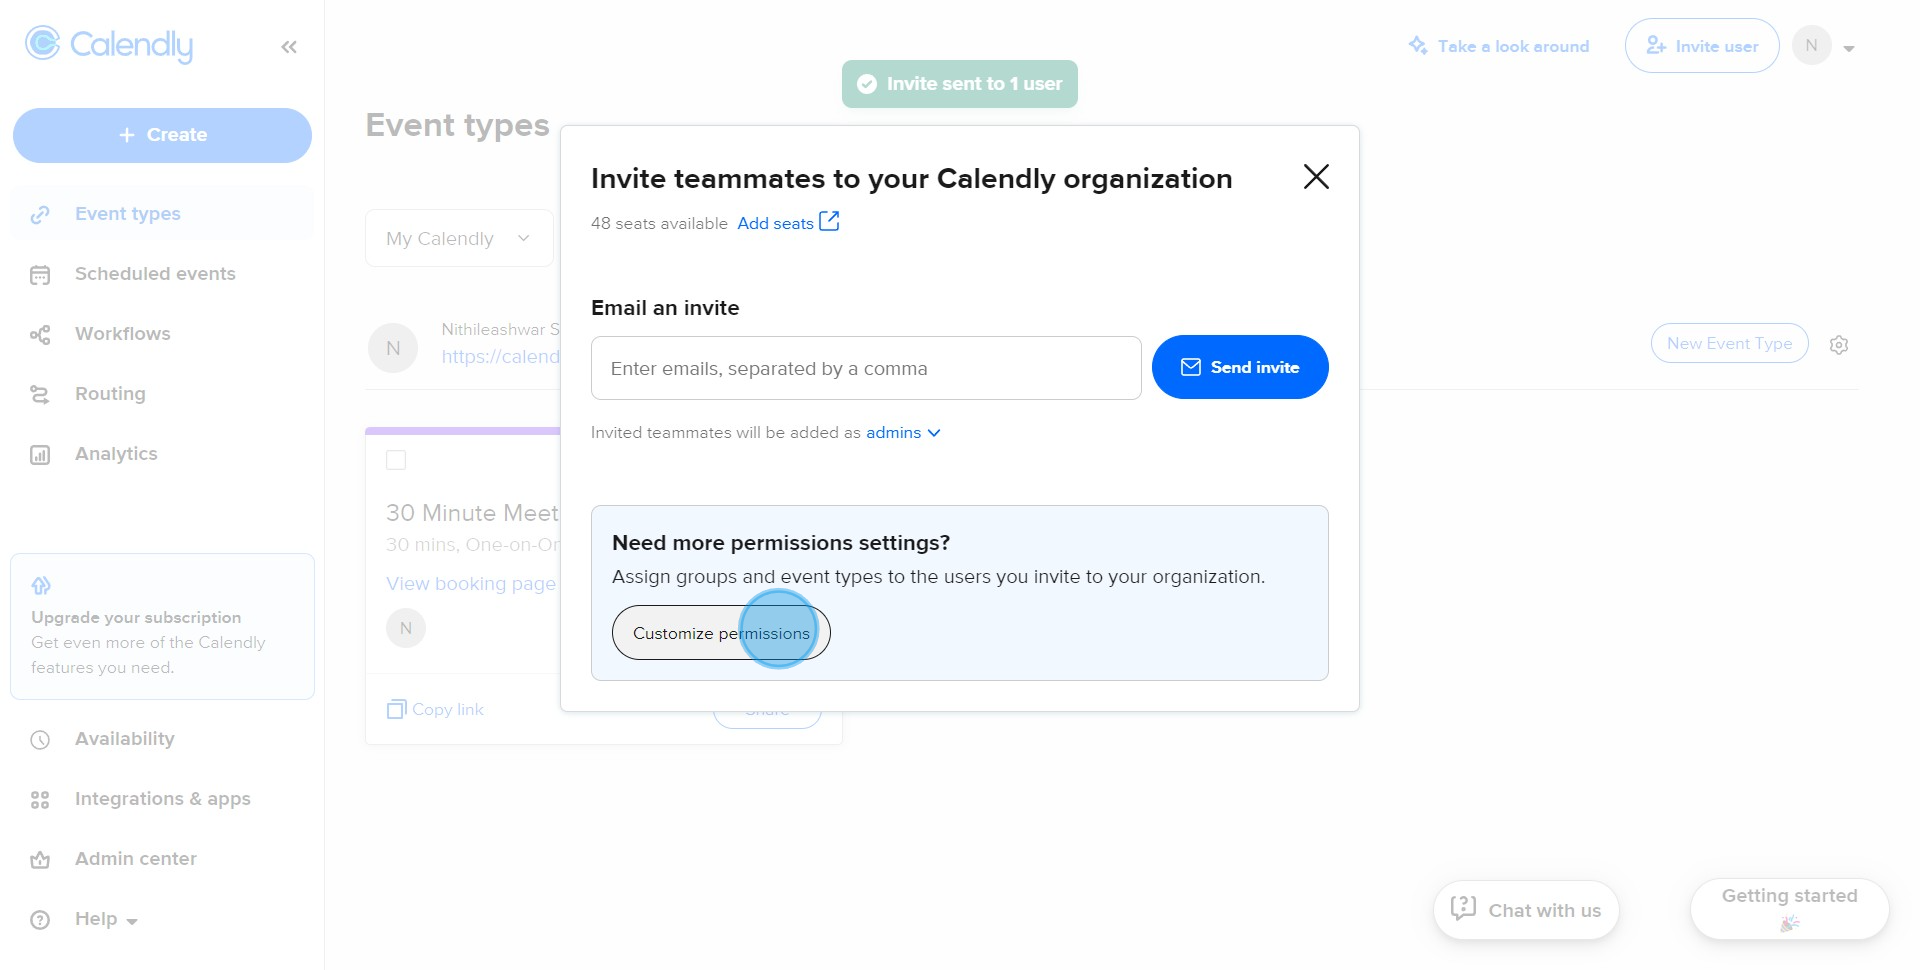
2. Customize permissions for the upcoming teammate.
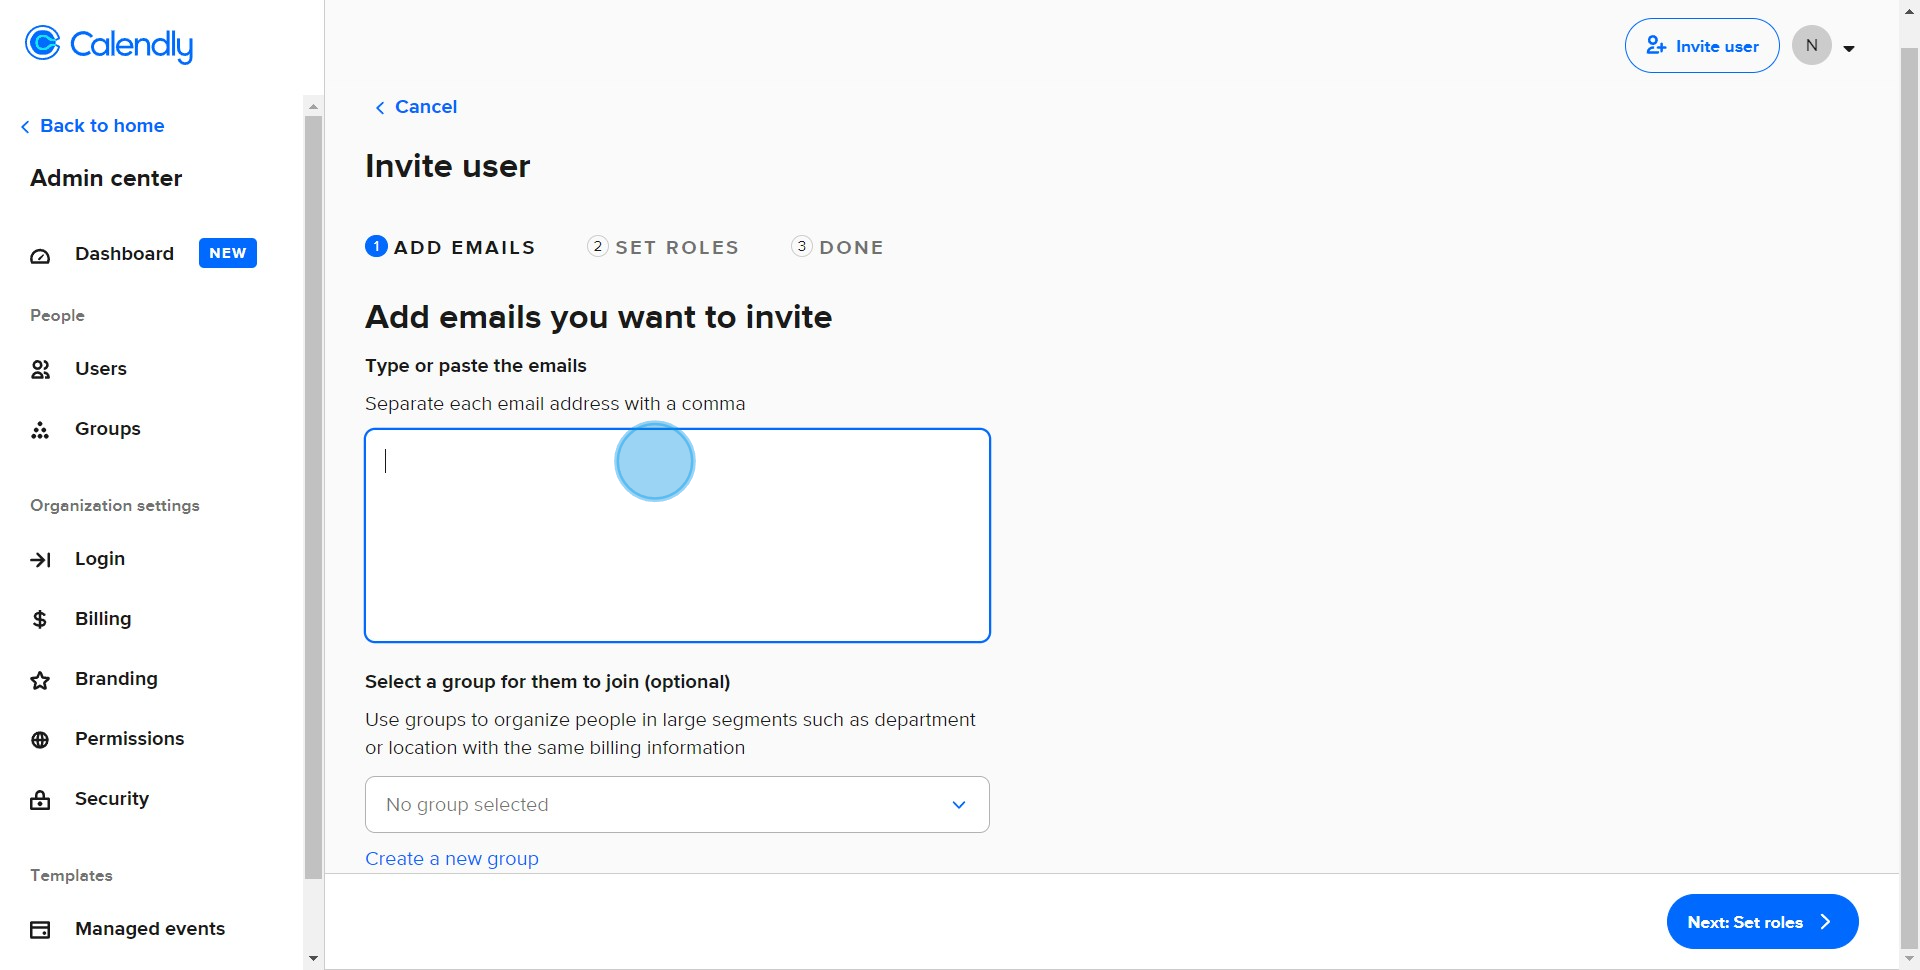
3. Enter the list of other emails that should also be added.
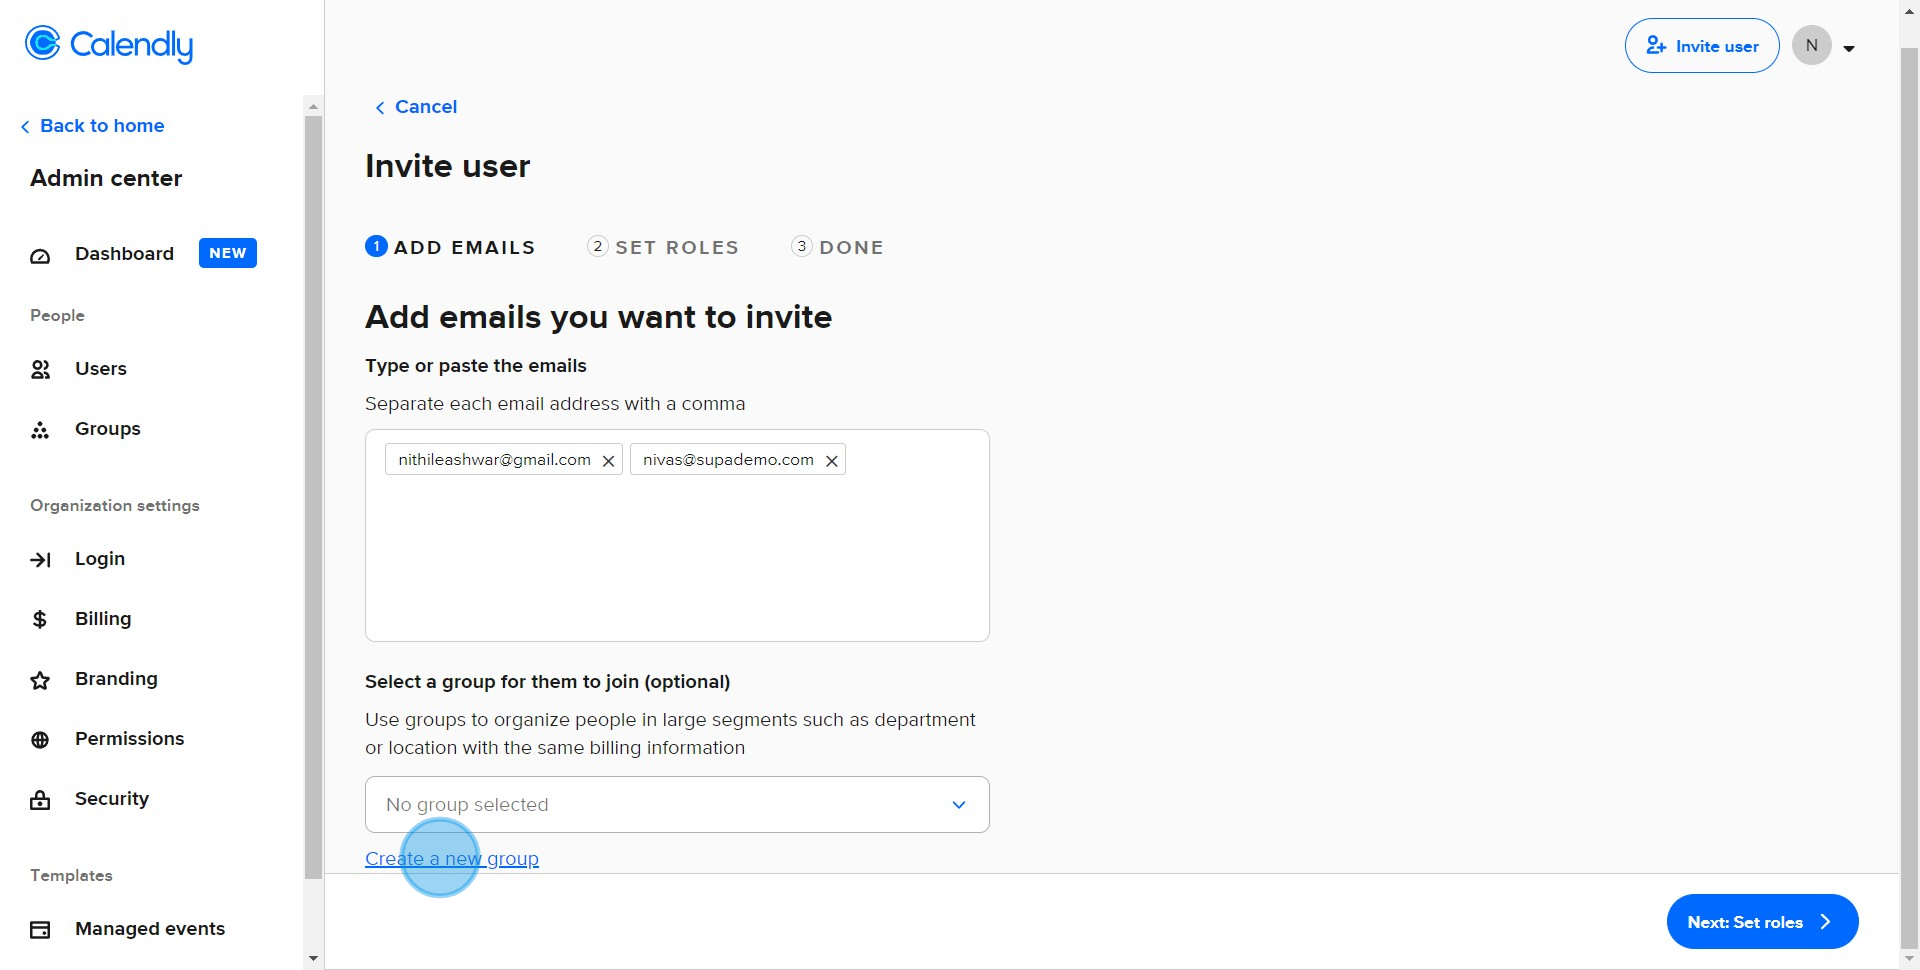
4. Create a new group for these contacts for future use.
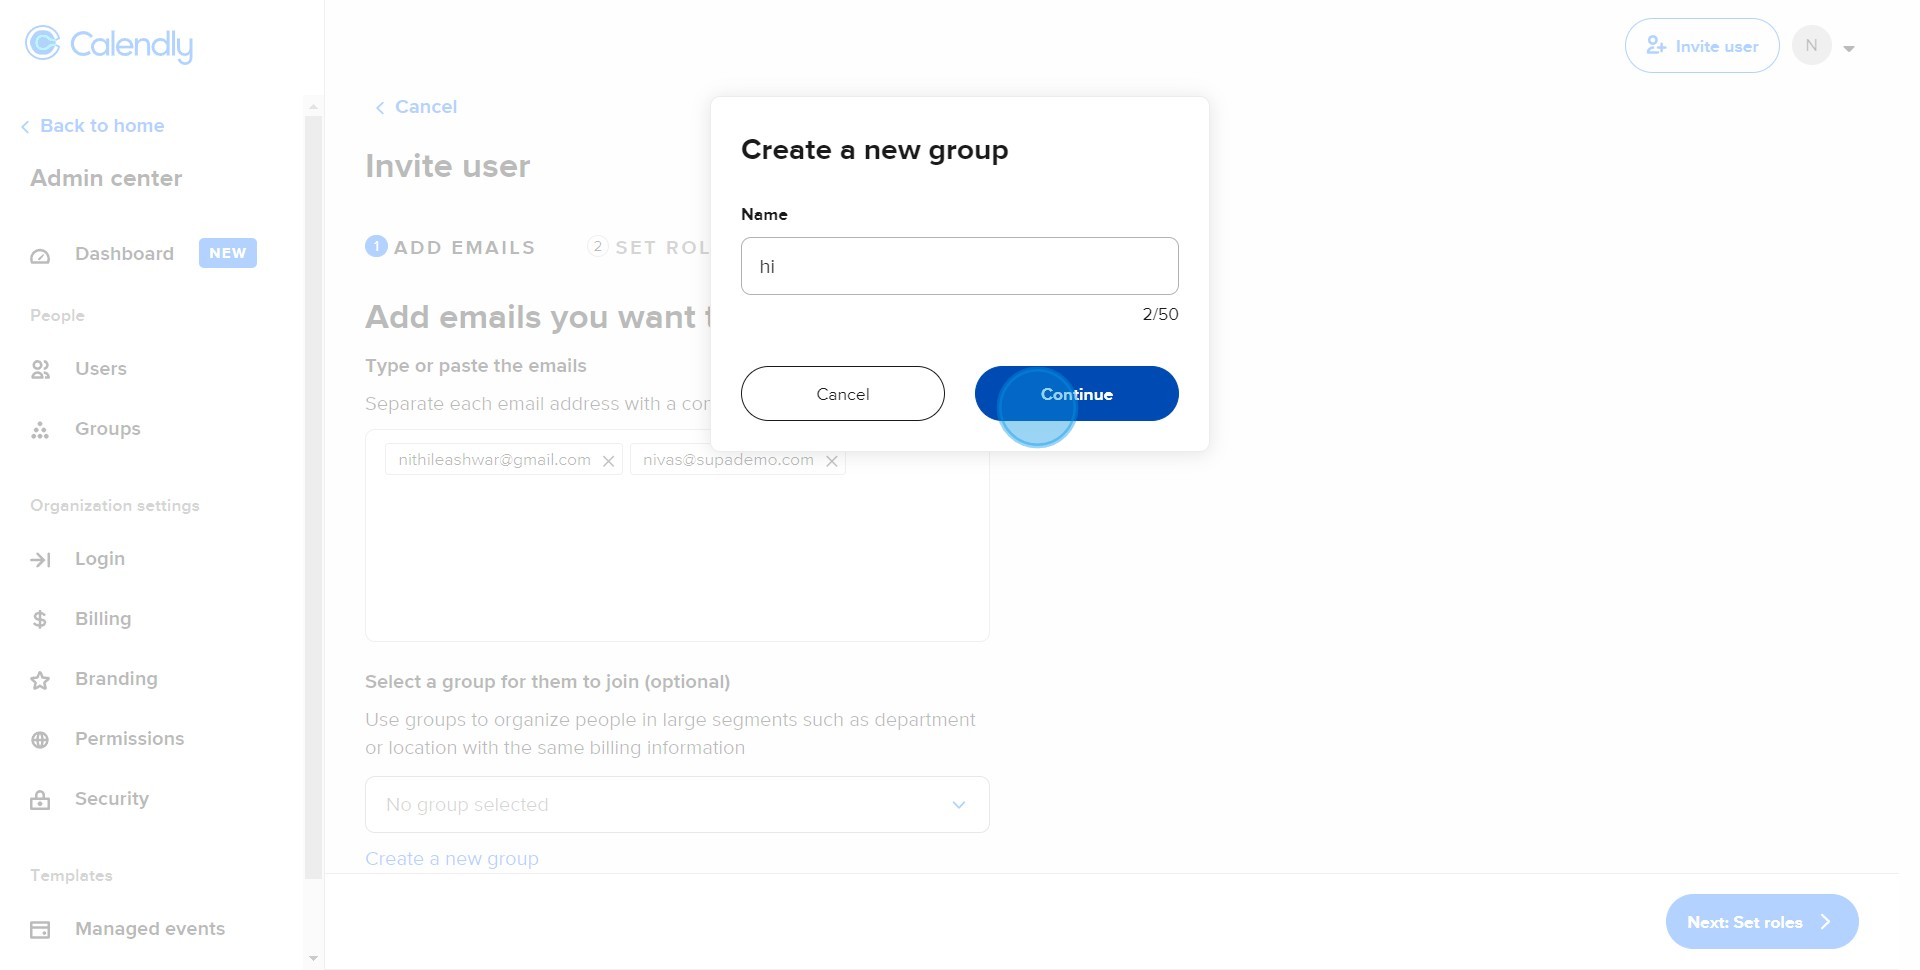
5. Give your new group a name and continue.
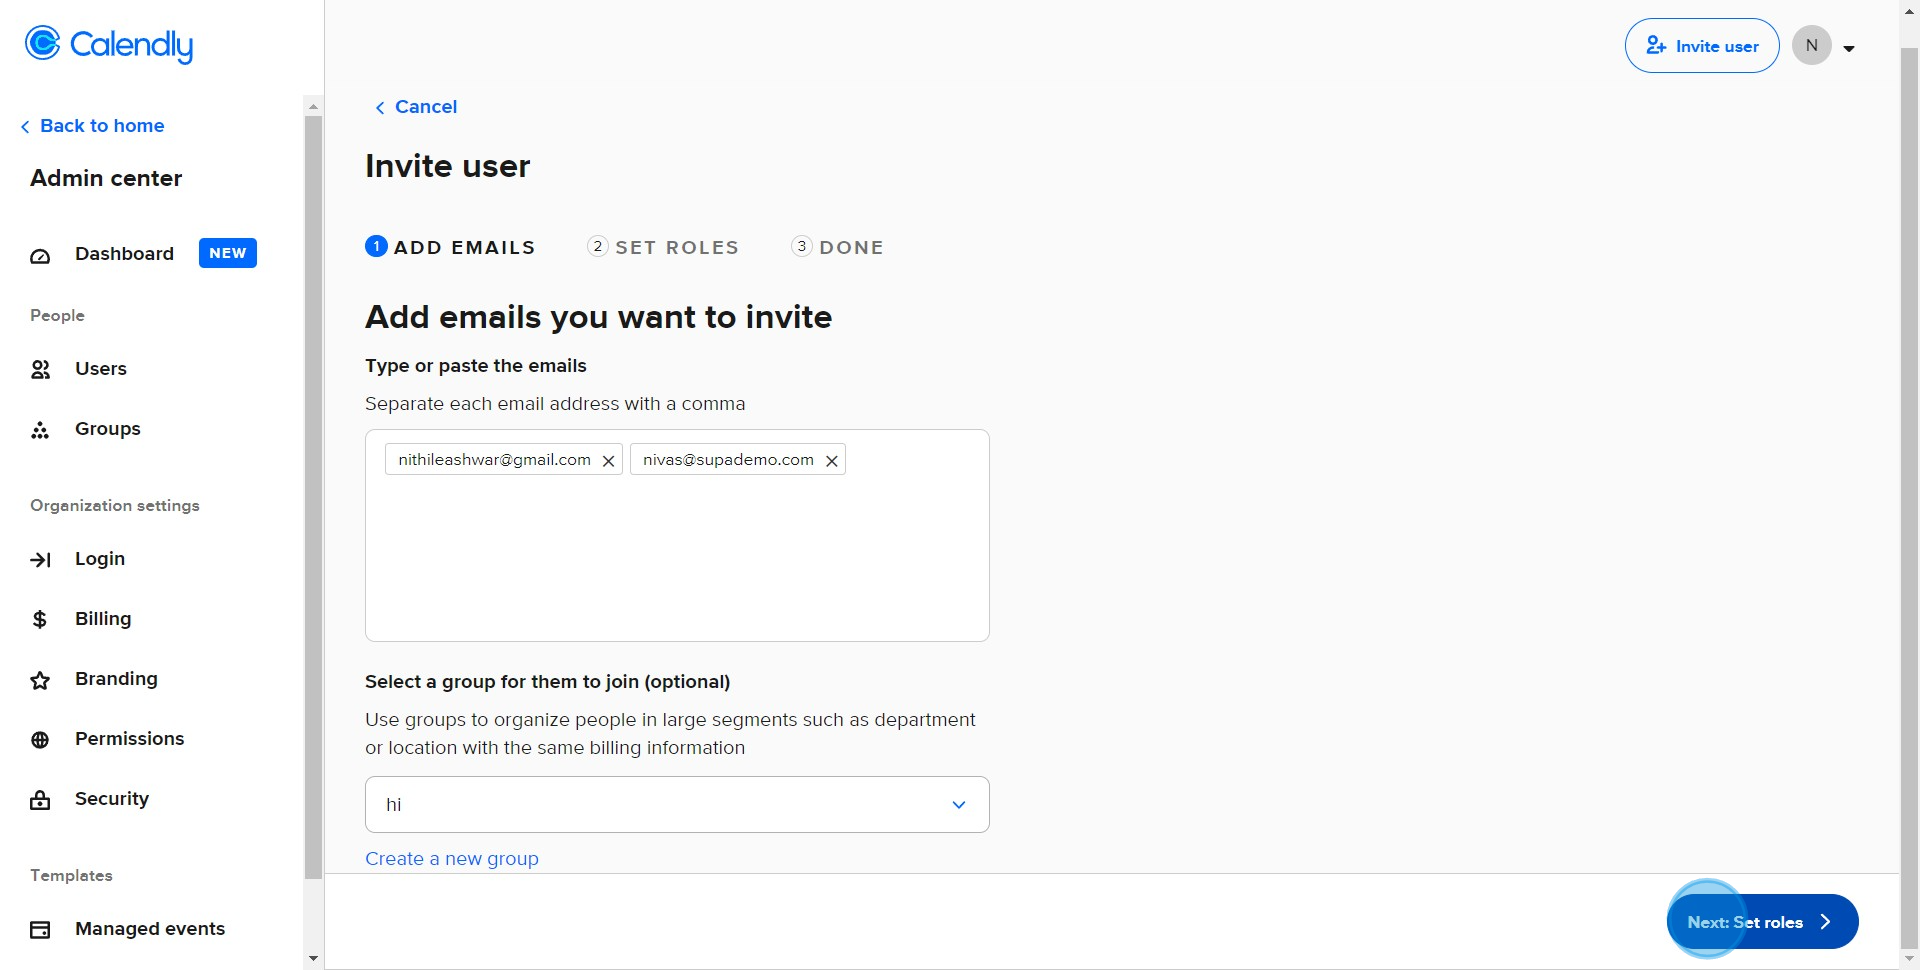
6. Ready to set roles? Click Next.
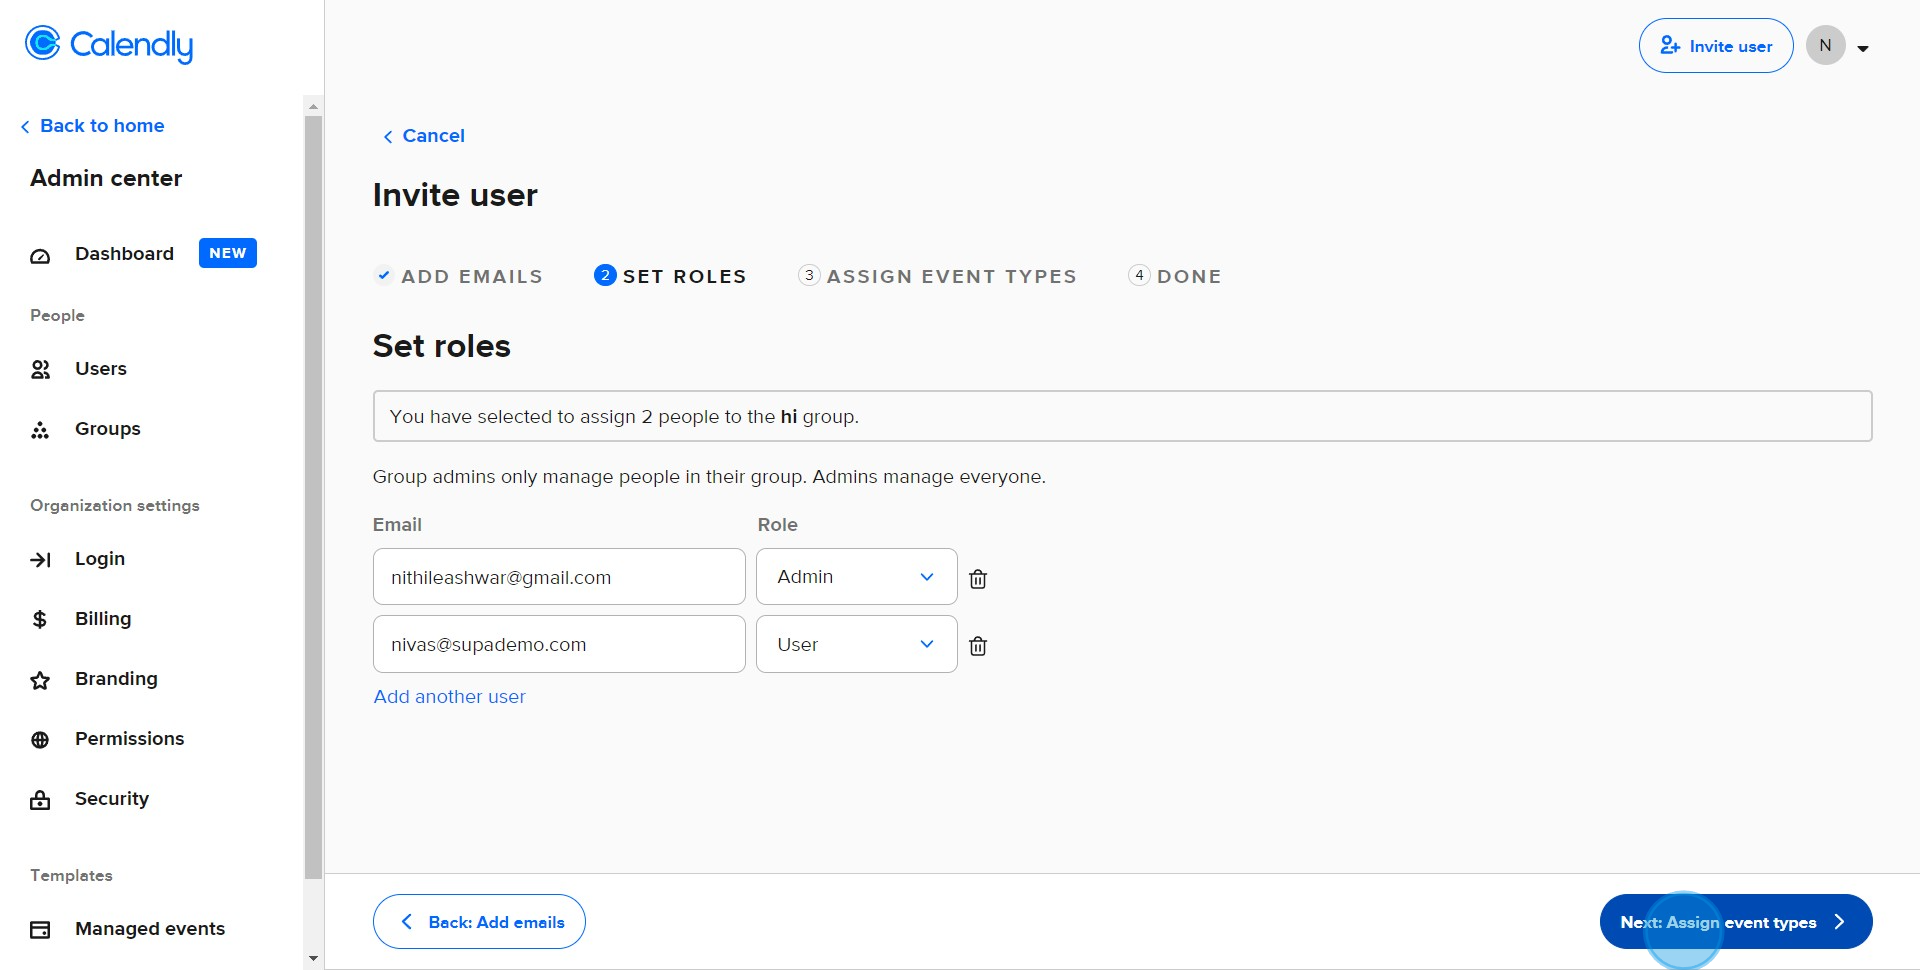
7. Need to adjust their role? Click to change.

8. Ready to Assign event types? Click Next.
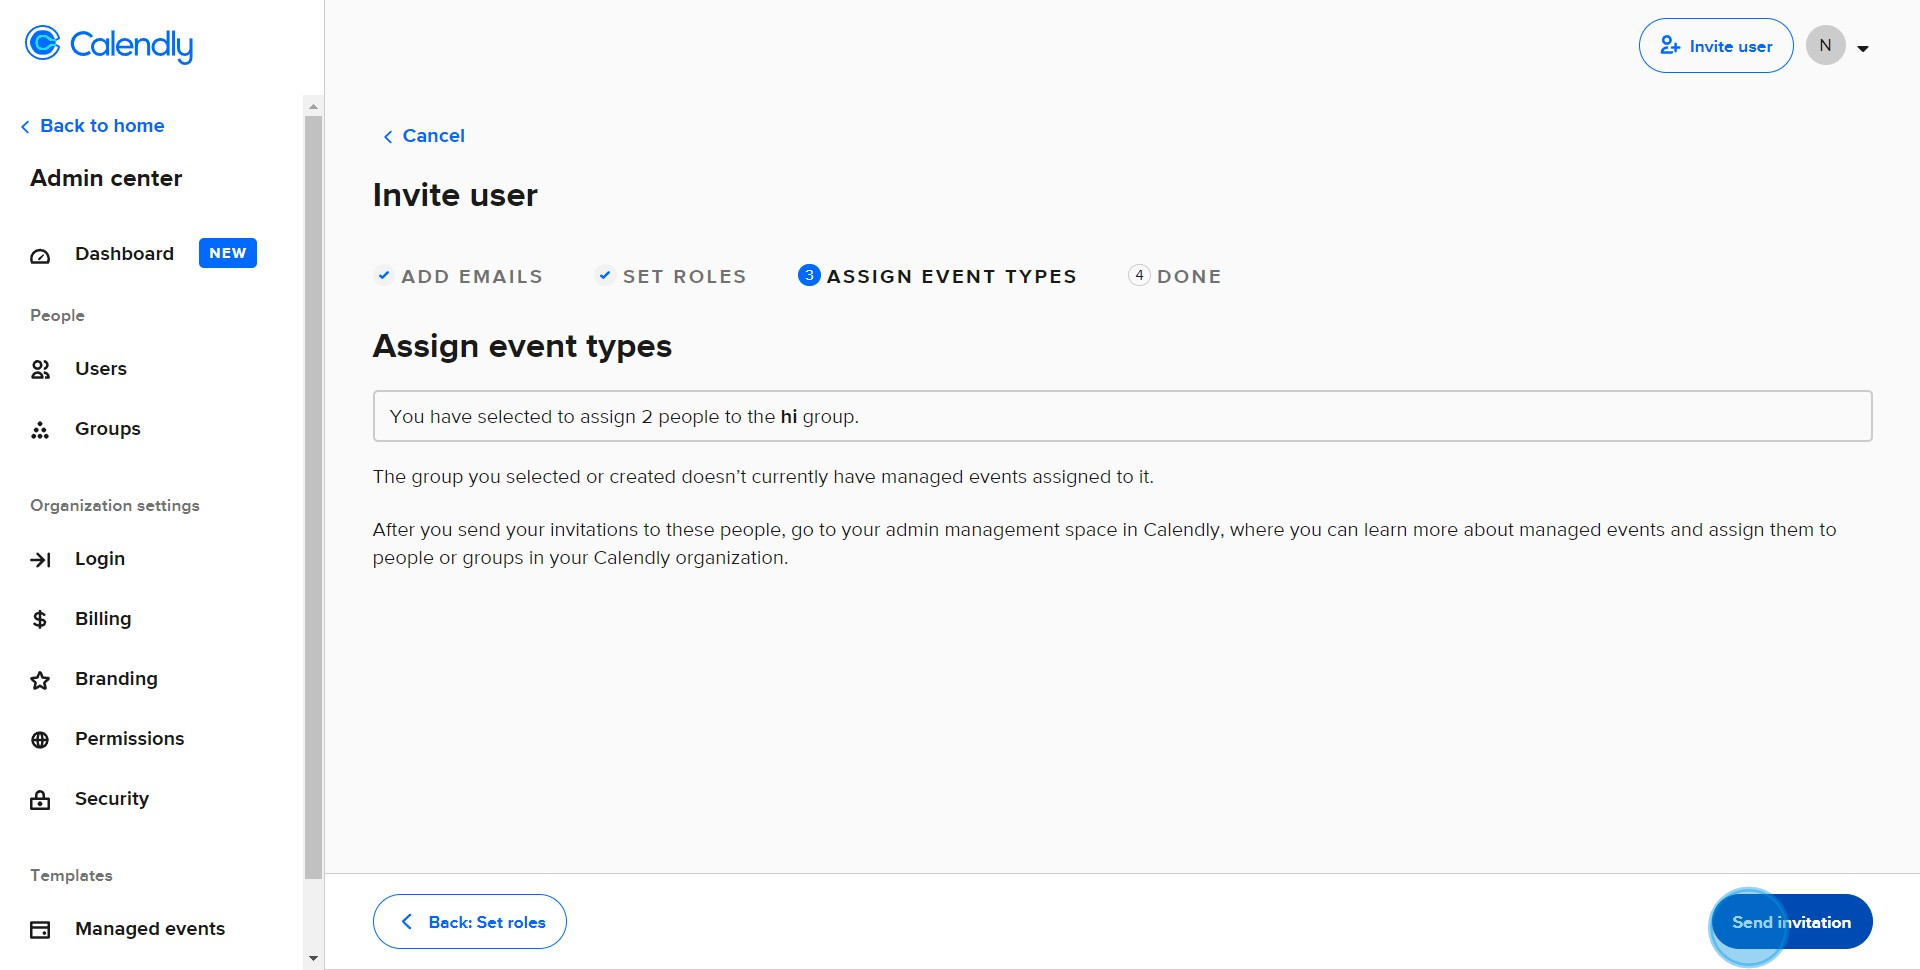
9. Now, to finalize, click Send invitation again.
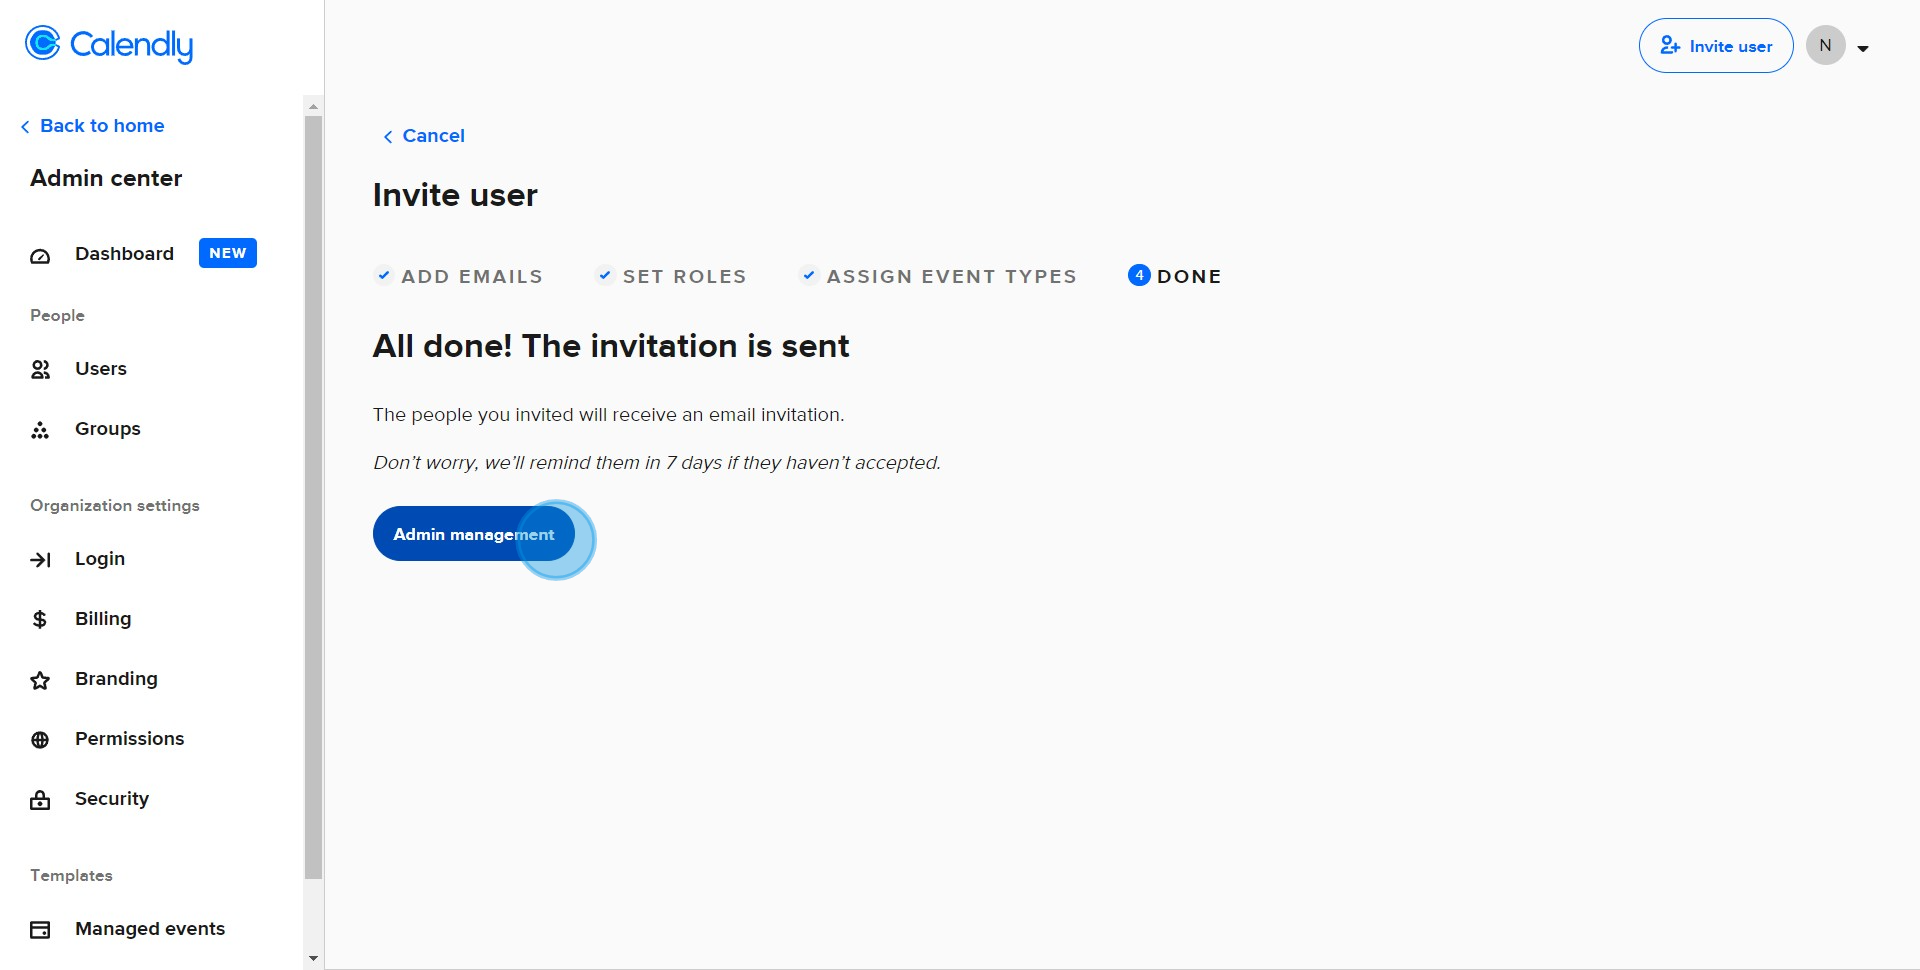
10. To manage your team, navigate to the Admin management section.
Create your own step-by-step demo
Scale up your training and product adoption with beautiful AI-powered interactive demos and guides. Create your first Supademo in seconds for free.
Frequently Asked Questions about how to customize roles for users before inviting them to calendly
Commonly asked questions about this topic.
What third-party tools can I connect with Calendly role customization?
How do I apply custom roles when managing team members?
What are customize roles?
Can I download or transfer custom roles to another Calendly account?
Is there a way to automate role assignment for new team members?
What's the step-by-step process for setting up custom roles?
Which Calendly subscription tier includes advanced role customization?
Nithil Shanmugam
Content Marketer
Nithil is a startup-obsessed operator focused on growth, sales and marketing. He's passionate about wearing different hats across startups to deliver real value.


