Overview:
Enhance your productivity in Trello workspace by efficiently organizing and labeling tasks. Elevate user experience and streamline task management with relevant labels for easy identification. This guide offers a straightforward process to add labels, boosting efficiency and clarity in task organization within the Trello workspace.
1. Start by selecting the workspace.
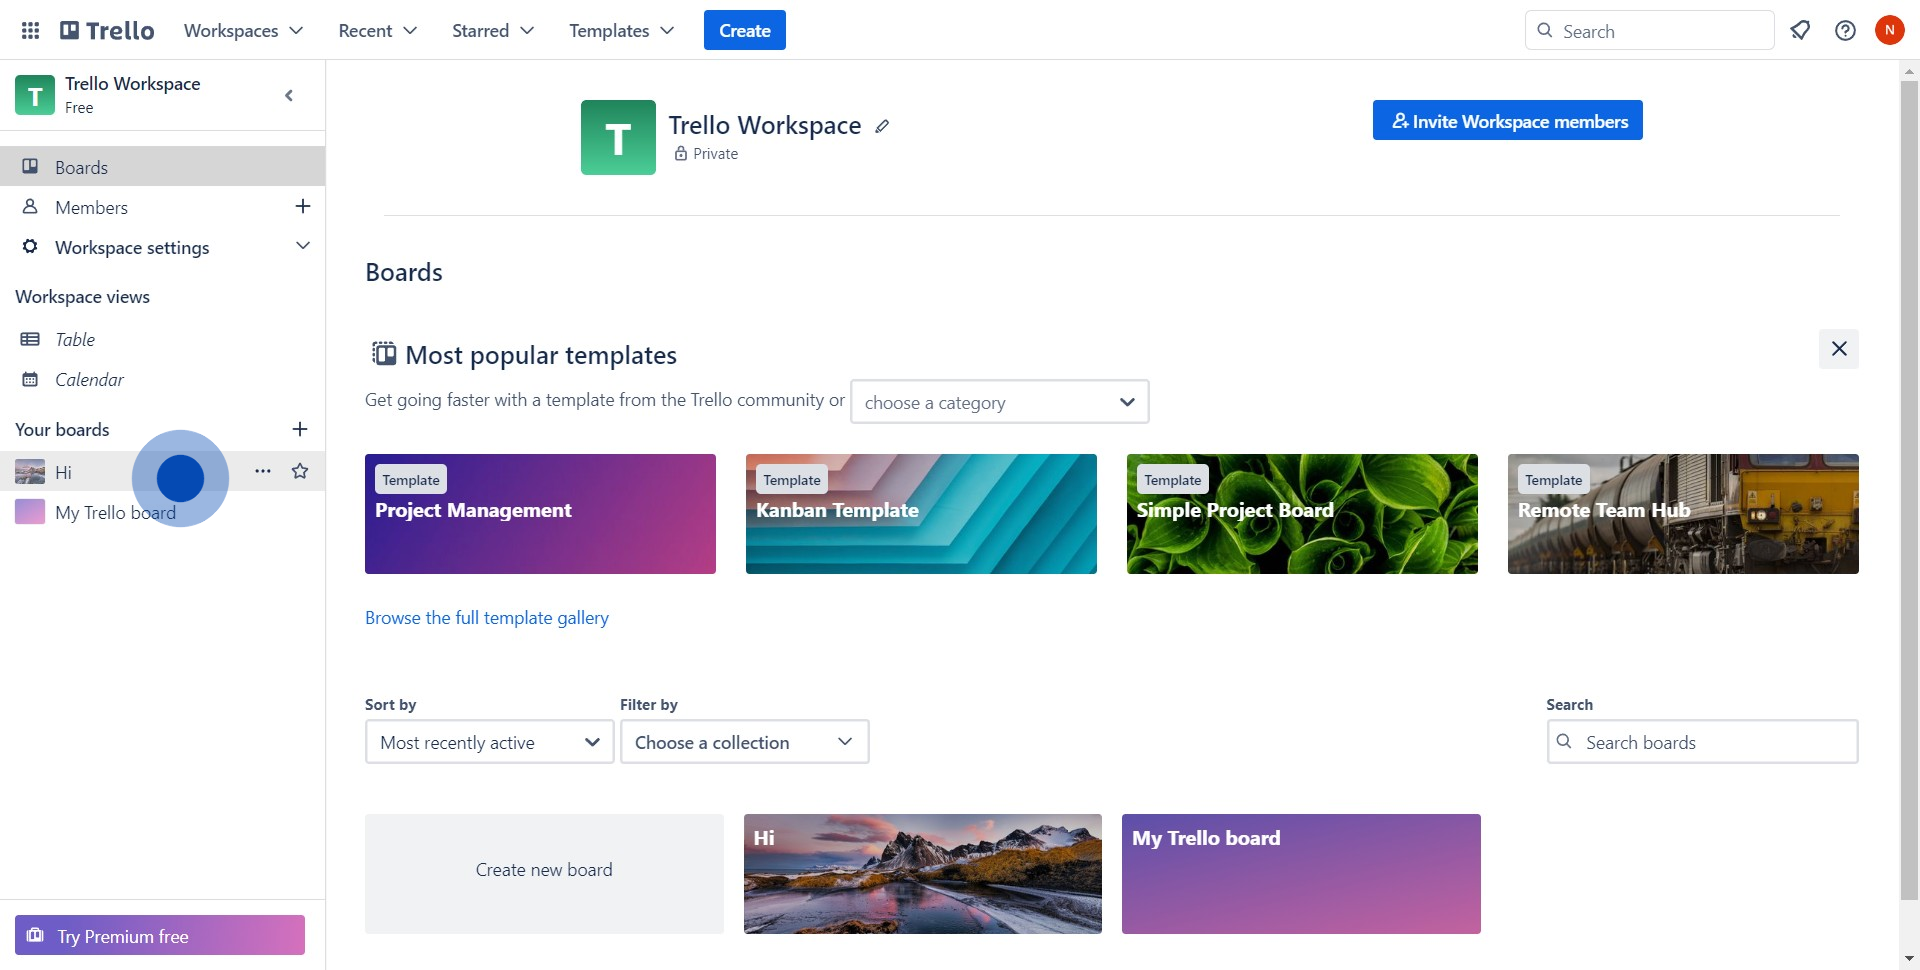
2. Next, access the main menu by hitting the three-dotted icon.
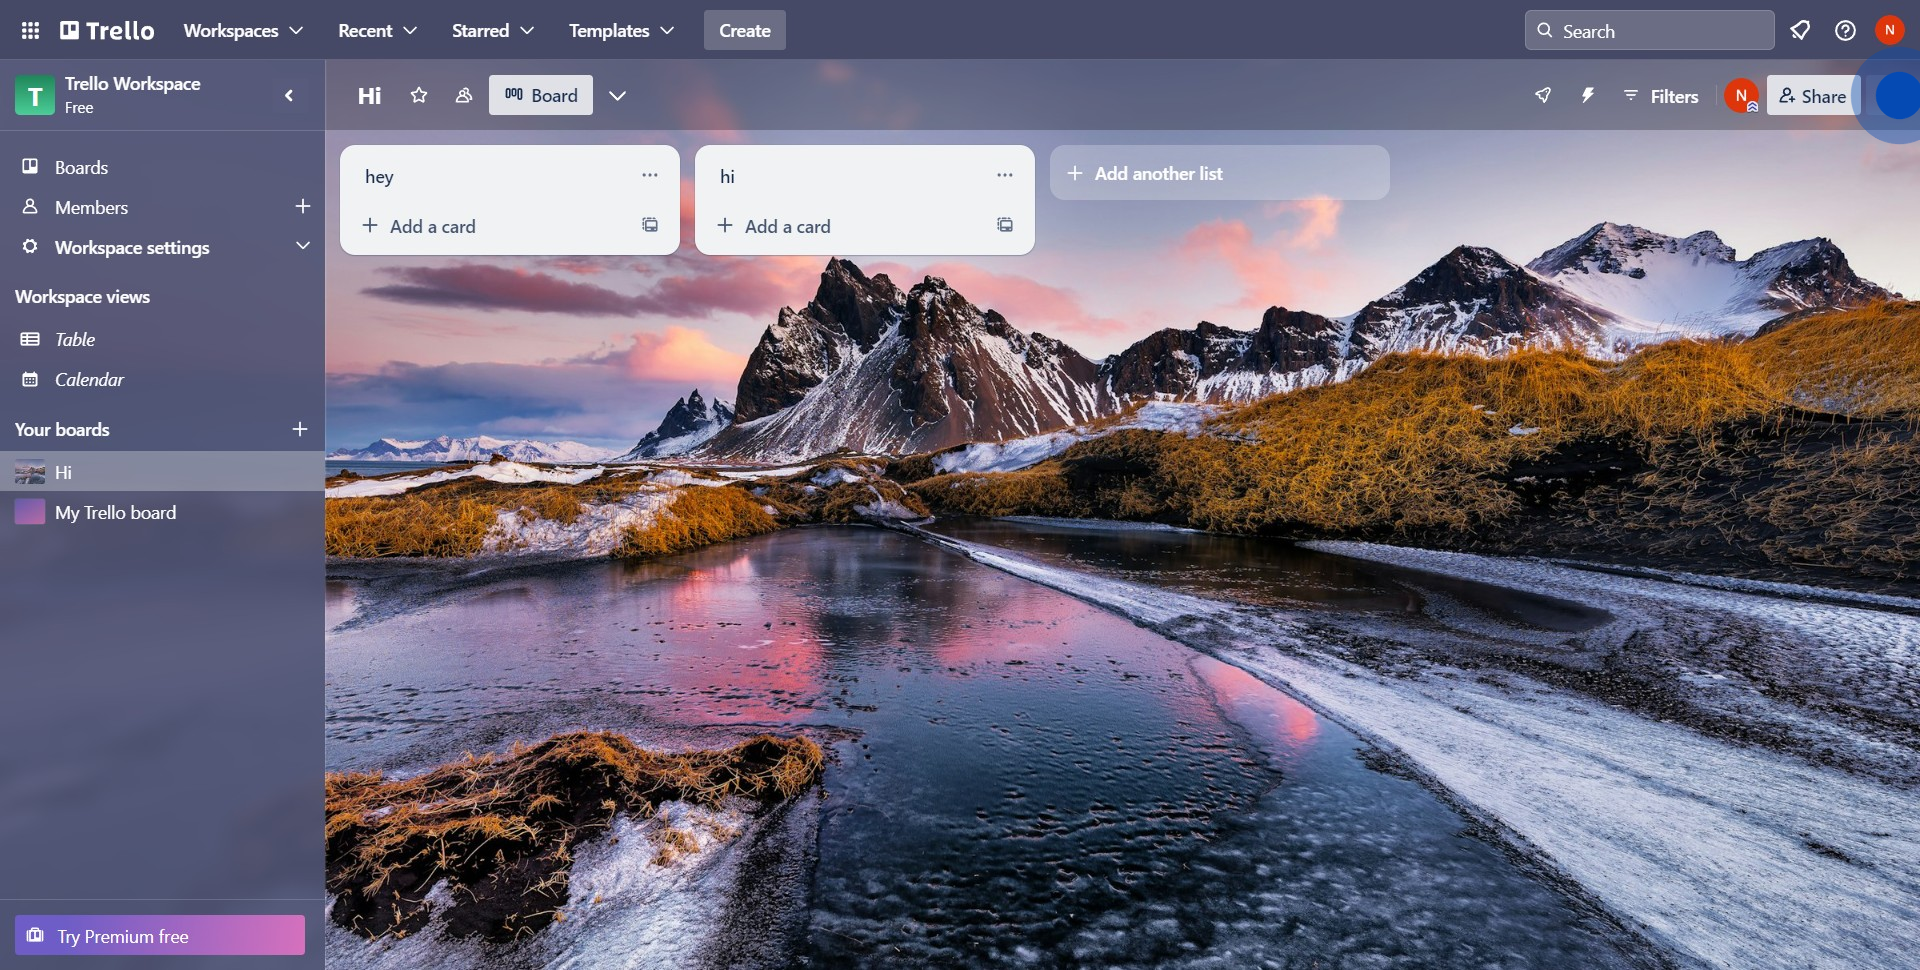
3. Now locate and click on the 'Labels' option.
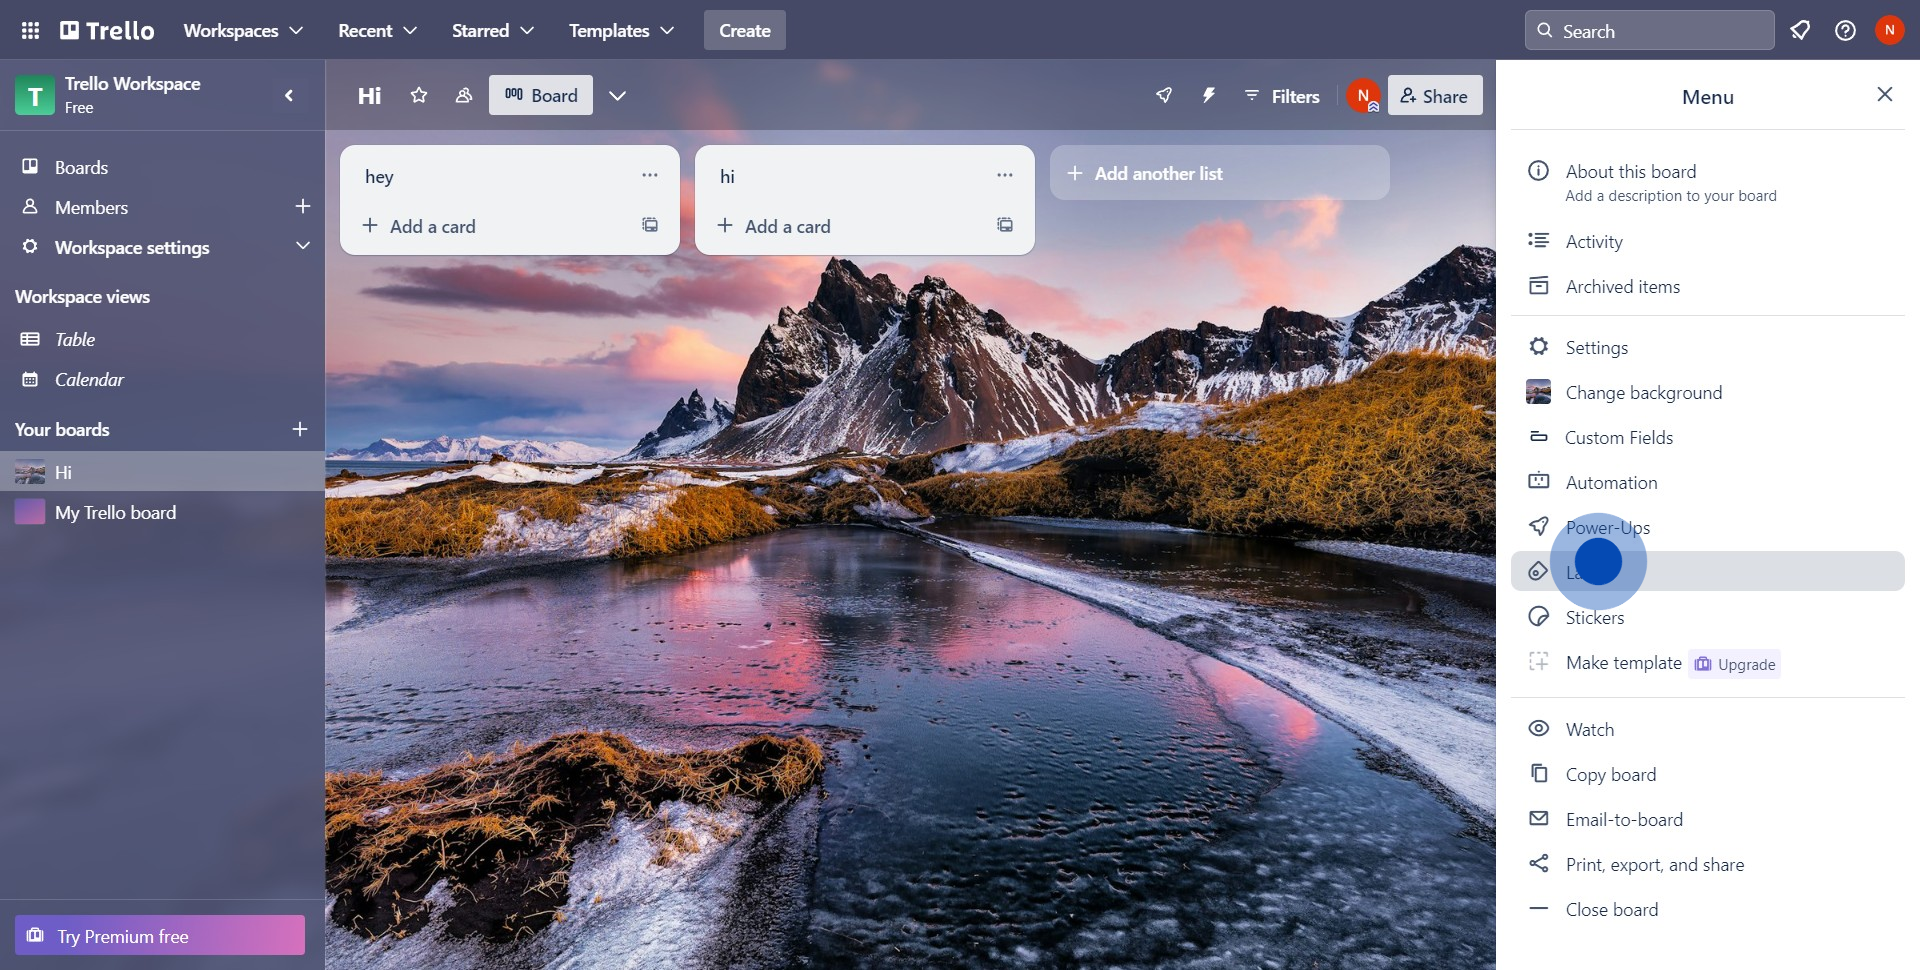
4. Start creating a new label by pressing the relevant labeled button.
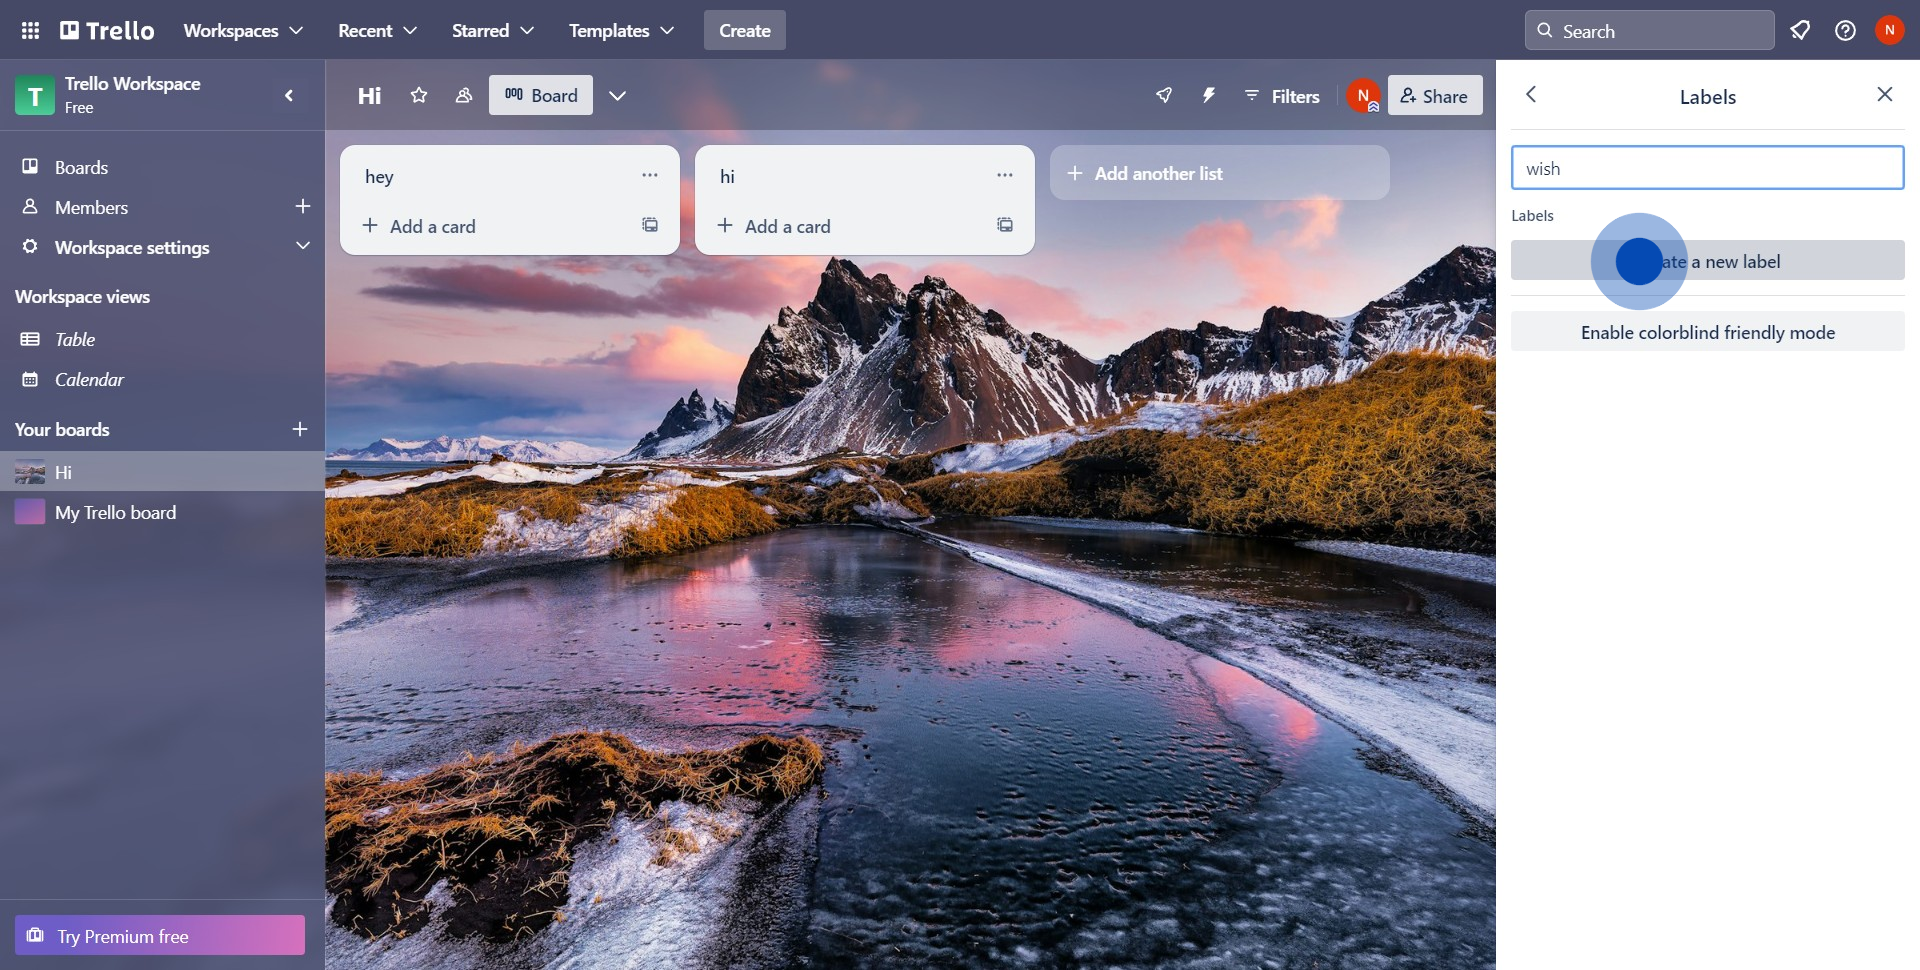
5. Choose your preferred color and name for the new label.
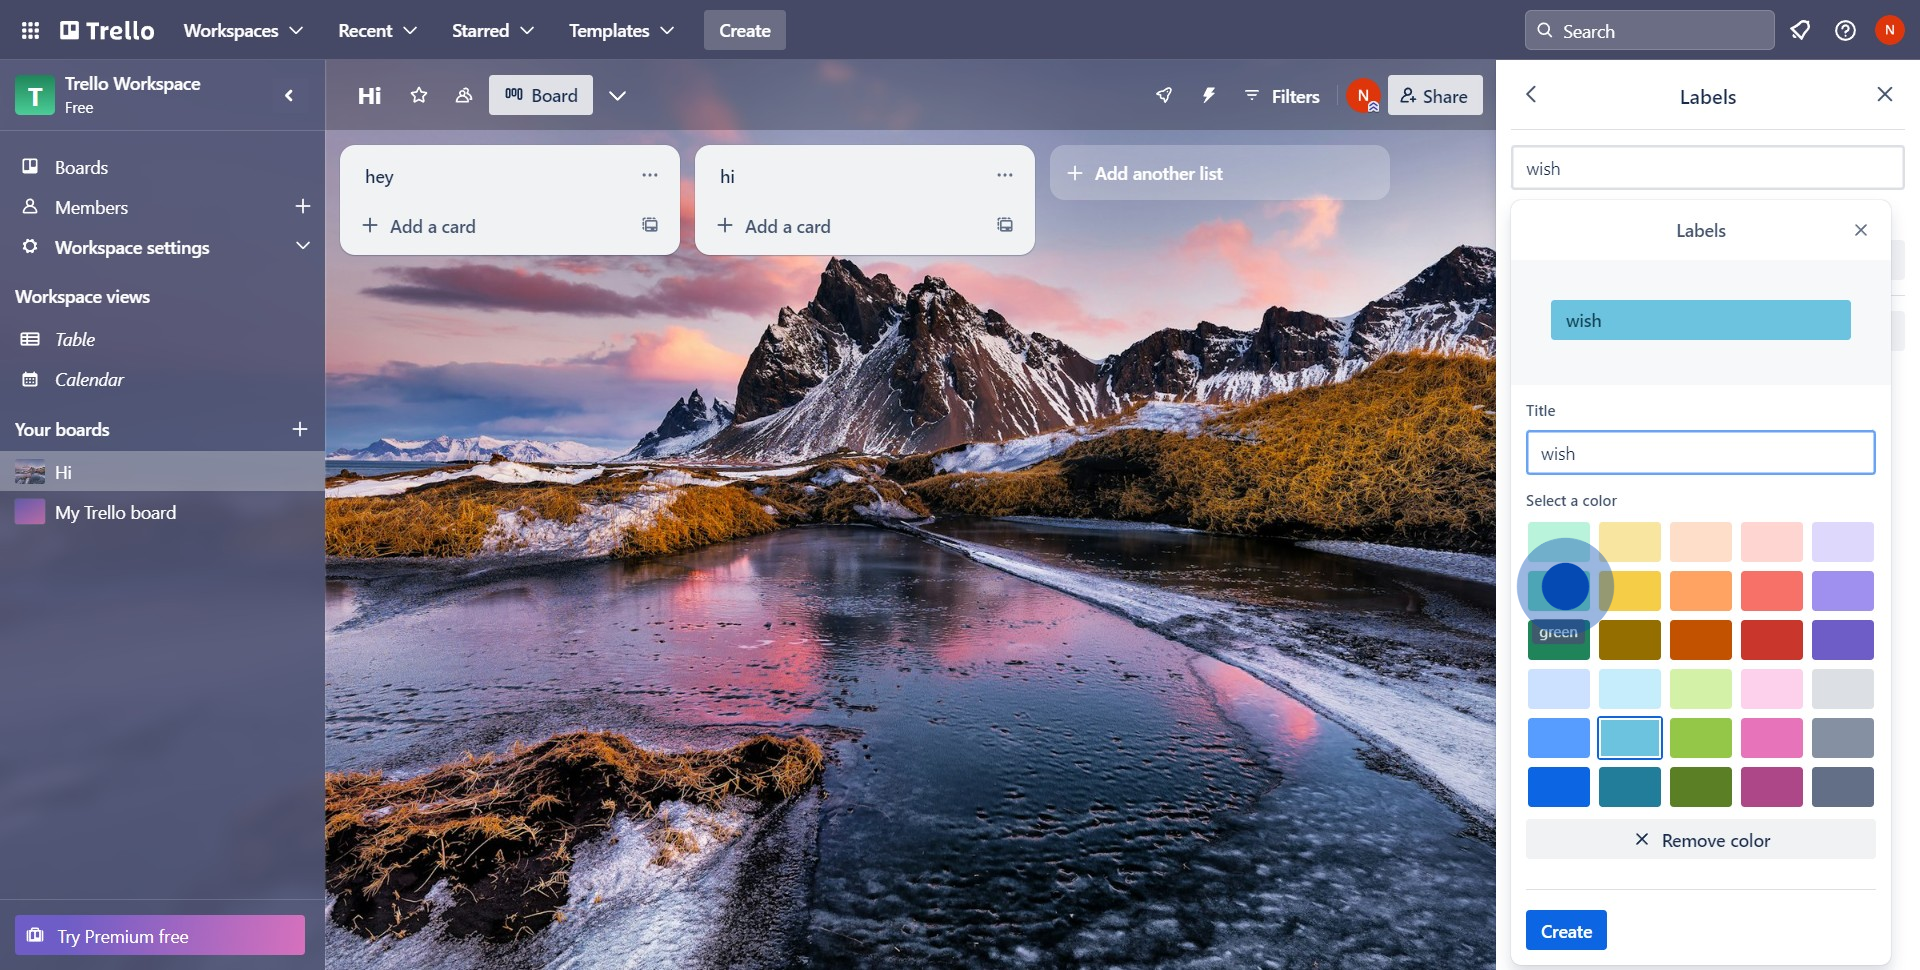
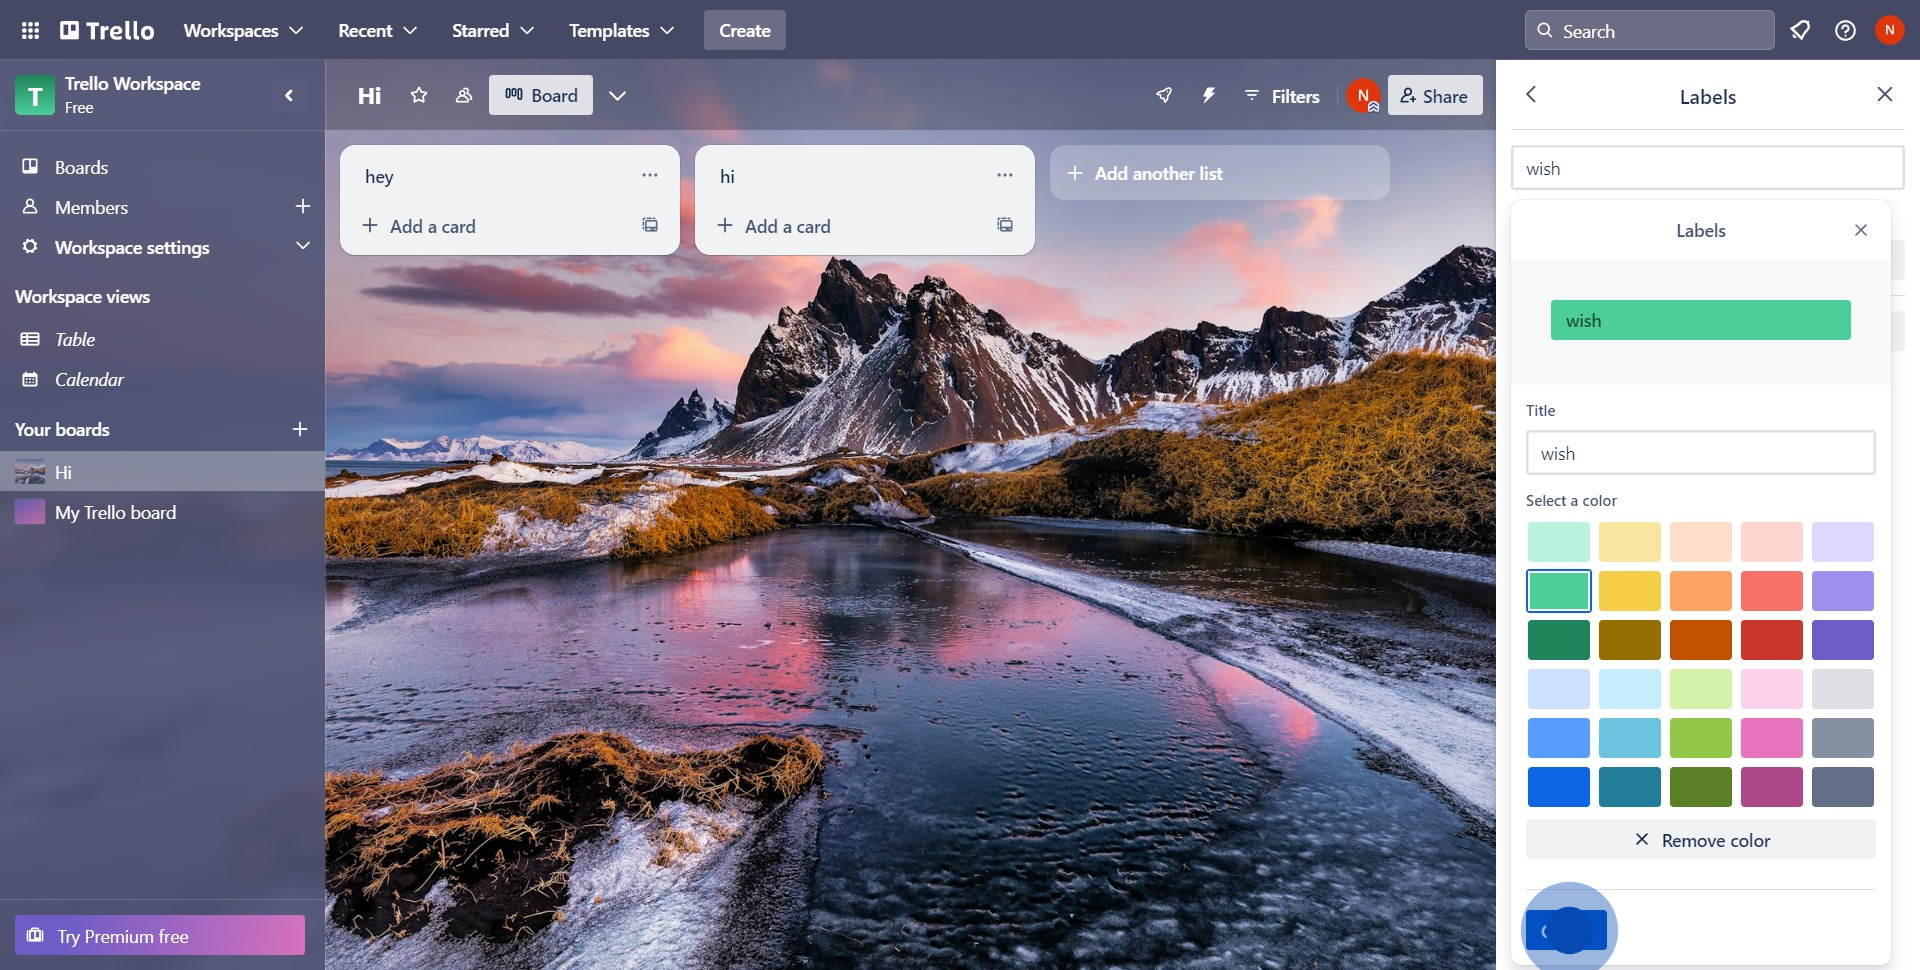
6. Finally, confirm and create your label by clicking on the 'Create' button.
Create your own step-by-step demo
Scale up your training and product adoption with beautiful AI-powered interactive demos and guides. Create your first Supademo in seconds for free.


