

Overview:
Elevate your design skills in Canva by learning how to add masks to your creations. Enhance visual appeal and creativity by seamlessly incorporating masks to shape and frame your designs. This comprehensive guide takes you through the step-by-step process, providing a user-friendly tutorial on adding masks to your designs in Canva. Improve your design aesthetics and unlock new creative possibilities with this easy-to-follow guide.
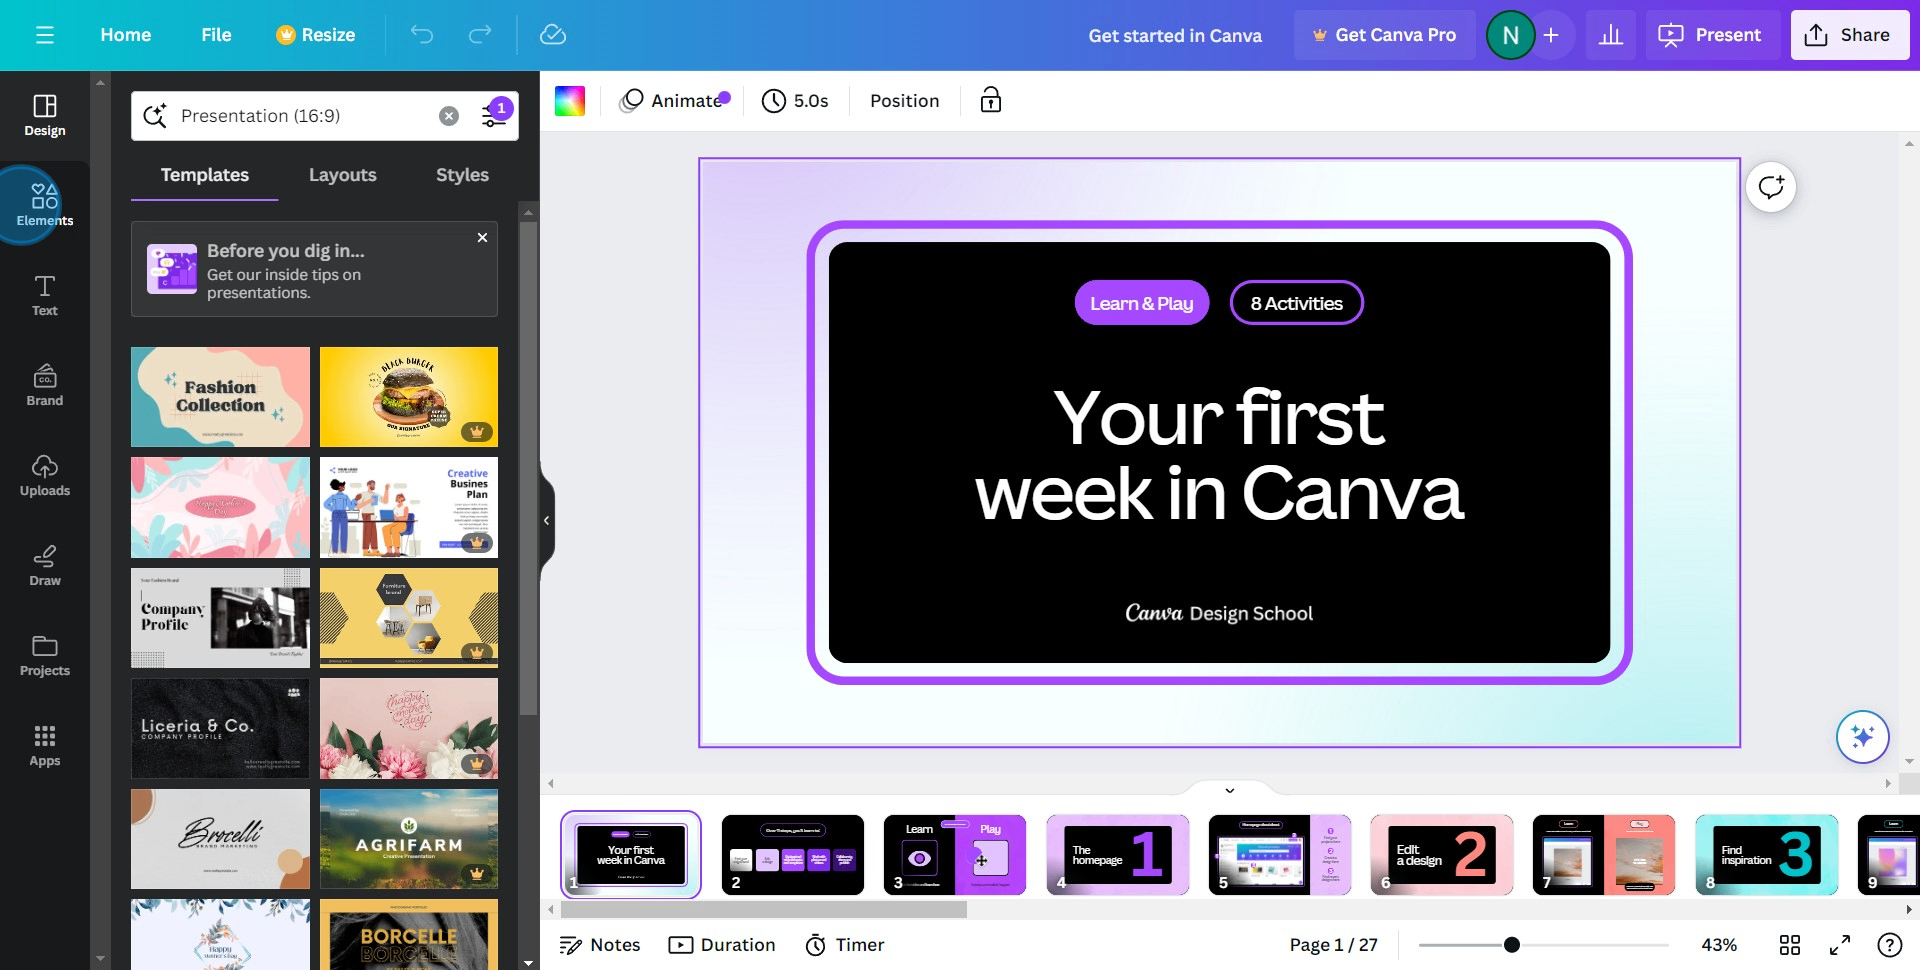
1. Start by exploring the 'Elements' section in the left-hand menu.
2. In this section, click on 'Frame' to view available options.

3. Scroll through the options, choosing 'See all' to expand selection.
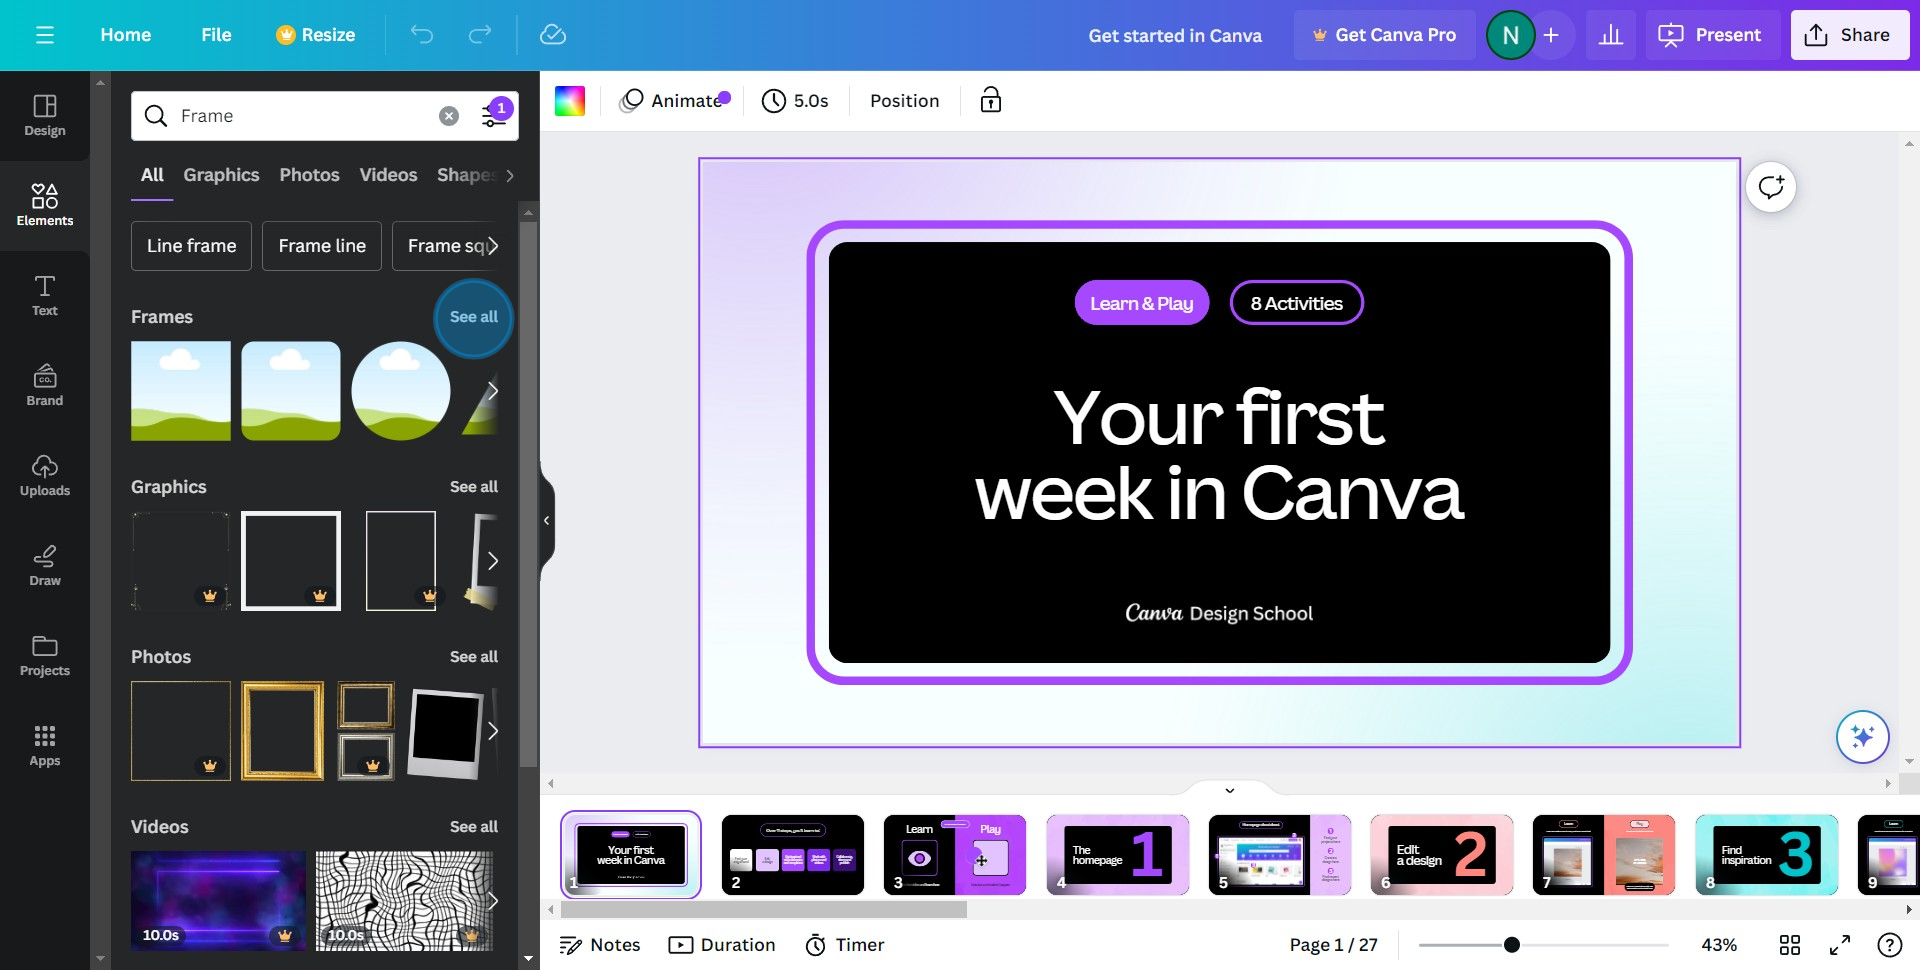
4. Find a frame that complements your design and add it.

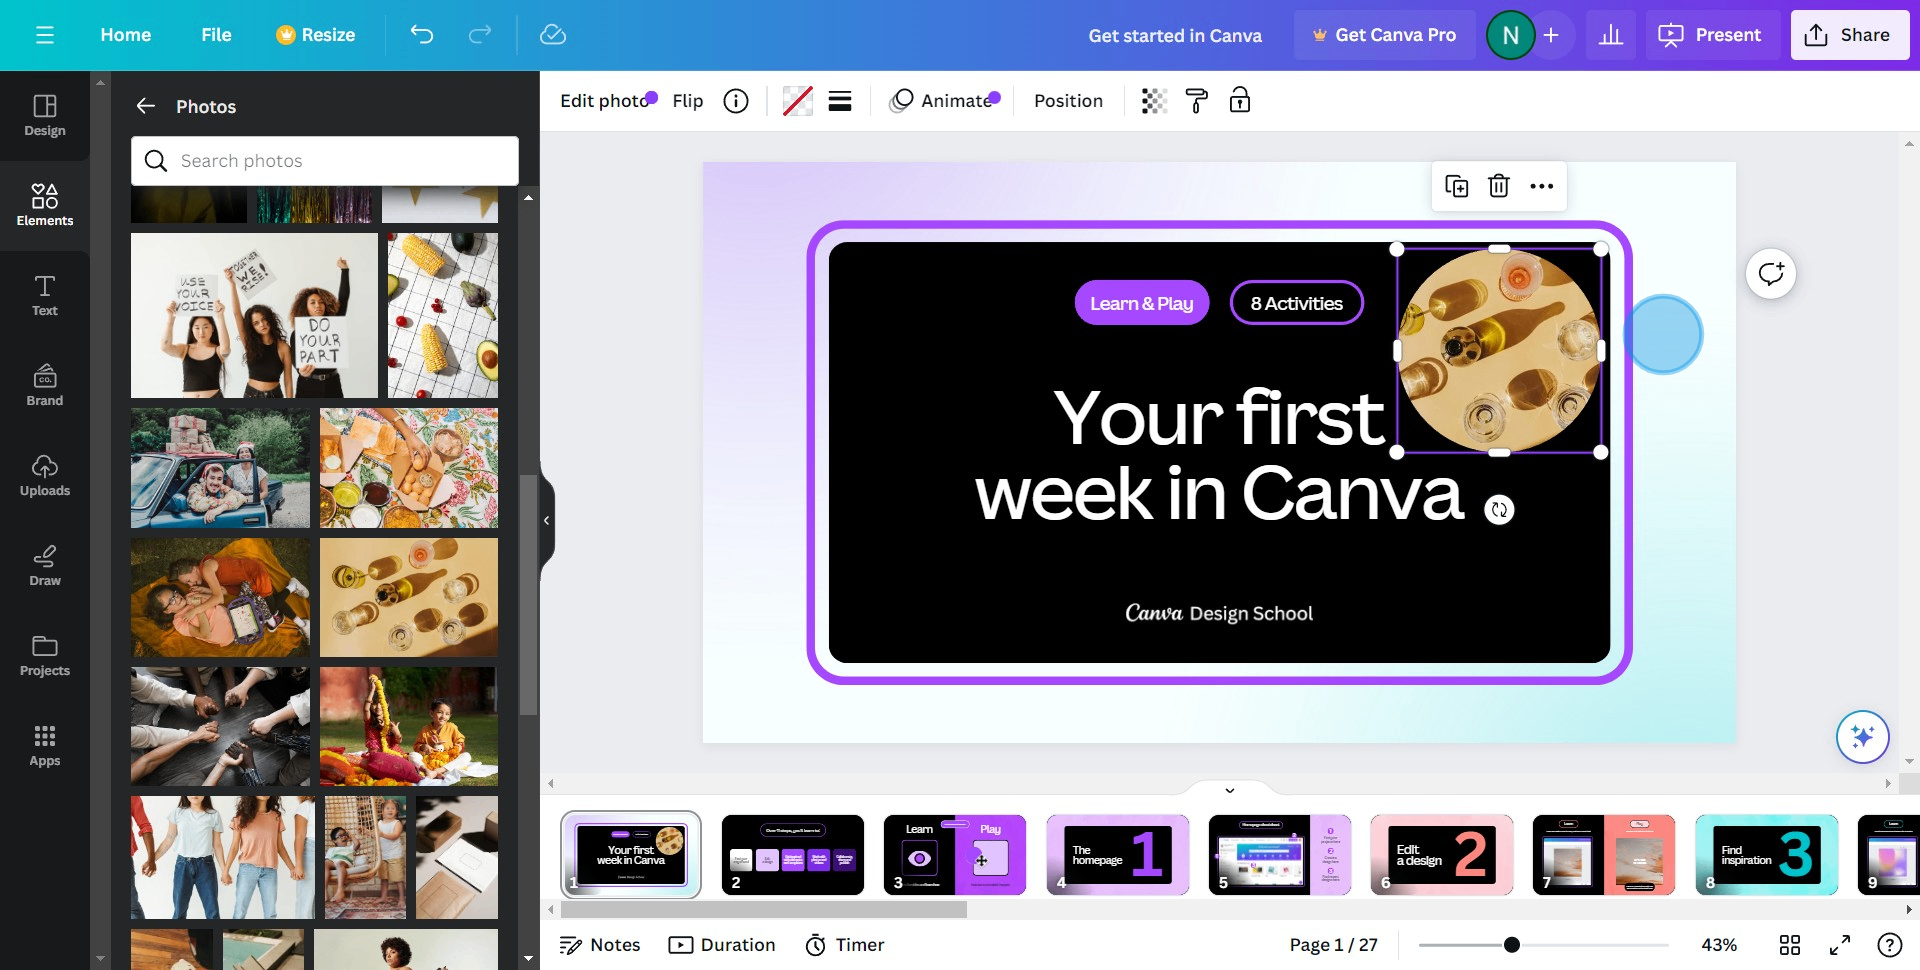
5. Navigate back to the 'Photos' section and select 'See all' again.
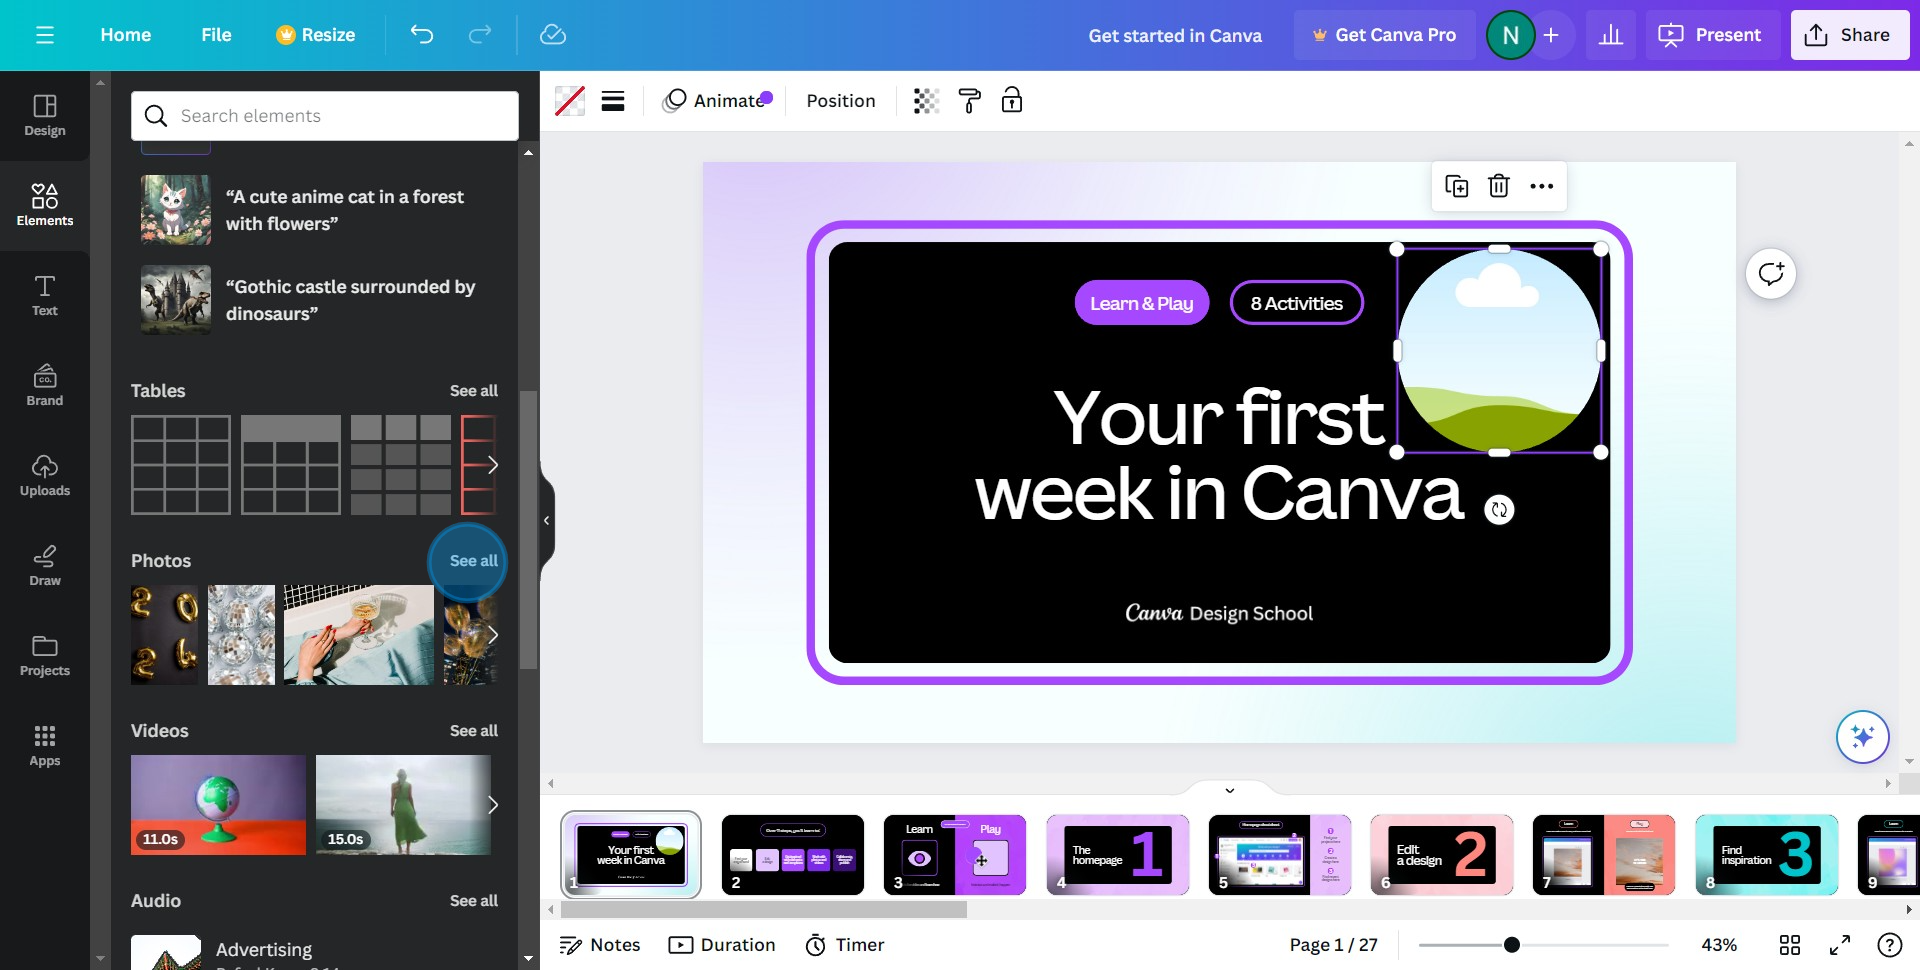
6. Choose an image that fits your design, and drag it onto the frame.
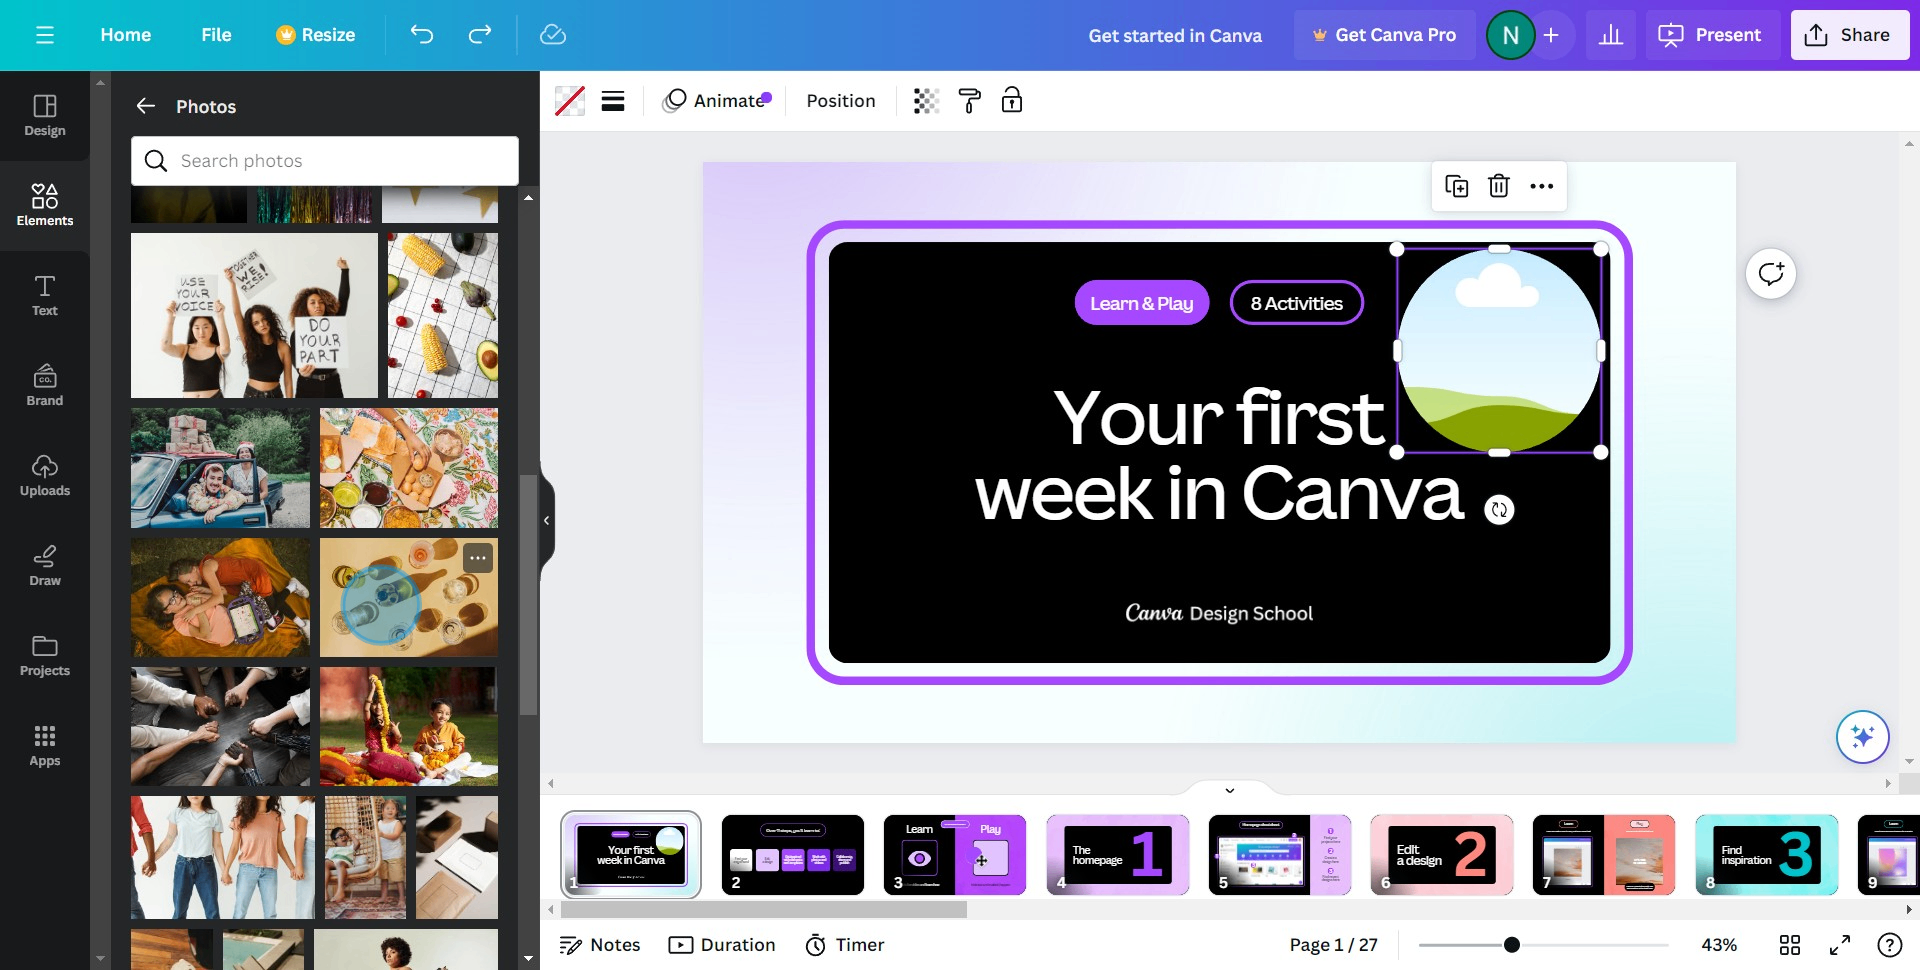
7. Congratulations, you've successfully masked your image
Create your own step-by-step demo
Scale up your training and product adoption with beautiful AI-powered interactive demos and guides. Create your first Supademo in seconds for free.
