Overview:
Maximize efficiency in Mailchimp by mastering the process of adding subscribers. Elevate user experience and simplify navigation by seamlessly incorporating new subscribers into your mailing lists. This guide offers a step-by-step approach to effortlessly add subscribers in Mailchimp, enhancing productivity and clarity in managing your email campaigns.
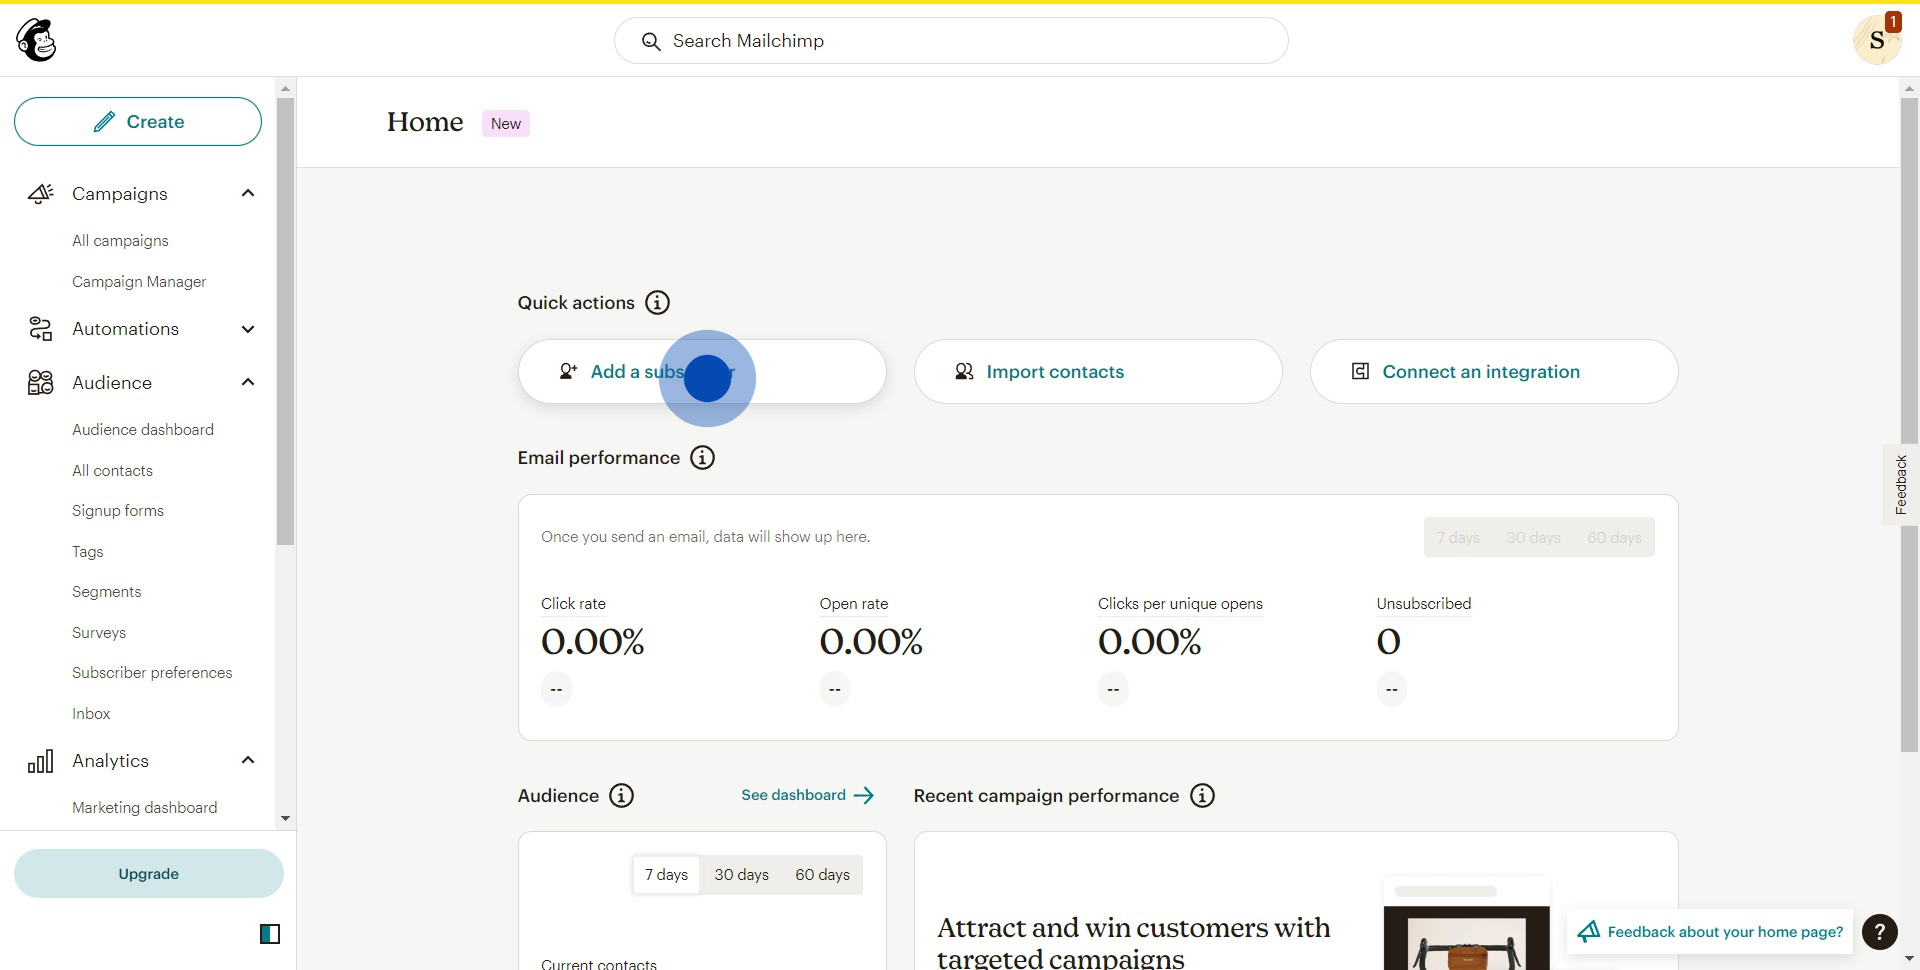
1. Begin by visiting your Mailchimp home screen.
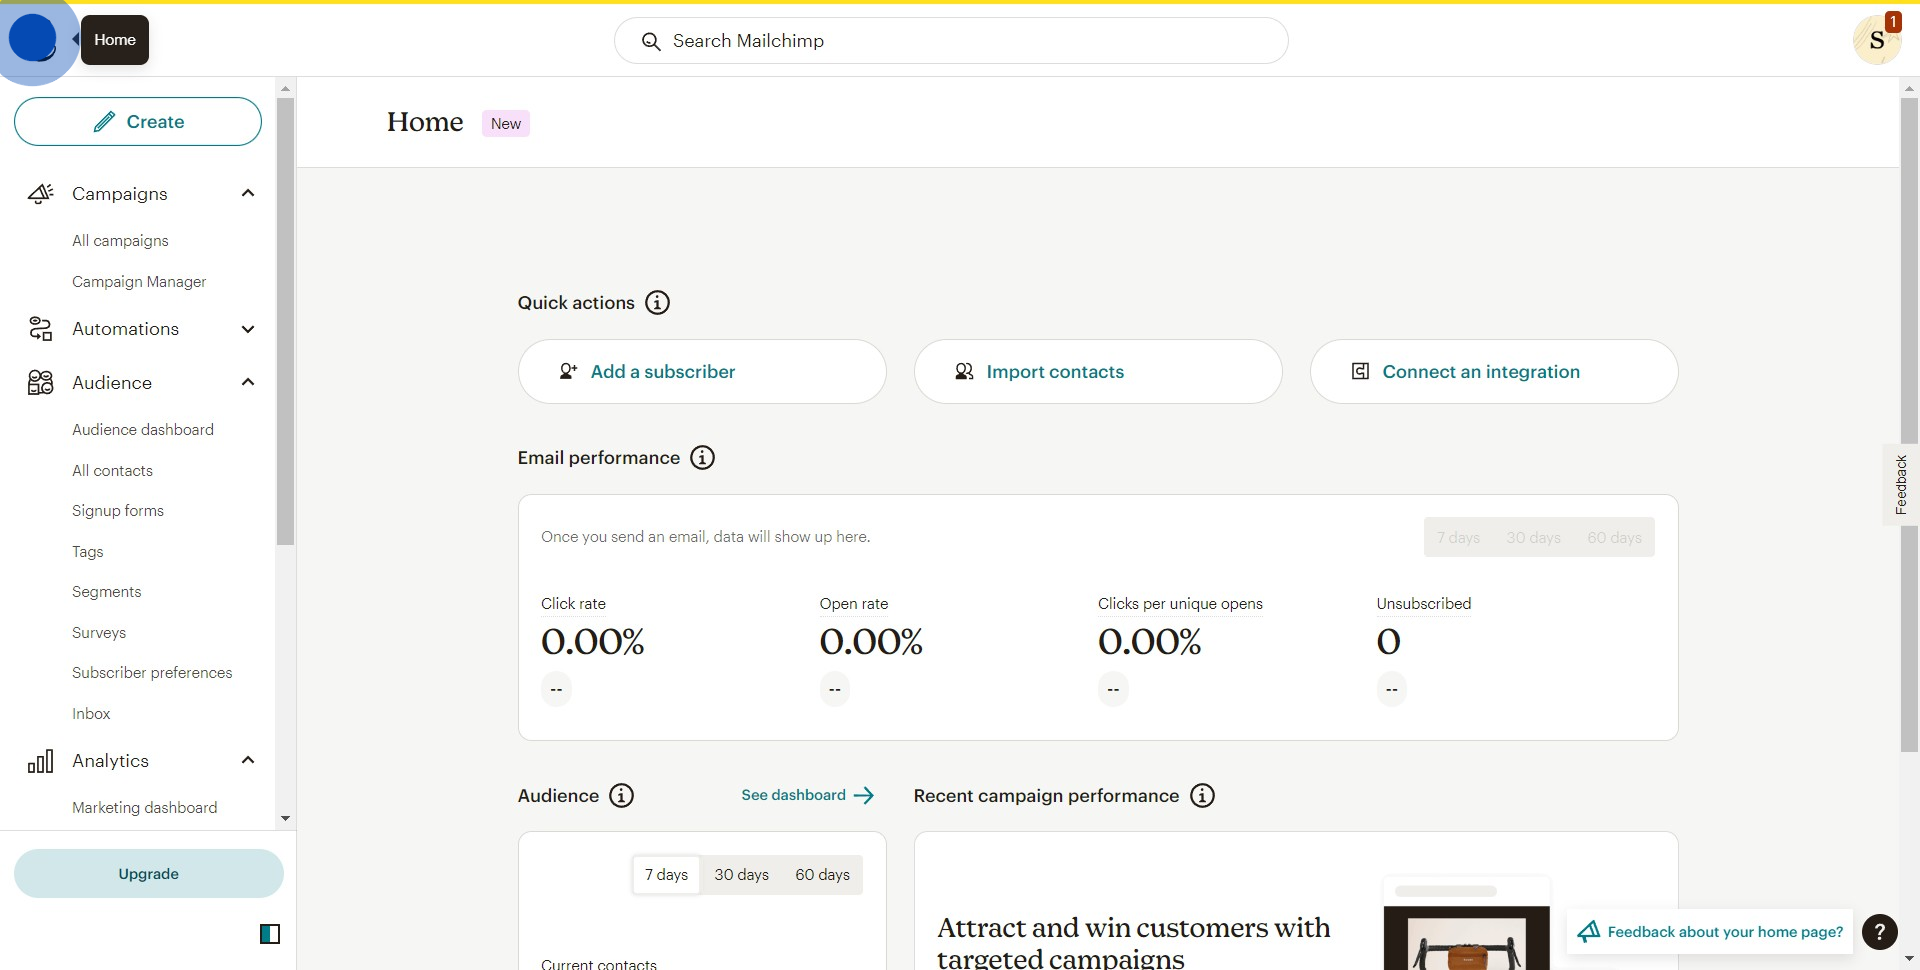
2. Next, find and tap the 'Add a Subscriber' button.
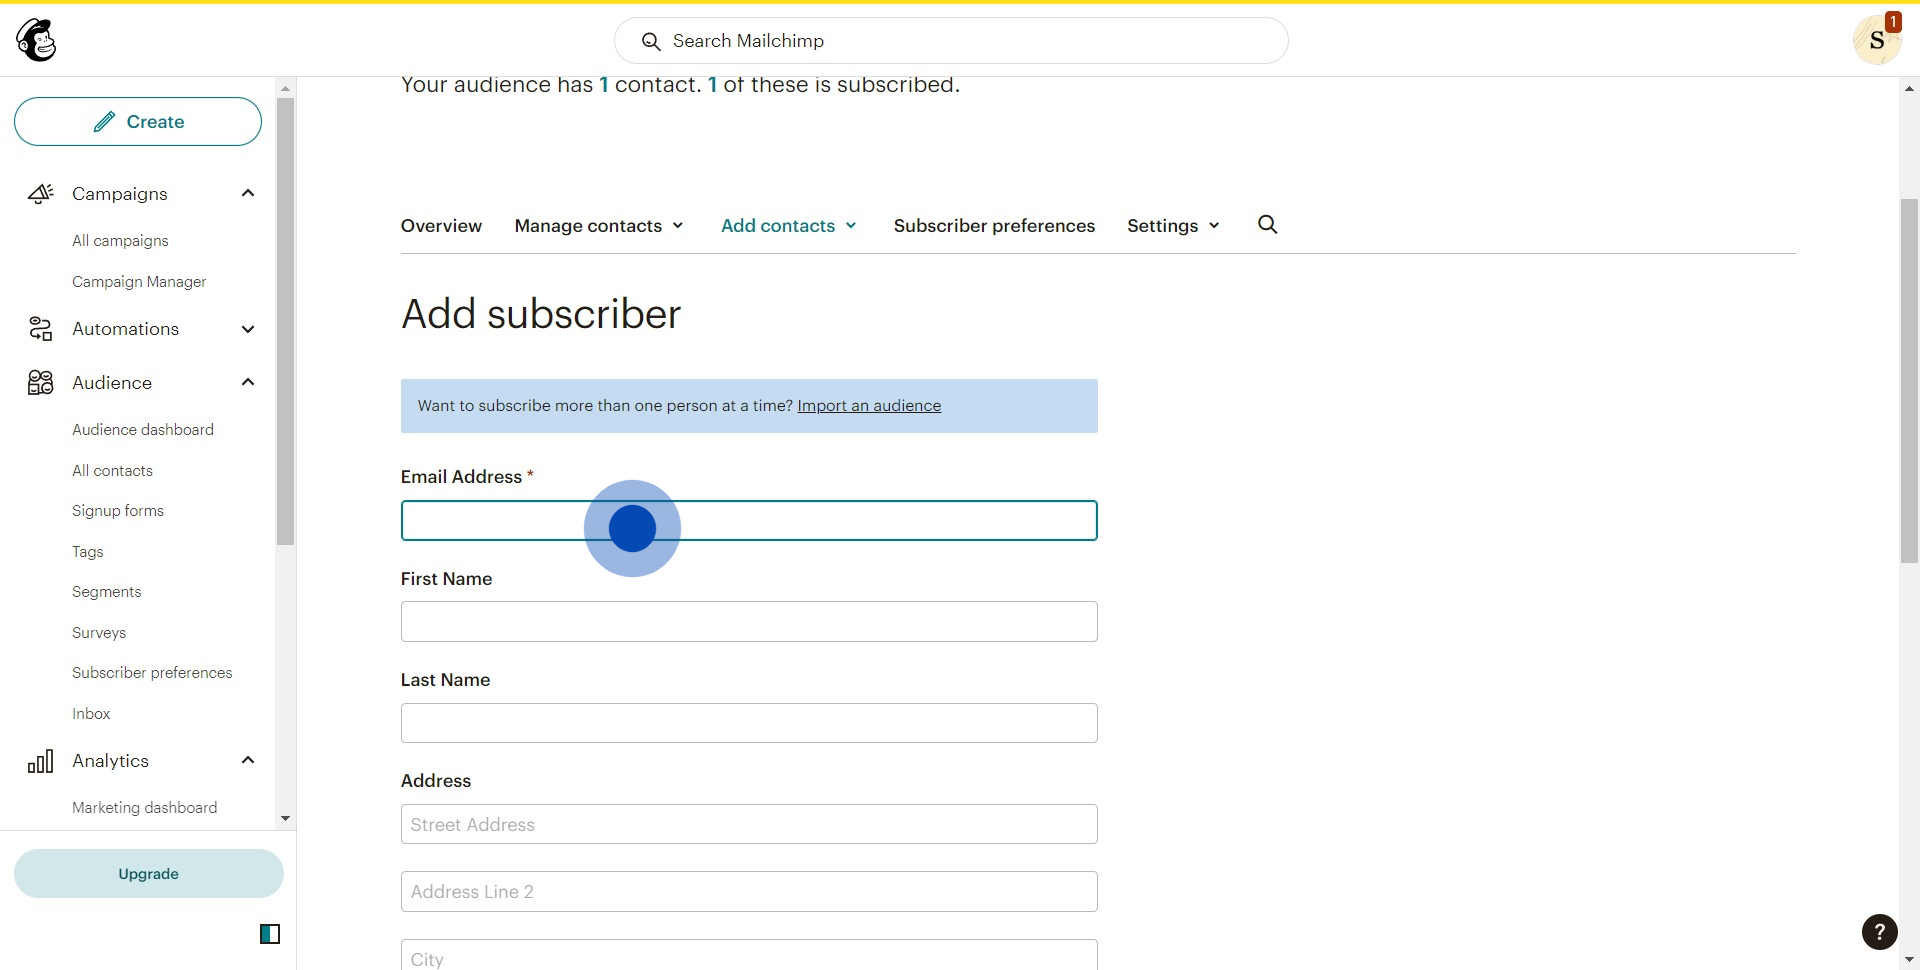
3. Time to fill out the necessary details.
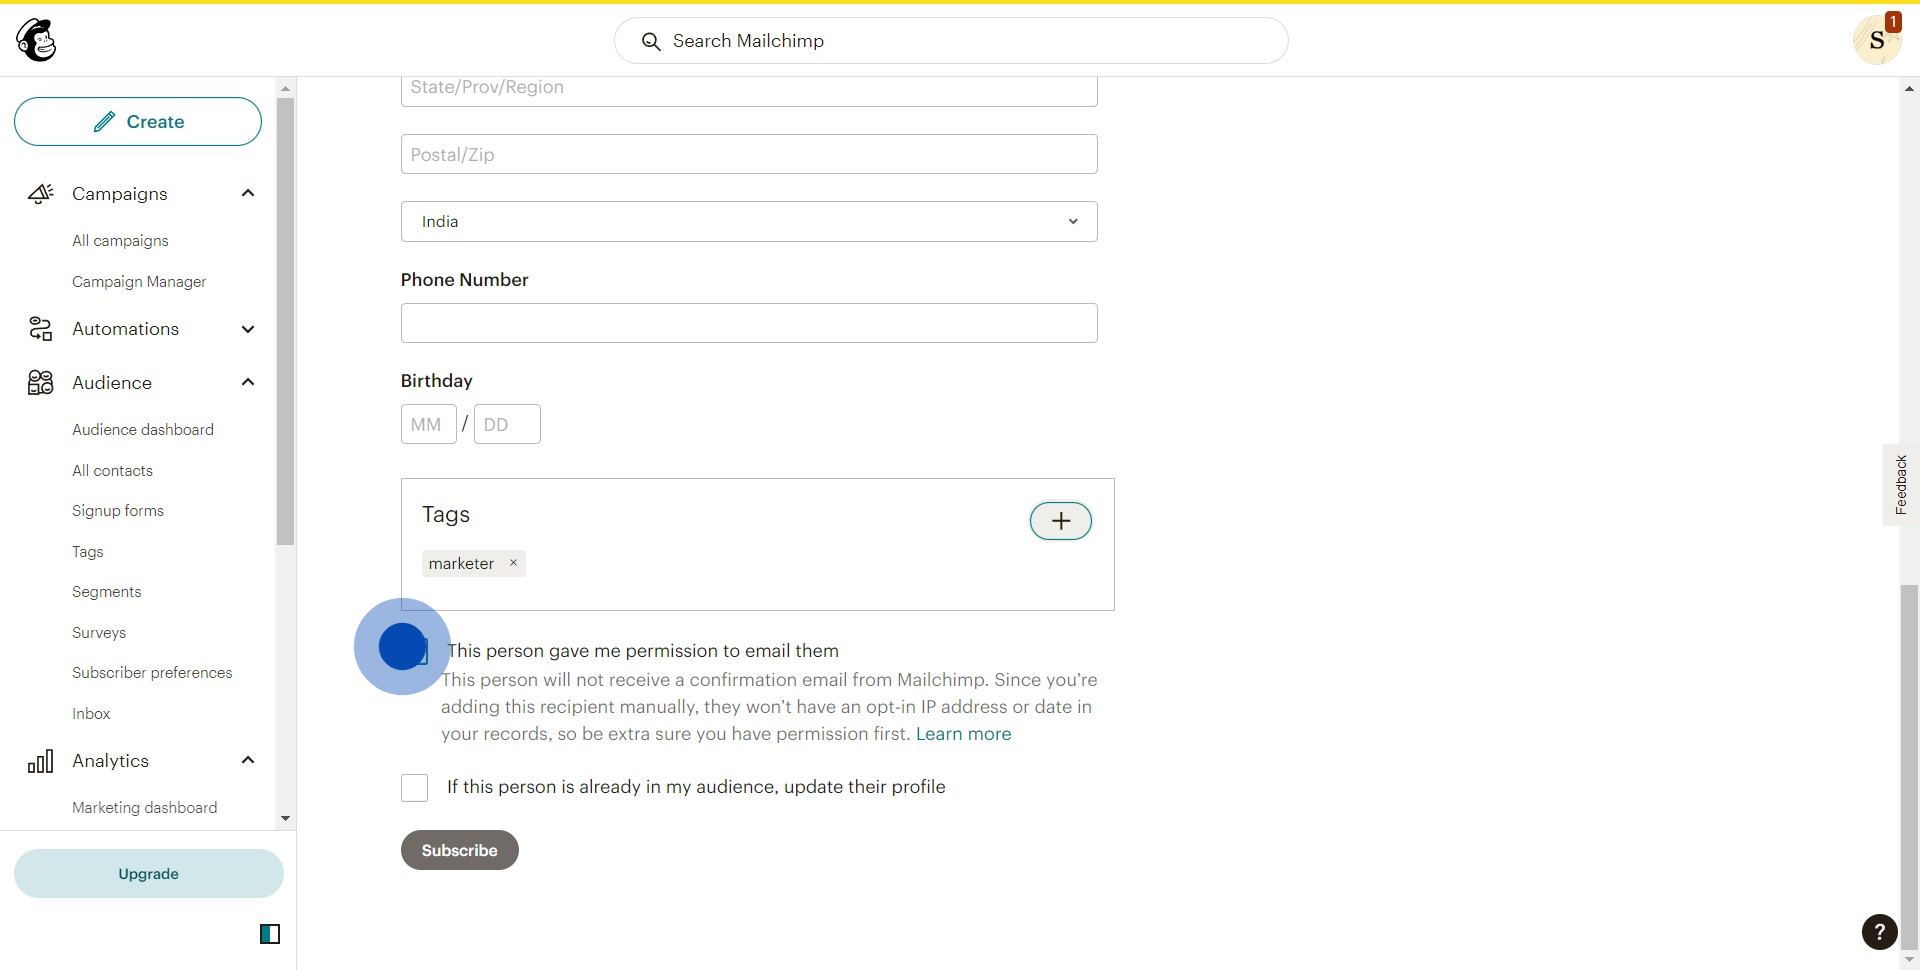
4. Make a choice whether to select or un-check the given options.
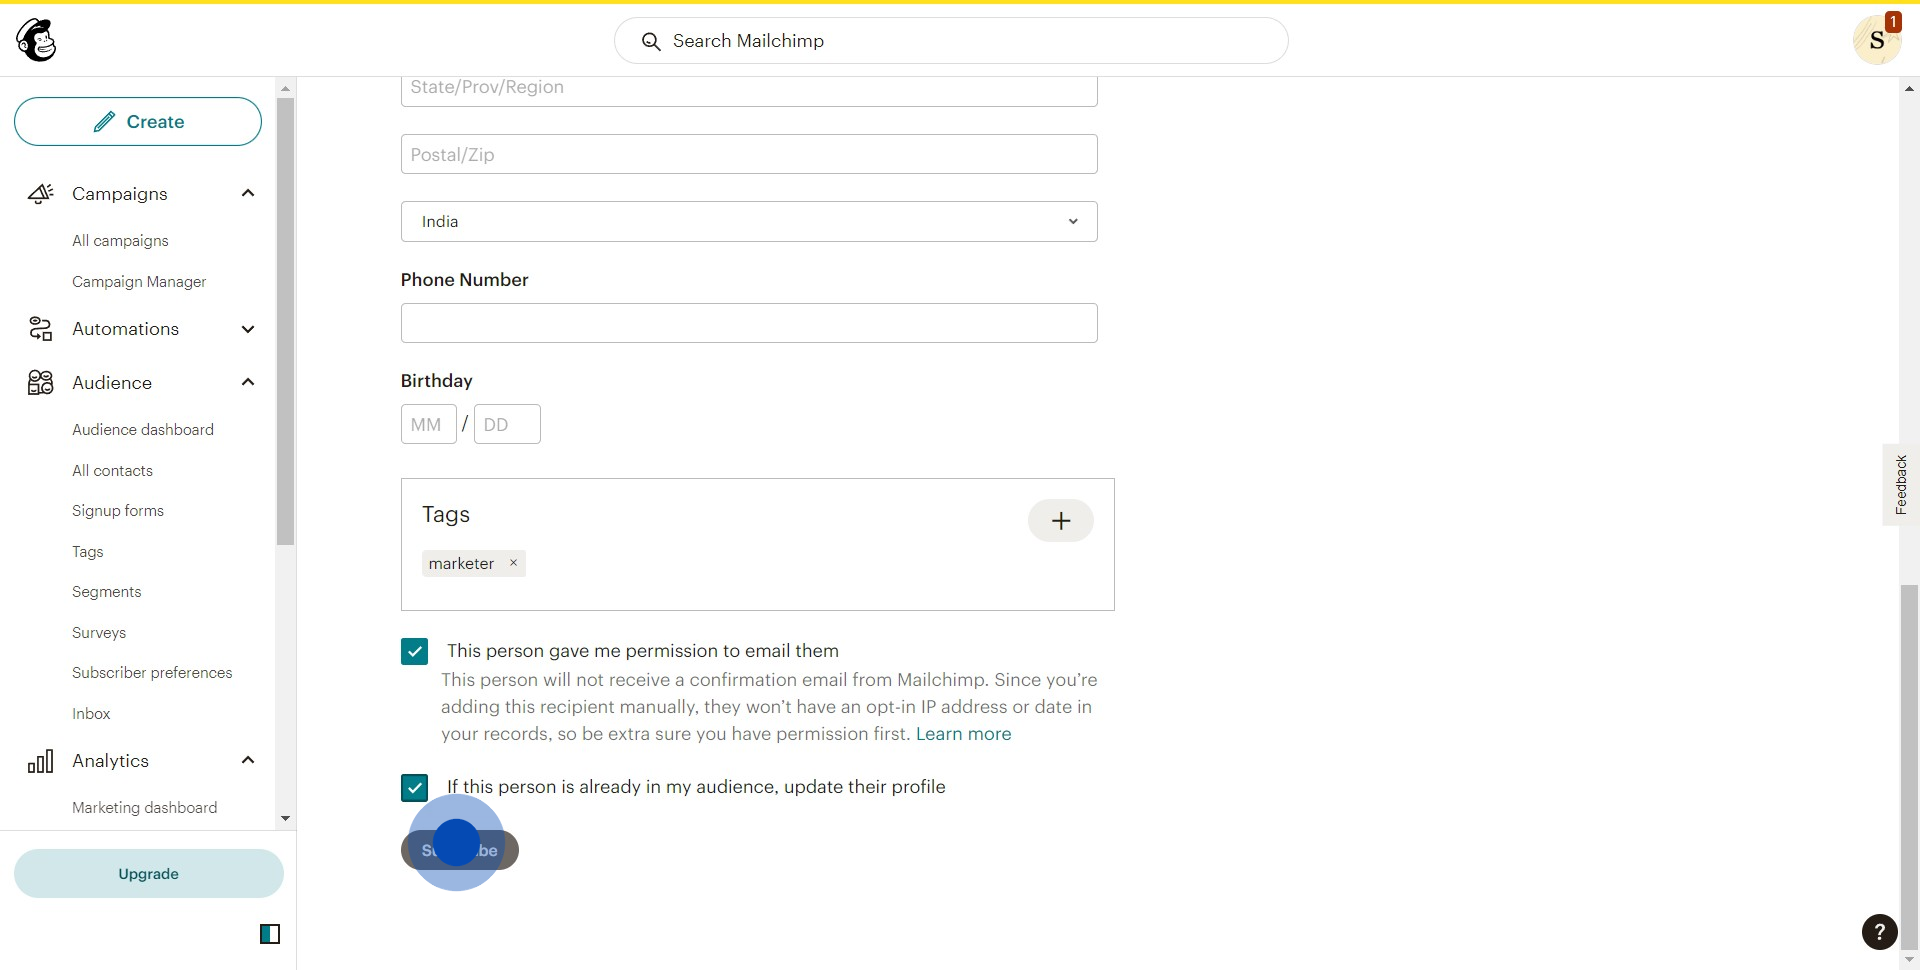
5. Finally, click 'Subscribe' to add this new subscriber.
Create your own step-by-step demo
Scale up your training and product adoption with beautiful AI-powered interactive demos and guides. Create your first Supademo in seconds for free.
Nithil Shanmugam
Nithil is a startup-obsessed operator focused on growth, sales and marketing. He's passionate about wearing different hats across startups to deliver real value.
