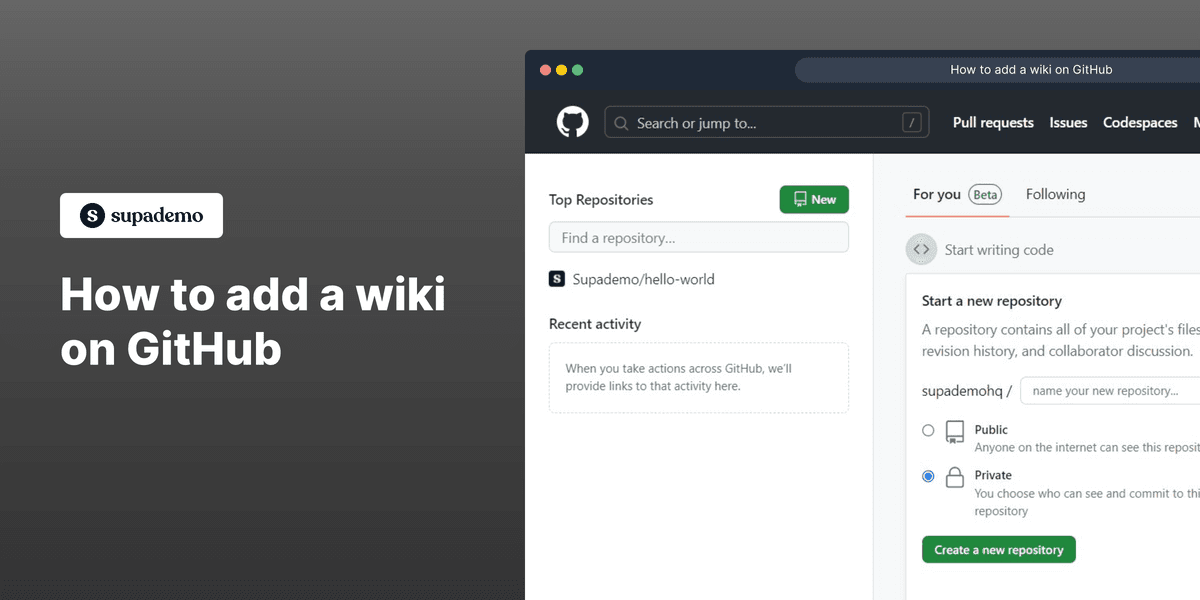
Overview
Enhance collaboration and knowledge sharing with GitHub as you effortlessly add a wiki to your repository. Create a centralized hub of information, empower your team to contribute and document effectively, and fuel innovation by harnessing the power of collective wisdom in one accessible location. This comprehensive guide provides you step-by-step instructions on how to add a wiki on GitHub.
Who is GitHub best suited for?
GitHub is best suited for a wide range of professionals, including Software Developers, DevOps Engineers, and Open Source Contributors. For example, Software Developers can use GitHub for version control and collaborative coding, DevOps Engineers can leverage it for managing deployment pipelines and infrastructure as code, and Open Source Contributors can use it for collaborating on and managing open-source projects, all benefiting from GitHub’s powerful repository management and collaborative features.
Steps to How to add a wiki on GitHub
1) Navigate to GitHub.
2) Select a Repository.
3) Click on "Wiki"
4) Click on "Create the first page"
5) Insert your content here.
6) Click on "Save page"
7) A wiki has been added to the repository.
Common FAQs on GitHub
Commonly asked questions about this topic.
How do I create a new repository on GitHub?
To create a new repository on GitHub, log in to your GitHub account and click the “+” icon in the top-right corner of the page, then select “New repository.” Enter a name for your repository, choose its visibility (public or private), and optionally add a description. You can also initialize the repository with a README file, a .gitignore file, and a license if needed. After filling out the necessary information, click “Create repository” to finalize the setup. Your new repository will now be available in your GitHub account, and you can start adding files, creating branches, and collaborating on projects.
How can I collaborate with others on a GitHub project?
To collaborate with others on a GitHub project, you can use several features such as issues, pull requests, and branches. Invite collaborators to your repository by navigating to the “Settings” tab of your repository, selecting “Manage access,” and adding their GitHub usernames. Collaborators can then contribute by creating branches, making changes, and submitting pull requests. Use the “Issues” tab to track bugs, tasks, and feature requests, and discuss them with your team. When changes are ready, collaborators can submit pull requests for review, allowing others to comment, suggest changes, and merge the updates into the main branch once approved.
How do I use GitHub Actions to automate workflows?
GitHub Actions allows you to automate workflows such as testing, building, and deploying code. To use GitHub Actions, create a .github/workflows directory in your repository and add a YAML file to define your workflow. In the YAML file, specify the triggers (e.g., push events, pull requests) and the steps to execute (e.g., running tests, deploying to a server). GitHub provides a variety of pre-built actions that you can include in your workflow, or you can create custom actions to suit your needs. Once your workflow is configured, GitHub Actions will automatically run the defined steps based on the triggers, helping you streamline your development process and ensure consistent quality in your code.
Create your own step-by-step demo
Scale up your training and product adoption with beautiful AI-powered interactive demos and guides. Create your first Supademo in seconds for free.

Justin James
Justin is a growth intern focused on content generation and marketing. He's passionate about making an impact across various startup roles.


