Overview:
Streamline your collaboration in Miro by incorporating "invite-only" access to your boards. Enhance user control and simplify board navigation by adding relevant restrictions for exclusive access. This comprehensive guide offers a seamless process to implement "invite-only" settings in Miro, ensuring heightened efficiency and clarity in collaborative efforts within the platform. Optimize your teamwork with this user-friendly guide tailored for effective access management in Miro.
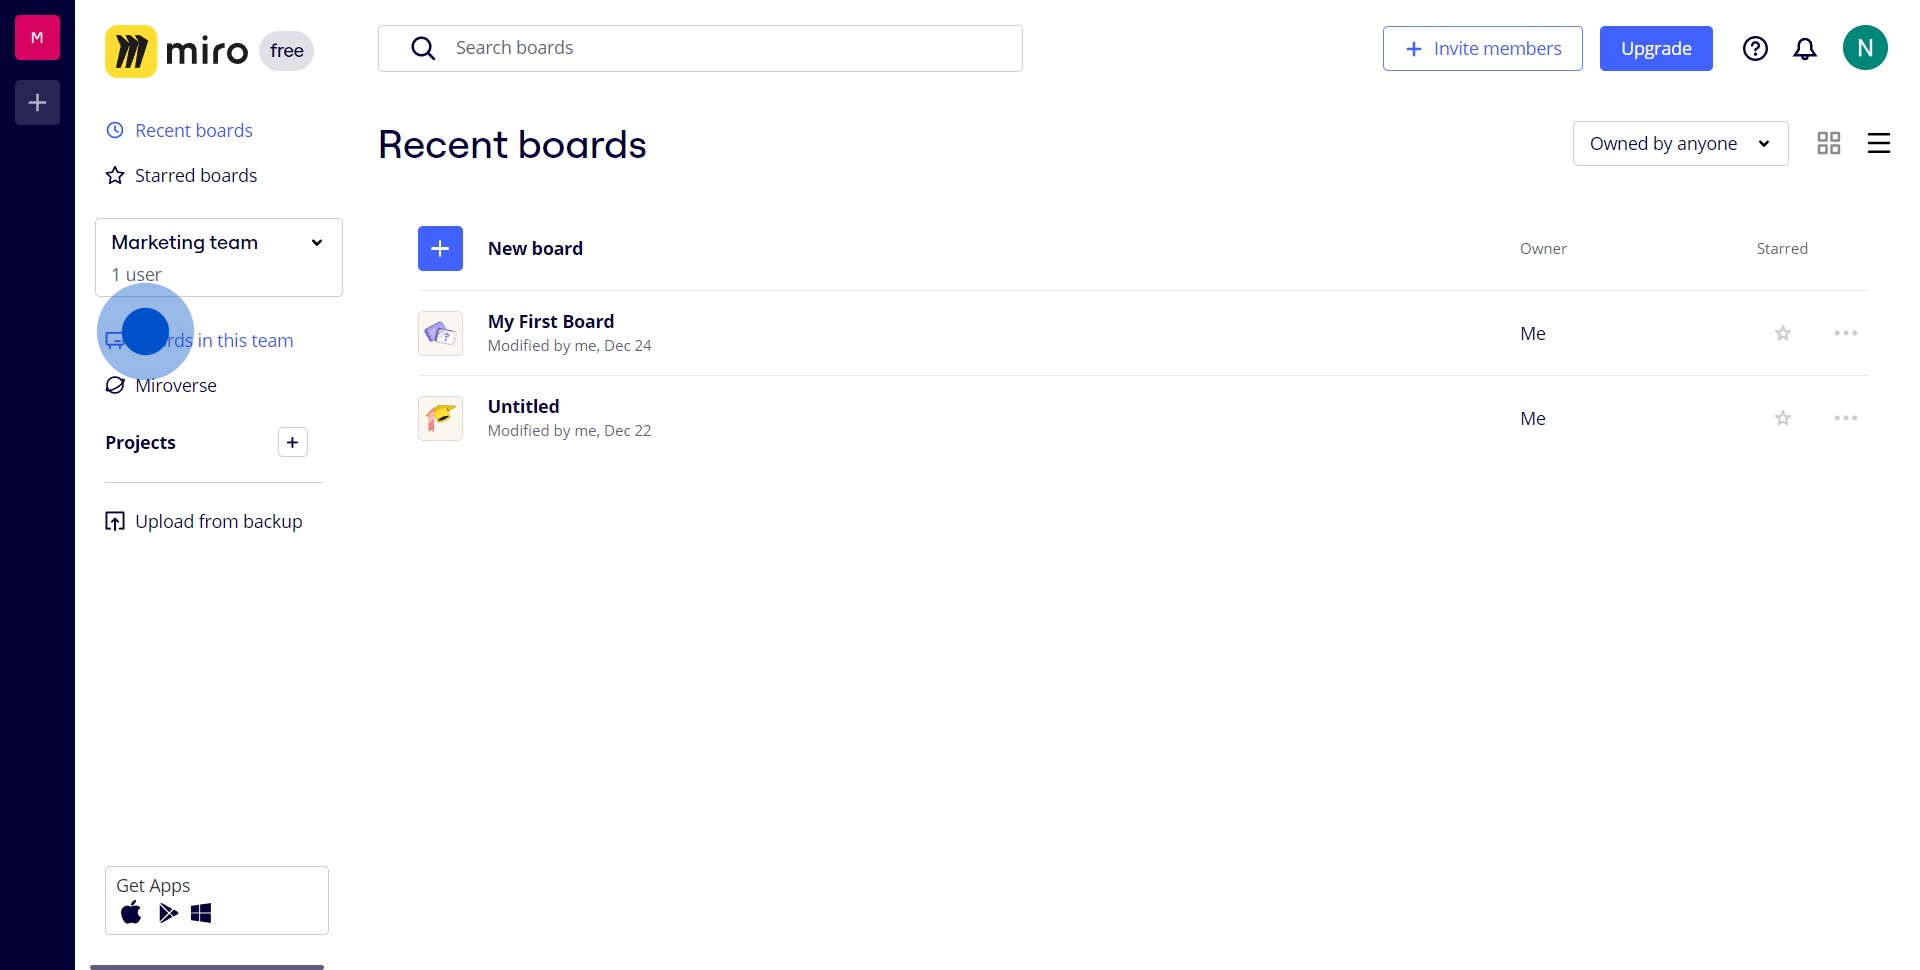
1. Navigate to 'Boards in this team'
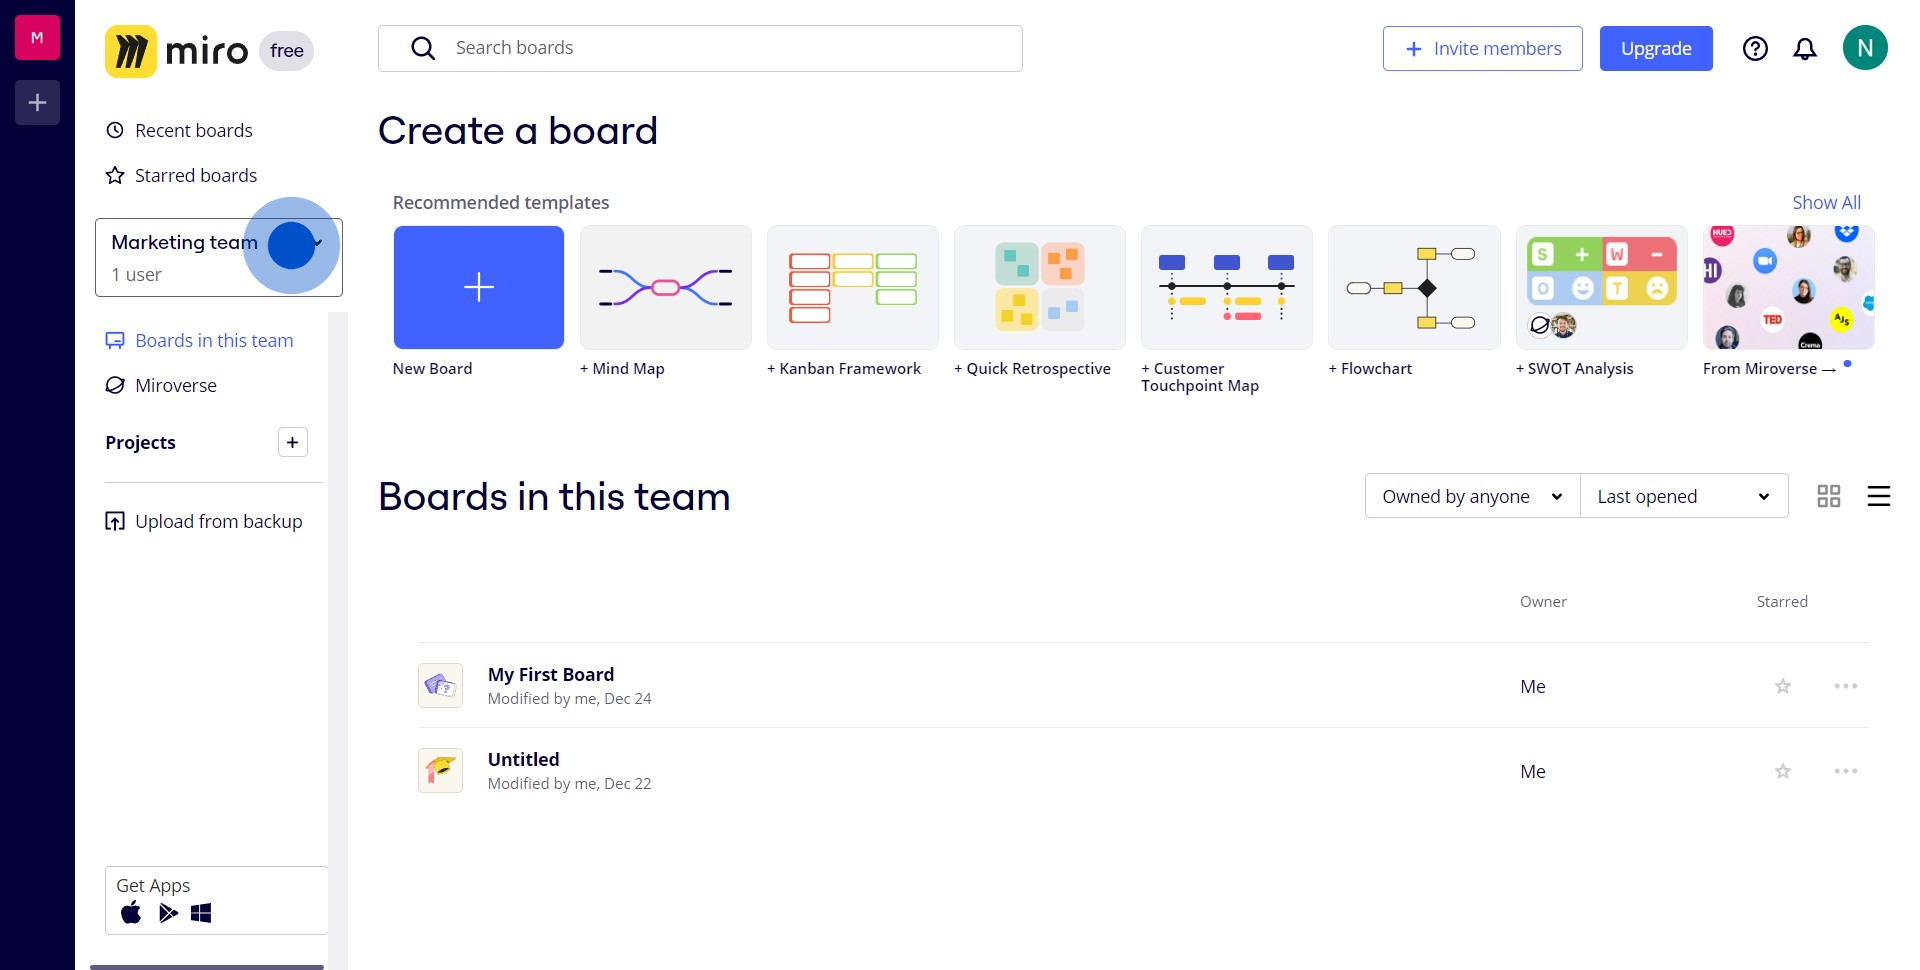
2. Proceed to the 'Marketing team' section
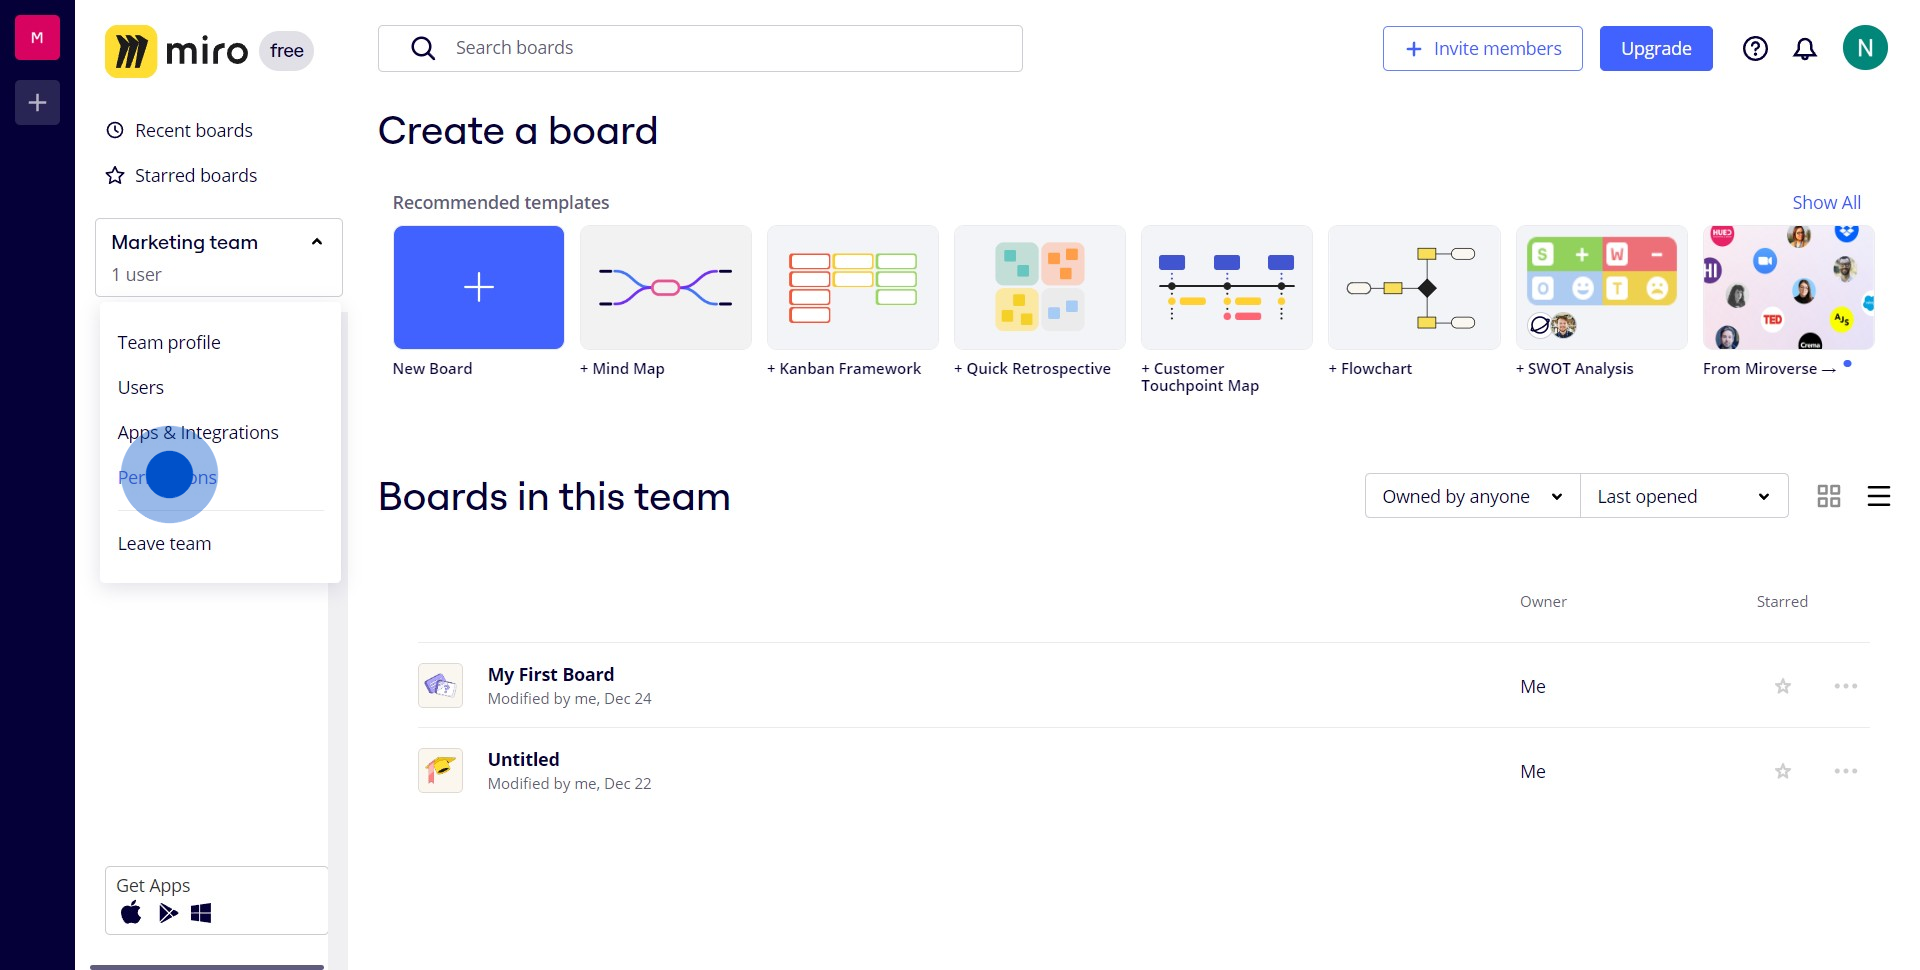
3. Select 'Permissions' from the dropdown menu
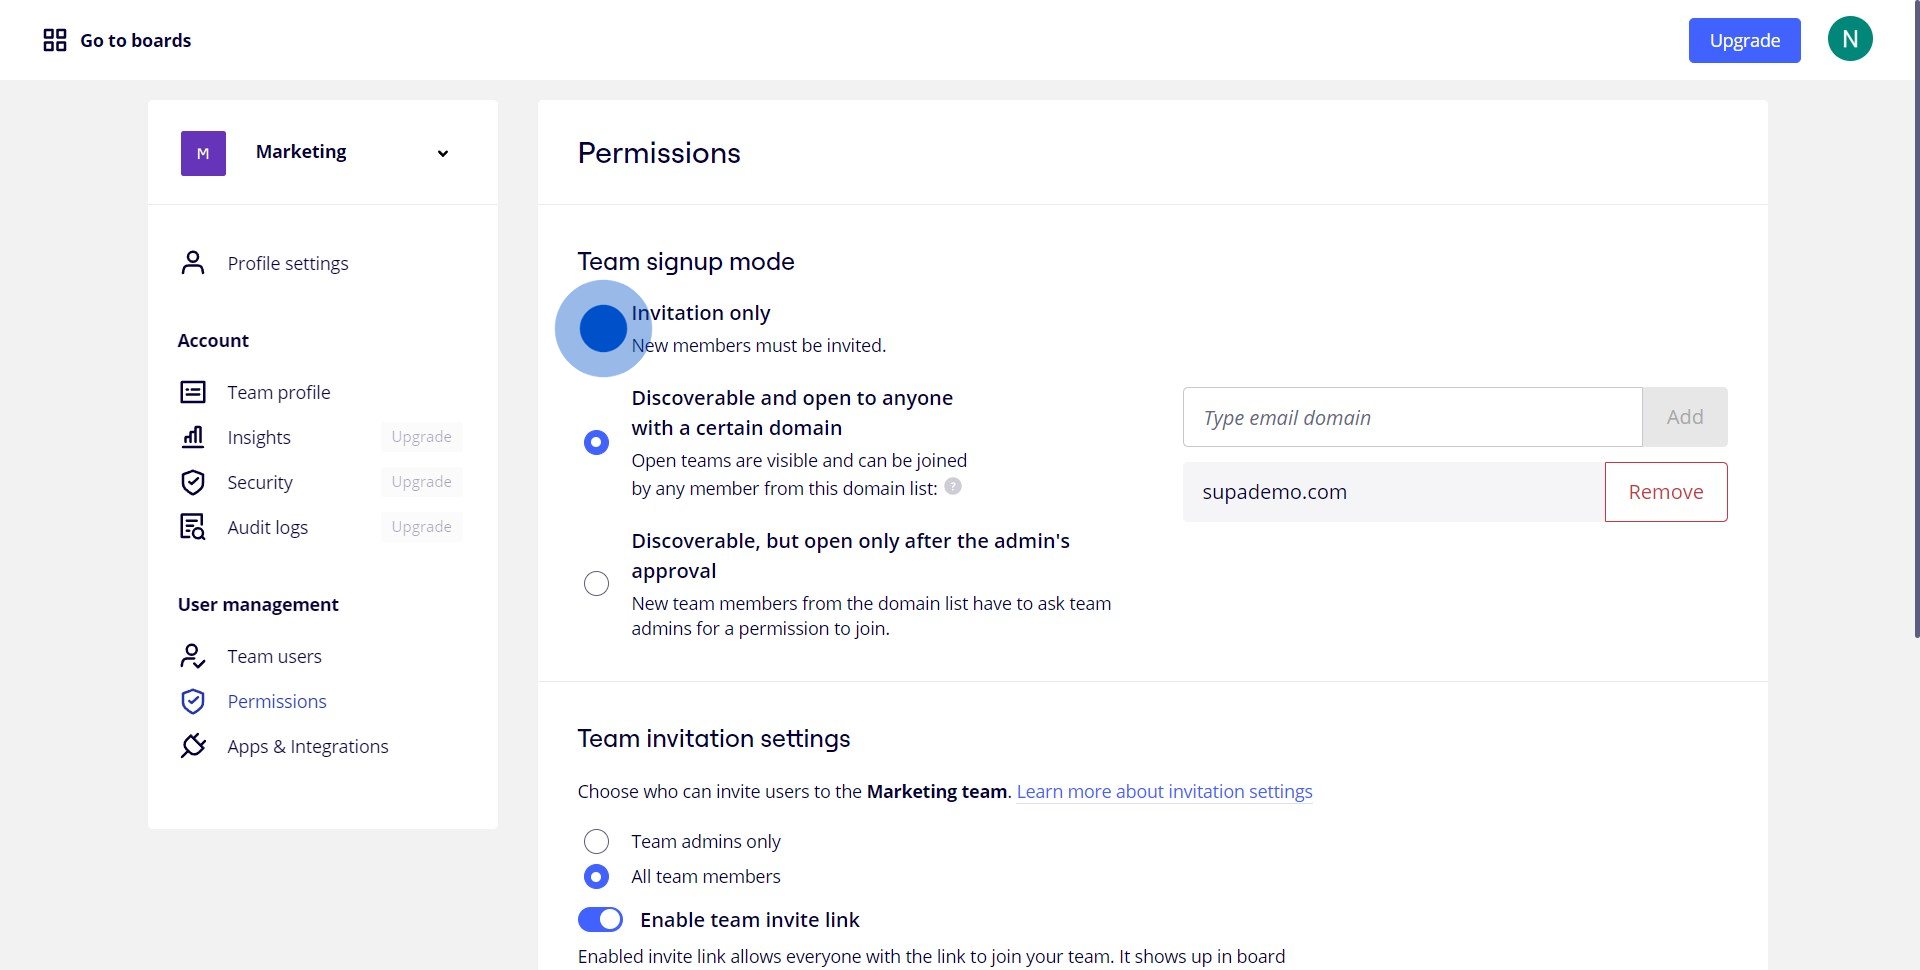
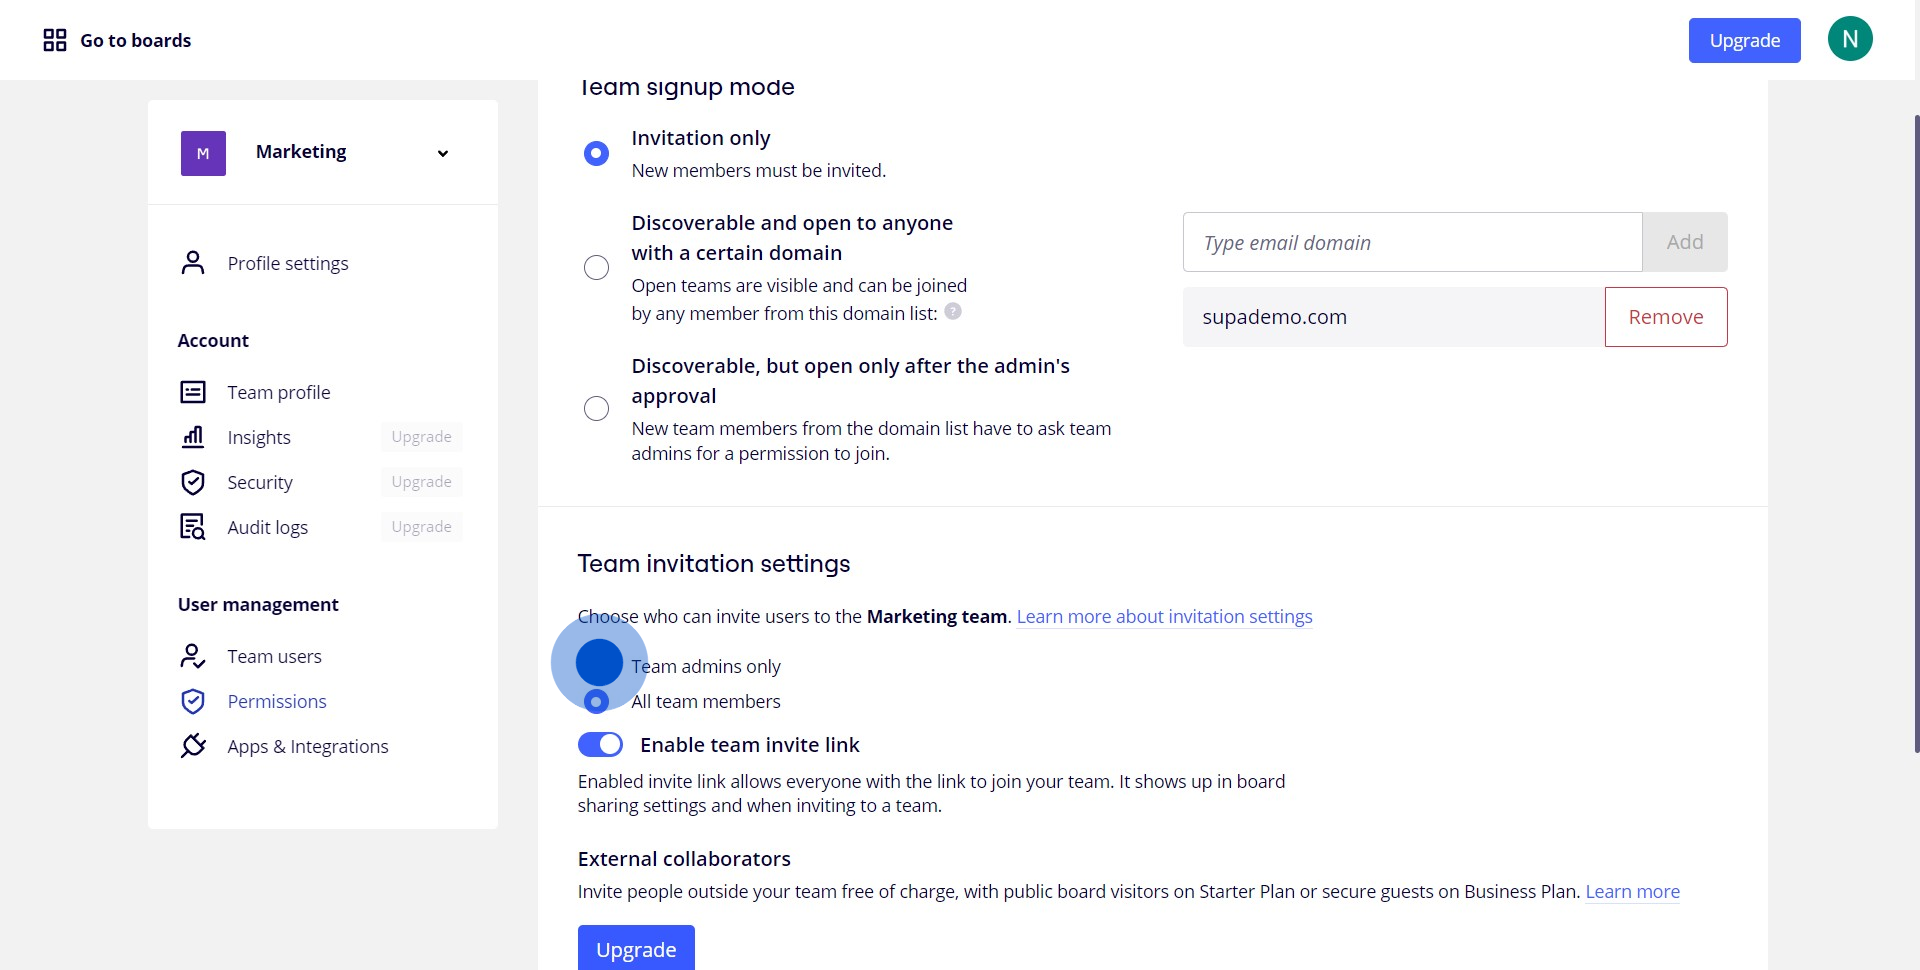
4. Reset the team settings by clicking on the radio button
5. Authorize chosen person to share and accept invites by clicking the radio button
Create your own step-by-step demo
Scale up your training and product adoption with beautiful AI-powered interactive demos and guides. Create your first Supademo in seconds for free.


