

Overview:
Maximize your efficiency in Mailchimp by harnessing the power of tags to categorize and organize your contacts. Enhance user experience and simplify navigation with relevant tags, ensuring easy identification of key contacts. This guide offers a straightforward process to create and utilize tags effectively, ultimately improving clarity and efficiency in contact management within the Mailchimp platform.
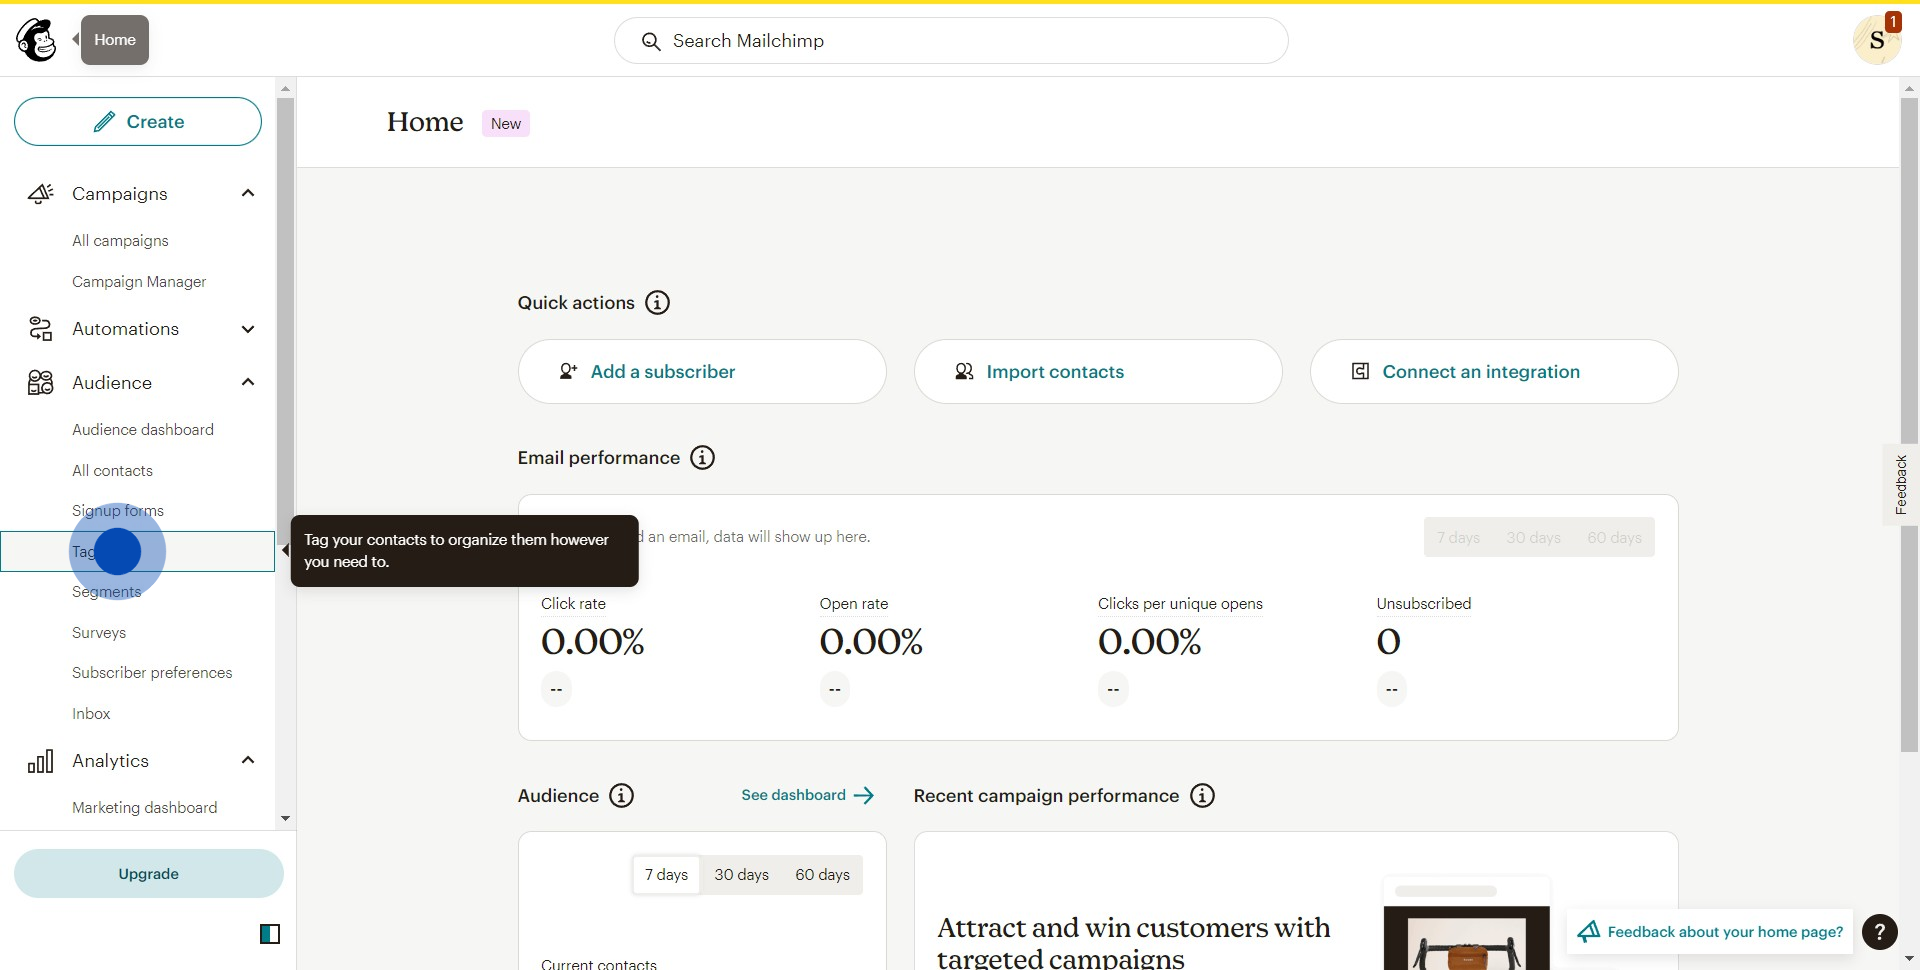
1. Click the 'Tags' section to start.
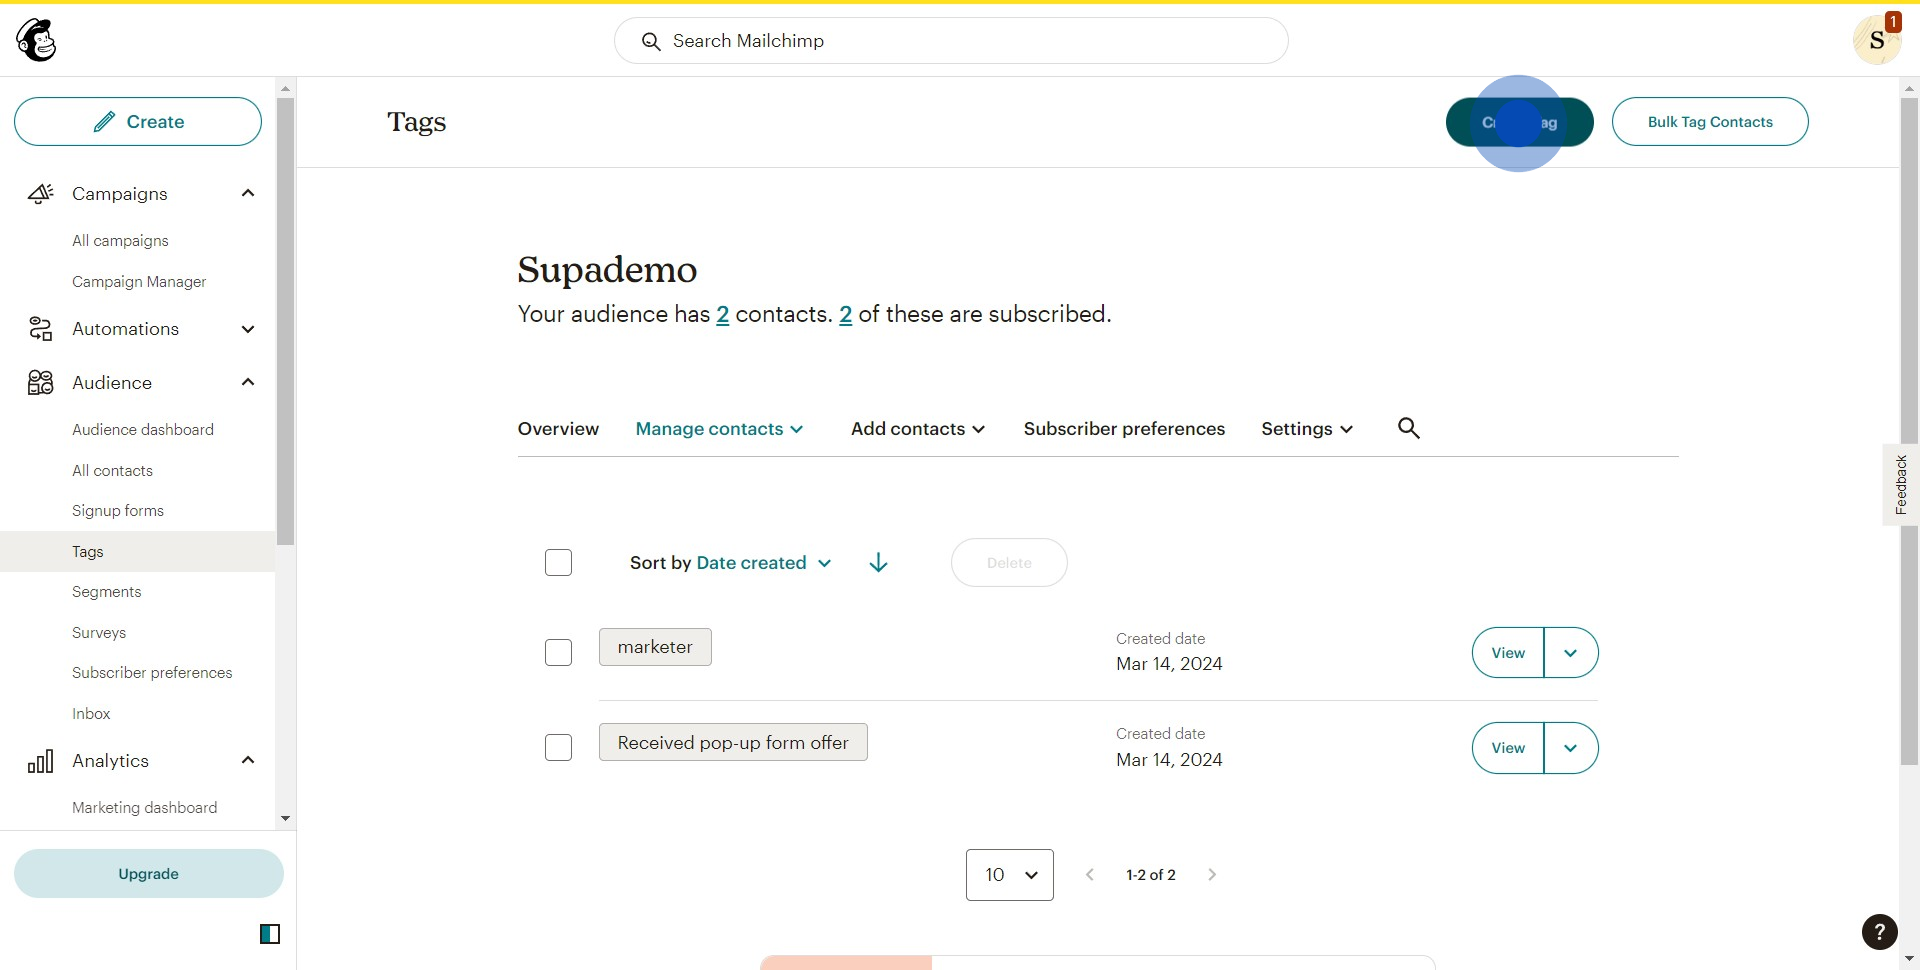
2. Next, select the 'Create Tag' option.
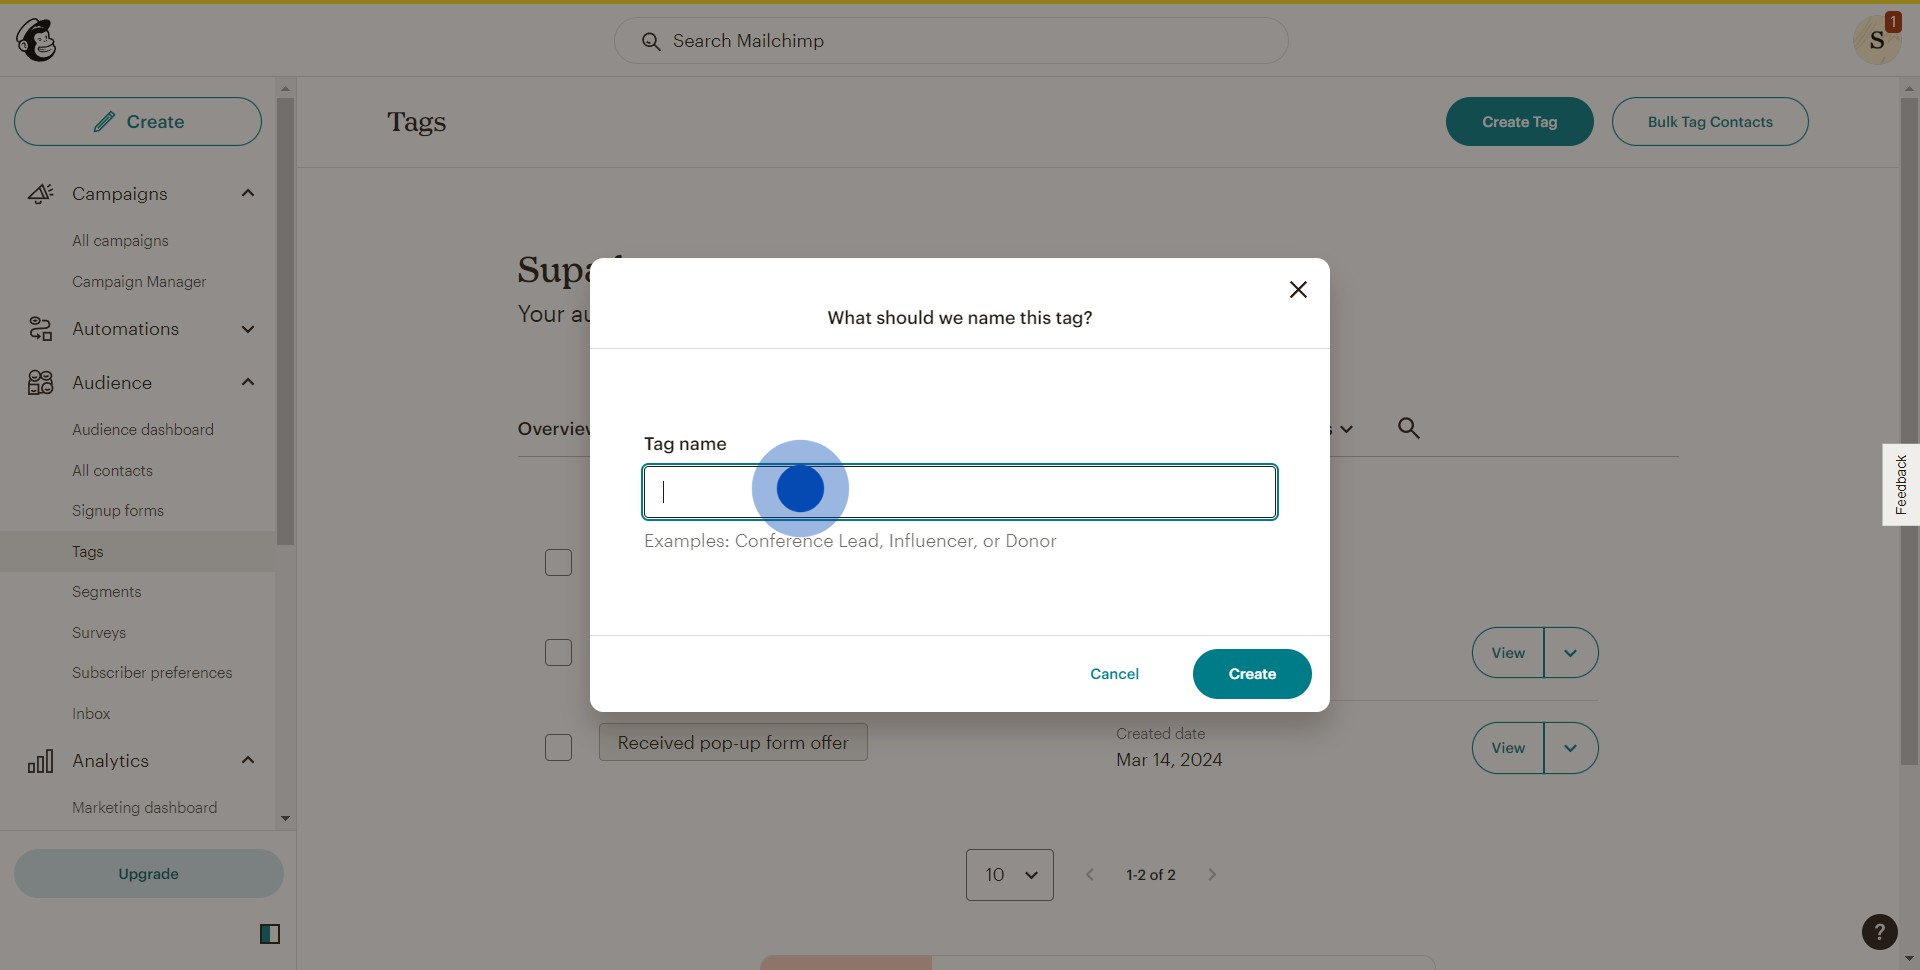
3. Now, type in your desired tag name.
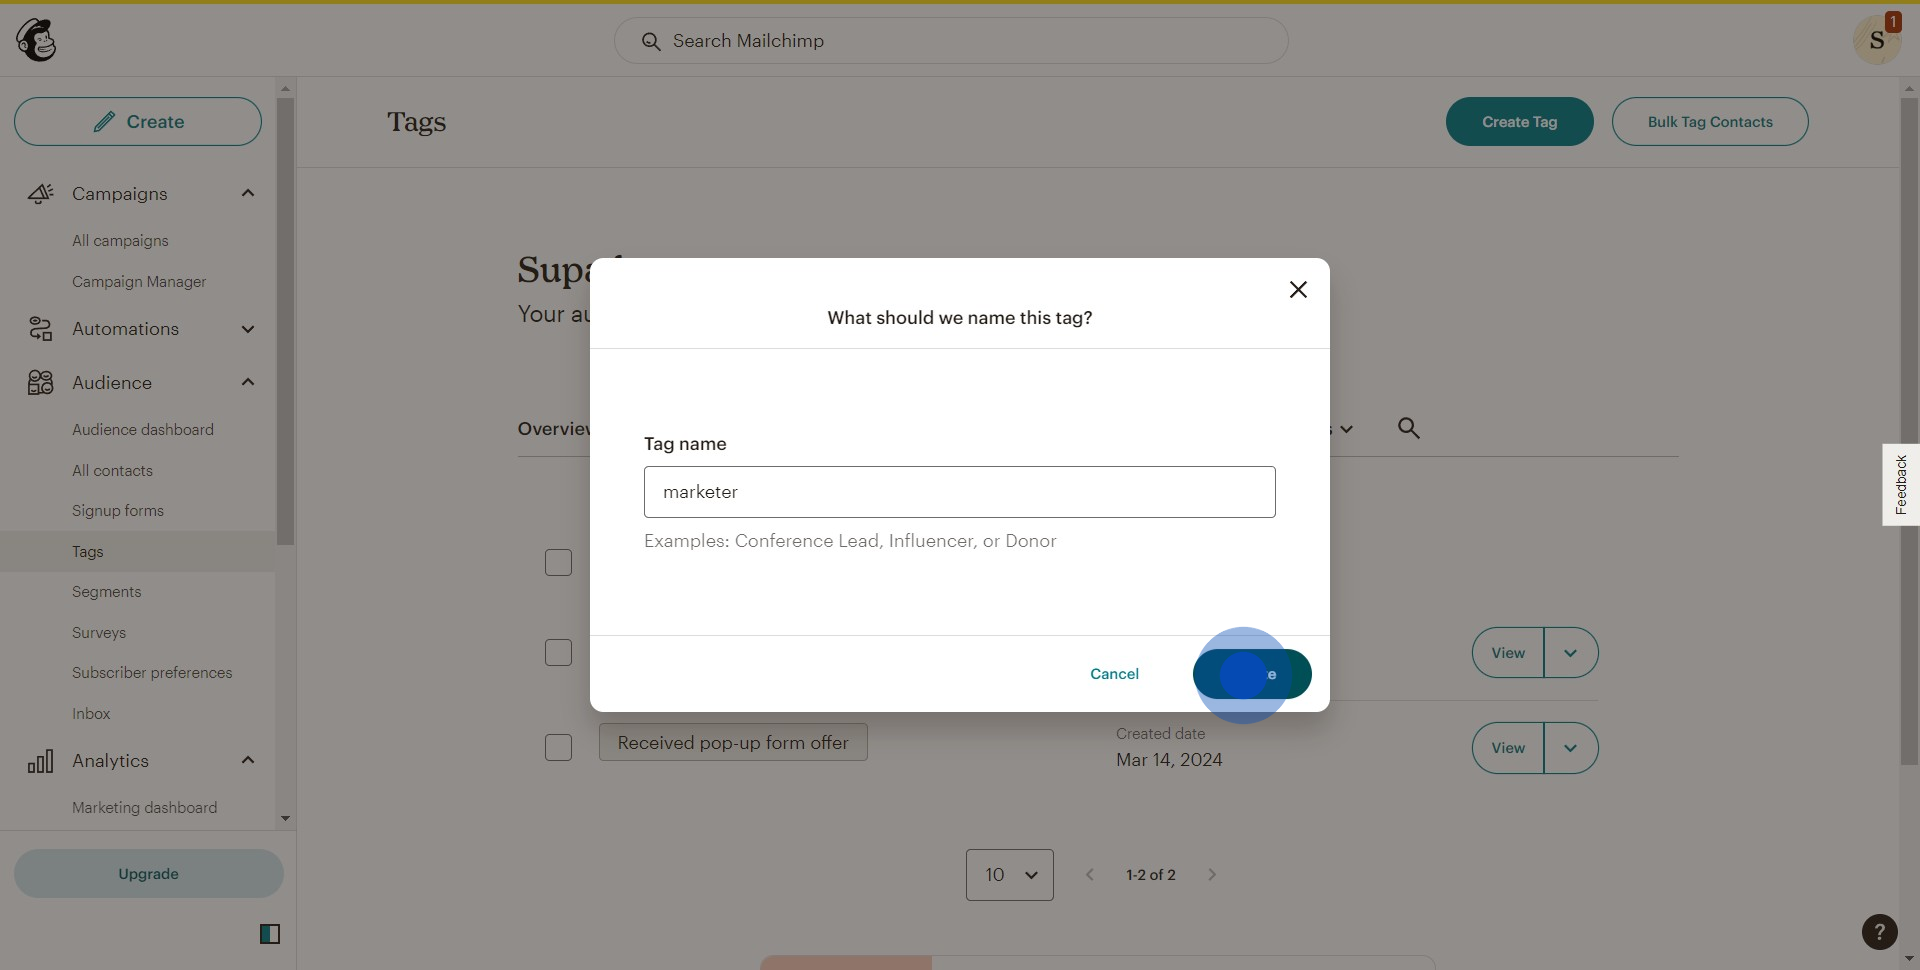
4. Then finalize by clicking the 'Create' button.
5. Congratulations, you've successfully created your tag!
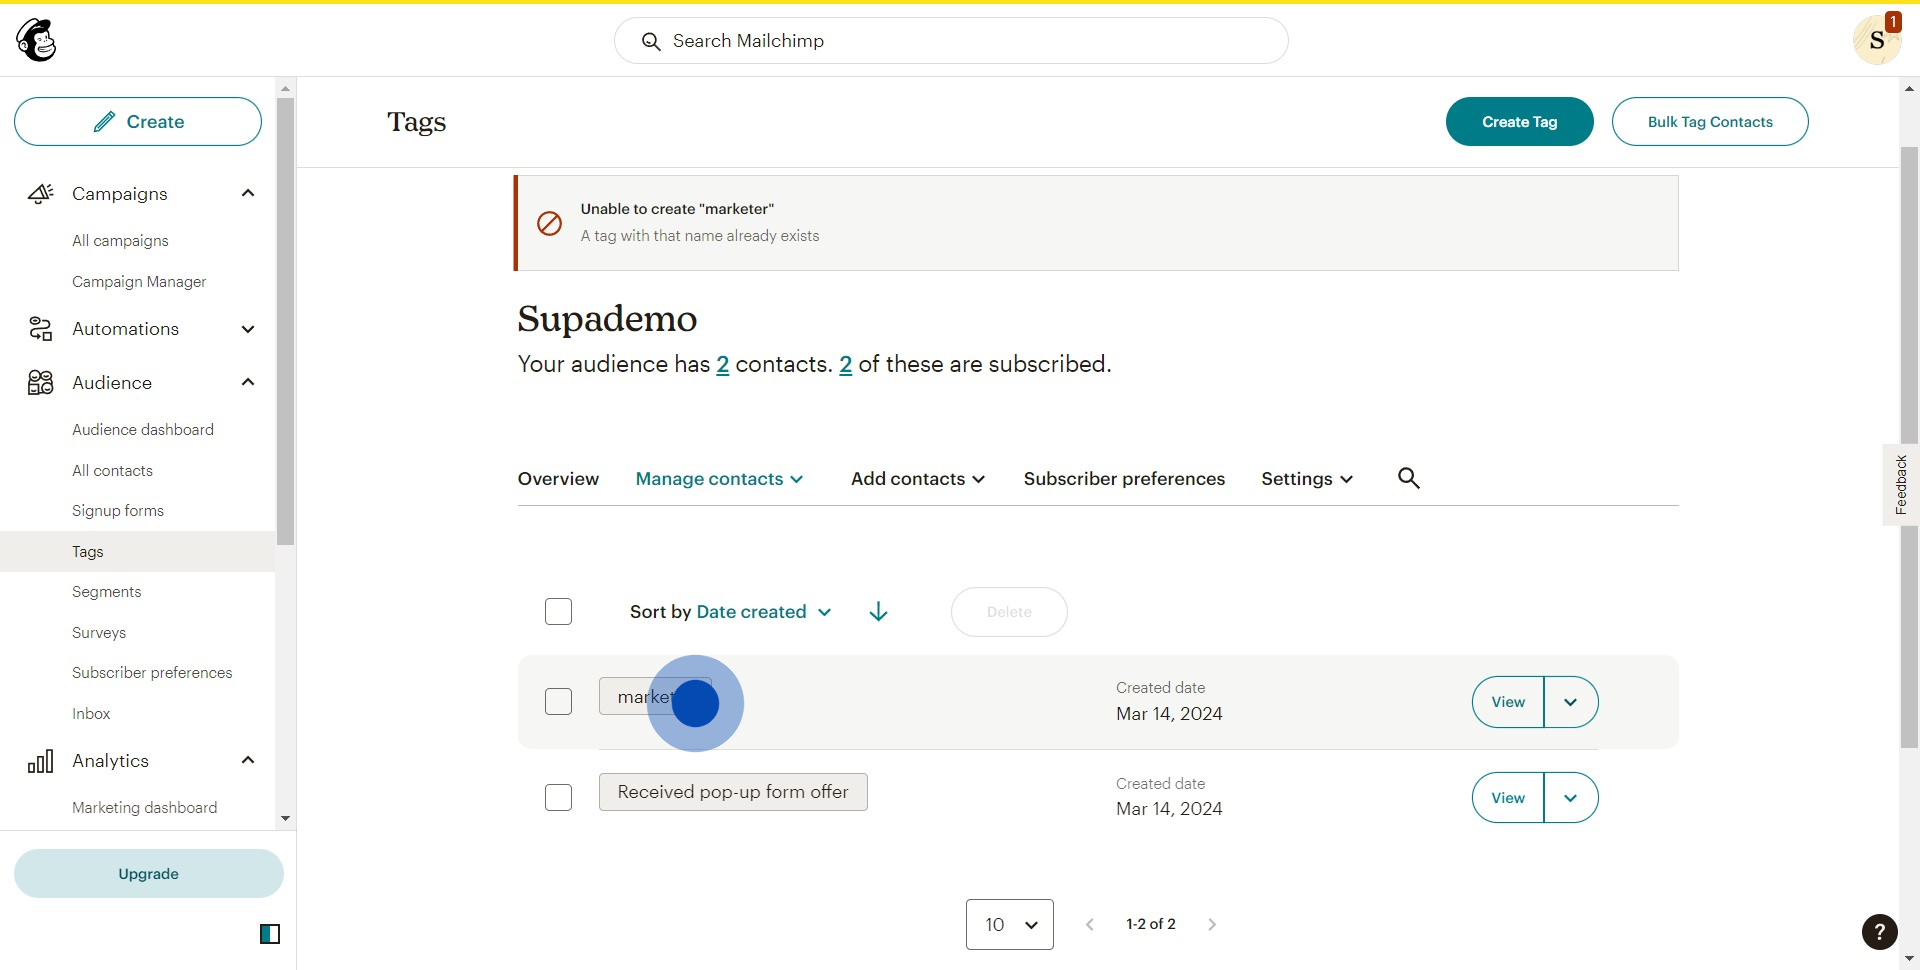
6. Click on 'View' to check your tag.
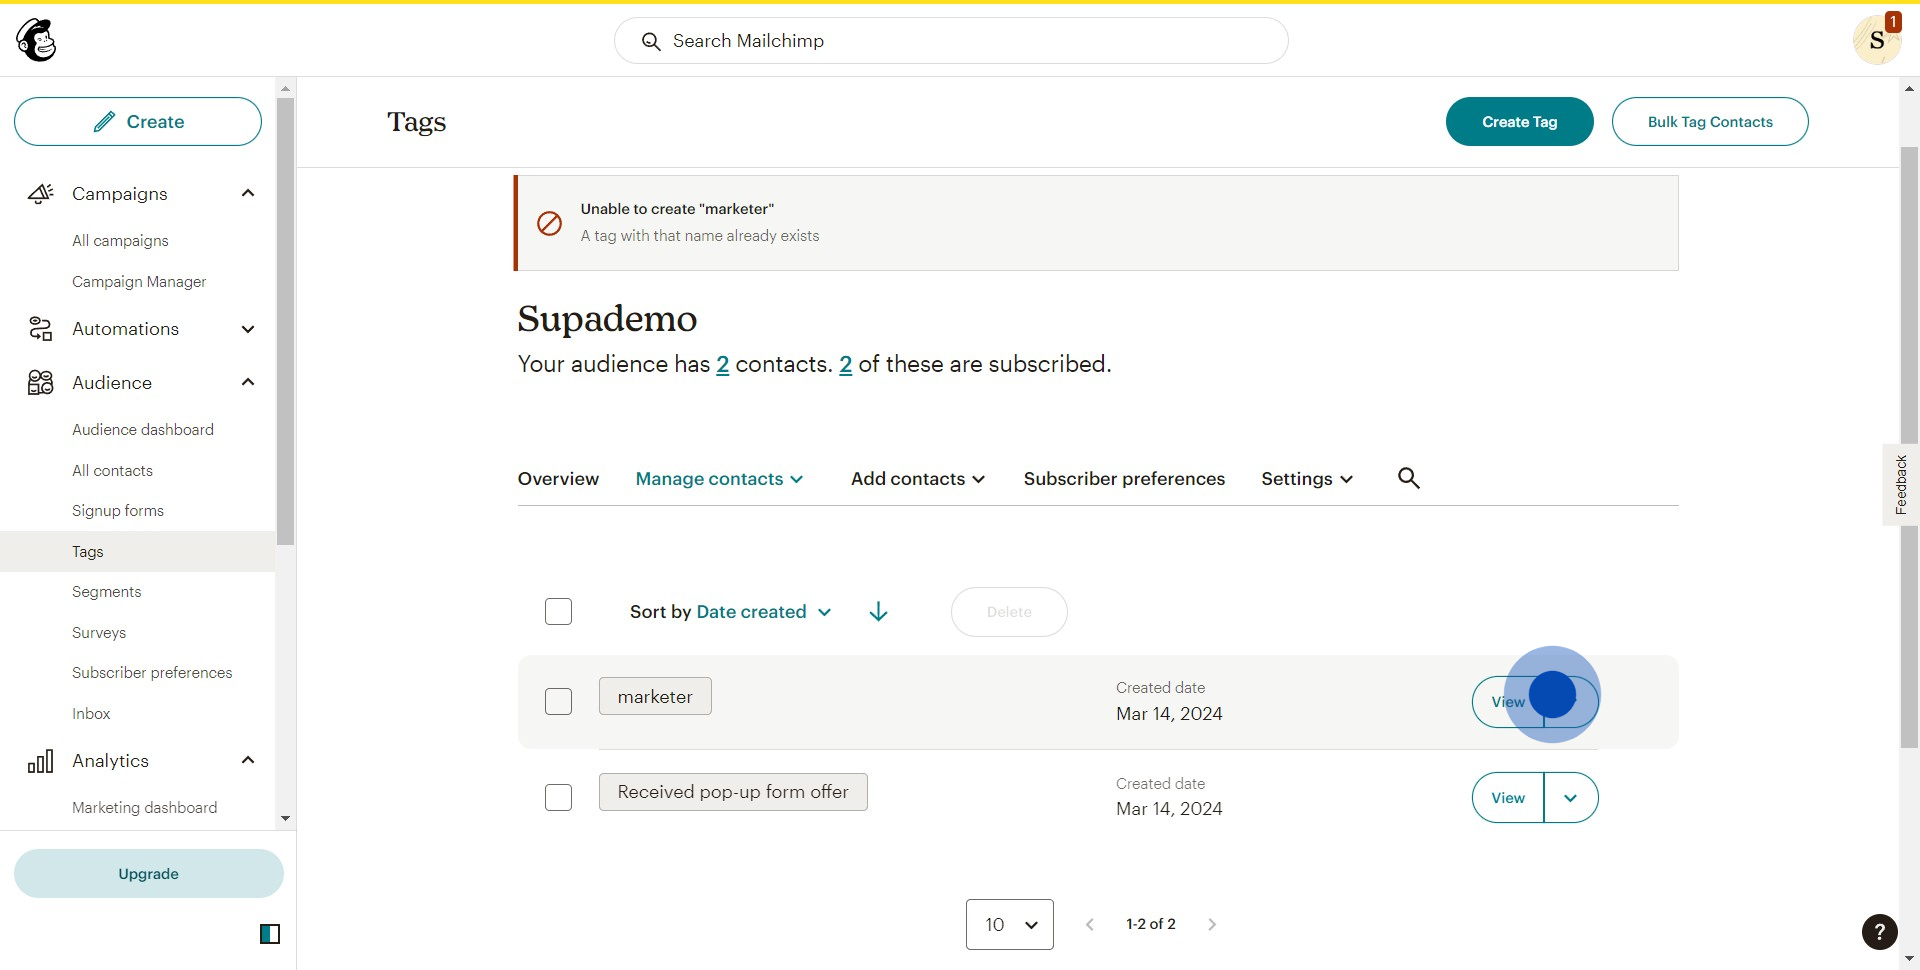
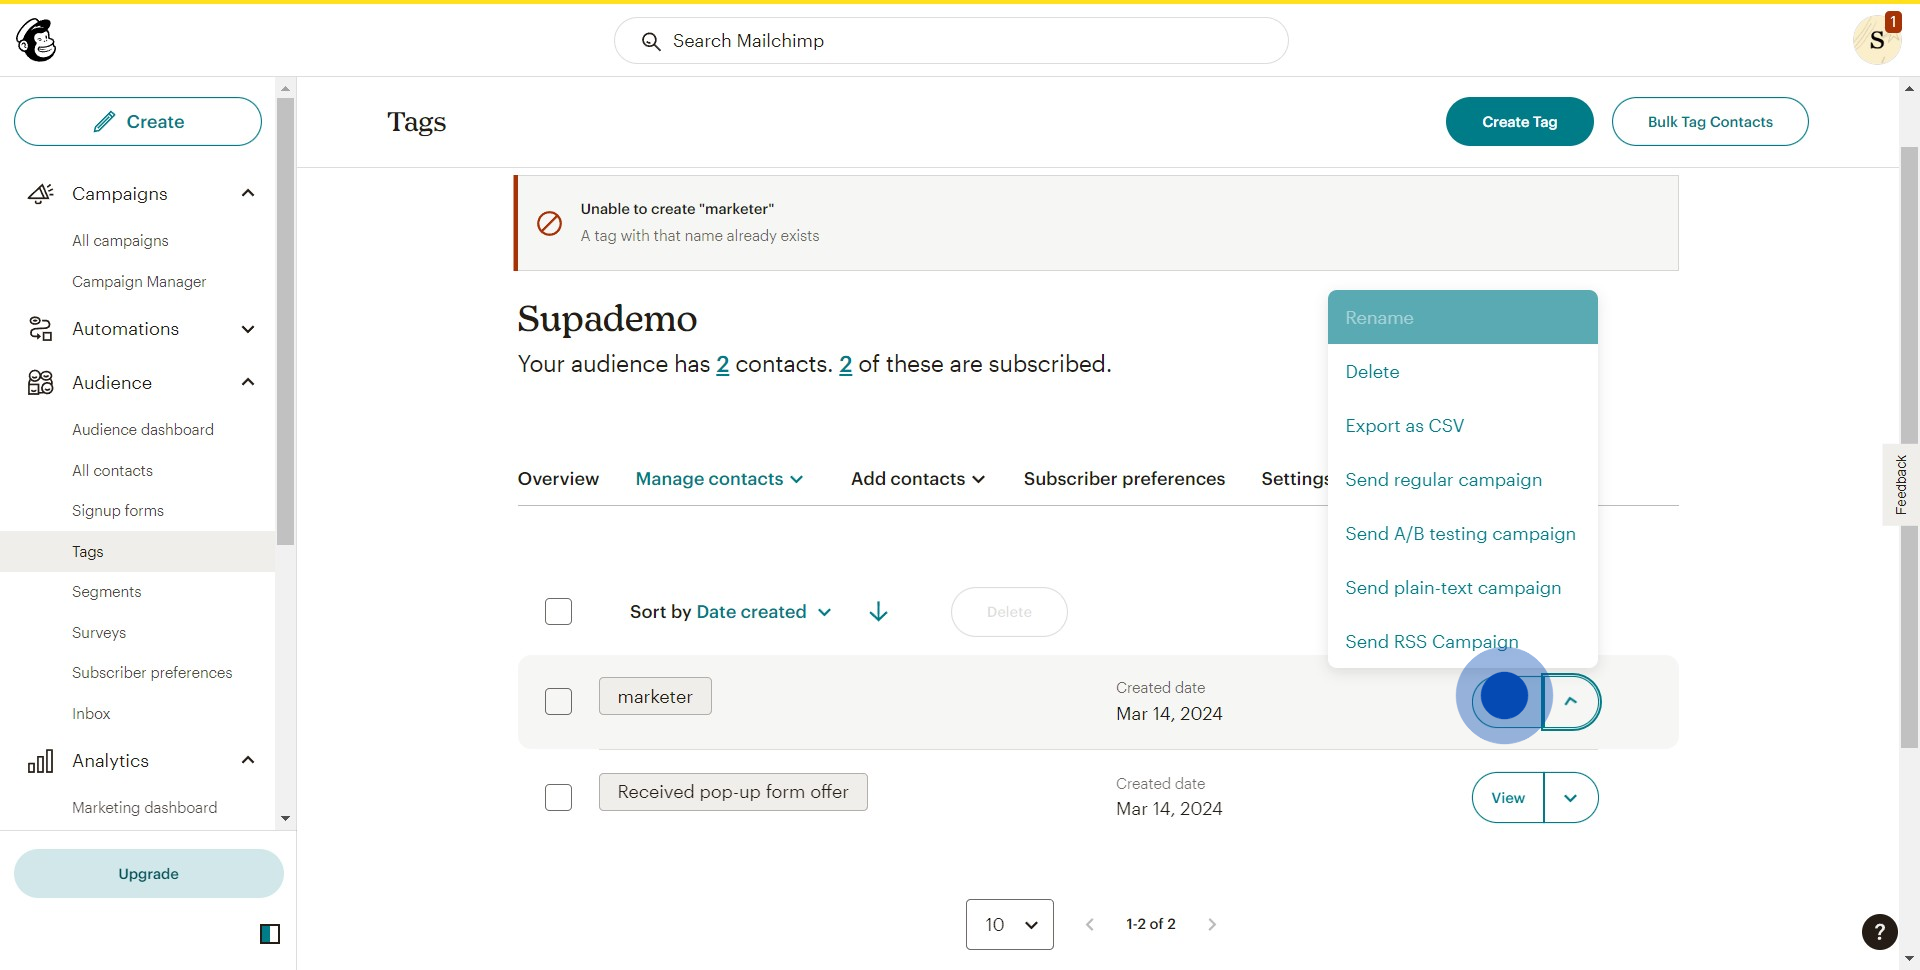
7. Finally, use 'View' to manage and use your tags as needed.
Create your own step-by-step demo
Scale up your training and product adoption with beautiful AI-powered interactive demos and guides. Create your first Supademo in seconds for free.
