Overview:
Enhance your project management in Jira by efficiently adding watchers to keep stakeholders informed and engaged. Elevate collaboration and streamline communication by assigning relevant watchers to your tasks, ensuring easy tracking of progress and updates. This guide offers a straightforward process to seamlessly add and utilize watchers within Jira, empowering you to optimize project visibility and foster efficient team communication within the platform.
Who is Jira best suited for?
Jira is best suited for a wide range of professionals, including Software Developers, Project Managers, and Agile Teams. For example, Software Developers can use Jira for tracking bugs and managing development tasks, Project Managers can leverage it for planning sprints and monitoring project progress, and Agile Teams can use it for managing backlogs and facilitating collaborative workflows, all benefiting from Jira’s robust issue tracking and project management features.
How to add a watcher in Jira
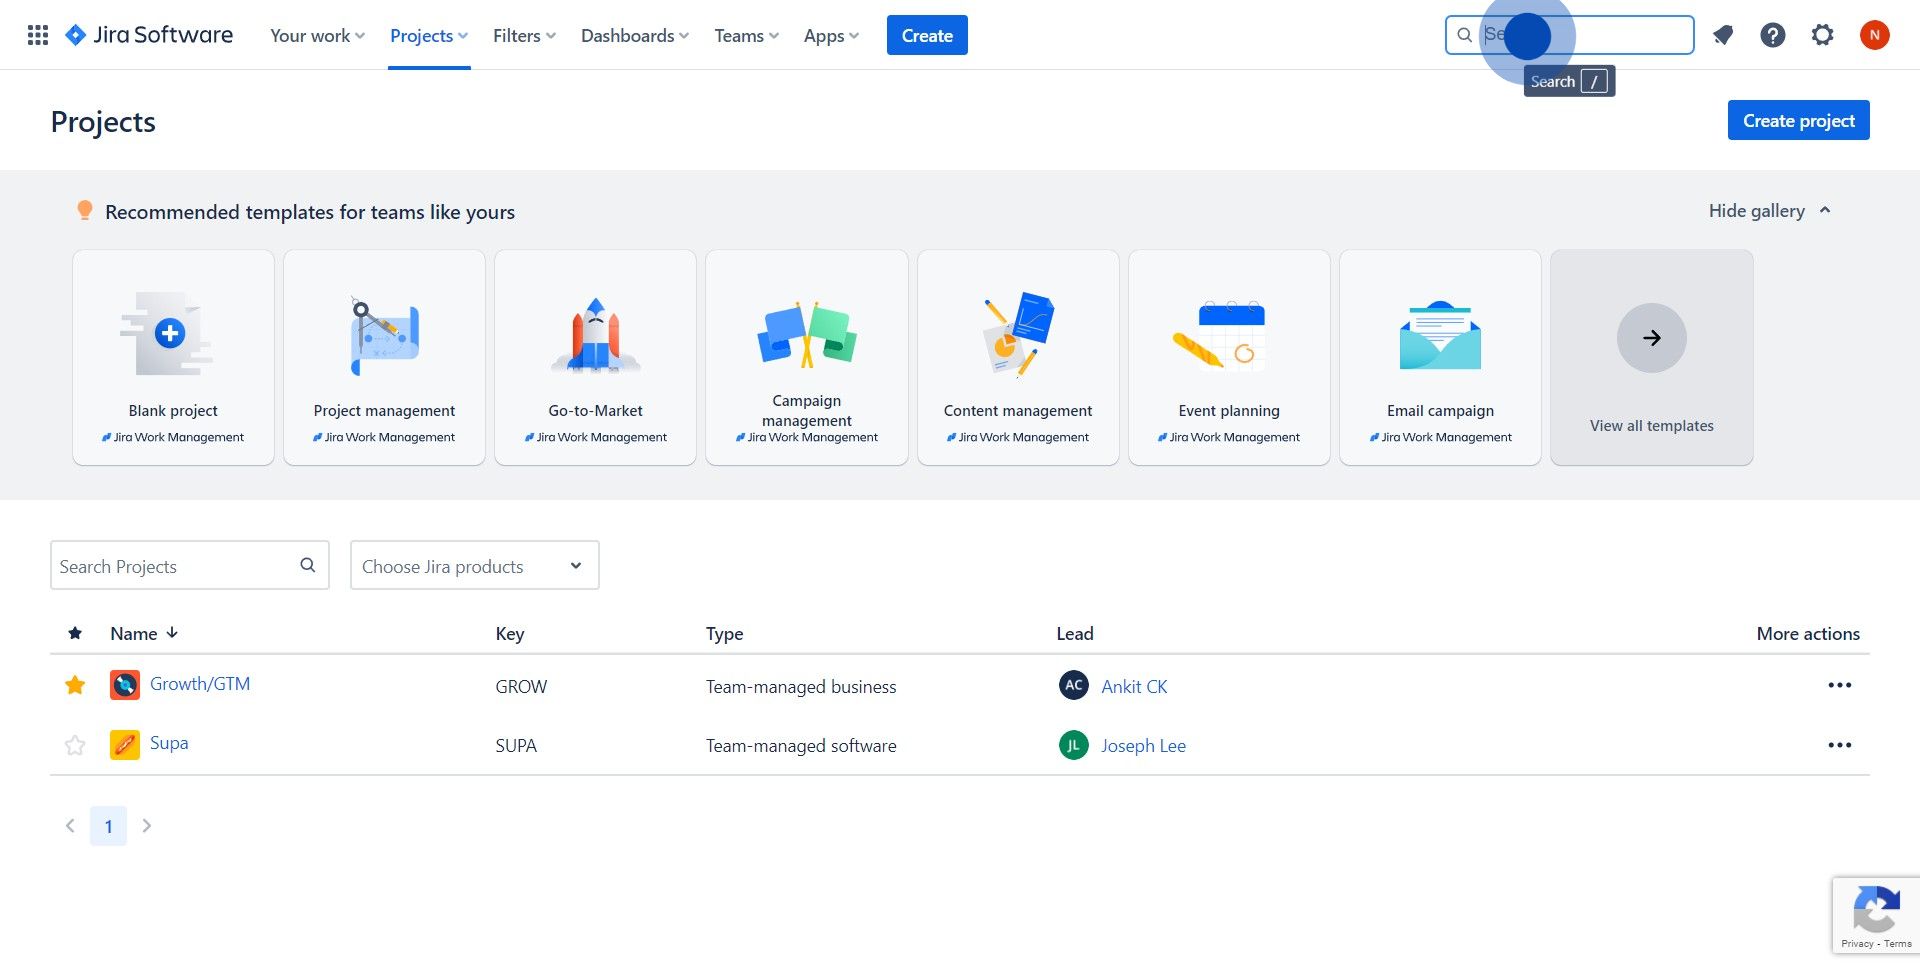
1. Start by entering the ticket you're in search of.
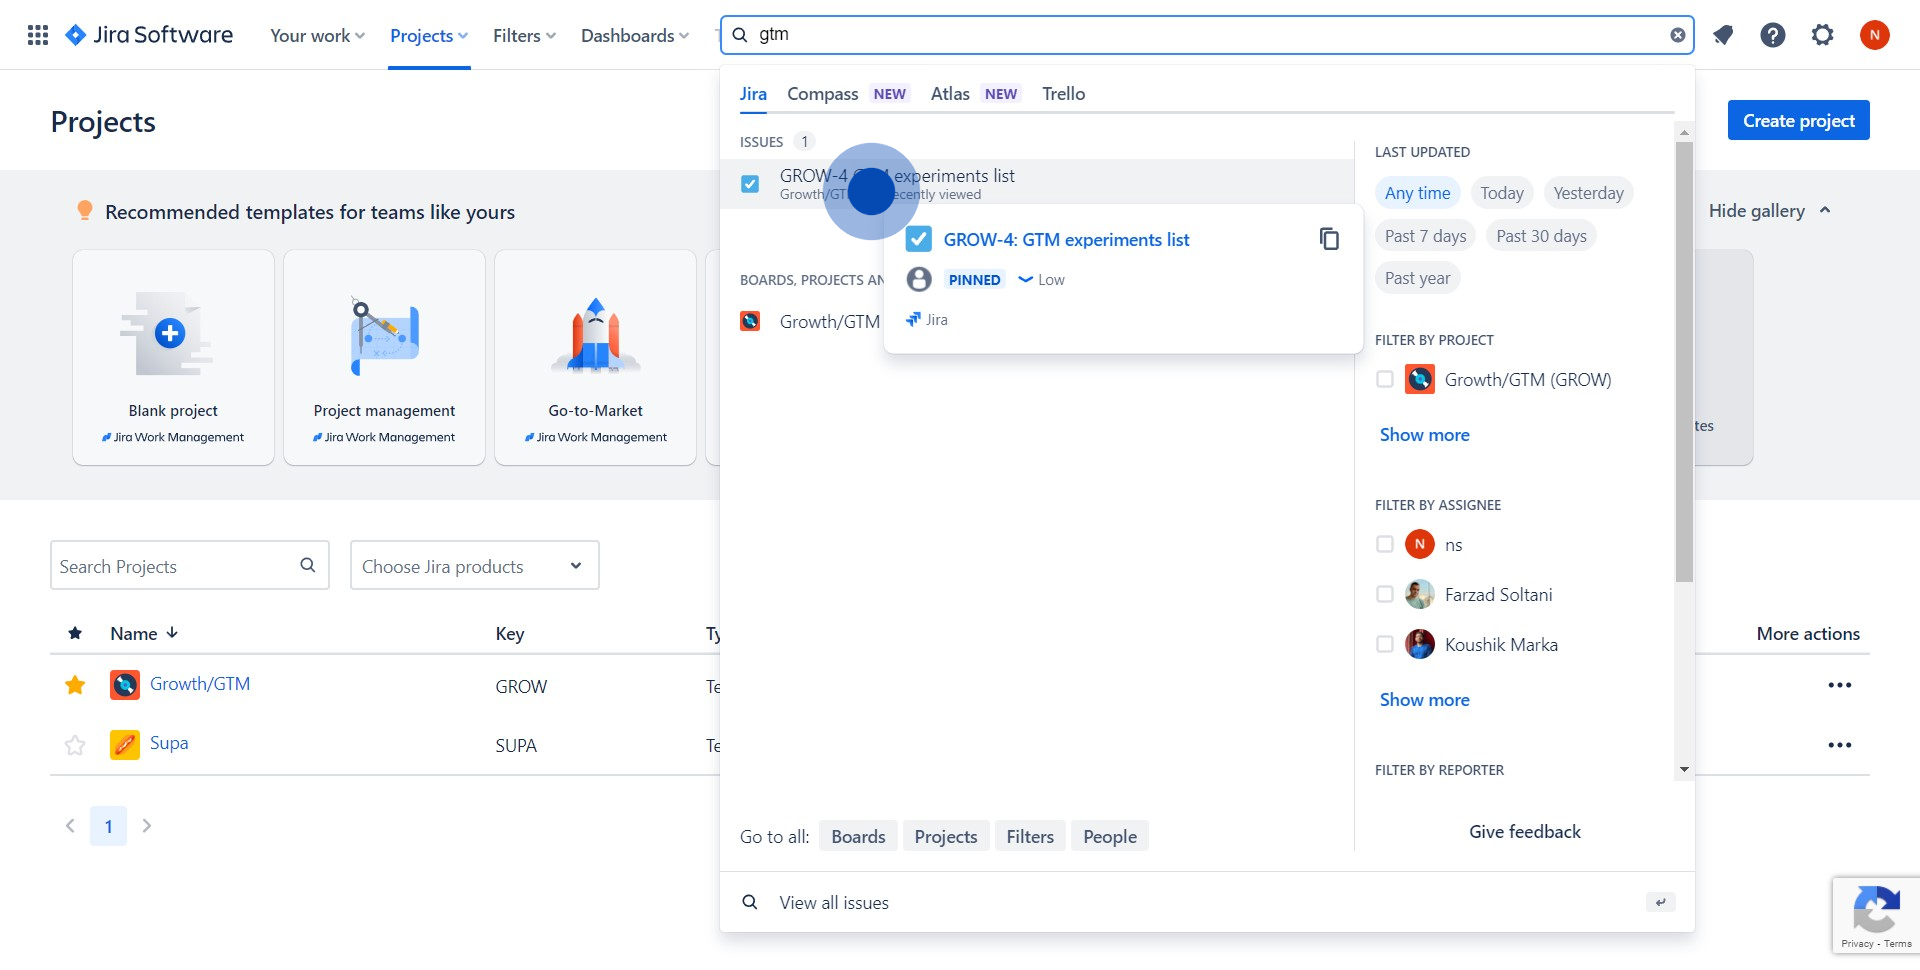
2. Next, select and open your desired ticket from the results.
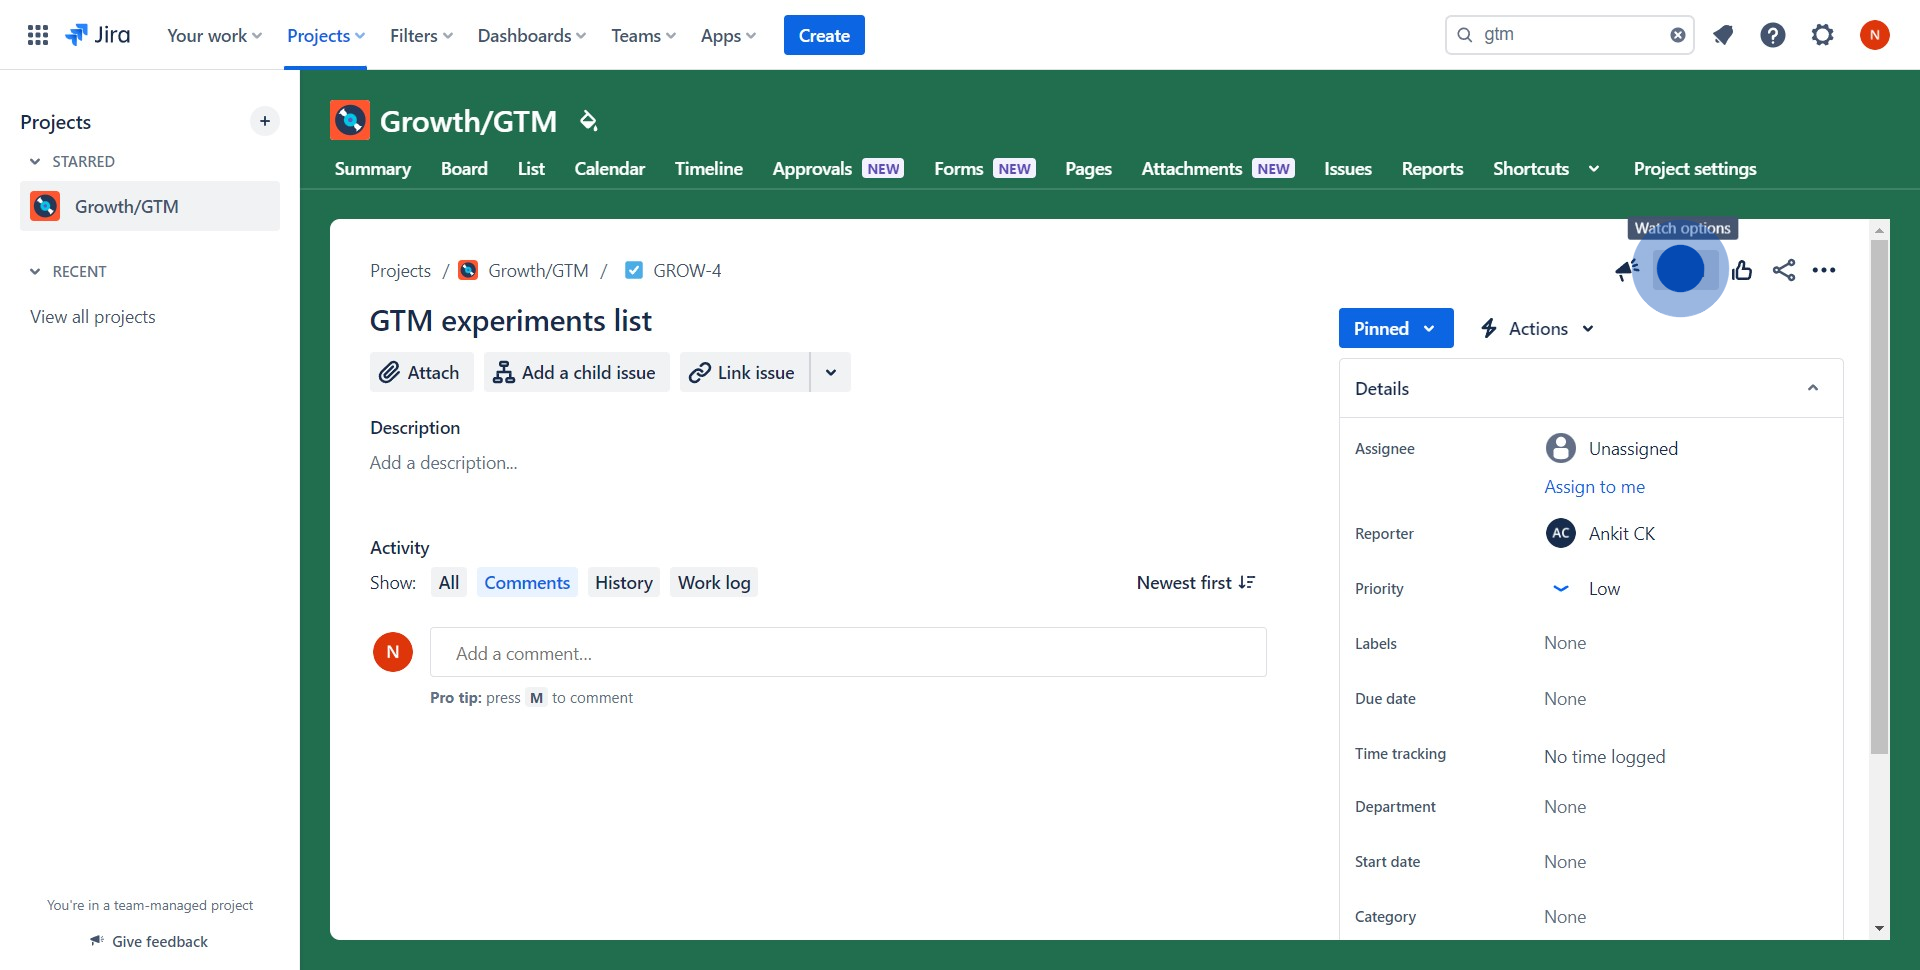
3. Then, click on the 'eye' icon located on the open ticket.
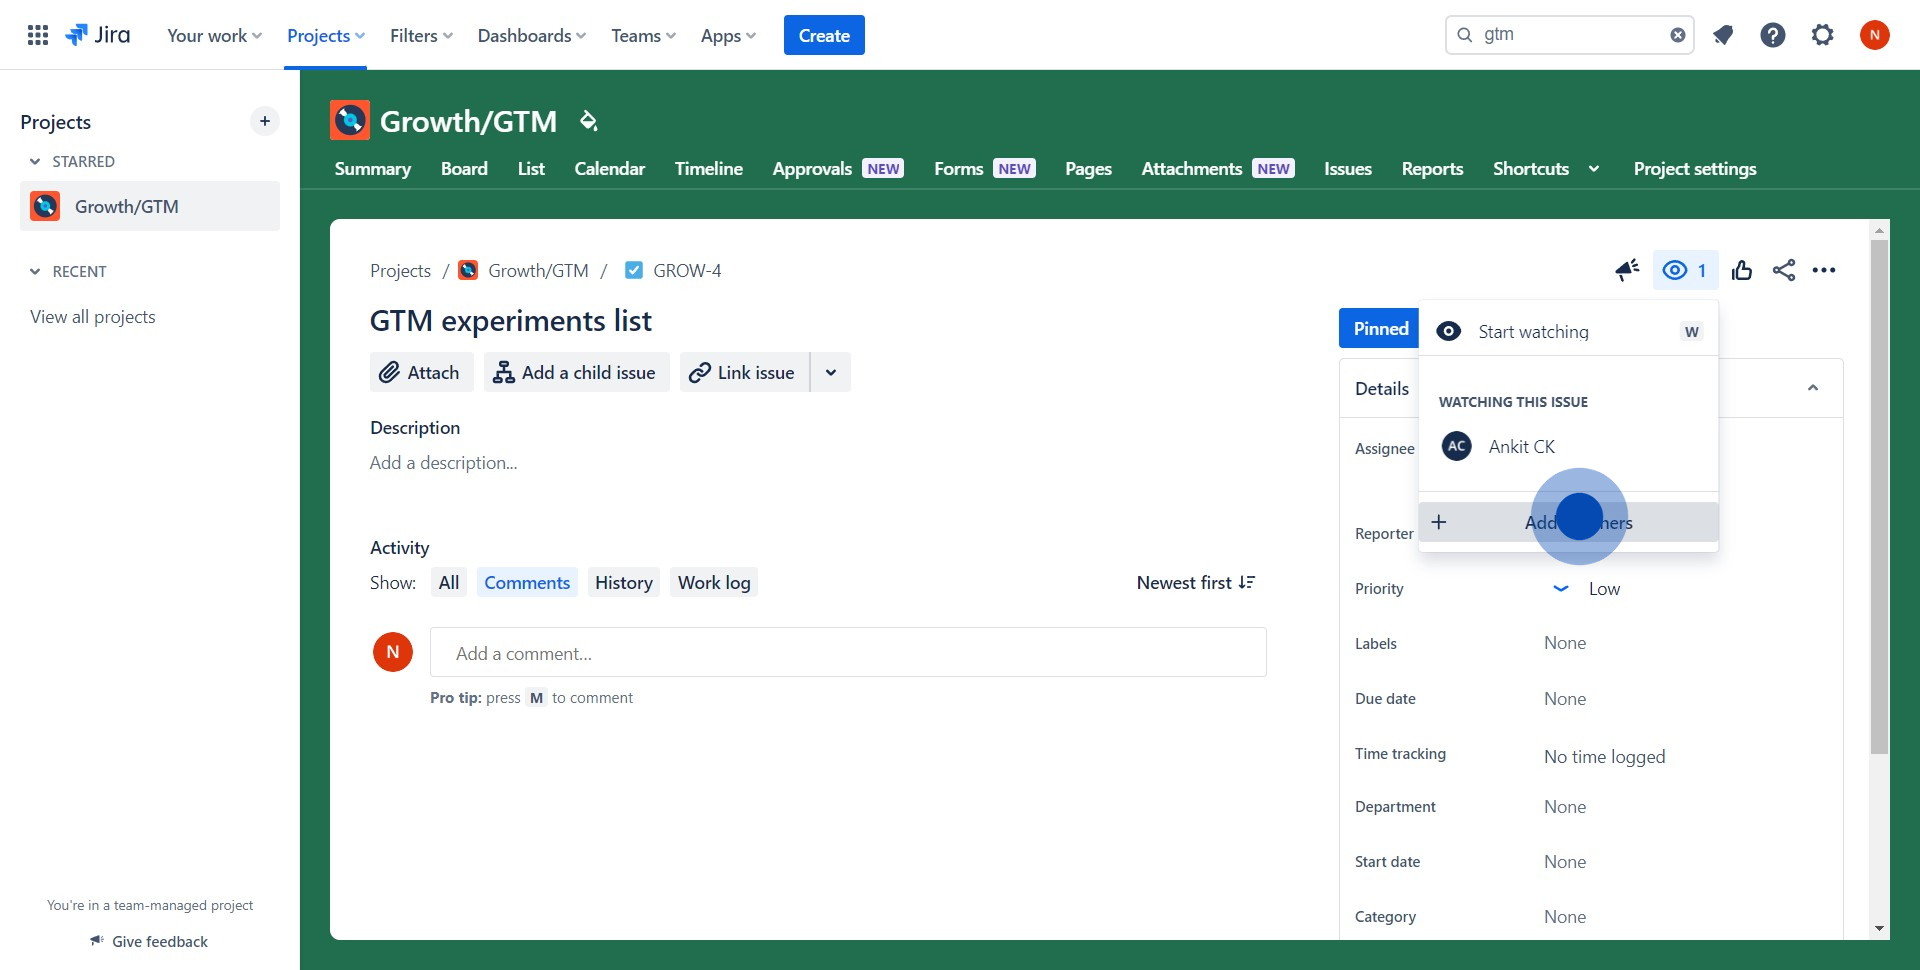
4. Now, select 'Add watchers' to modify the watcher settings.
5. Proceed to manage the watchers, add or remove as needed.
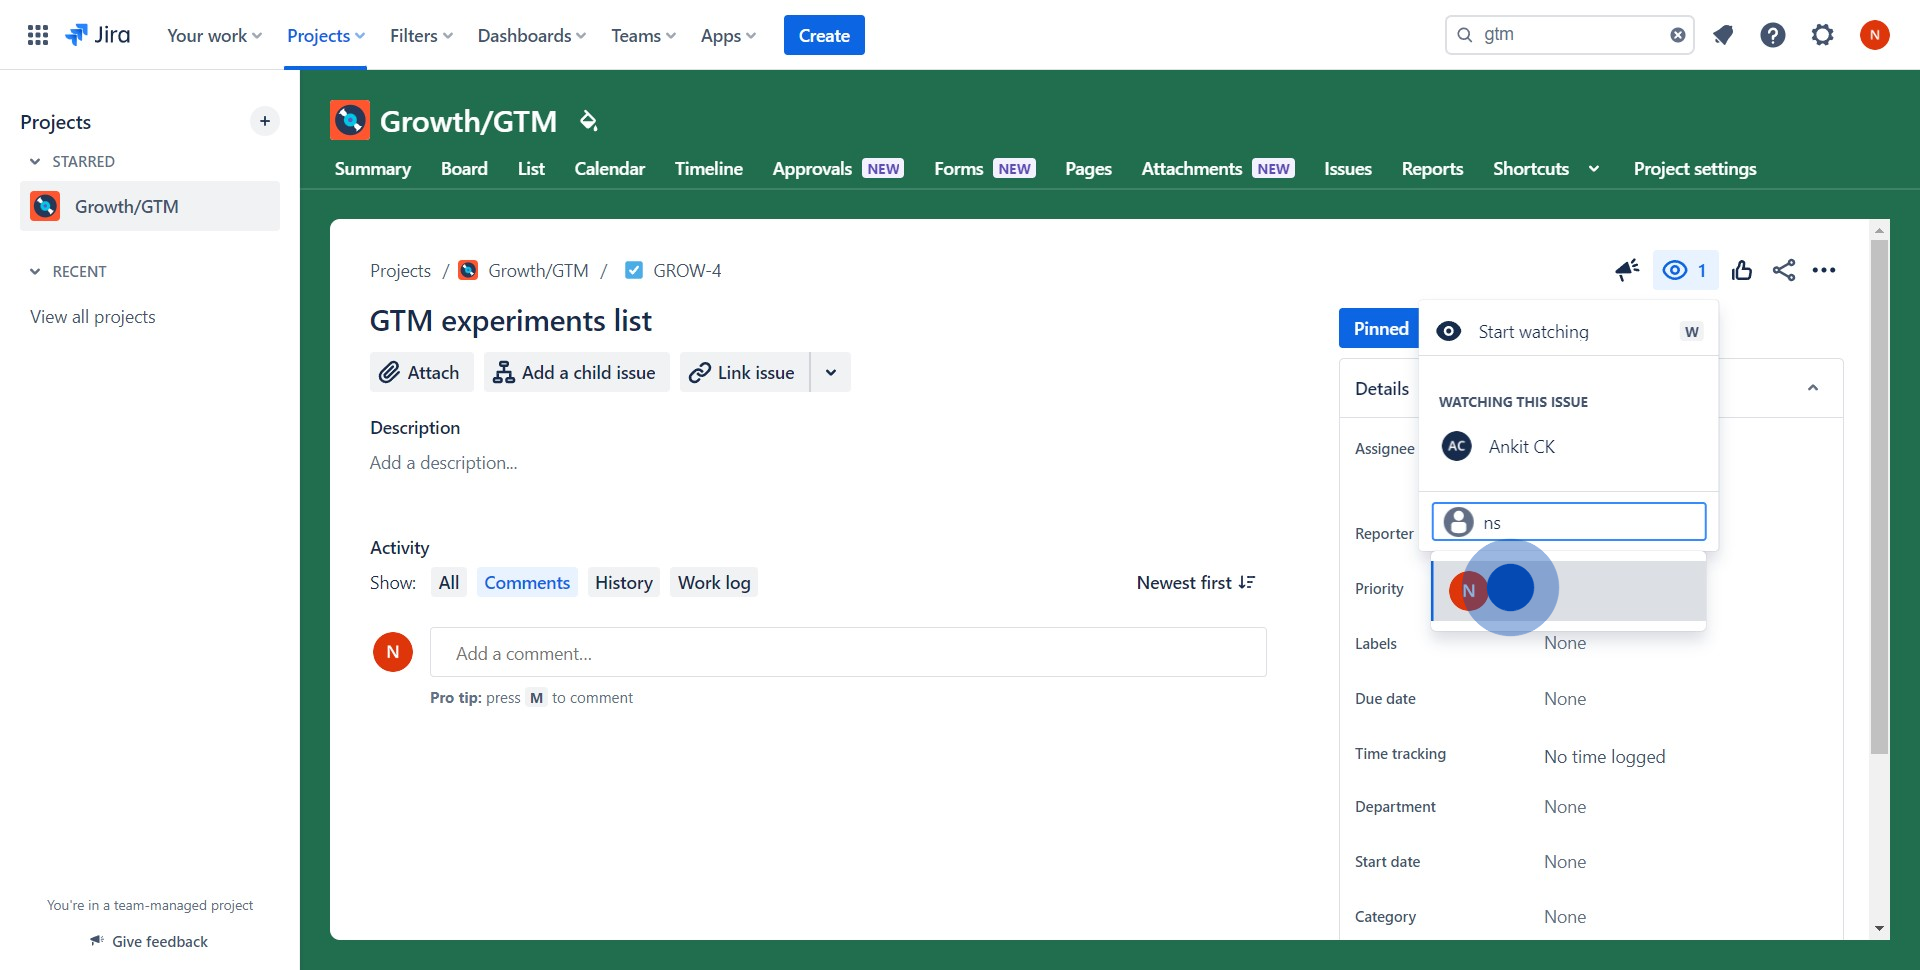
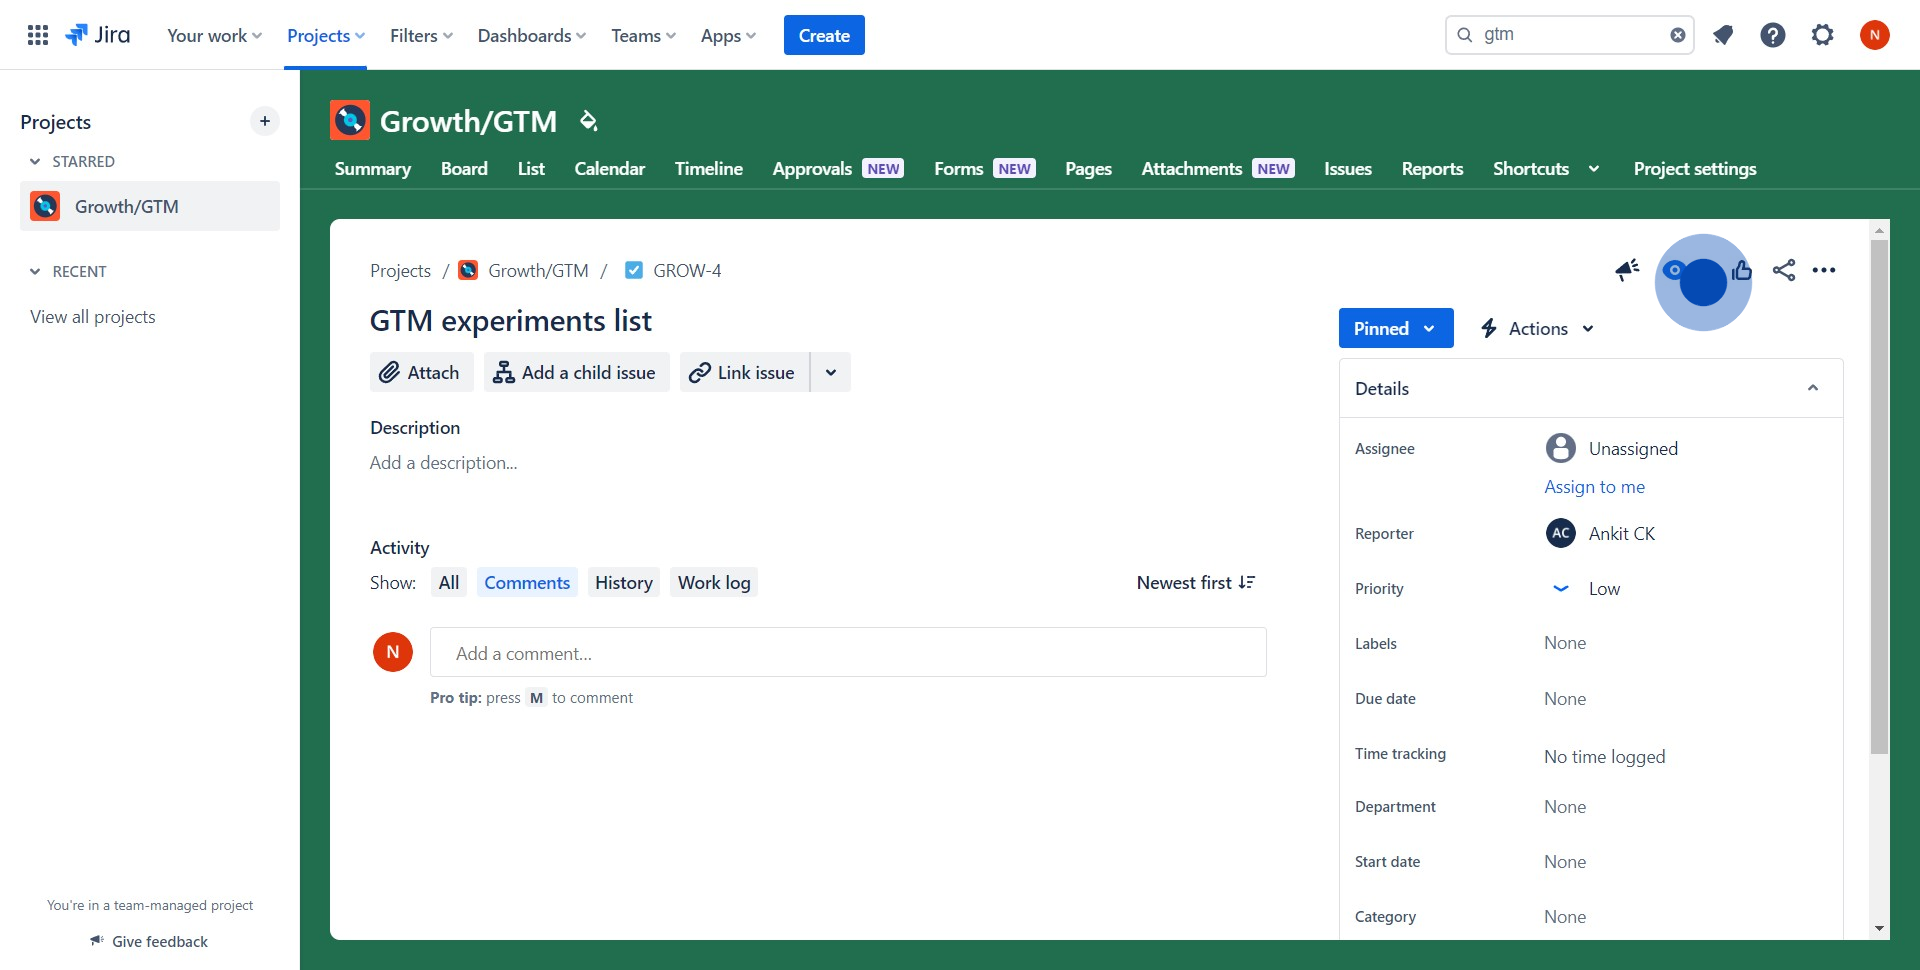
6. Lastly, confirm your modification
Common FAQs on Jira
How do I create and manage issues in Jira?
To create an issue in Jira, log in to your Jira project and click on the “Create” button in the top navigation bar. Choose the issue type (e.g., Task, Bug, Story), fill in the necessary details such as the summary, description, and assignee, and set the priority. Click “Create” to add the issue to your project’s backlog or board. You can manage issues by dragging them through different workflow stages (e.g., To Do, In Progress, Done) on your board or by updating their details and status directly from the issue view.
How can I customize workflows in Jira?
To customize workflows, go to the “Settings” or “Project Settings” of your Jira project and select “Workflows” from the left-hand menu. You can either edit an existing workflow or create a new one. In the workflow editor, you can define different statuses (e.g., Open, In Progress, Closed) and set up transitions between these statuses. You can also add conditions, validators, and post-functions to control how issues move through the workflow. Once customized, publish your workflow and assign it to your project or specific issue types.
How do I generate reports and track project progress in Jira?
To generate reports, navigate to the “Reports” section of your Jira project. Jira offers a variety of pre-built reports, such as Burndown Charts, Velocity Charts, and Issue Statistics, which help you track progress, measure team performance, and analyze project health. Select the report you want to generate and configure the settings, such as the time frame, issue types, and filters. Once the report is generated, you can view it directly in Jira and use it to make informed decisions about your project’s progress. You can also export reports for sharing with stakeholders.
Create your own interactive demo
Scale up your training and product adoption with beautiful AI-powered interactive demos and guides. Create your first Supademo in seconds for free.


