Overview:

Efficient task management is crucial for maximizing productivity, and Trello offers a user-friendly platform to achieve just that. This guide will walk you through the process of archiving and deleting cards in Trello, ensuring a clutter-free workspace and improved project organization.

Who is Trello best suited for?

Trello is best suited for a wide range of professionals, including Project Managers, Team Coordinators, and Freelancers. For example, Project Managers can use Trello for organizing tasks and tracking project progress, Team Coordinators can leverage it for managing team workflows and collaboration, and Freelancers can use it for planning and prioritizing their work, all benefiting from Trello’s visual task management and flexible board system.

How to archive and delete cards in Trello

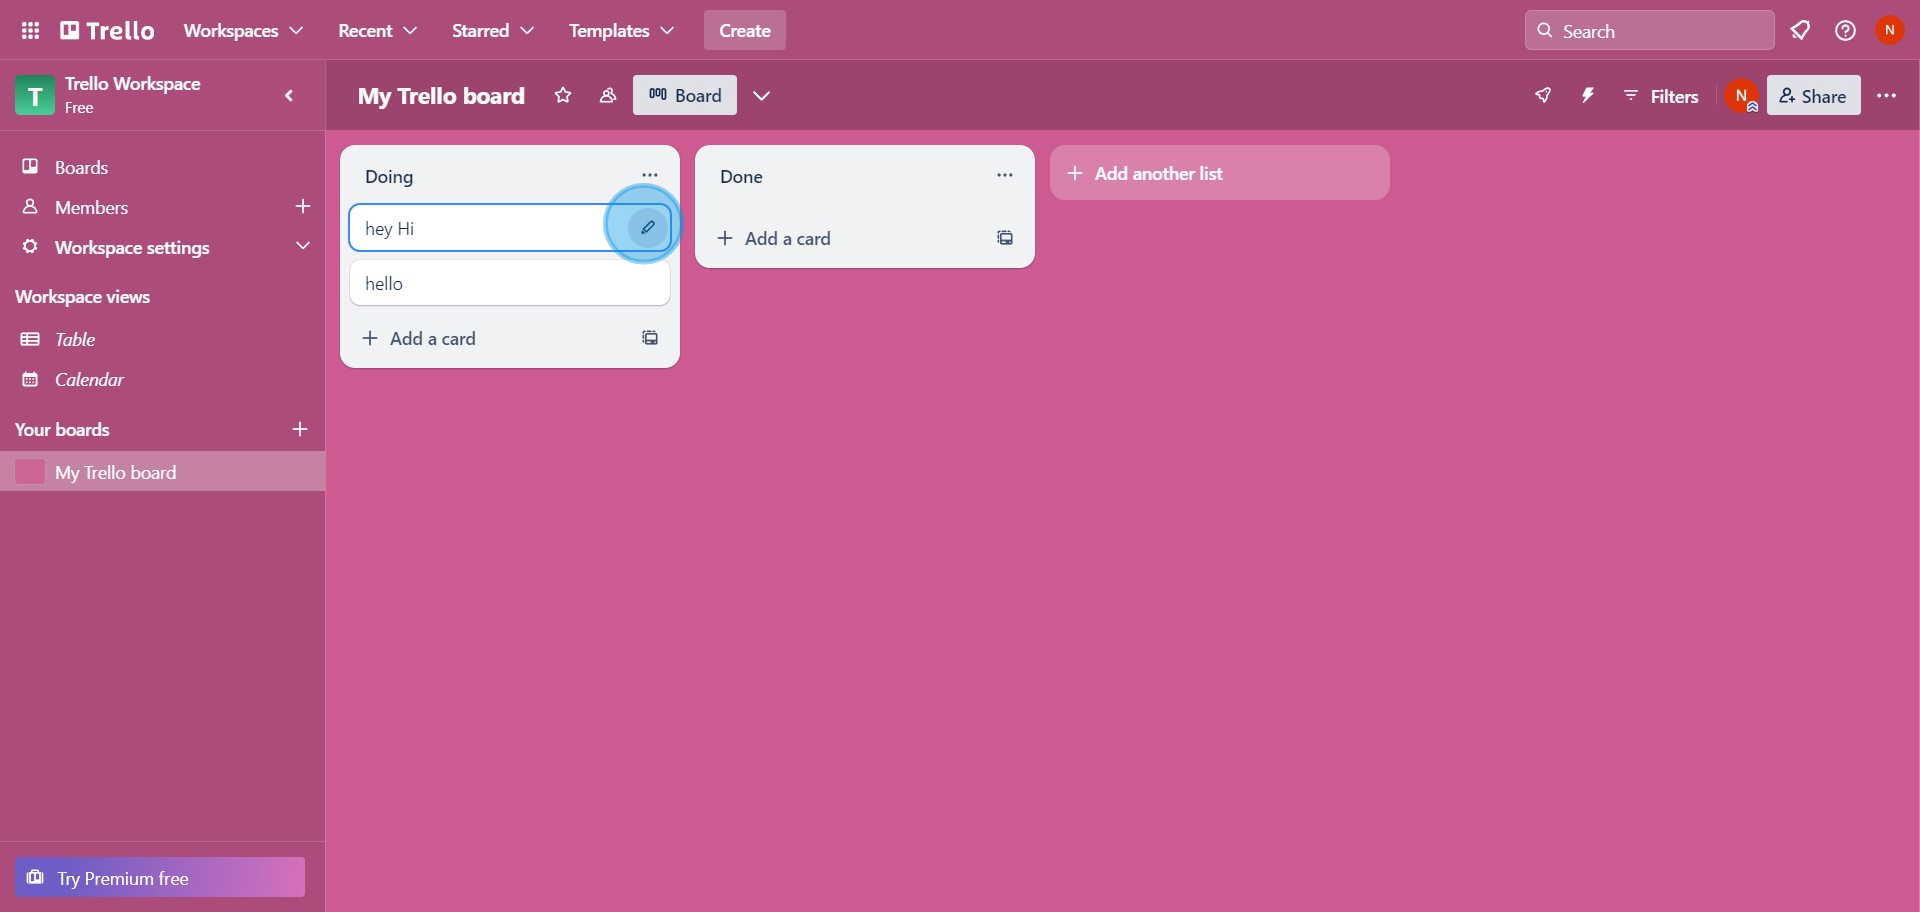
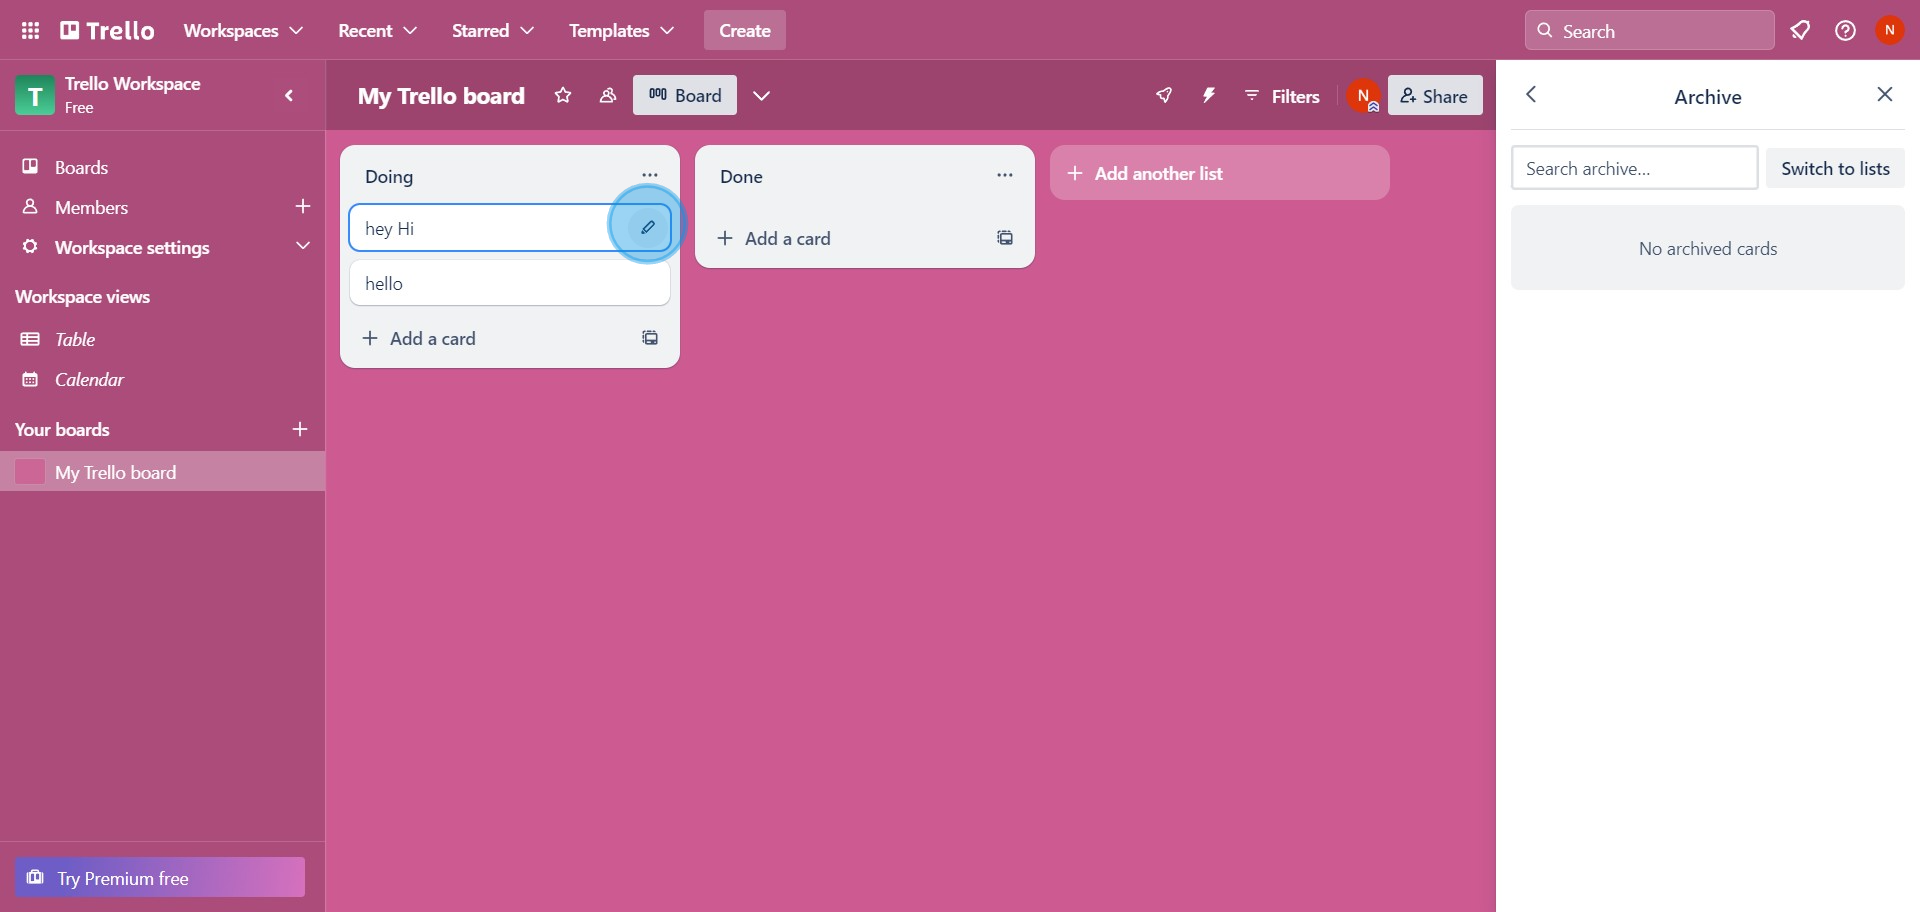
1. Choose the card you wish to archive.

1 Click here

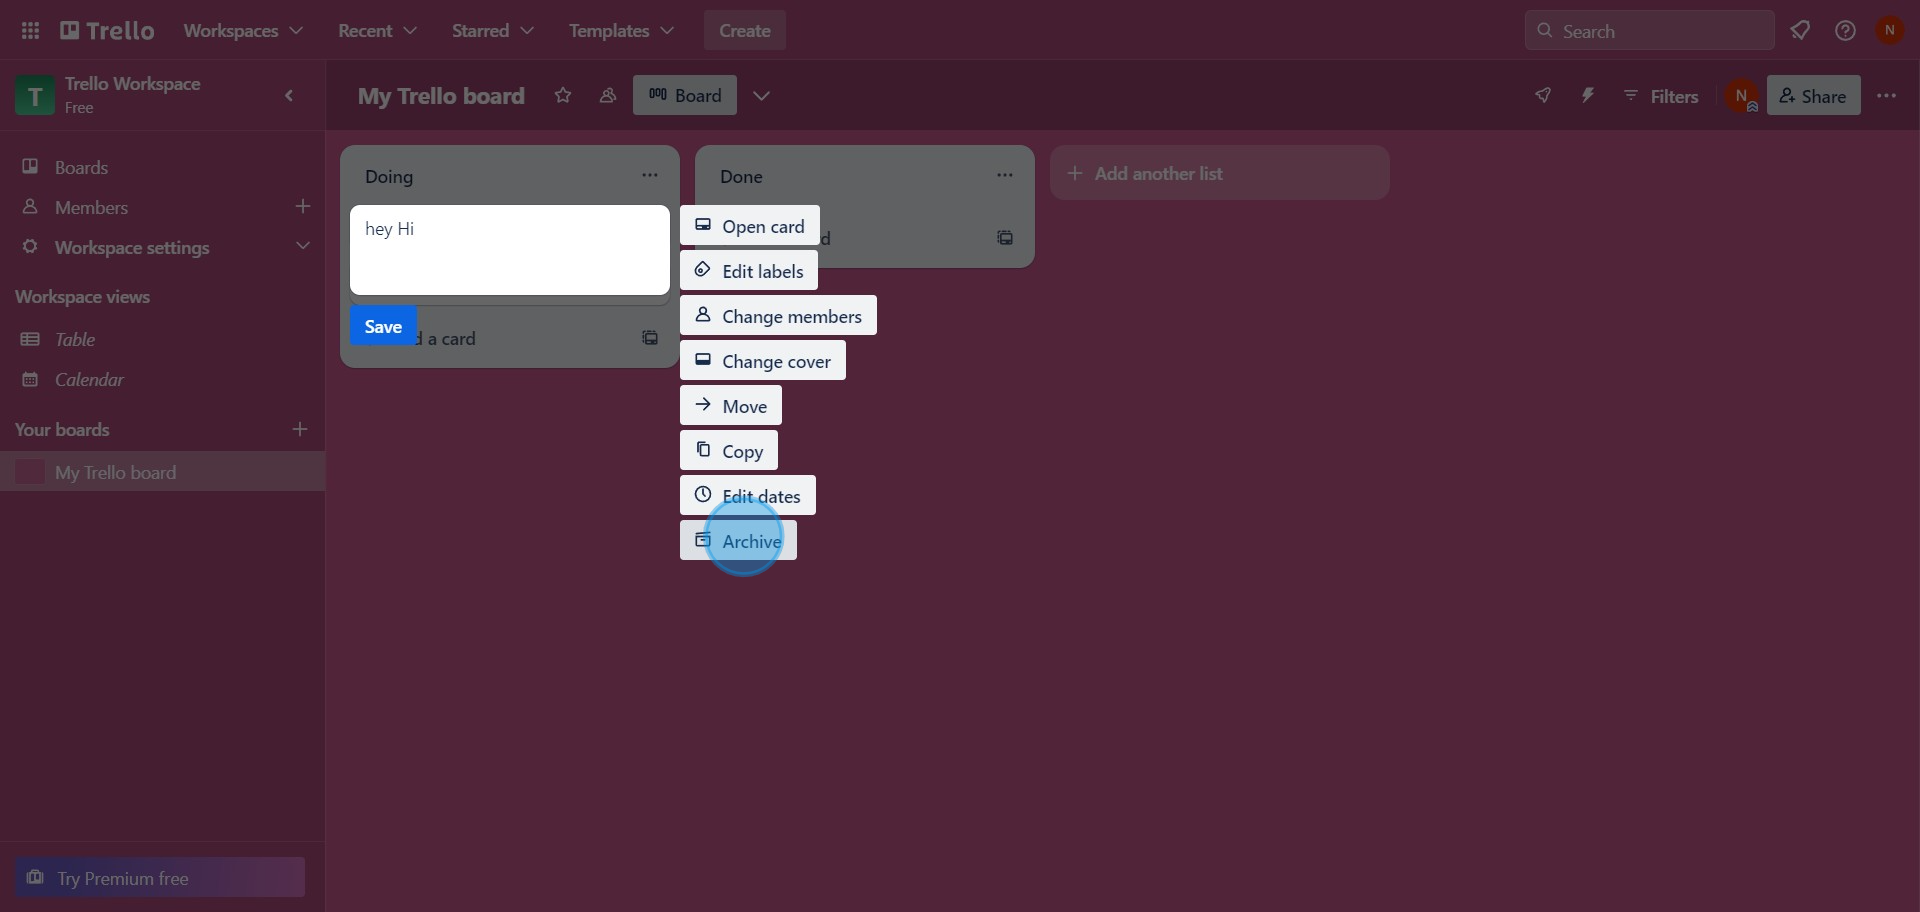
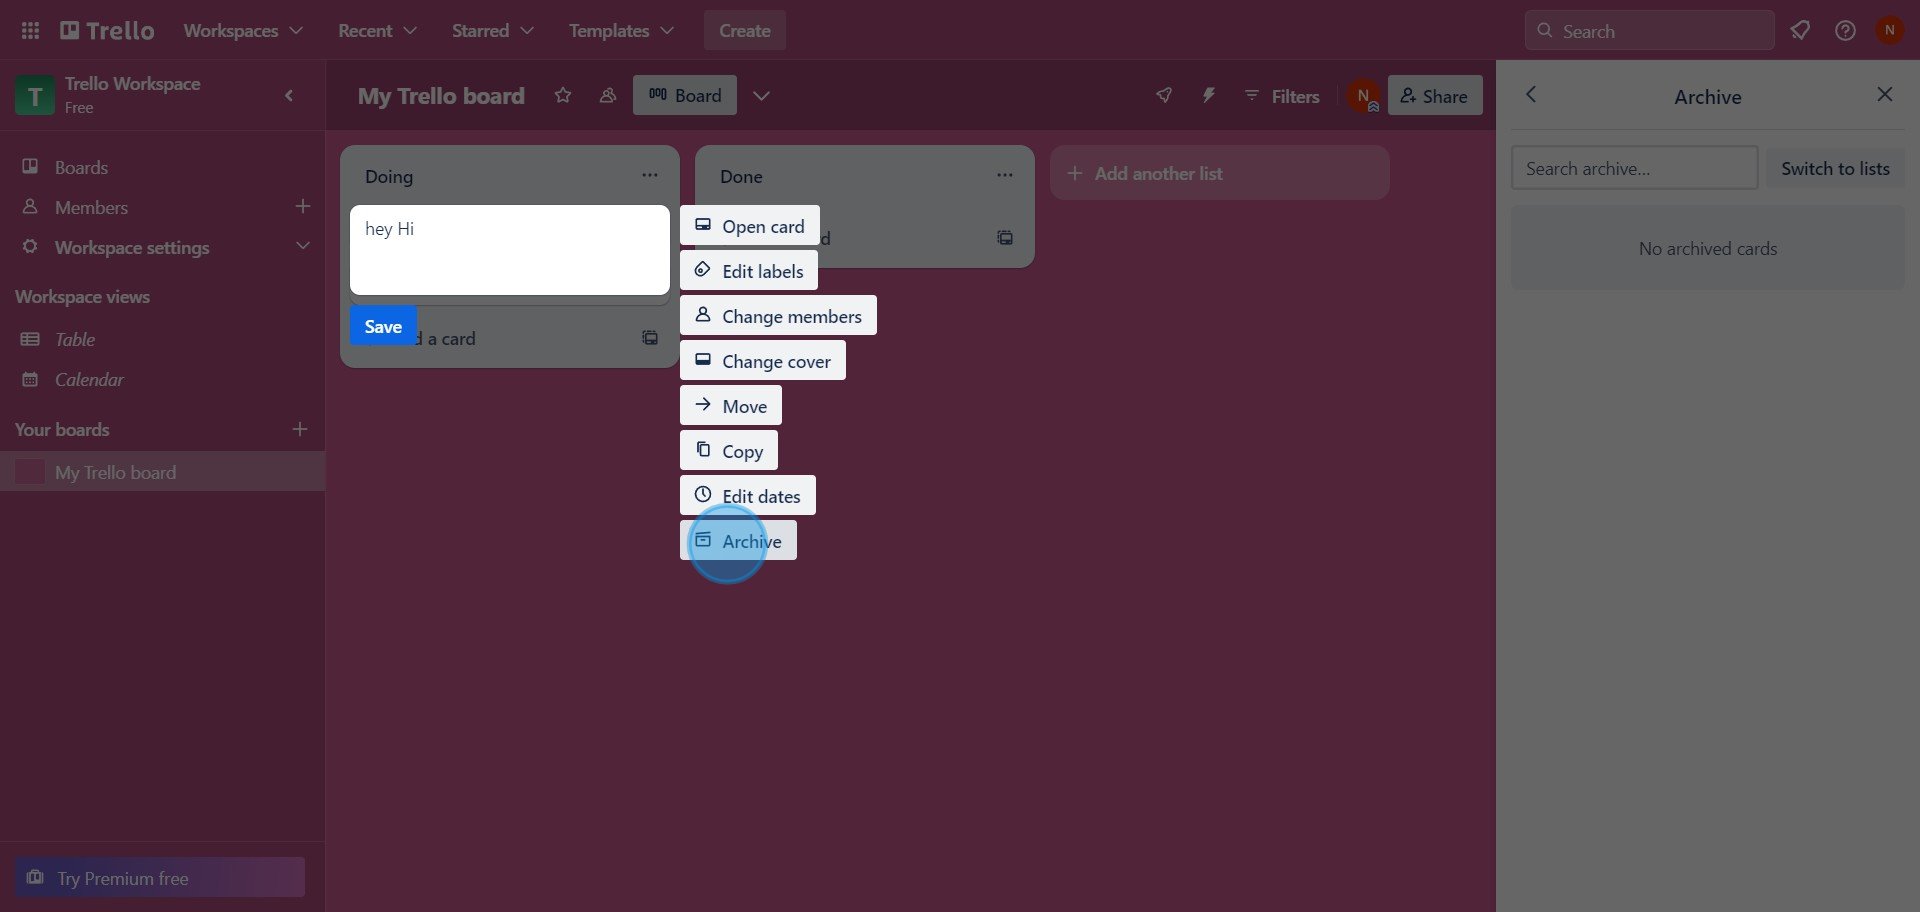
2. Now, hit the 'Archive' button.

2 Click on "Archive"

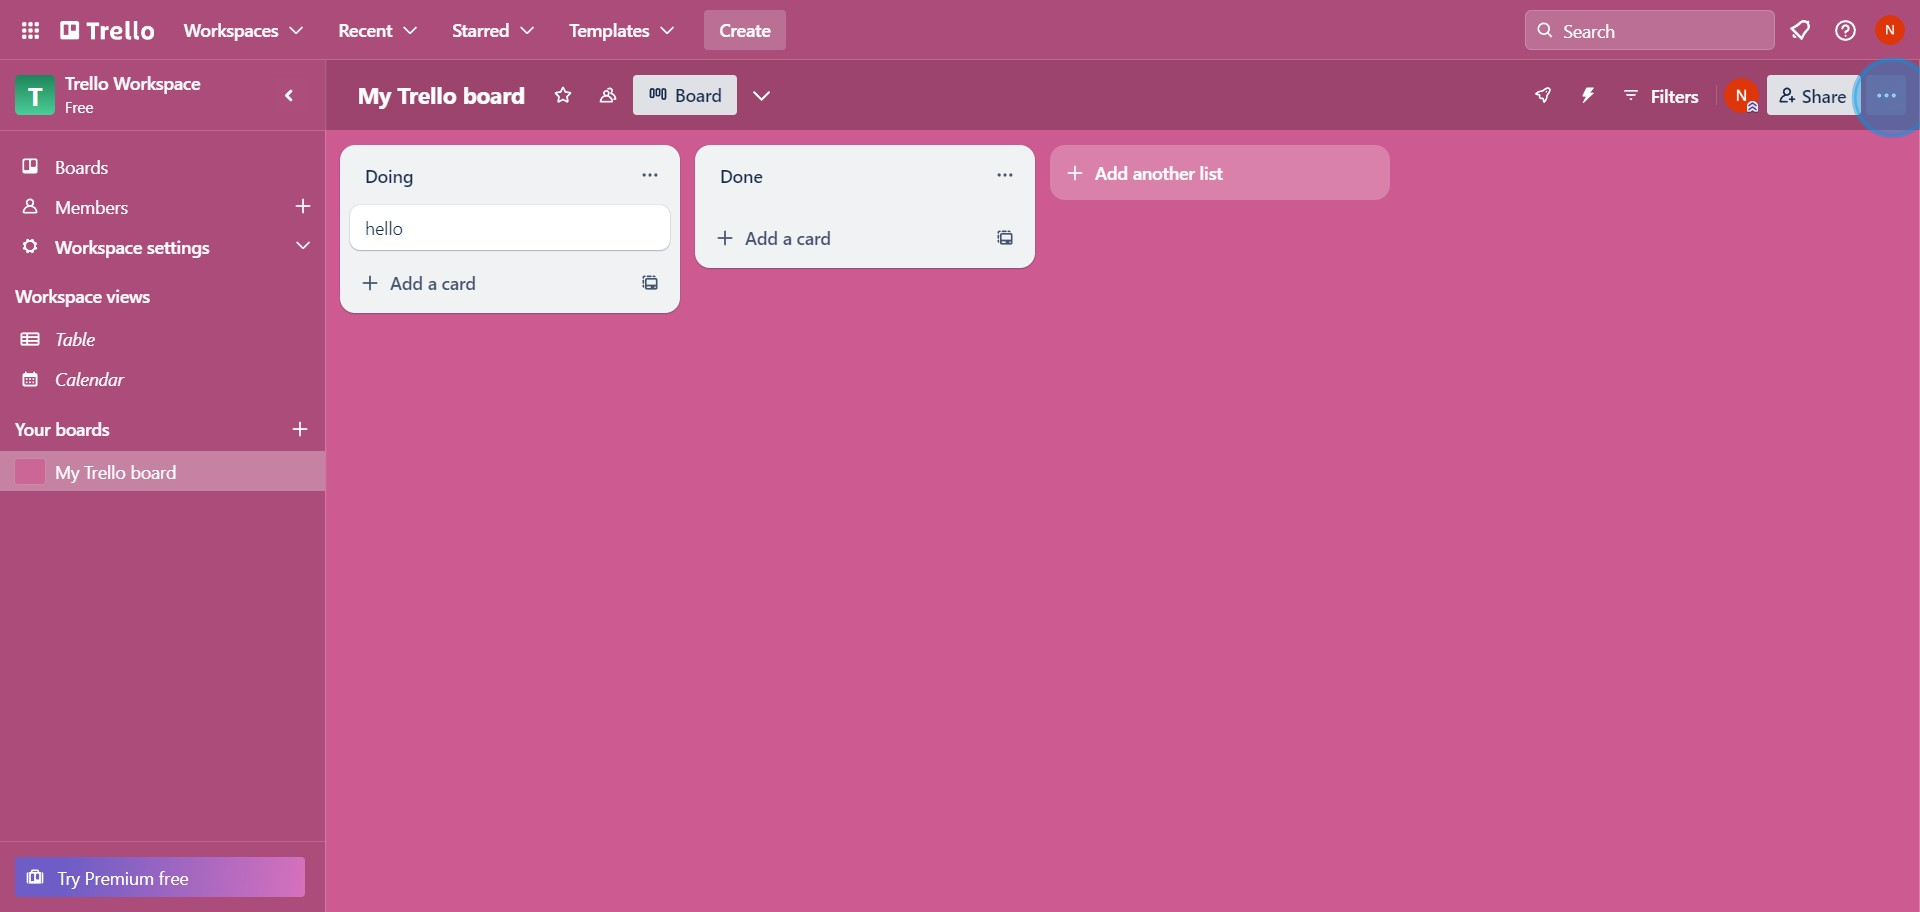
3. Proceed by clicking on the menu bar.

3 Click here

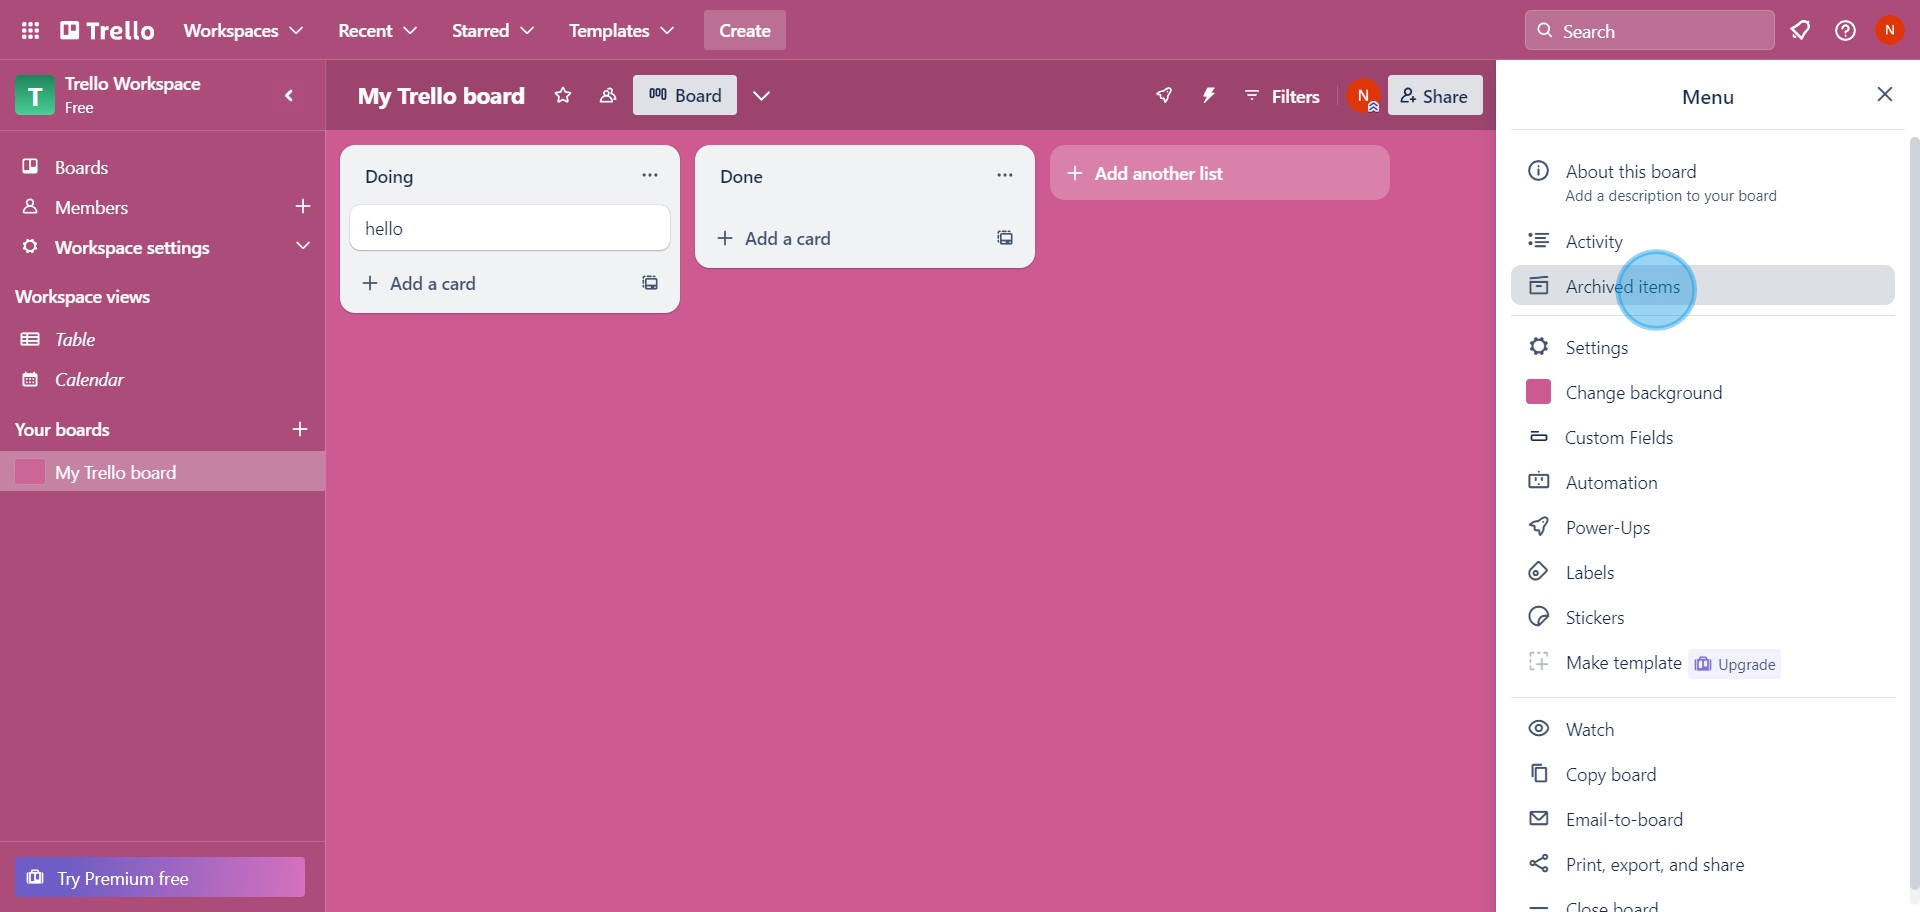
4. Pursue by selecting the 'Archived items' option.

4 Click on " Archived items"

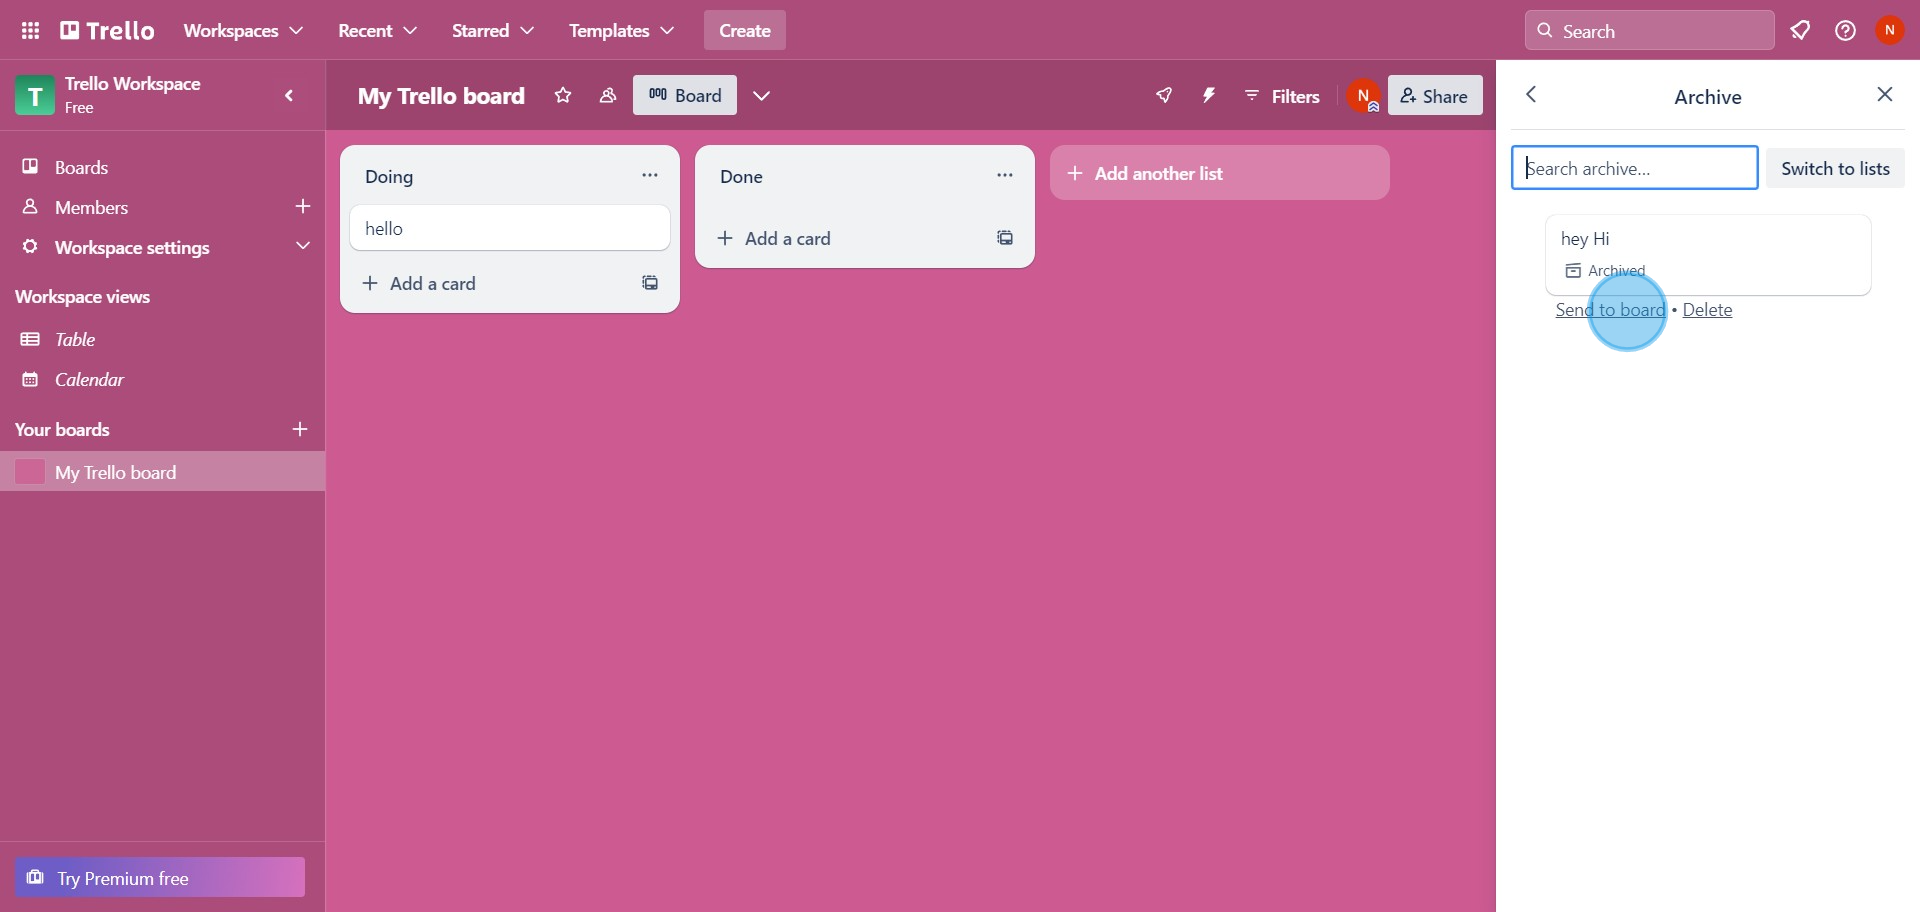
5. Revive the archived card with 'Send to board'.

5 Click on "Send to board"

6. For deletion, opt the card you wish to delete, remember it needs to be archived first.

6 Click here

7. Click on the 'Archive' for preparation.

7 Click on "Archive"

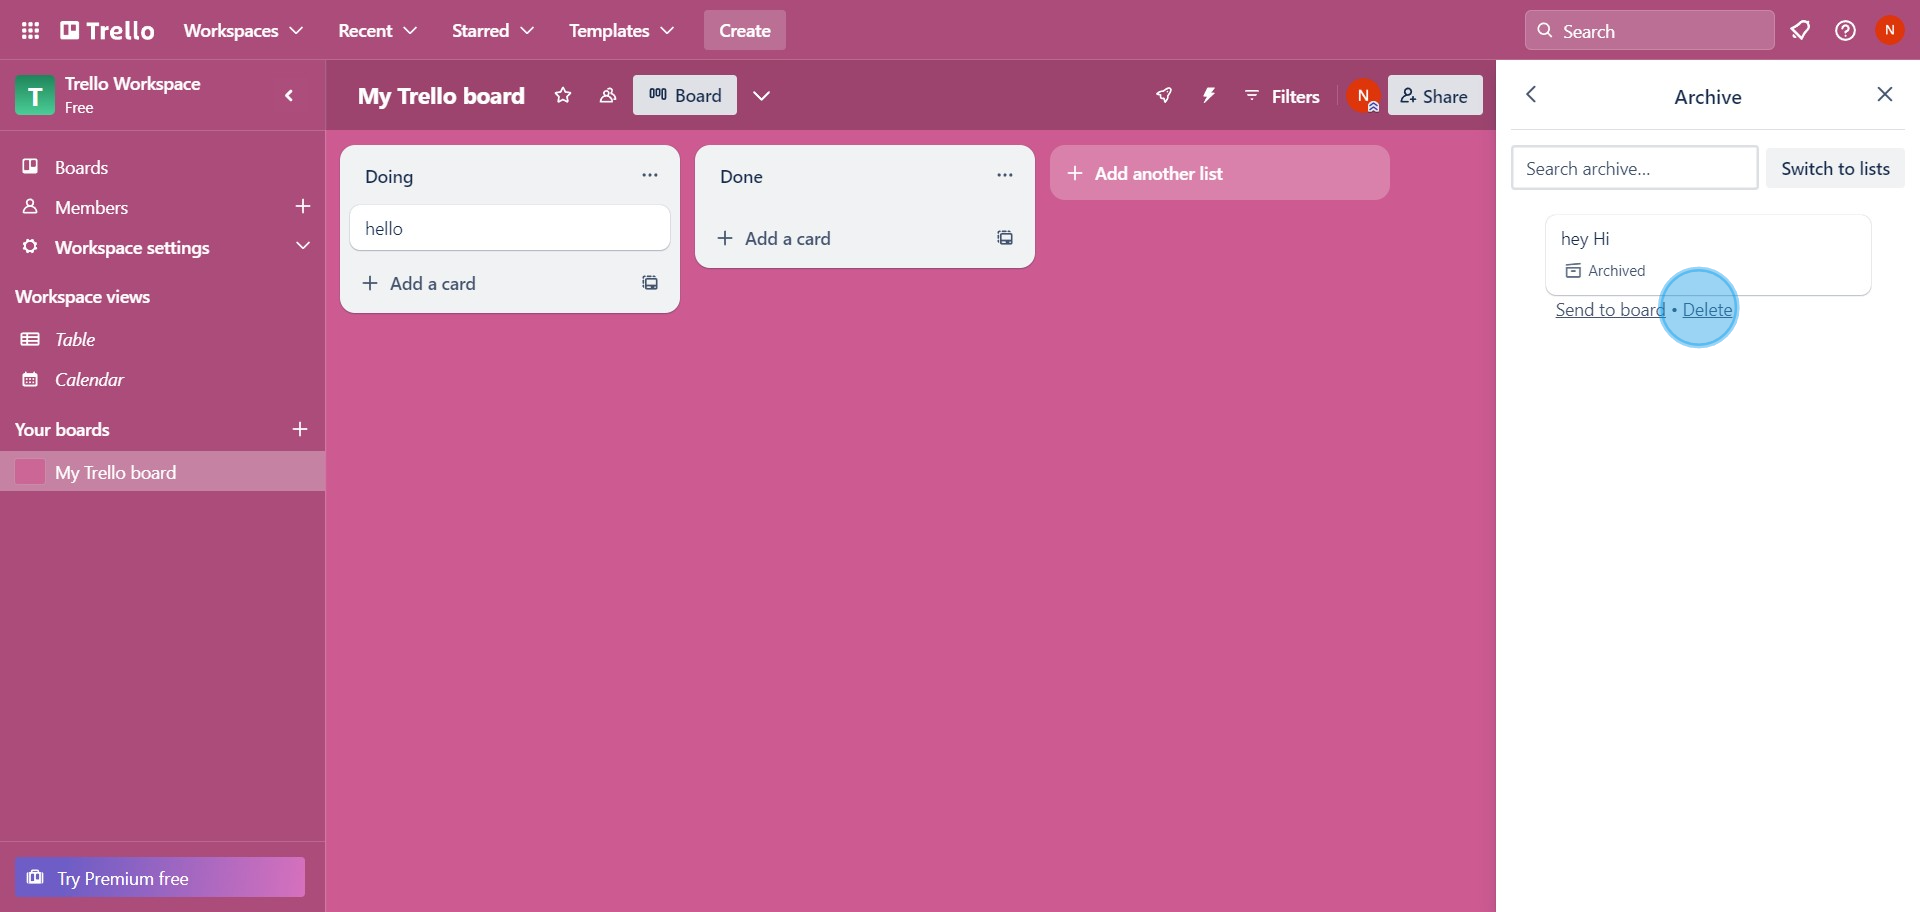
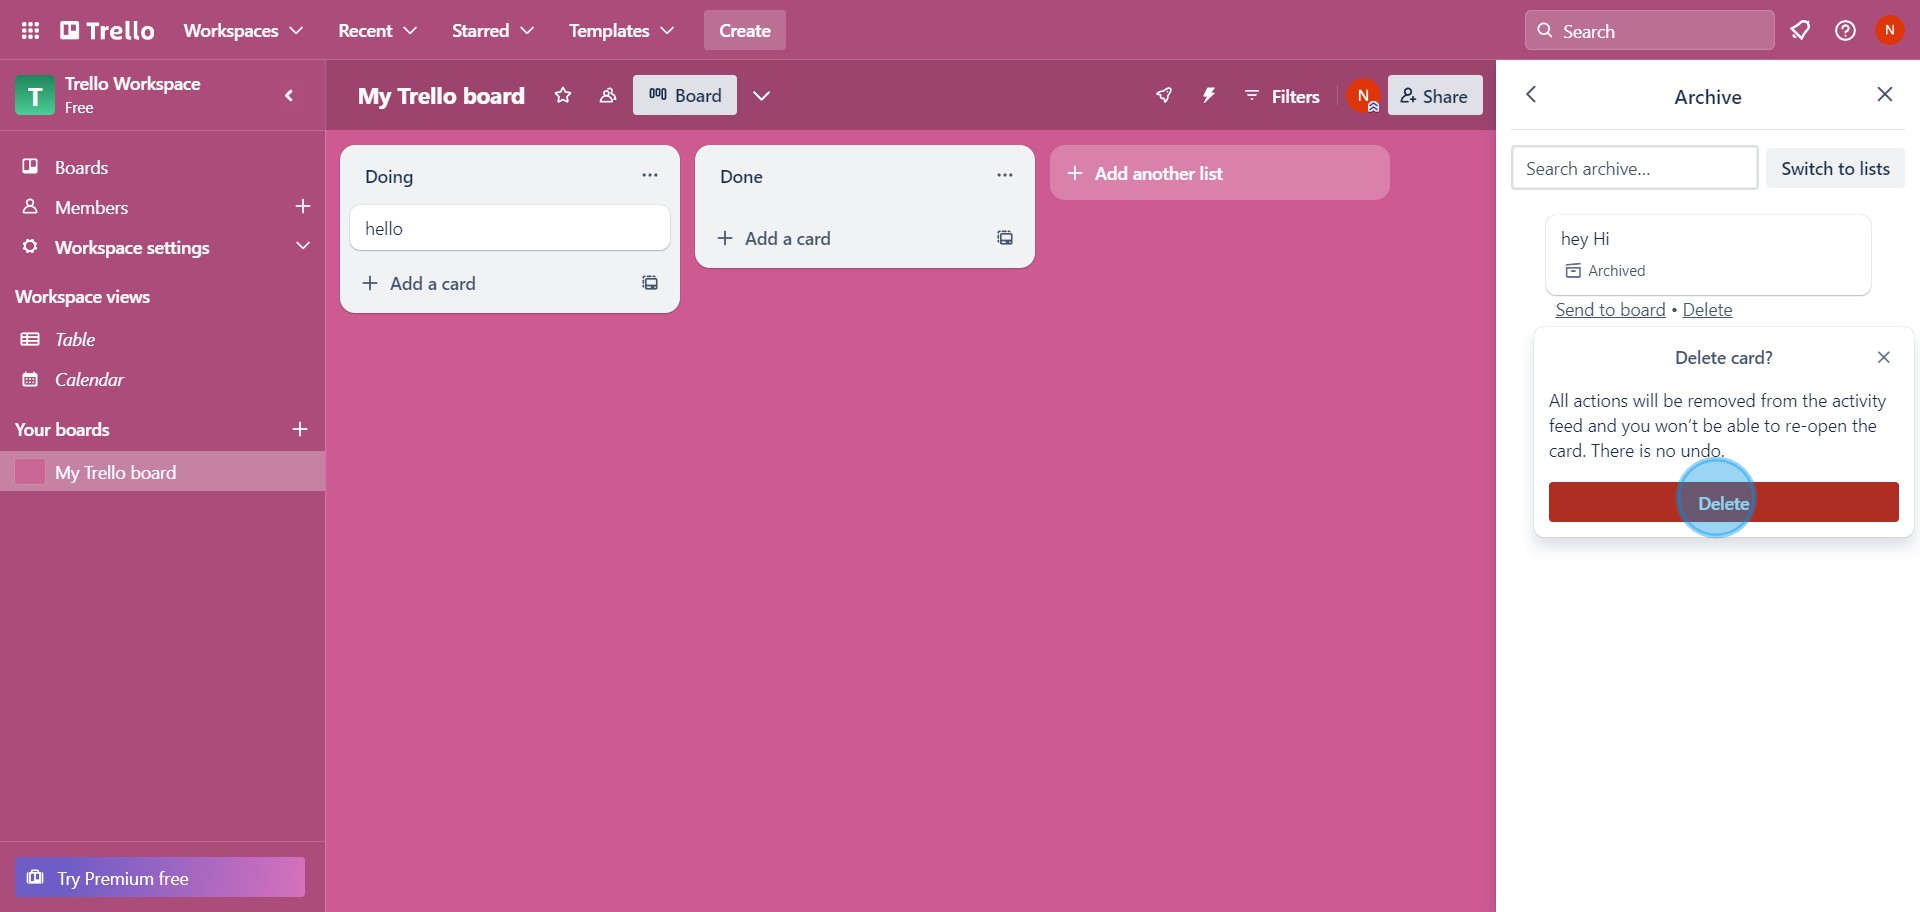
8. Go ahead and select 'Delete'.

8 Click on "Delete"

9. Confirm the action by submitting 'Delete'

9 Click here

Common FAQs on Trello

How do I create and manage boards in Trello?

To create a board, log in to Trello and click on the “+ Create new board” button on your Trello homepage. Enter a name for your board, choose a background color or image, and set the board's visibility (e.g., private, workspace-visible). To manage a board, click on its name to open it. You can add lists to organize tasks into different stages (e.g., To Do, In Progress, Done) and create cards within each list to represent individual tasks or items. Use drag-and-drop functionality to move cards between lists and manage tasks effectively.

How do I use Trello’s labels, due dates, and checklists?

To add labels, due dates, and checklists to a card, open the card you want to modify. Click on “Labels” to choose or create labels for categorizing tasks (e.g., high priority, design, marketing). Click on “Due Date” to set a deadline for the card, which will help you track when tasks need to be completed. To add a checklist, click on “Checklist” and enter the items you want to track within the card. Checklists are useful for breaking down tasks into smaller, manageable steps and tracking their completion progress.

How can I integrate Trello with other tools?

Trello offers various integrations through Power-Ups and third-party apps. To add a Power-Up, open your board, click on “Show Menu” on the right, and select “Power-Ups.” Browse or search for the tool you want to integrate (e.g., Slack, Google Drive, Calendar) and click “Add” to enable it. You can also integrate Trello with other tools using Zapier or Automate.io, which allows you to create automated workflows between Trello and hundreds of other applications. These integrations enhance Trello’s functionality and streamline your workflow.

Create your own step-by-step demo

Scale up your training and product adoption with beautiful AI-powered interactive demos and guides. Create your first Supademo in seconds for free.

Get the fastest, easiest interactive demo platform for teams

Sign up