
Overview:
Streamline your Jira workflow by effectively assigning and changing reporters with this comprehensive guide. Enhance user experience and navigation by assigning the right individuals to specific tasks. This step-by-step guide ensures a seamless process for creating and modifying reporters within Jira, optimizing efficiency and clarity in your project management within the Jira platform.
Who is Jira best suited for?
Jira is best suited for a wide range of professionals, including Software Developers, Agile Teams, and Project Managers. For example, Software Developers can use Jira for tracking bugs and managing development tasks, Agile Teams can leverage it for organizing sprints and managing product backlogs, and Project Managers can use it for planning and monitoring project timelines, all benefiting from Jira’s powerful issue tracking and project management capabilities.
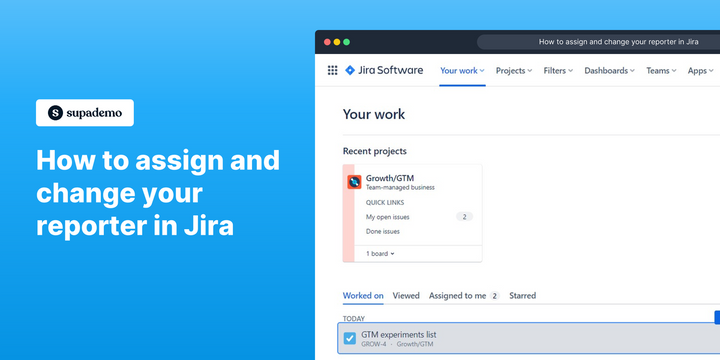
How to assign and change your reporter in Jira
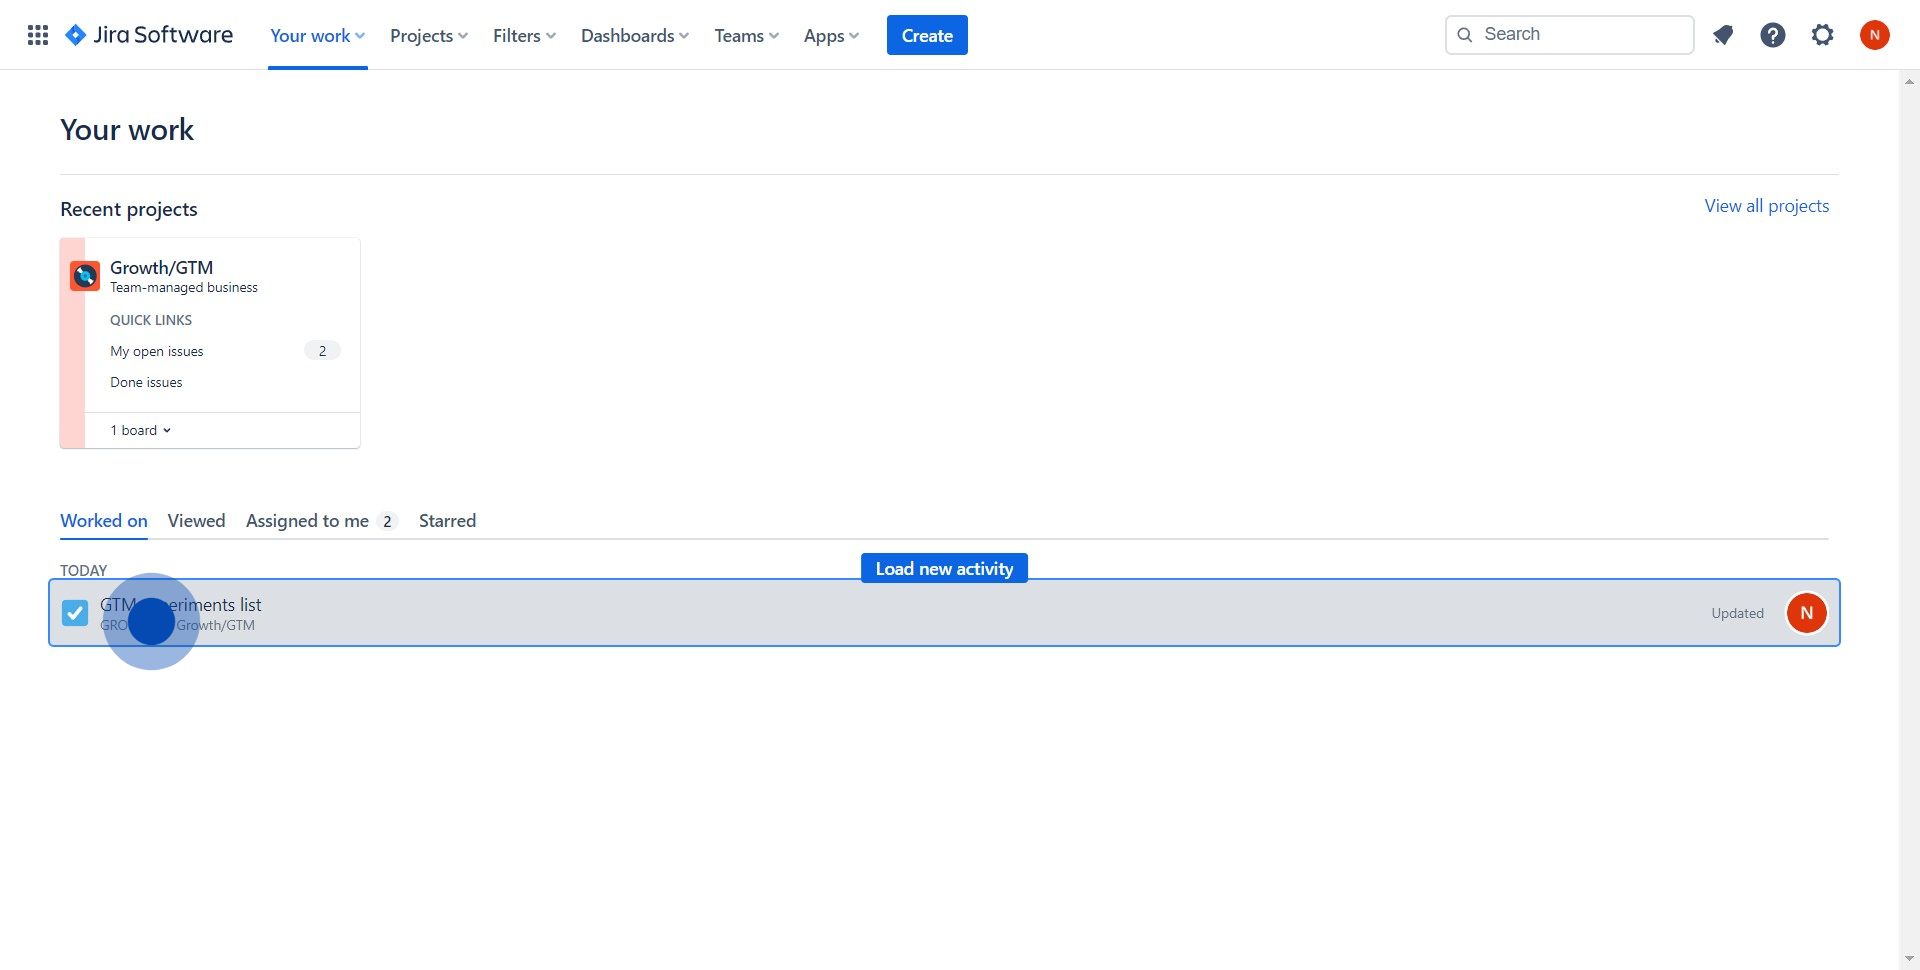
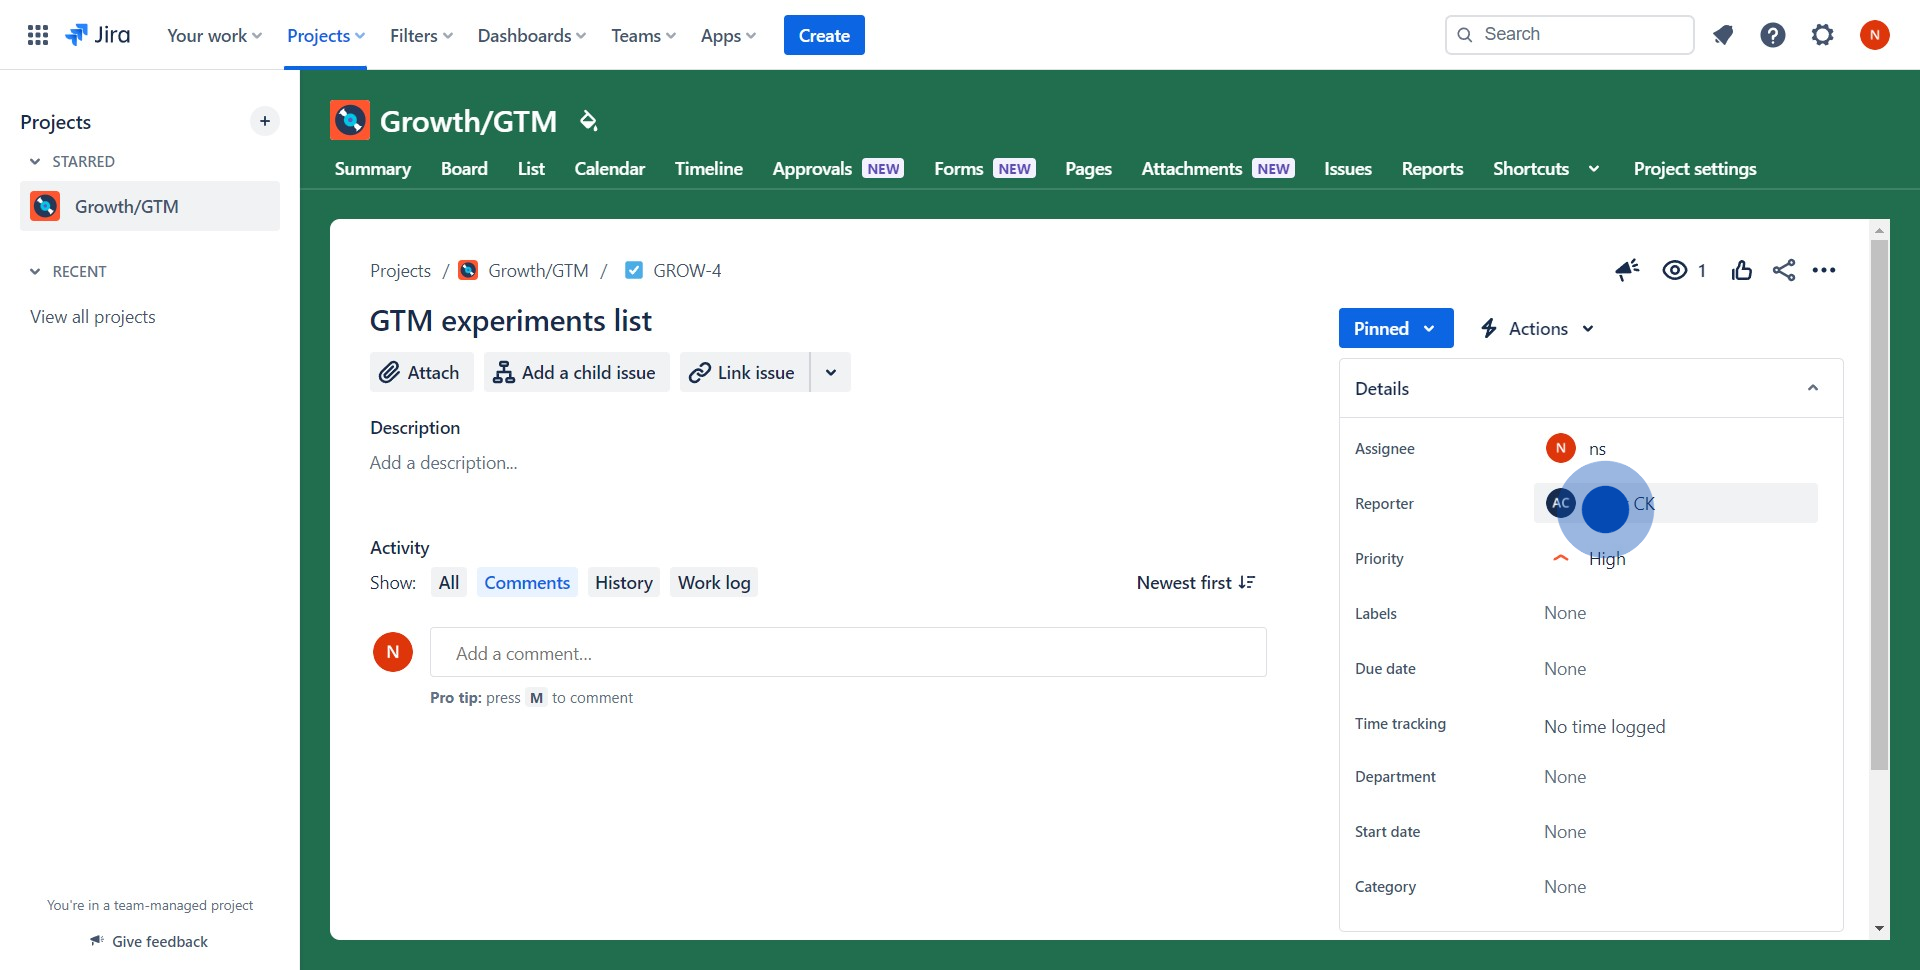
1. Start by selecting the relevant ticket
2. Next, assign a teammate to the unassigned ticket
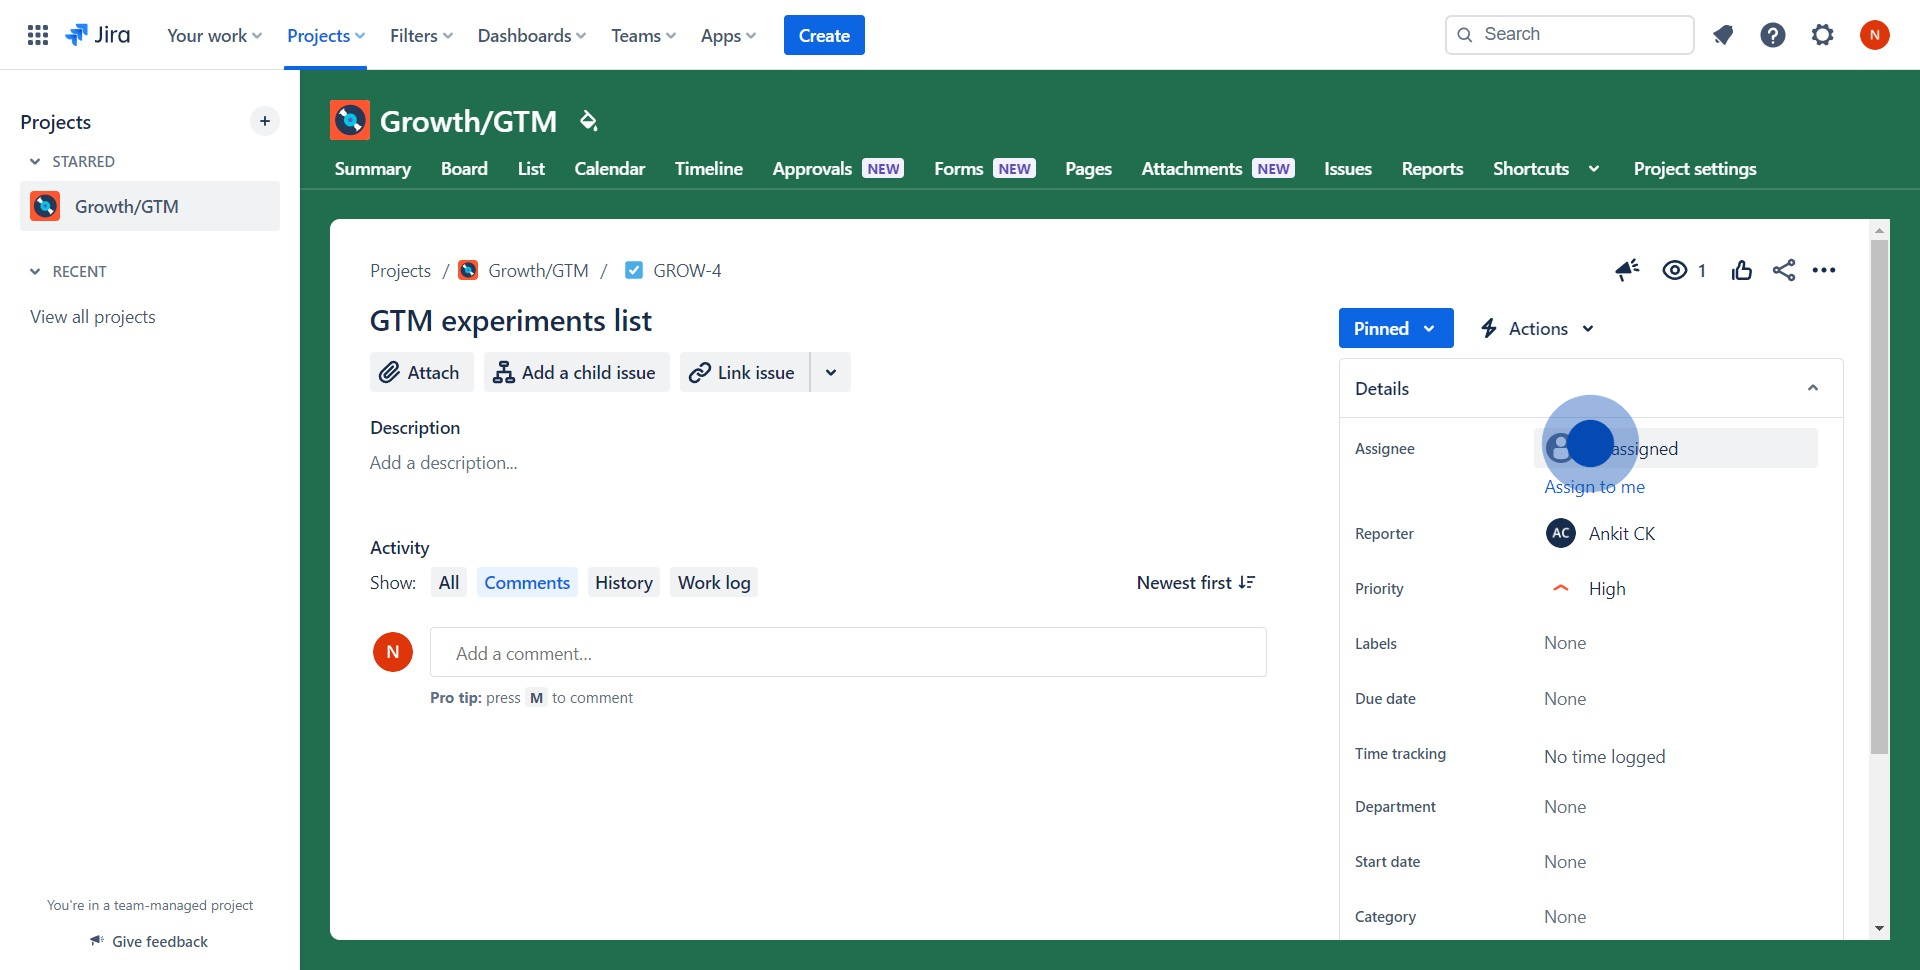
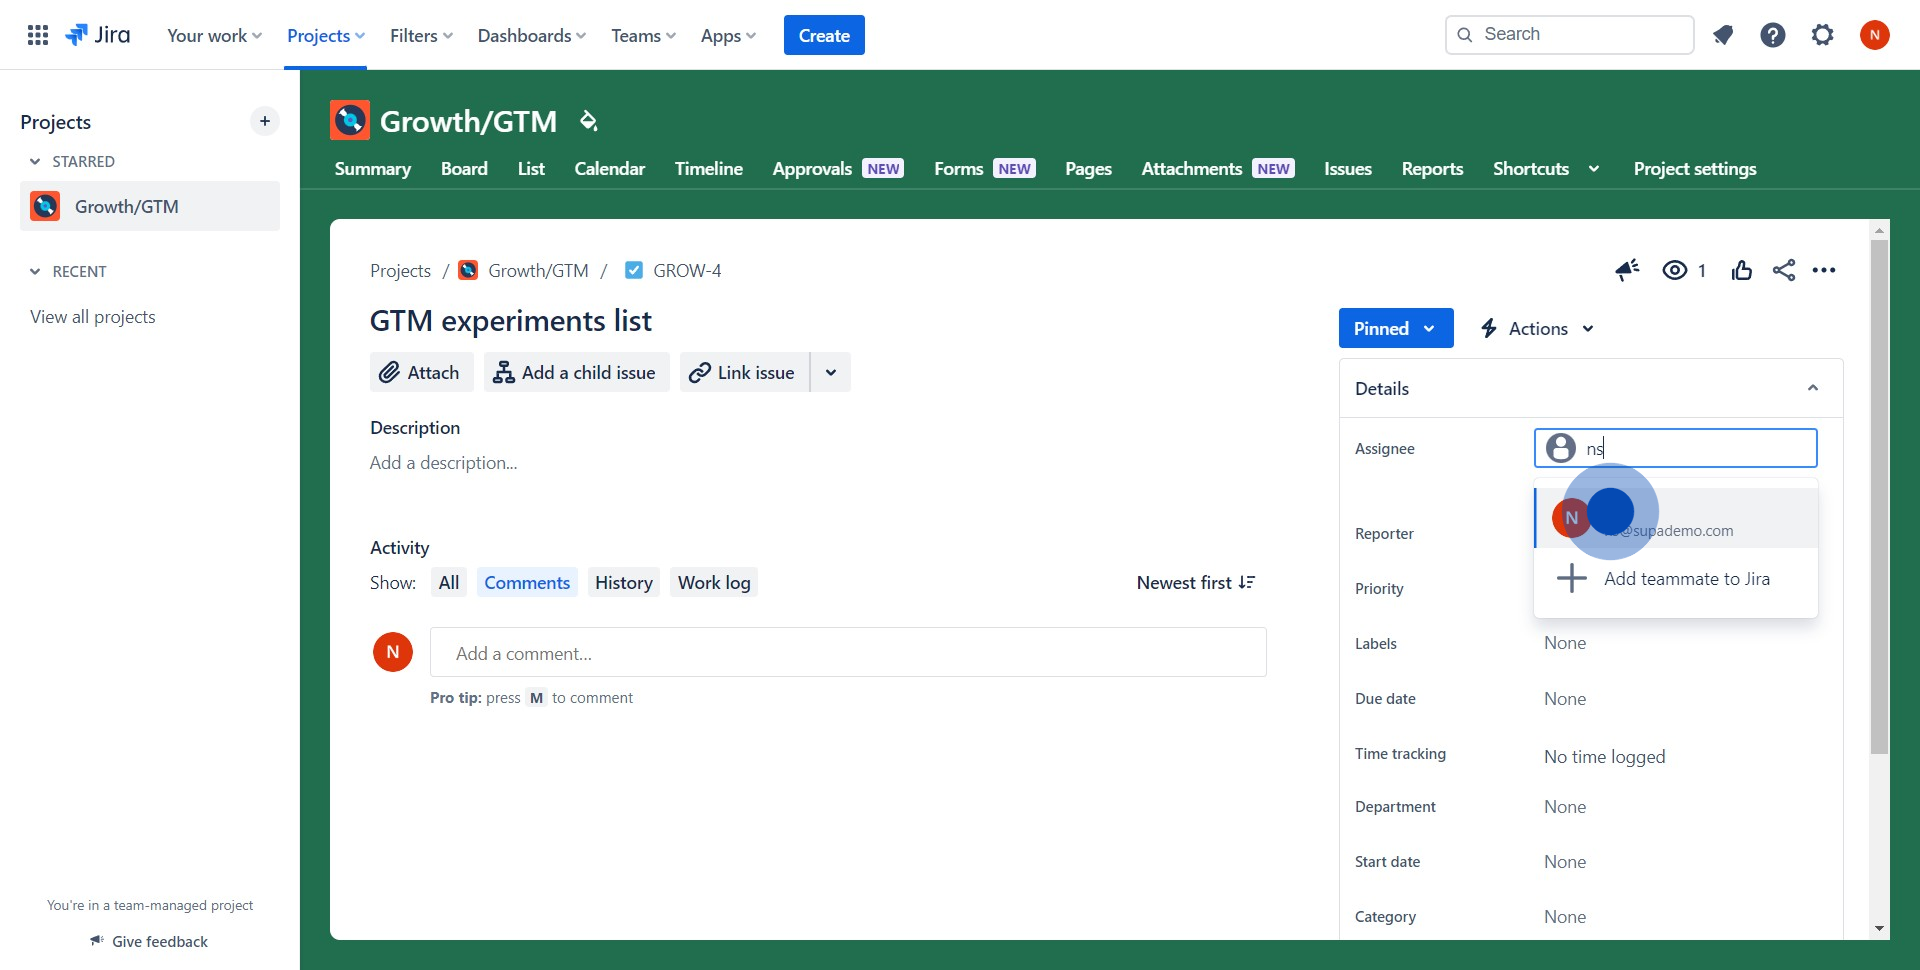
3. Choose a teammate to undertake the task
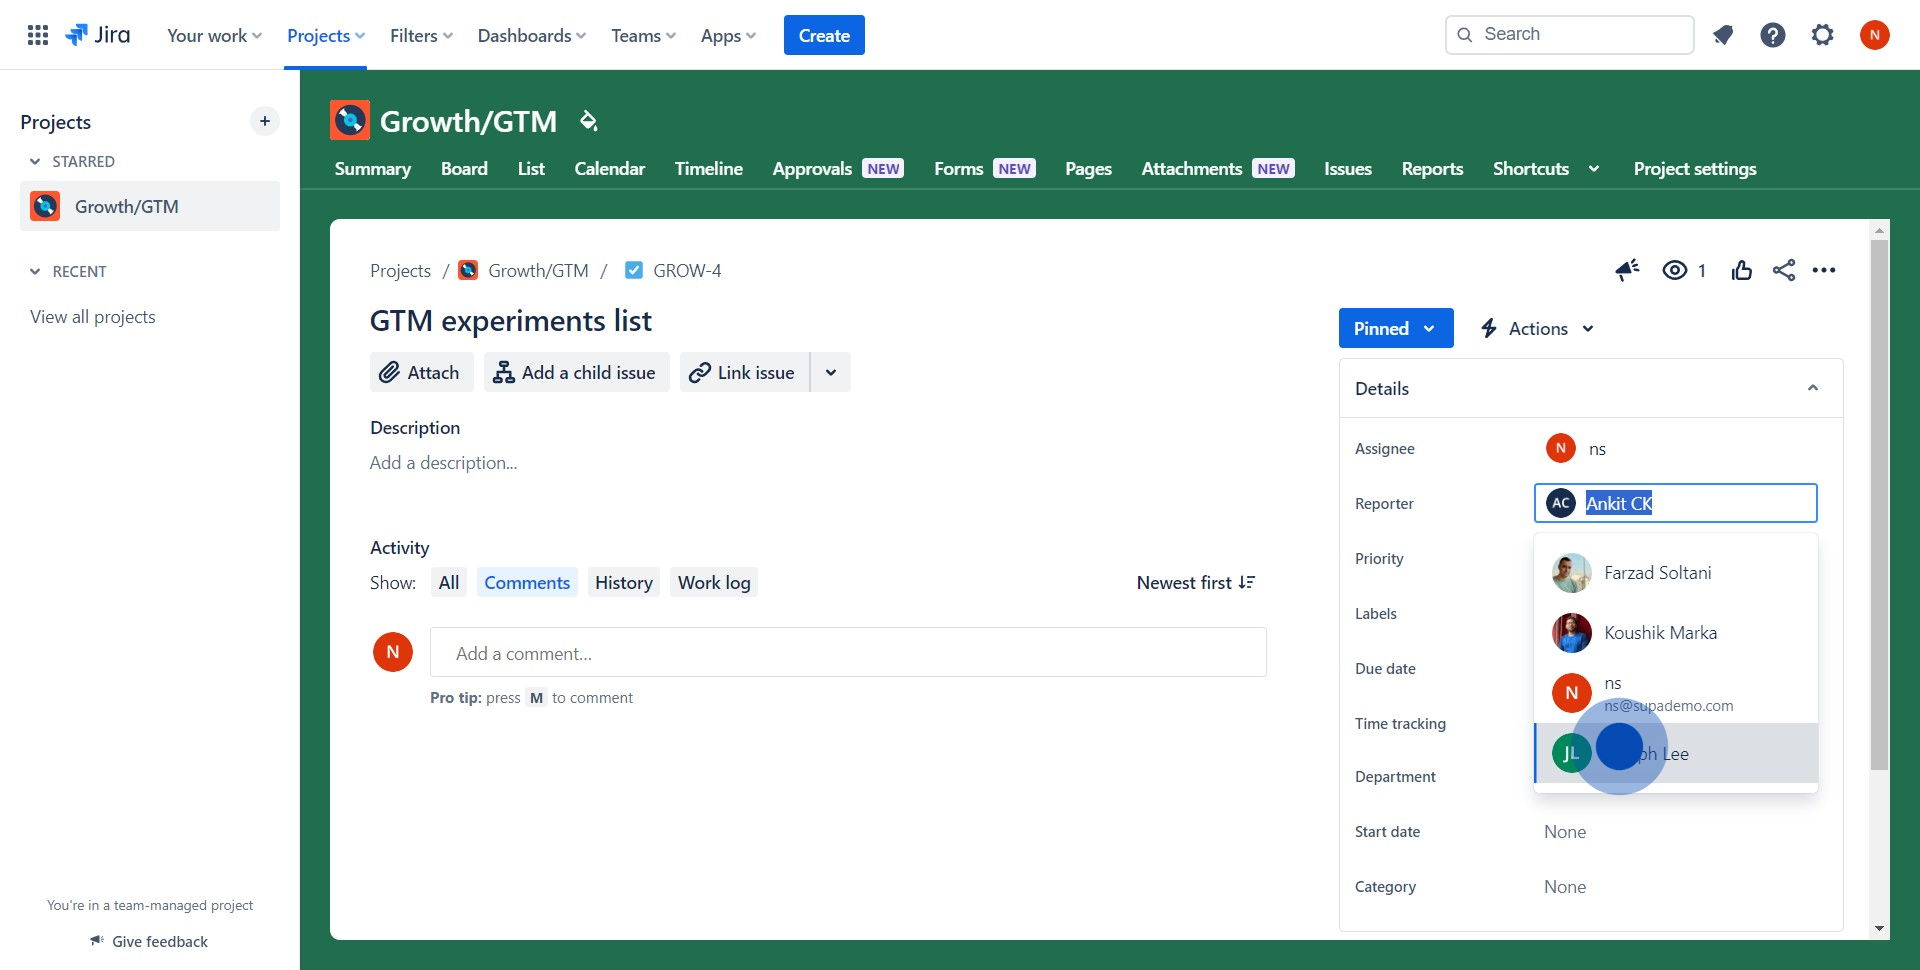
4. You may now choose to change the reporter if needed
5. Lastly, confirm your reporter choice and celebrate your successful assignment
Common FAQs on Jira
How do I create and manage issues in Jira?
To create an issue in Jira, navigate to the project where you want to add the issue and click on the “Create” button. Select the issue type (e.g., Bug, Task, Story, Epic), fill in the relevant fields such as summary, description, assignee, and priority, then click “Create” to save the issue. To manage issues, use Jira’s workflow features to move them through various stages like To Do, In Progress, and Done. You can also link related issues, add comments, attach files, and set due dates. Jira’s customizable workflows allow you to tailor the process to fit your team’s needs, ensuring that issues are tracked and resolved efficiently.
How can I track project progress in Jira?
Jira offers multiple views to track project progress, including the “Board” view, which displays issues in a Kanban or Scrum format, allowing you to see which tasks are in different stages of completion. The “Backlog” view helps prioritize tasks and manage sprints for Agile projects. Jira also provides “Reports” such as burndown charts, velocity charts, and sprint reports, which give insights into the team's performance and help predict project timelines. Additionally, the “Roadmap” feature in Jira Advanced Roadmaps allows you to plan and track the progress of multiple projects and dependencies across teams.
What integrations does Jira support, and how do they enhance project management?
Jira supports a wide range of integrations that enhance project management by connecting with other tools your team may use. Popular integrations include Slack, Confluence, GitHub, Microsoft Teams, and Trello. For instance, integrating Jira with Slack or Microsoft Teams enables you to receive notifications about issue updates directly in your communication channels and create Jira issues from messages. The Confluence integration allows you to link Jira issues to Confluence pages, making it easy to reference project documentation. With GitHub integration, you can link commits, branches, and pull requests to Jira issues, providing better visibility into the development process. To set up integrations, go to the “Apps” section in Jira and search for the tools you want to connect.
Create your own interactive demo
Scale up your training and product adoption with beautiful AI-powered interactive demos and guides. Create your first Supademo in seconds for free.
