
1. First, log in to your Attio Dashboard.
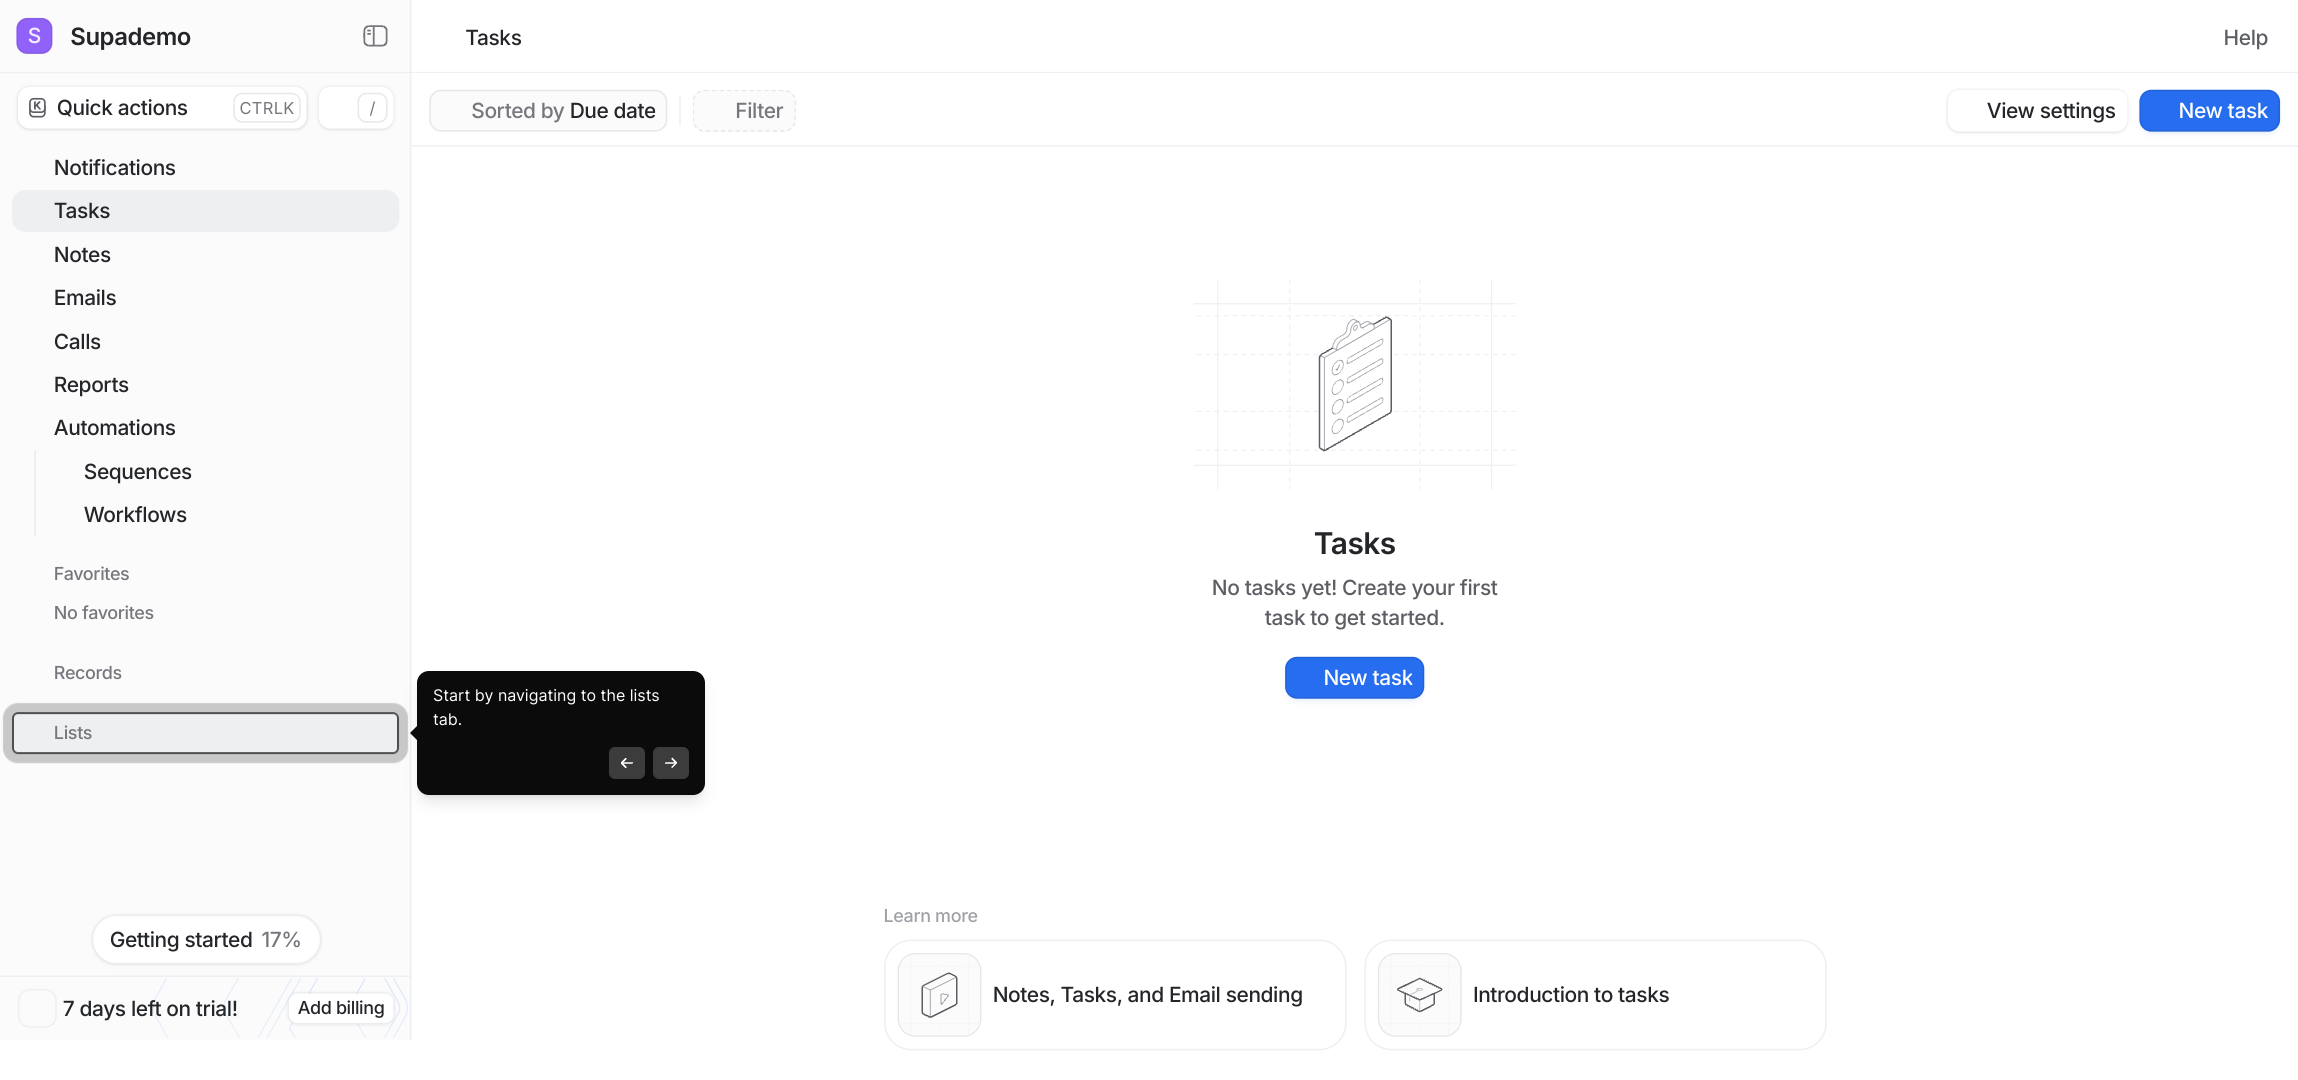
2. Start by navigating to the lists tab.
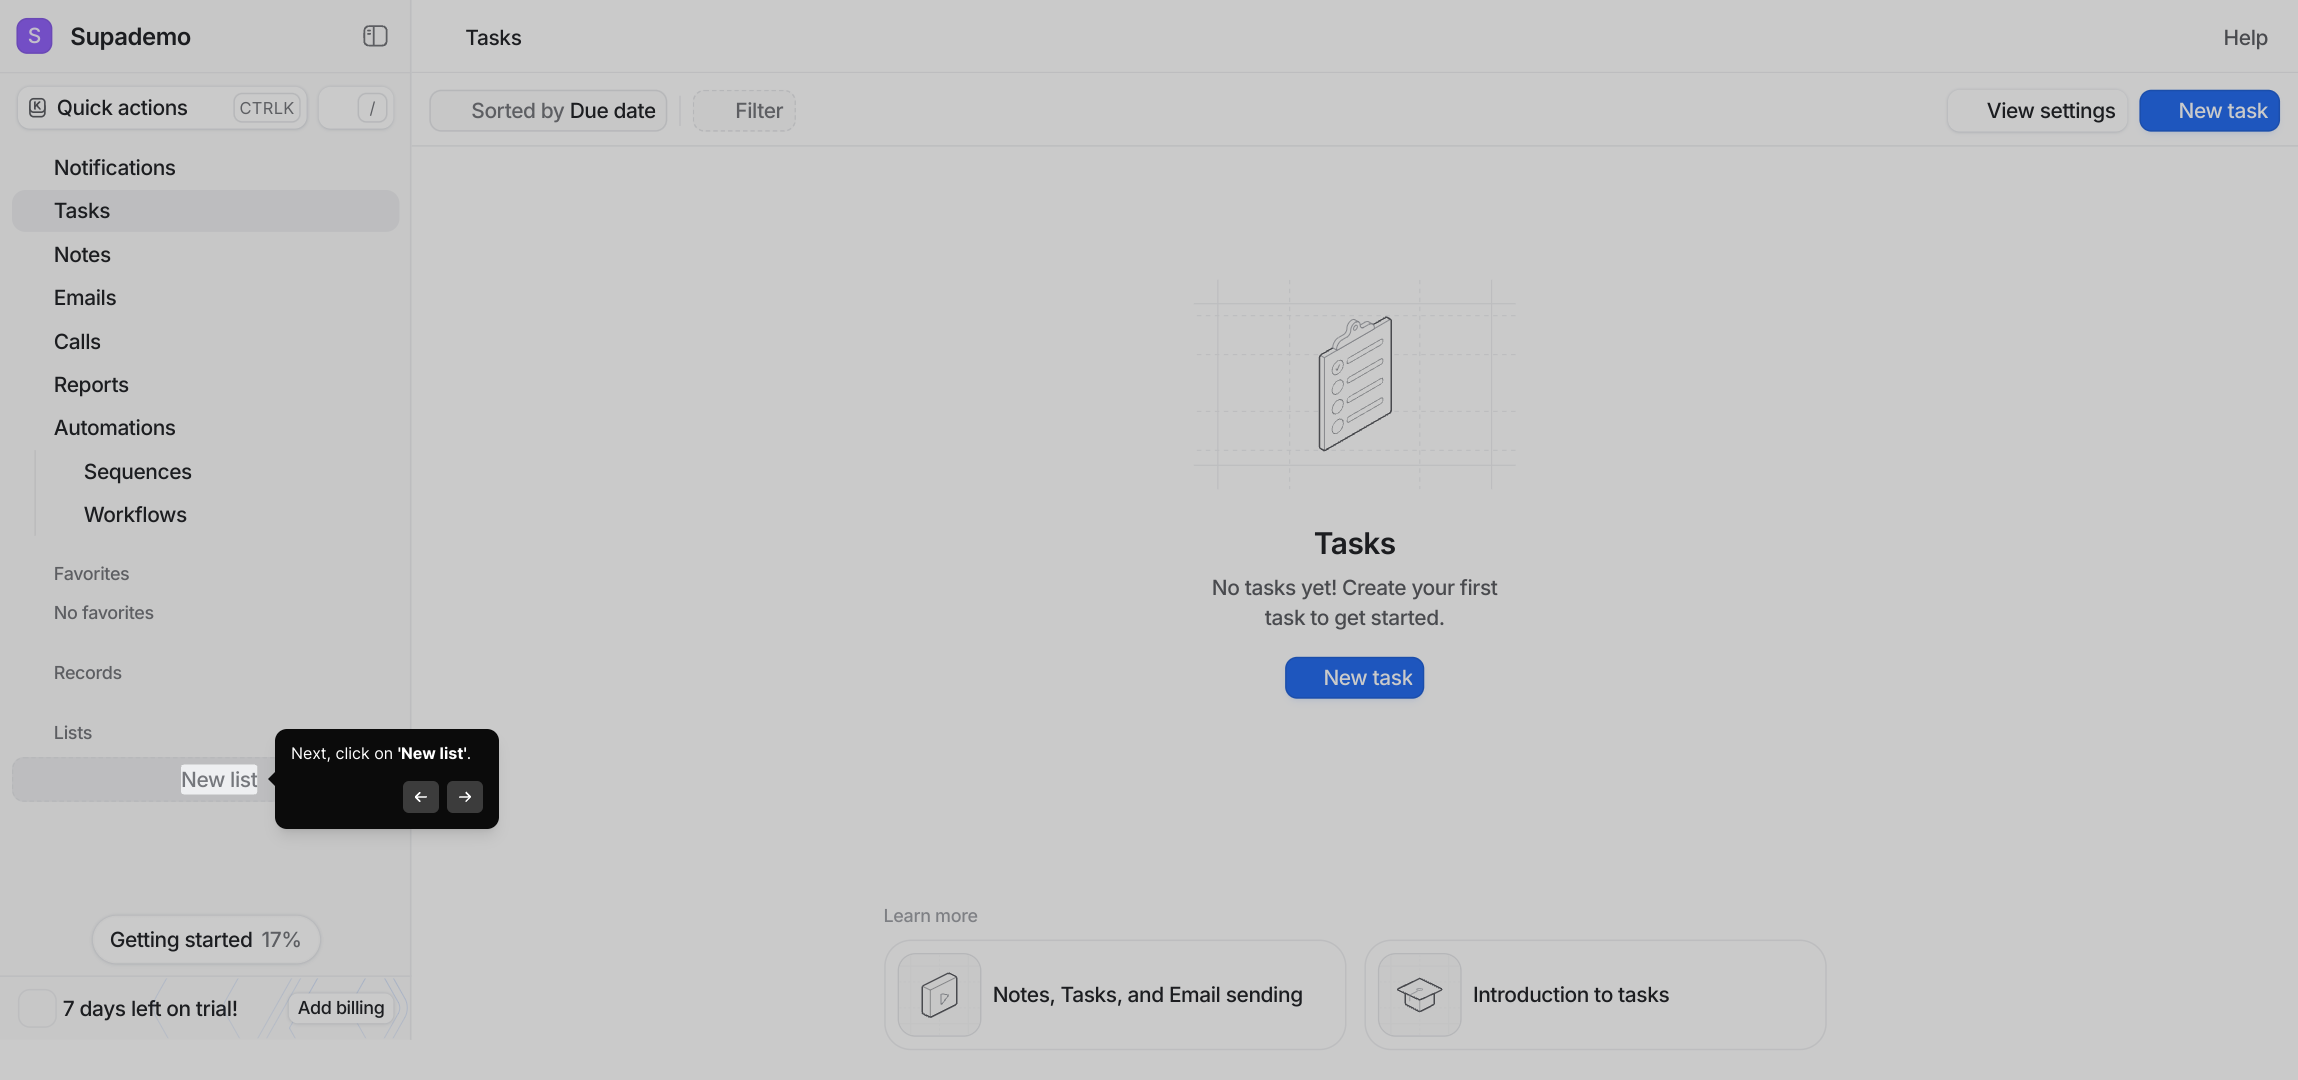
3. Next, click on 'New list'.
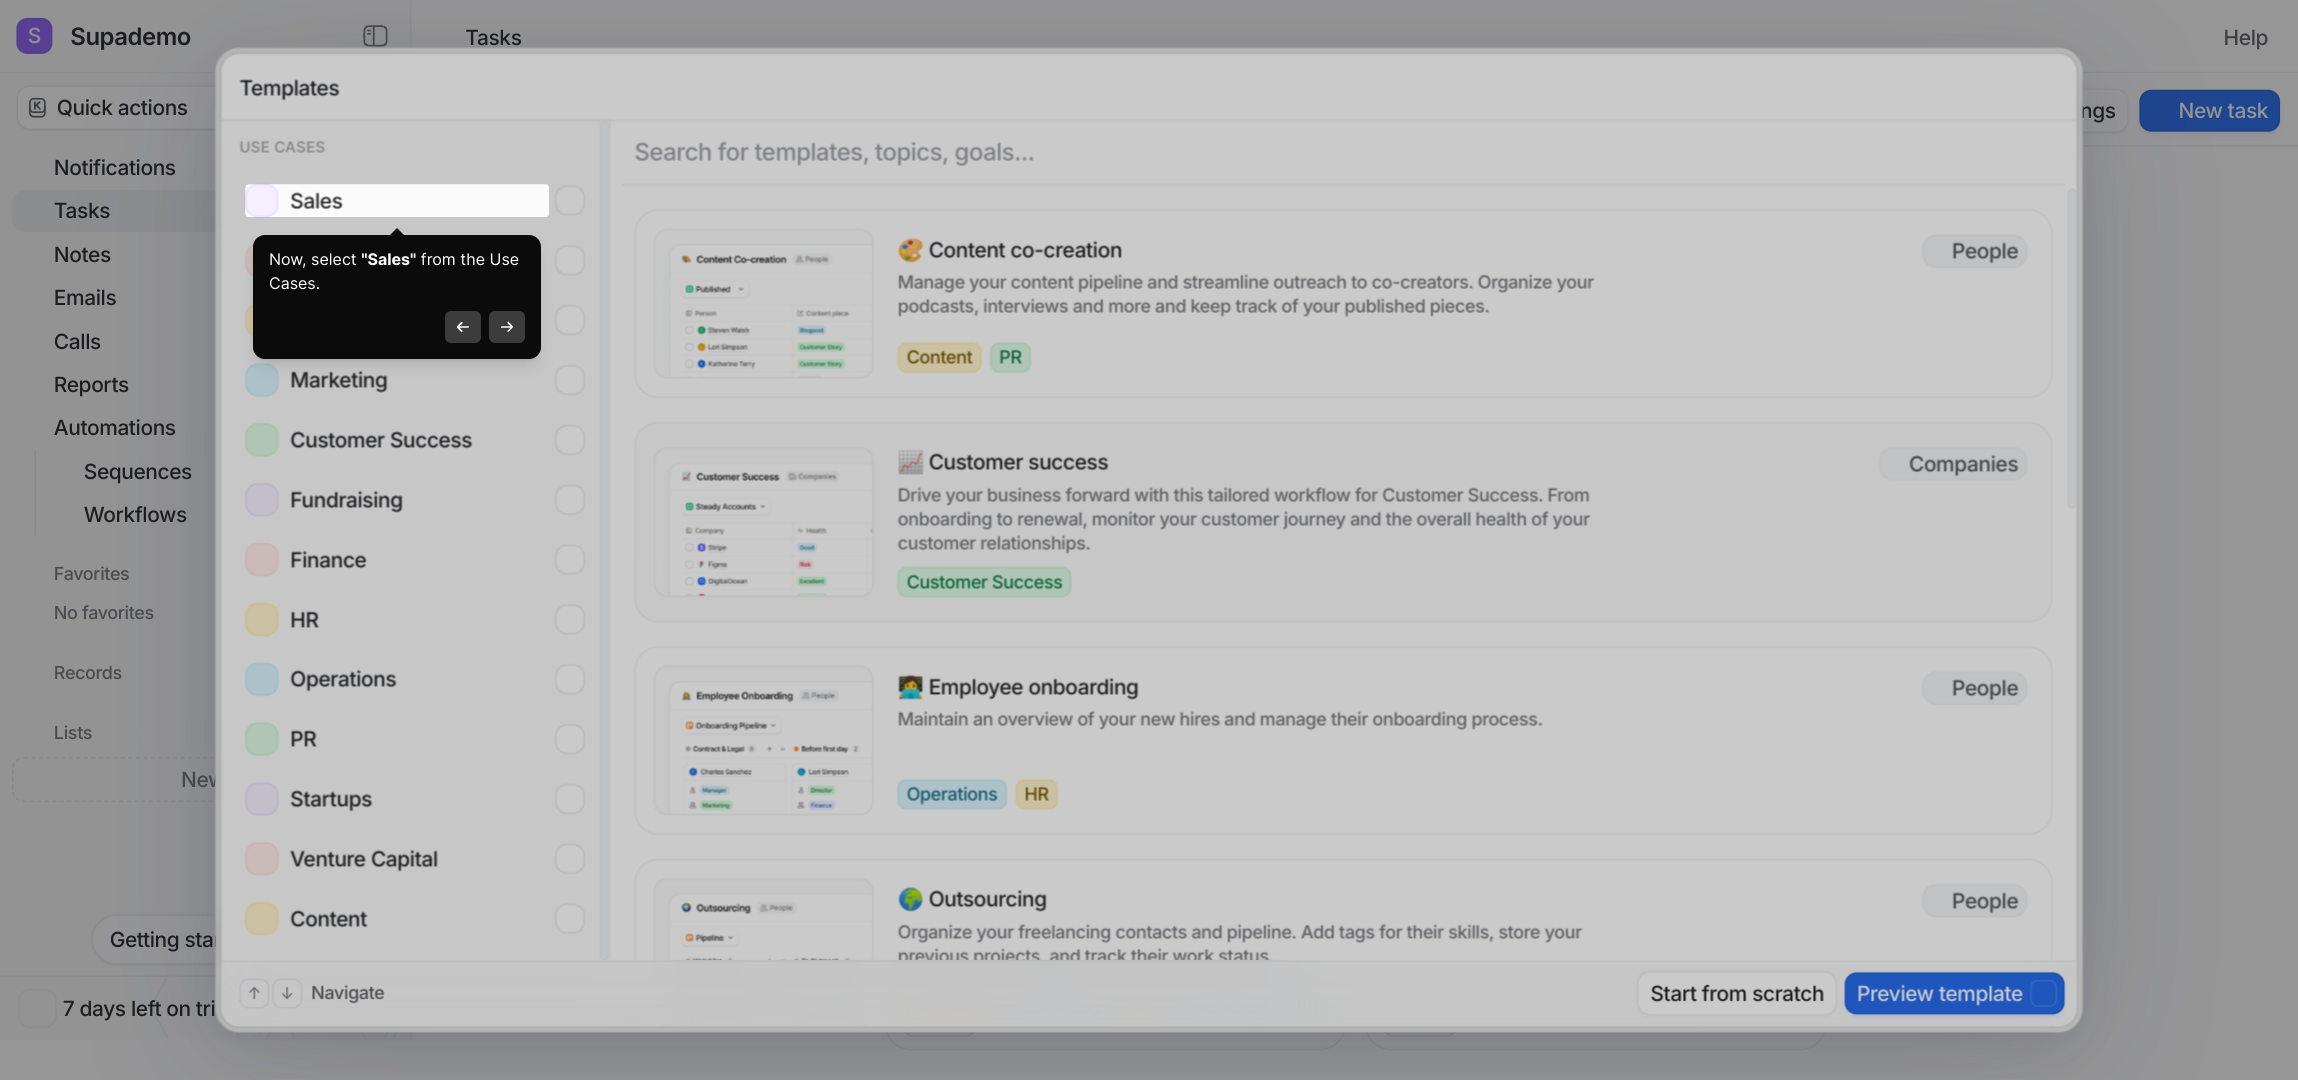
4. Now, select "Sales" from the Use Cases.
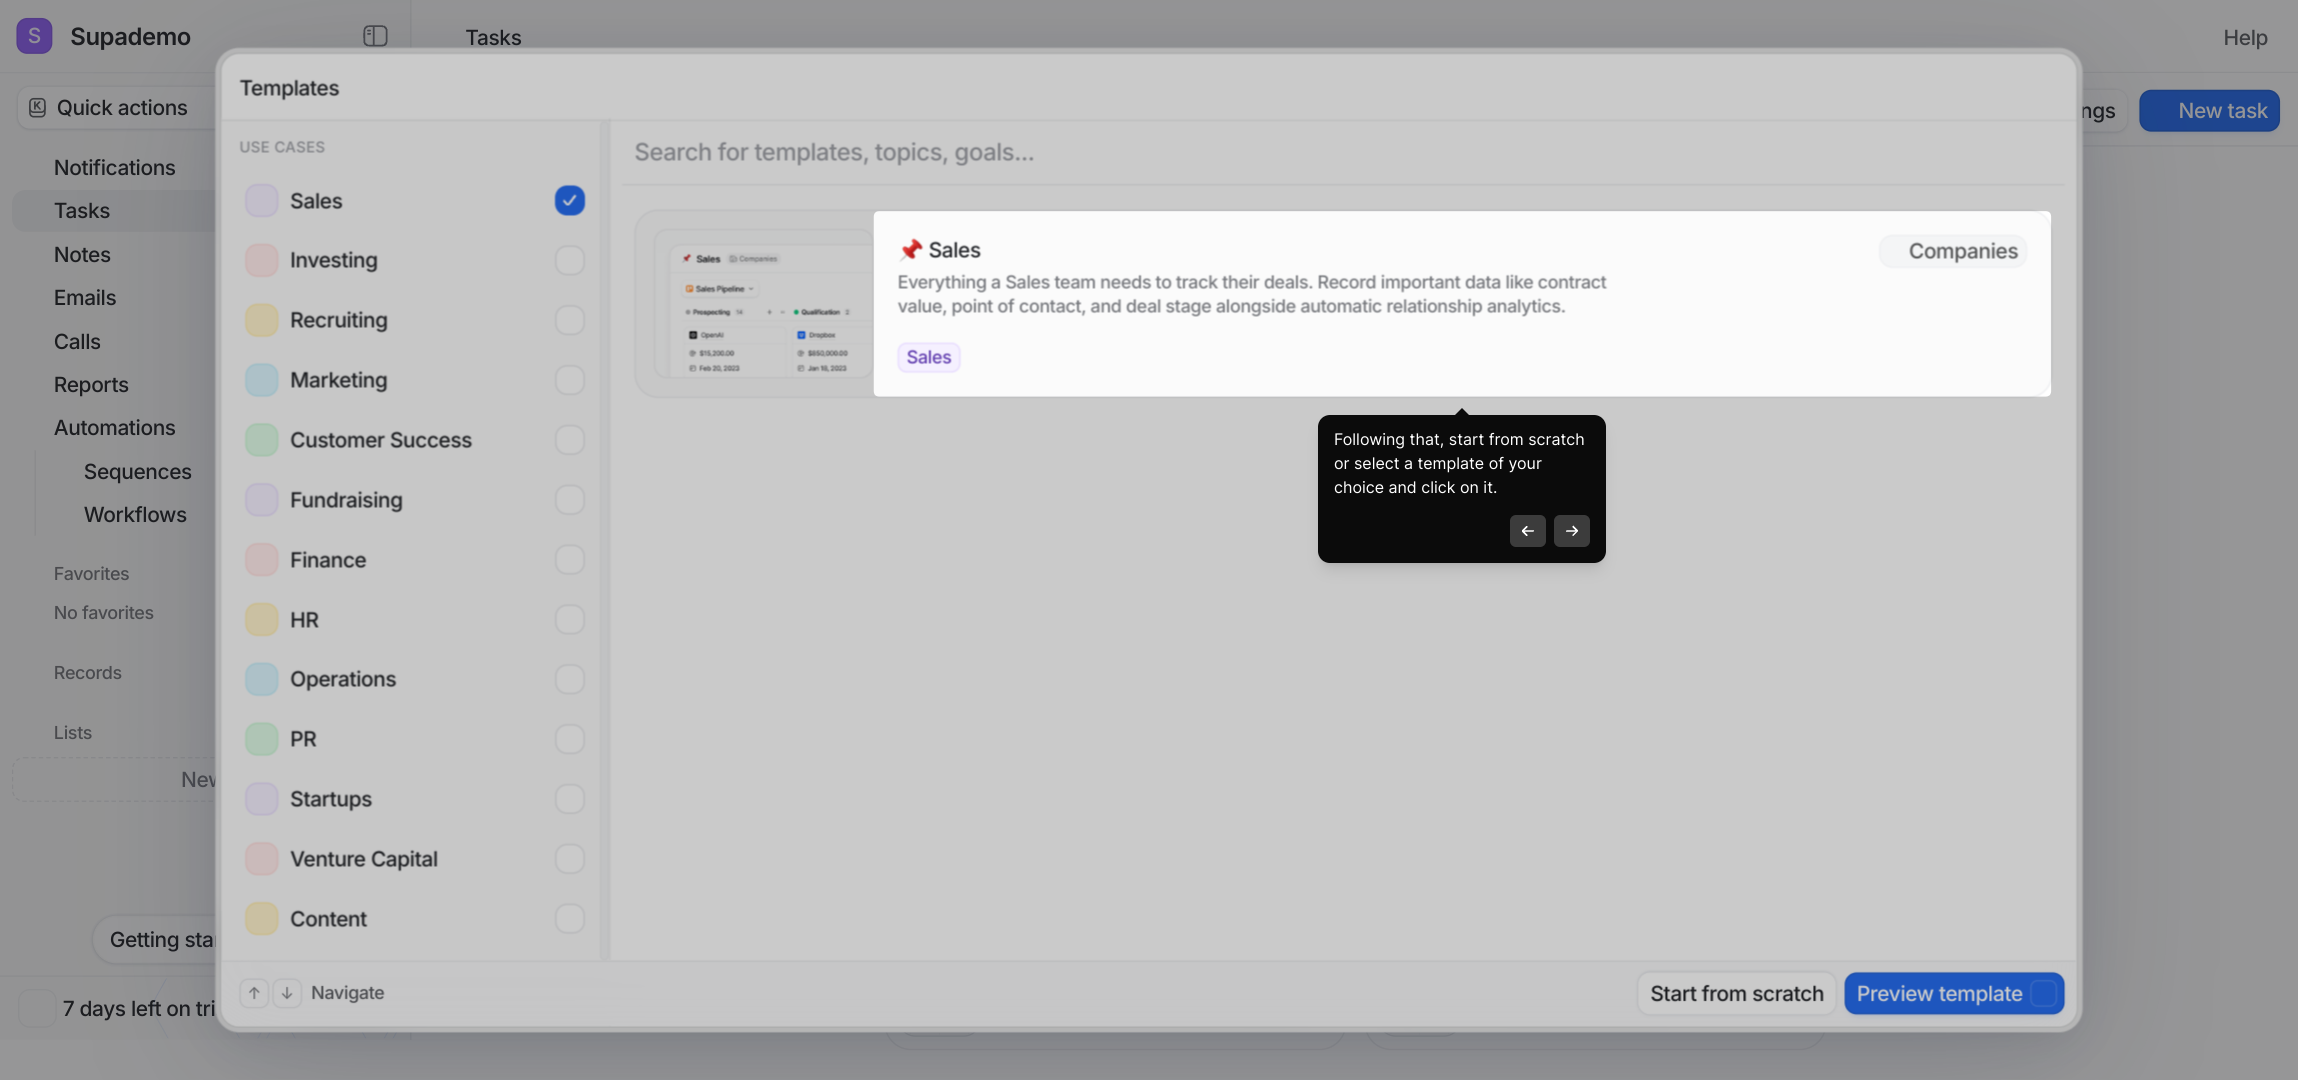
5. Following that, start from scratch or select a template of your choice and click on it.
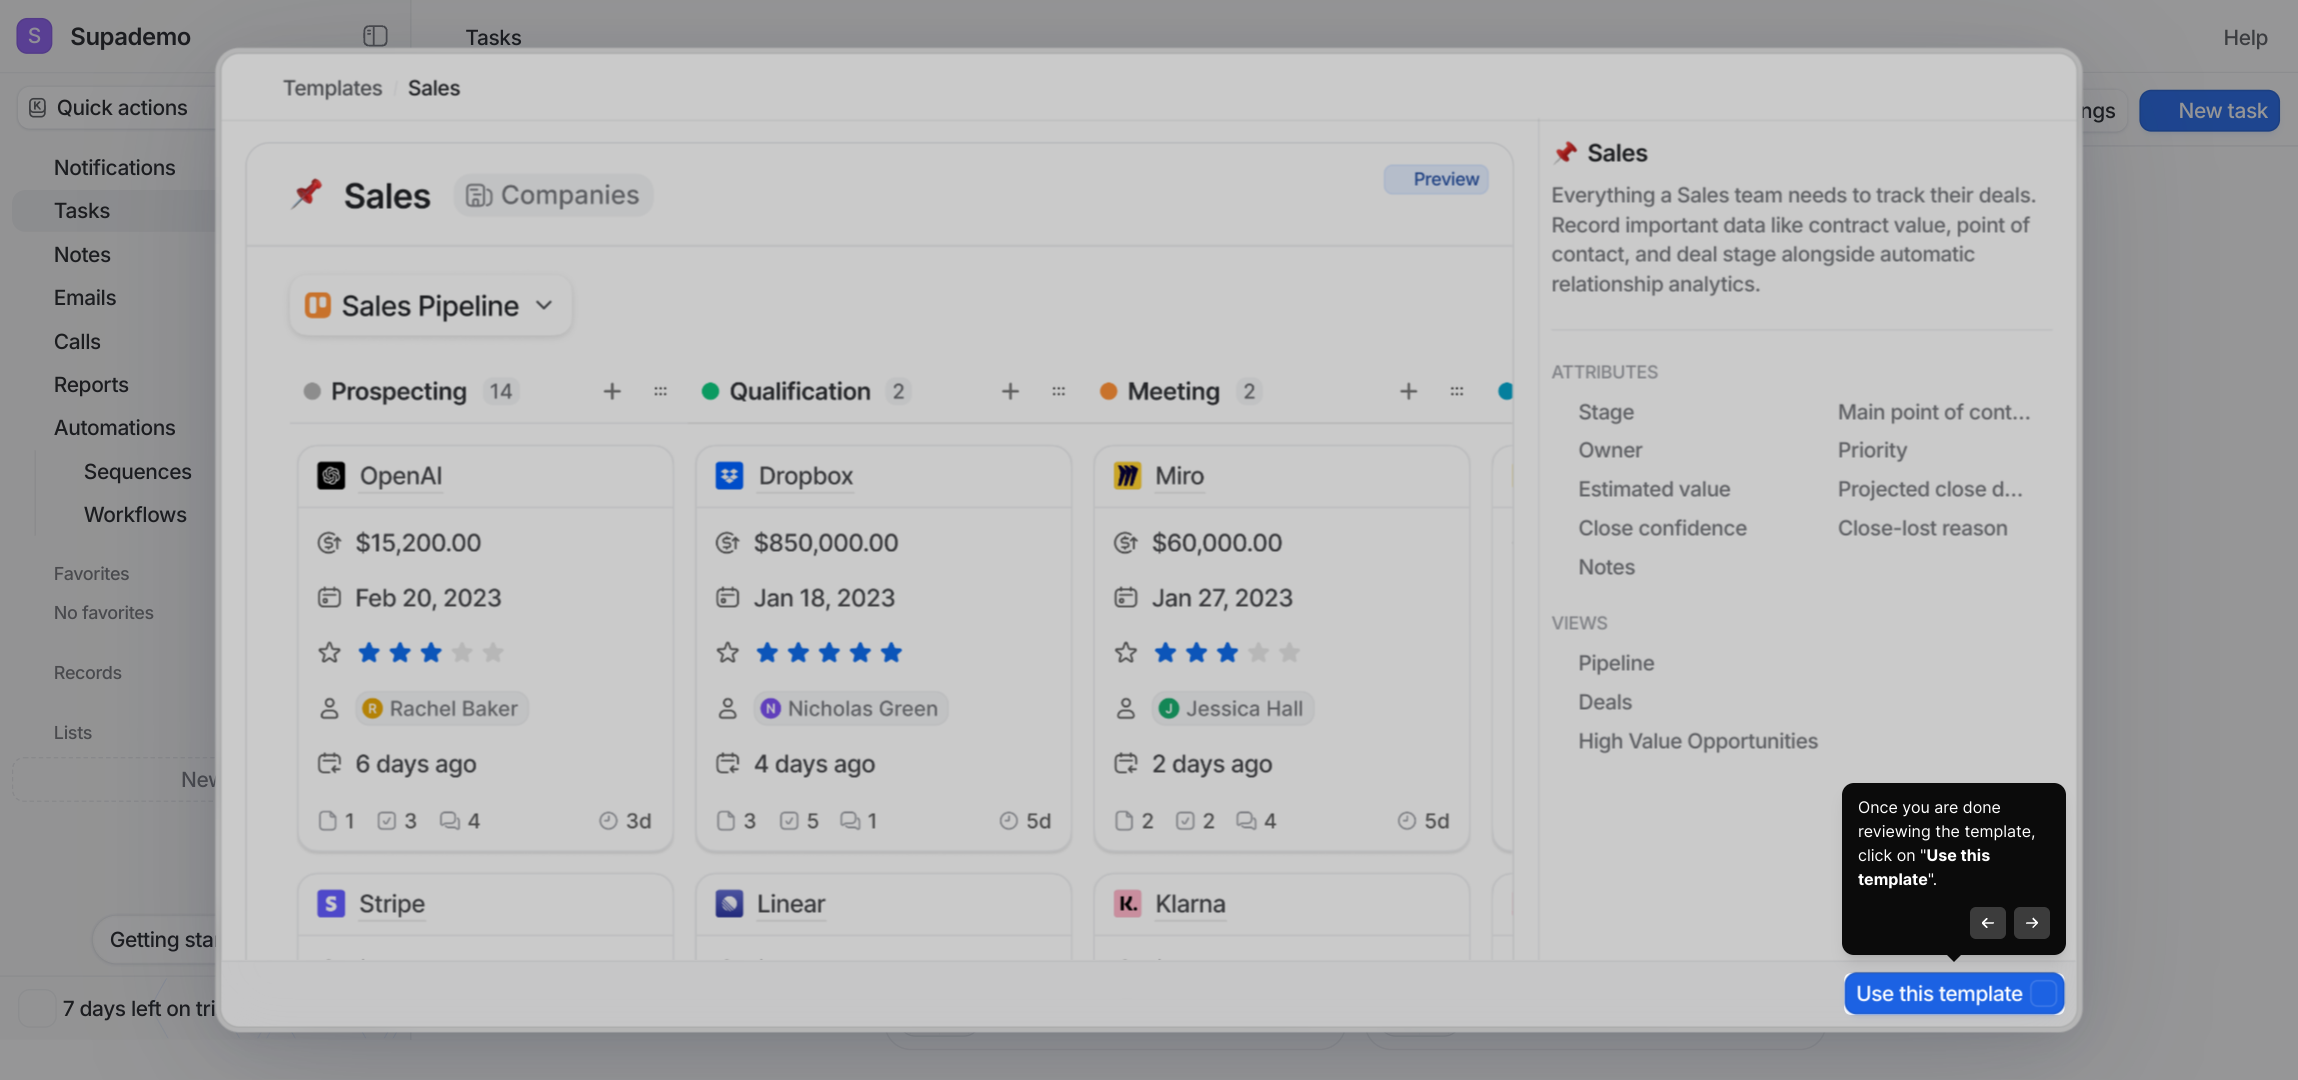
6. Once you are done reviewing the template, click on "Use this template".
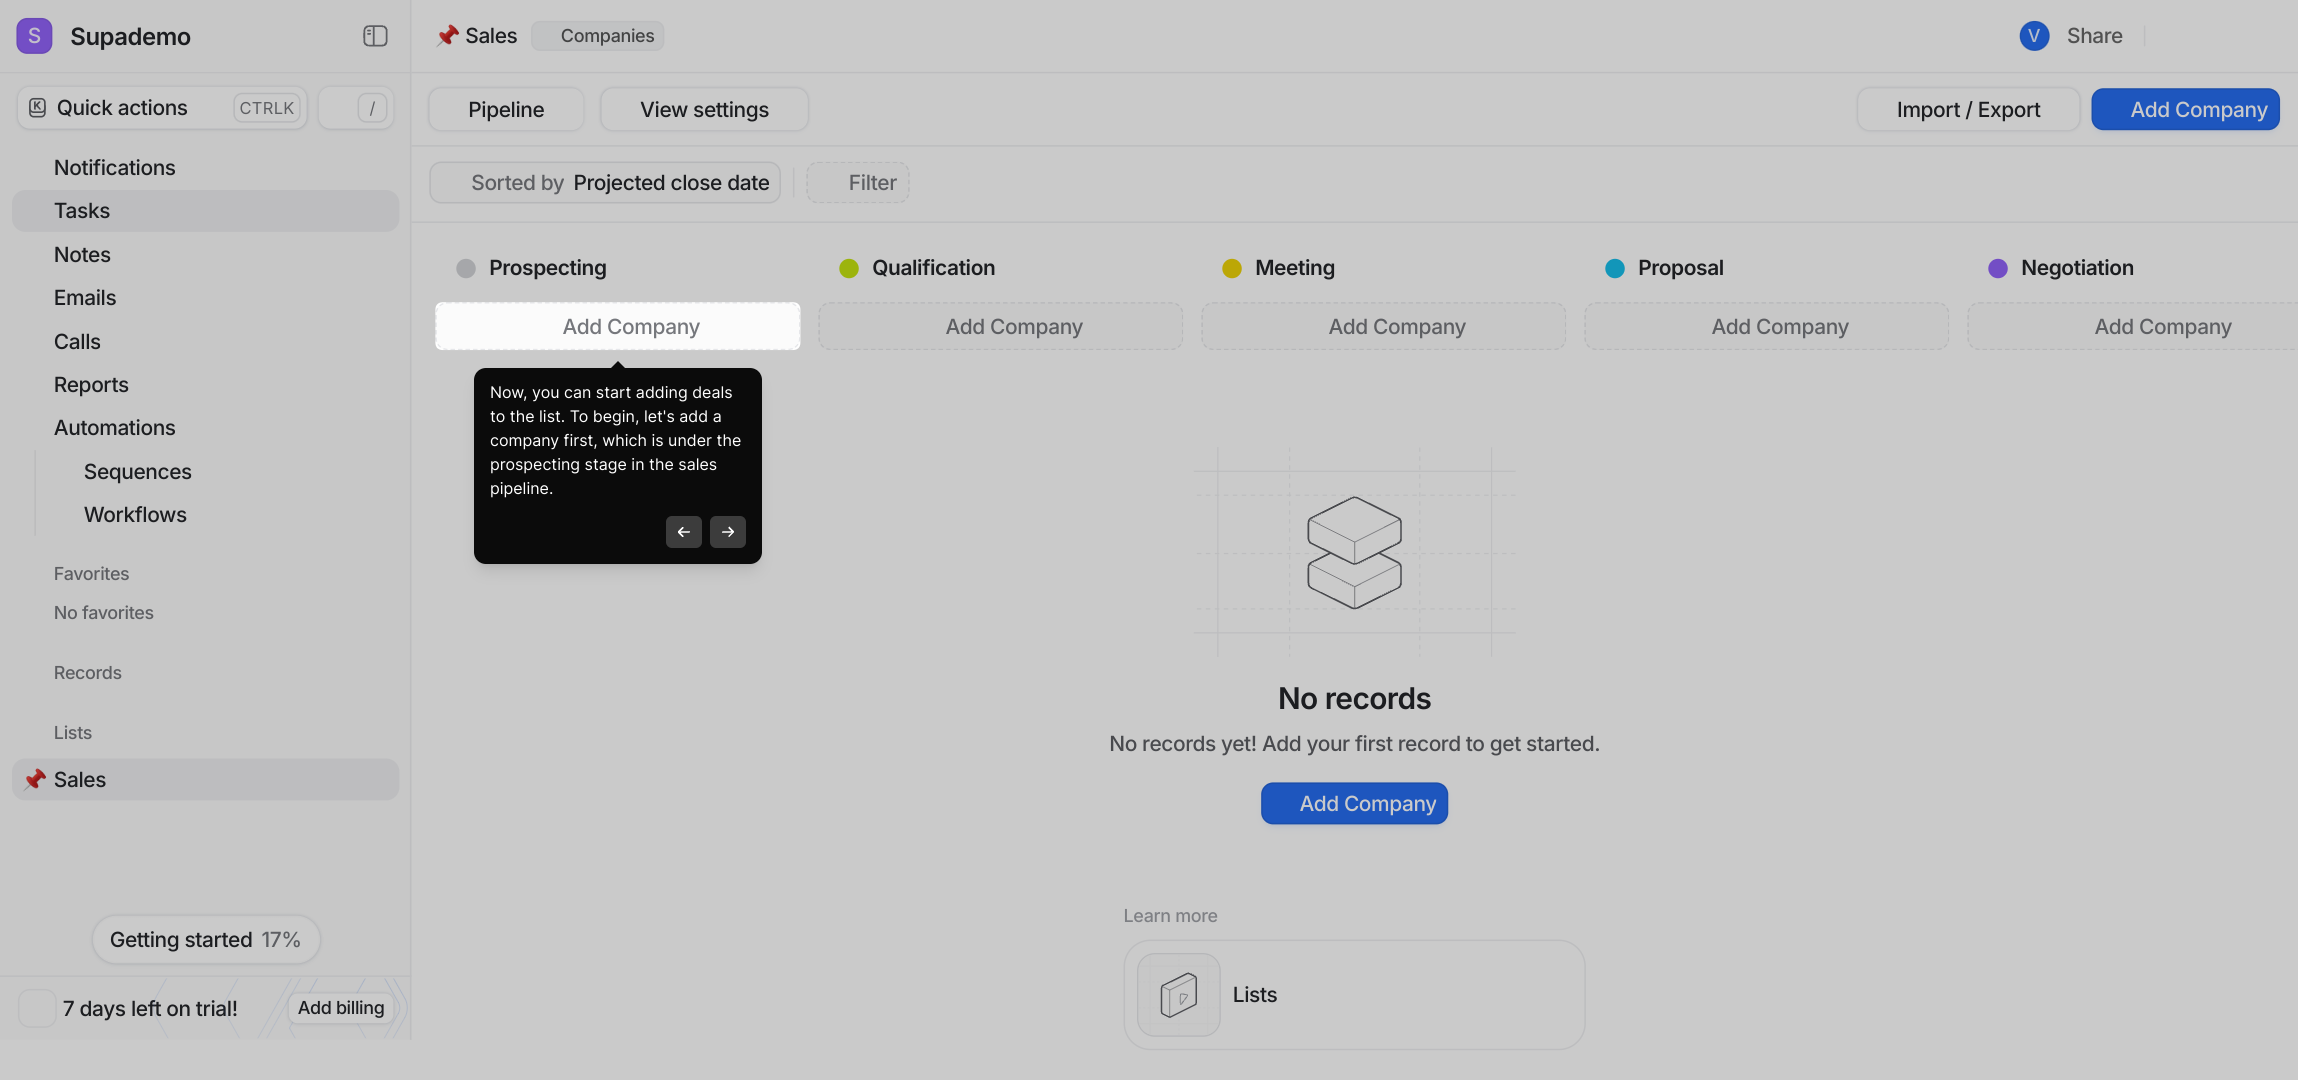
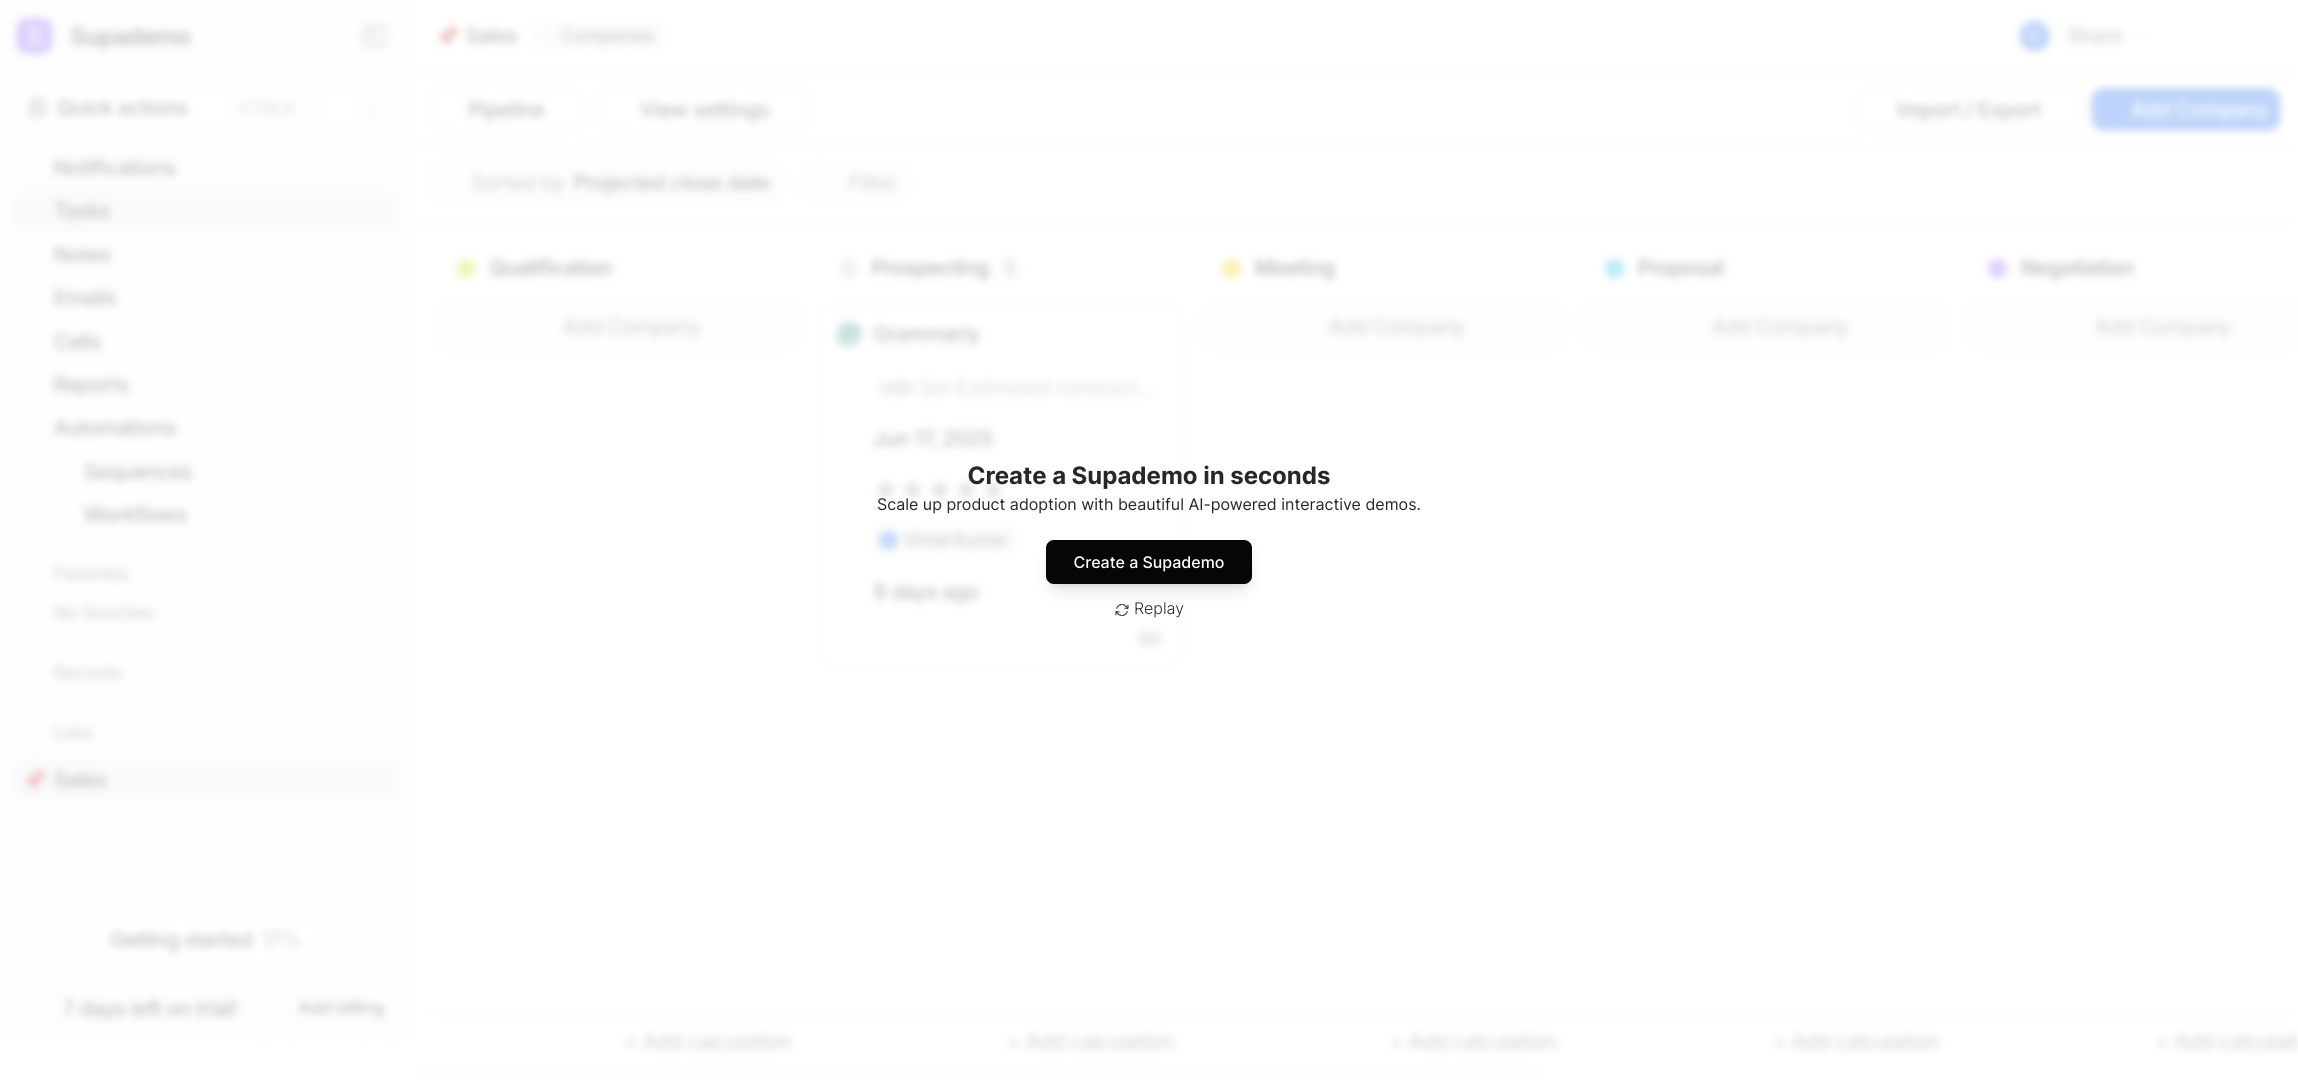
7. Now, you can start adding deals to the list. To begin, let's add a company first, which is under the prospecting stage in the sales pipeline.
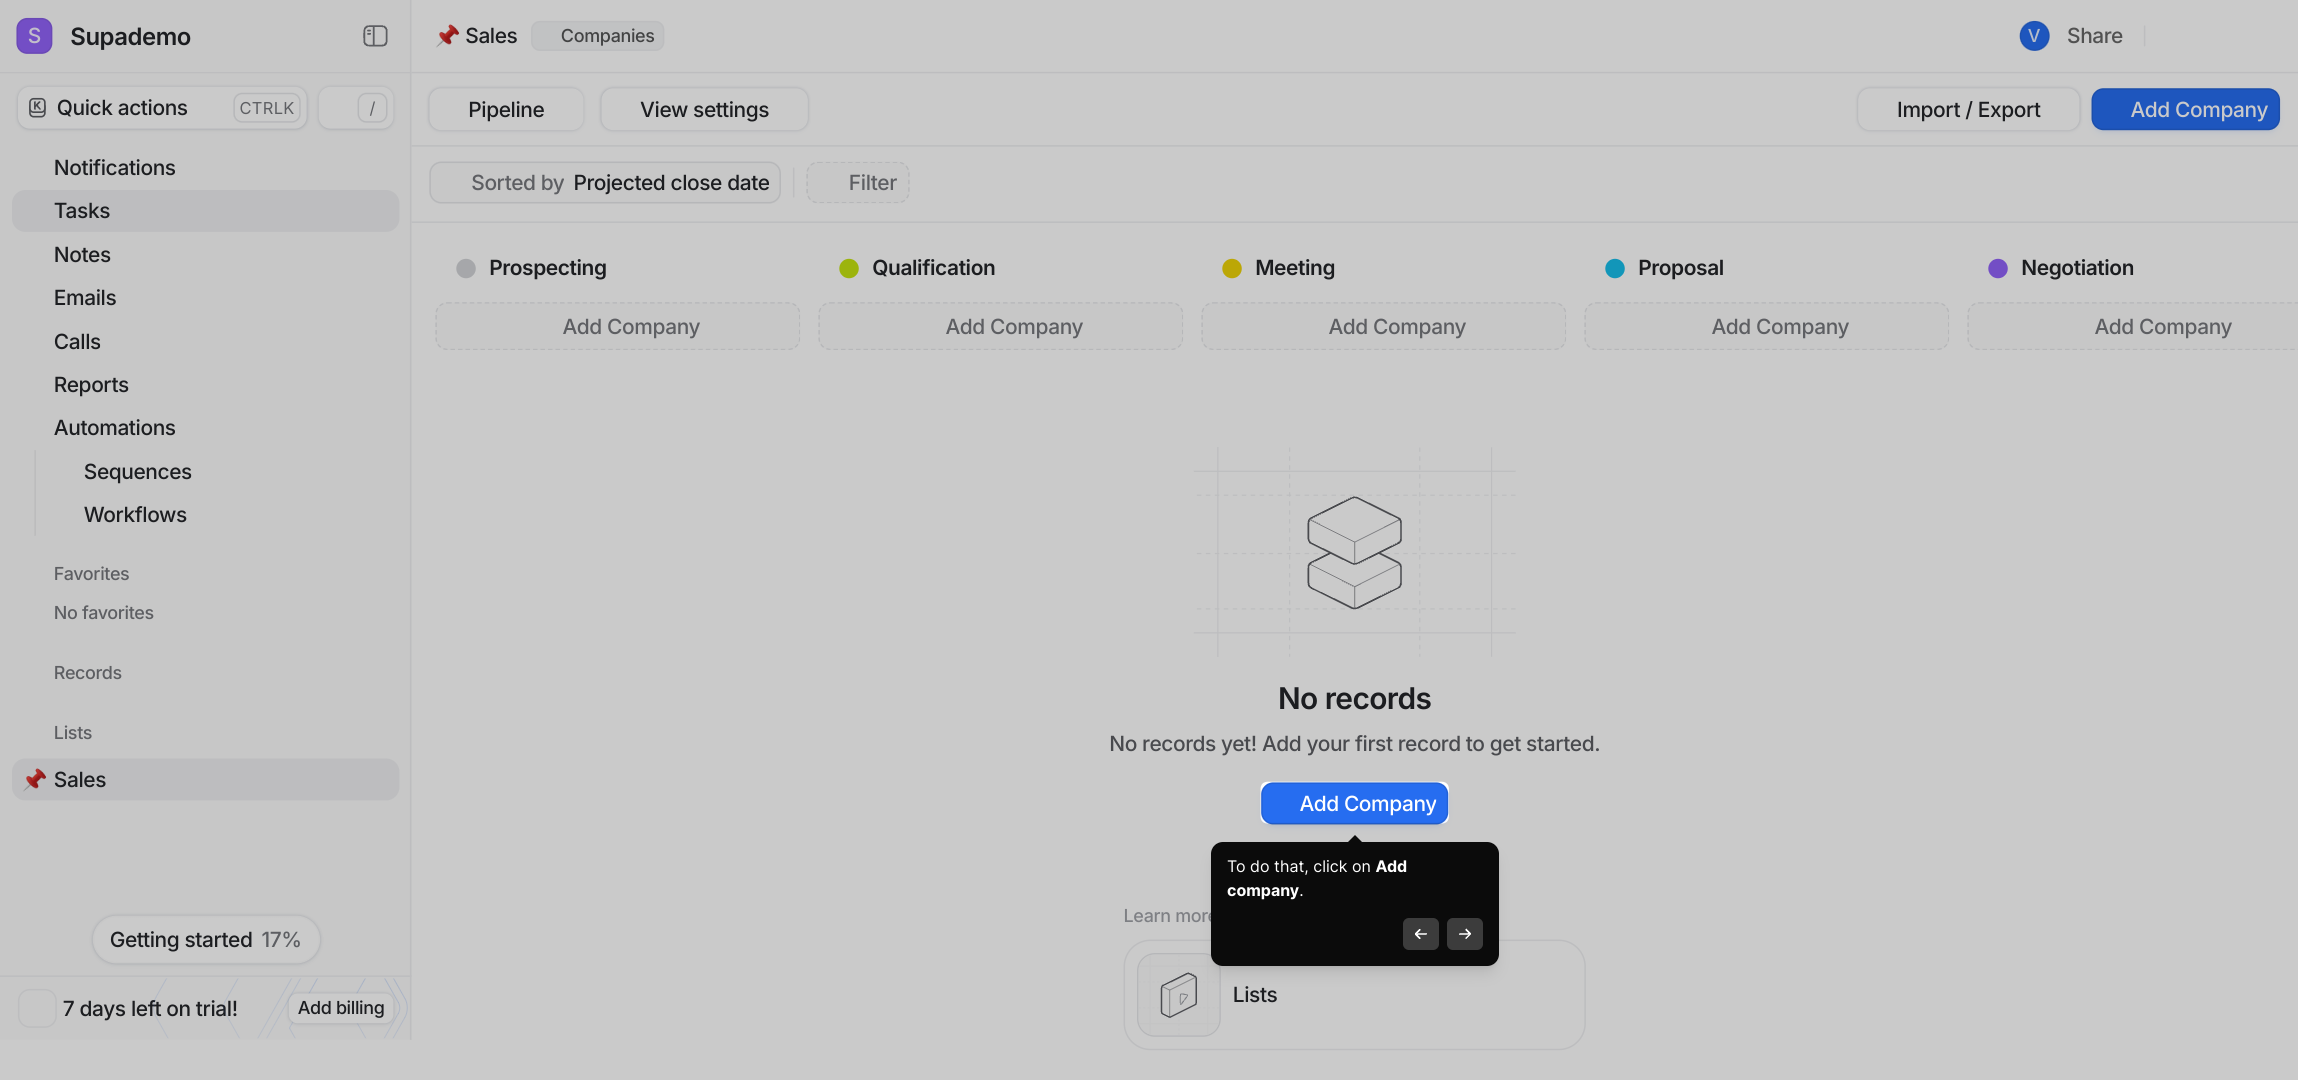
8. To do that, click on Add company.
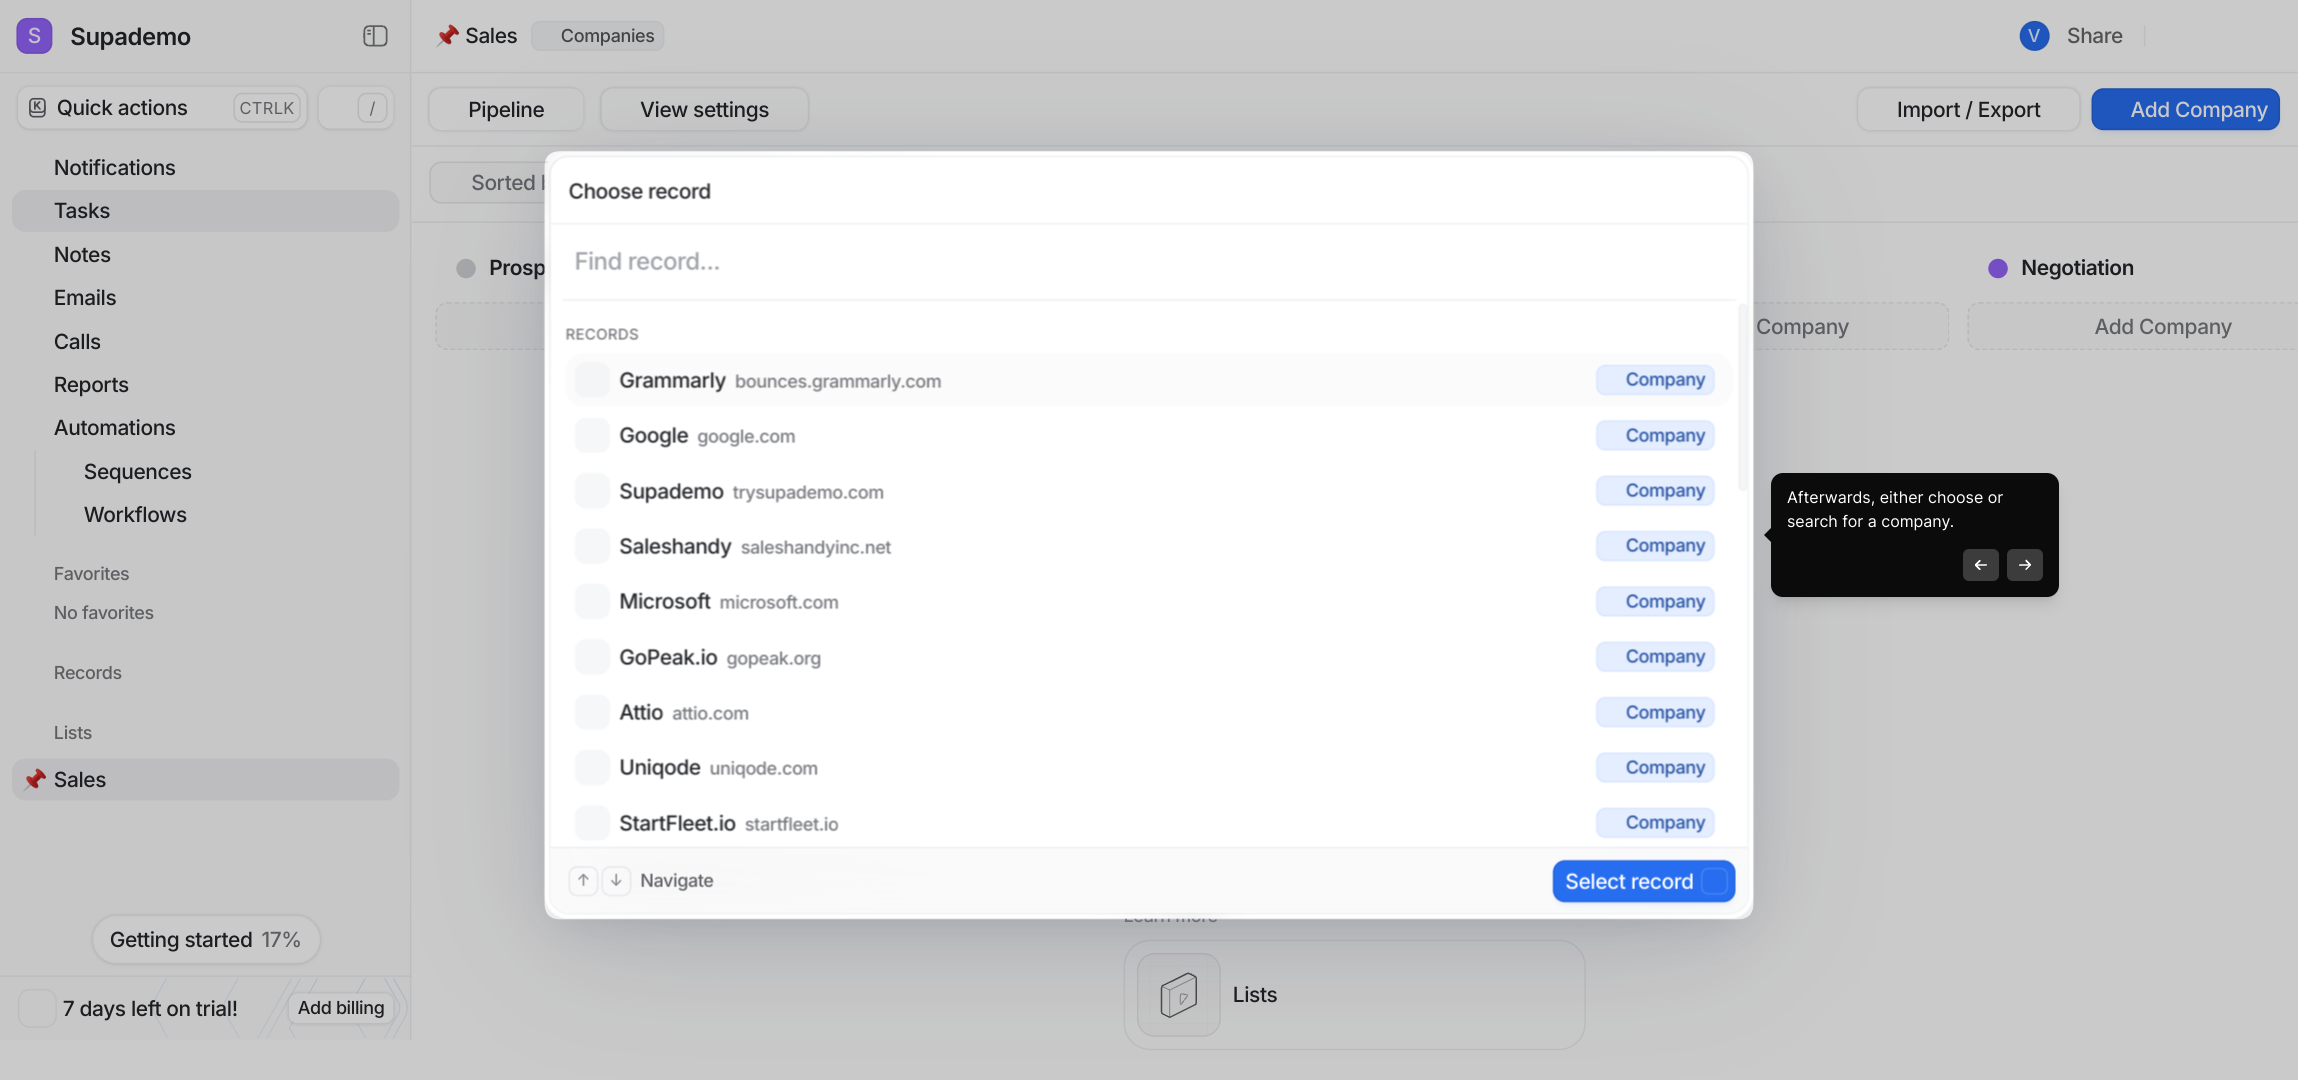
9. Afterwards, either choose or search for a company.
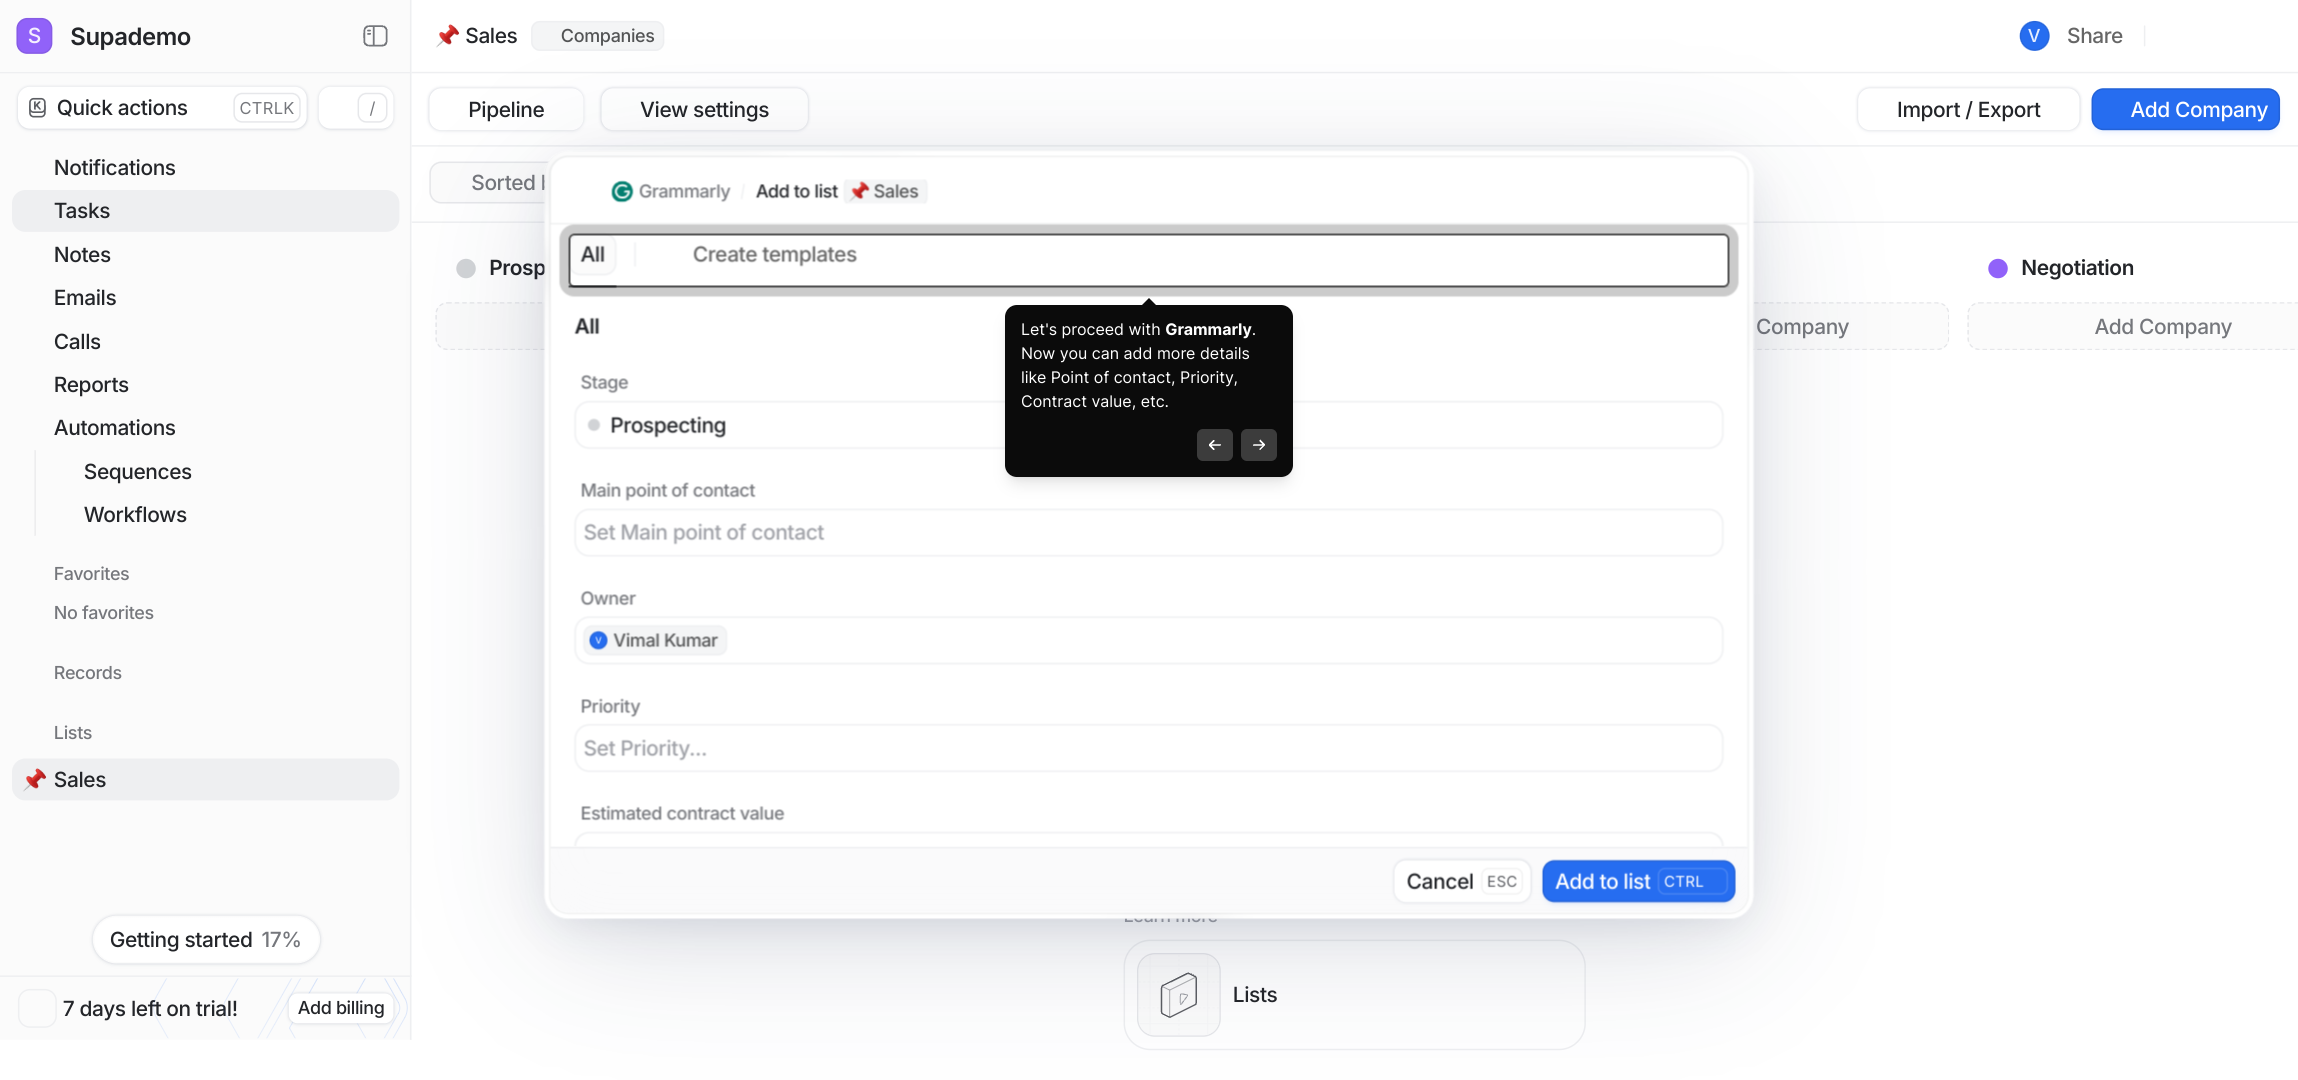
10. Let's proceed with Grammarly. Now you can add more details like Point of contact, Priority, Contract value, etc.
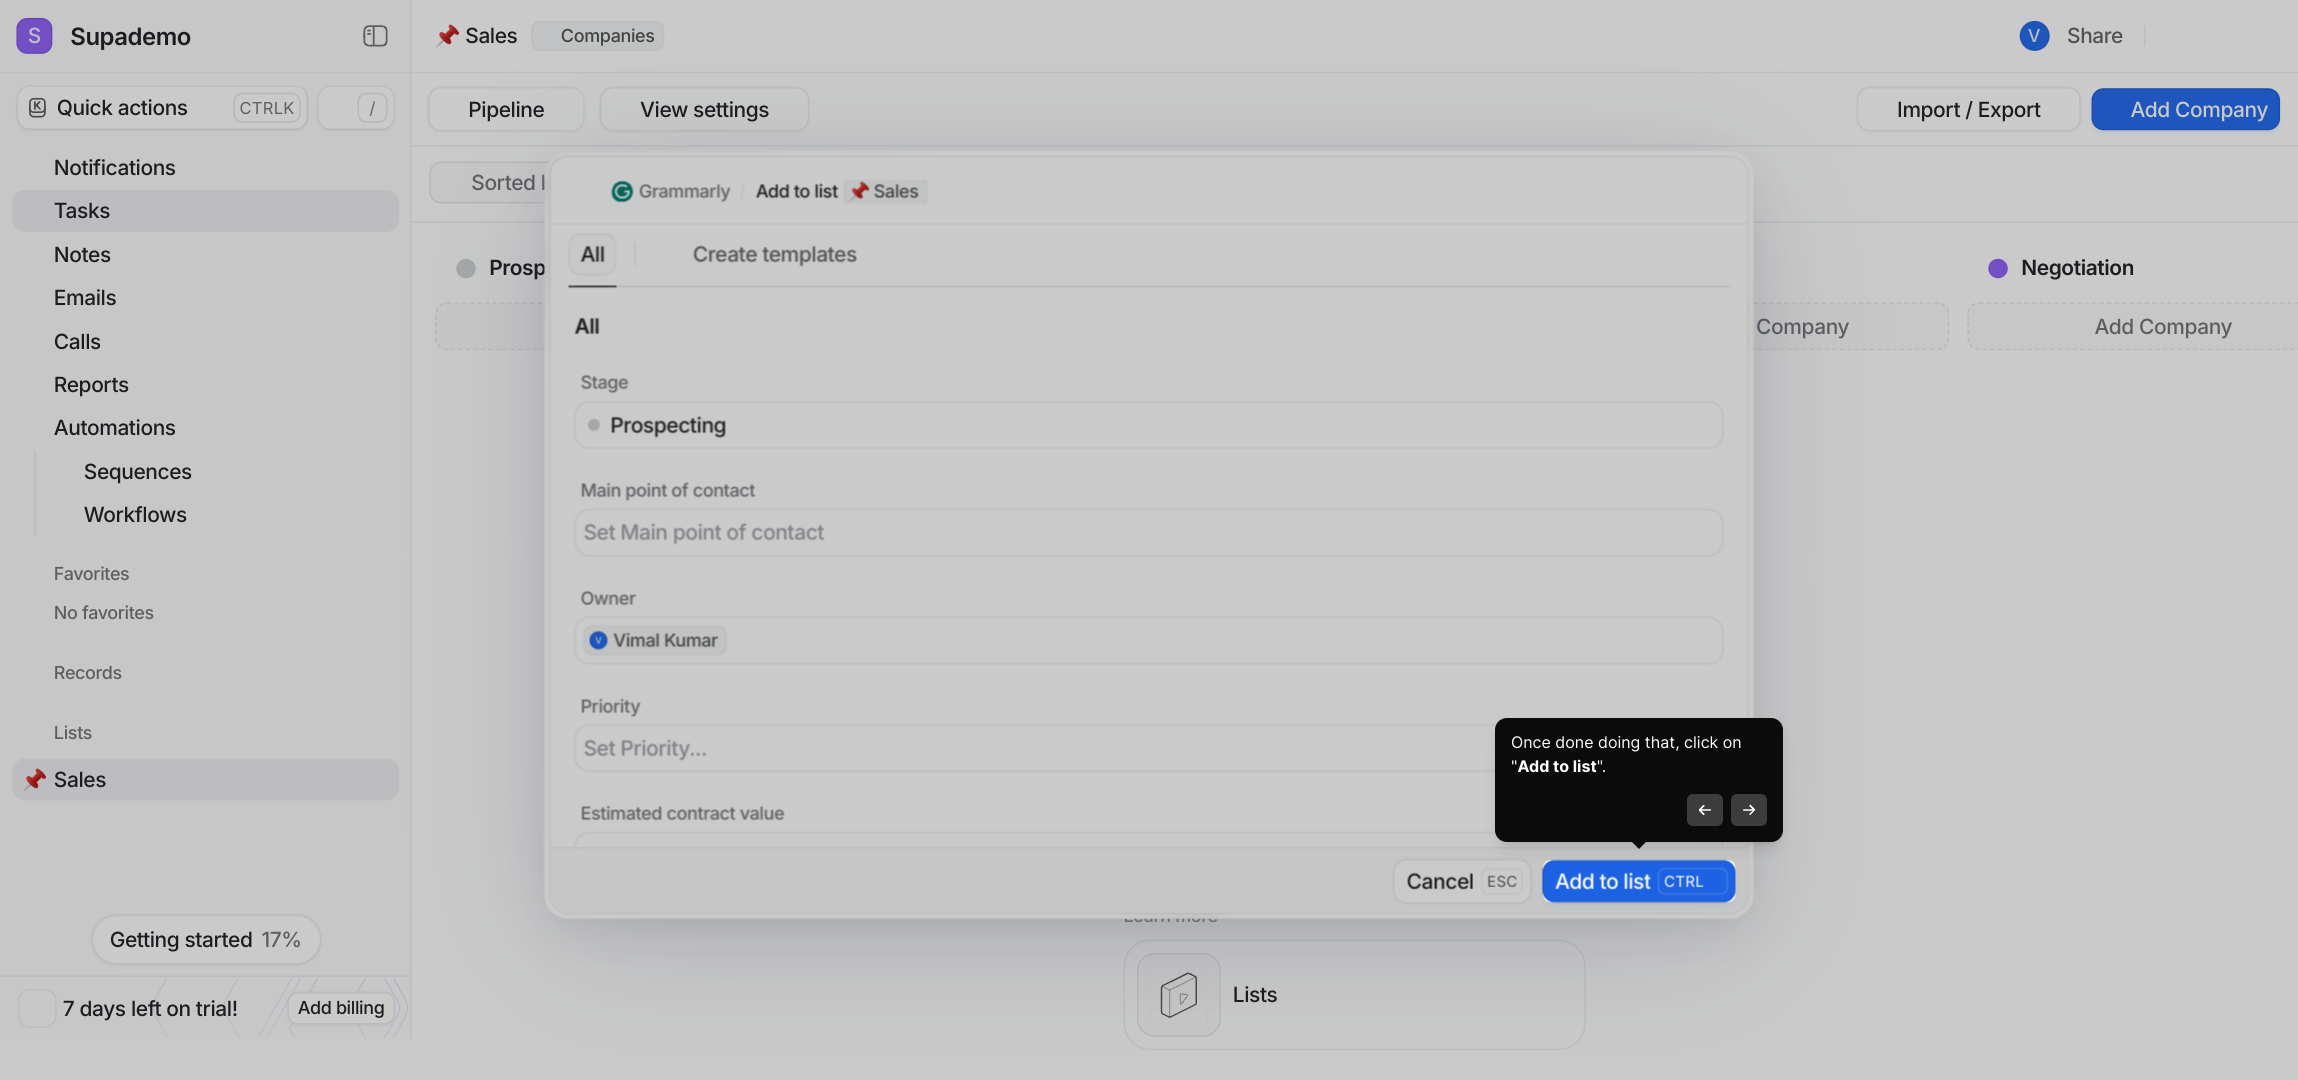
11. Once done doing that, click on "Add to list".
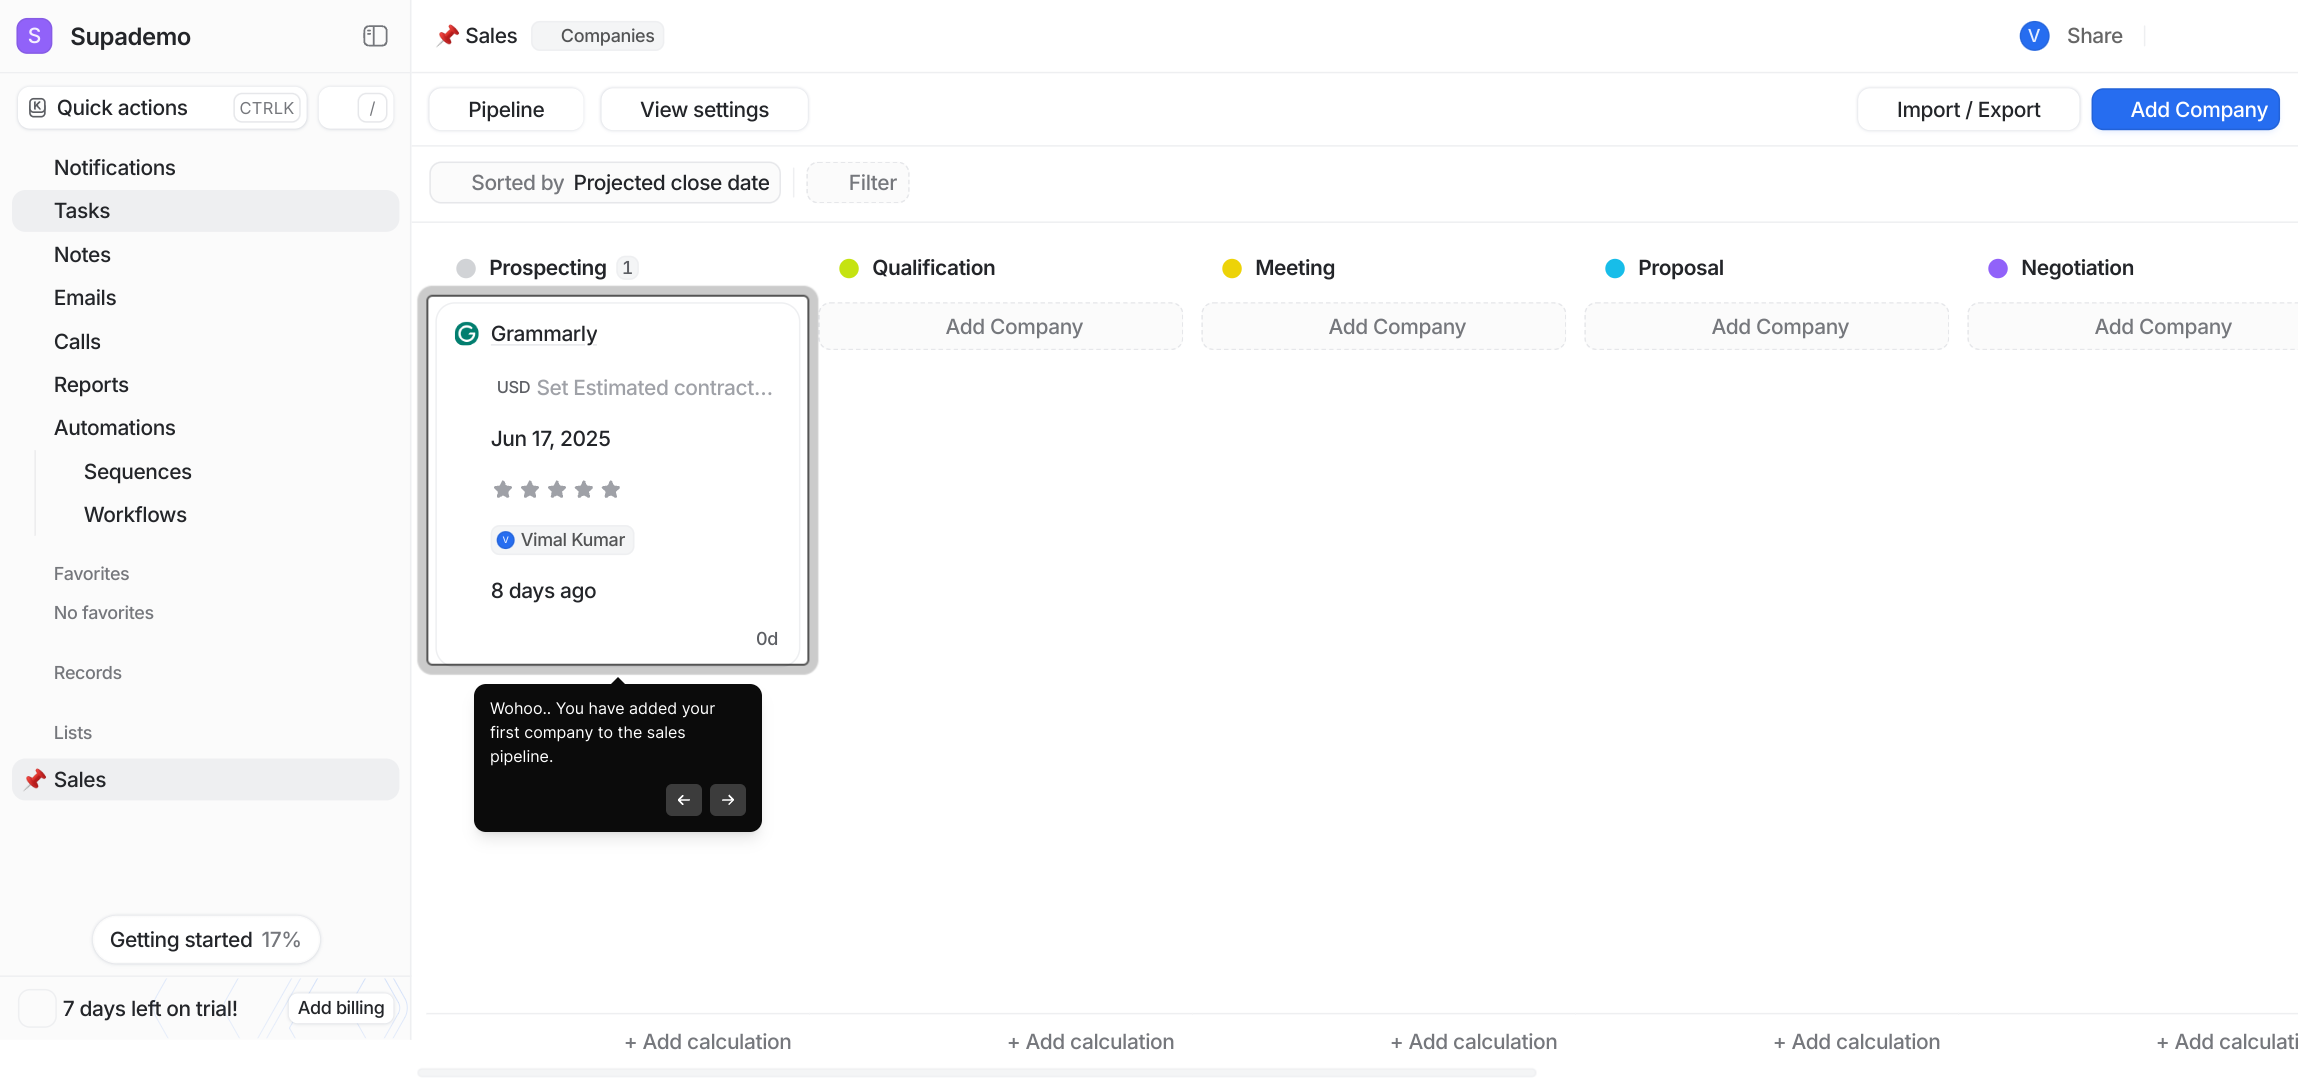
12. Wohoo.. You have added your first company to the sales pipeline.
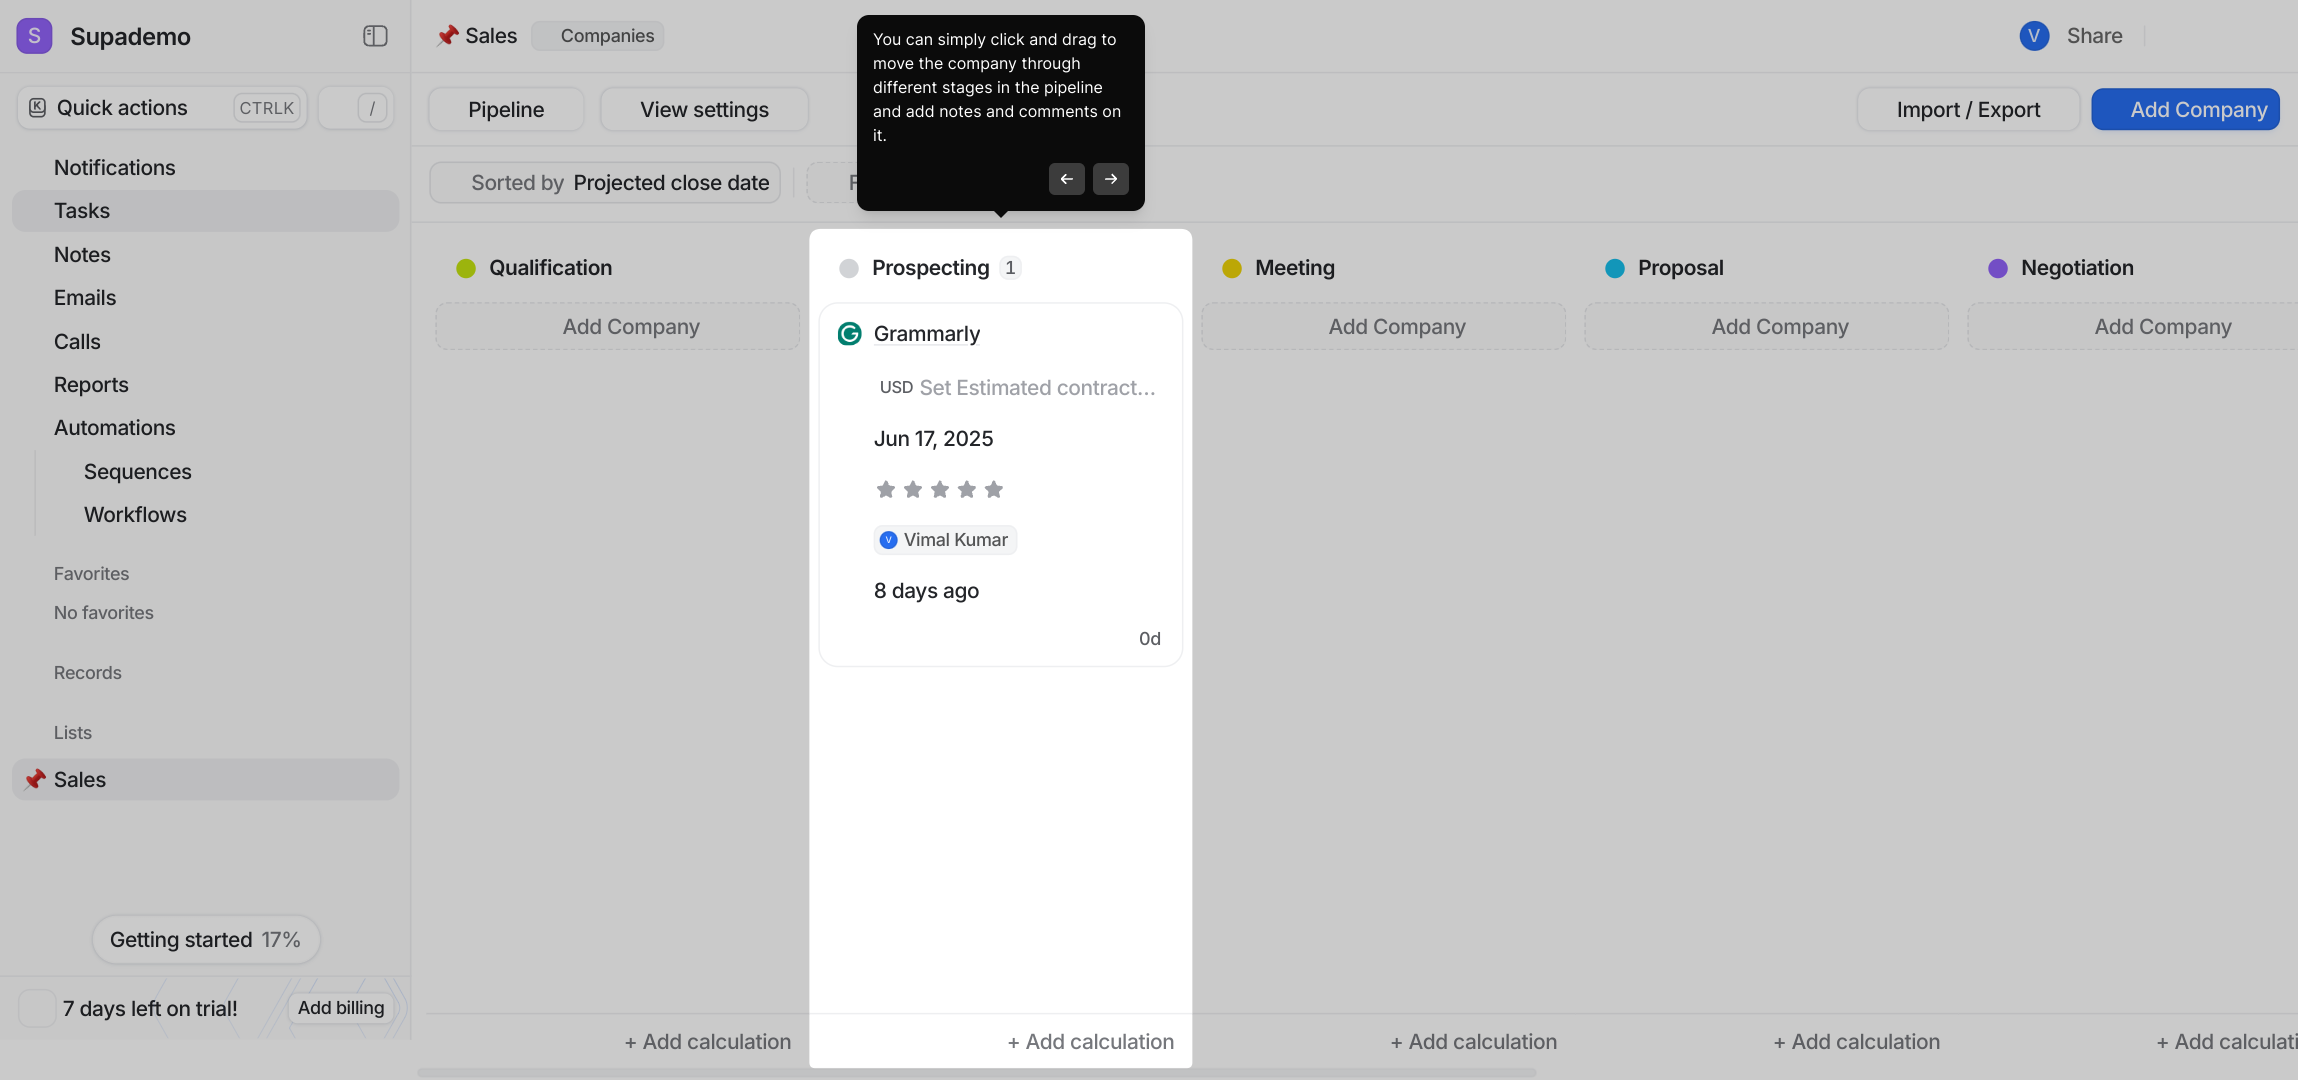
13. You can simply click and drag to move the company through different stages in the pipeline and add notes and comments on it.
14. Create a Supademo in seconds
This interactive demo/guided walkthrough on How to Build Sales Pipelines in Attio was created using Supademo.
How to Build Sales Pipelines in Attio: Step-by-Step Guide
Begin by accessing your Attio Dashboard through your account login. This is where all your lists, contacts, and projects come together in one place.

Once logged in, locate and select the 'Lists' tab on the left-hand menu. This section organizes your collections of contacts and deals.
To create a new collection, look for the 'New list' button and click it. This will start the process of building a customized list for your needs.
Next, choose the "Sales" option from the Use Cases menu. This tailors your new list with sales-focused features and templates designed to help manage your pipeline.
You can either start fresh with a blank list or pick from one of the handy templates provided. Select a template that fits your workflow by clicking on it to get started faster.
After reviewing the template details, confirm your choice by clicking on the "Use this template" button. This sets up your list with all the relevant fields and stages.
With your list ready, it's time to begin adding deals. Start by entering a company that is currently in the prospecting phase of your sales process.
To add a new company, click on the Add company button. This allows you to input relevant business details directly into your list.
From here, either select an existing company in your database or search for a new one to include in your sales pipeline.
For this example, we'll add Grammarly. Take this opportunity to fill out essential information such as the point of contact, priority level, contract value, and other relevant details.
Once all the necessary information is entered, finalize the addition by clicking the "Add to list" button. This saves the company in your pipeline.
Great job! You’ve successfully added your first company to the sales pipeline, ready to track progress and updates.
Moving companies through your pipeline is simple—just click and drag them between stages as deals progress. You can also add notes and comments to keep your team informed.
In just moments, you’ve crafted a dynamic Supademo to visualize and manage your sales pipeline effectively.
Create your own interactive demos in < 5 mins with Supademo
You can create your own interactive product demo in minutes using Supademo. Drive growth, scale enablement, and supercharge product-led onboarding with Supademo. Sign up for free here with no credit card required.
FAQs
What is a sales pipeline in Attio?
A sales pipeline in Attio is a visual process that tracks and manages sales deals through various stages, helping teams monitor progress and forecast revenue efficiently within the CRM platform.
How do I start building a sales pipeline in Attio?
Begin by logging into your Attio Dashboard, navigate to the Lists tab, click 'New list', select the 'Sales' use case, choose a template or start from scratch, then add deals and companies accordingly.
Can I customize the sales pipeline stages in Attio?
Yes, Attio allows you to customize your sales pipeline stages to fit your unique sales process. You can rename stages, add or remove them to better reflect your workflow.
Is it possible to add notes and comments to deals in Attio?
Absolutely. You can add notes and comments directly on individual deals or companies within your sales pipeline, which helps keep communication clear and organized.
How do I add a company to my sales pipeline in Attio?
Click the 'Add company' button within your sales list, then search or select the company you want to add. Fill out relevant details such as point of contact and contract value before adding.
Can I use pre-built templates for sales pipelines in Attio?
Yes, Attio offers pre-built sales pipeline templates designed to streamline setup with common fields and stages. You can select a template during the list creation process.
How do I update the stage of a company in the sales pipeline?
Simply drag and drop the company card to a different stage within the pipeline to update its status. This visually represents progress through your sales process.
Is collaboration possible within sales pipelines in Attio?
Yes, Attio supports team collaboration by allowing multiple users to view, comment, and update deals and companies within shared sales pipelines in real-time.
What kind of deal details can I track in Attio’s sales pipeline?
You can track various deal details like point of contact, contract value, priority level, stage status, expected close date, and add custom fields tailored to your business needs.
How can I optimize my sales pipeline in Attio for better performance?
Regularly update deal stages, use custom fields to track key metrics, leverage notes and comments for communication, and use templates to ensure a consistent, scalable sales process.