Overview
Efficiently tailor your Google Docs to your preferences with our comprehensive guide on changing document orientation. Elevate your document customization by seamlessly adjusting the orientation to suit your specific needs. This user-friendly guide provides step-by-step instructions, empowering you to effortlessly enhance the visual presentation of your content within the Google Docs platform. Optimize your document layout for a more personalized and polished look with this straightforward orientation-changing tutorial.
Who is Google Docs best suited for?
Google Docs is best suited for a wide range of professionals, including Writers, Educators, and Team Collaborators. For example, Writers can use Google Docs for drafting and editing content, Educators can leverage it for creating and sharing lesson plans, and Team Collaborators can use it for real-time document editing and feedback, all benefiting from Google Docs’ cloud-based accessibility and seamless collaboration features.
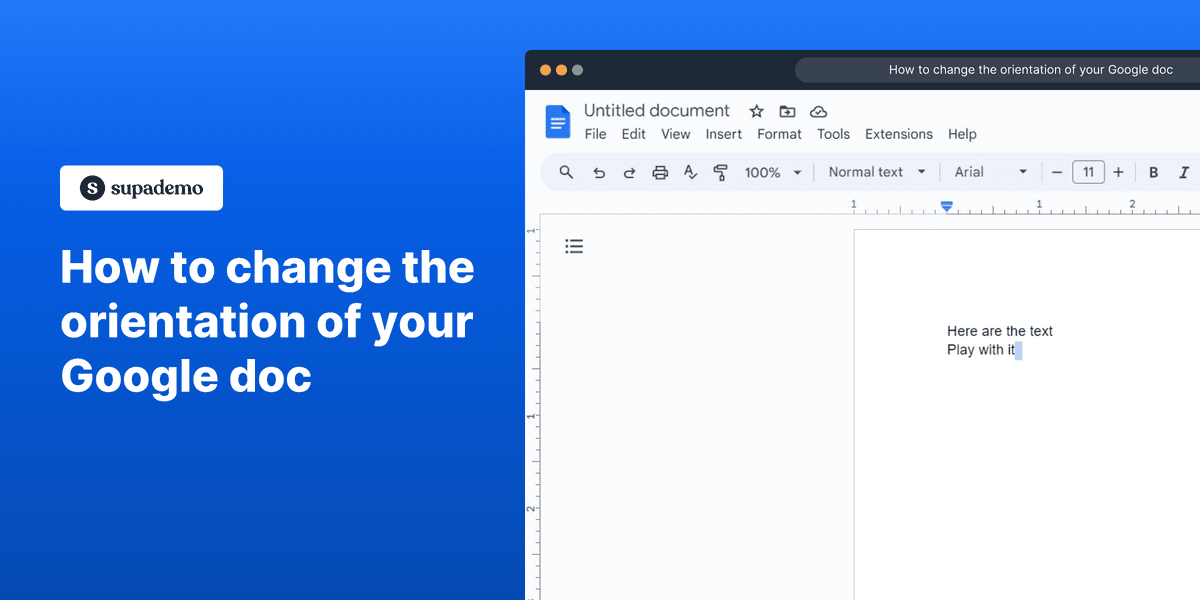
How to change the orientation of your Google doc
1. Begin by launching your Google Doc page.
2. Navigate and select the 'Format' menu option.
3. Within the 'Format' dropdown, find and select 'Page orientation'.
4. Choose desired page orientation.
5. Confirm your selection by clicking 'OK'.
Common FAQs on Google Docs
Commonly asked questions about this topic.
How do I collaborate with others in real-time on a Google Doc?
How do I use Google Docs' commenting and suggestion features for editing?
How can I format my document in Google Docs using styles and headings?
Create your own step-by-step demo
Nithil Shanmugam
Nithil is a startup-obsessed operator focused on growth, sales and marketing. He's passionate about wearing different hats across startups to deliver real value.


