

Overview:
Streamline your task management in Jira by mastering the art of prioritization. This comprehensive guide empowers you to optimize your workflow by demonstrating a seamless process to change the priority of tickets. Enhance your efficiency and clarity in issue management within the Jira platform, ensuring a smooth and organized project experience. Elevate your project management skills with this step-by-step guide on prioritizing tickets and unlocking the full potential of Jira's capabilities.
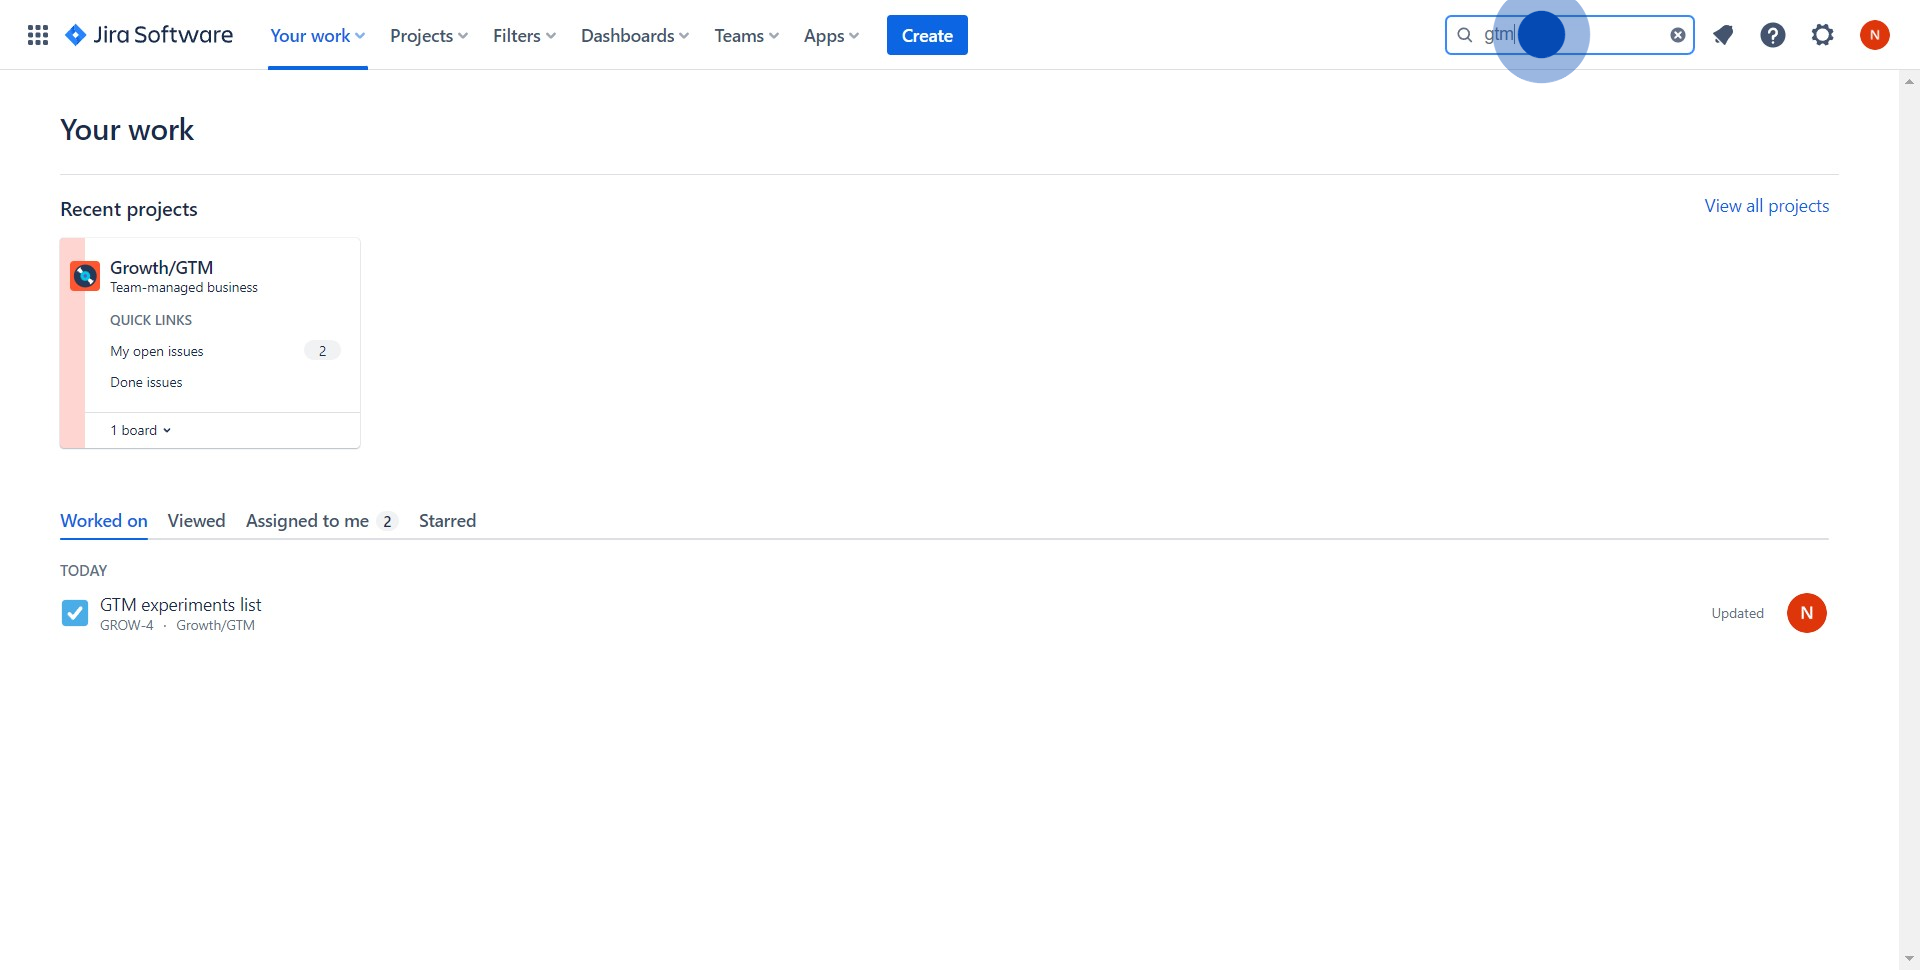
1. Input the ticket name to search in the provided field.
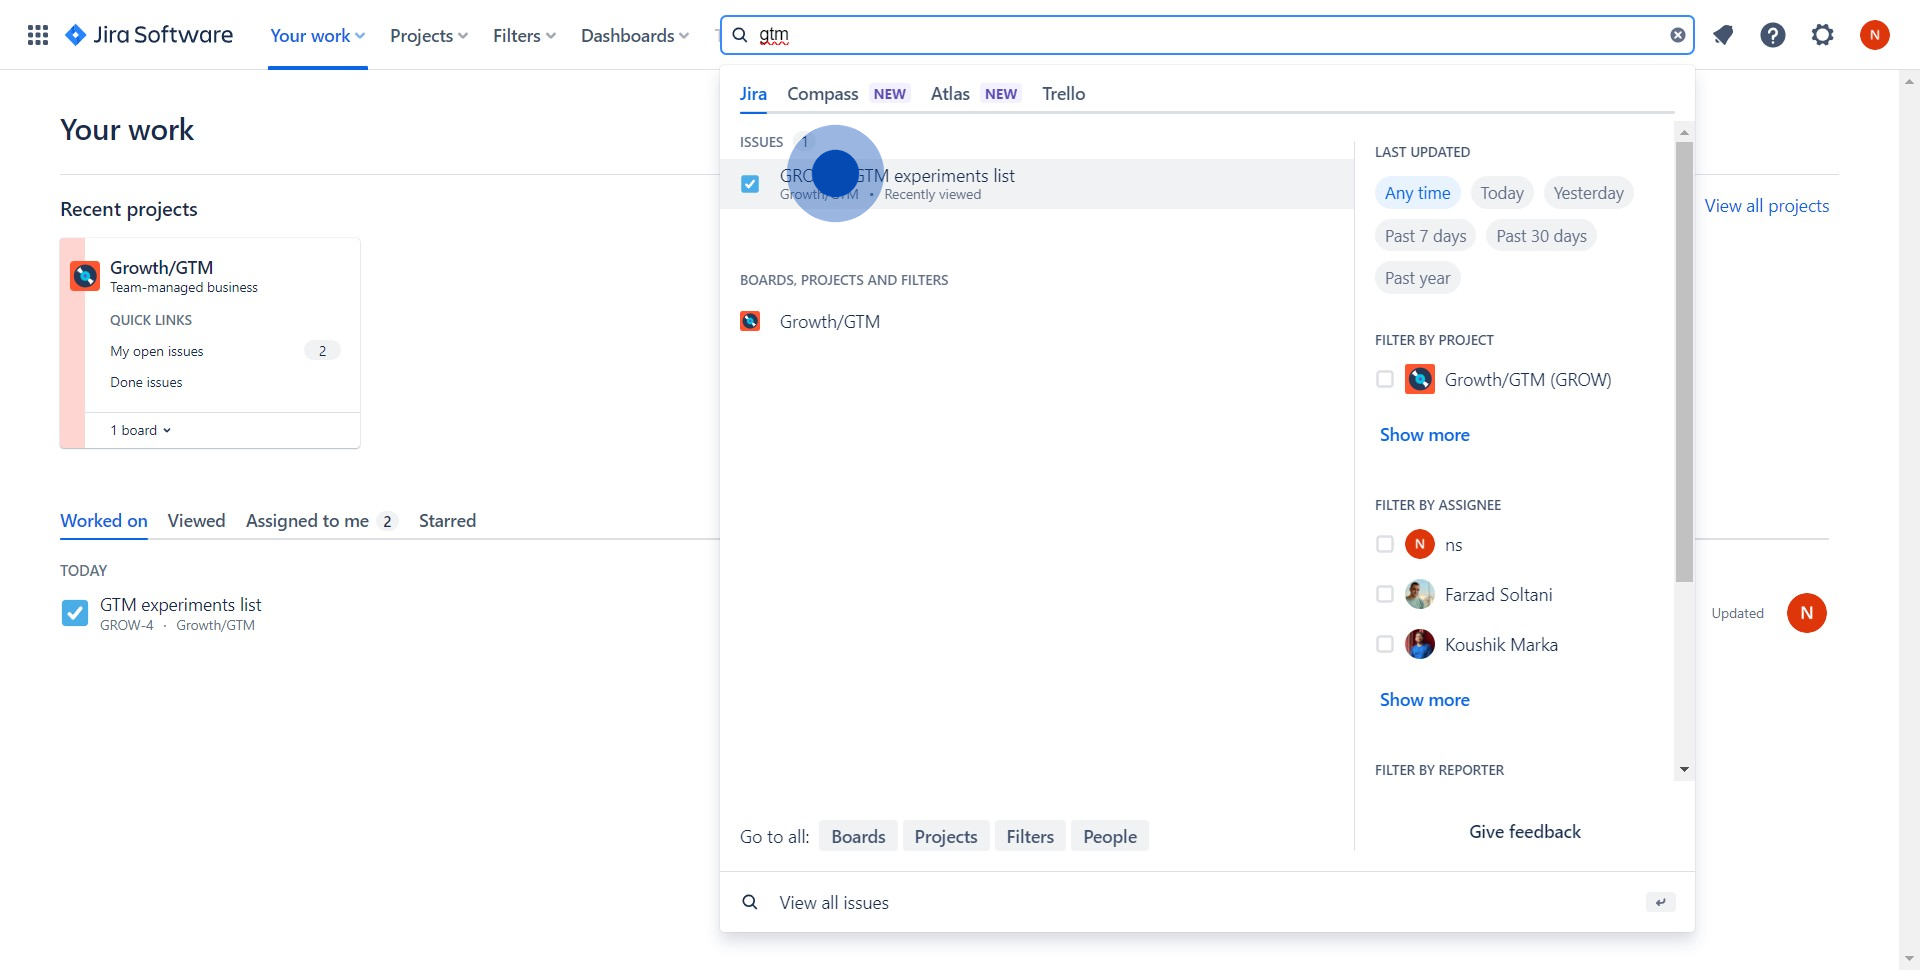
2. From the resulted list, click on the desired ticket.
3. View the ticket details by clicking on it.
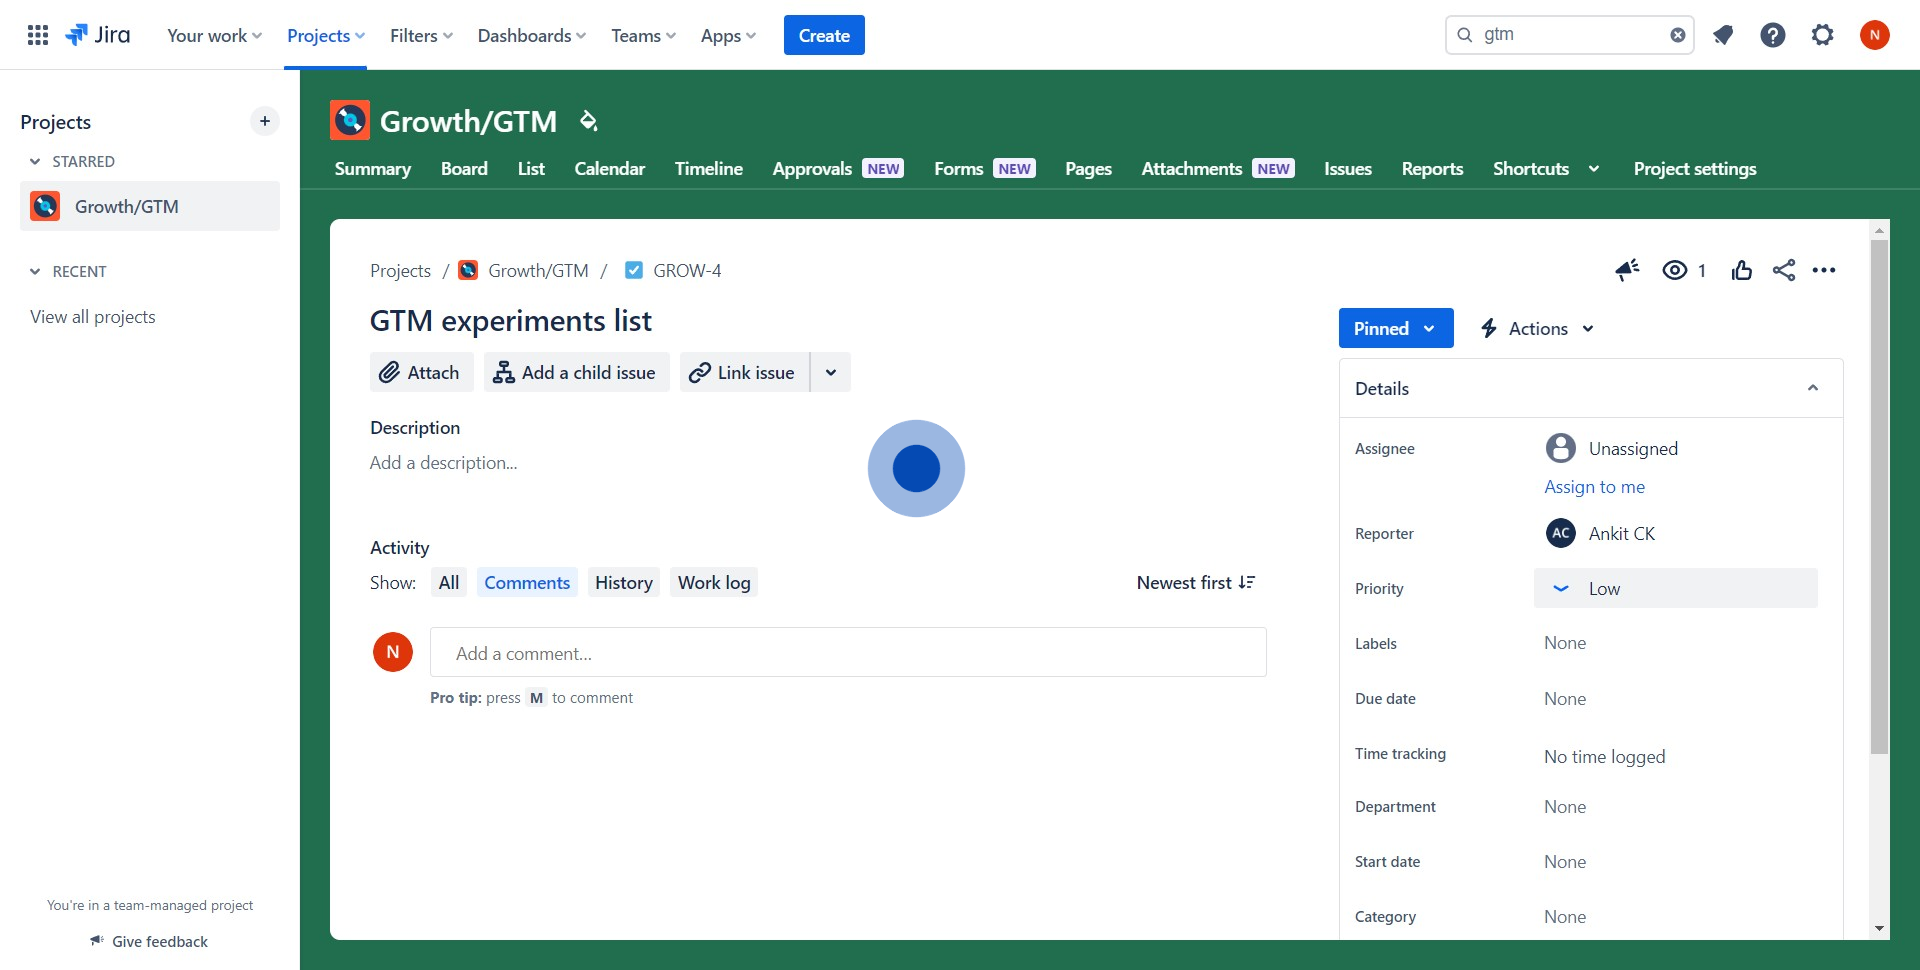
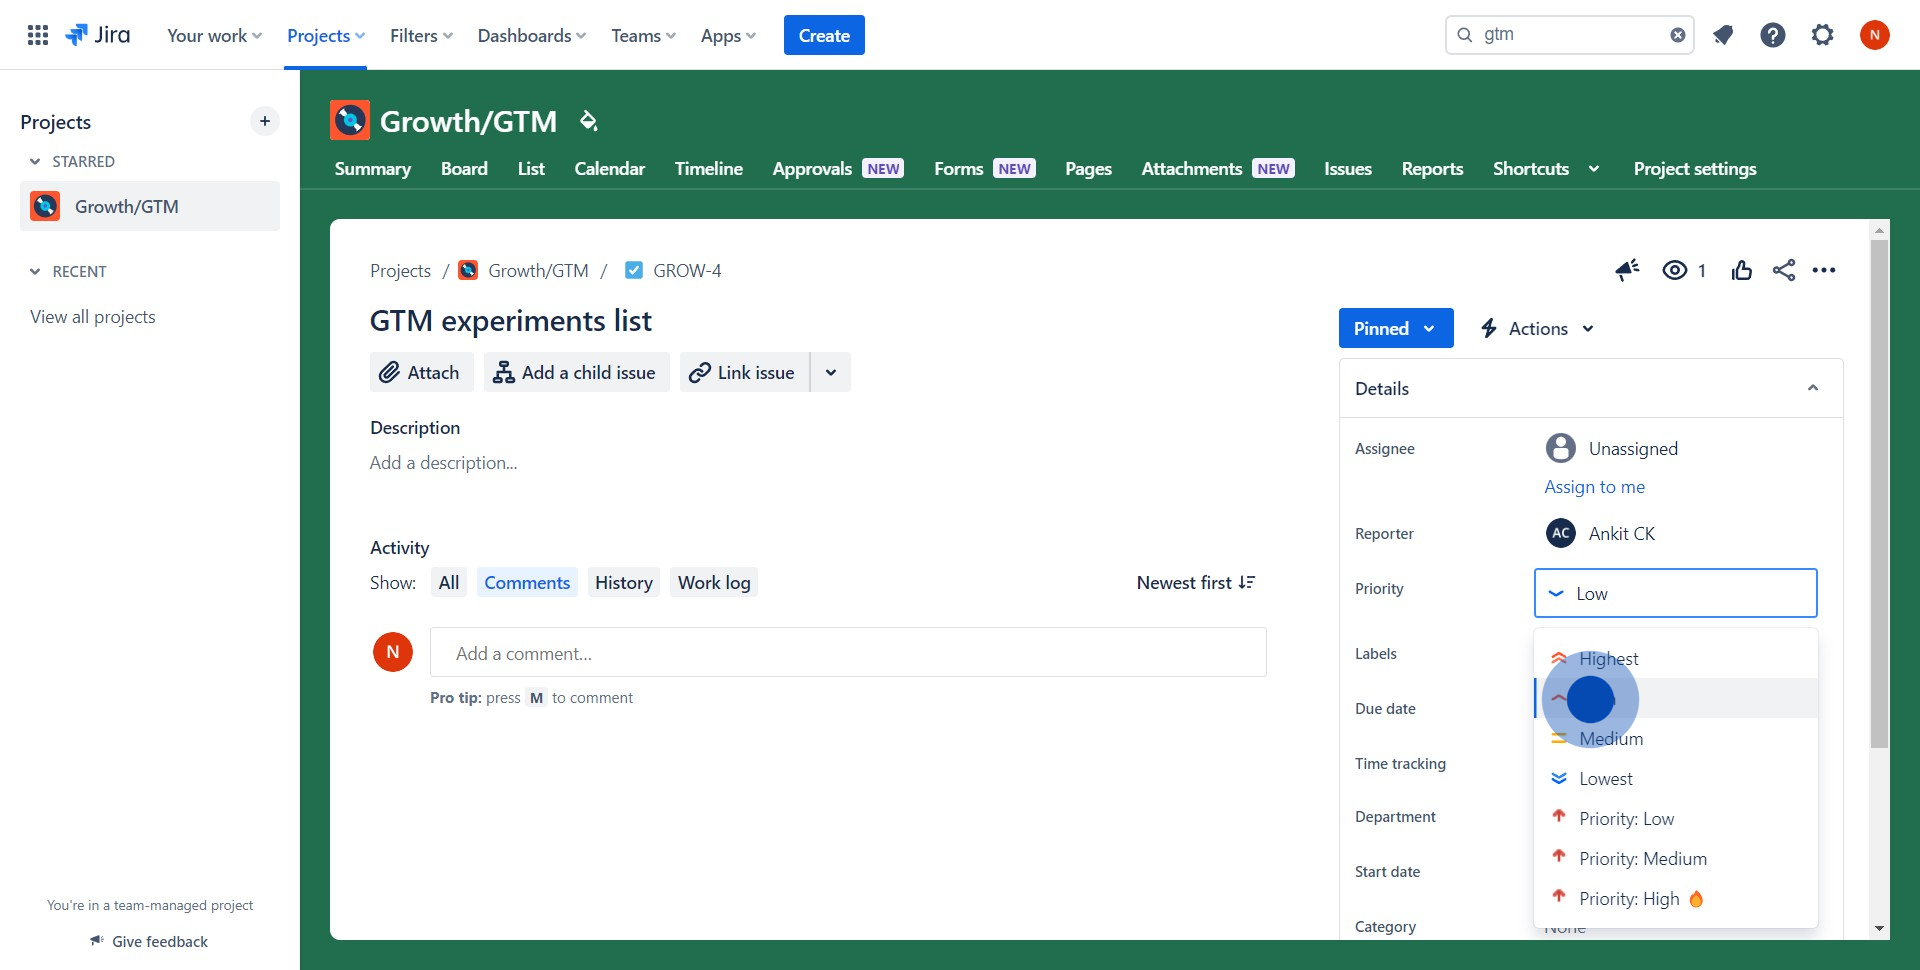
4. Locate and click on the priority bar within the ticket.
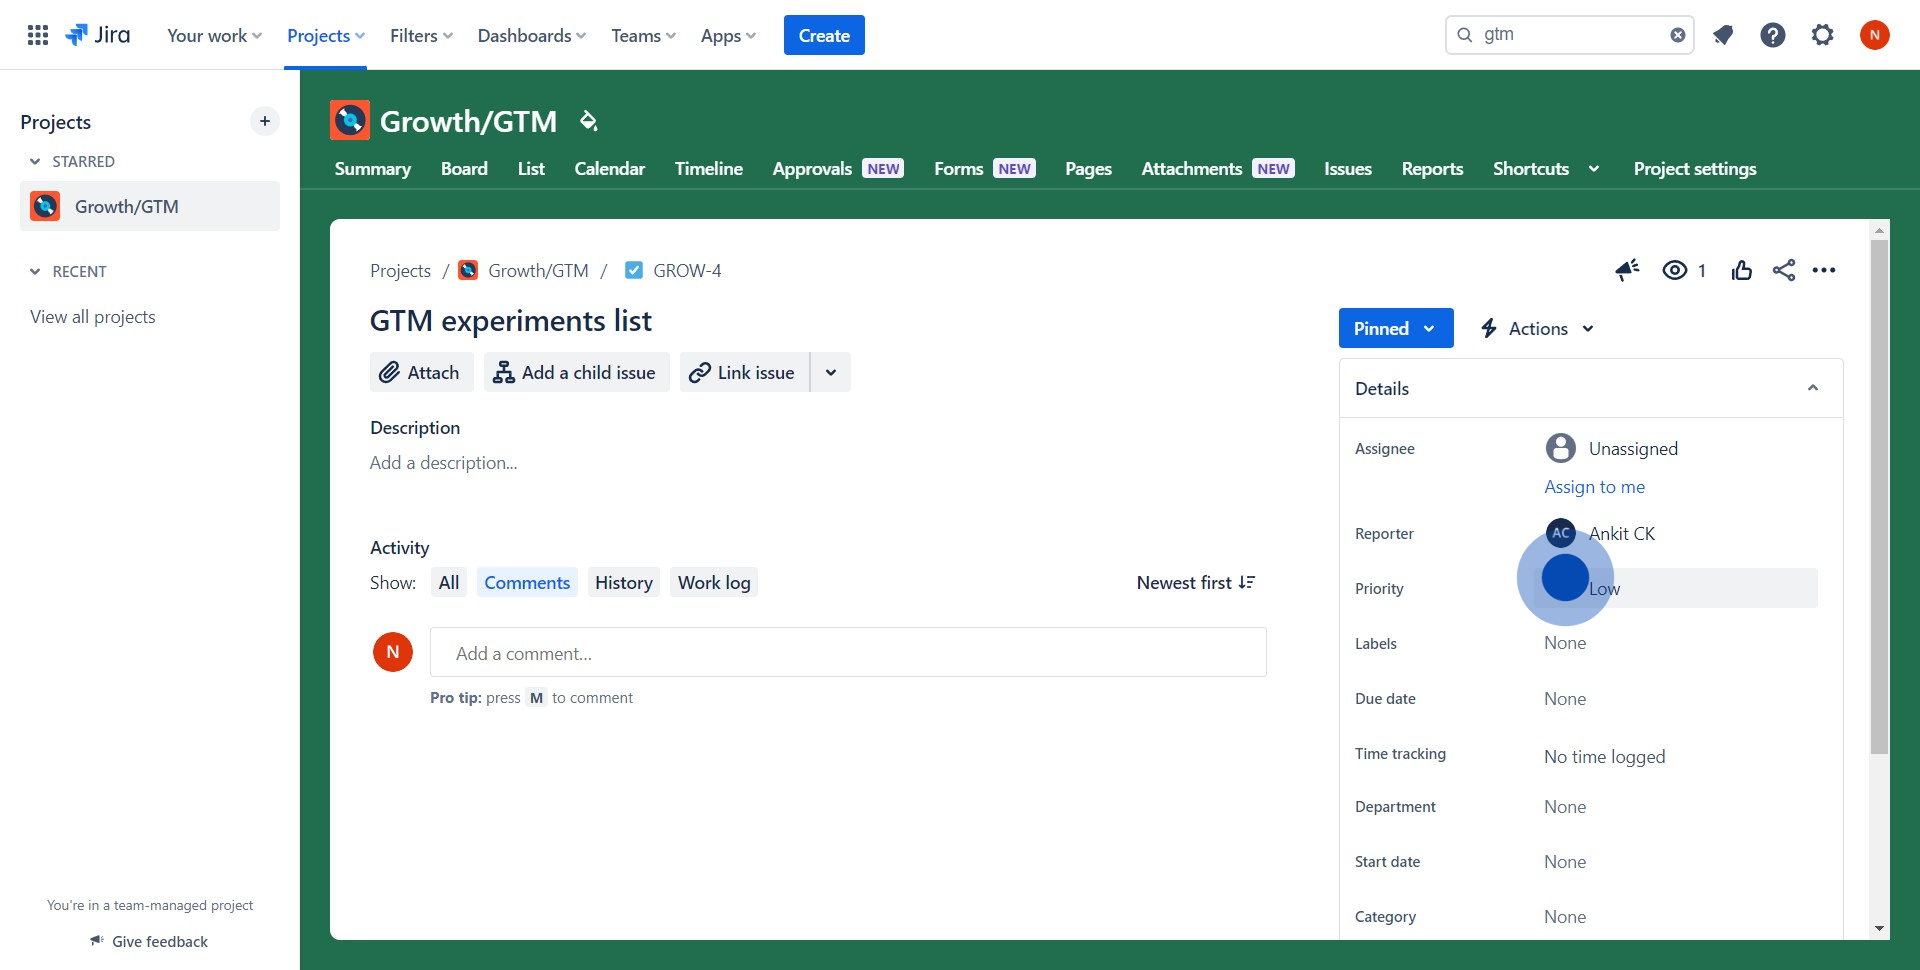
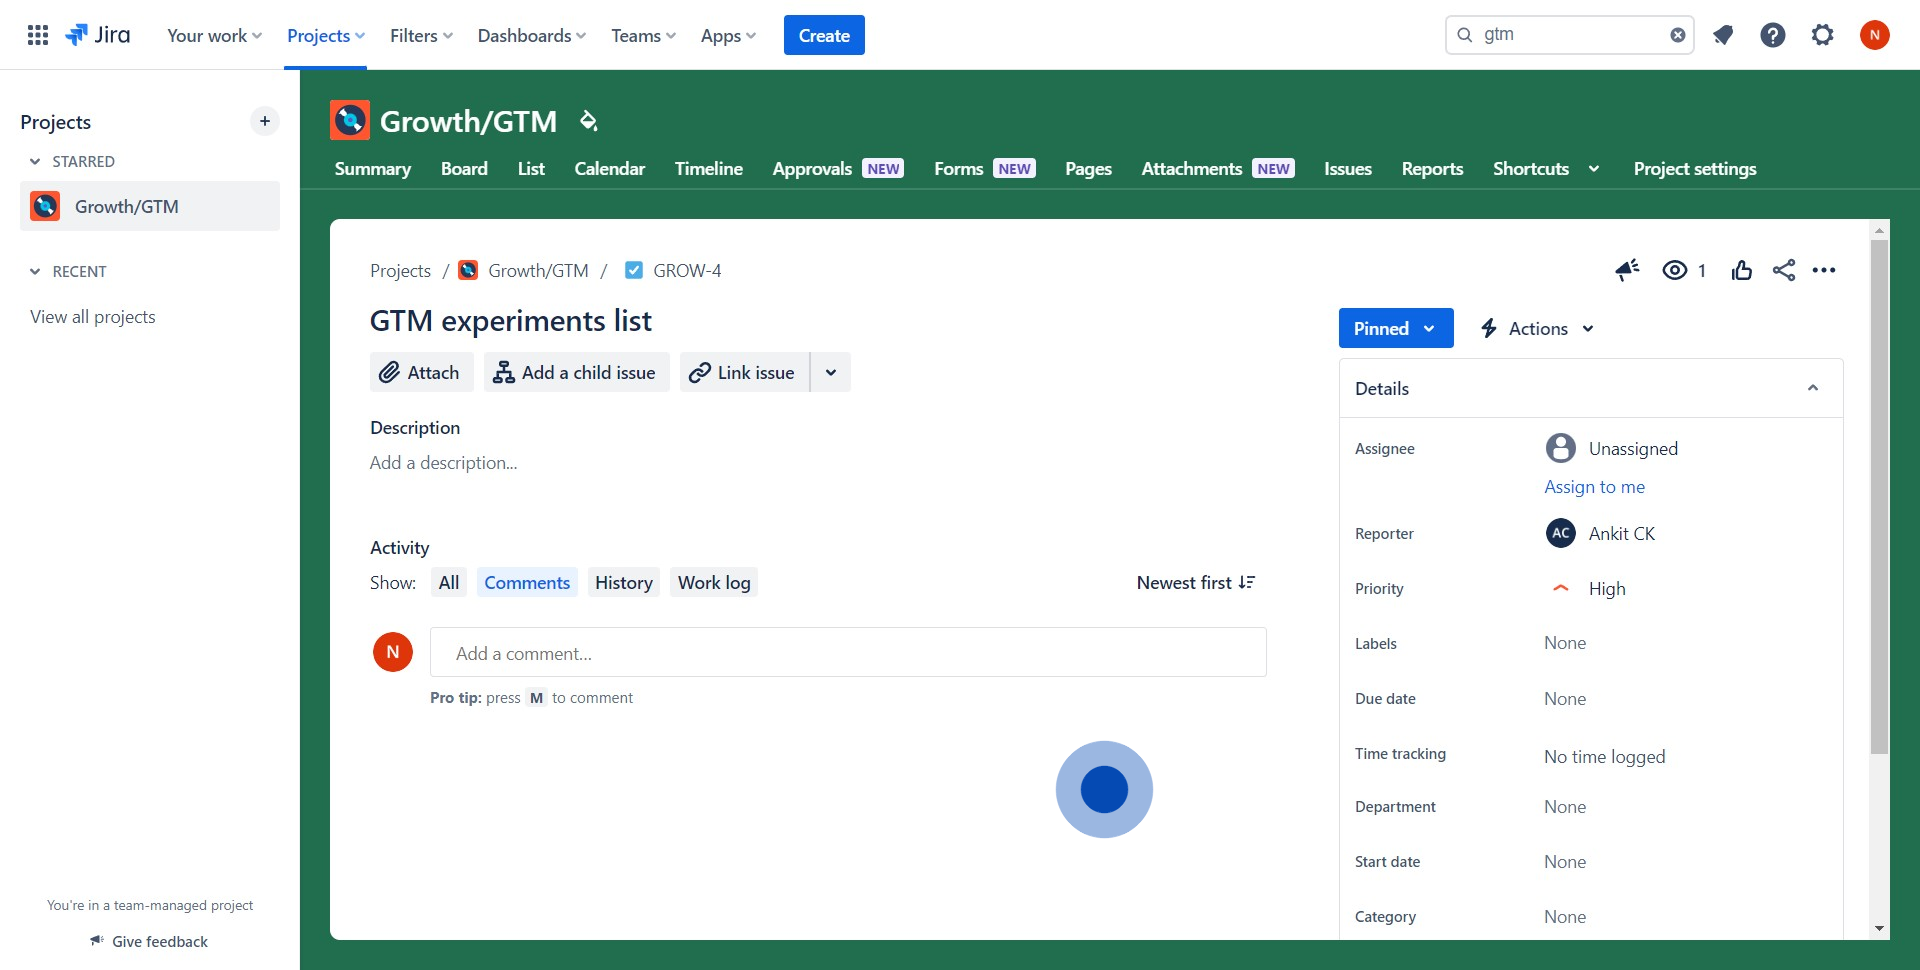
5. Choose 'High' from the dropdown as the priority level for this ticket.
6. Finish by adding a short description
Create your own interactive demo
Scale up your training and product adoption with beautiful AI-powered interactive demos and guides. Create your first Supademo in seconds for free.
