Overview:
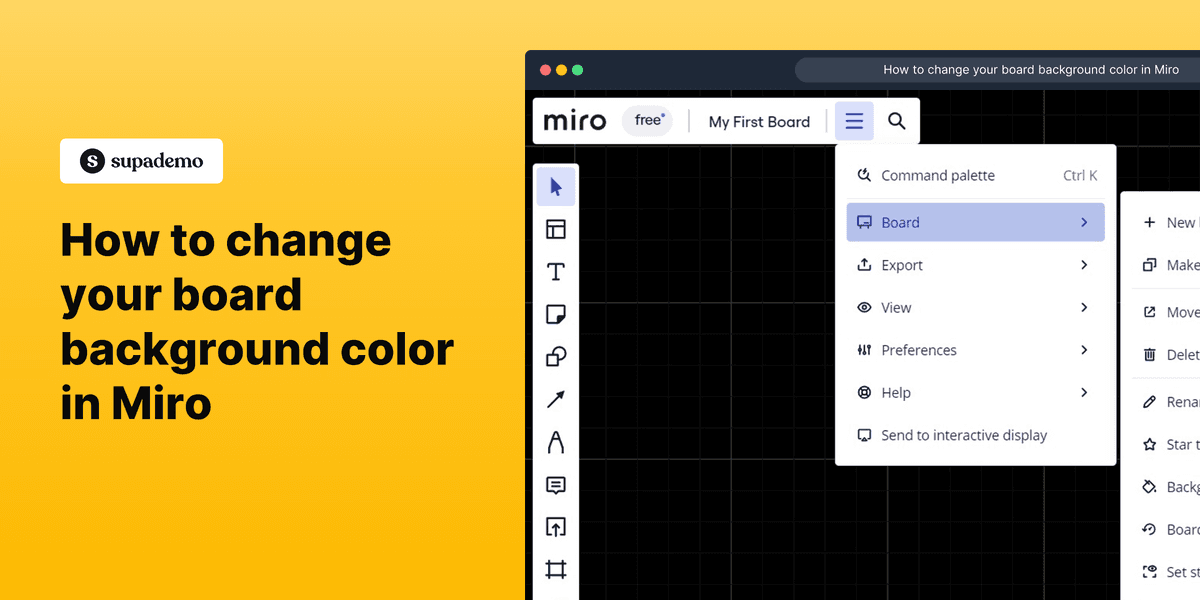
Revamp your Miro board experience with our comprehensive guide on changing background colors. Elevate organization and visual clarity by customizing board aesthetics to suit your preferences. This user-friendly guide provides a seamless process for altering board background colors in Miro, empowering you to enhance productivity and foster a more personalized and efficient collaboration environment within the platform.
Who is Miro best suited for?
Miro is best suited for a wide range of professionals, including UX/UI Designers, Product Managers, and Remote Teams. For example, UX/UI Designers can use Miro for creating and collaborating on wireframes and prototypes, Product Managers can leverage it for planning product roadmaps and organizing brainstorming sessions, and Remote Teams can use it for virtual whiteboarding and visual collaboration, all benefiting from Miro’s interactive and collaborative design platform.
How to change your board background color in Miro
1. Let's start! Go ahead and click on 'Main menu'.
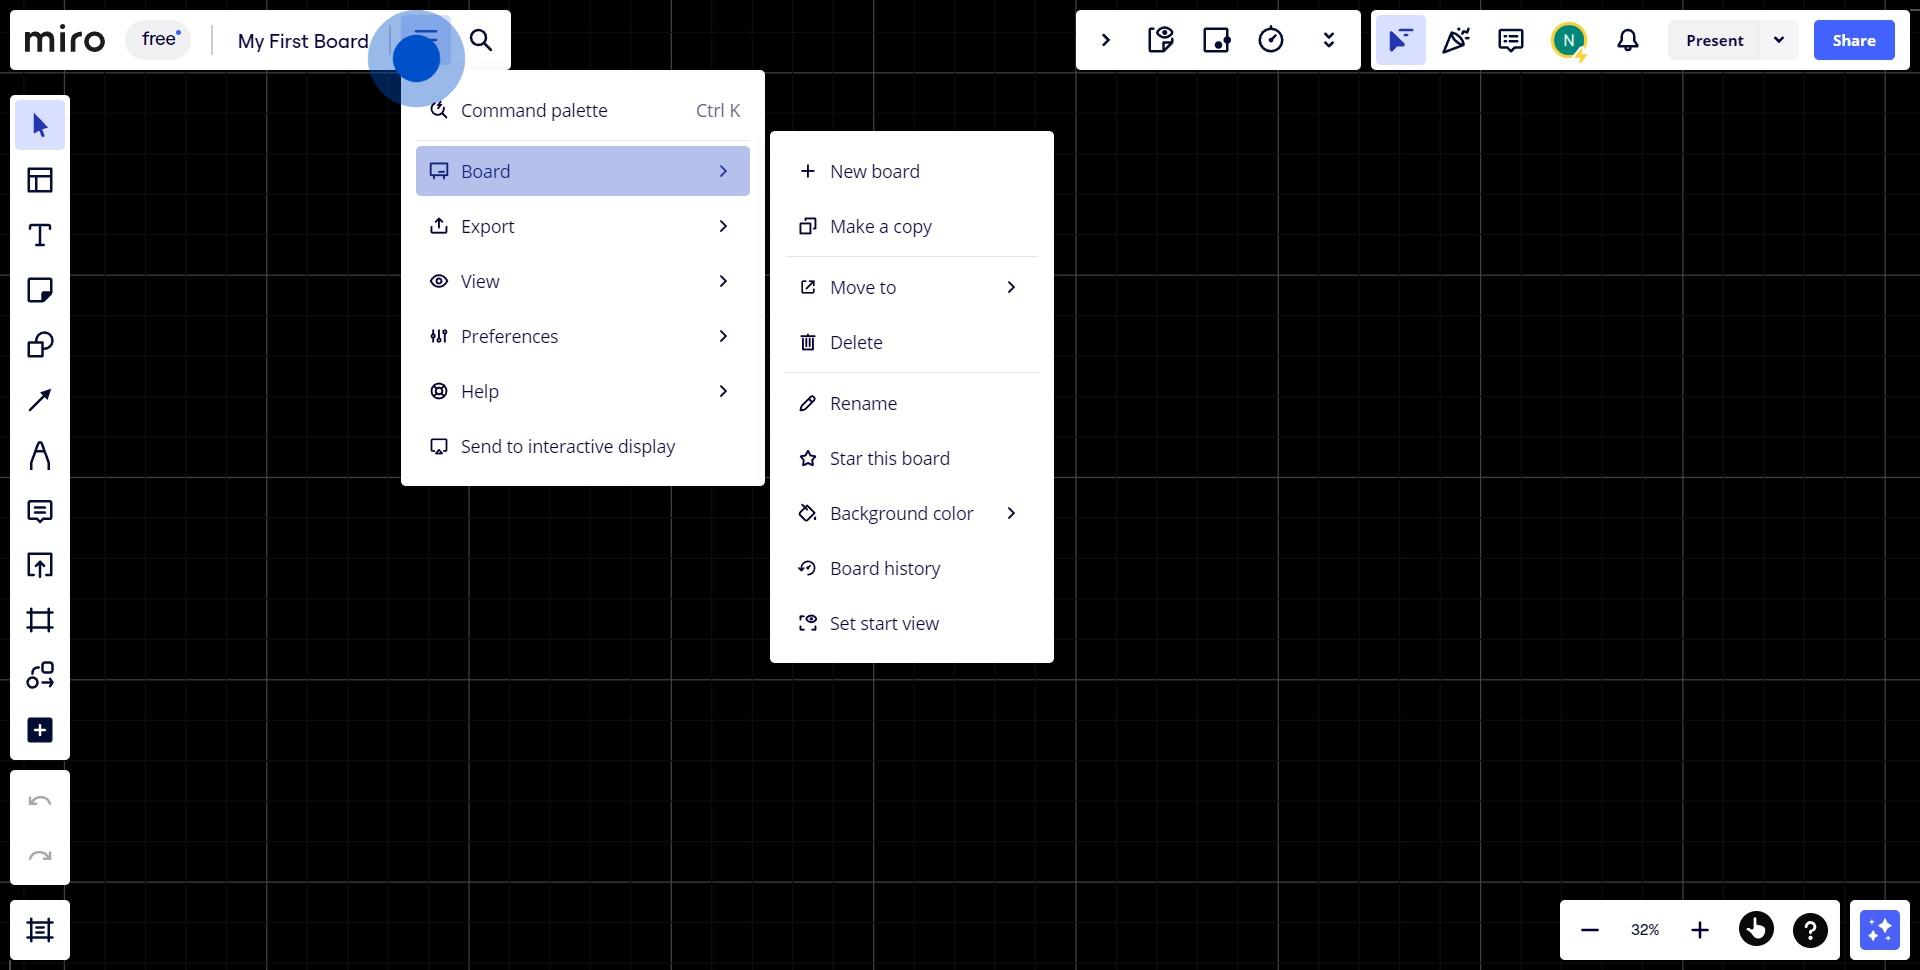
2. Great, now click on the 'Board' option.
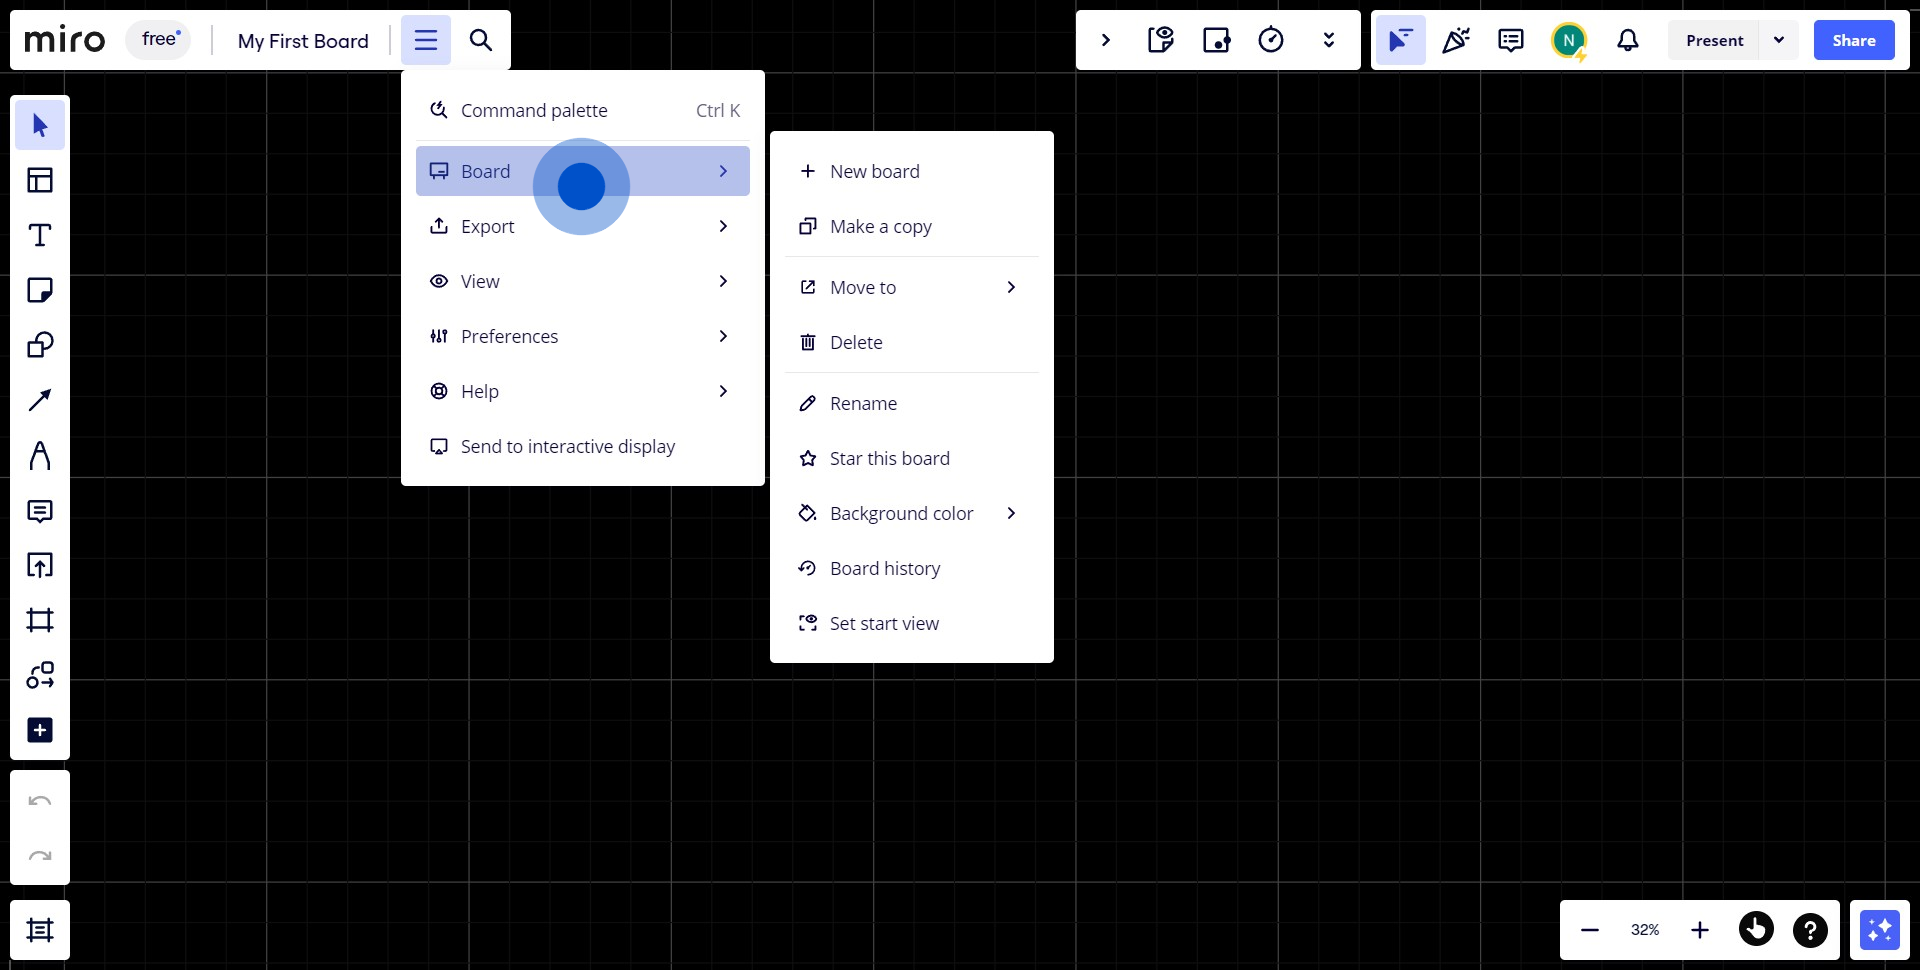
3. In the next step, select the 'Background color' feature.
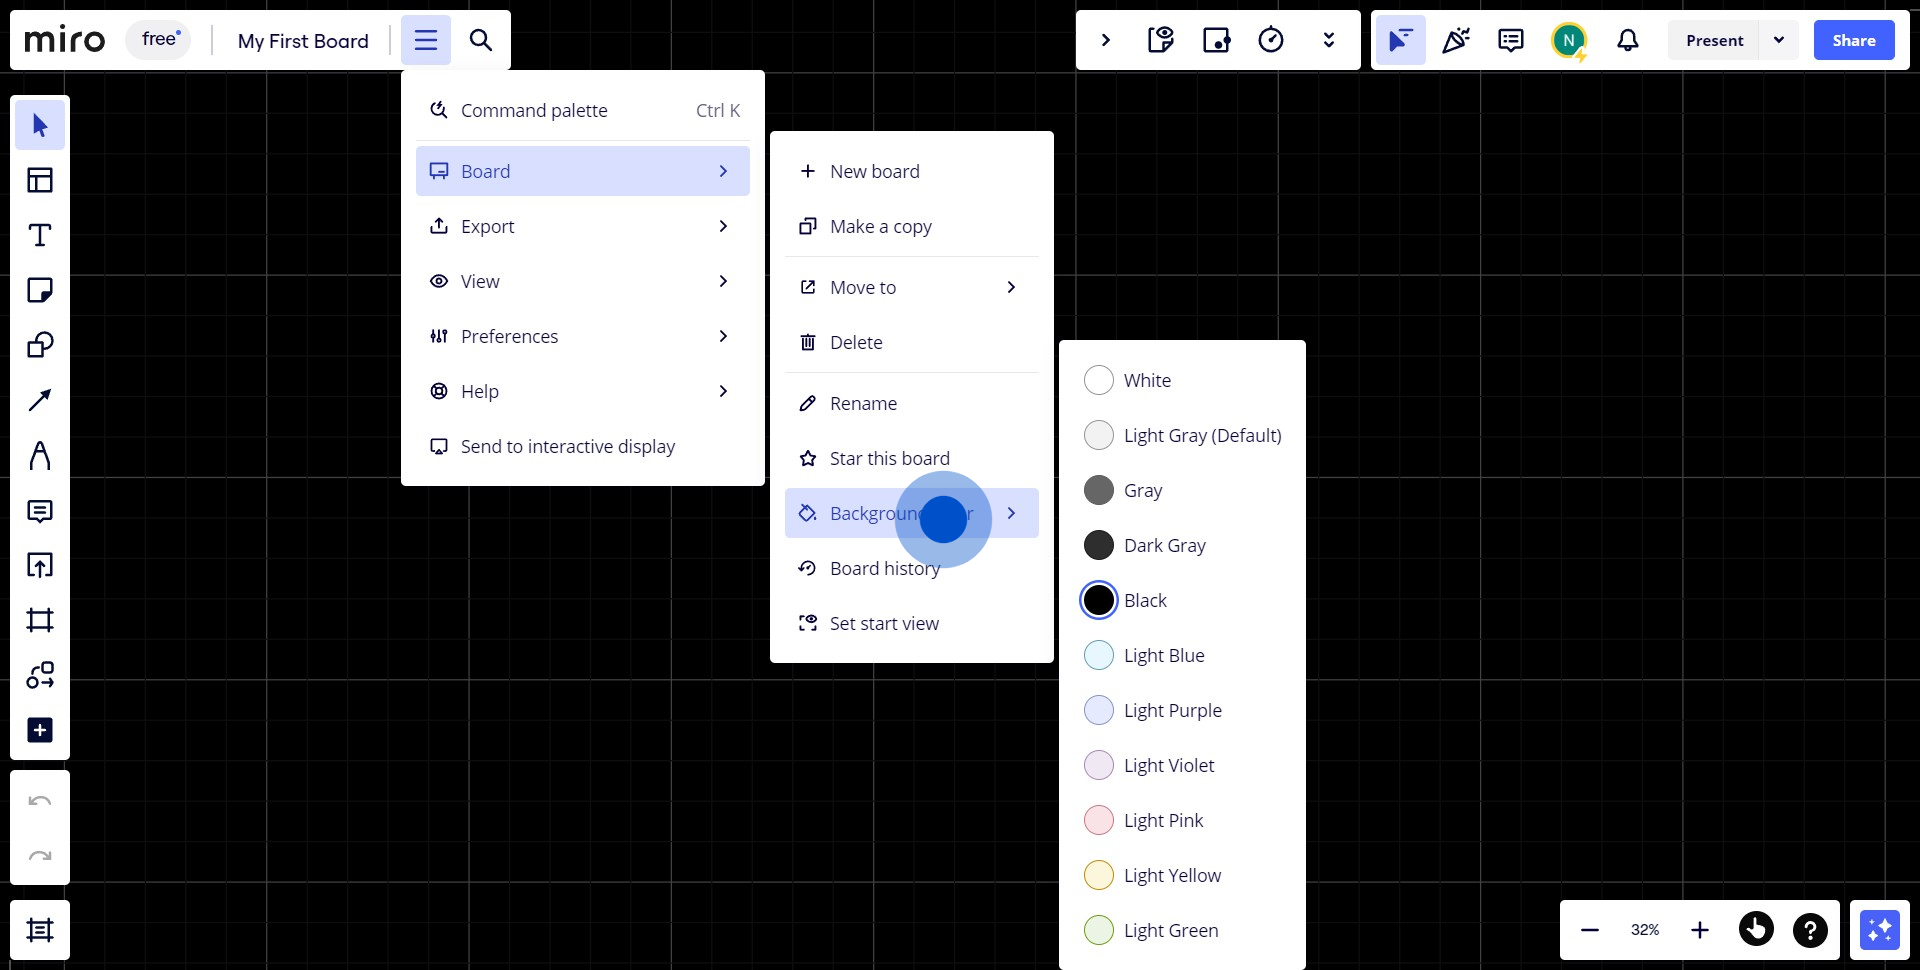
4. Choose your desired option for the final touch.
Common FAQs on Miro
Commonly asked questions about this topic.
How do I create and organize a Miro board?
To create a Miro board, log in to your Miro account and click the “+ New Board” button on your dashboard. You can start with a blank canvas or choose from a variety of templates designed for brainstorming, mind mapping, project planning, and more. Once your board is created, you can organize content by adding sticky notes, text, shapes, images, and other elements. Use frames to group related items, and create sections for different parts of your project. You can also zoom in and out to navigate through different areas of your board and use the toolbar for easy access to drawing and diagramming tools.
How can I collaborate with others on a Miro board in real-time?
To collaborate in real-time, share your Miro board with team members by clicking the “Share” button in the top-right corner of the board. Enter the email addresses of your collaborators or generate a shareable link. You can set permissions, such as viewing or editing rights, based on your needs. Once shared, multiple users can access and edit the board simultaneously, with each user’s cursor labeled with their name or initials. Miro also offers real-time commenting, sticky notes, and chat features, making it easy for teams to brainstorm, plan, and execute projects collaboratively.
How do I integrate Miro with other tools and platforms?
Miro integrates with a wide range of tools and platforms to enhance your workflow. To set up an integration, go to the “Apps & Integrations” section in your Miro account settings. From there, you can connect Miro with tools like Slack, Google Drive, Jira, Trello, Microsoft Teams, and more. These integrations allow you to embed Miro boards into other applications, sync tasks, share updates, and collaborate seamlessly across platforms. For example, you can attach a Miro board to a Jira issue or create a task in Trello directly from Miro, keeping your work organized and accessible from one central location.
Create your own step-by-step demo
Scale up your training and product adoption with beautiful AI-powered interactive demos and guides. Create your first Supademo in seconds for free.
Nithil Shanmugam
Nithil is a startup-obsessed operator focused on growth, sales and marketing. He's passionate about wearing different hats across startups to deliver real value.
