

Overview:
Streamline your project management in Jira with our guide on creating a dashboard. Optimize your workflow by organizing and visualizing key project metrics. Improve user experience with customized dashboards, facilitating easy monitoring and enhancing overall efficiency. This step-by-step guide empowers you to effortlessly create and utilize dashboards, providing clarity and effectiveness in project tracking within the Jira platform.
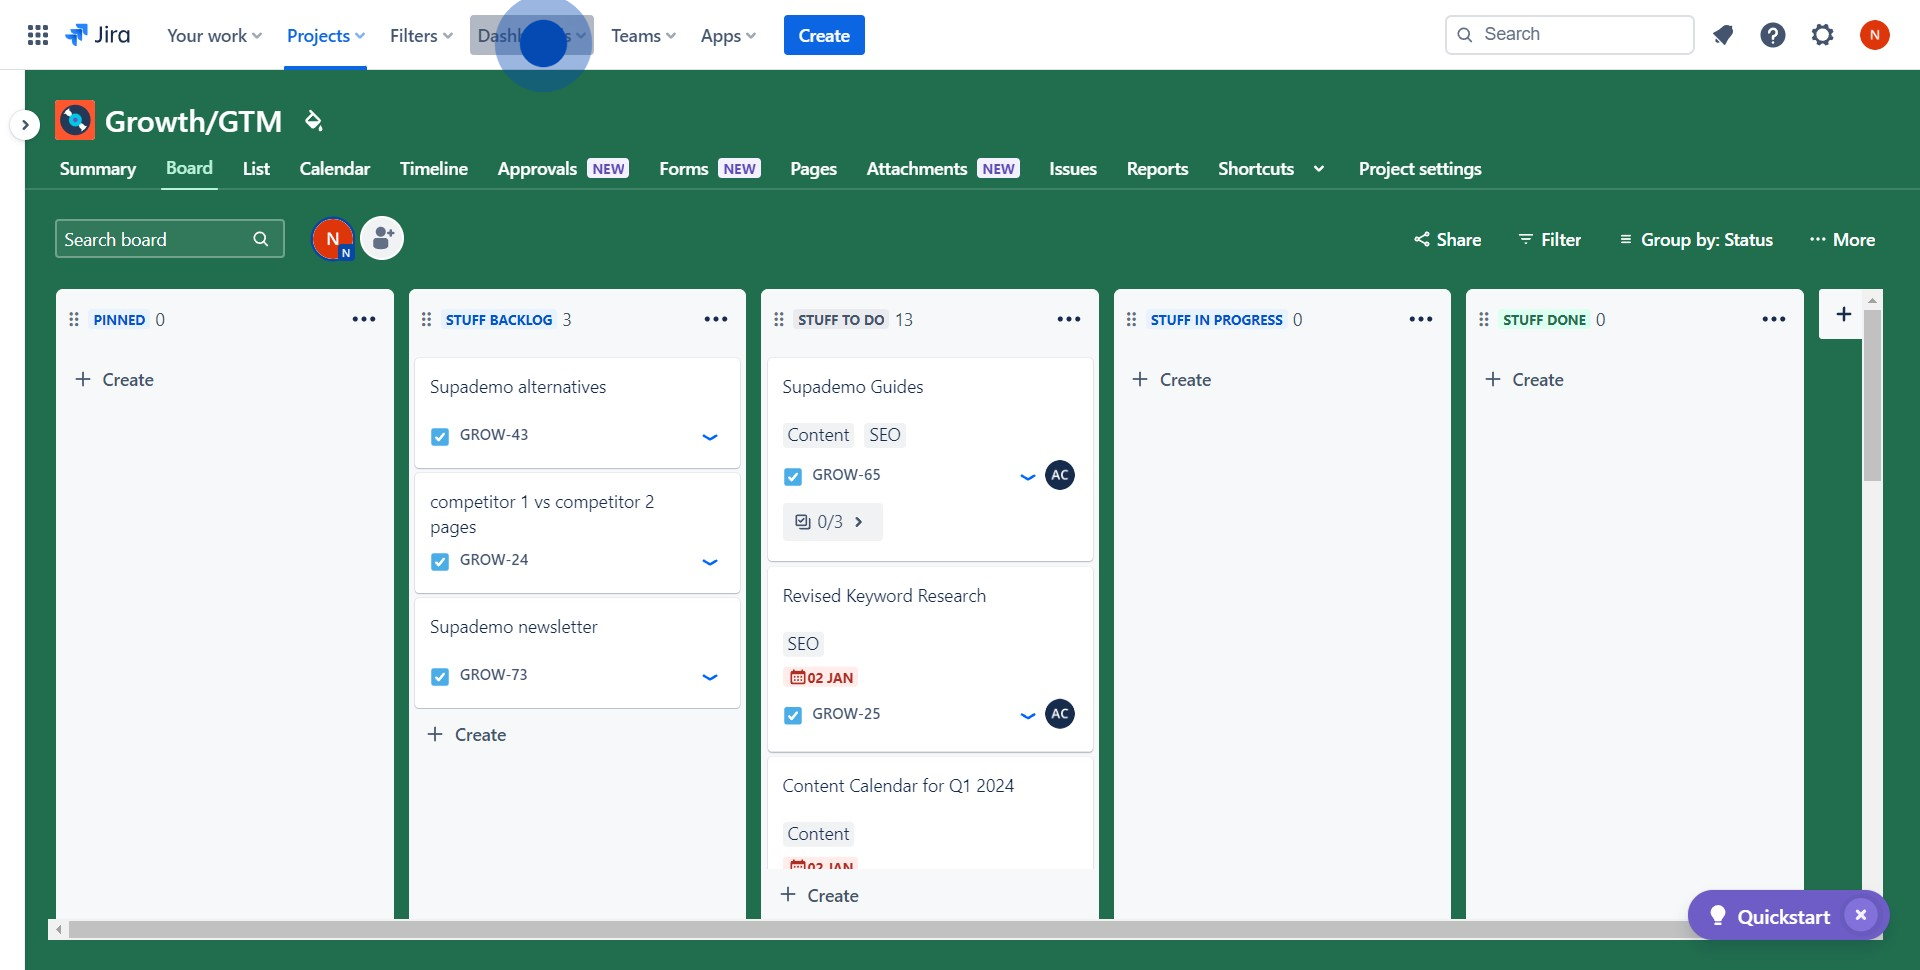
1. Start by selecting 'Dashboards' from the menu.
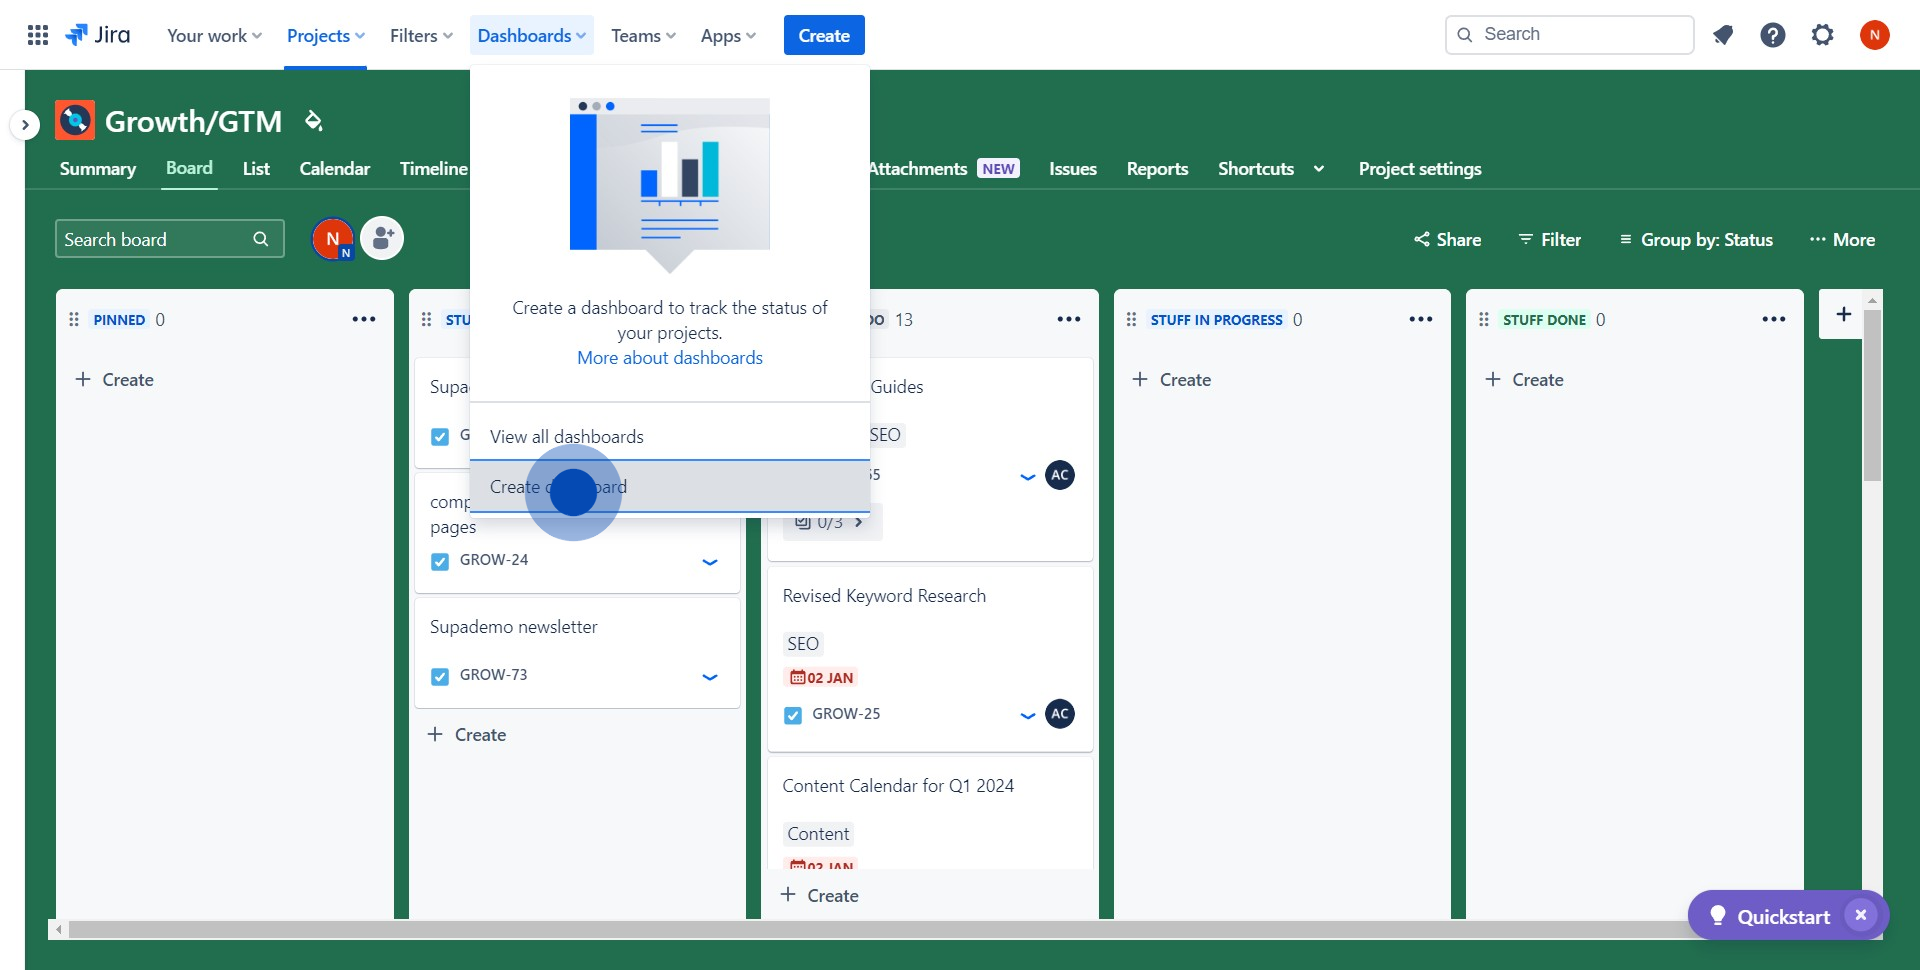
2. Next, select the 'Create dashboard' option.
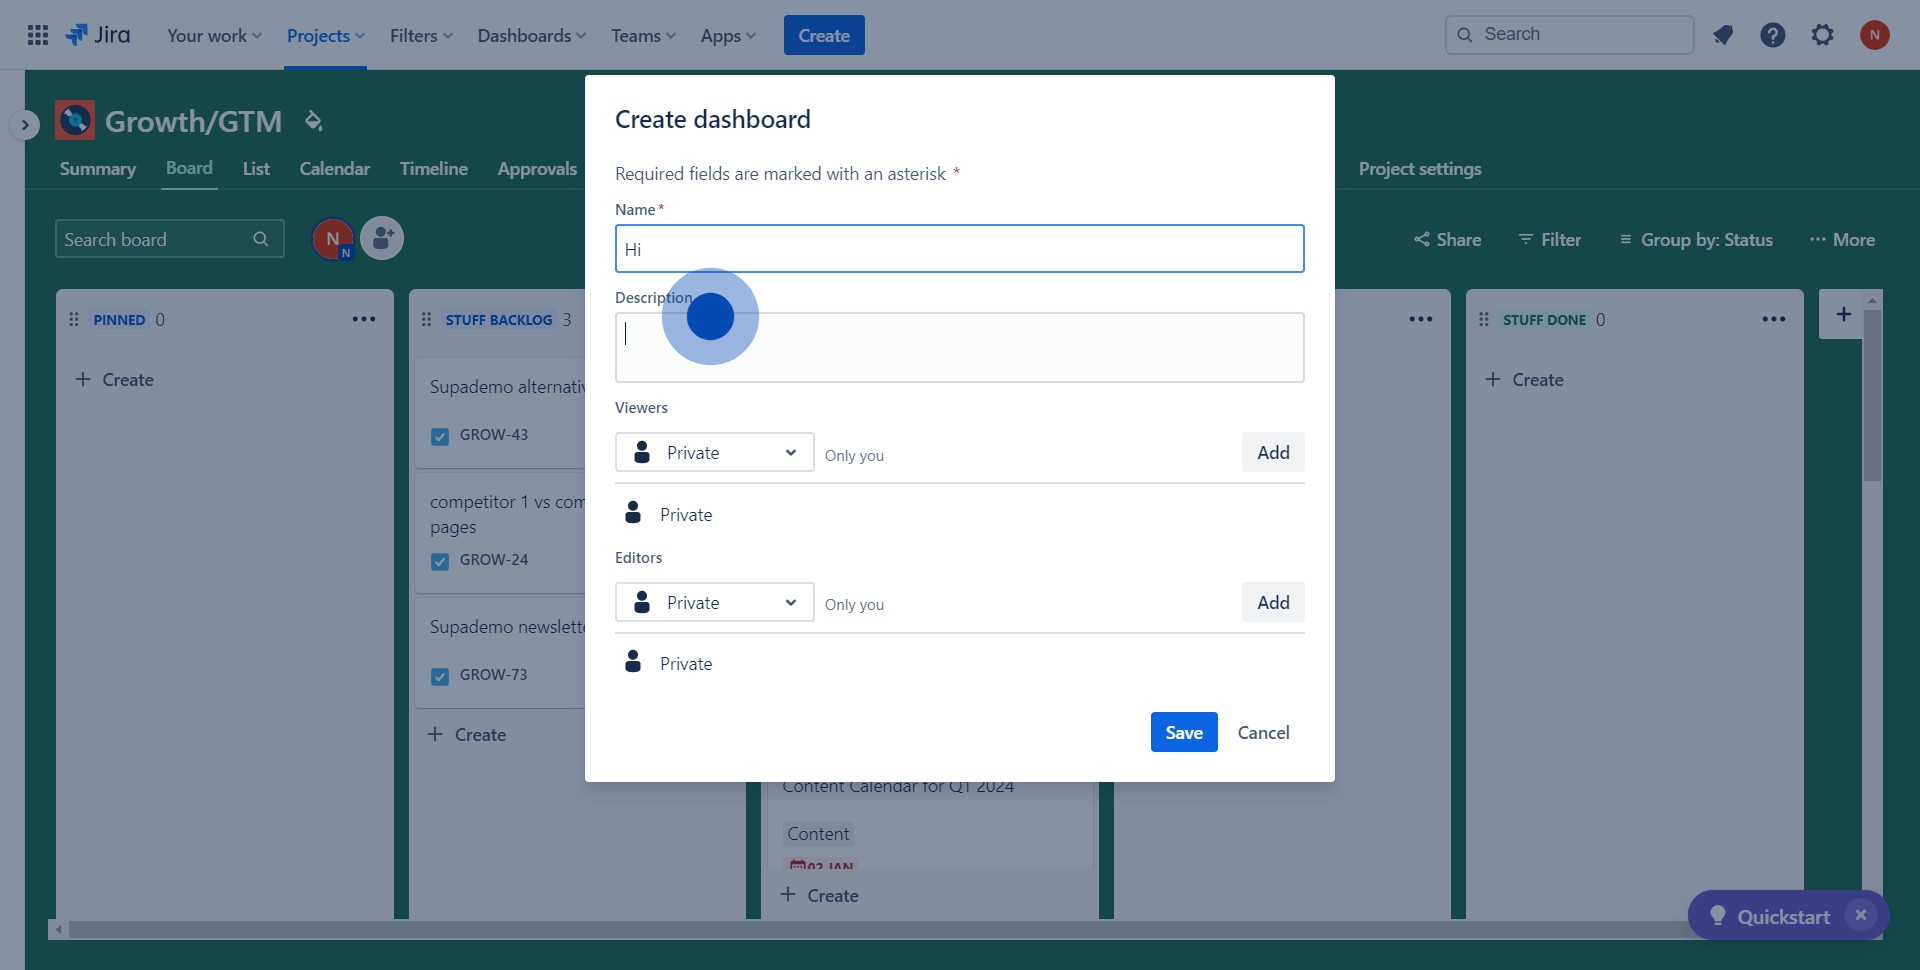
3. Now, fill in the necessary information in the provided text field.
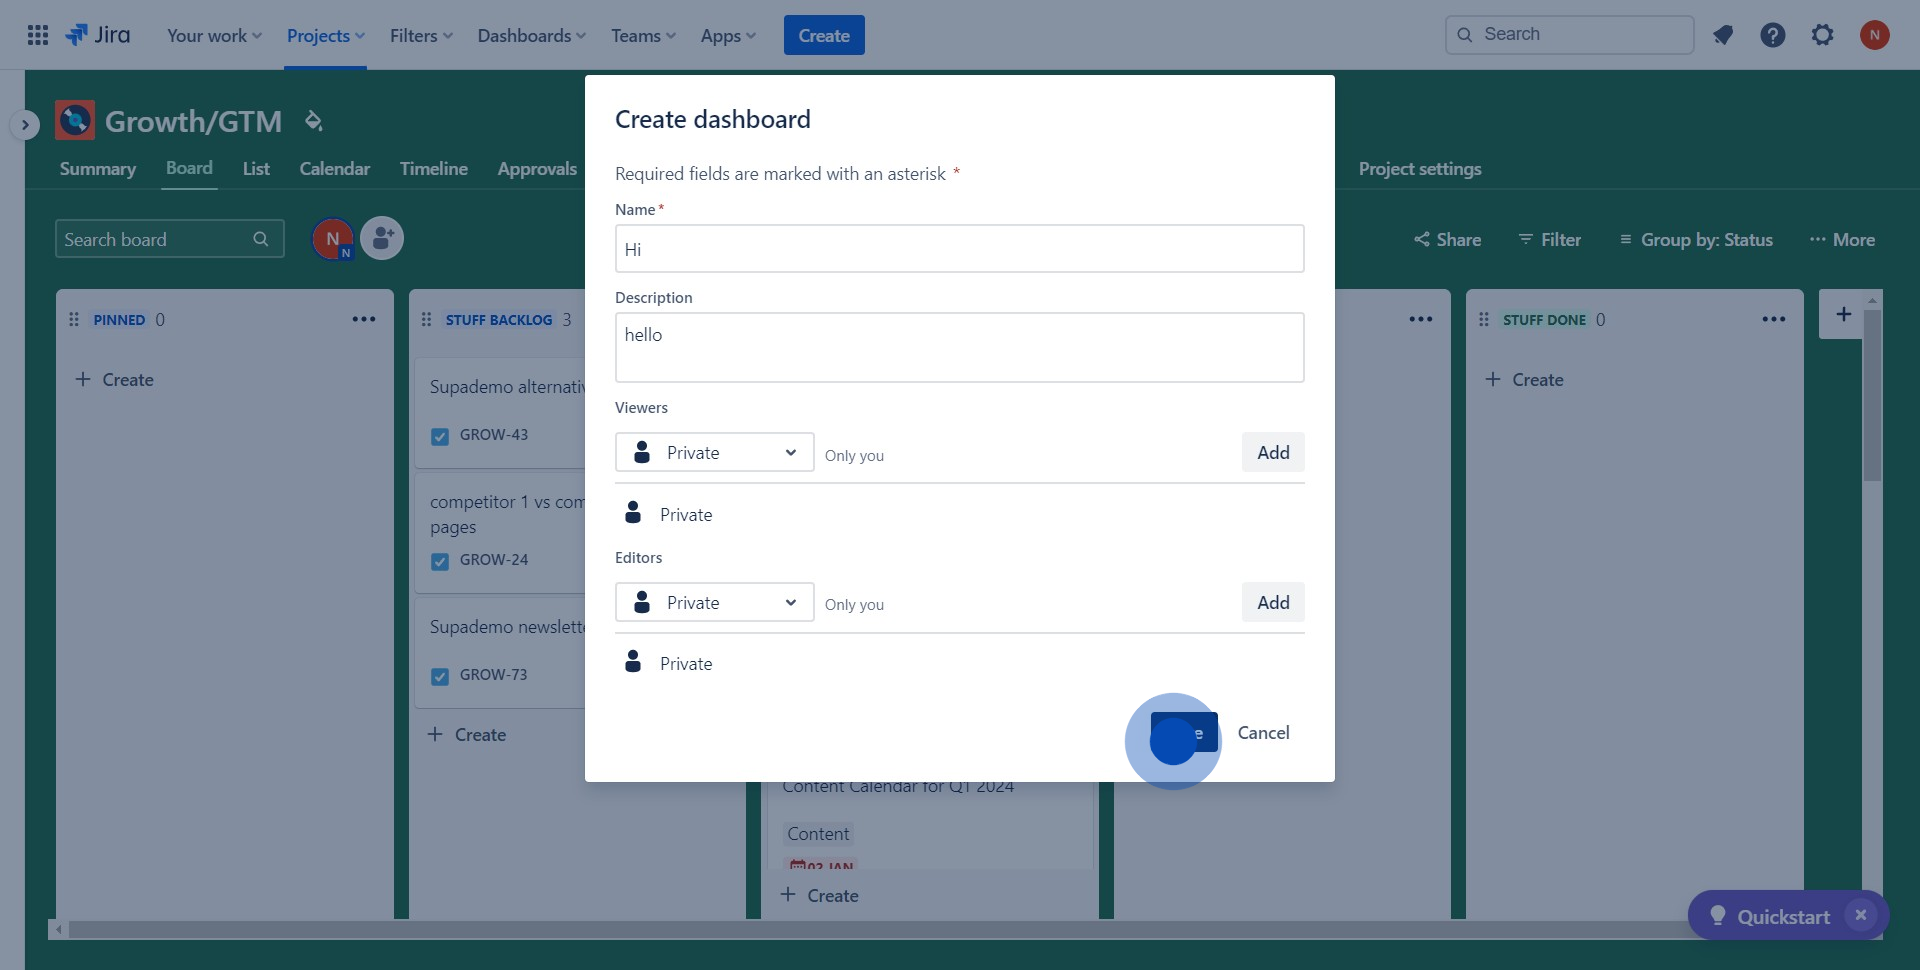
4. Once completed, click on 'Save' to secure your changes.
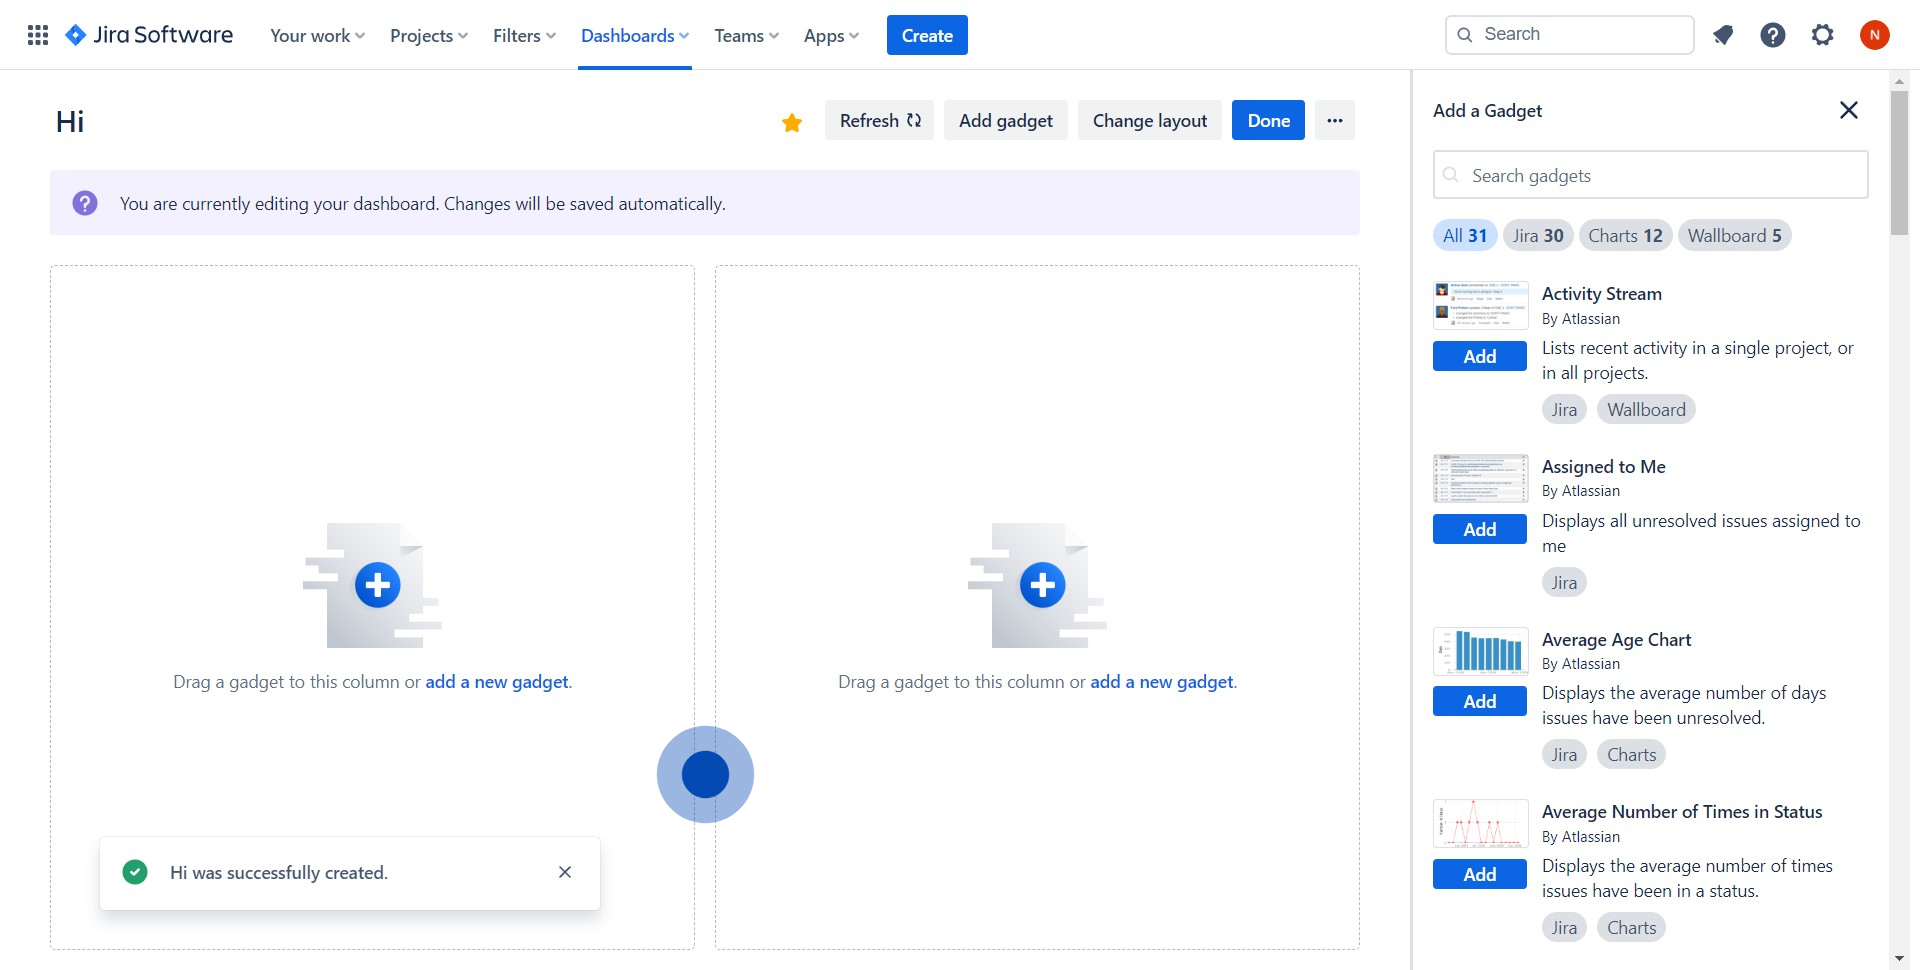
5. Finally, drag a gadget or add a new one to customize your dashboard.
Create your own interactive demo
Scale up your training and product adoption with beautiful AI-powered interactive demos and guides. Create your first Supademo in seconds for free.
