
Overview:
Streamline your project management in Jira by following this guide on creating a new project. Optimize your workflow by organizing and categorizing tasks efficiently. Enhance user experience and simplify navigation with step-by-step instructions for creating projects, ensuring improved efficiency and clarity in your project management endeavors within the Jira platform.
Who is Jira best suited for?
Jira is best suited for a wide range of professionals, including Software Developers, Agile Teams, and Project Managers. For example, Software Developers can use Jira for tracking bugs and managing development tasks, Agile Teams can leverage it for organizing sprints and managing backlogs, and Project Managers can use it for planning and monitoring project progress, all benefiting from Jira’s powerful issue tracking and project management capabilities.
How to create a new project in Jira
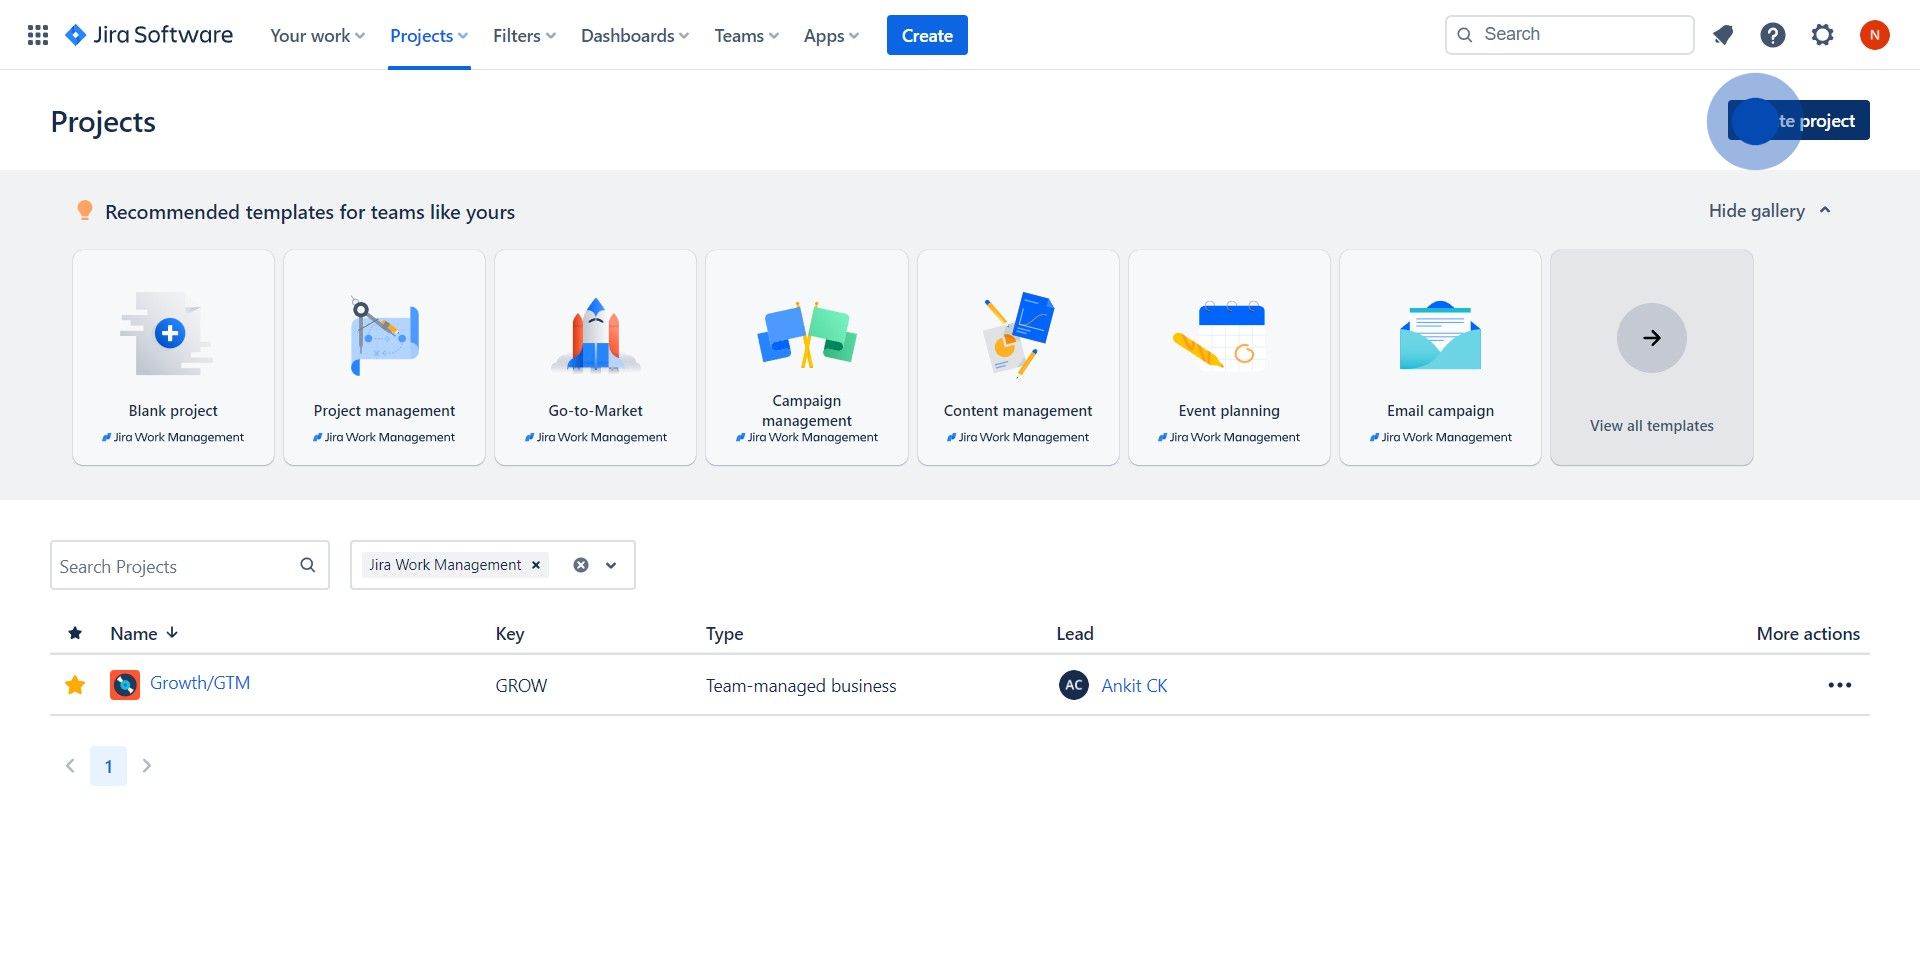
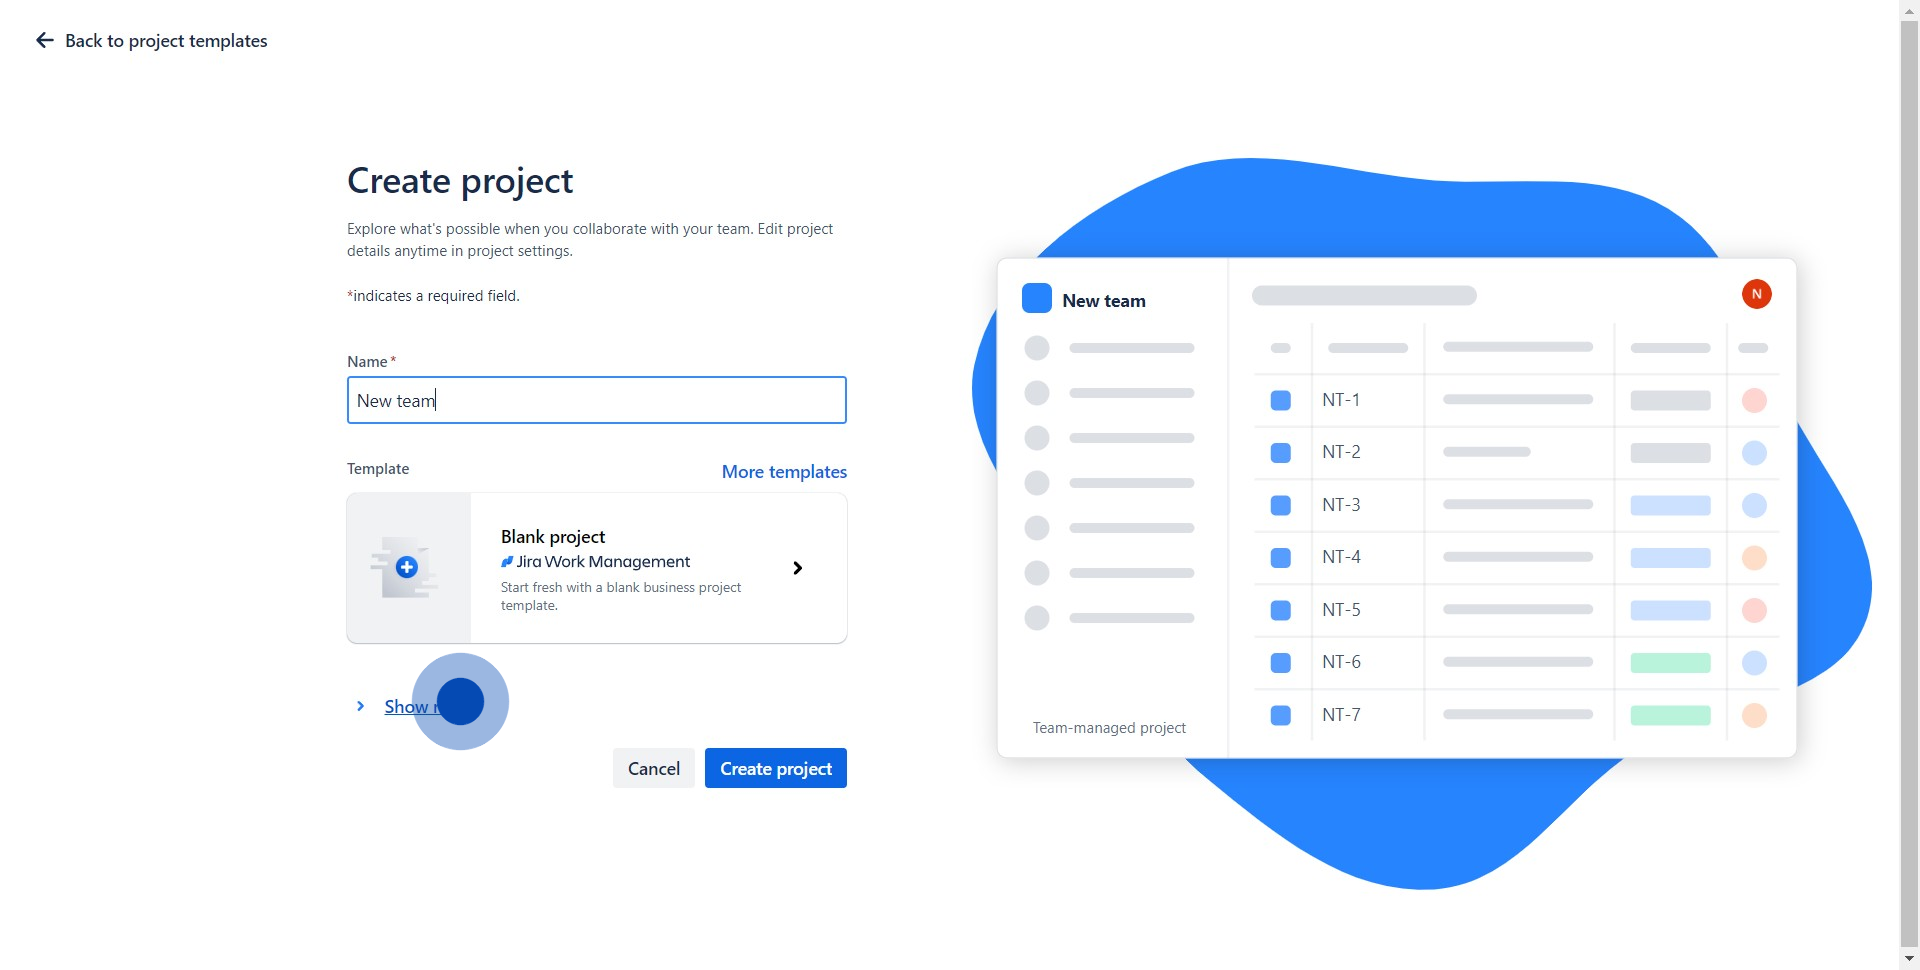
1. Find and click the option to create a new project.
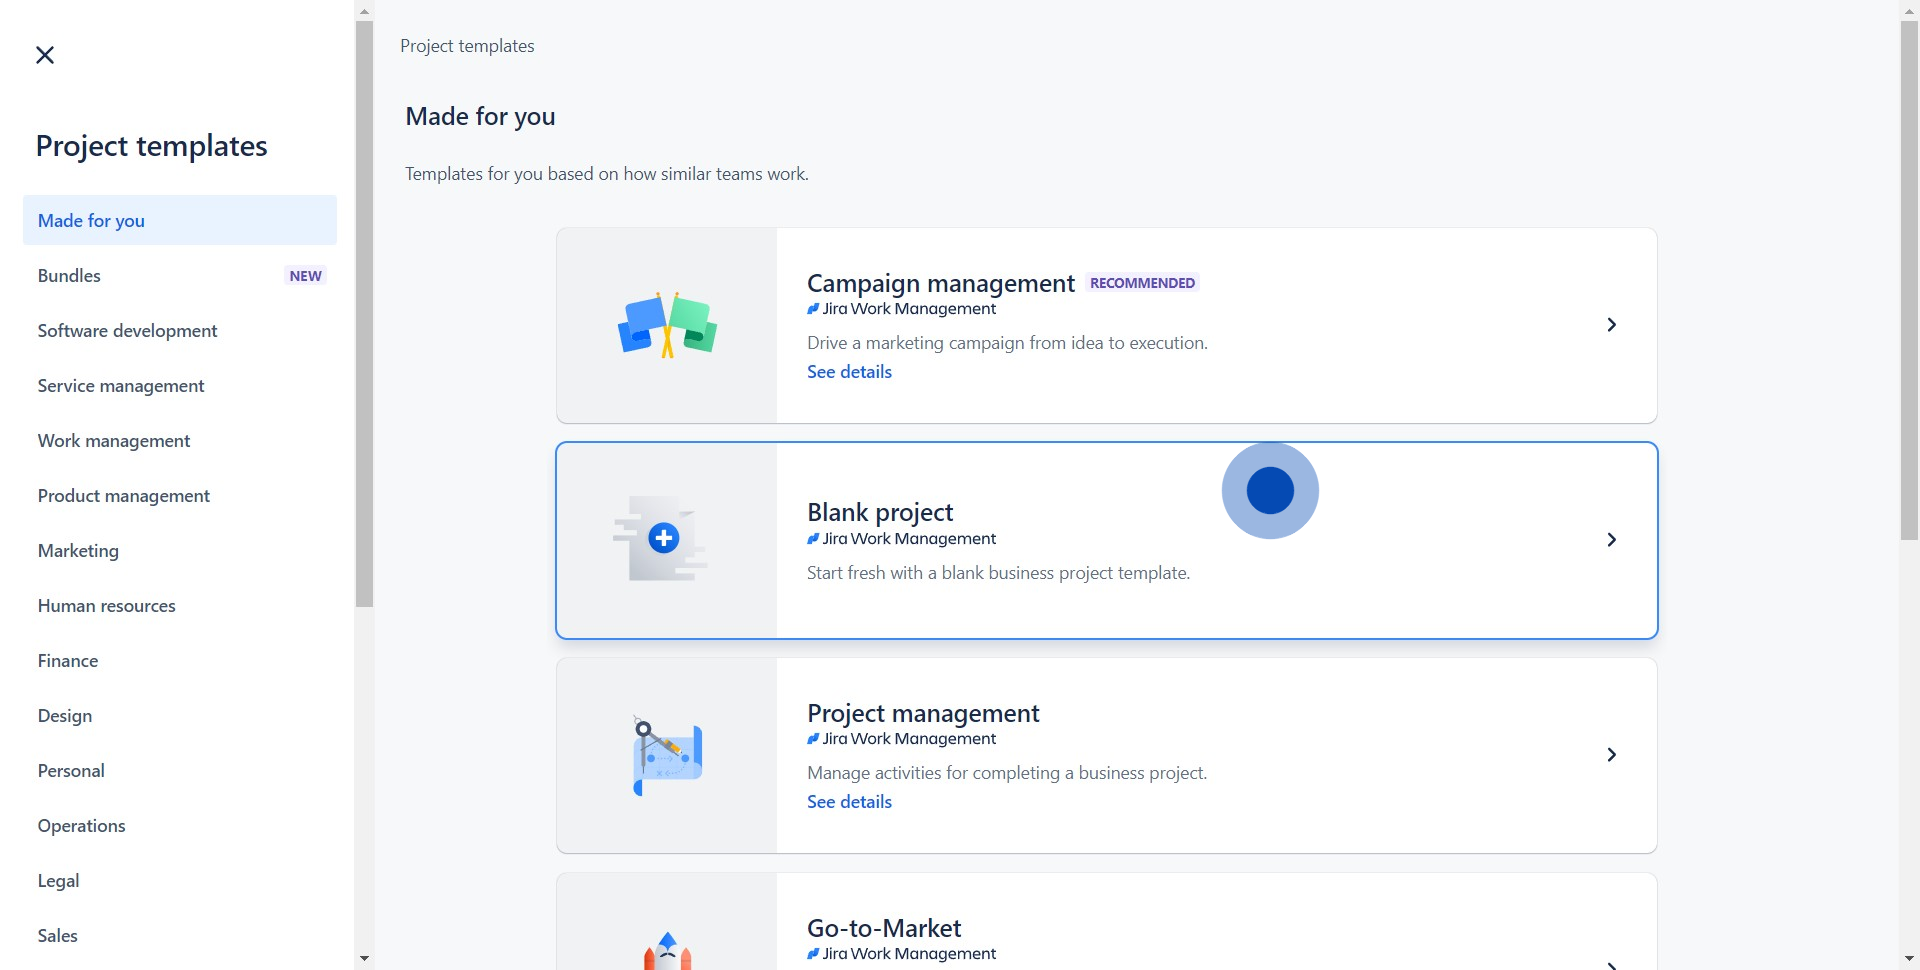
2. Choose the type of project that suits your requirements.
3. Next, enter all the necessary information in the provided input fields.
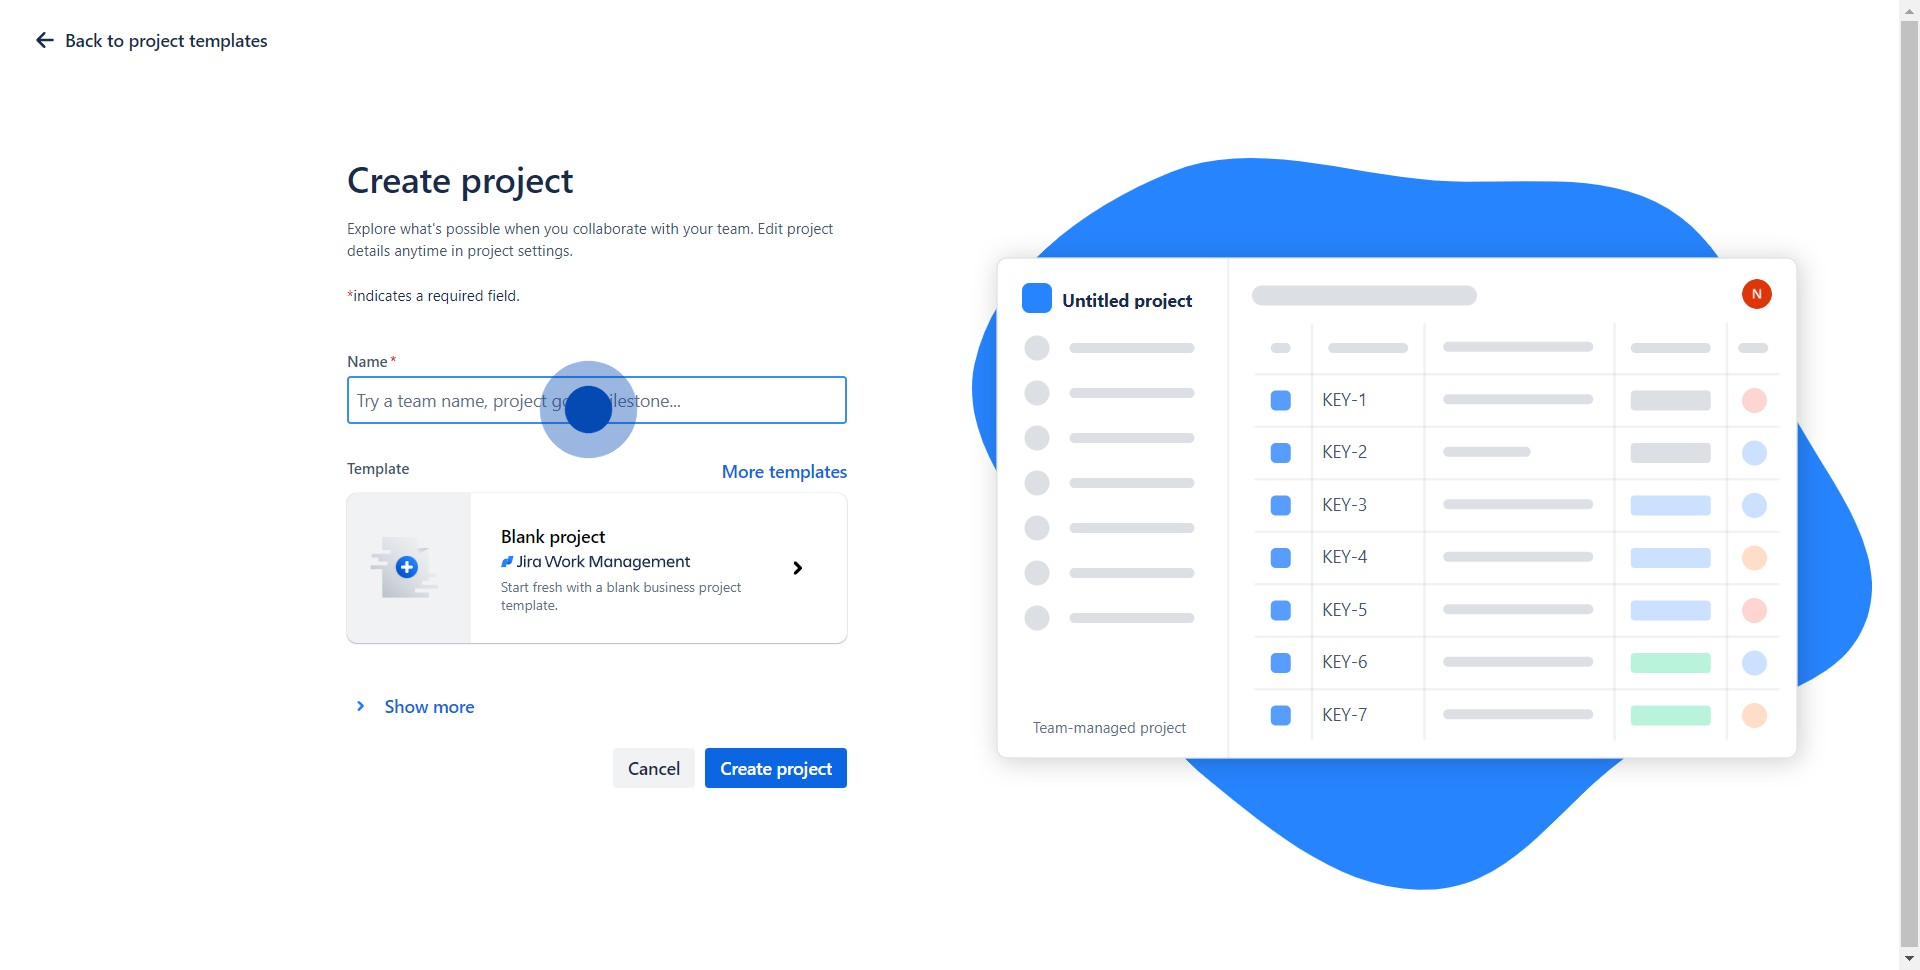
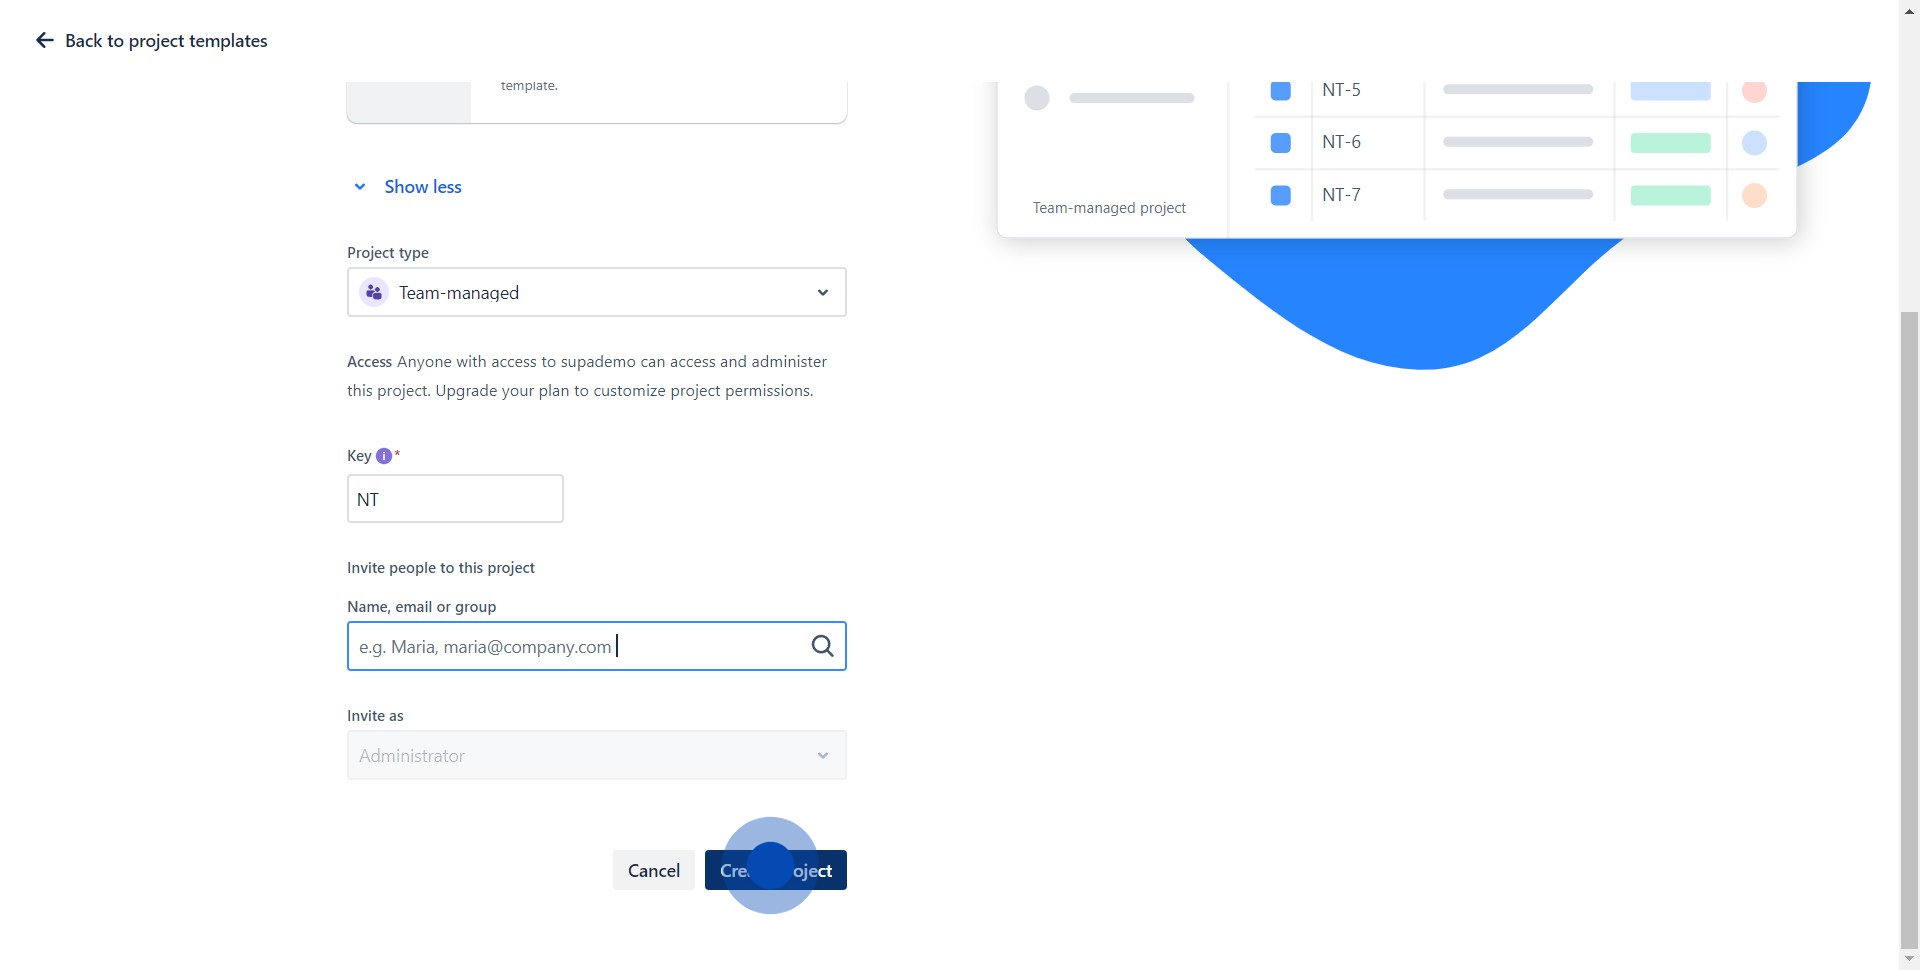
4. Look for the 'Show more' option and click on it.
5. Reconfirm and finalize your entries by clicking 'Create Project'.
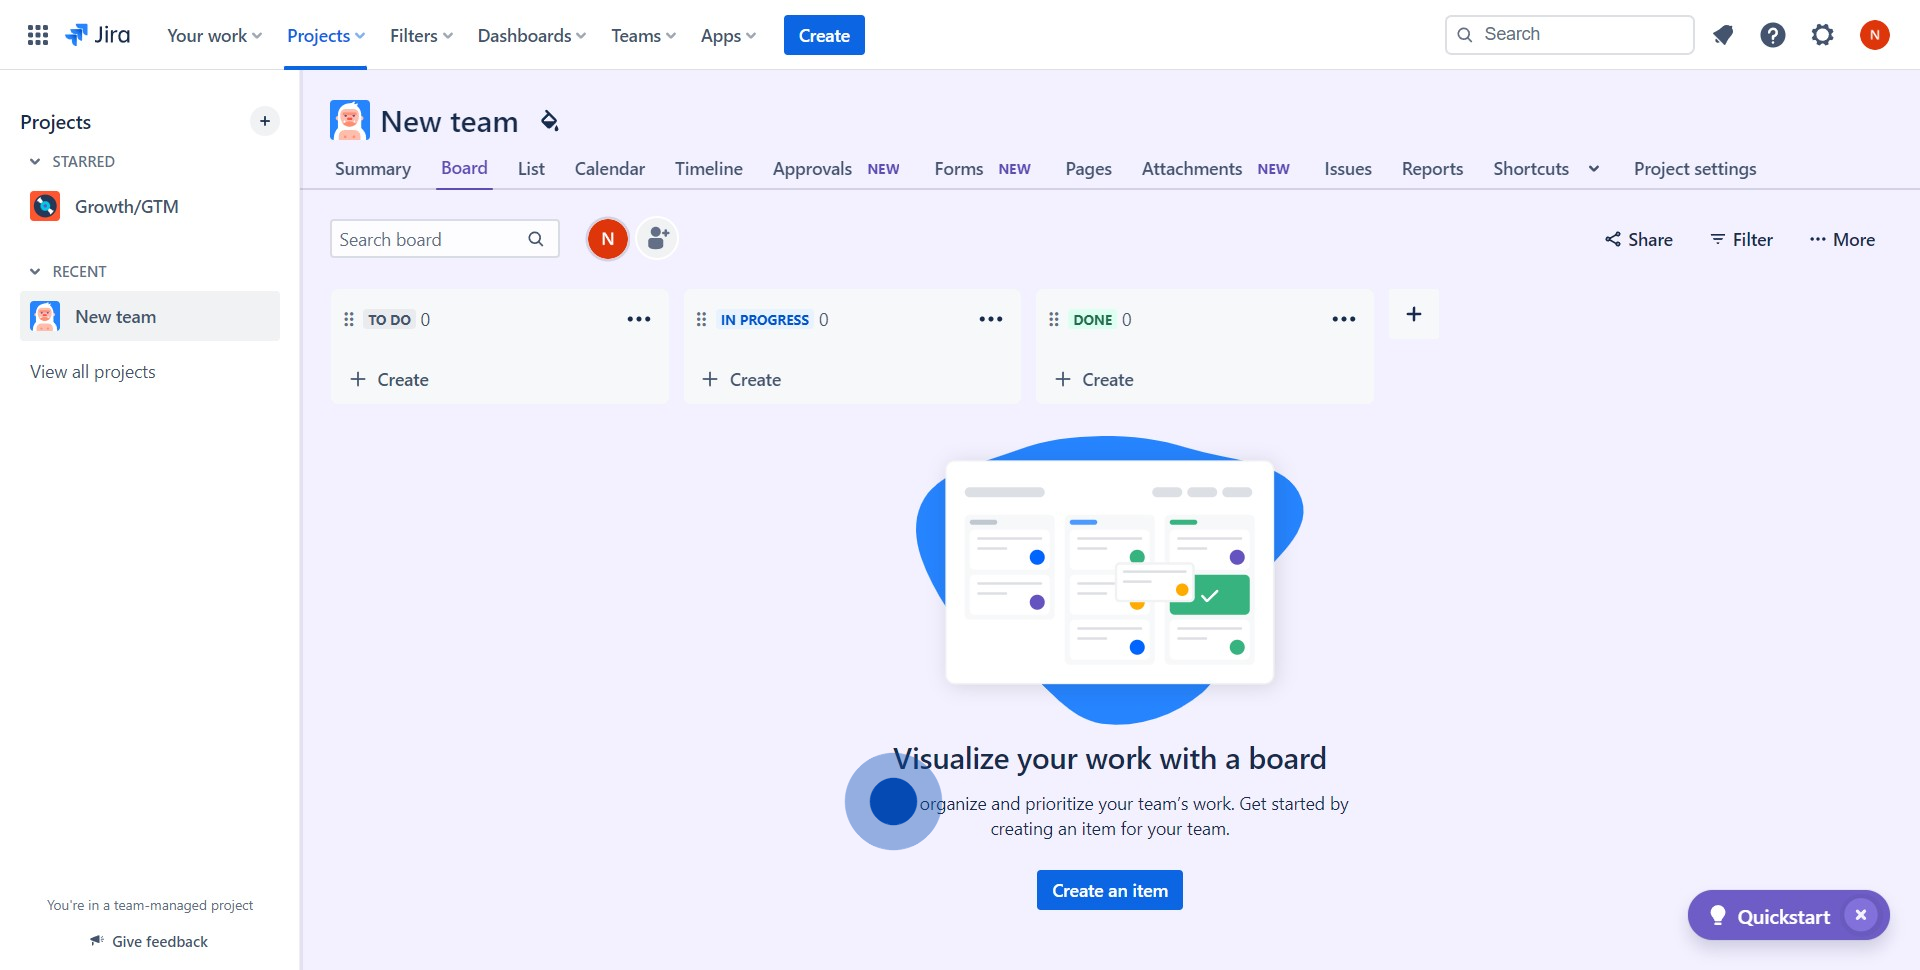
6. Congratulations, you've successfully kick-started a new project! Now, start adding work items for your team.
Common FAQs on Jira
How do I create and manage tasks in Jira?
To create a task in Jira, navigate to your project and click the “Create” button in the top navigation bar. In the creation form, select the issue type (e.g., Task, Bug, Story), enter a summary, and fill in any relevant details such as description, assignee, priority, and due date. Once you’ve created a task, you can manage it by updating its status, adding comments, attaching files, or linking it to other issues. Tasks can be organized into sprints or backlogs, and you can track their progress using Jira’s various views, such as the Kanban board, Scrum board, or Timeline. This allows you to keep your project on track and ensure that tasks are completed efficiently.
How can I set up and use workflows in Jira?
Workflows in Jira define the process that tasks go through from creation to completion. To set up a workflow, go to the “Project Settings” and select “Workflows.” You can either use one of Jira’s default workflows or create a custom one by dragging and dropping statuses (e.g., To Do, In Progress, Done) and transitions between them. Workflows can be as simple or complex as needed, with custom triggers, conditions, and validators. Once a workflow is set up, it can be applied to different issue types within your project. This ensures that tasks follow a consistent process and helps team members understand where each task stands in the project lifecycle.
How do I generate reports and track progress in Jira?
Jira offers a variety of reporting tools to help you track progress and analyze project data. In the “Reports” section of your project, you’ll find several built-in reports, such as Burndown charts, Velocity charts, and Sprint reports, which provide insights into your team’s performance over time. You can also create custom dashboards using Jira’s gadgets to display key metrics like issue status, workload distribution, and project timelines. These reports and dashboards are essential for identifying bottlenecks, measuring productivity, and making data-driven decisions to keep your project on track. Additionally, Jira integrates with various business intelligence tools for more advanced reporting needs.
Create your own interactive demo
Scale up your training and product adoption with beautiful AI-powered interactive demos and guides. Create your first Supademo in seconds for free.
