Overview:
Streamline your project management in Asana by creating a portfolio to efficiently organize and categorize your tasks and projects. Elevate your user experience and simplify navigation by implementing relevant tags for easy identification. This comprehensive guide walks you through a seamless process to establish and utilize portfolios in Asana, enhancing efficiency and clarity in your project management endeavors within the Asana platform.
Who is Asana best suited for?
Asana is best suited for a wide range of professionals, including Project Managers, Team Leaders, and Workflow Coordinators. For example, Project Managers can use Asana for organizing and tracking project tasks and deadlines, Team Leaders can leverage it for assigning responsibilities and monitoring team progress, and Workflow Coordinators can use it for streamlining processes and managing team collaboration, all benefiting from Asana’s intuitive task management and project tracking features.
How to create a portfolio in Asana
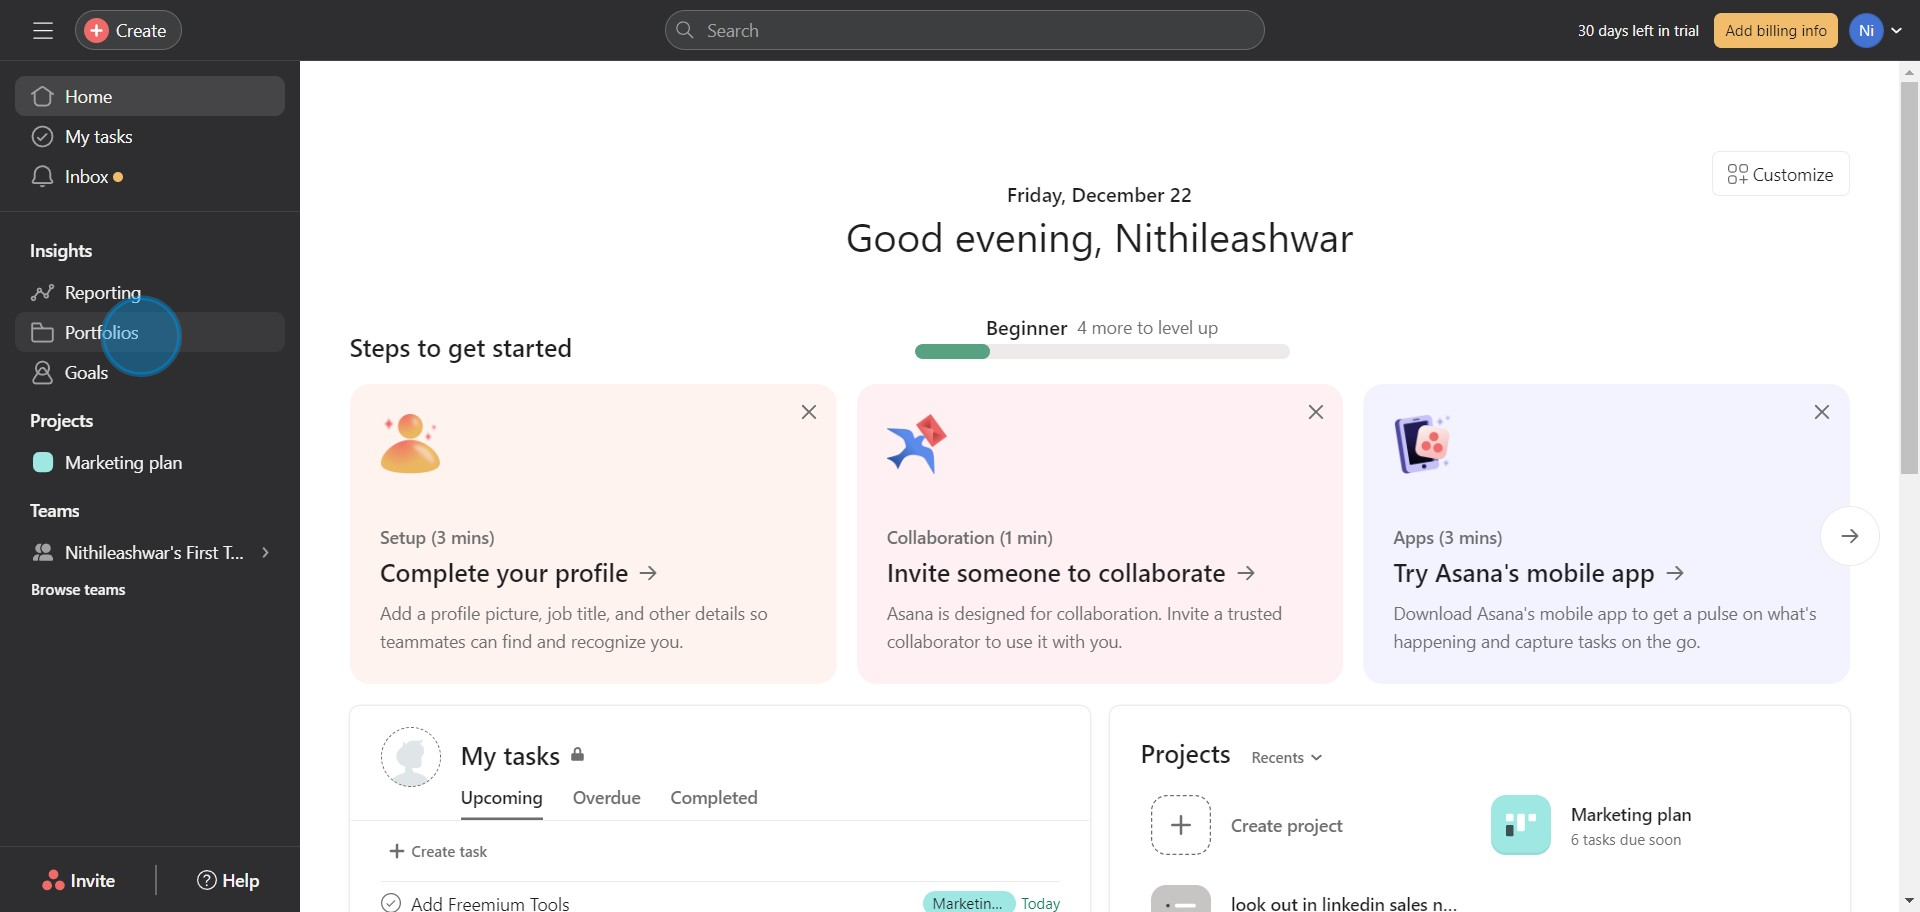
1. Begin by selecting 'Portfolios' from the main menu.
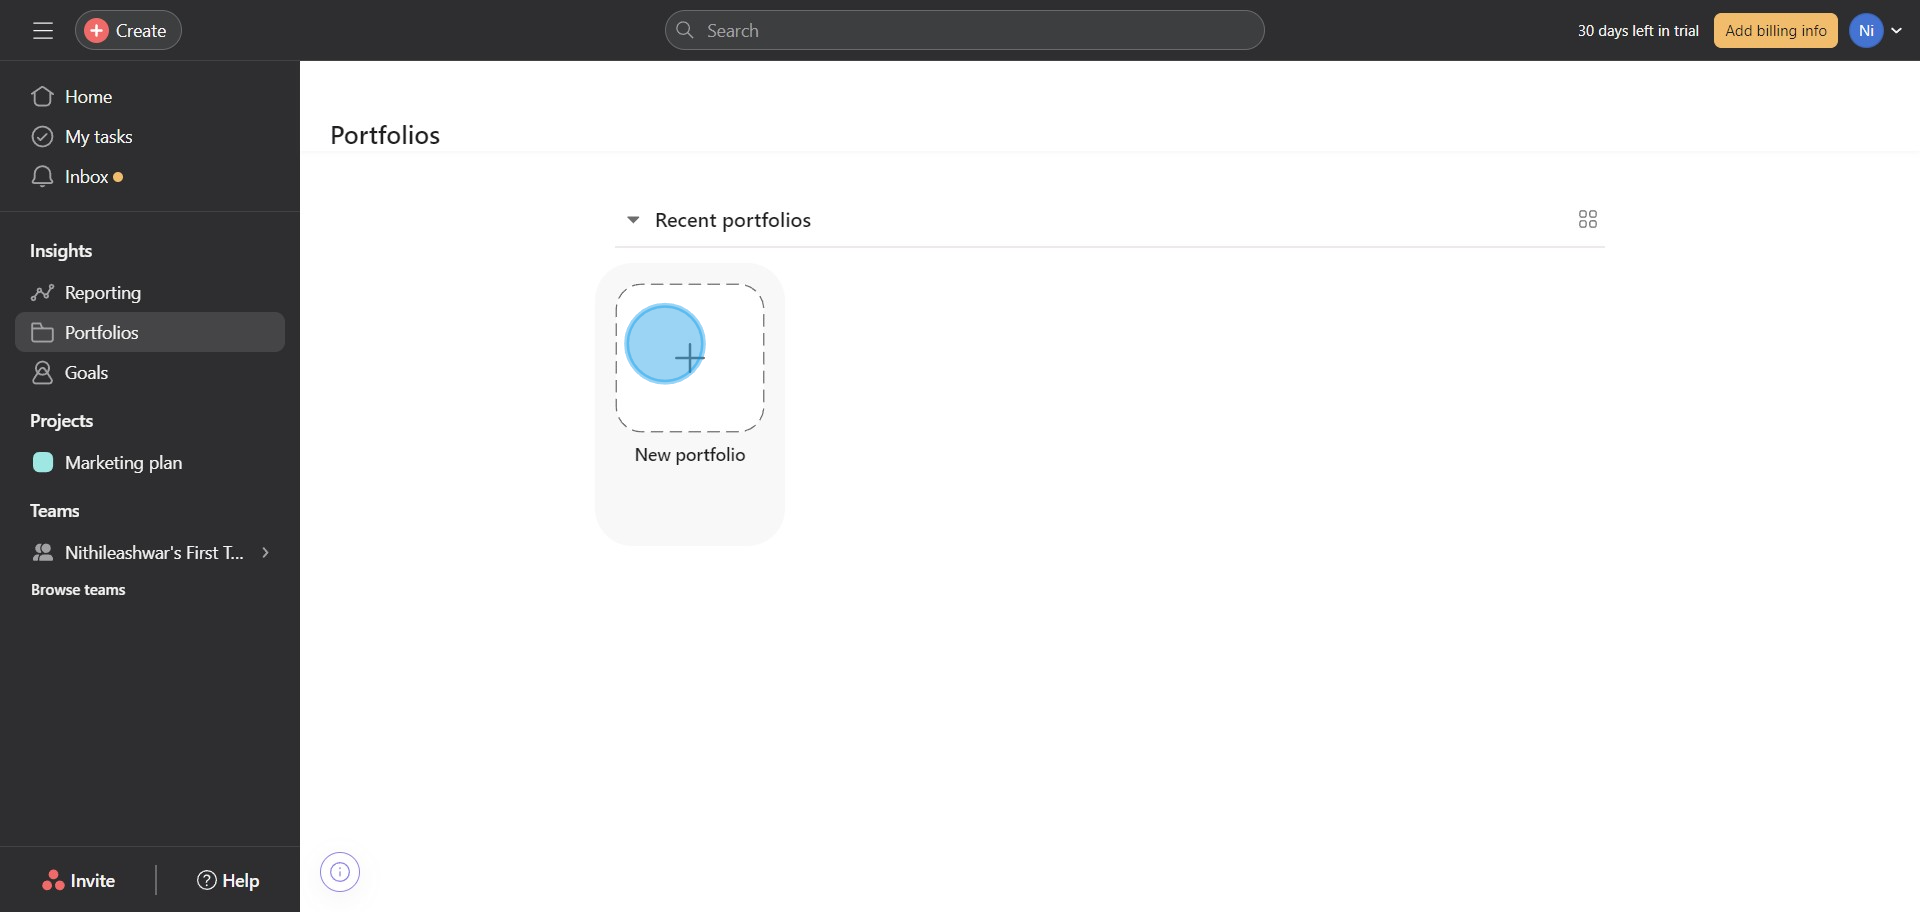
2. Next, tap the 'New Portfolio' option to initiate creation.
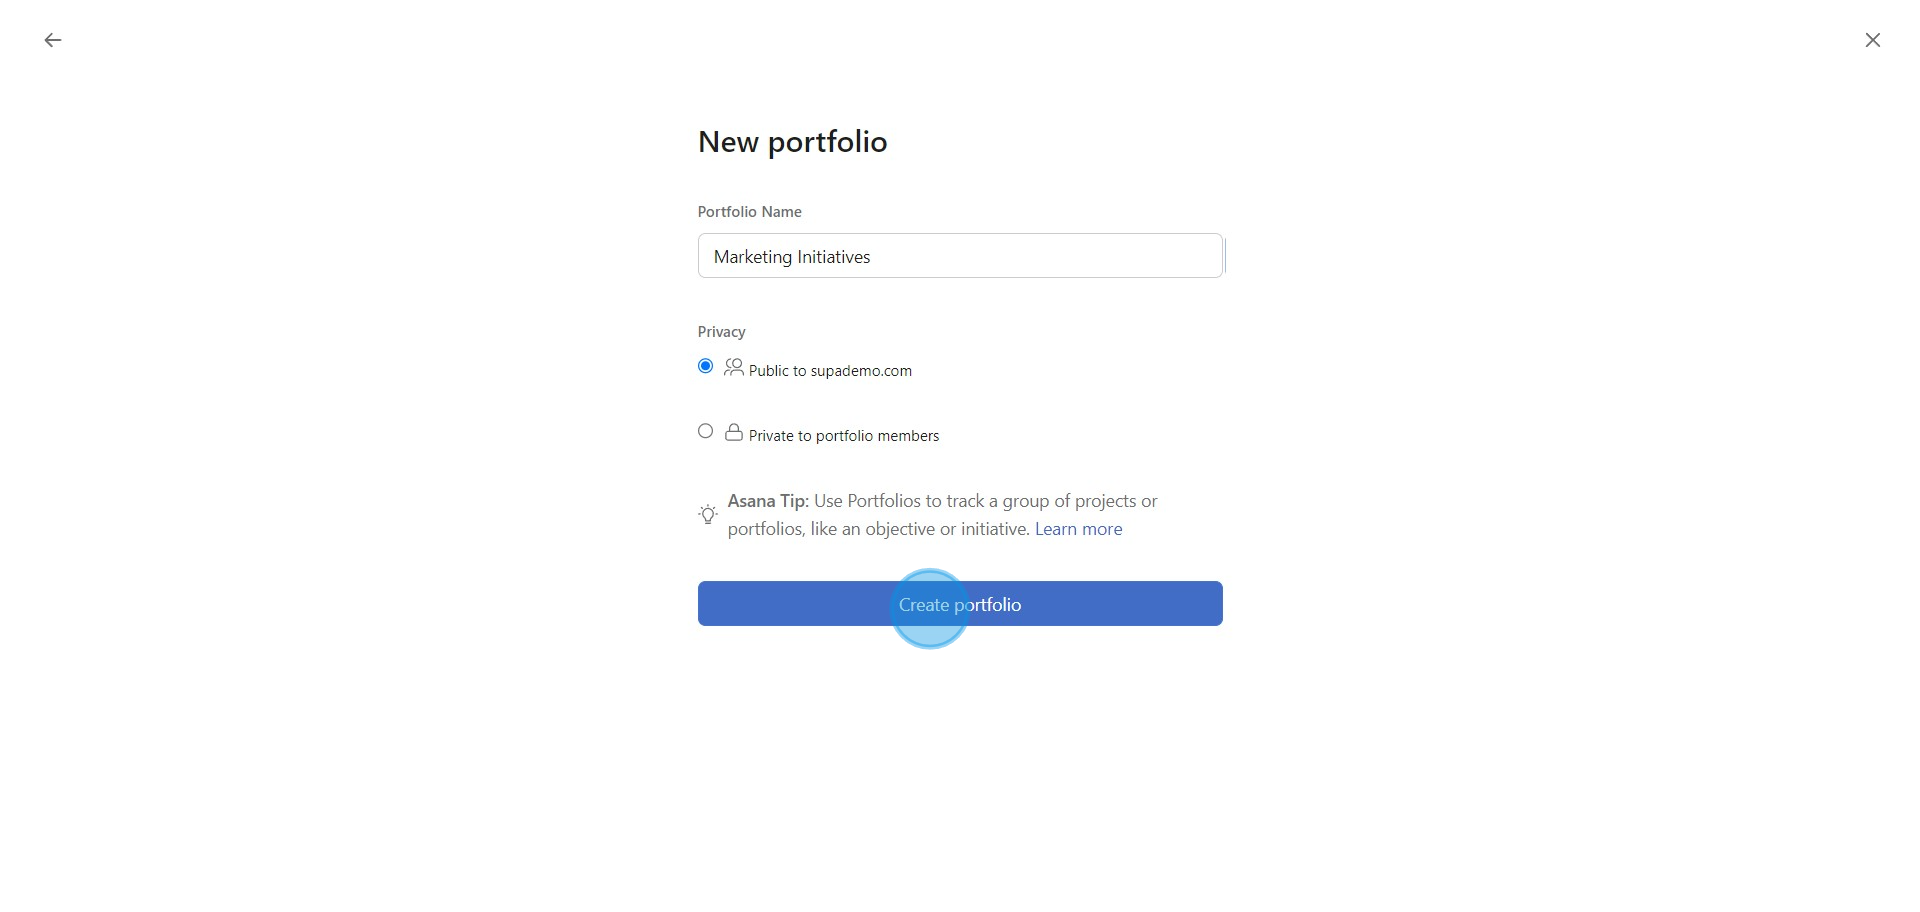
3. Enter your preferred Portfolio name and proceed by hitting 'Create Portfolio'.
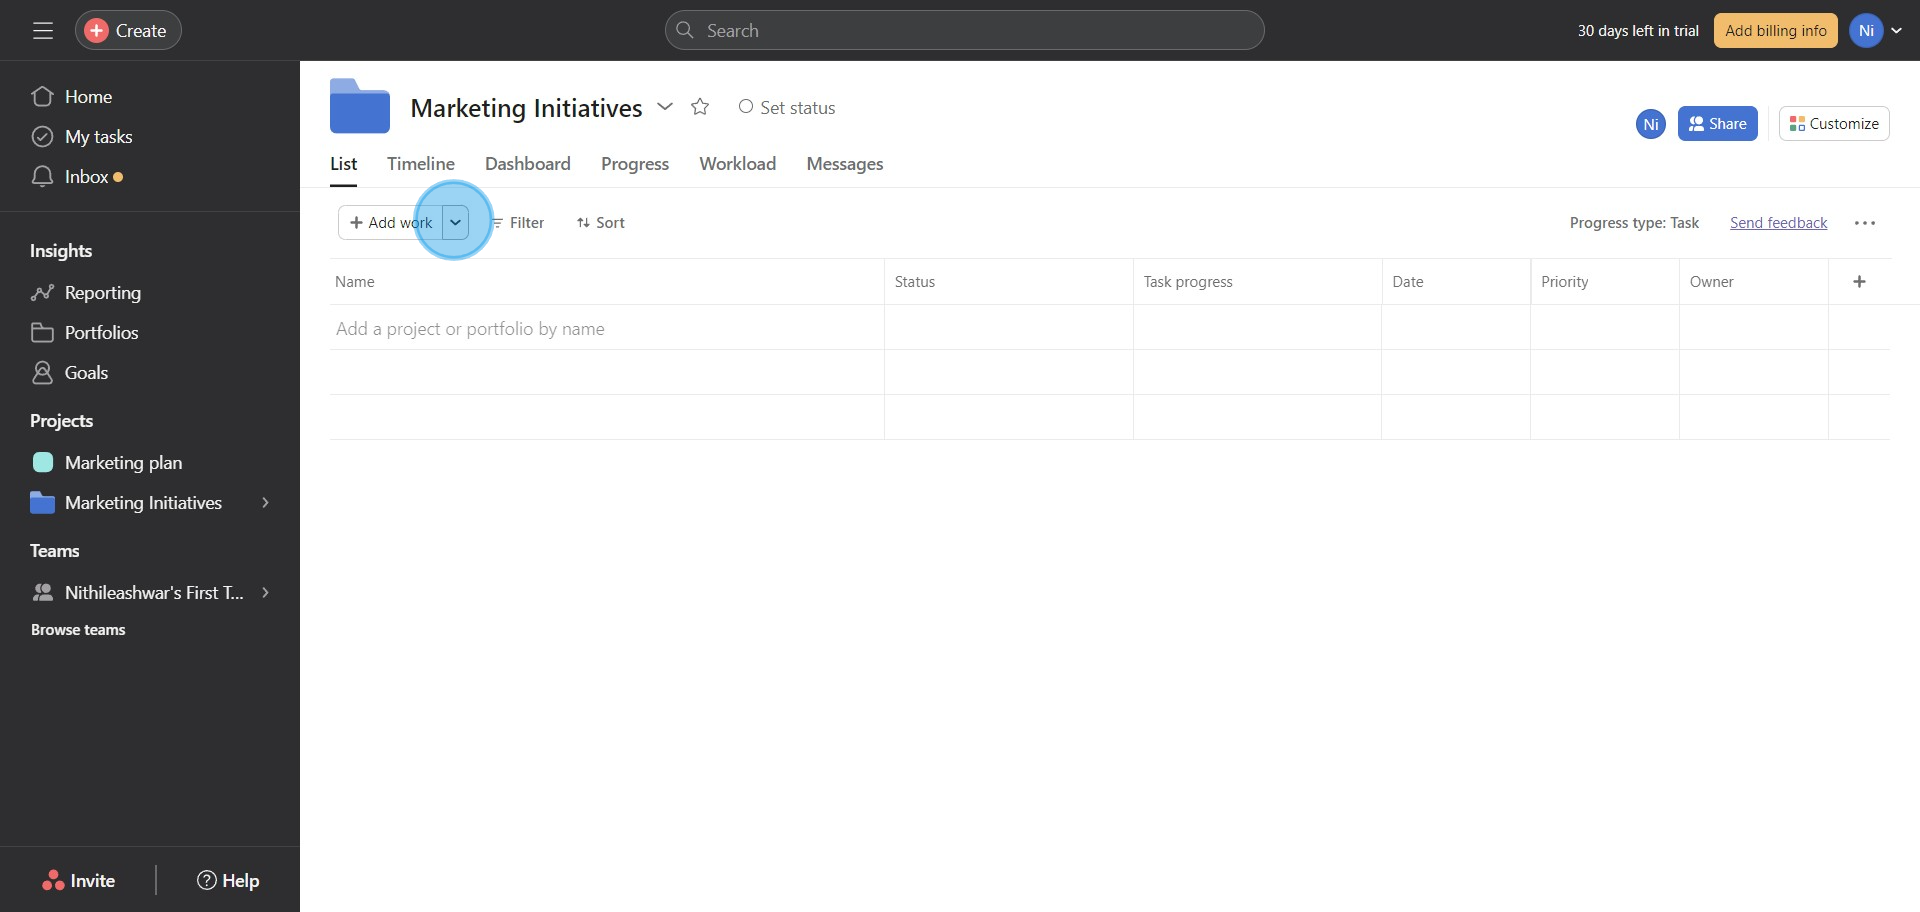
4. Now, select the option to add a project or a portfolio.
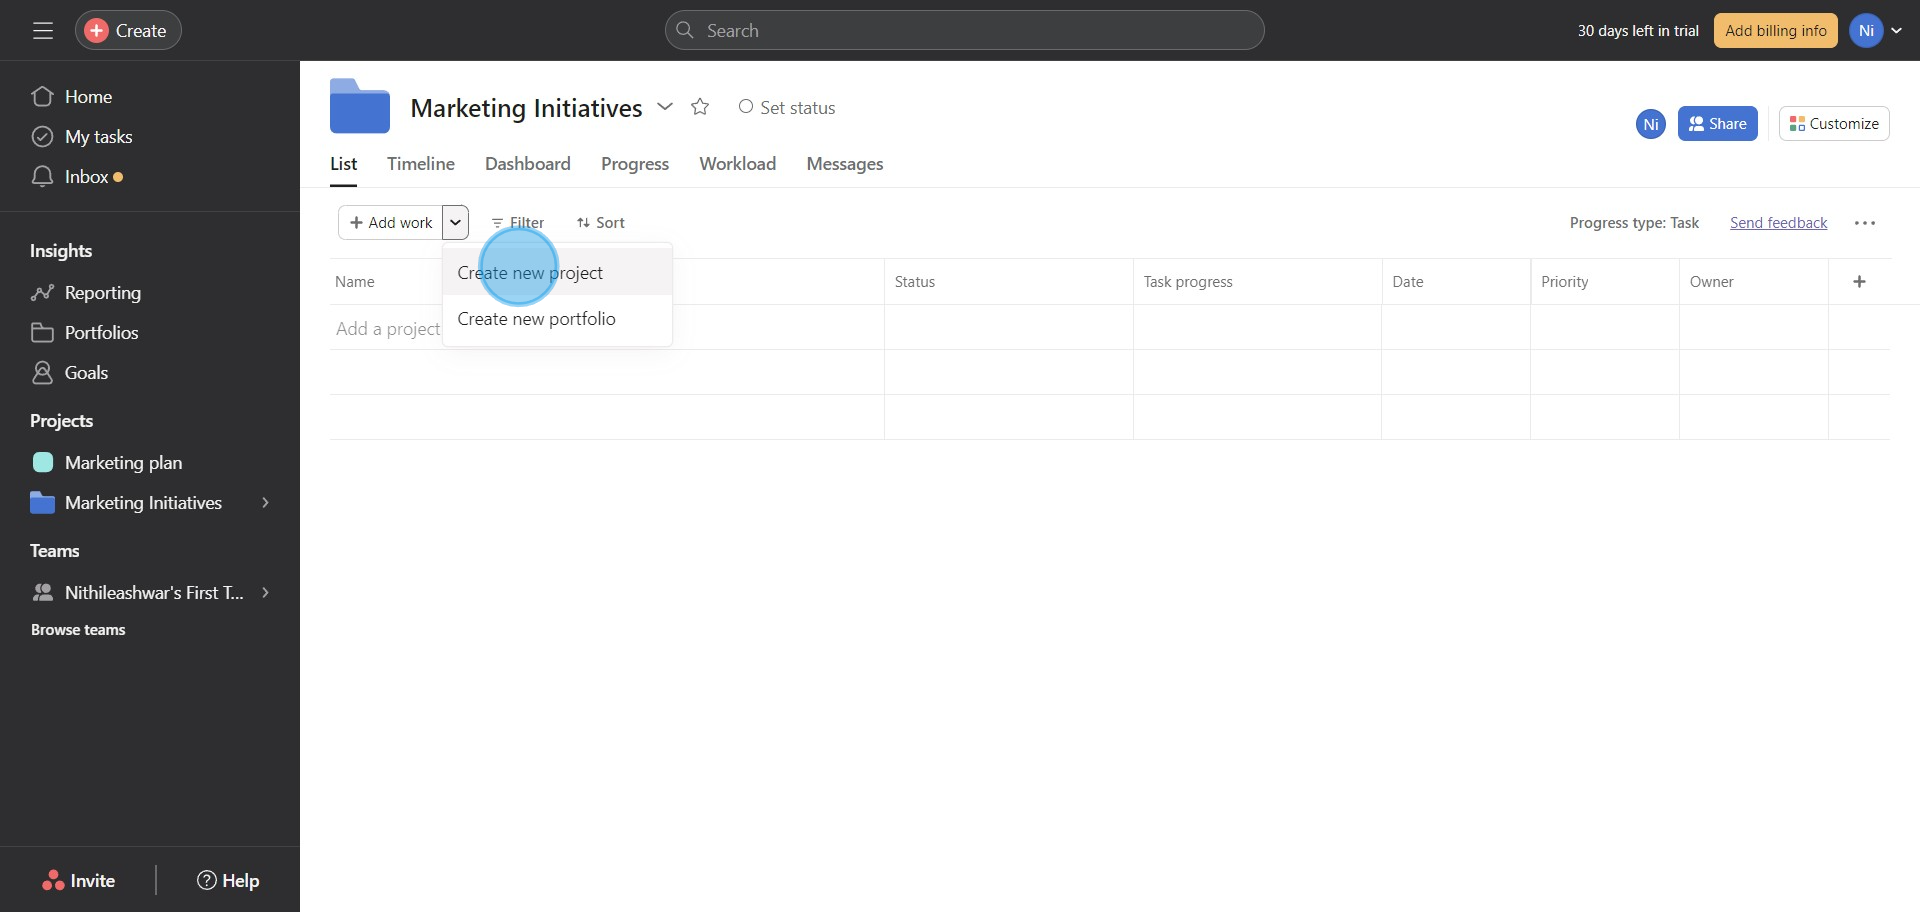
5. Press 'Create New Project' to generate a new task.
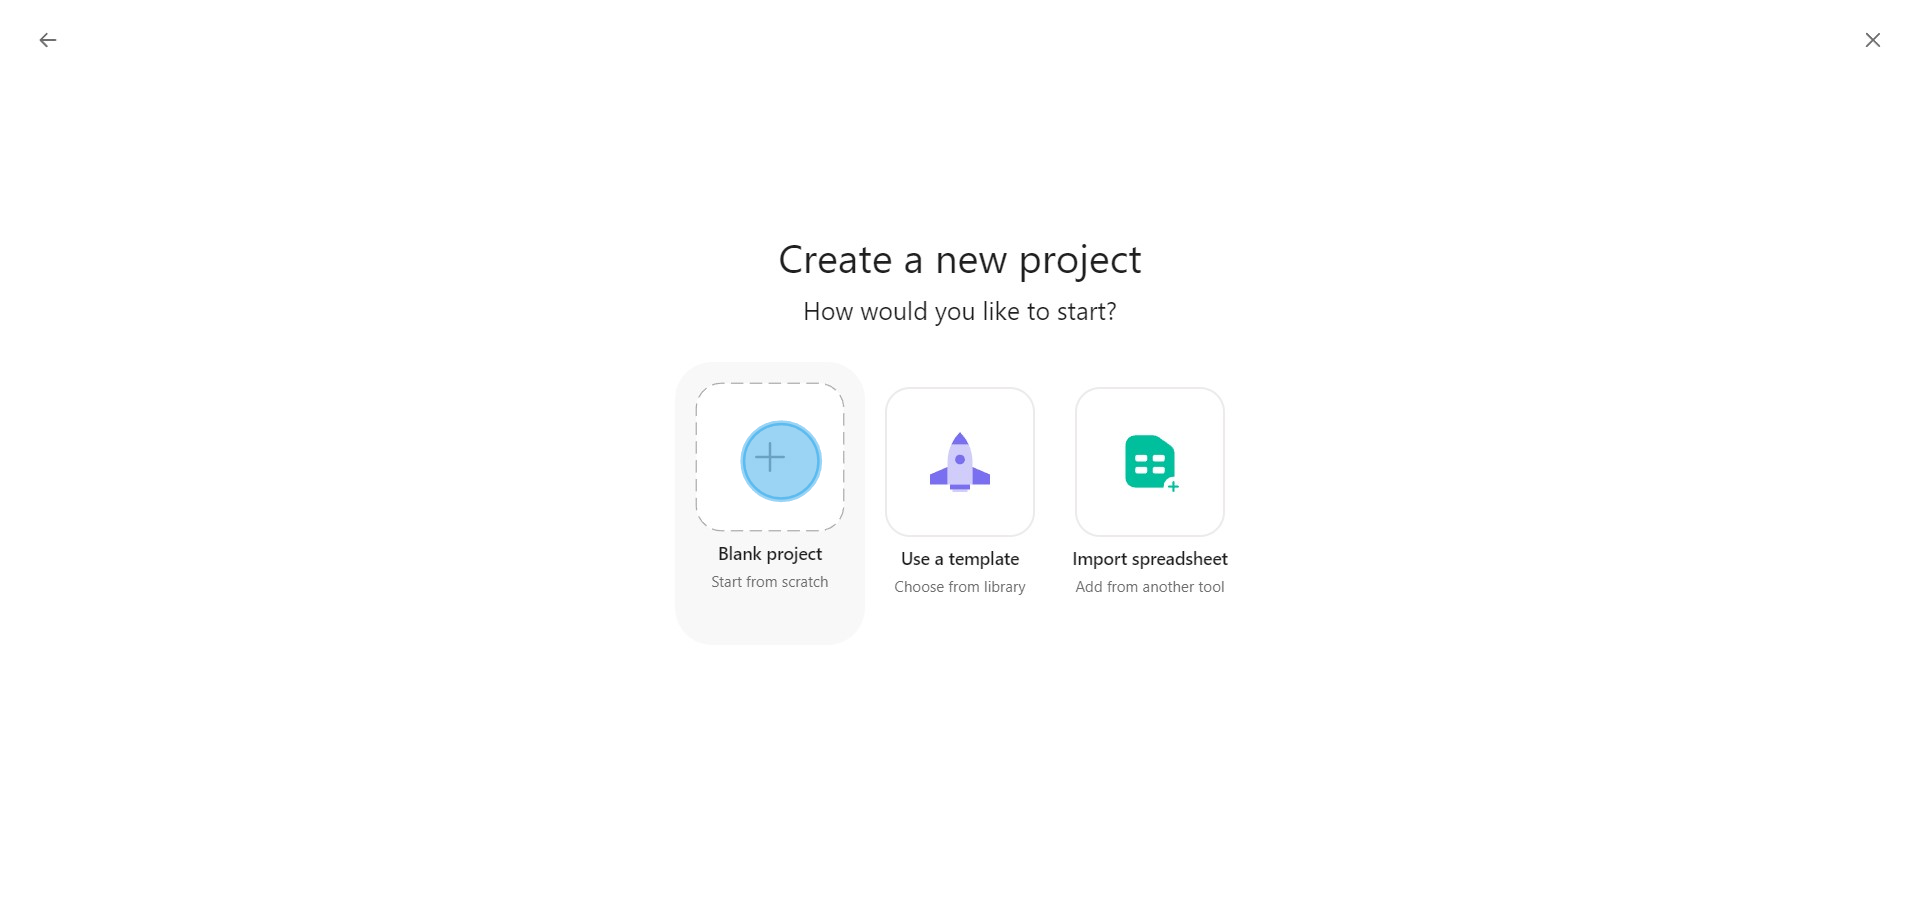
6. Pick your desired type of project following this action.
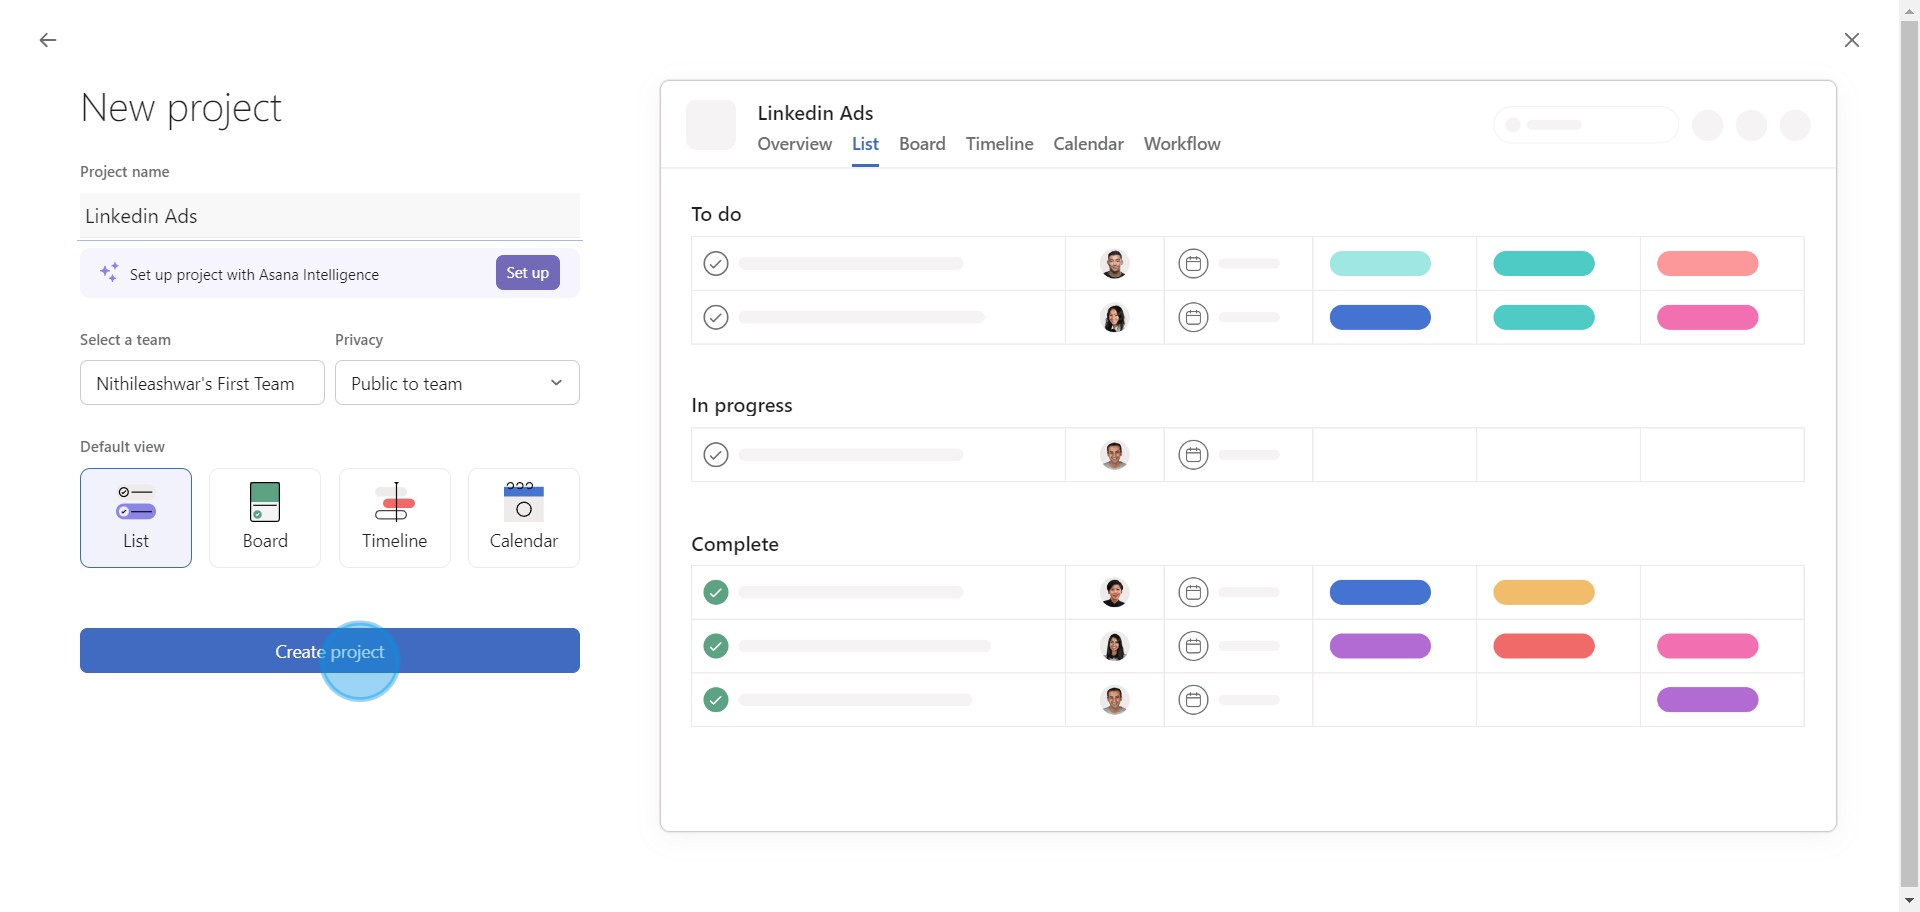
7. Fill in all required project details, then click 'Create Project'.
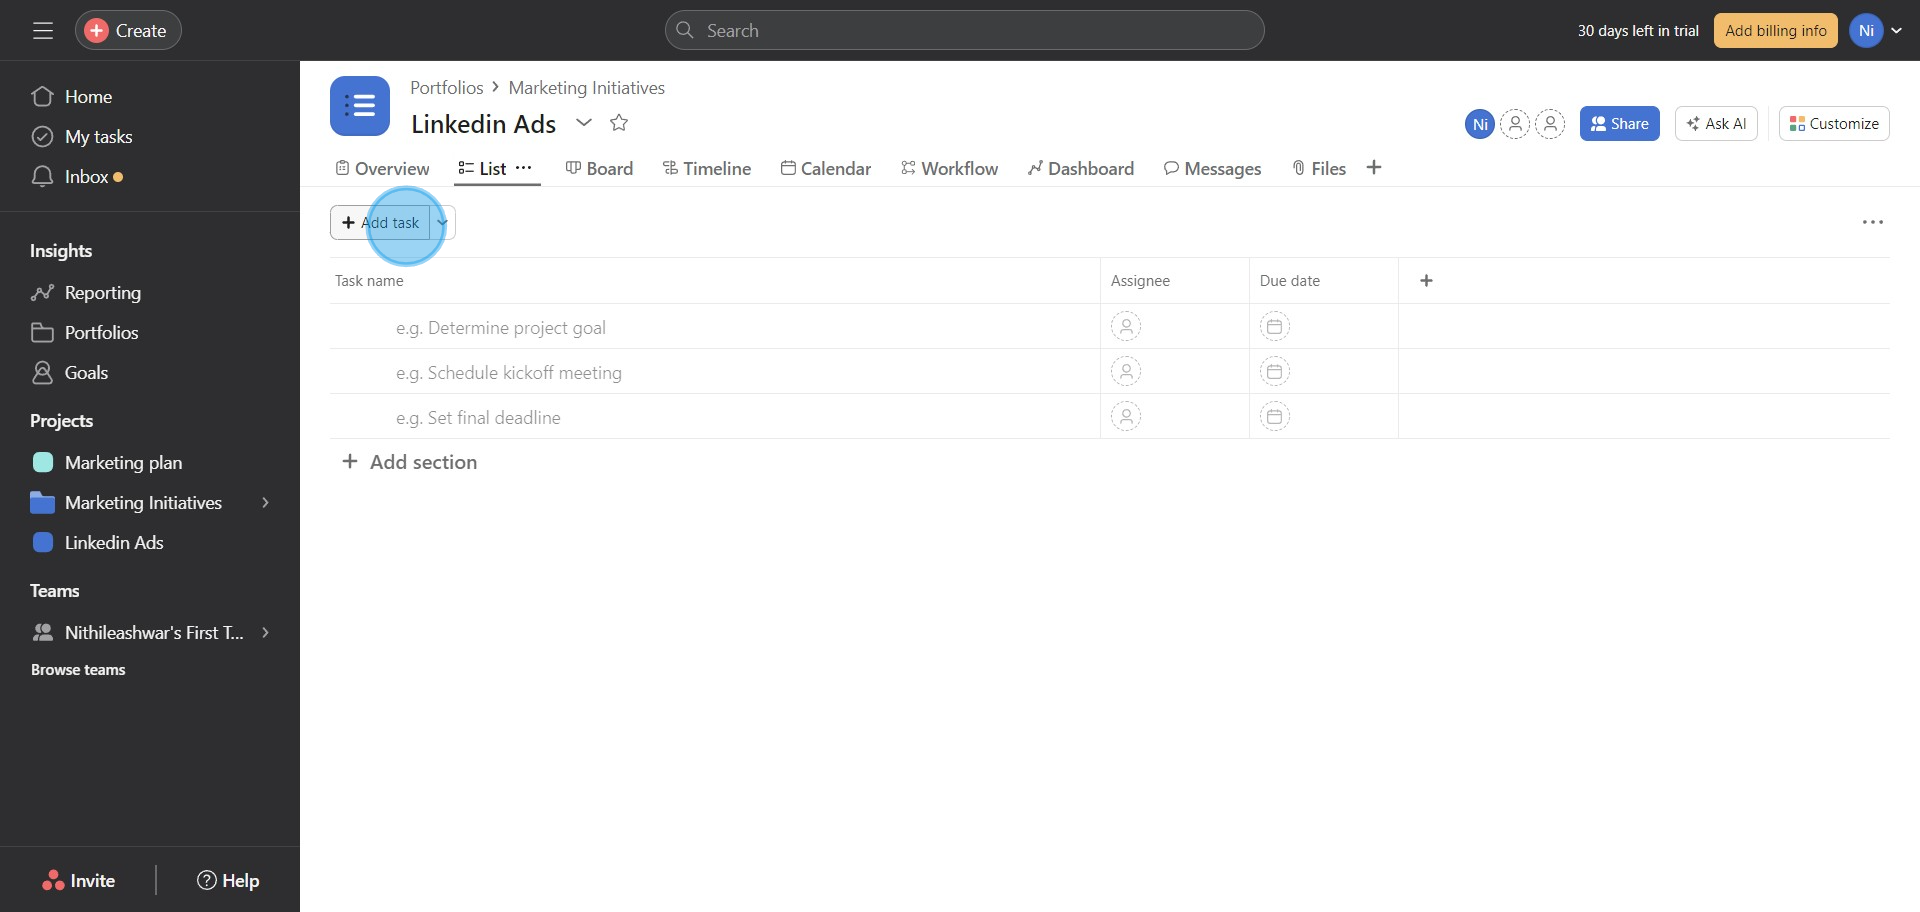
8. It's time to add tasks to your project: find and use the 'Add Task' button.
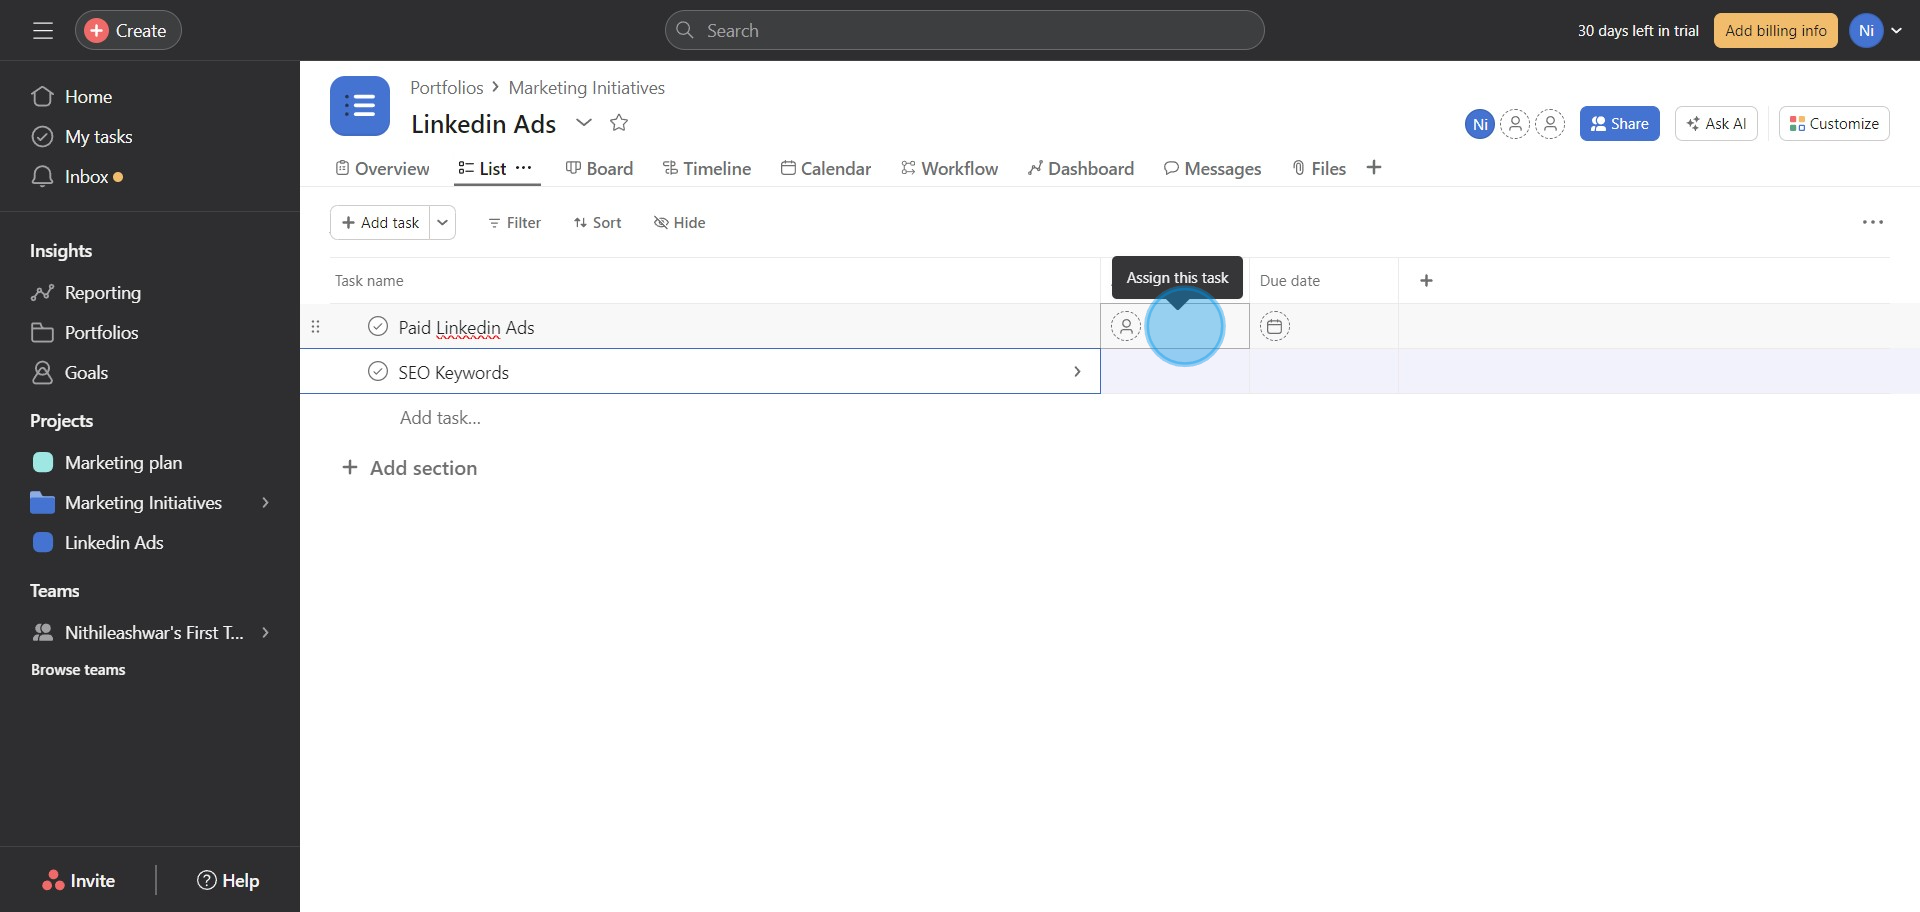
9. Once a task has been created, assign these tasks and establish due dates.
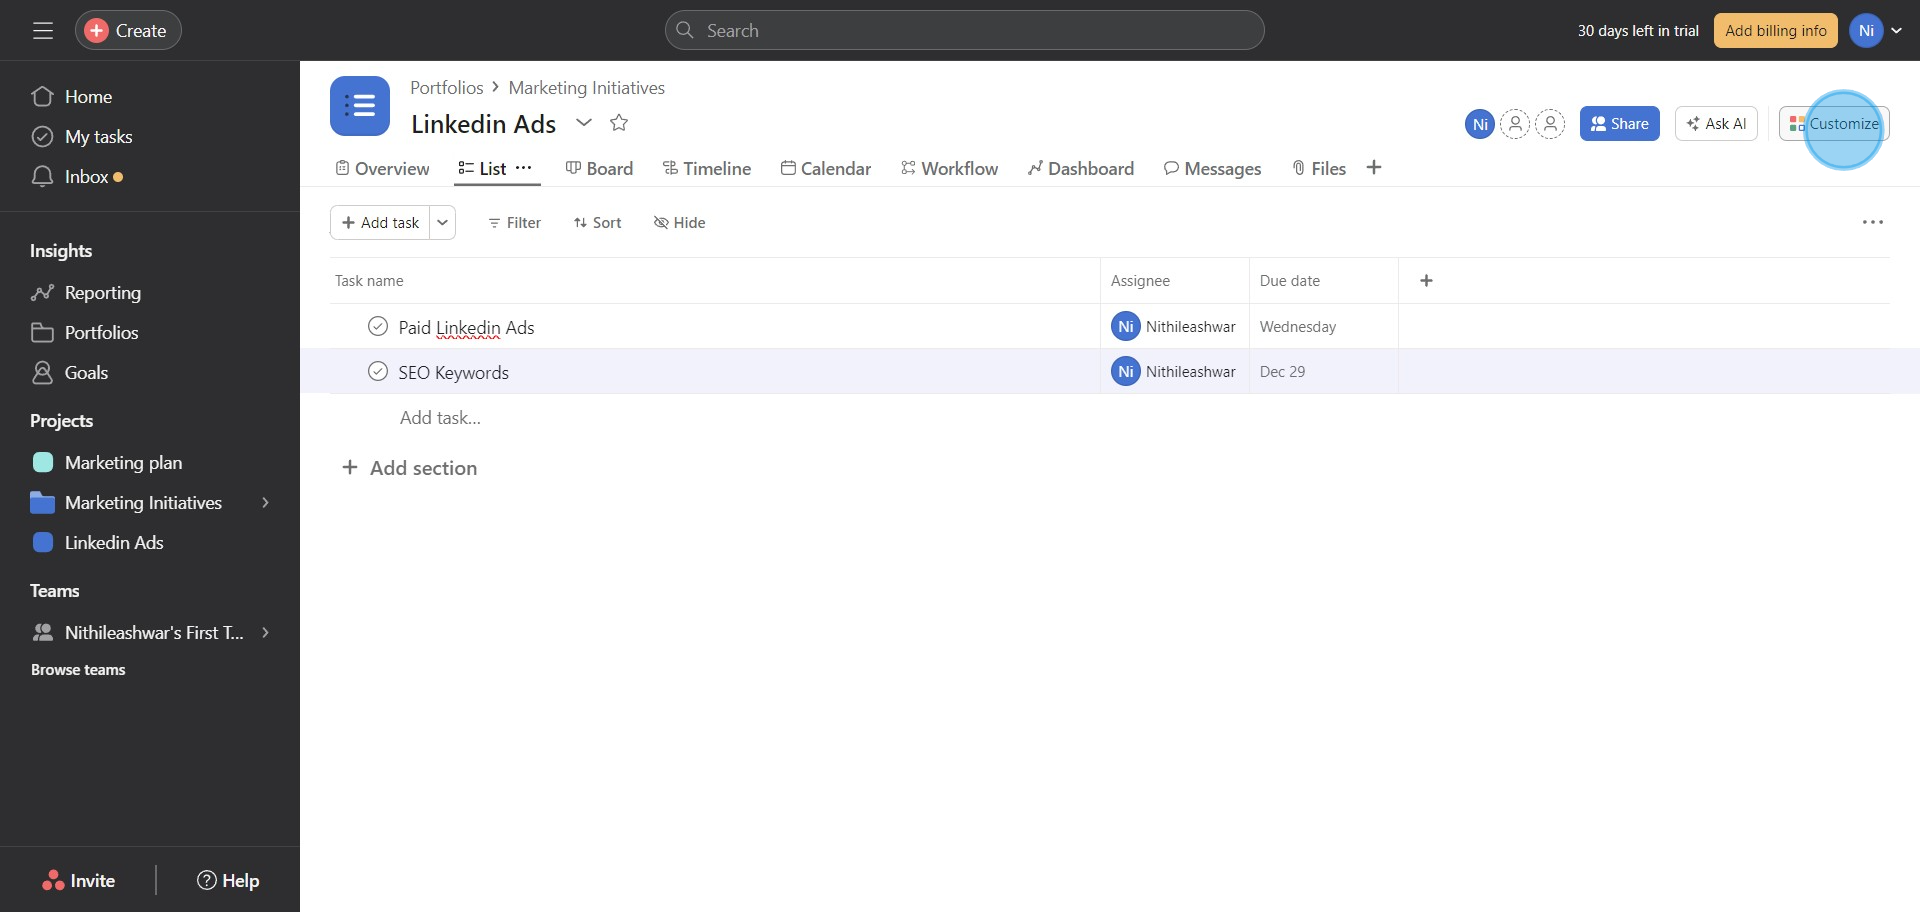
10. Afterward, select the 'Customize' button to modify the task's attributes.
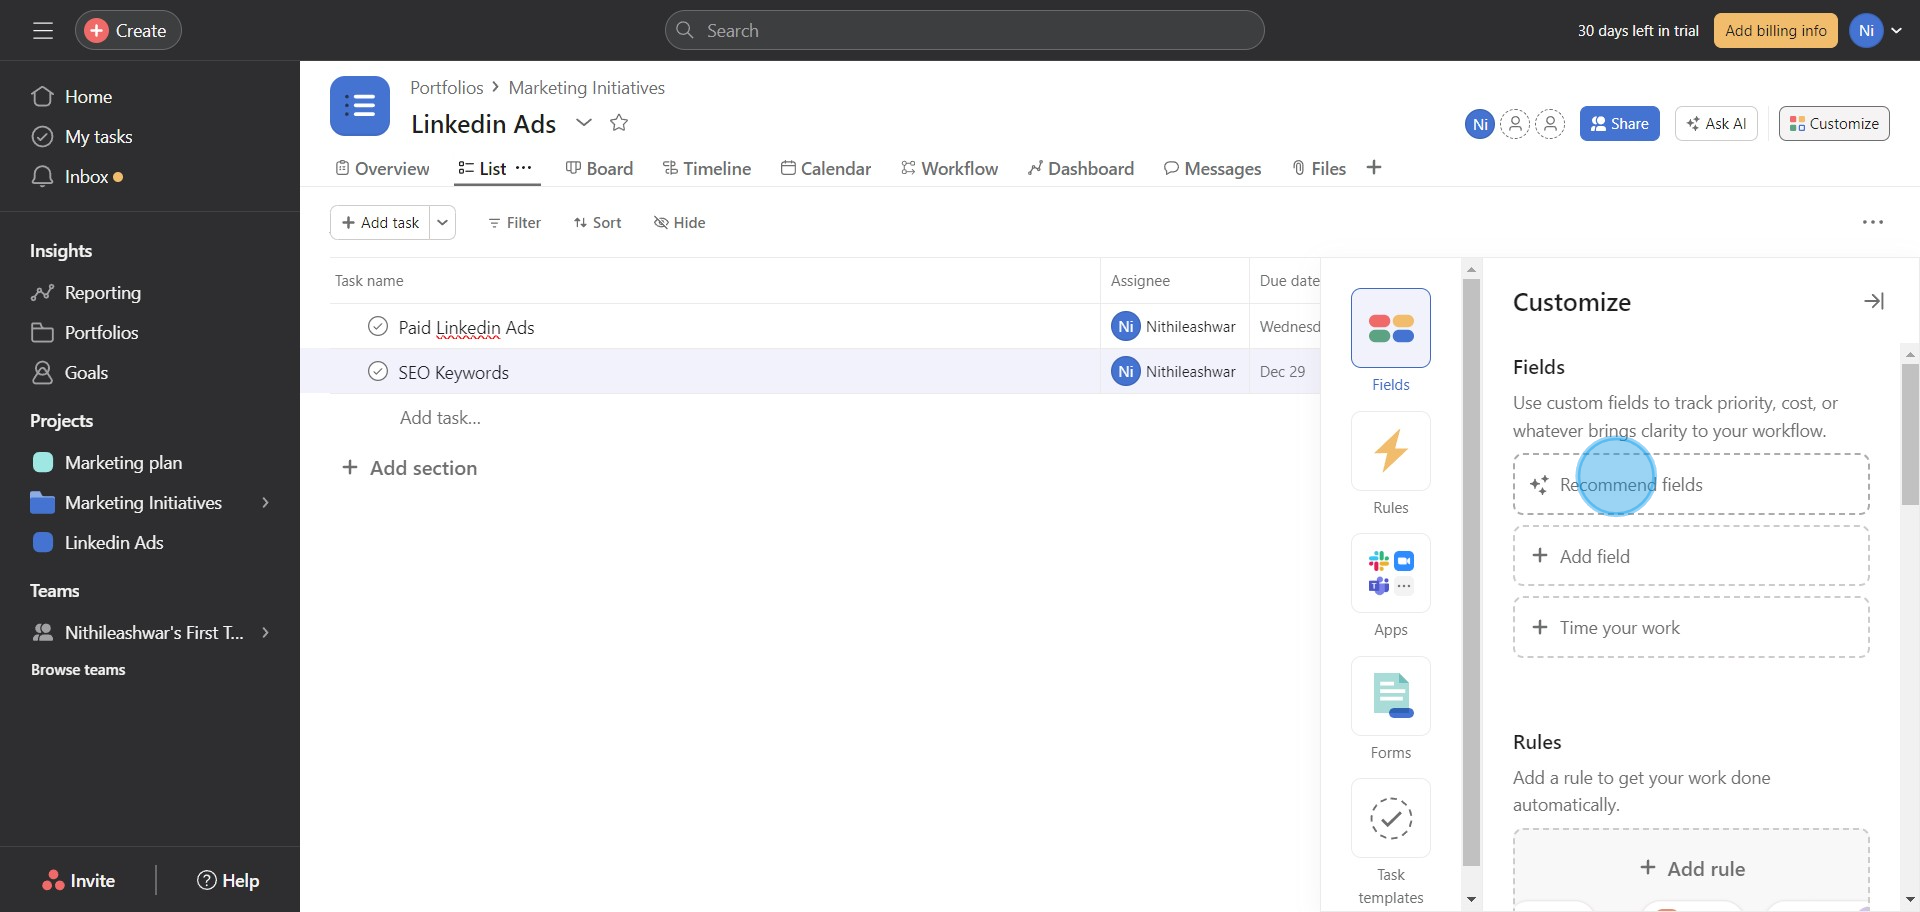
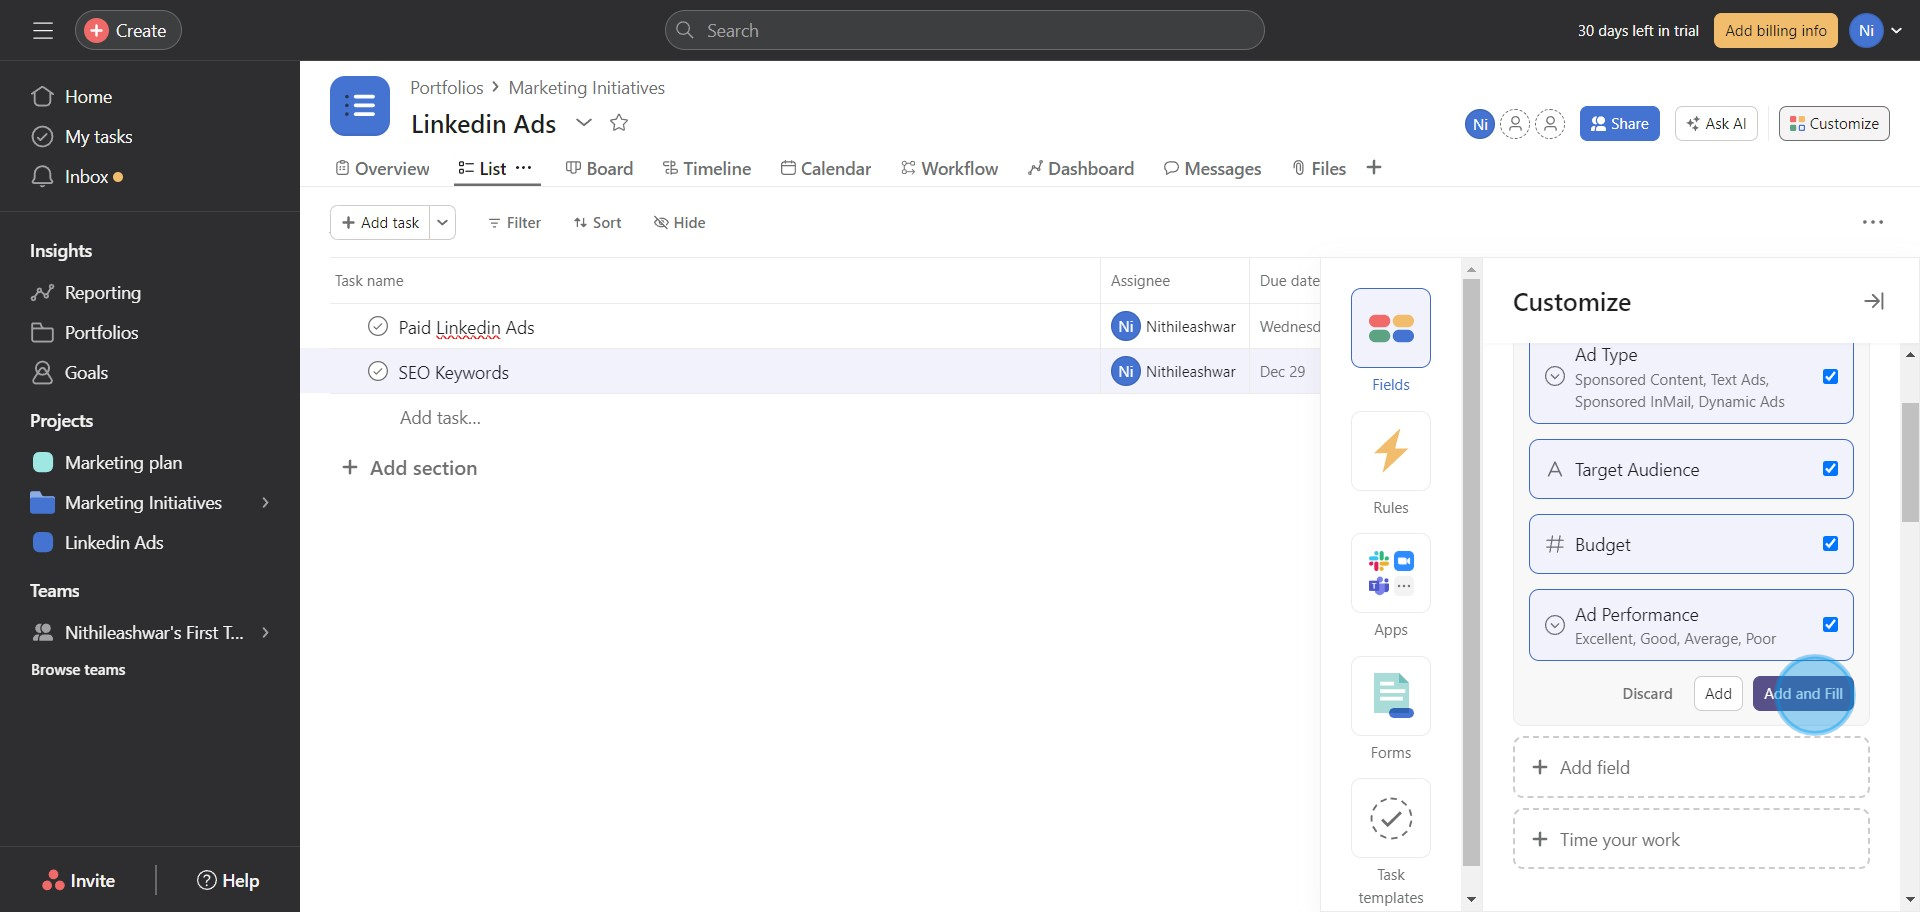
11. Tap 'Recommend Fields' to provide Asana Intelligence with custom field suggestions.
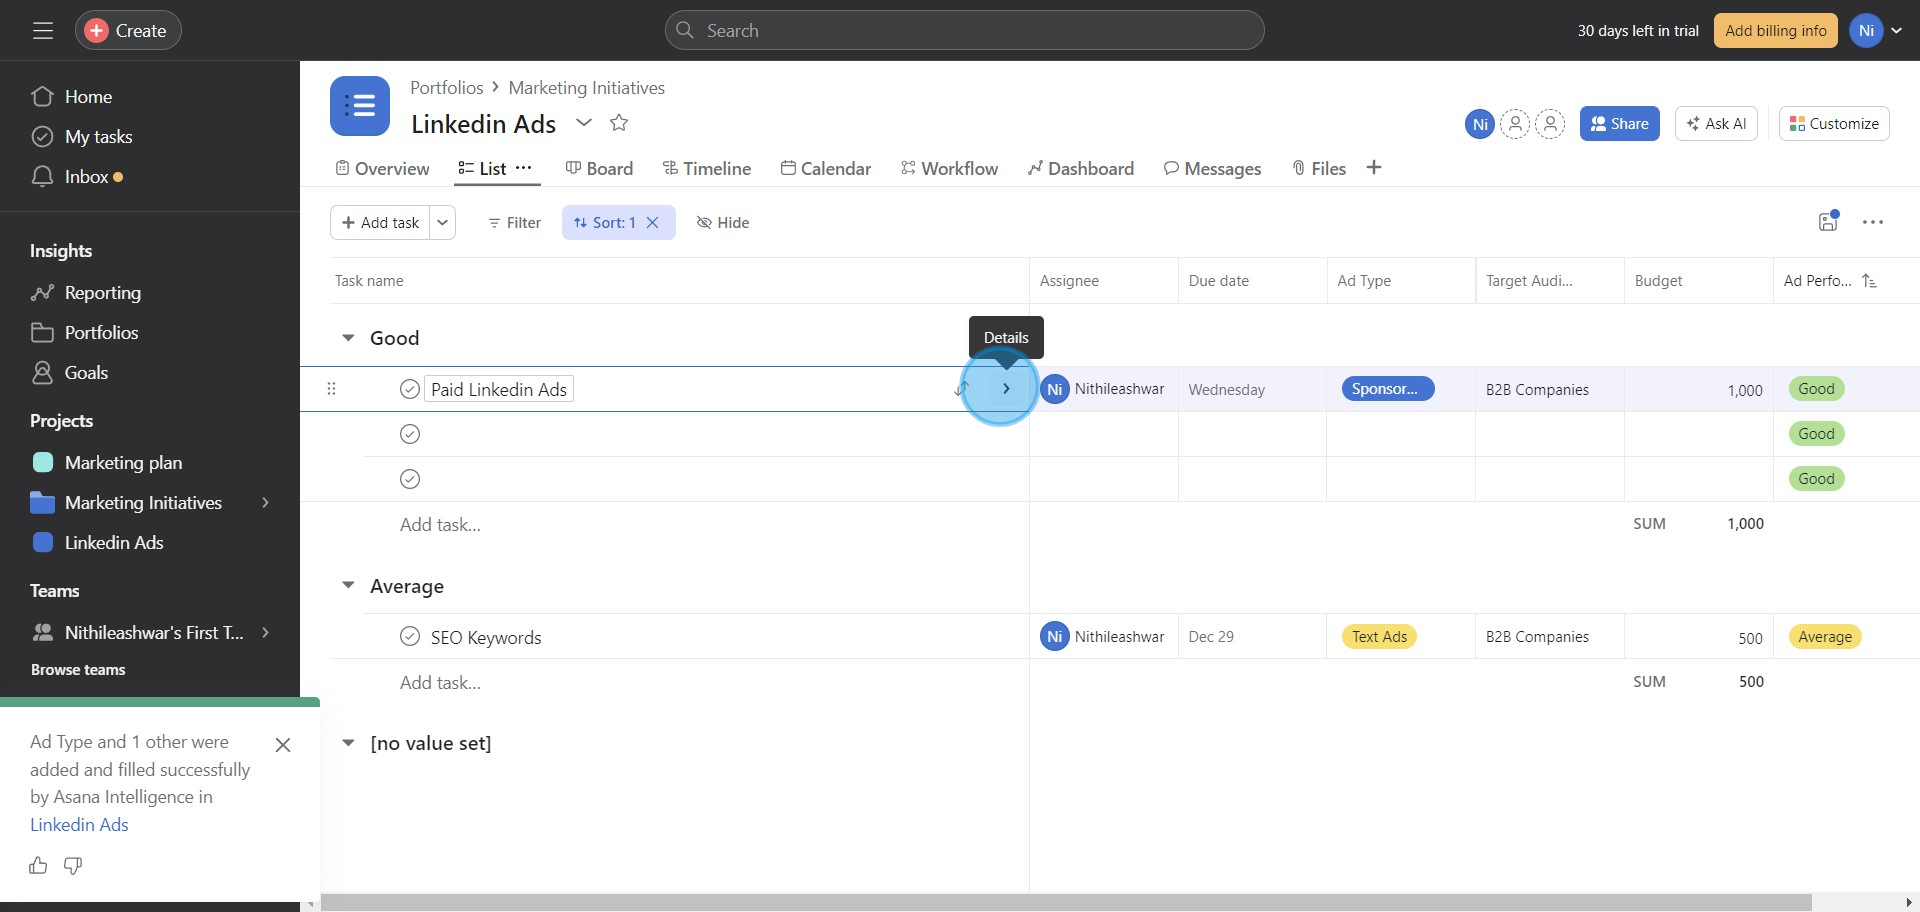
12. Opt to add more details by choosing 'Add and Fill'.
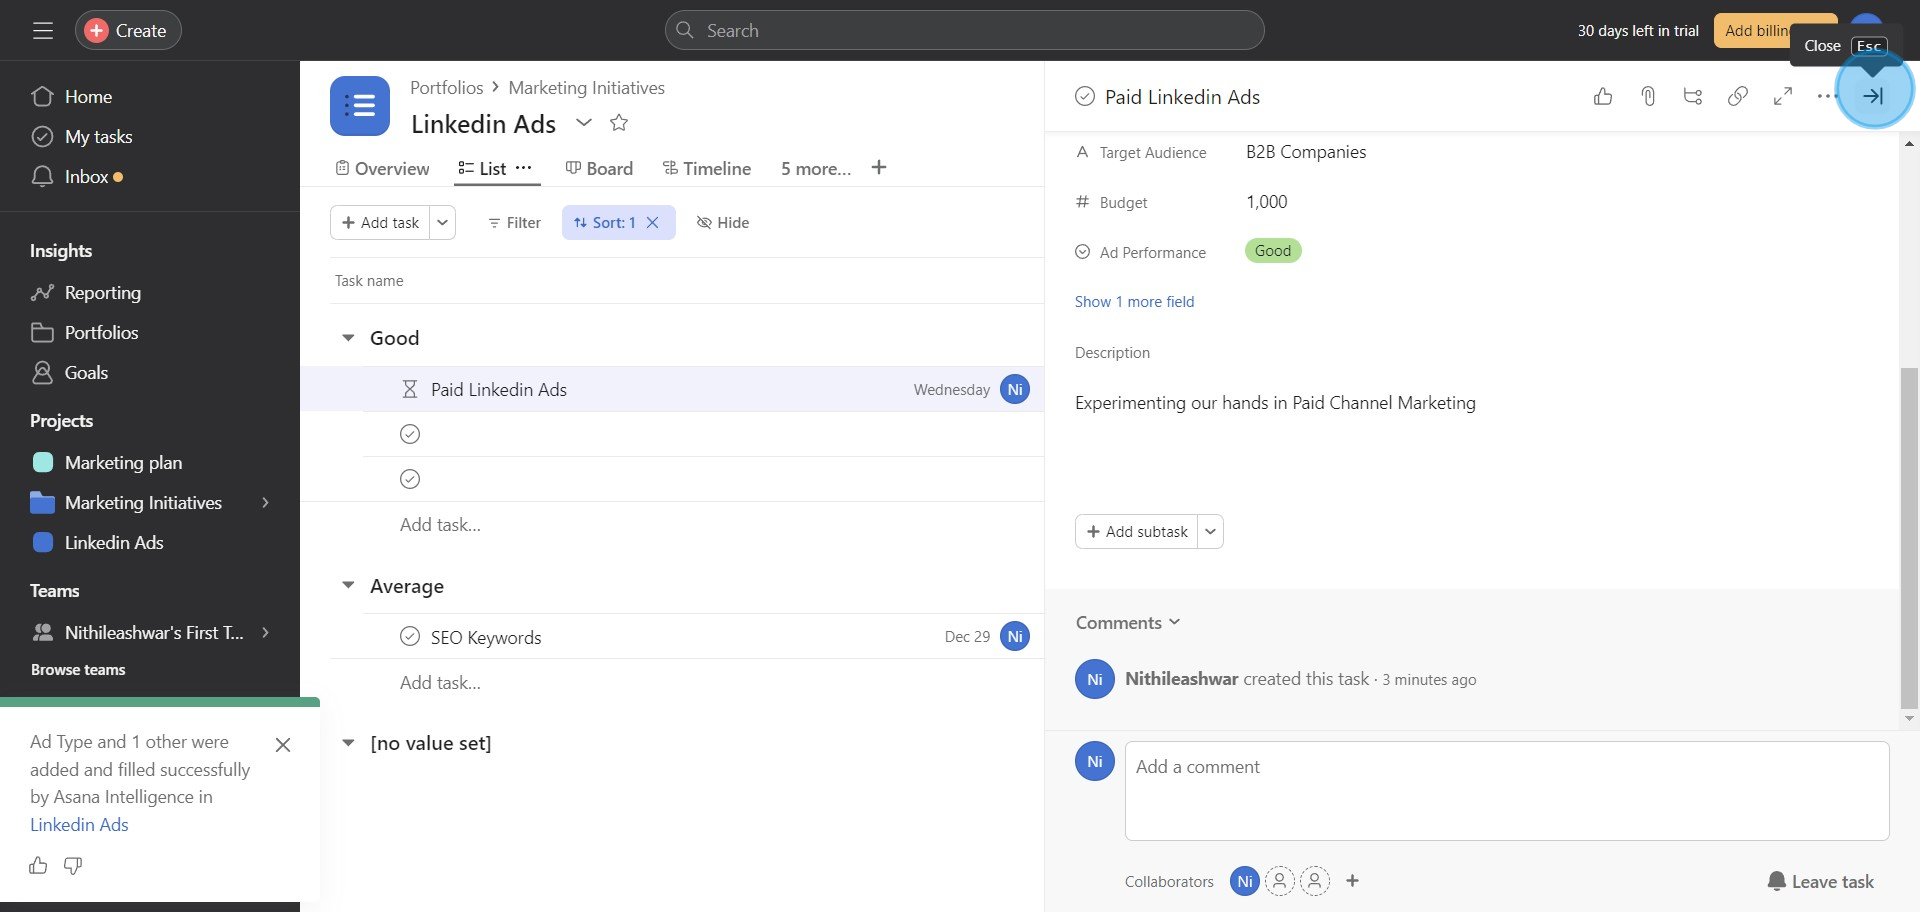
13. Click on the given slot to enter a brief description of your task.
14. After populating all necessary fields, close the form to save updates.
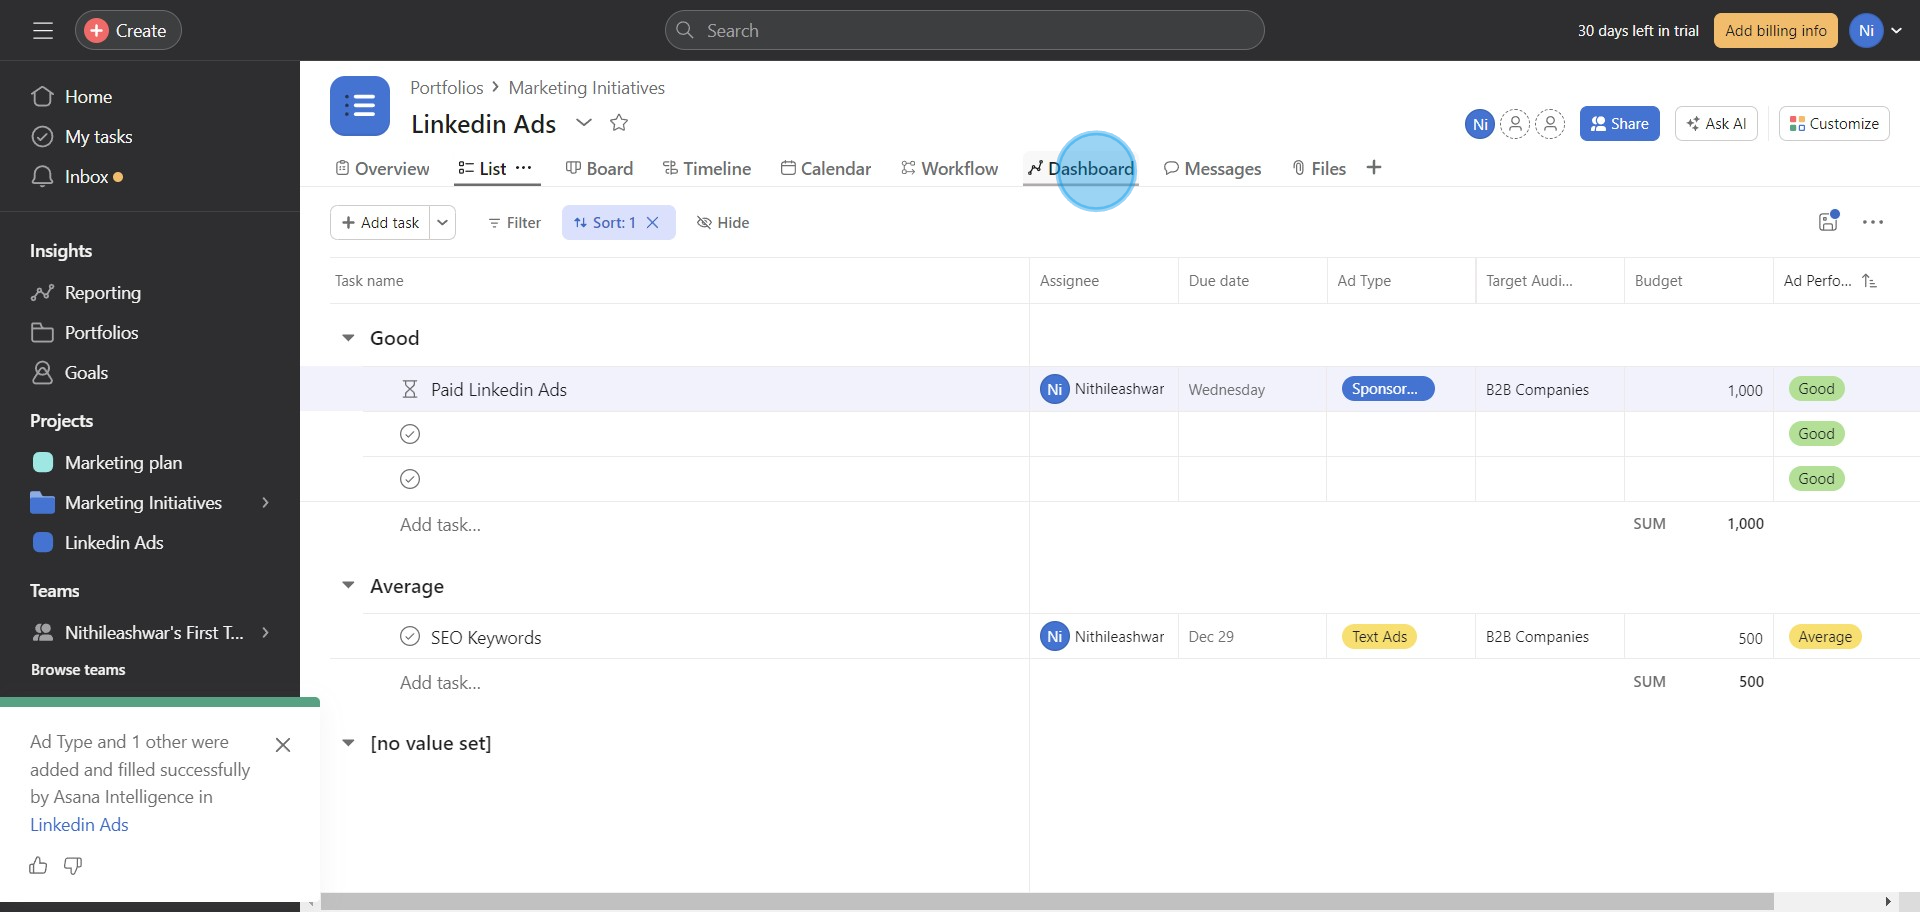
15. Finally, navigate to the 'Dashboard' for an in-depth analysis of your performance.
Common FAQs on Asana
Commonly asked questions about this topic.
How do I create and send an email campaign in Mailchimp?
How can I segment my audience in Mailchimp?
How do I track and analyze the performance of my email campaigns in Mailchimp?
Create your own step-by-step demo
Nithil Shanmugam
Content Marketer
Nithil is a startup-obsessed operator focused on growth, sales and marketing. He's passionate about wearing different hats across startups to deliver real value.


