

Overview:
Enhance your email marketing strategy with Mailchimp by mastering the creation of segments. Tailor your campaigns effectively by organizing your audience into targeted segments based on specific criteria. This guide offers a straightforward process to create and utilize segments, ensuring your messages reach the right people at the right time. Improve efficiency and clarity in your email marketing endeavors with Mailchimp's segment creation tools.
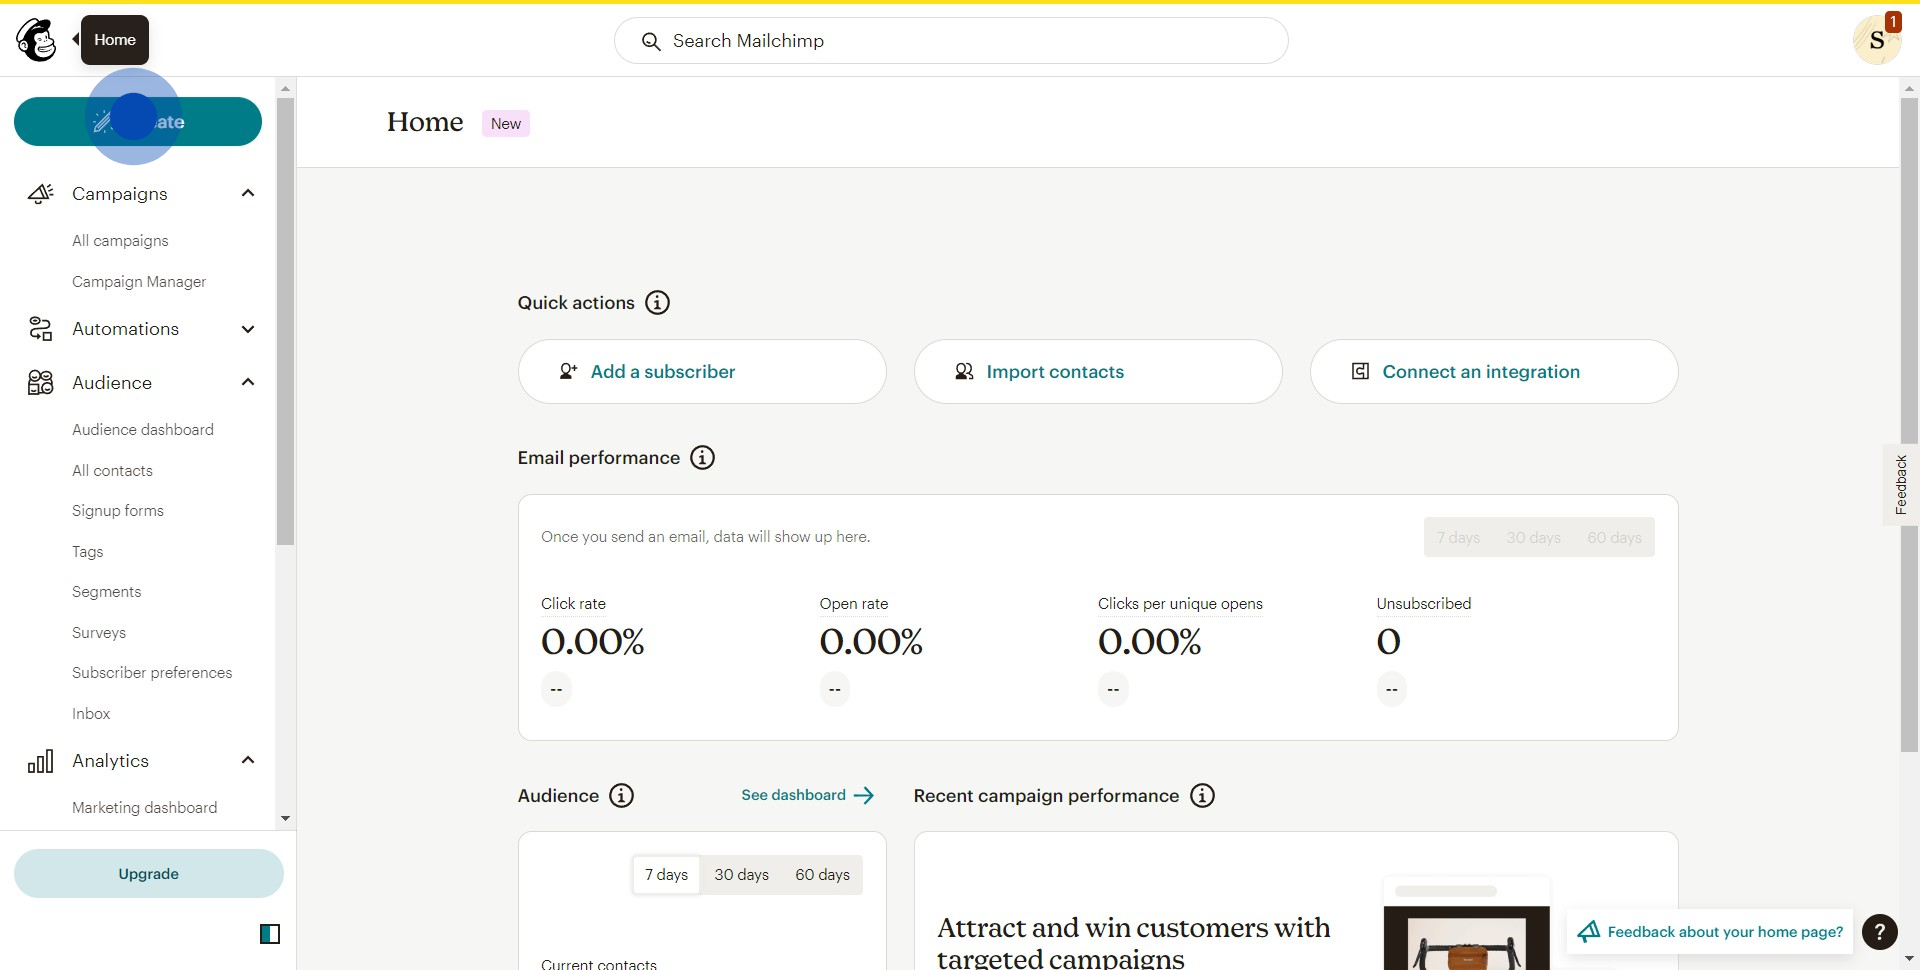
1. Begin by clicking on the Create option.
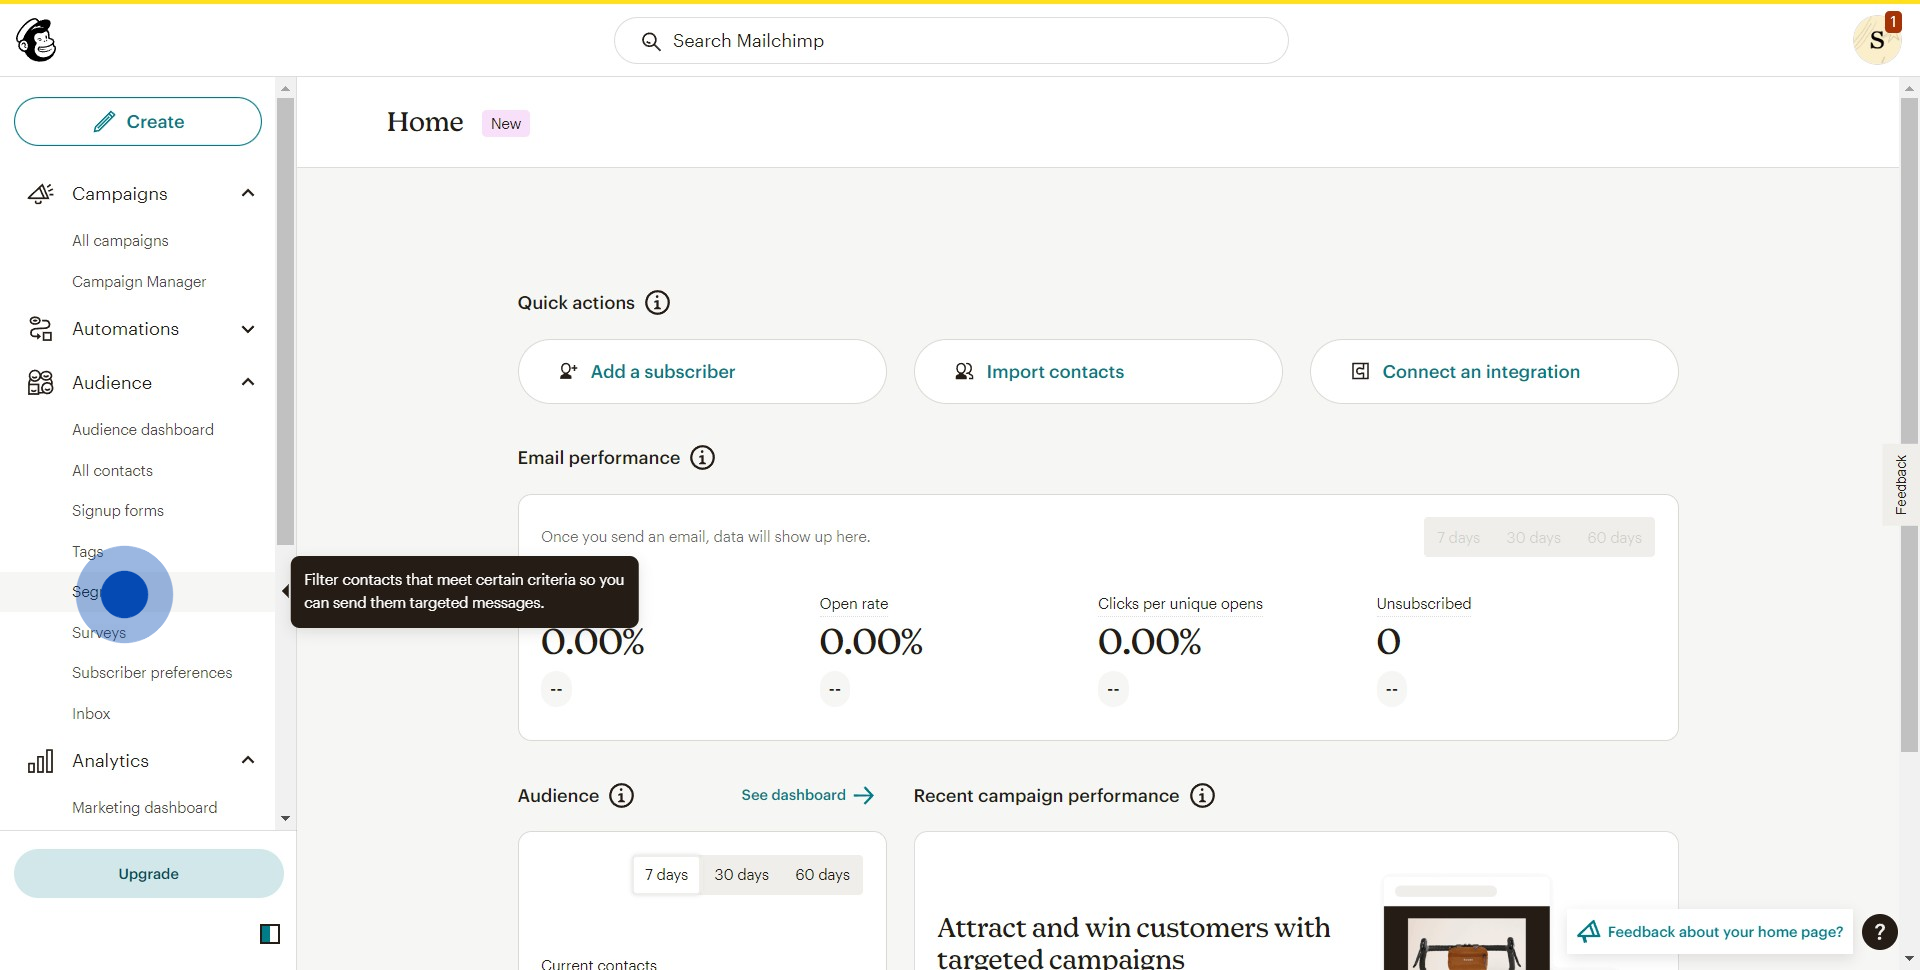
2. Next, choose the option marked as Segments.
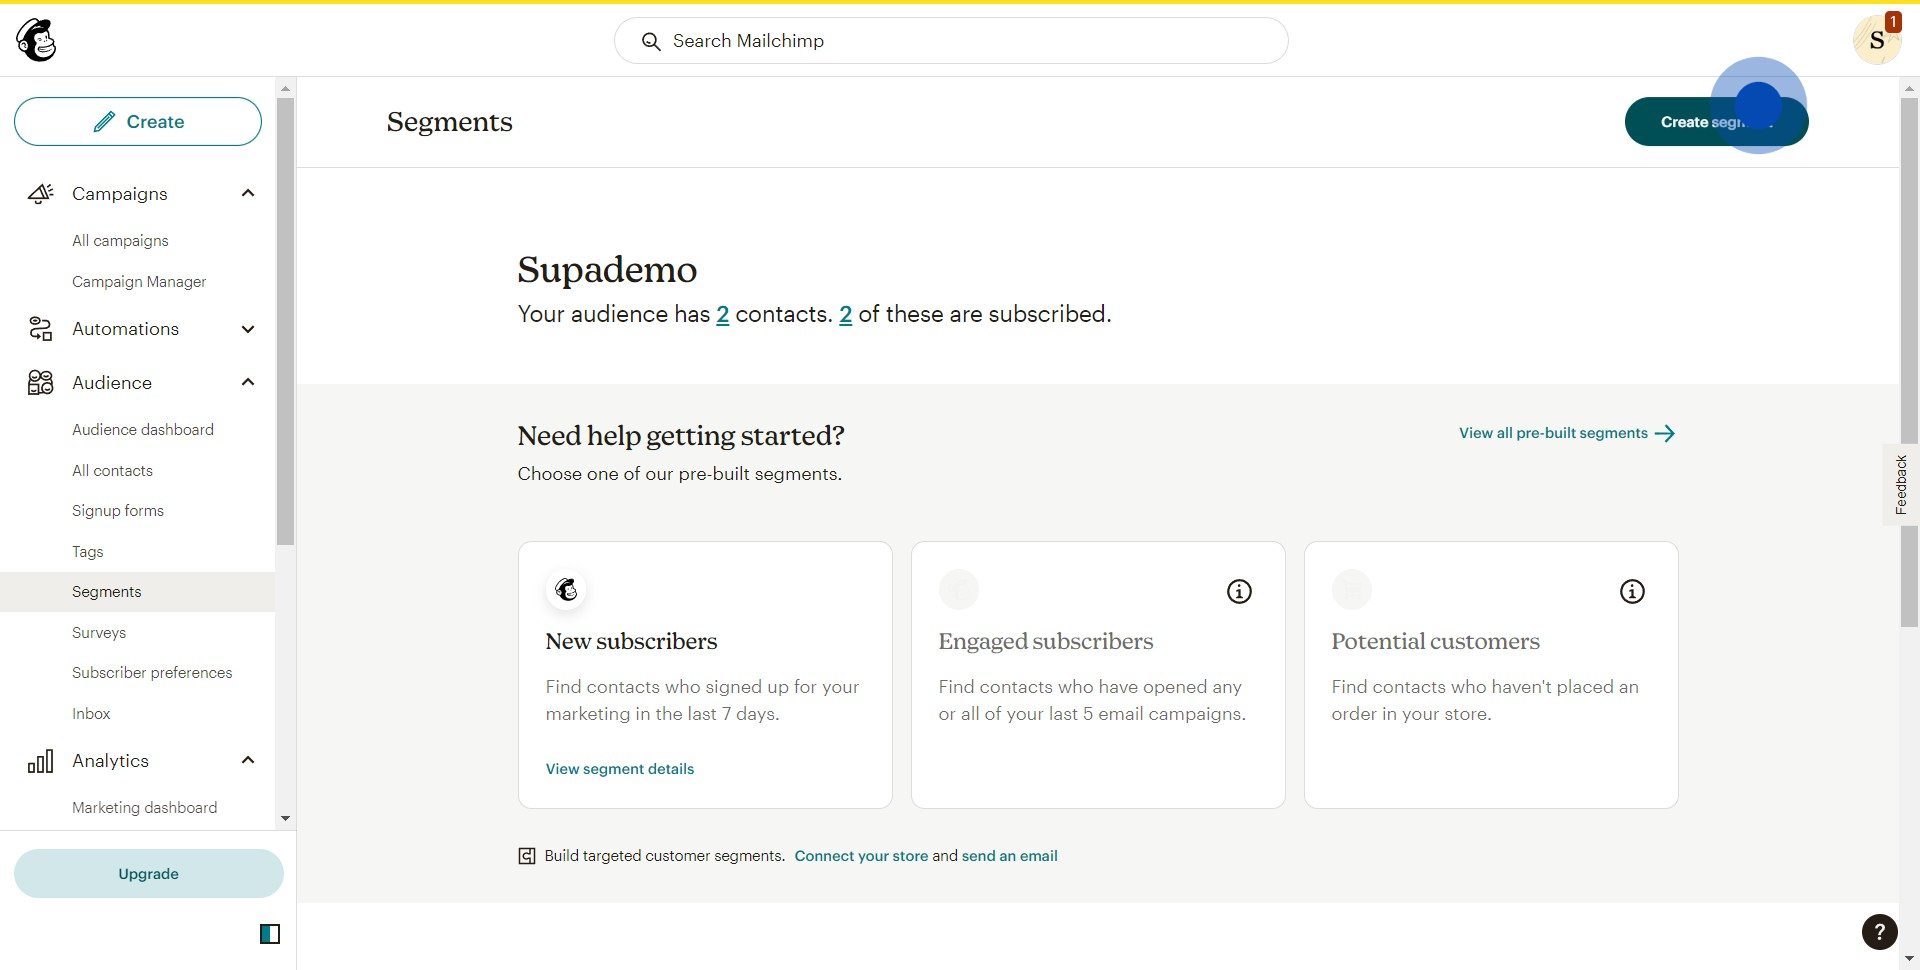
3. Now, select the option labeled Create segment.
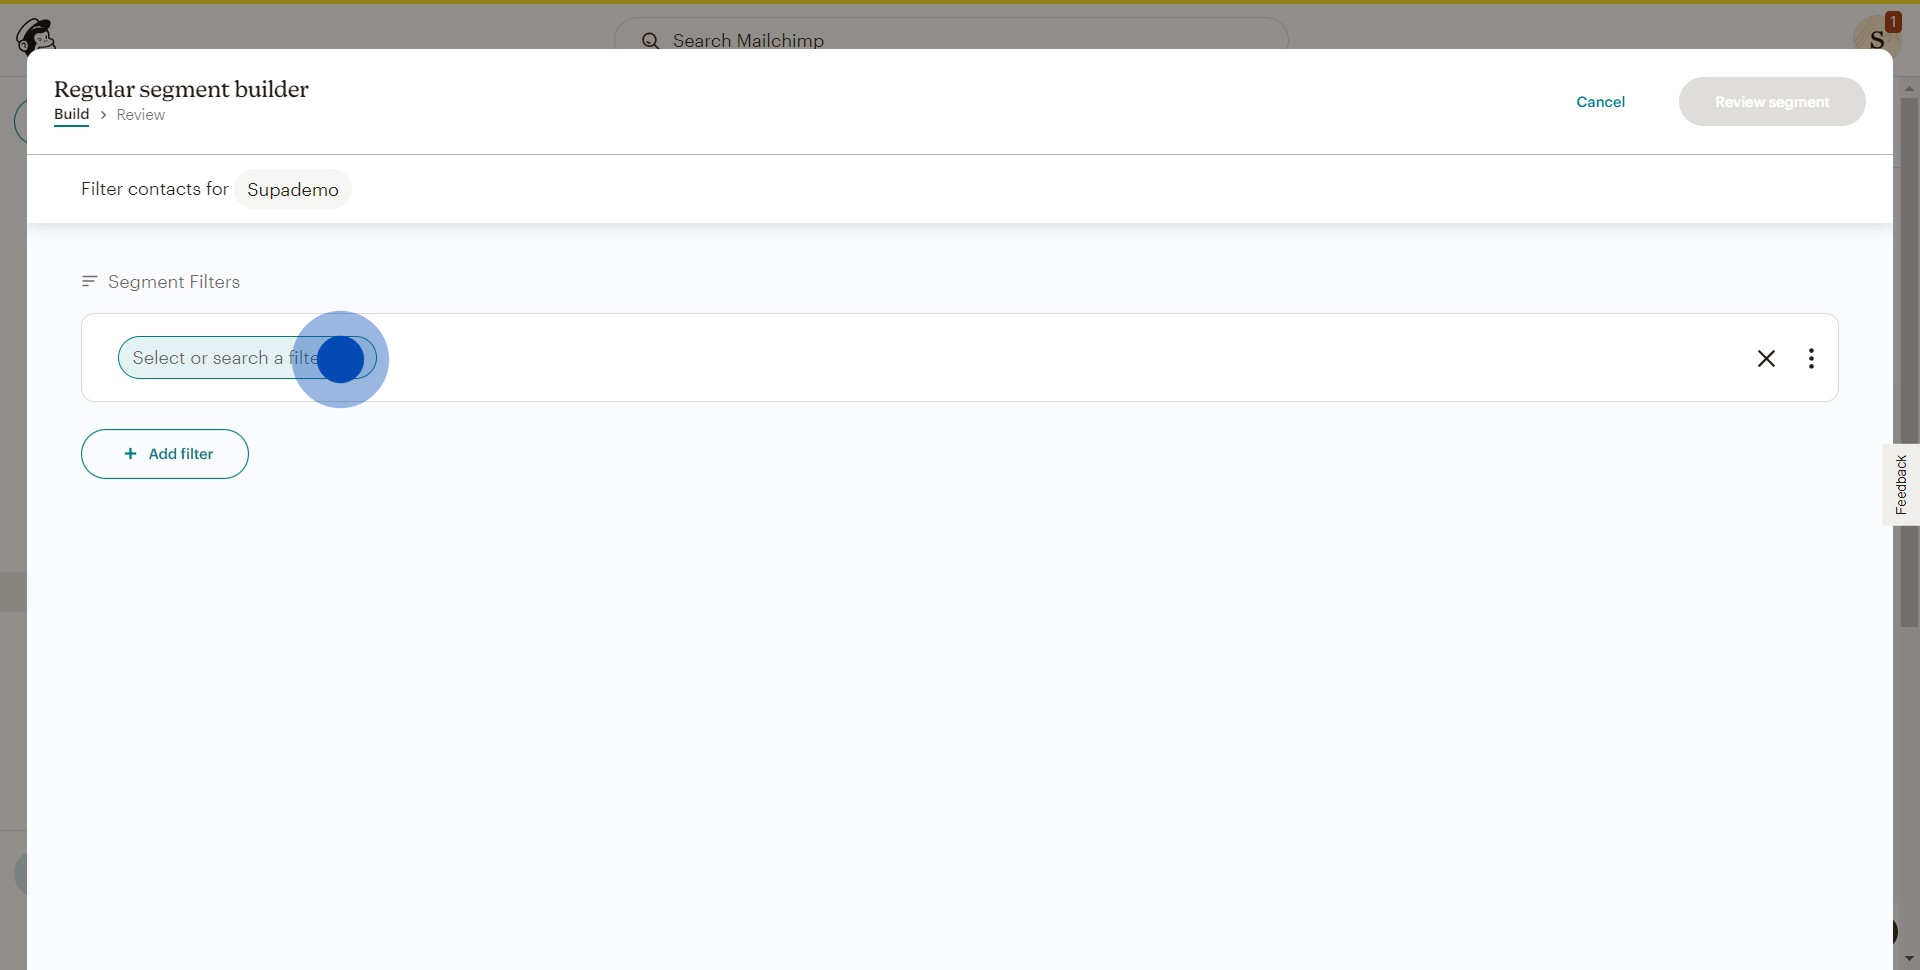
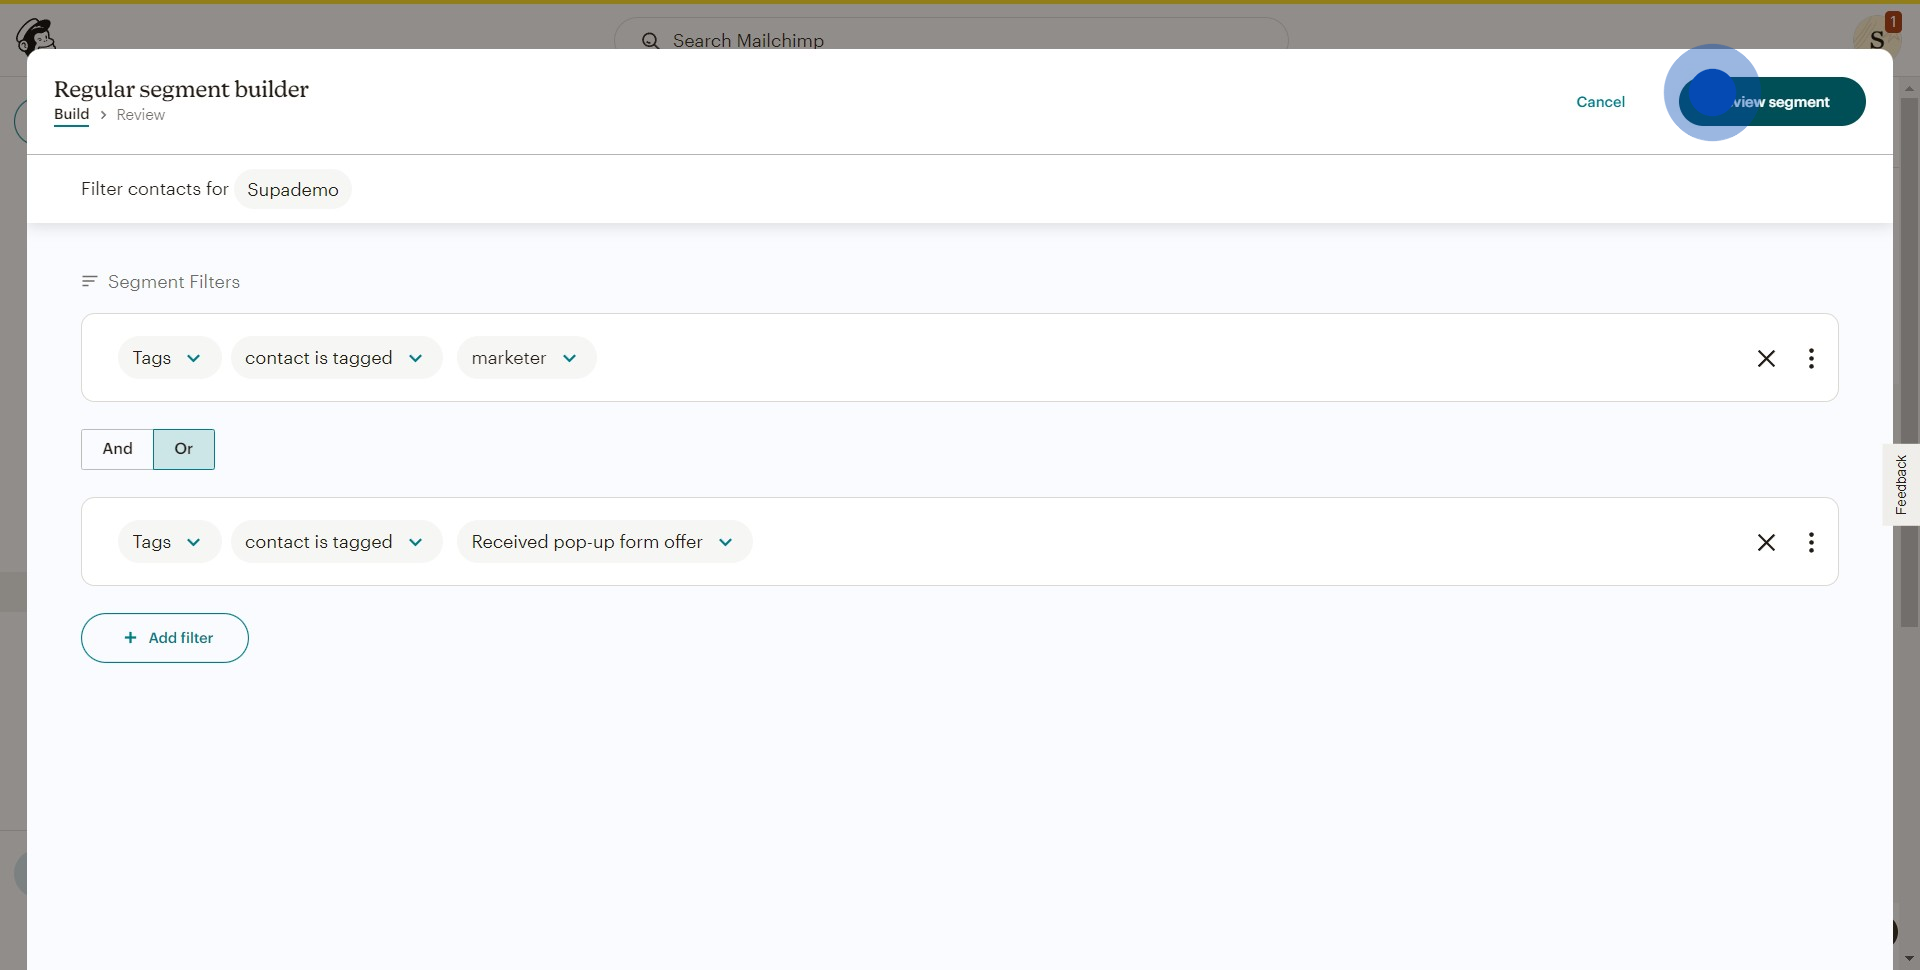
4. Add the appropriate filters for accurate sorting.
5. Click on the button saying Review segment.
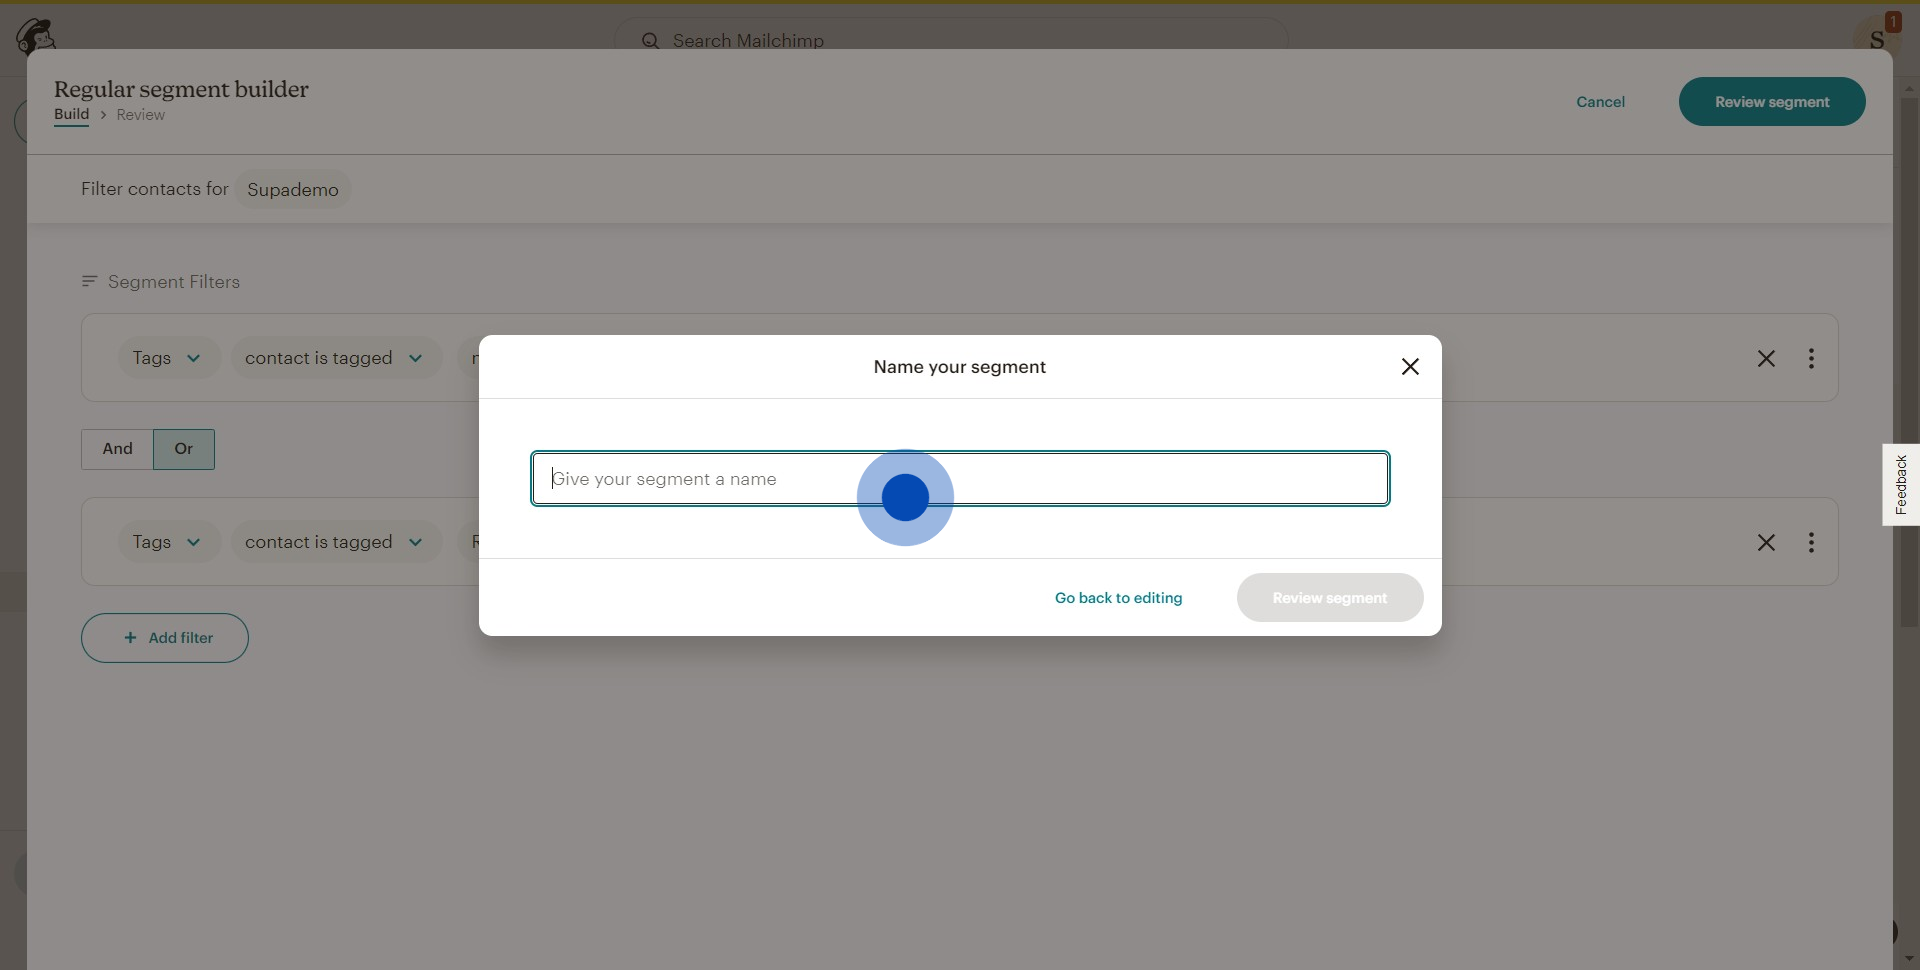
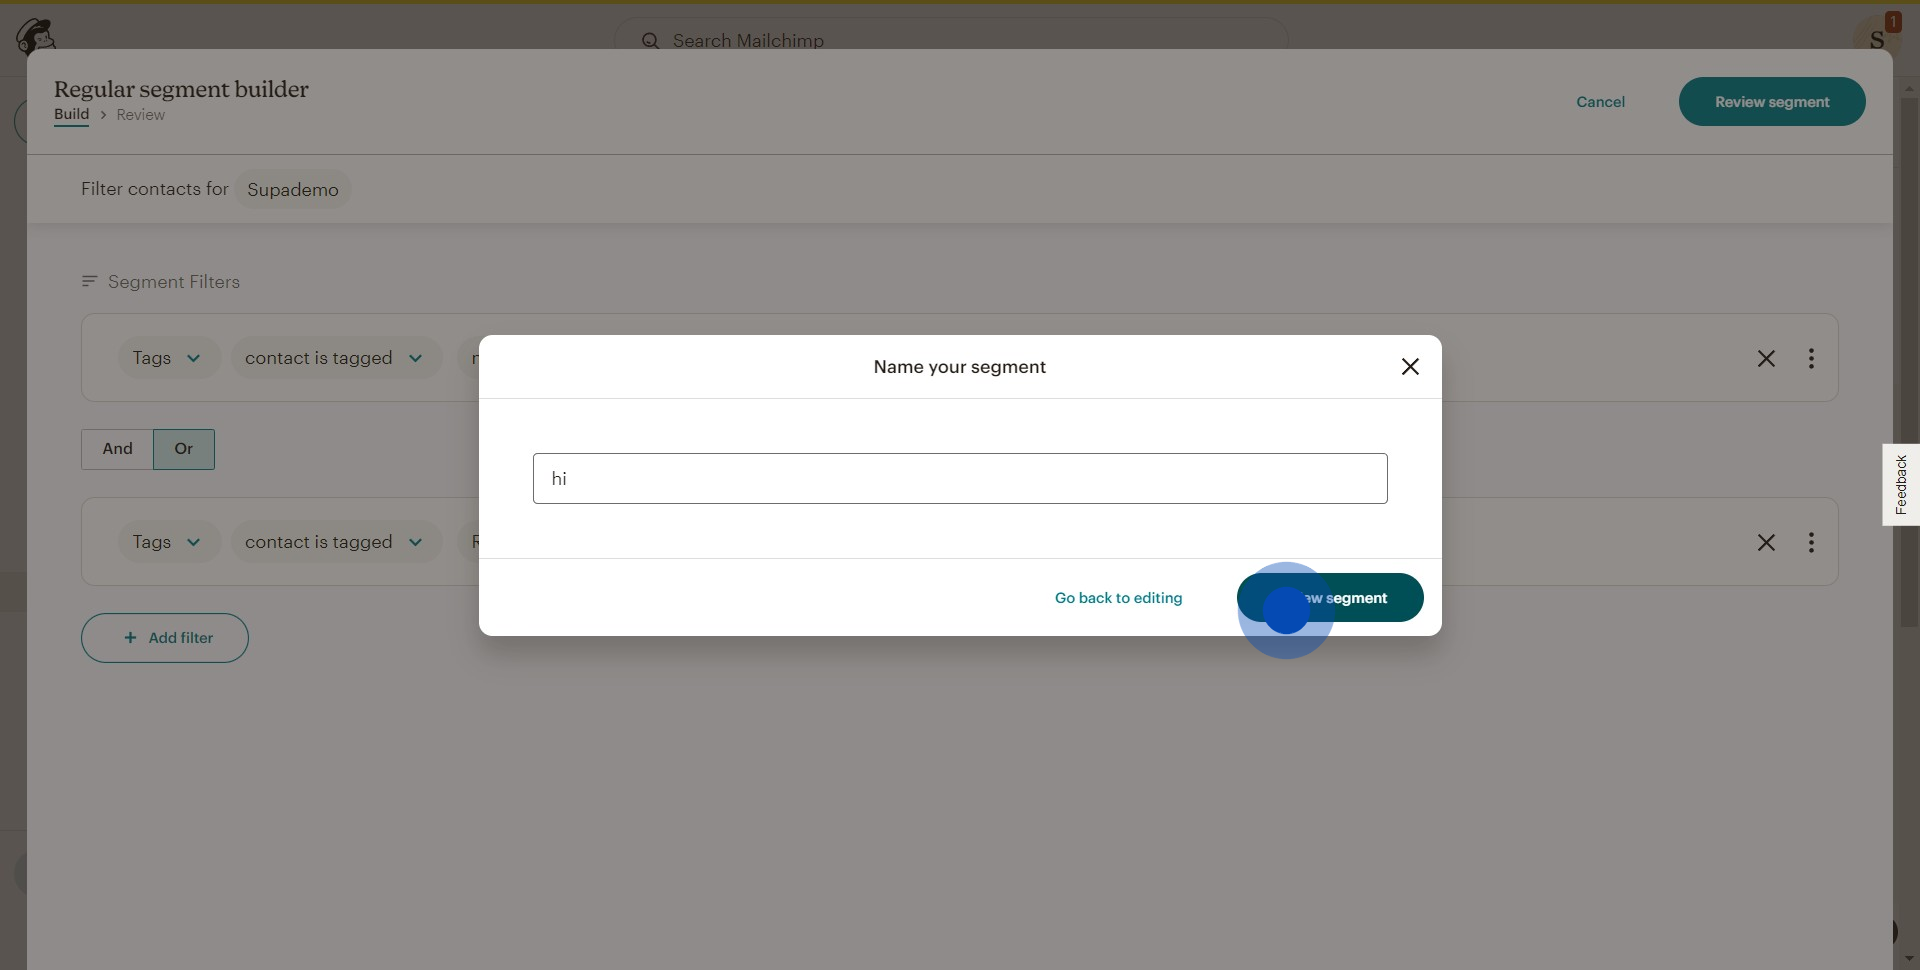
6. Proceed to give your segment a unique name.
7. After naming, once again click on Review segment.
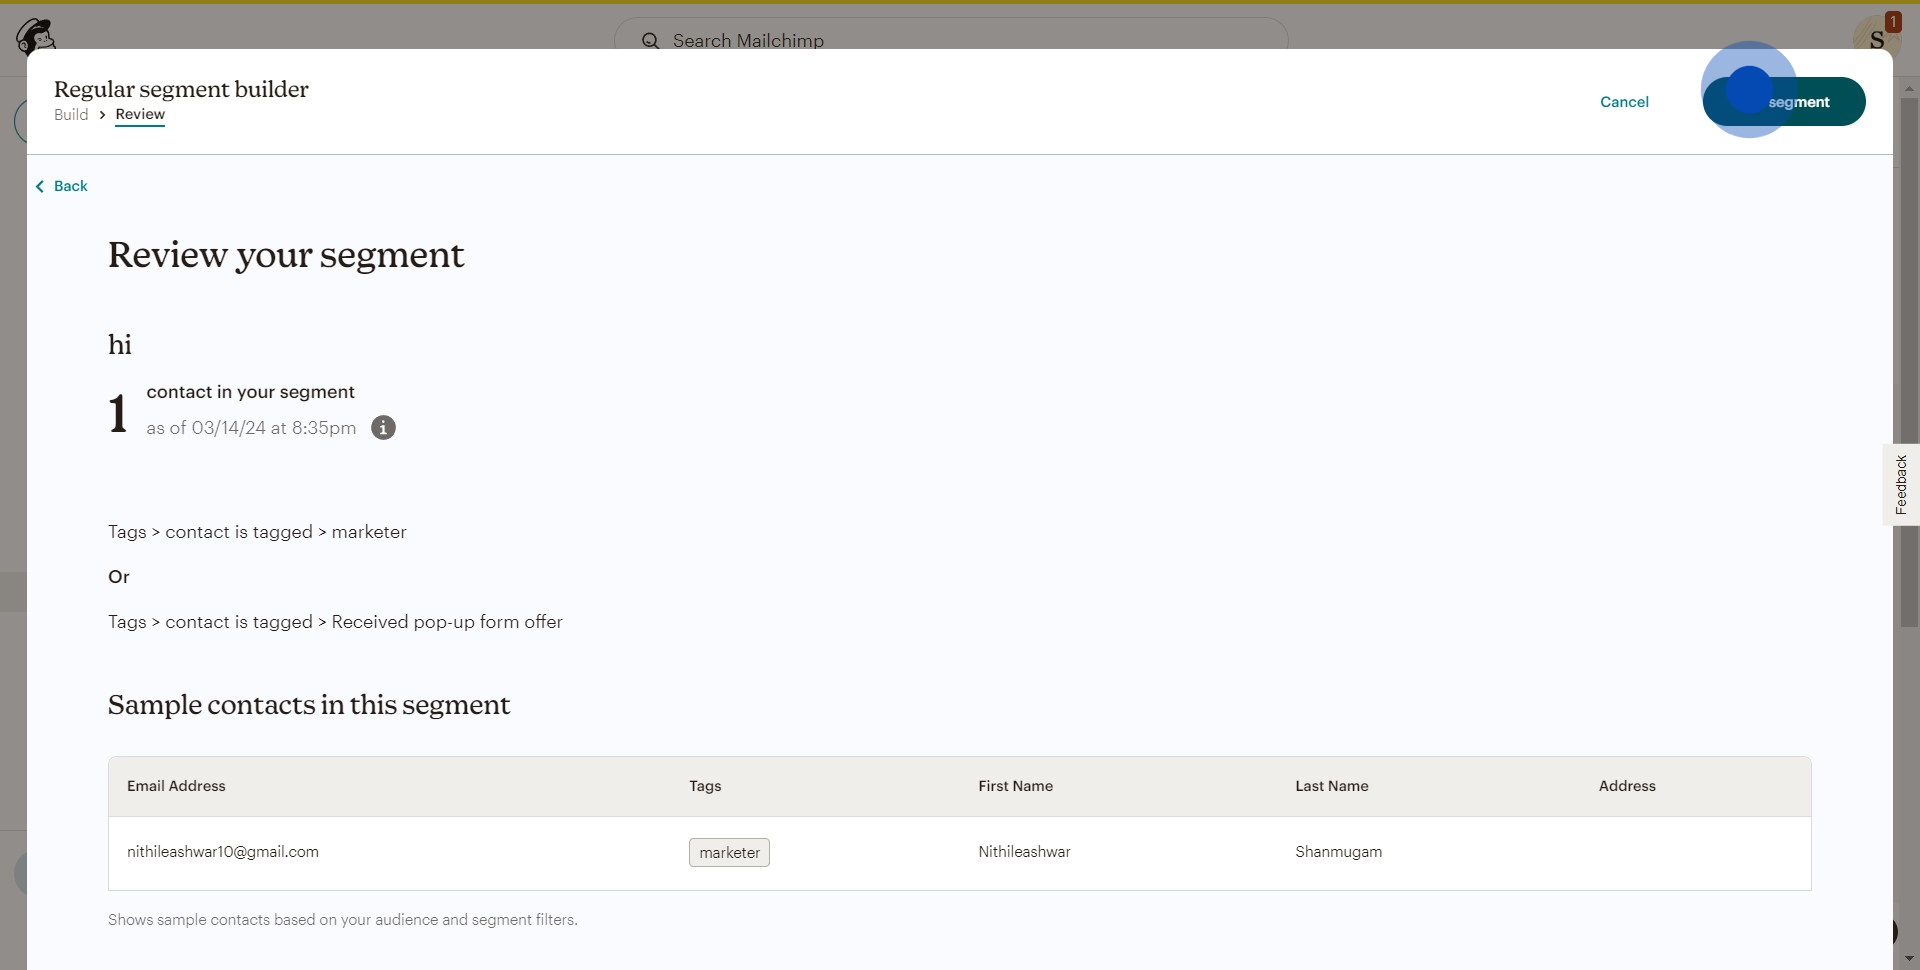
8. Finally, to complete the process, click on Use segment.
Create your own step-by-step demo
Scale up your training and product adoption with beautiful AI-powered interactive demos and guides. Create your first Supademo in seconds for free.
