
Dripify is an advanced LinkedIn automation tool that provides an easy-to-use platform for marketers and sales reps.
Dripify's sequences feature allows users to create dynamic, personalized drip outreach campaigns on LinkedIn. Here is a step-by-step, interactive guide to getting started!
Who is Dripify best suited for?
Dripify is best suited for a wide range of professionals, including Sales Teams, Lead Generation Specialists, and Marketing Managers. For example, Sales Teams can use Dripify for automating lead nurturing and follow-up sequences, Lead Generation Specialists can leverage it for creating personalized outreach campaigns, and Marketing Managers can use it for managing and optimizing drip email campaigns, all benefiting from Dripify’s advanced automation and lead management features.
Interactive Demo
Step-by-step guide
1) Start by selecting 'Campaigns' from the side menu.
2) Next, click on 'New campaign'.
3) Now, it's time to add some leads to it!
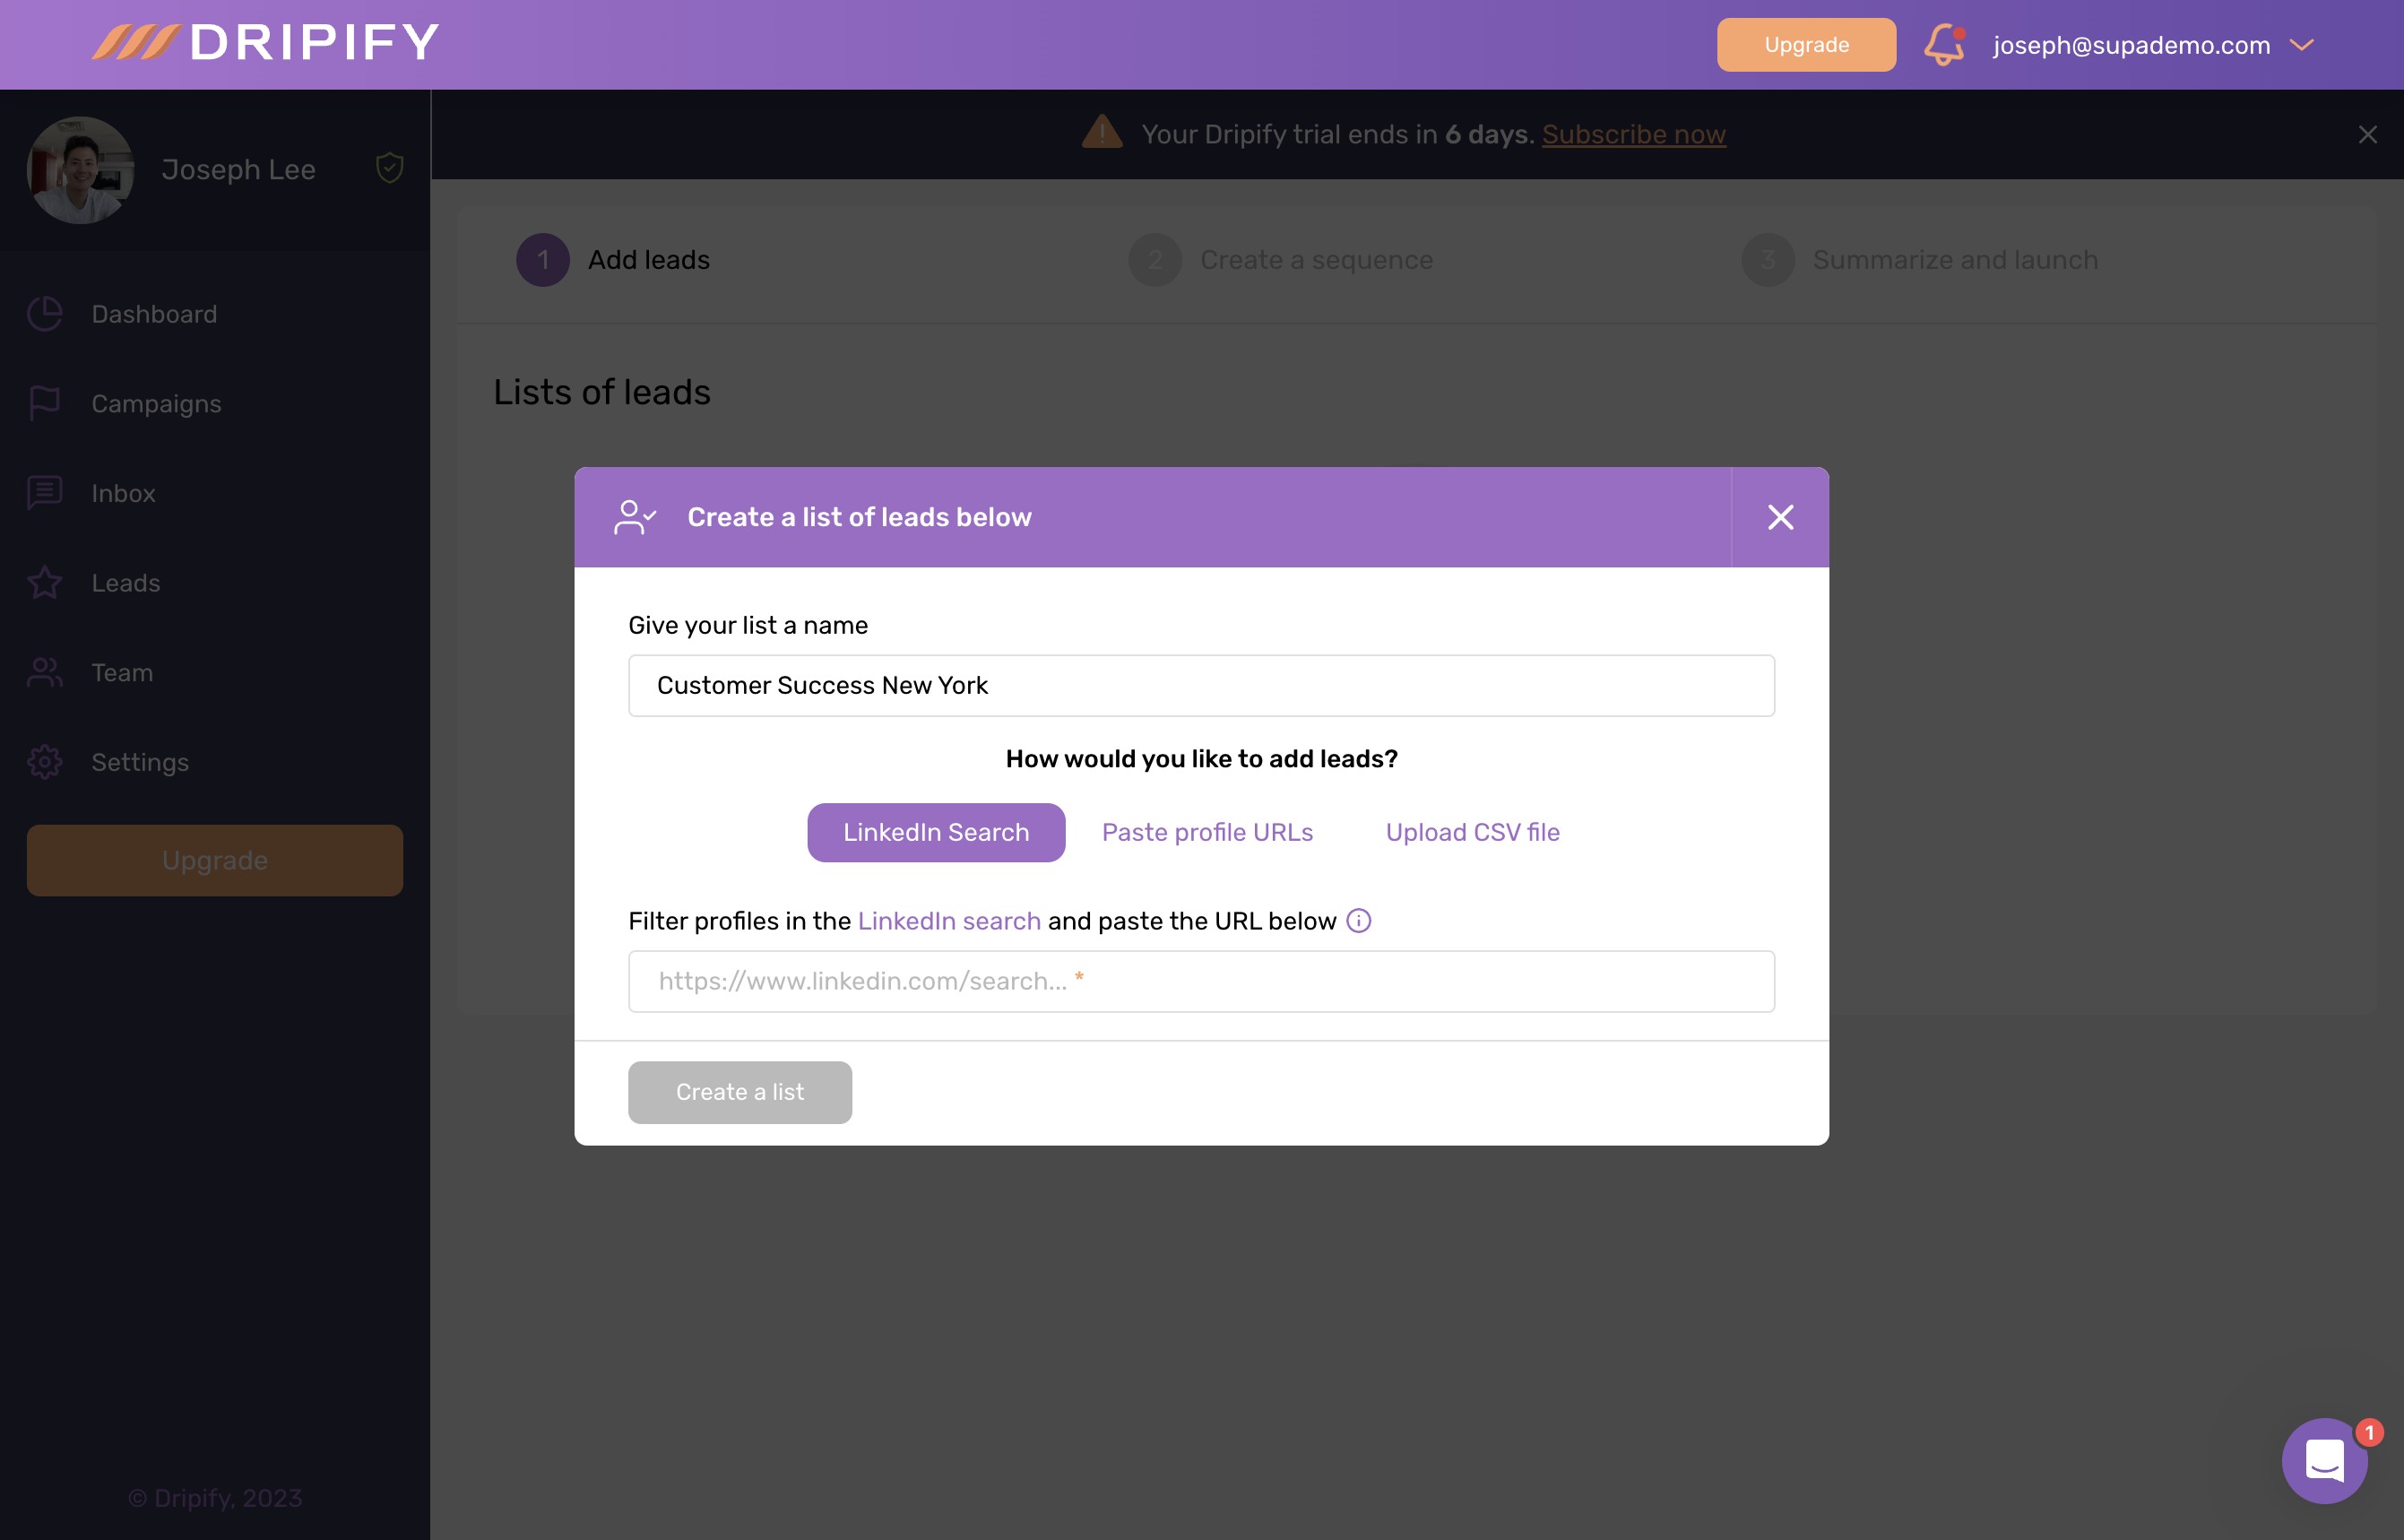
4) Type up a name for your title. Then click the "LinkedIn search" link to source your leads in a new tab.
5) From Linkedin, simply click "All filters"
6) Then filter your results by title, location, or another parameter. Once satisfied, click 'Show results' to display the search results.
7) Copy the URL from the browser tab for the LinkedIn filter results and paste it in here.
8) Choose your desired number of profile additions, or choose 'max'.
9) After setting your criteria, click 'Create a list'.
10) Click on 'Next' to proceed to the next step.
11) Create your own sequence, or use pre-built templates to make your life easier. Let's choose the 'Lead Generation' campaign template.
12) Now, click 'Select Template' to confirm your choice.
13) From the visual sequence diagram, customize the text for a sequence step by clicking the edit icon.
14) Configure settings of your campaign sequence by clicking 'Configure Action'.
15) Here, you can adjust the LinkedIn message with variables like name, company, and country.
16) Repeat this step for all of the messages in your sequence. Or simply delete steps you don't want.
17) Click on 'Next', after setting your options to proceed to the next step.
18) Finally, review everything, make any necessary adjustments, and click on 'Save & Launch'.
Common FAQs on Dripify
Commonly asked questions about this topic.
How do I set up a drip campaign in Dripify?
How can I segment contacts for targeted messaging in Dripify?
How do I track and analyze the performance of my drip campaigns in Dripify?
Create your own step-by-step demo

Joseph Lee
Co-Founder & CEO
Joseph is the CEO and co-founder of Supademo, building AI-driven interactive demo tooling used by 100,000+ founders, marketers, and operators to accelerate product understanding and sales. He’s a two-time startup founder passionate about zero-to-one product building and remote-first company culture.


