Overview:
Maximize your efficiency in Mailchimp by creating surveys effortlessly. Enhance user experience and simplify navigation with intuitive survey designs. This guide offers a seamless process to craft and deploy surveys, boosting effectiveness and clarity in gathering feedback within the Mailchimp platform.
Who is Mailchimp best suited for?
Mailchimp is best suited for a wide range of professionals, including Email Marketers, Small Business Owners, and E-commerce Managers. For example, Email Marketers can use Mailchimp for designing and automating email campaigns, Small Business Owners can leverage it for managing customer lists and sending newsletters, and E-commerce Managers can use it for creating targeted marketing emails and analyzing campaign performance, all benefiting from Mailchimp’s user-friendly interface and comprehensive marketing tools.
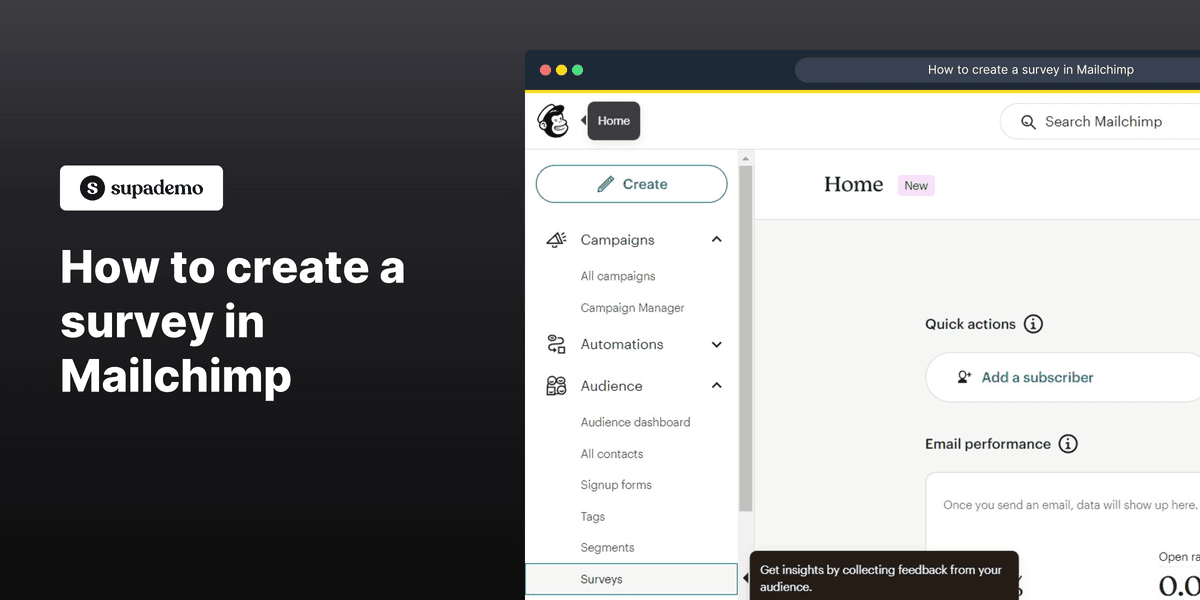
How to create a survey in Mailchimp
1. Begin by navigating to your home section.
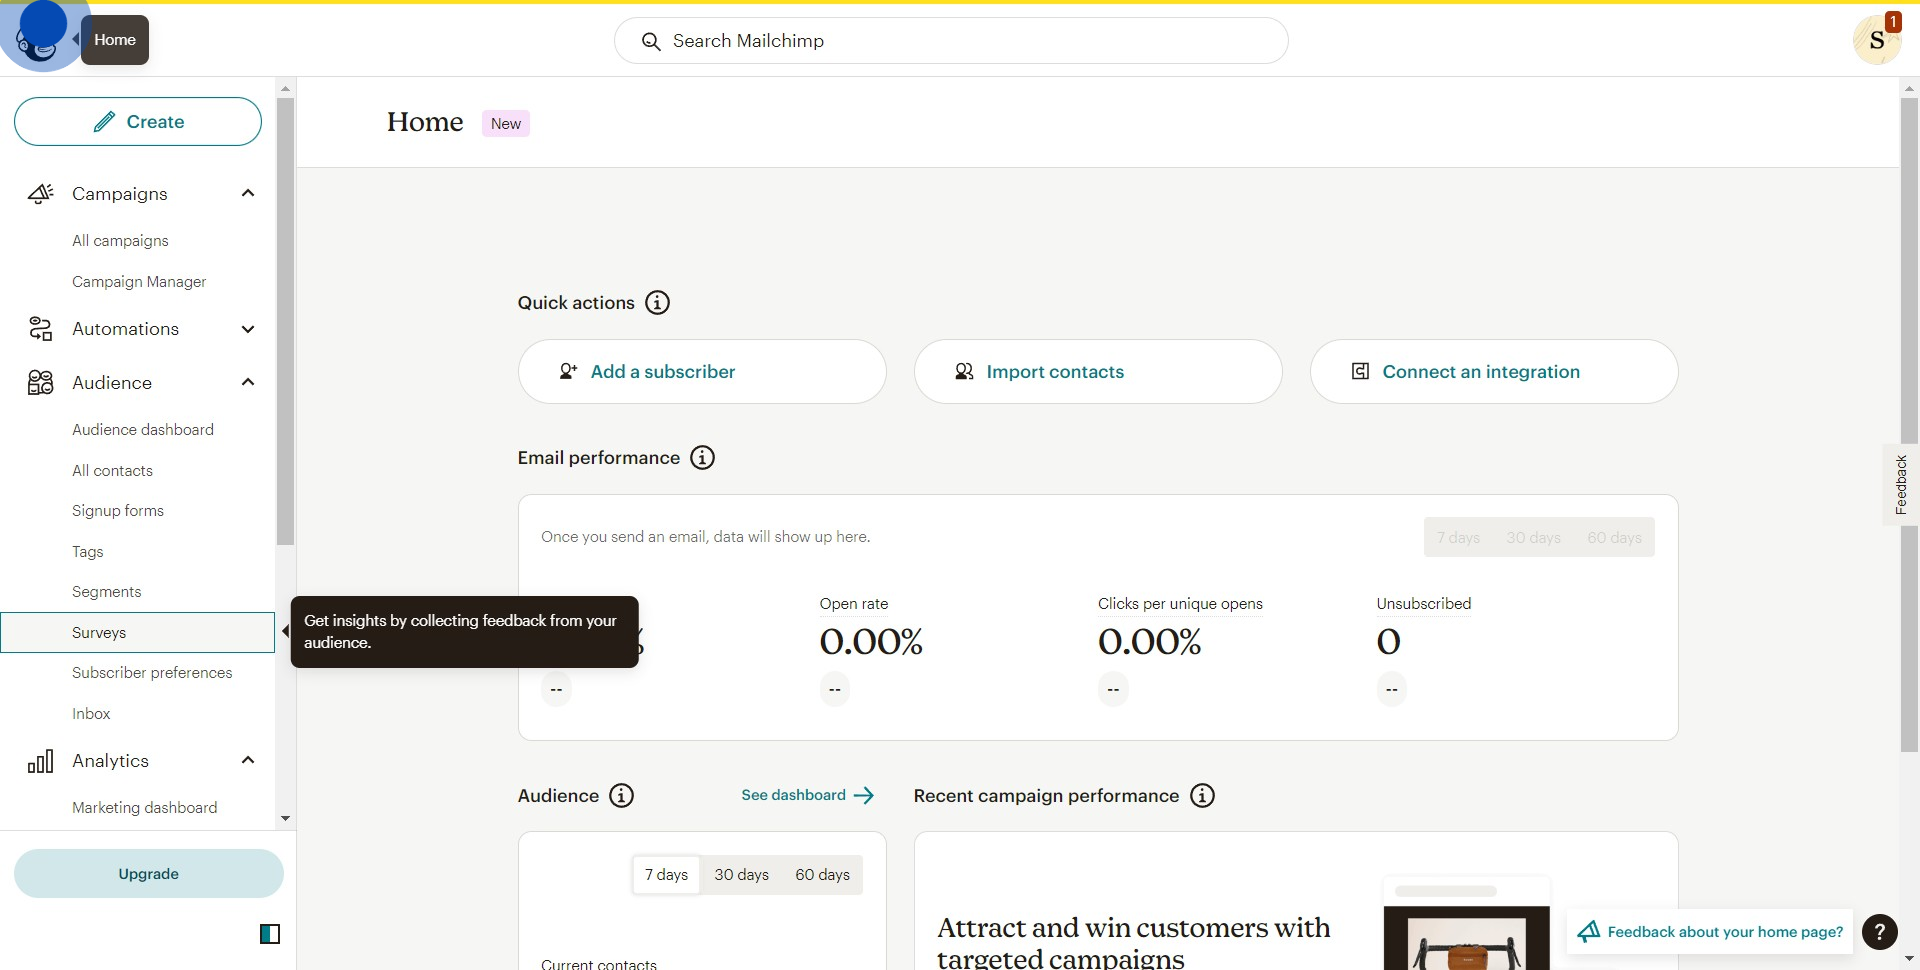
2. Next, find and select 'Surveys'.
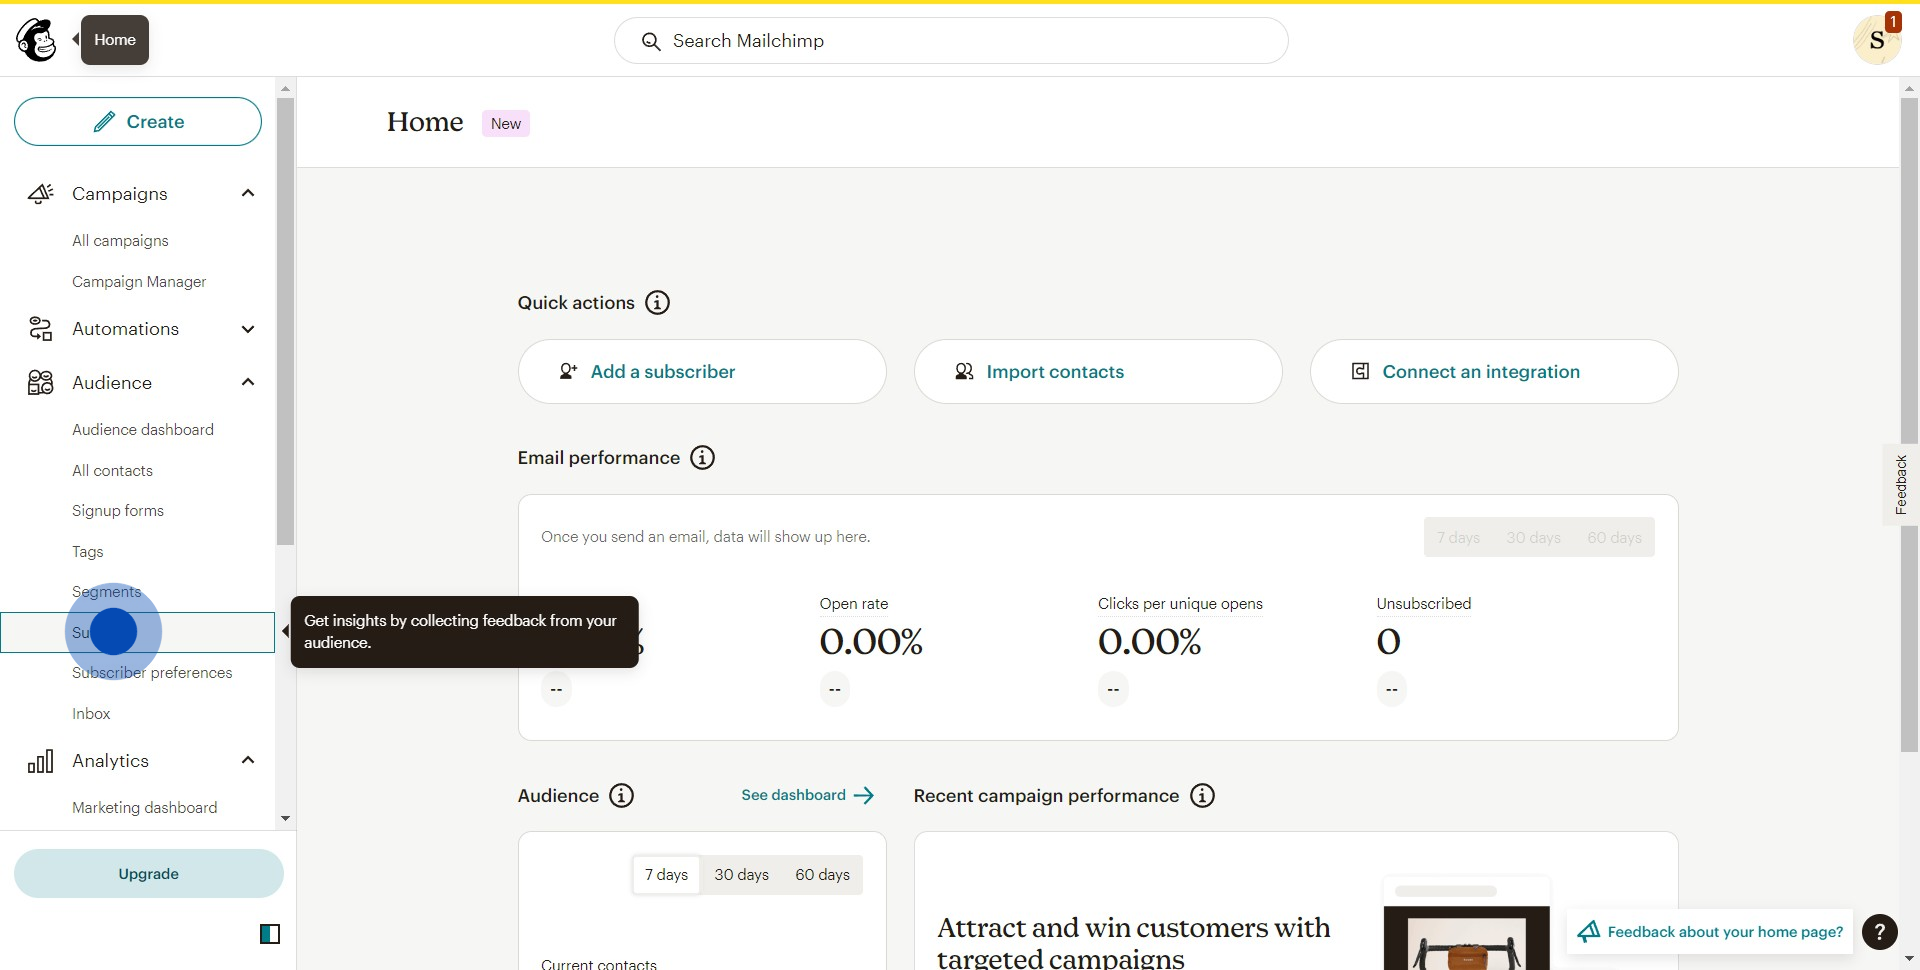
3. Then choose the 'Create Survey' option.
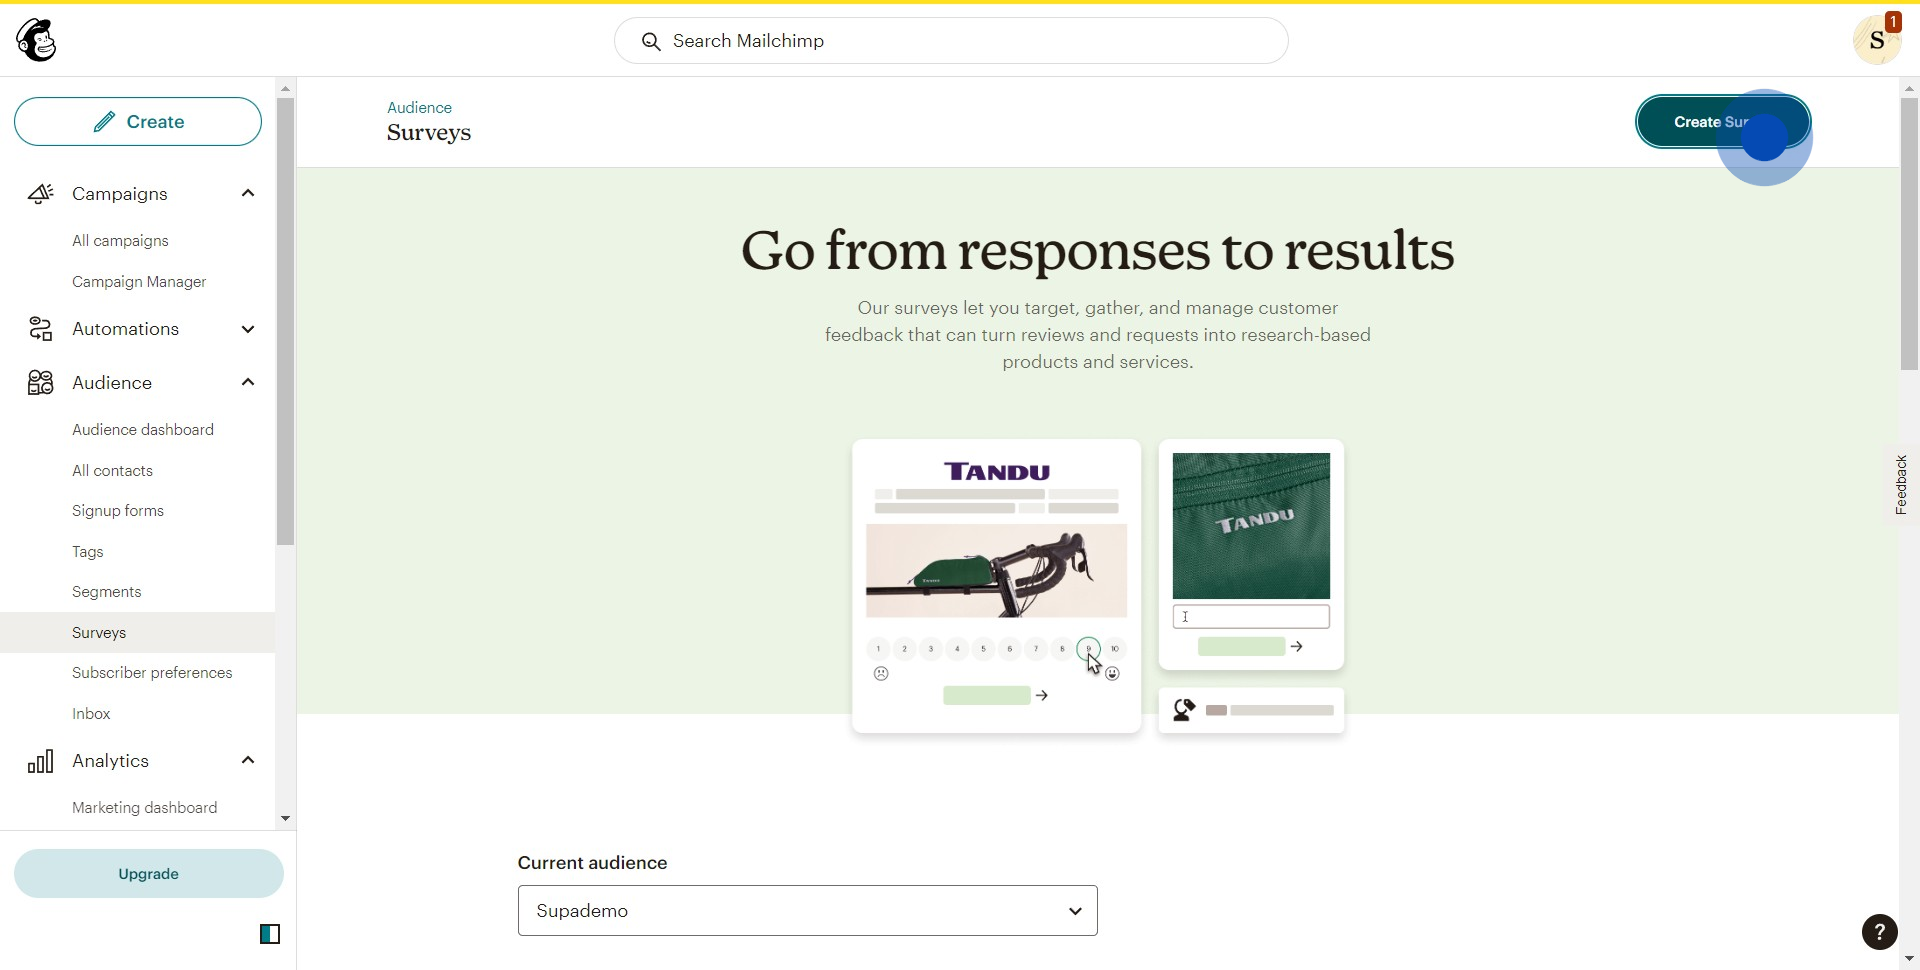
4. Start adding elements by clicking the presented icon.
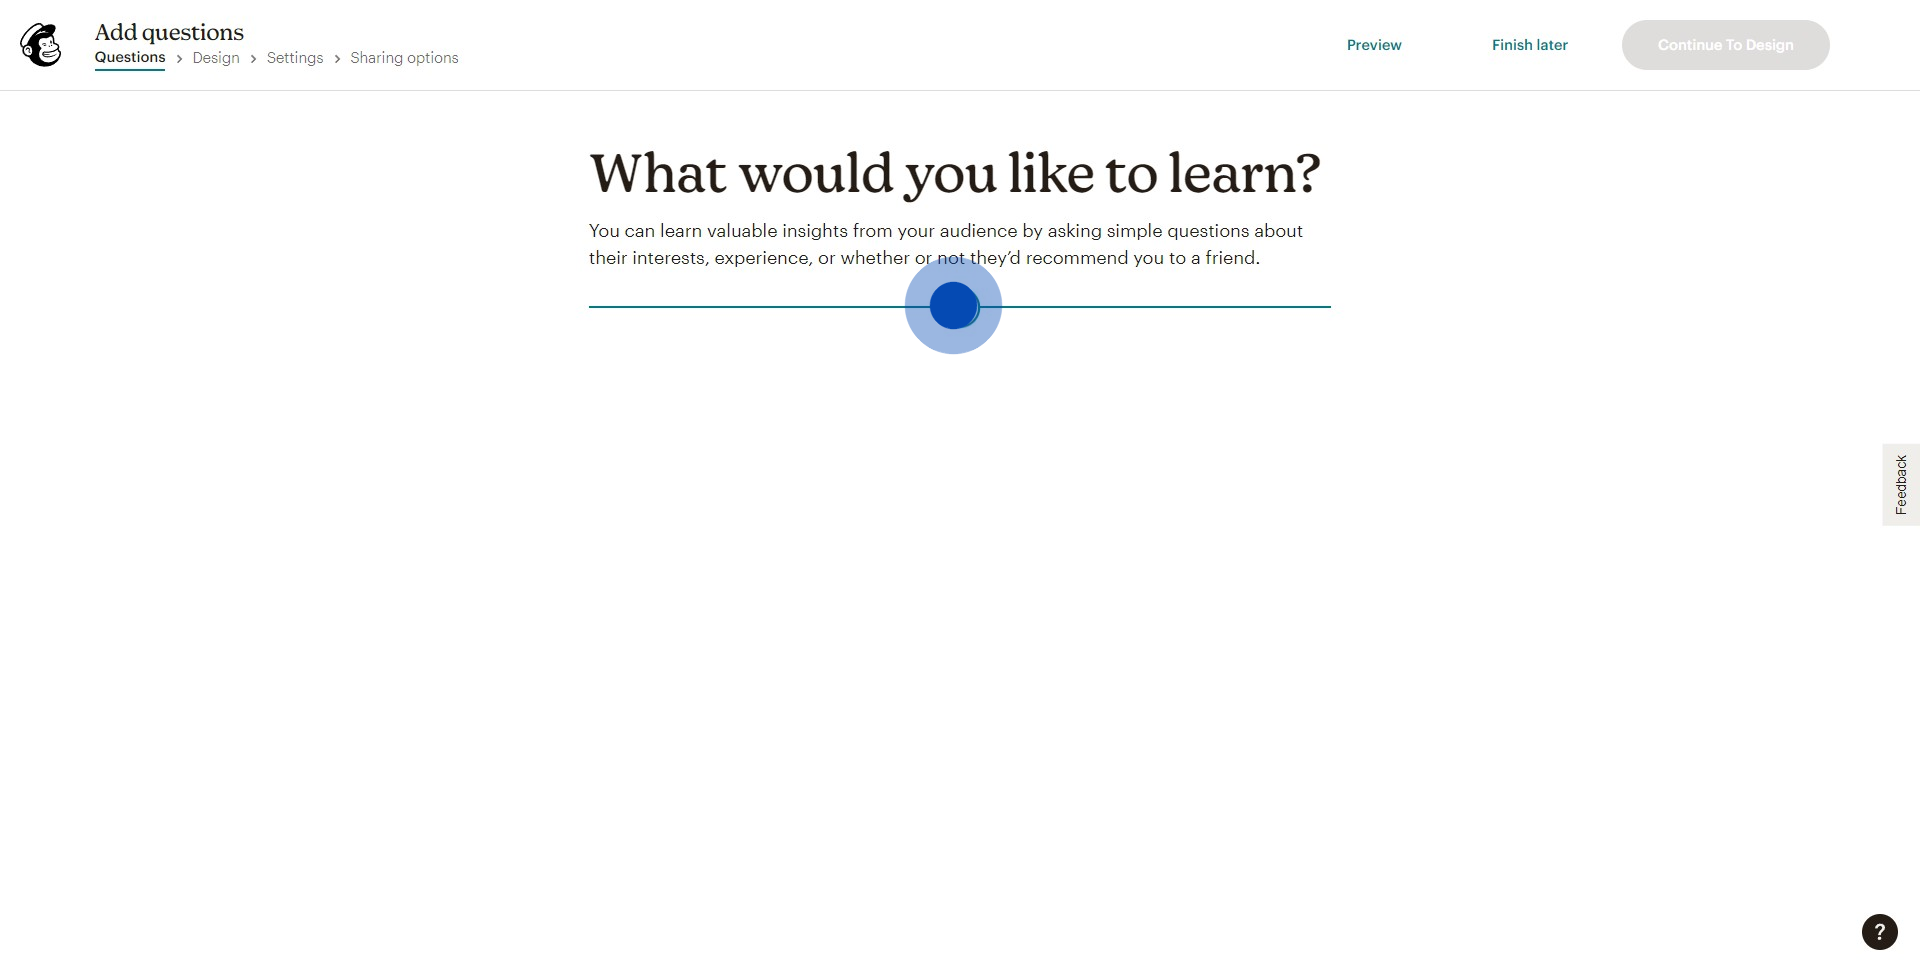
5. Choose the given options from the list.
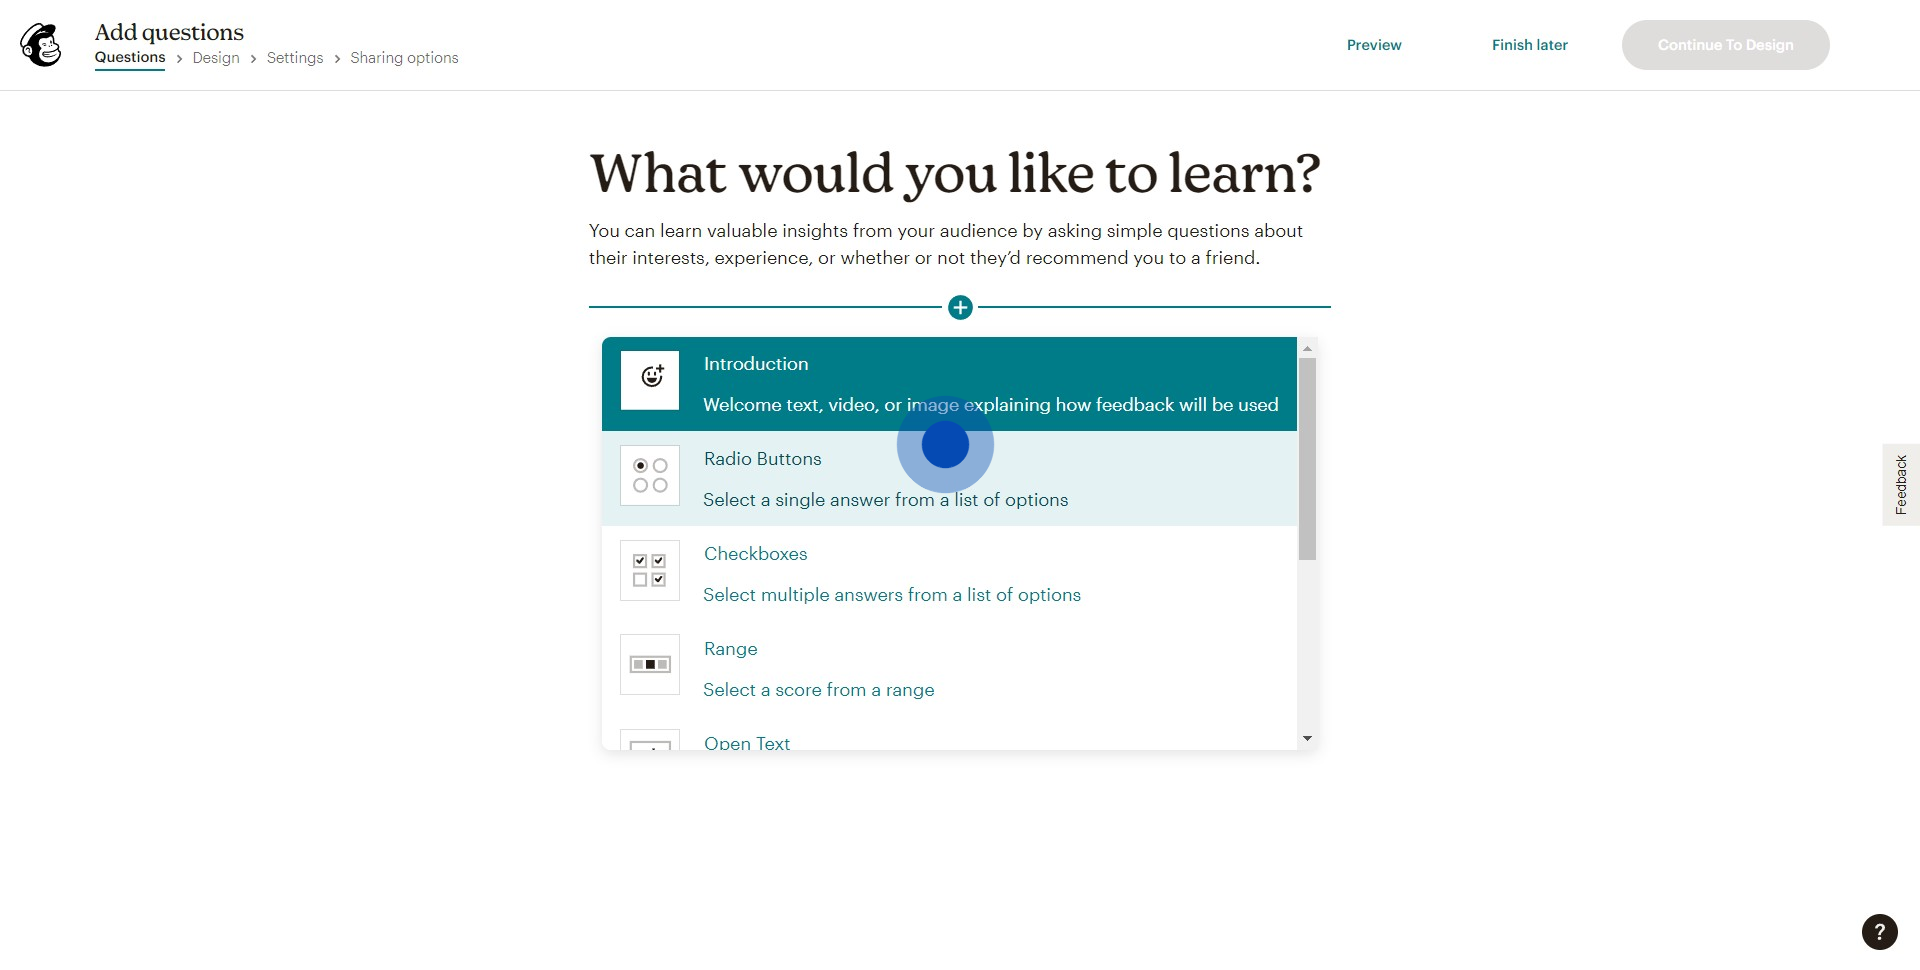
6. Once you've added your questions, move on.
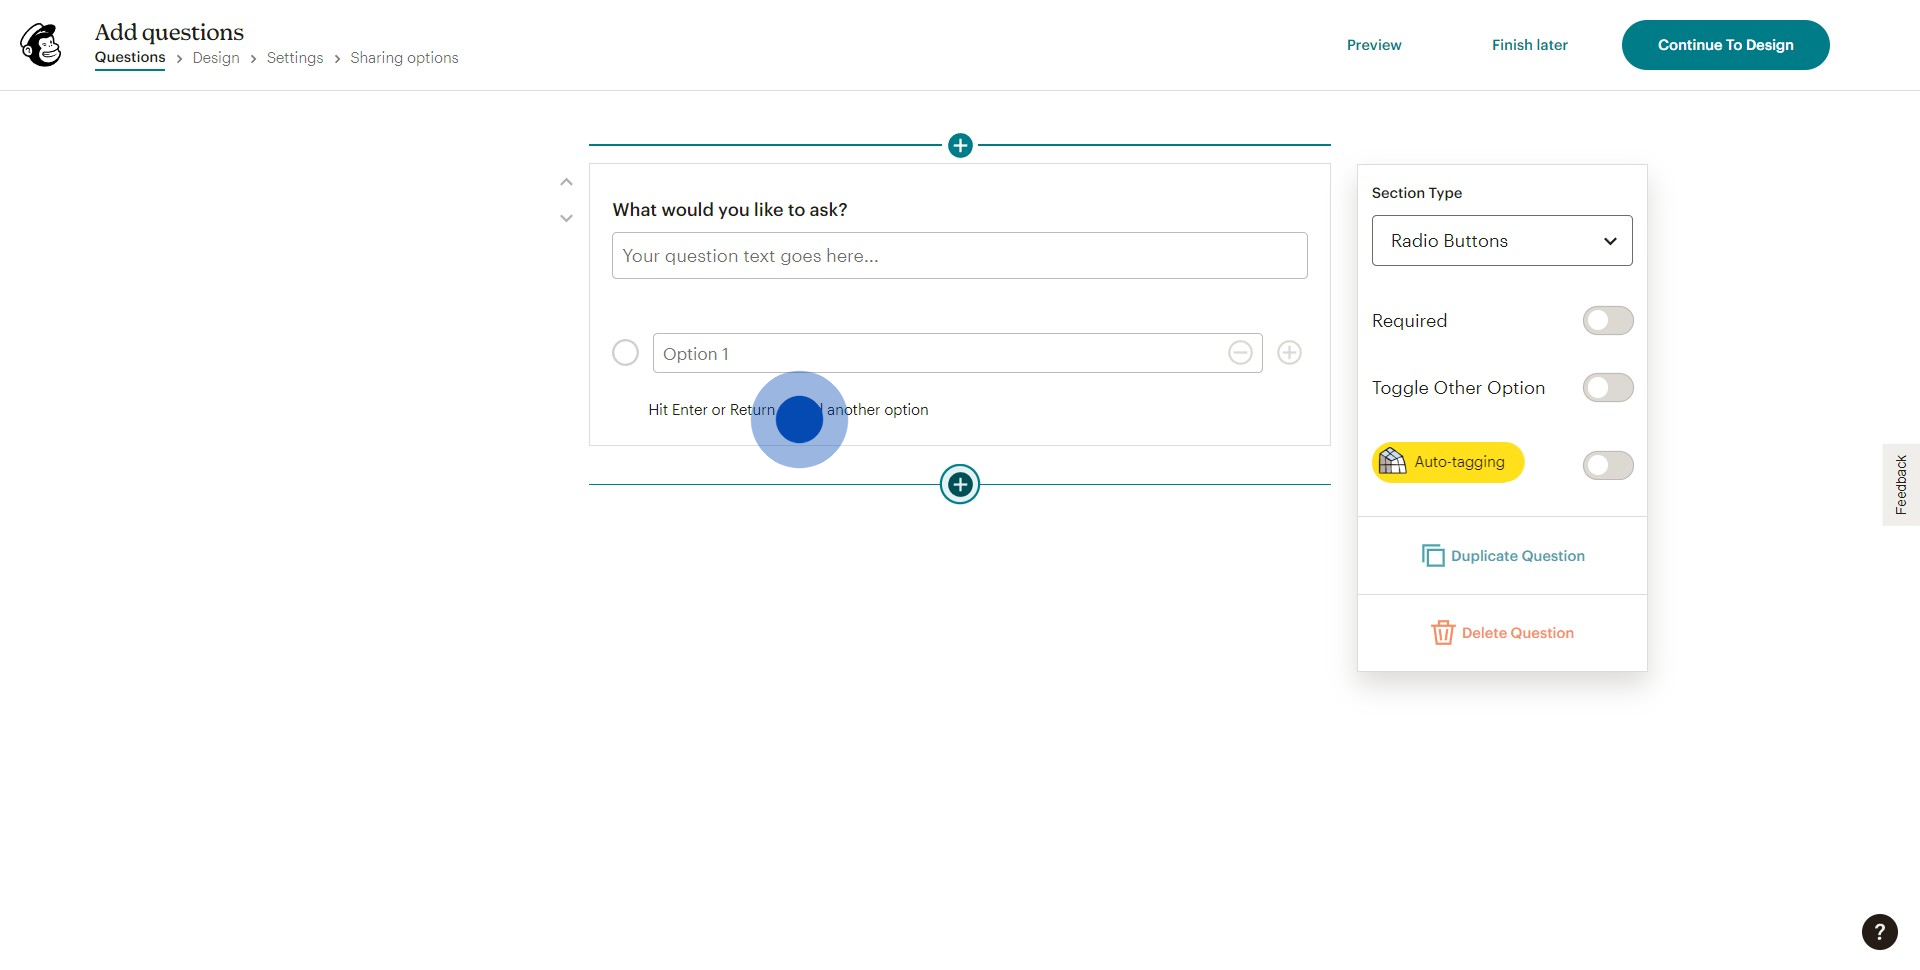
7. Click 'Continue To Design' to further customize your survey.
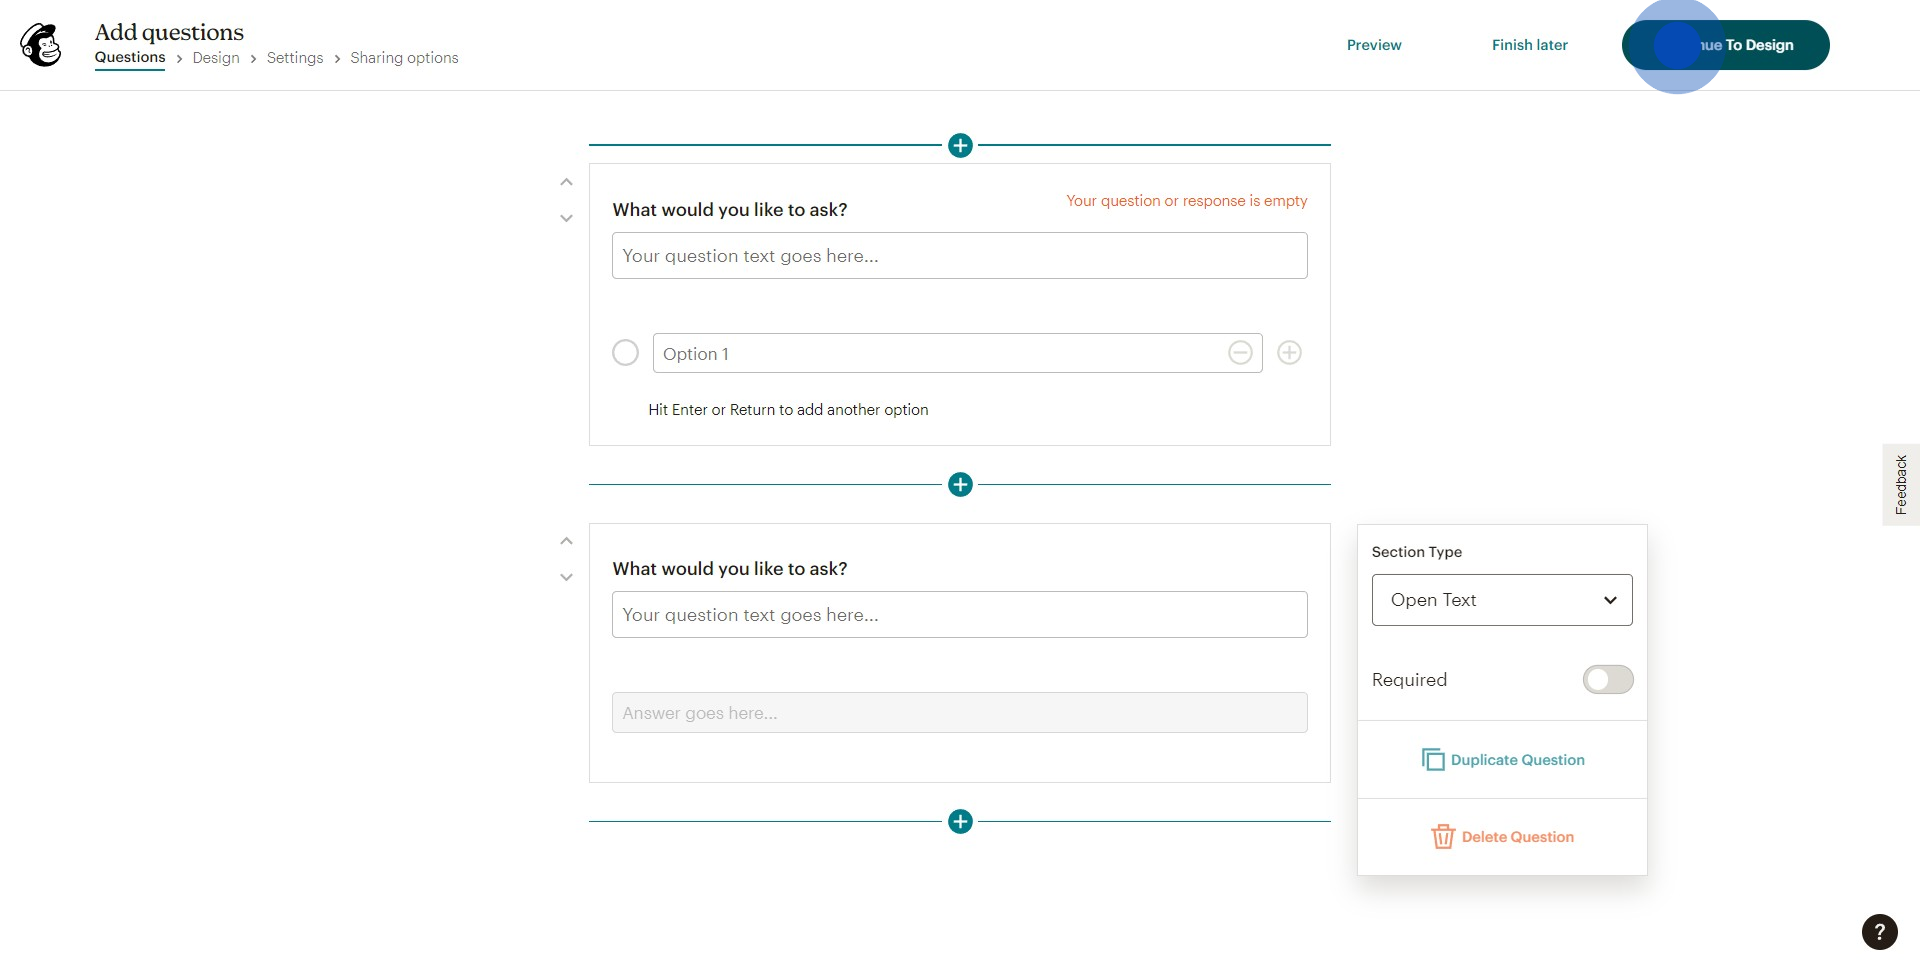
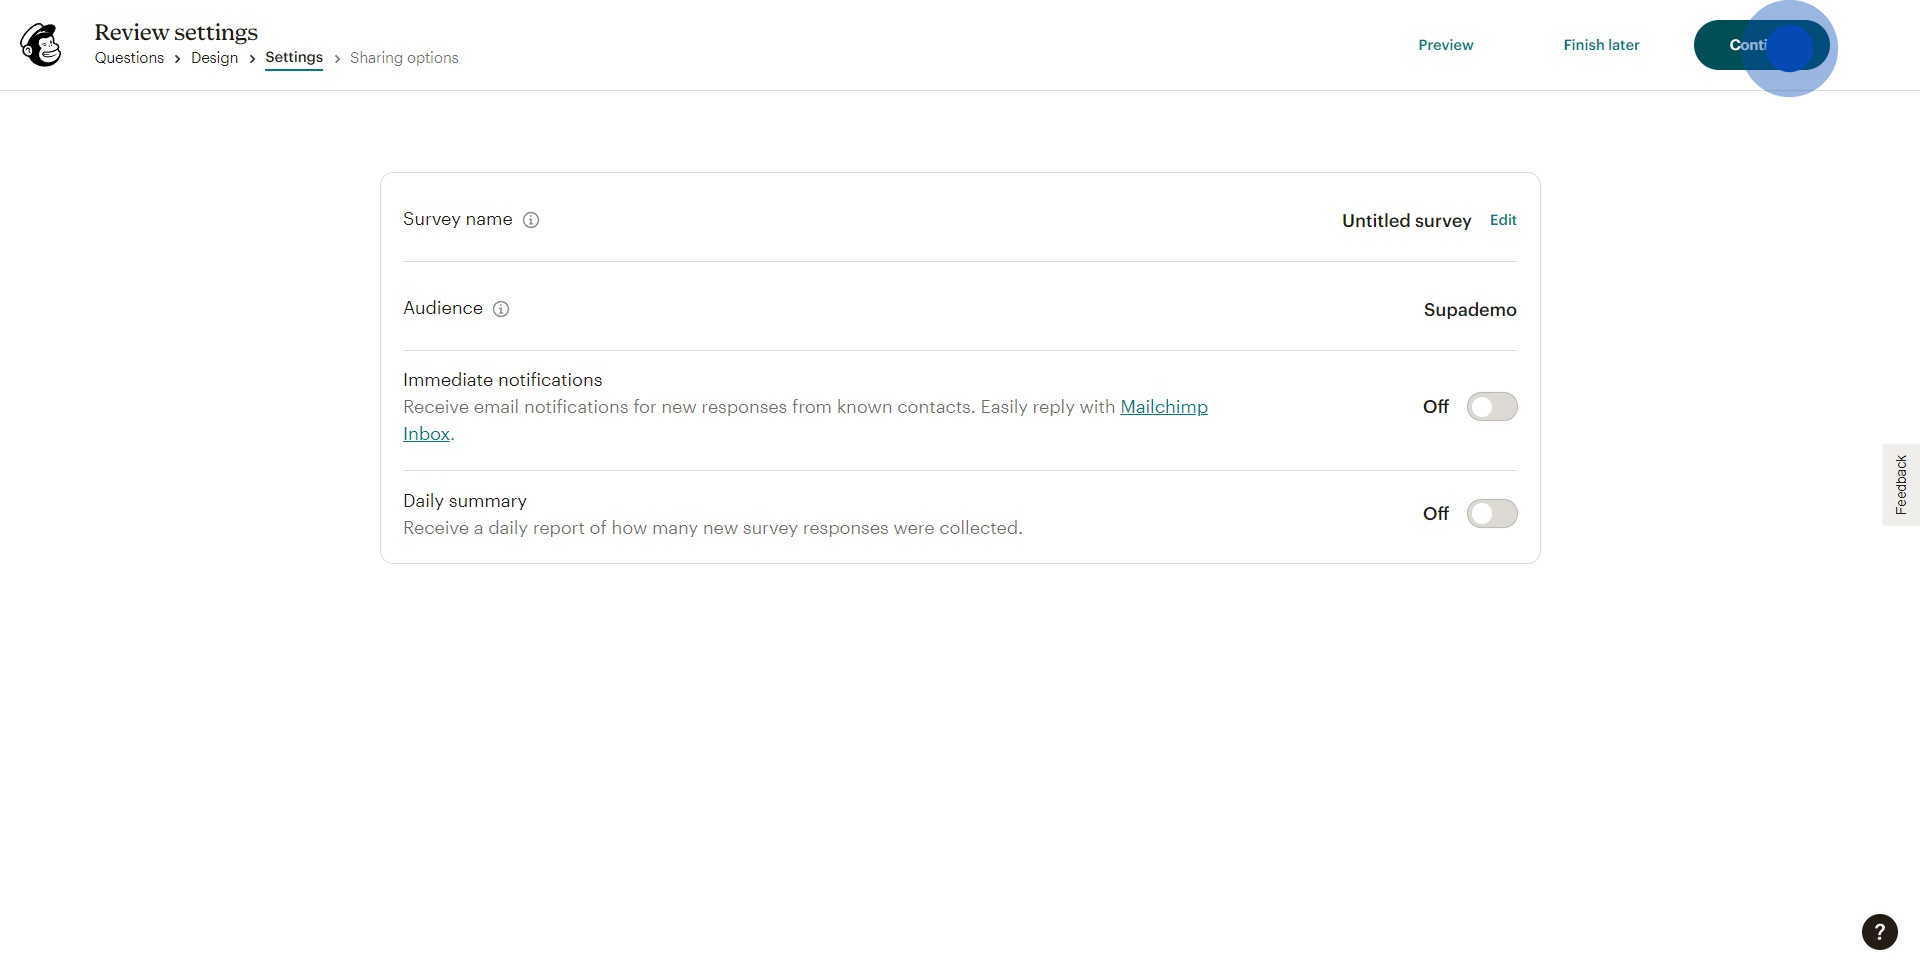
8. Afterwards, select 'Review' to proceed with checking your work.
9. Finally, select 'Continue' to finalize and create your survey.
Common FAQs on Mailchimp
Commonly asked questions about this topic.
How do I create and manage email campaigns in Mailchimp?
To create an email campaign in Mailchimp, log in to your account and navigate to the “Campaigns” section. Click on “Create Campaign” and choose the type of campaign you want to send, such as “Regular email,” “Automated,” or “A/B test.” Follow the prompts to enter campaign details, including the campaign name, recipients, and subject line. You can design your email using Mailchimp’s drag-and-drop email builder or choose a pre-designed template. Once your email is designed, set up any automation rules or scheduling preferences if applicable. After reviewing your campaign, click “Send” or schedule it to be sent at a later time. You can manage and track your campaigns from the “Campaigns” dashboard, where you can view performance metrics like open rates, click-through rates, and subscriber engagement.
How can I manage and segment my email lists in Mailchimp?
Managing and segmenting your email lists in Mailchimp helps you target the right audience with personalized content. To manage your lists, go to the “Audience” tab and select the list you want to work with. You can add or import contacts manually or through integration with other tools. To segment your list, click on “Manage Contacts” and then “Segments” to create a new segment based on criteria like location, purchase history, or engagement level. You can use segments to send tailored campaigns and improve engagement. Mailchimp also offers “Tags” and “Groups” to further categorize and organize your contacts for more precise targeting and personalization.
What automation features does Mailchimp offer and how do I set them up?
Mailchimp provides various automation features to streamline your marketing efforts and engage with subscribers effectively. To set up automation, go to the “Automations” section and choose from options like “Welcome emails,” “Abandoned cart emails,” “Follow-up emails,” or “Birthday emails.” Follow the setup wizard to configure triggers, conditions, and actions for your automation workflow. For example, you can set up a welcome email series that automatically sends to new subscribers when they join your list. Mailchimp also offers “Customer Journeys,” a more advanced automation tool that allows you to create multi-step workflows with personalized messaging based on user behavior and interactions. Use these automation features to save time and ensure timely, relevant communication with your audience.
Create your own step-by-step demo
Scale up your training and product adoption with beautiful AI-powered interactive demos and guides. Create your first Supademo in seconds for free.
Nithil Shanmugam
Nithil is a startup-obsessed operator focused on growth, sales and marketing. He's passionate about wearing different hats across startups to deliver real value.
