
Overview:
Maximize your productivity in Trello by creating workspaces to organize projects effectively. Elevate user experience and simplify project management with designated workspaces for seamless navigation. This guide offers a step-by-step process to create and utilize workspaces, enhancing efficiency and clarity within the Trello platform.
Who is Trello best suited for?
Trello is best suited for a wide range of professionals, including Project Managers, Team Coordinators, and Freelancers. For example, Project Managers can use Trello for organizing project tasks and tracking progress, Team Coordinators can leverage it for managing team workflows and assignments, and Freelancers can use it for planning and prioritizing their work, all benefiting from Trello’s visual task management and collaborative board system.
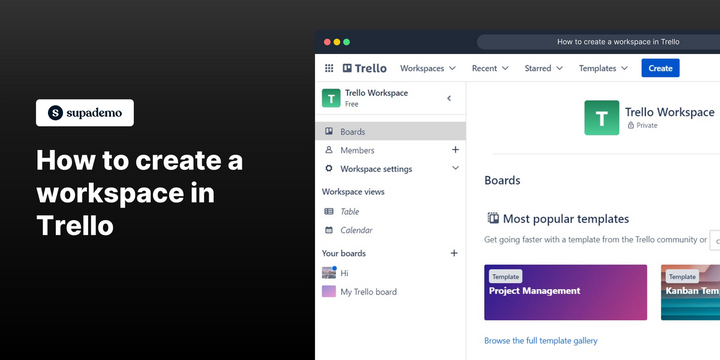
How to create a workspace in Trello
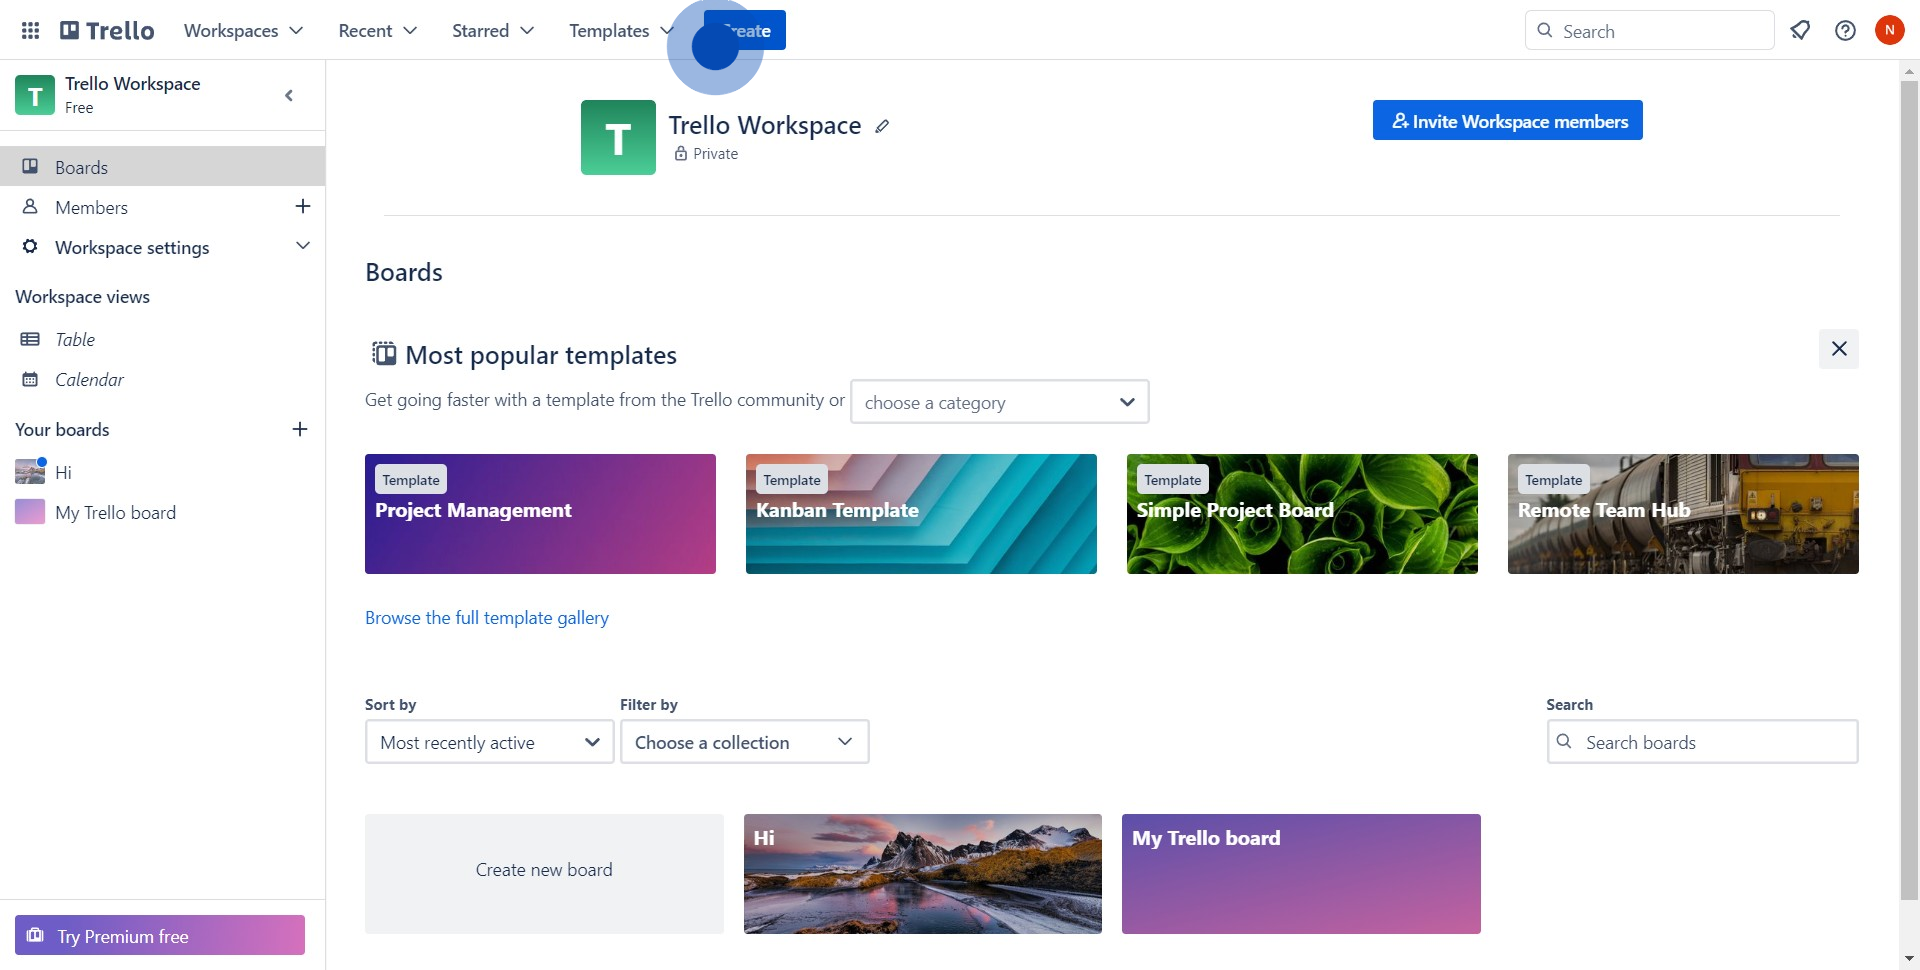
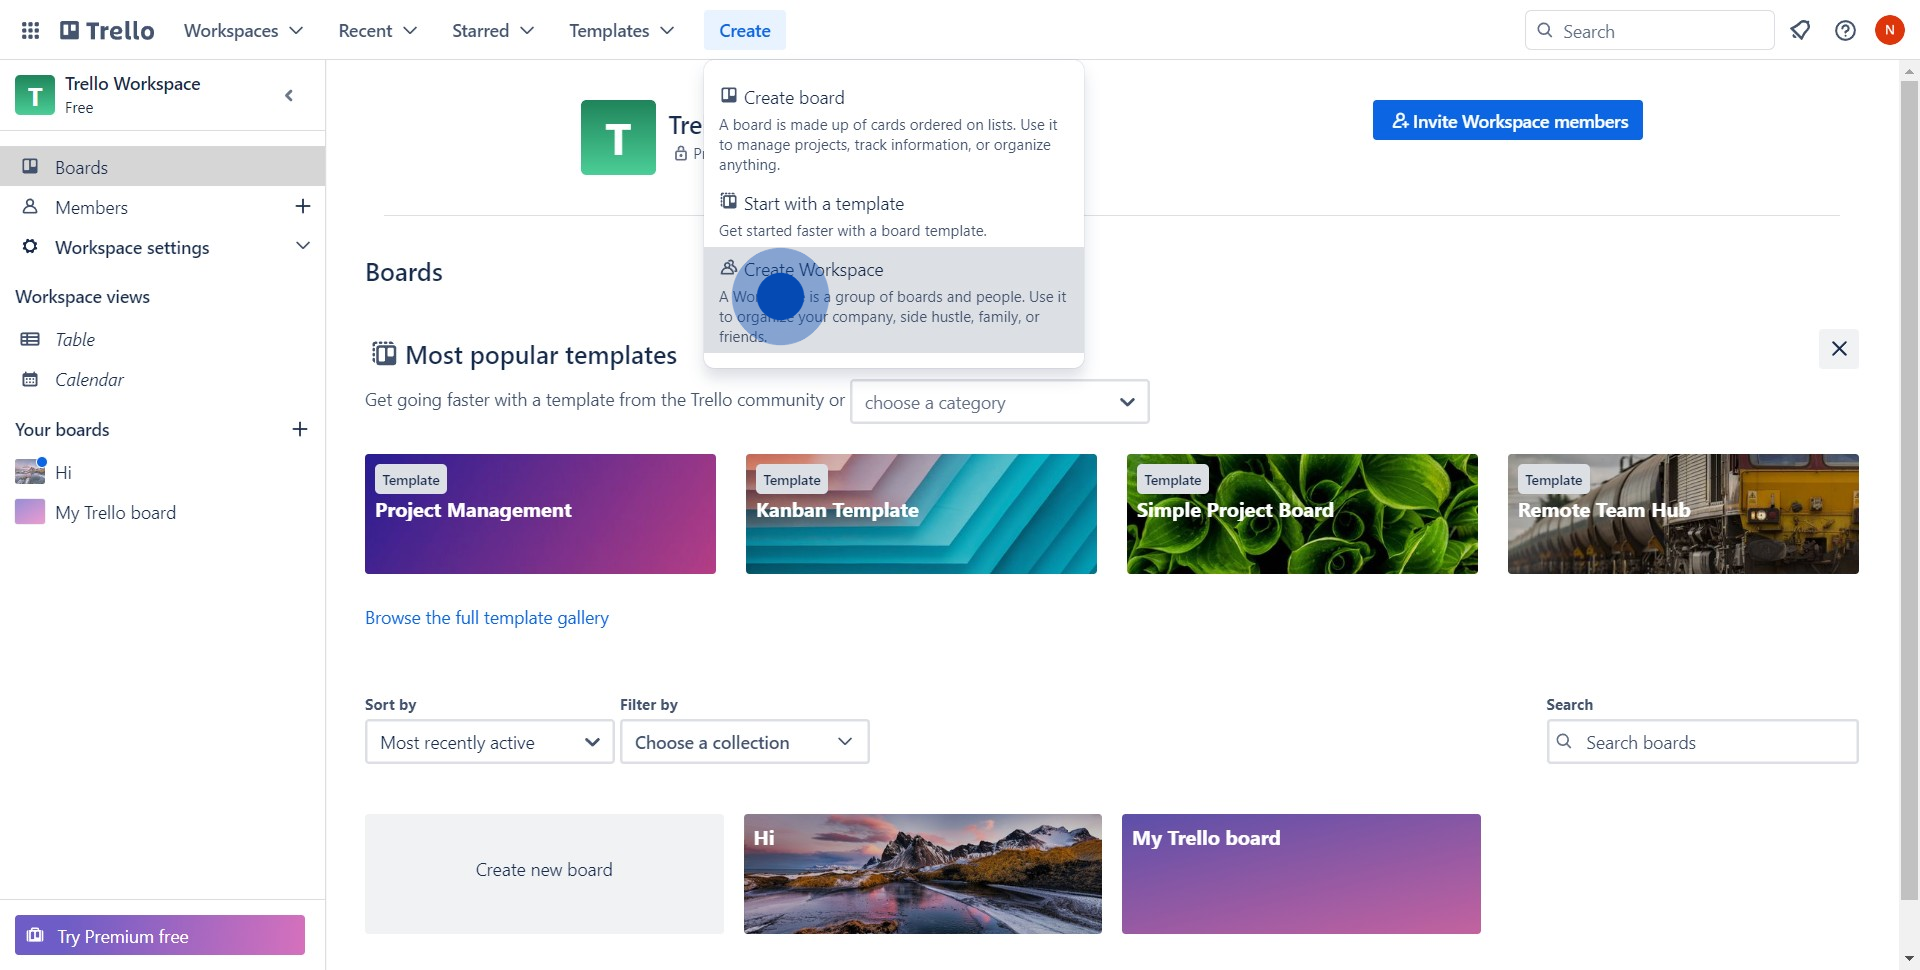
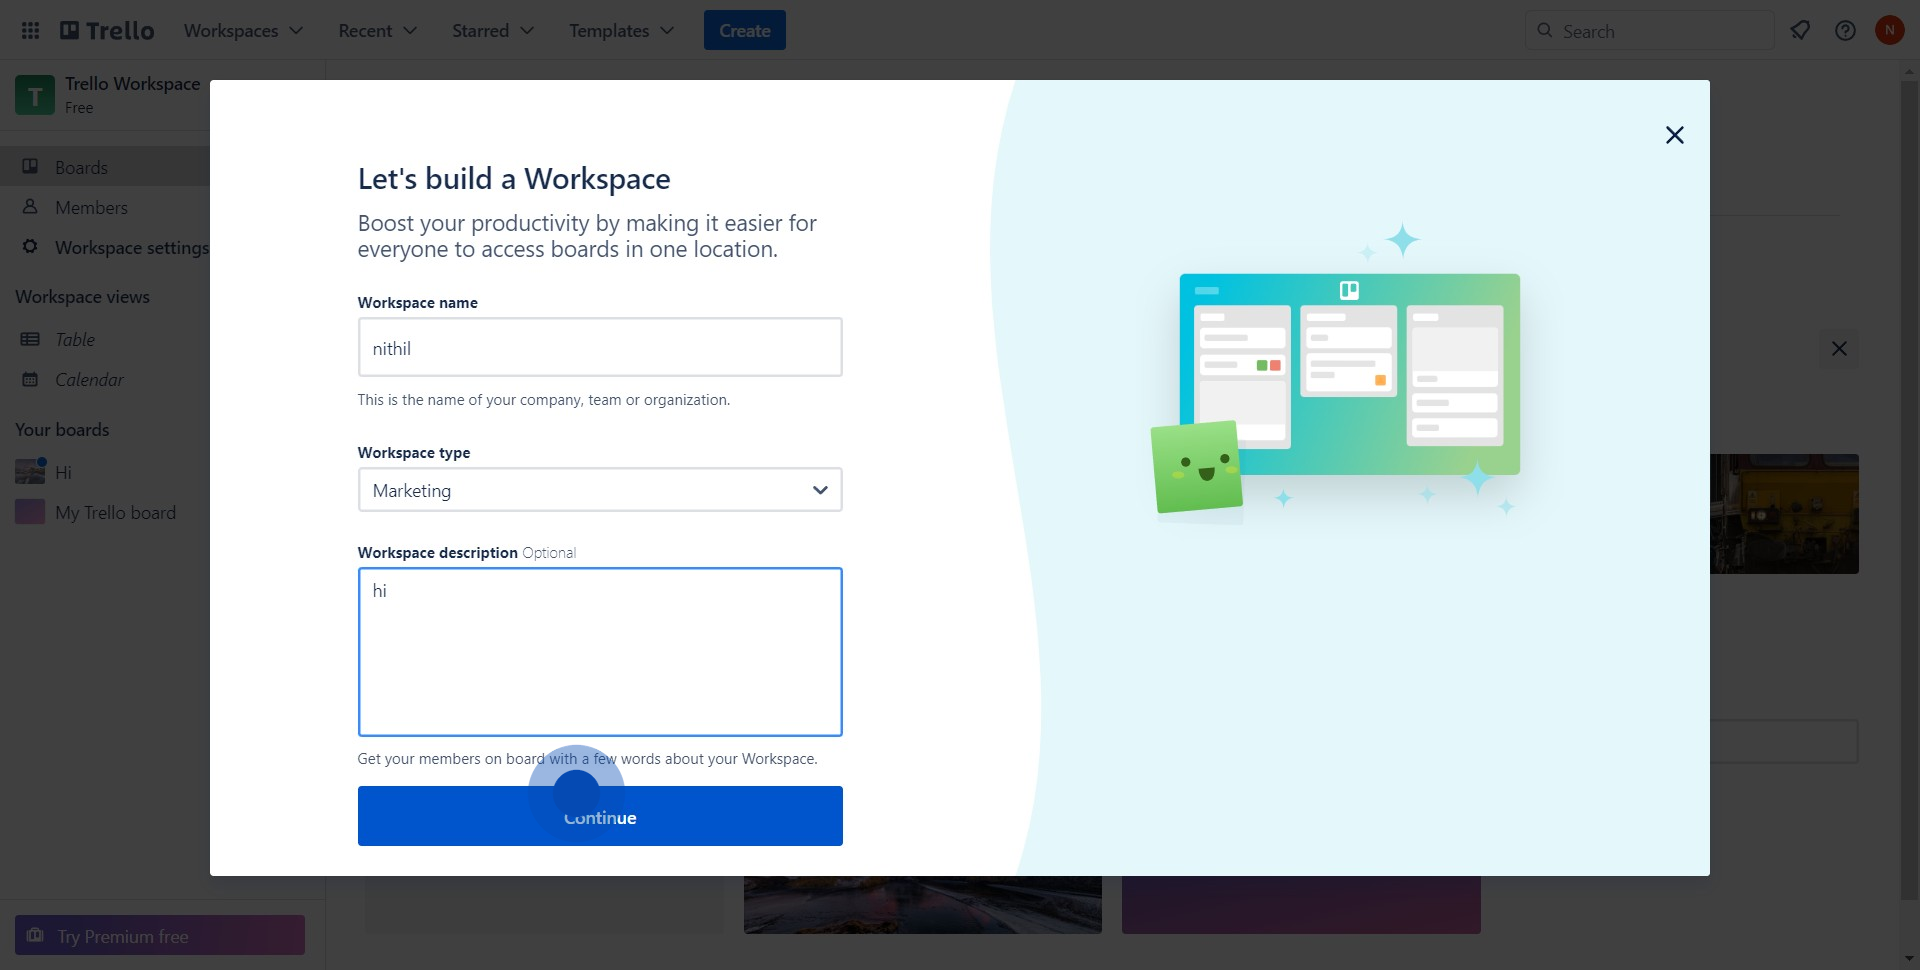
1. Begin by clicking the 'Create' button.
2. Next, select the option to create a new workspace.
3. Now, type in the necessary details.
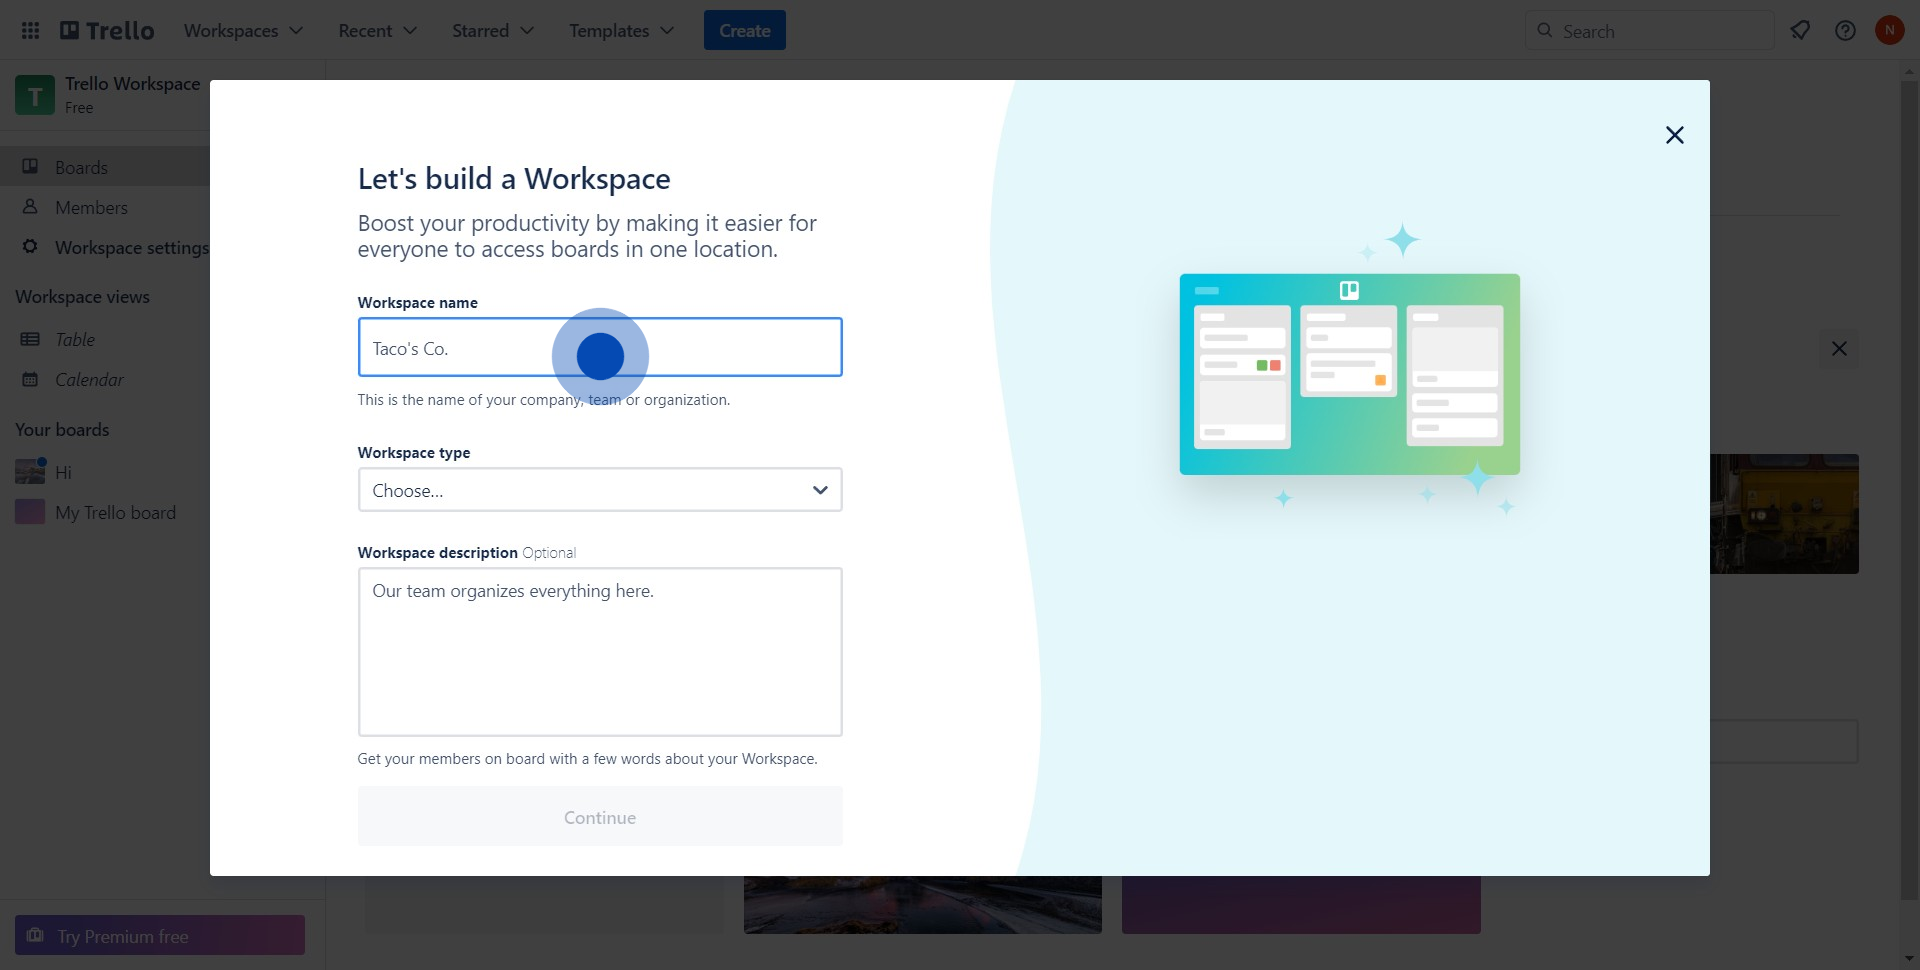
4. Proceed by clicking the 'Continue' button.
5. You may invite others using their email ids.
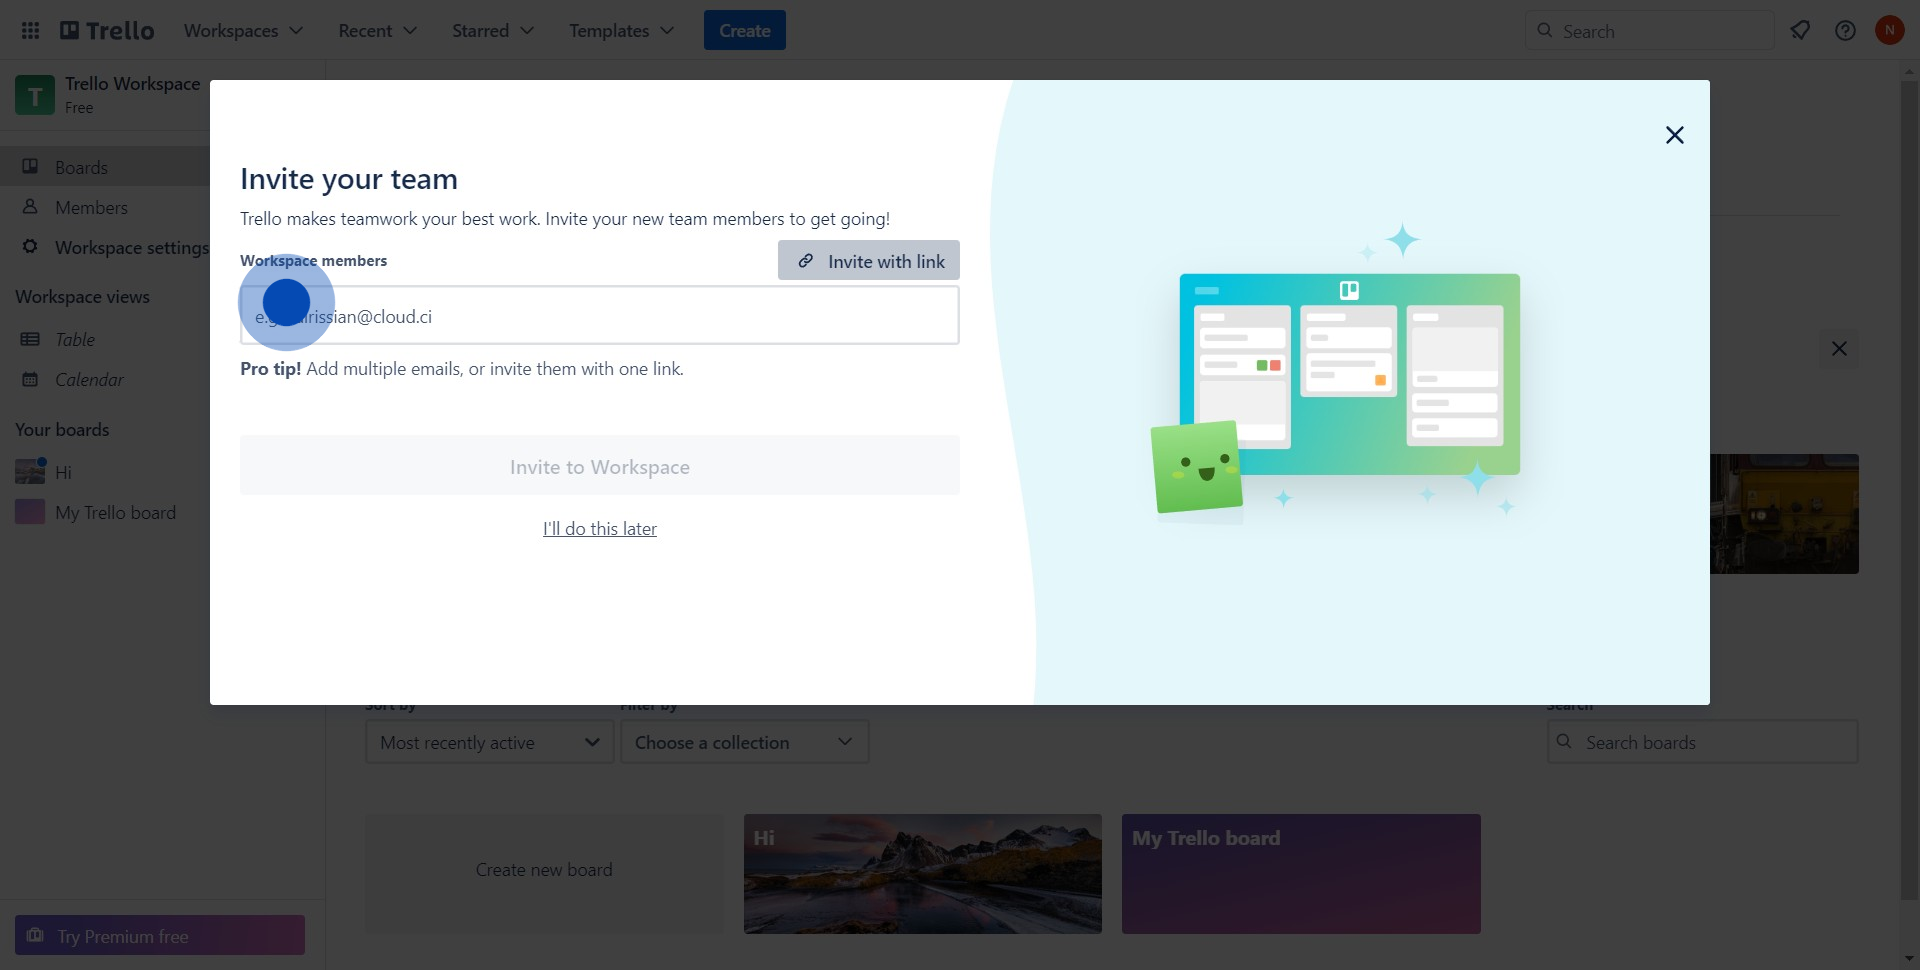
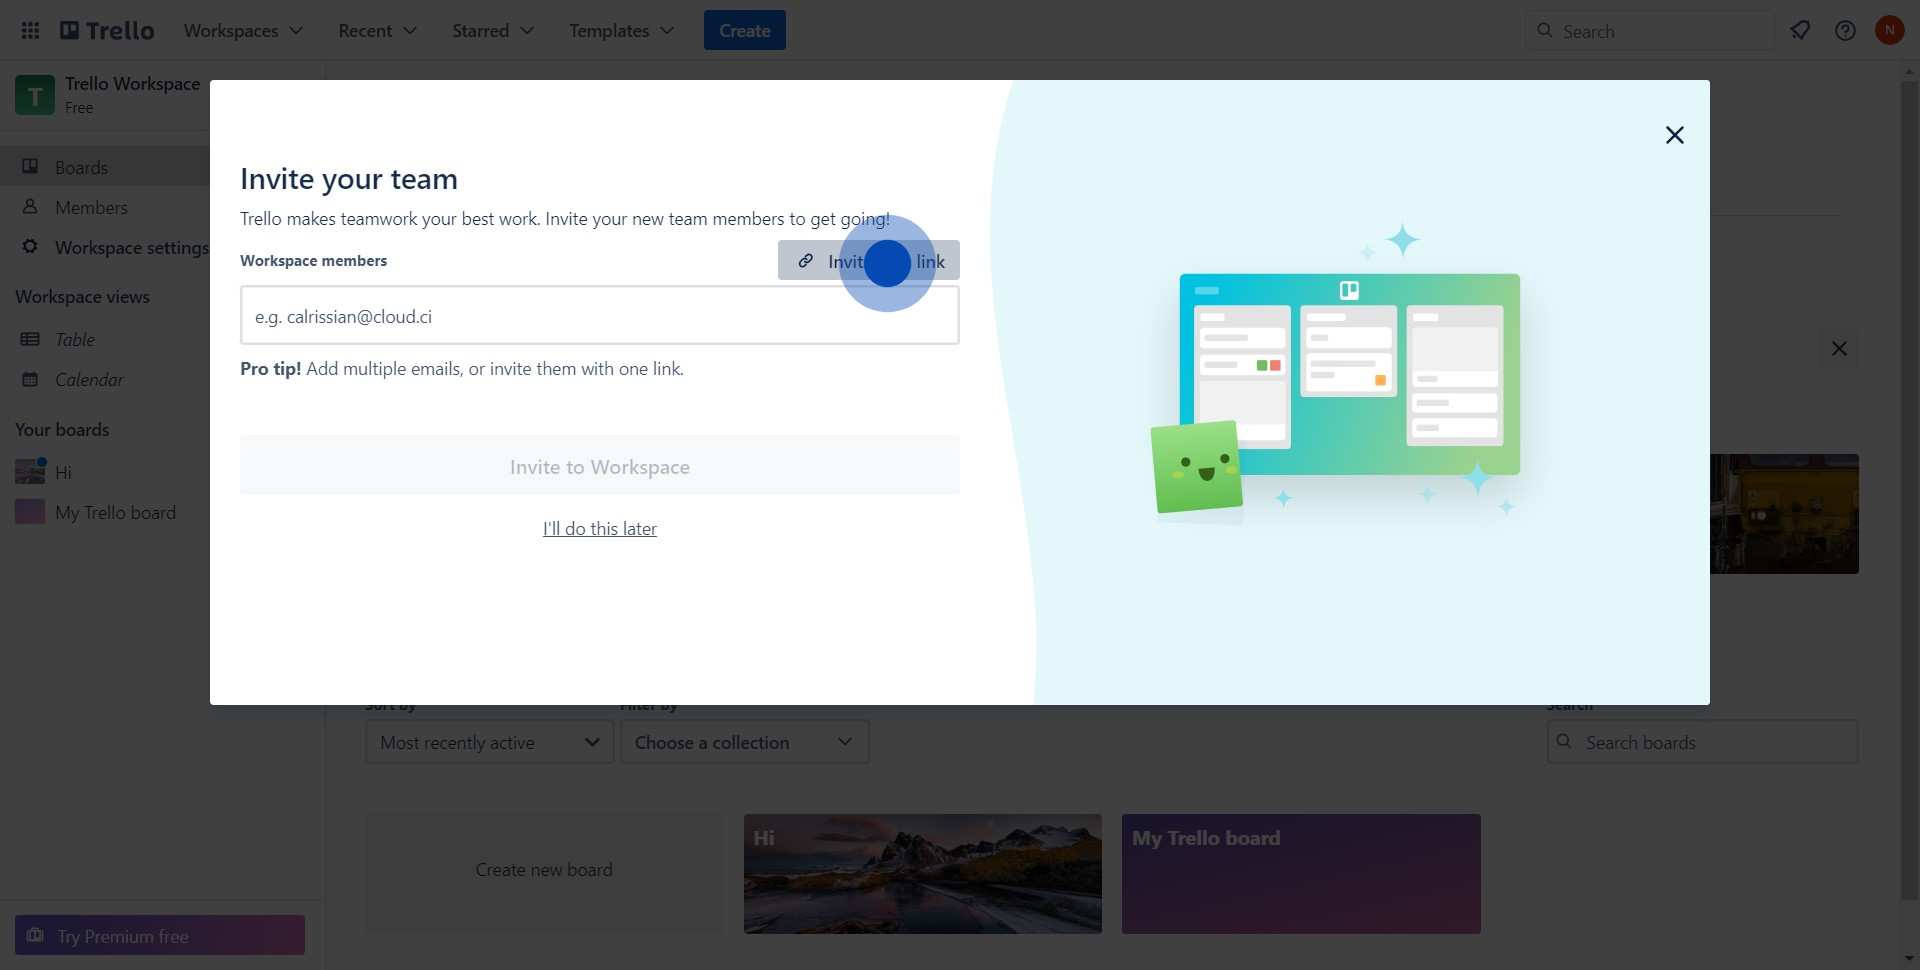
6. Alternatively, select 'Invite with link' to share a link.
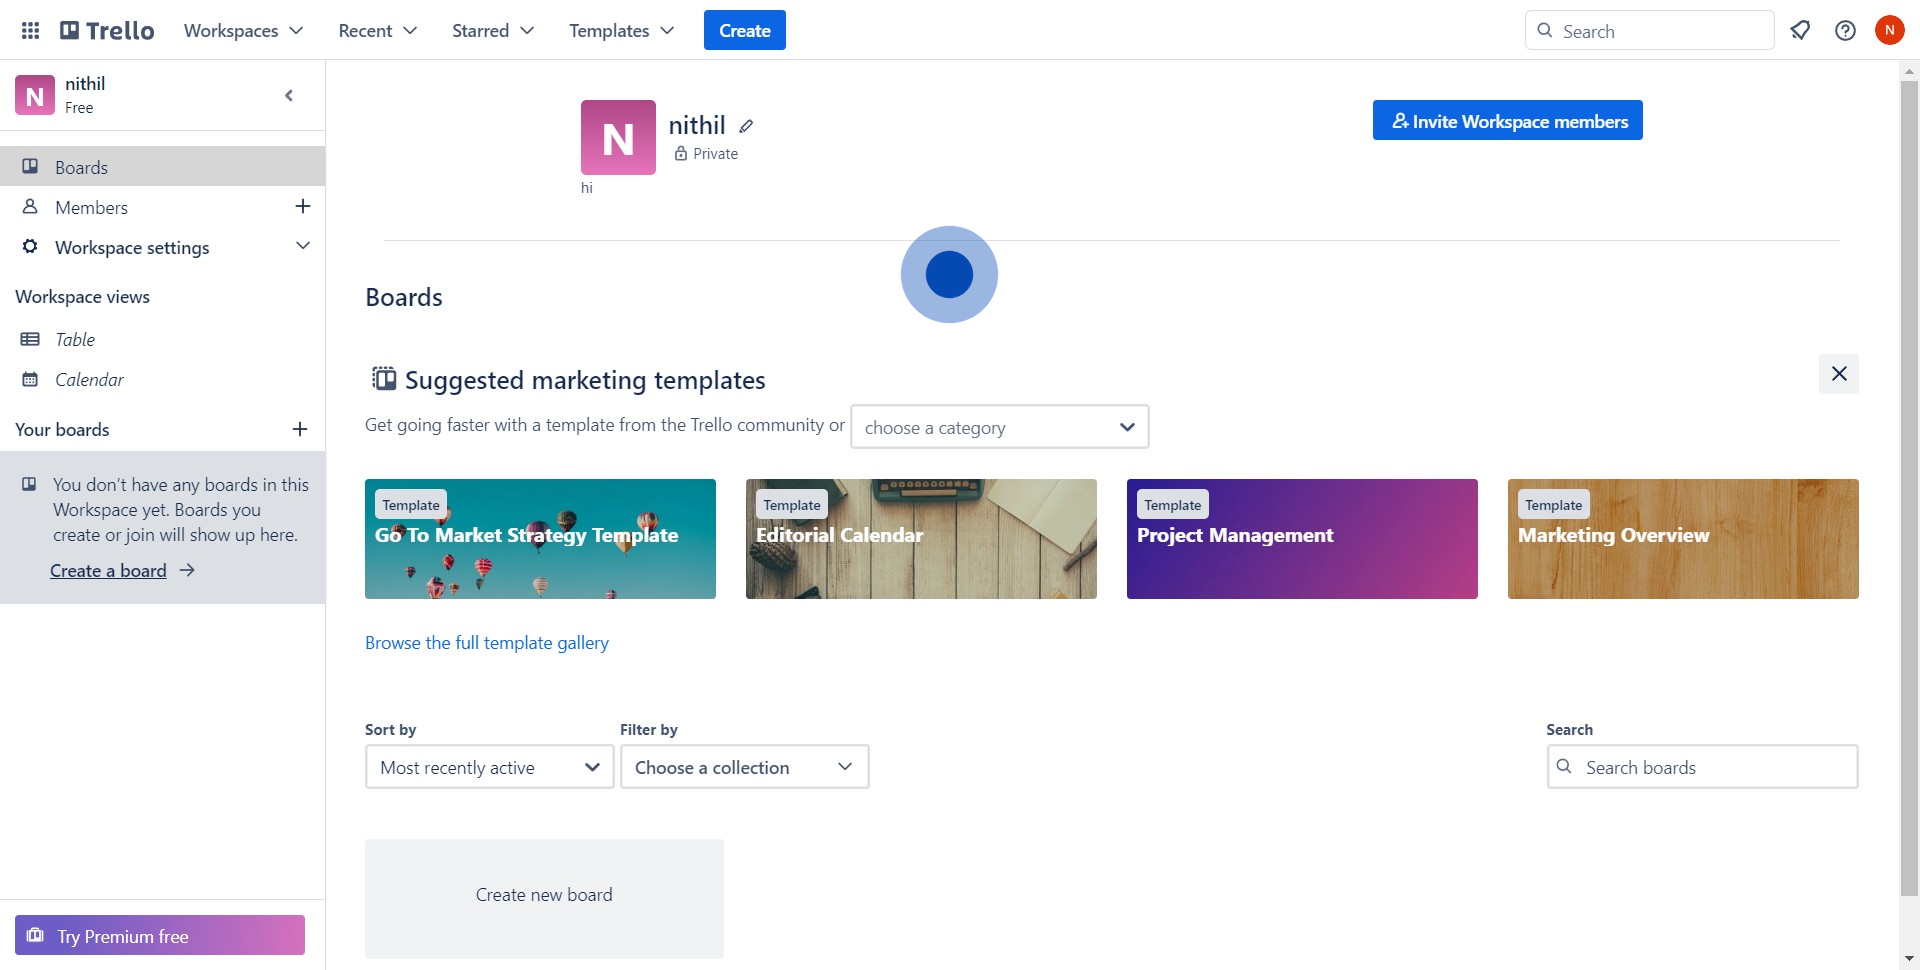
7. Finally, enjoy your newly created workspace!
Common FAQs on Trello
How do I create and organize boards, lists, and cards in Trello?
To create a board in Trello, log in to your account and click on the “+ Create new board” button on your dashboard. Give your board a name, select a background color, and choose its visibility (e.g., private, workspace-visible). Within the board, create lists to organize your tasks by stages or categories (e.g., To Do, In Progress, Done). Add cards to each list to represent individual tasks or items. You can customize cards with details such as due dates, labels, checklists, attachments, and comments. Drag and drop cards between lists to track progress and manage workflows effectively.
How can I use Trello’s features for collaboration and communication?
Trello offers several features for collaboration and communication. You can invite team members to your board by clicking on the “Invite” button and entering their email addresses. Once invited, team members can view, comment on, and edit cards based on their permissions. Use the “Comments” section on each card to discuss tasks, share updates, and attach files. Trello also supports notifications to alert you of changes, due dates, and comments. Additionally, you can use integrations with tools like Slack, Google Drive, and Microsoft Teams to enhance collaboration and streamline communication.
How do I automate tasks in Trello using Butler?
To automate tasks using Butler, go to the “Butler” tab on your Trello board. Click “Create a new command” to set up automation rules based on triggers (e.g., moving a card to a list, adding a label). You can choose actions such as creating a new card, assigning a due date, or sending a notification. Configure the rules to specify when and how these actions should occur. Once set up, Butler will automate repetitive tasks, reducing manual work and improving efficiency. You can view and manage your automation commands from the Butler dashboard.
Create your own step-by-step demo
Scale up your training and product adoption with beautiful AI-powered interactive demos and guides. Create your first Supademo in seconds for free.
