Overview:
Enhance your Mailchimp experience with automation by streamlining your email campaigns effortlessly. Learn to create automated workflows that save time and boost engagement. This guide offers step-by-step instructions, empowering you to leverage Mailchimp's automation features for effective marketing campaigns and enhanced efficiency in email management.
Who is Mailchimp best suited for?
Mailchimp is best suited for a wide range of professionals, including Email Marketers, Small Business Owners, and E-commerce Managers. For example, Email Marketers can use Mailchimp for creating and automating email campaigns, Small Business Owners can leverage it for managing customer lists and running promotional emails, and E-commerce Managers can use it for crafting targeted marketing messages and analyzing campaign performance, all benefiting from Mailchimp’s user-friendly interface and comprehensive marketing tools.
How to create an automation in Mailchimp
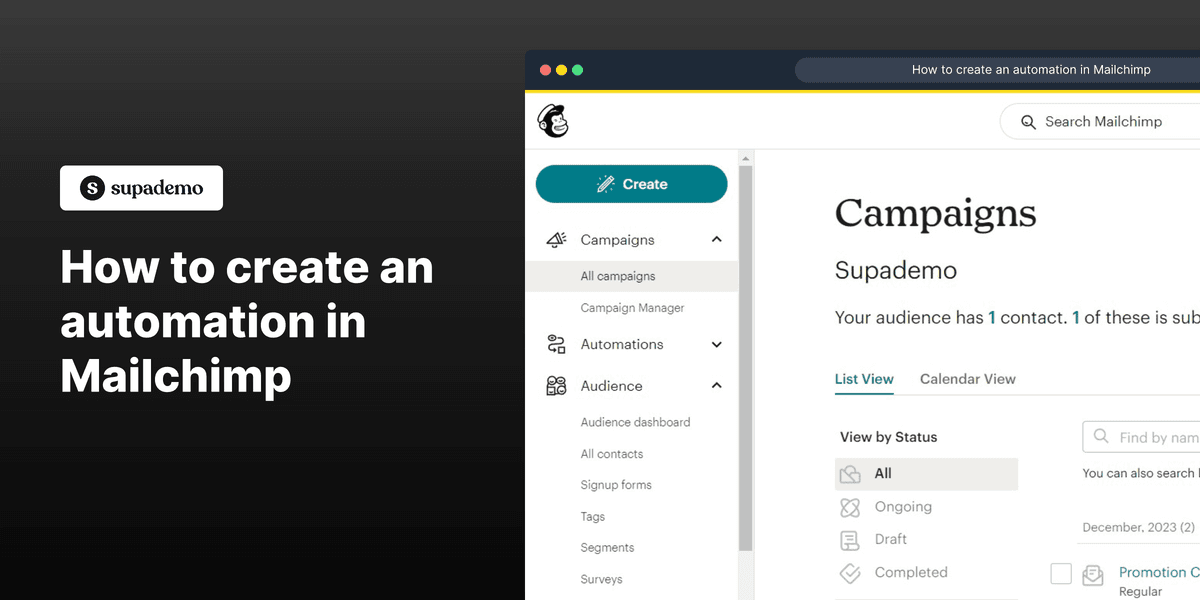
1. Start by creating with the 'Create' button.
2. Next, select the 'Automations' option.
3. Then, initiate the process by clicking 'Get started'.
4. Choose the 'pre-built journey' option for your automation type.
5. Select the 'Welcome contacts' template for this journey.
6. Customize your journey by adding desired elements.
7. Once done, select 'Use this journey' to finalize your automation.
8. Check your automation by sending test emails.
9. Conclude by clicking on 'Send test' to ensure everything is working properly.
Common FAQs on Mailchimp
Commonly asked questions about this topic.
How do I create and send an email campaign in Mailchimp?
How can I segment my audience in Mailchimp?
How do I track and analyze the performance of my email campaigns in Mailchimp?
Create your own step-by-step demo
Content Marketer
Nithil is a startup-obsessed operator focused on growth, sales and marketing. He's passionate about wearing different hats across startups to deliver real value.


