Overview:
Elevate your productivity in Airtable by mastering the art of creating and sharing calendars. Efficiently organize your schedule and collaborate seamlessly with this guide, which offers a step-by-step process to create and share calendars within the Airtable platform. Enhance your team's coordination and clarity, ensuring a streamlined approach to managing events and deadlines. Unlock the full potential of Airtable for effective calendar management, fostering enhanced efficiency and collaboration in your work processes.
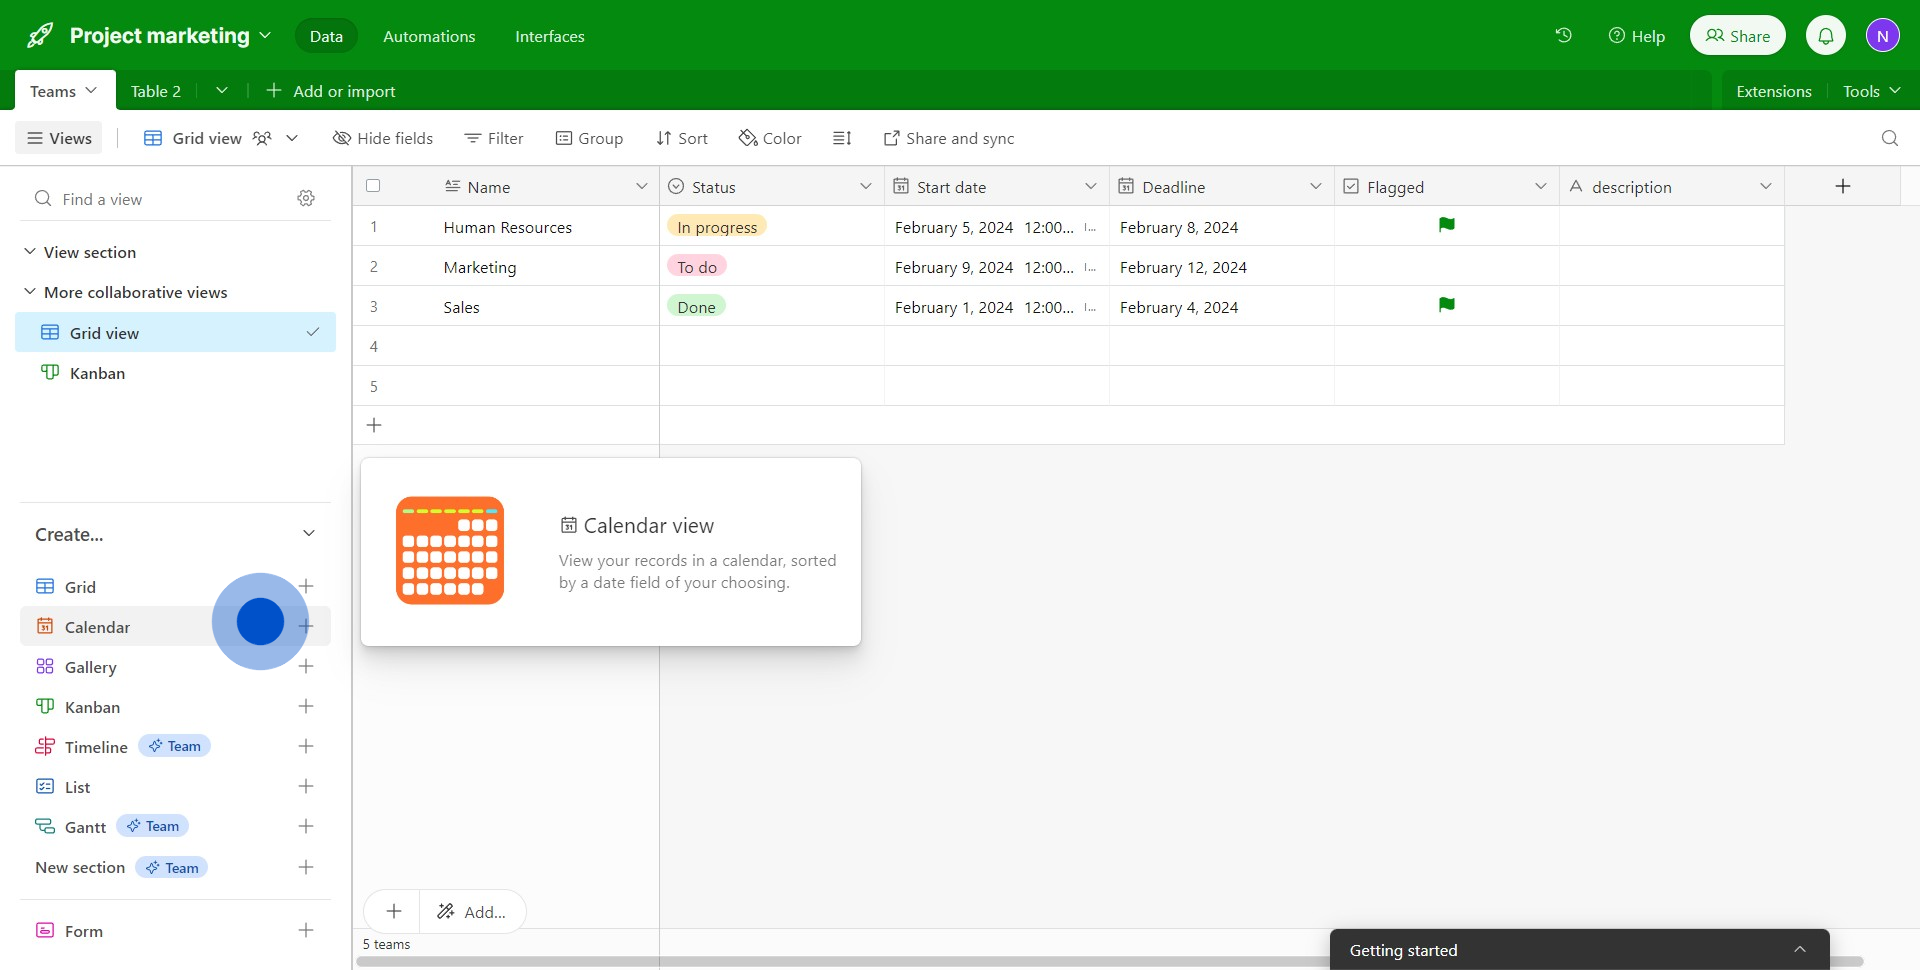
1. Let's get started by clicking Calendar
2. Now, select an option for collaboration.
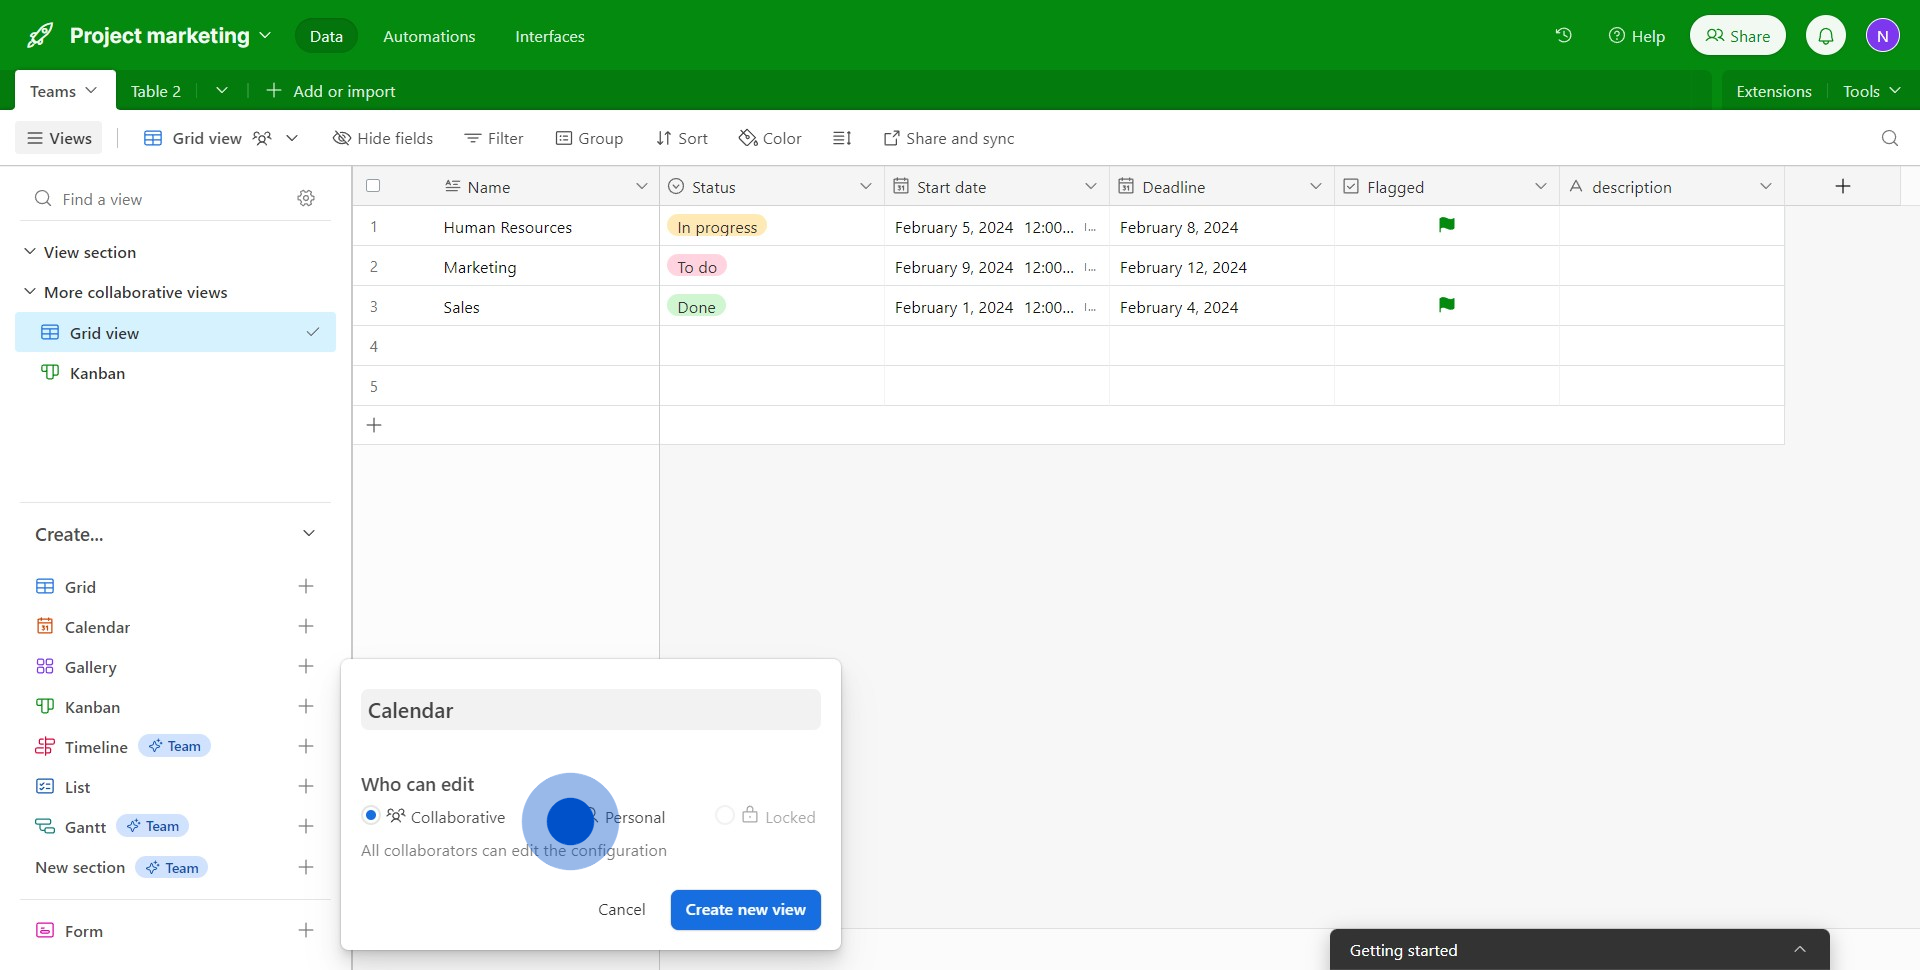
3. Great! Now hit the 'Create new view' button.
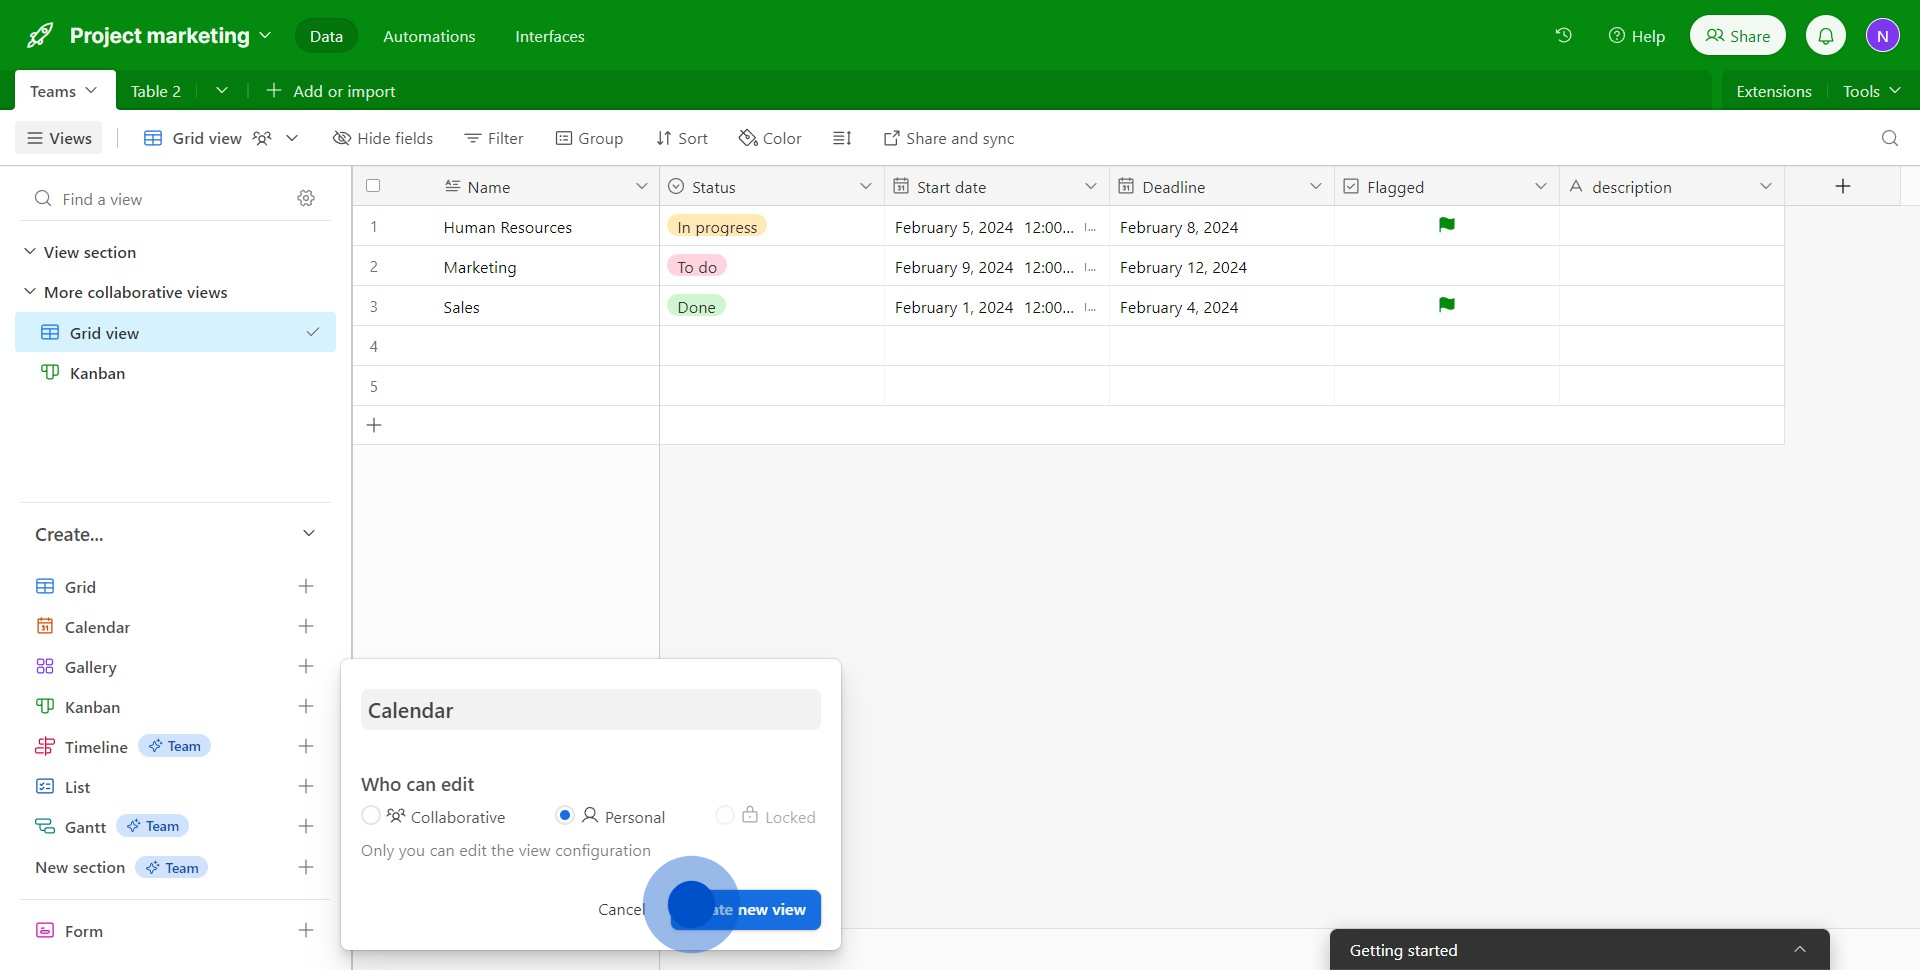
4. Want more customization? Opt for 'Use an additional date field'.
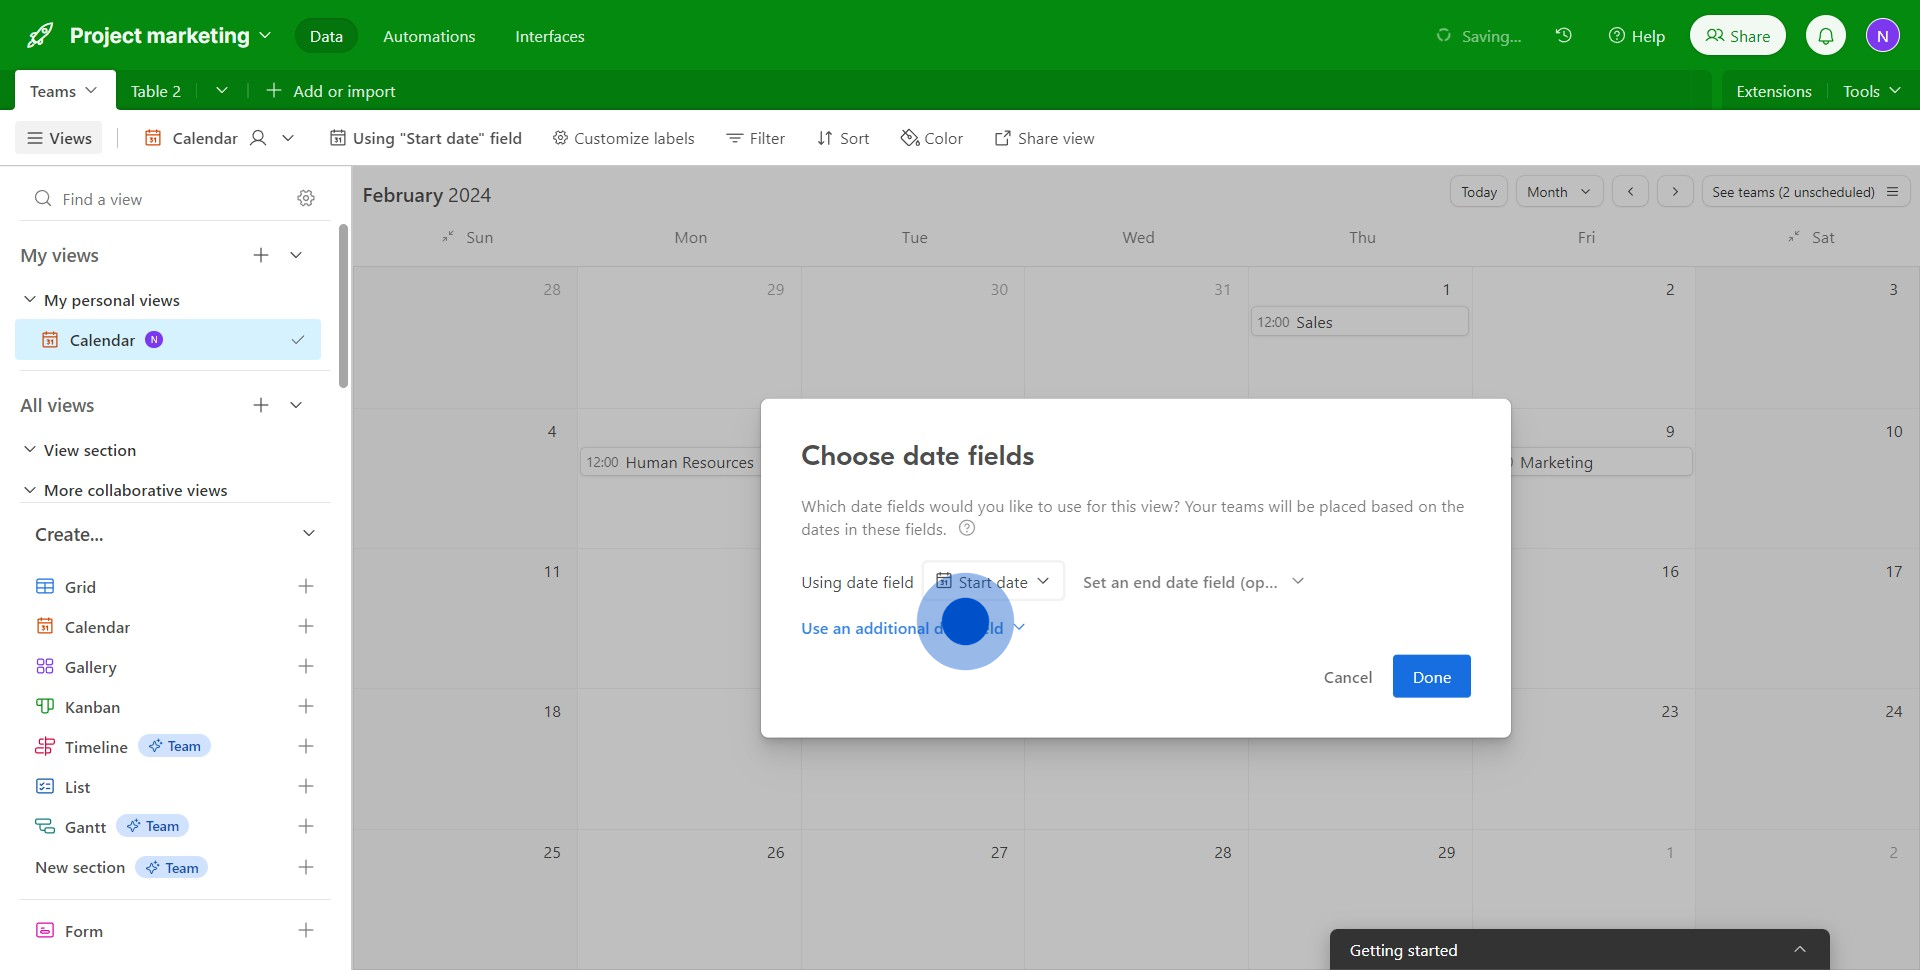
5. Once you're happy with the changes, press 'Done'.
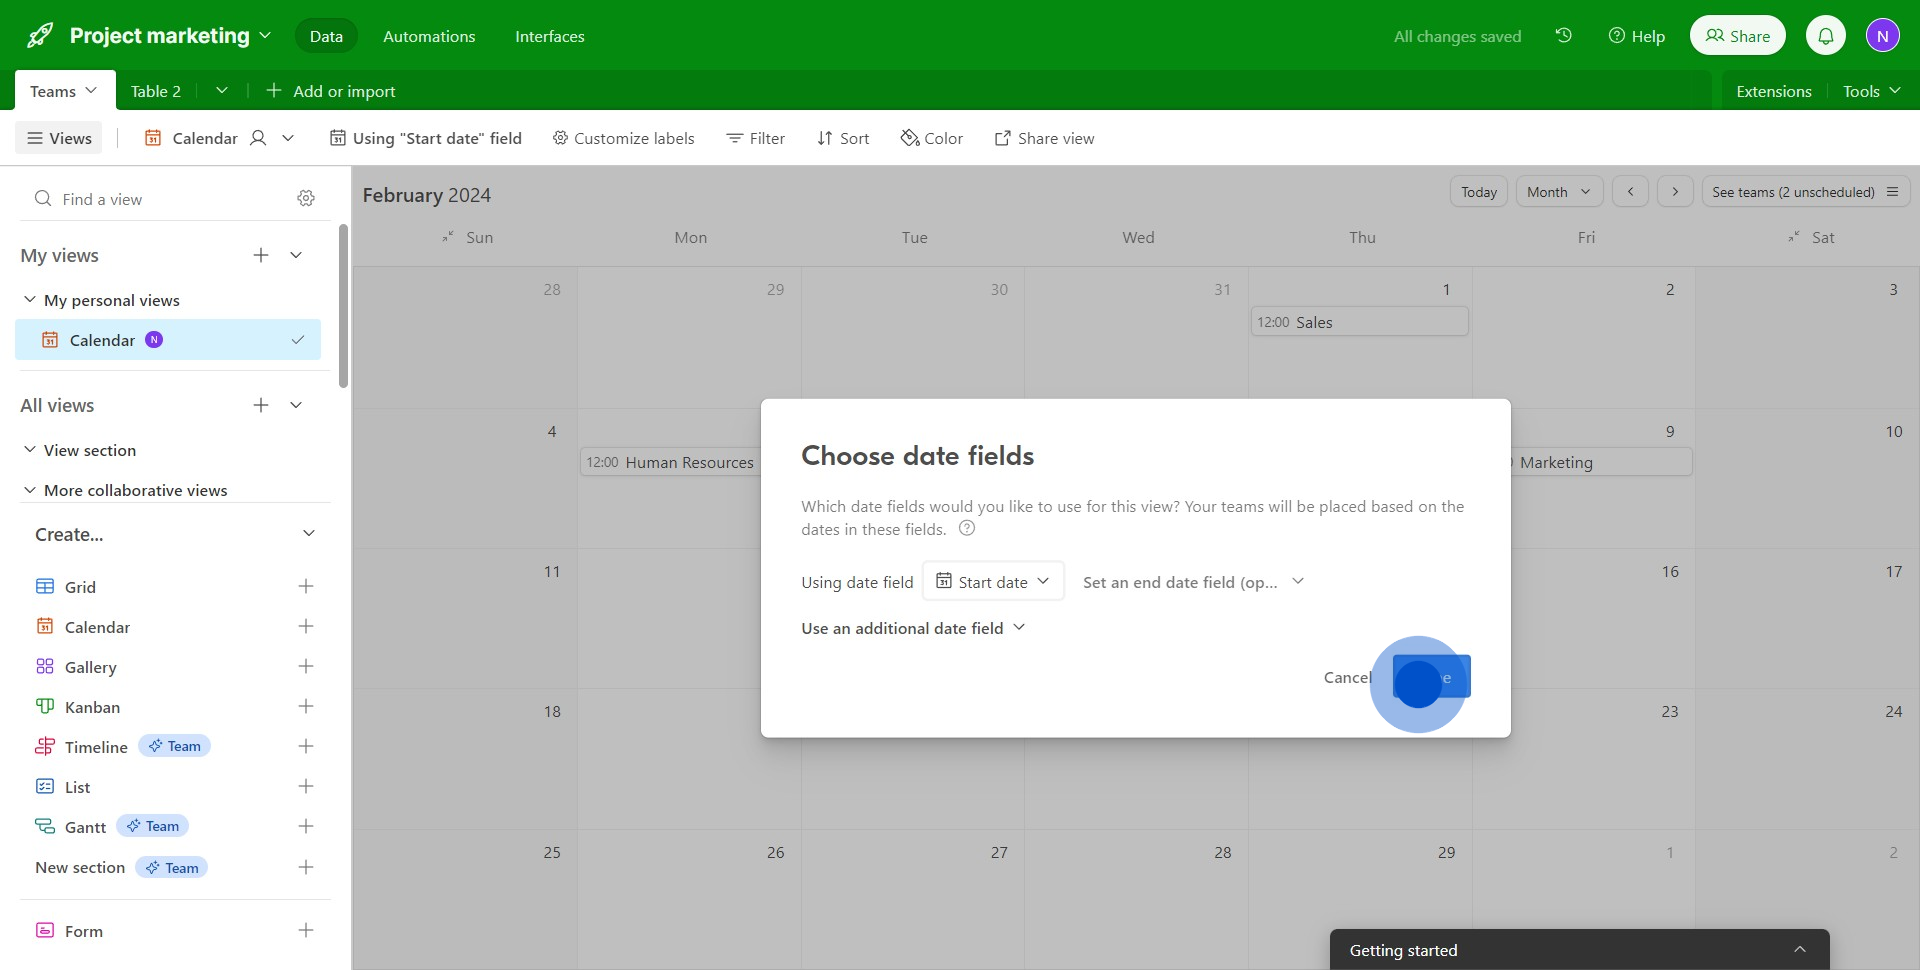
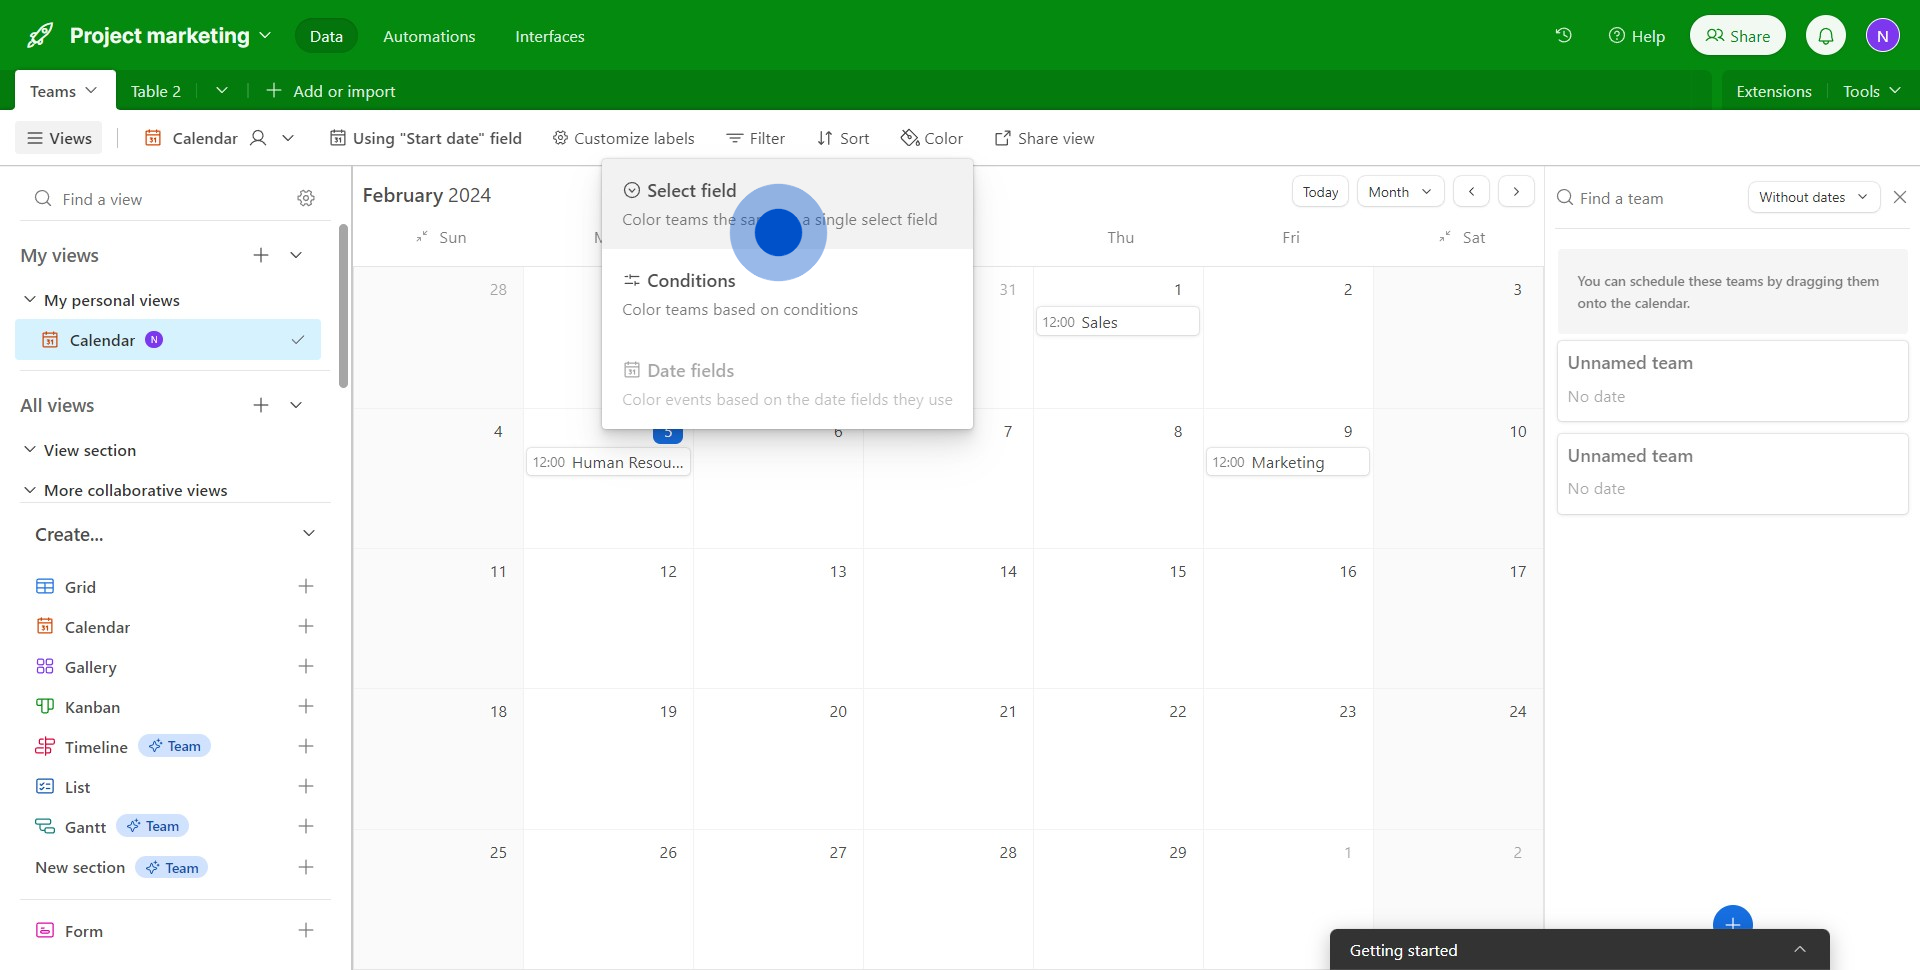
6. Add some color! Click on the 'Color' icon.
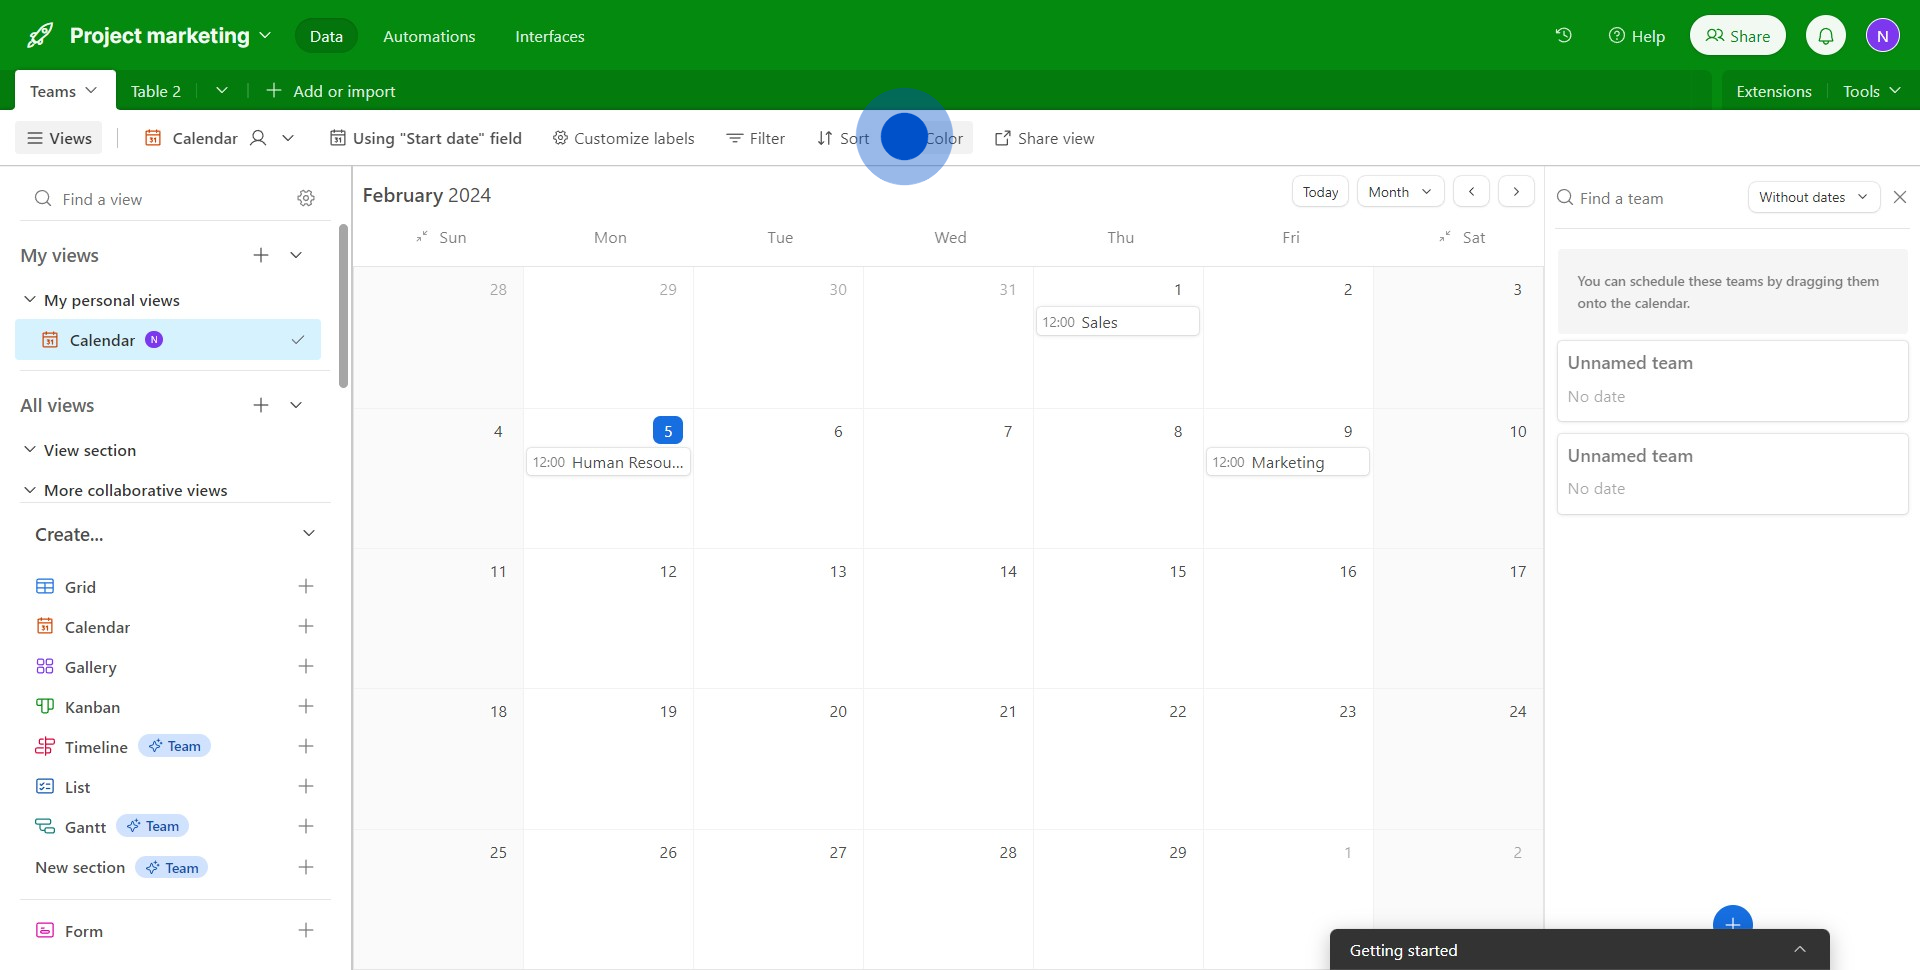
7. Choose how you'd like your teams to appear on the screen.
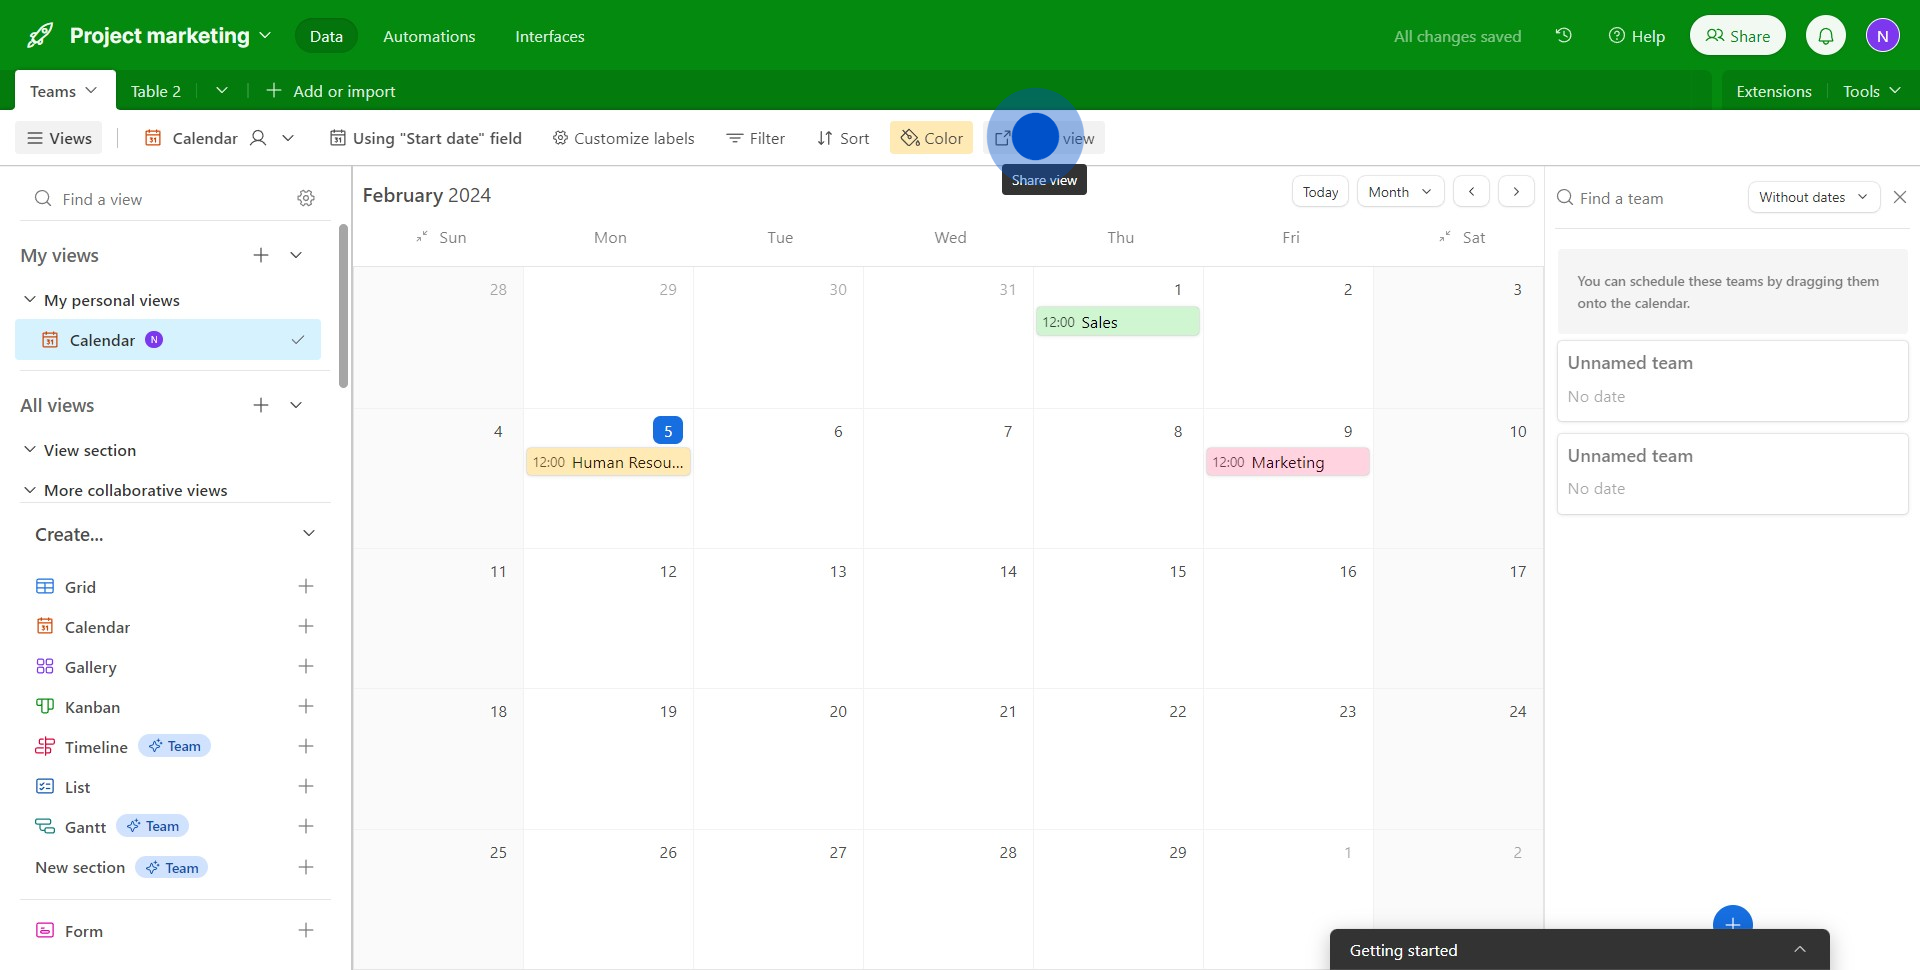
8. Ready to share your work? Choose 'Share view'.
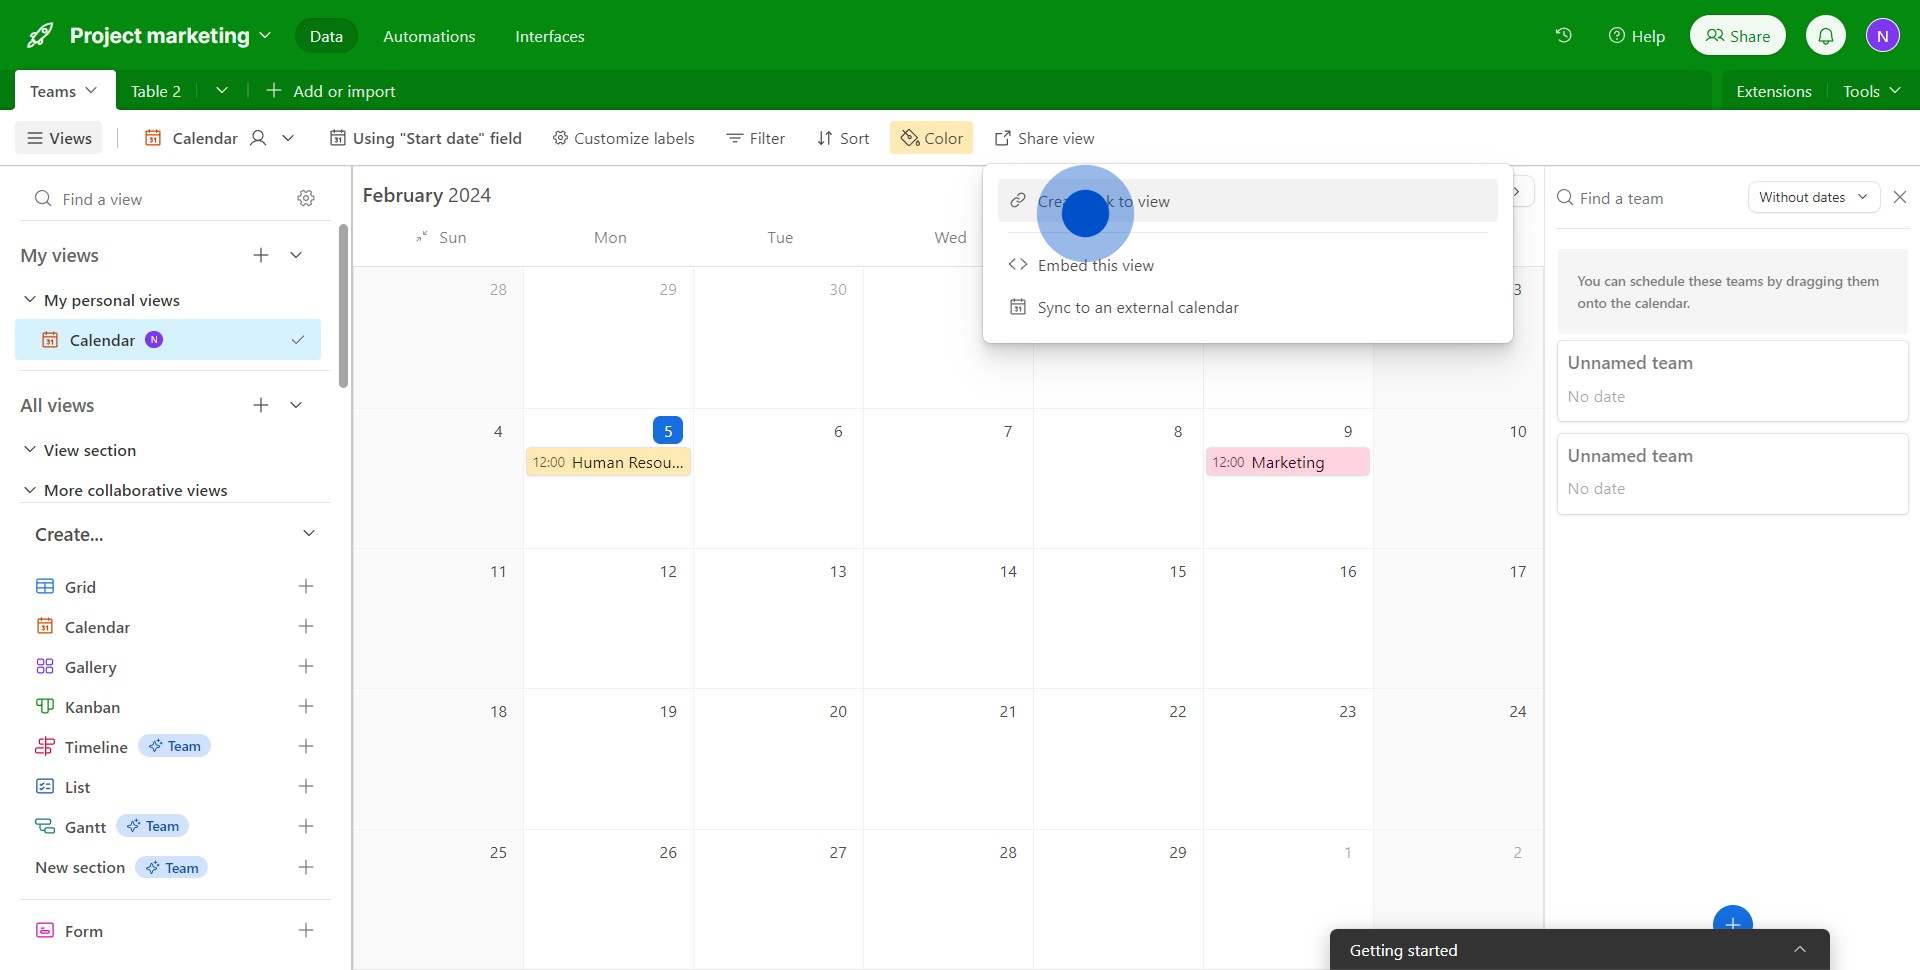
9. Now, select 'Create link to view'.
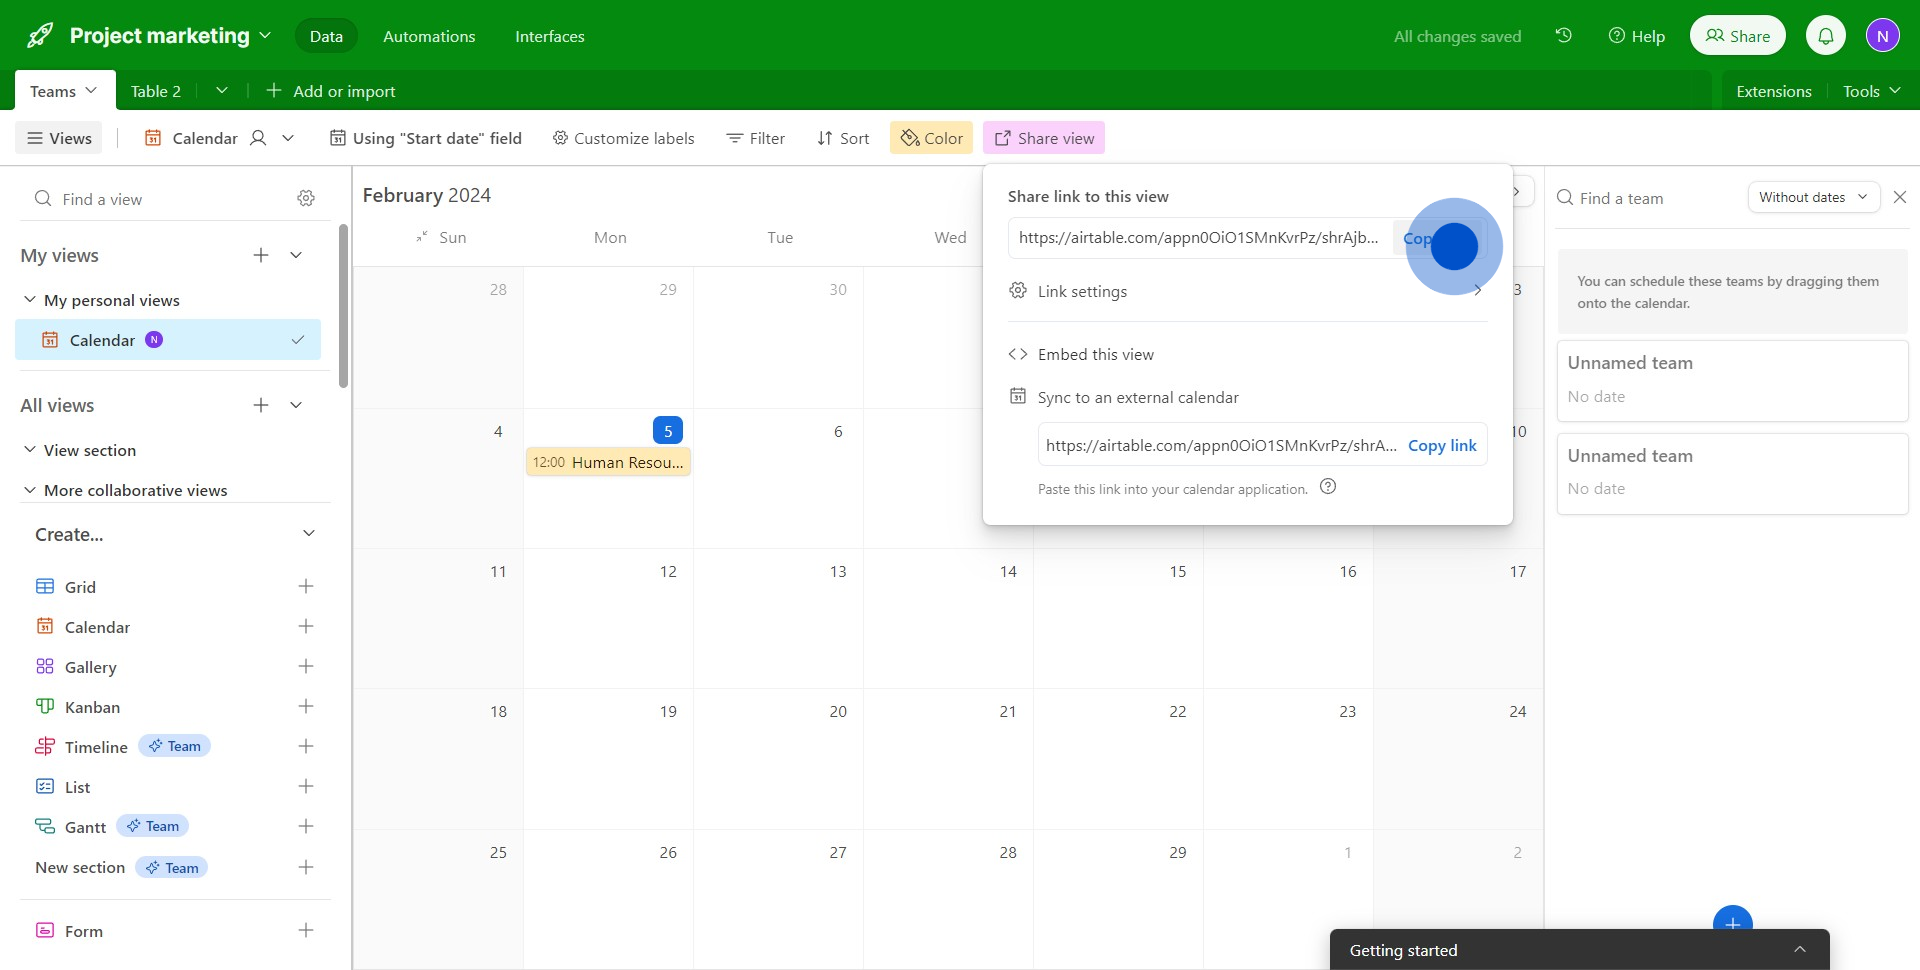
10. 'Copy link' and share your calendar with others.
Create your own step-by-step demo
Scale up your training and product adoption with beautiful AI-powered interactive demos and guides. Create your first Supademo in seconds for free.
Nithil Shanmugam
Nithil is a startup-obsessed operator focused on growth, sales and marketing. He's passionate about wearing different hats across startups to deliver real value.
