Overview:
Enhance your productivity in ClickUp by mastering the art of automation. Streamline your workflow and boost efficiency by creating automated processes that align with your project management needs. This guide offers a seamless step-by-step process to help you navigate and implement automations within ClickUp, empowering you to optimize your tasks and achieve greater clarity in project management.
1. Start by selecting the Quick Action menu.
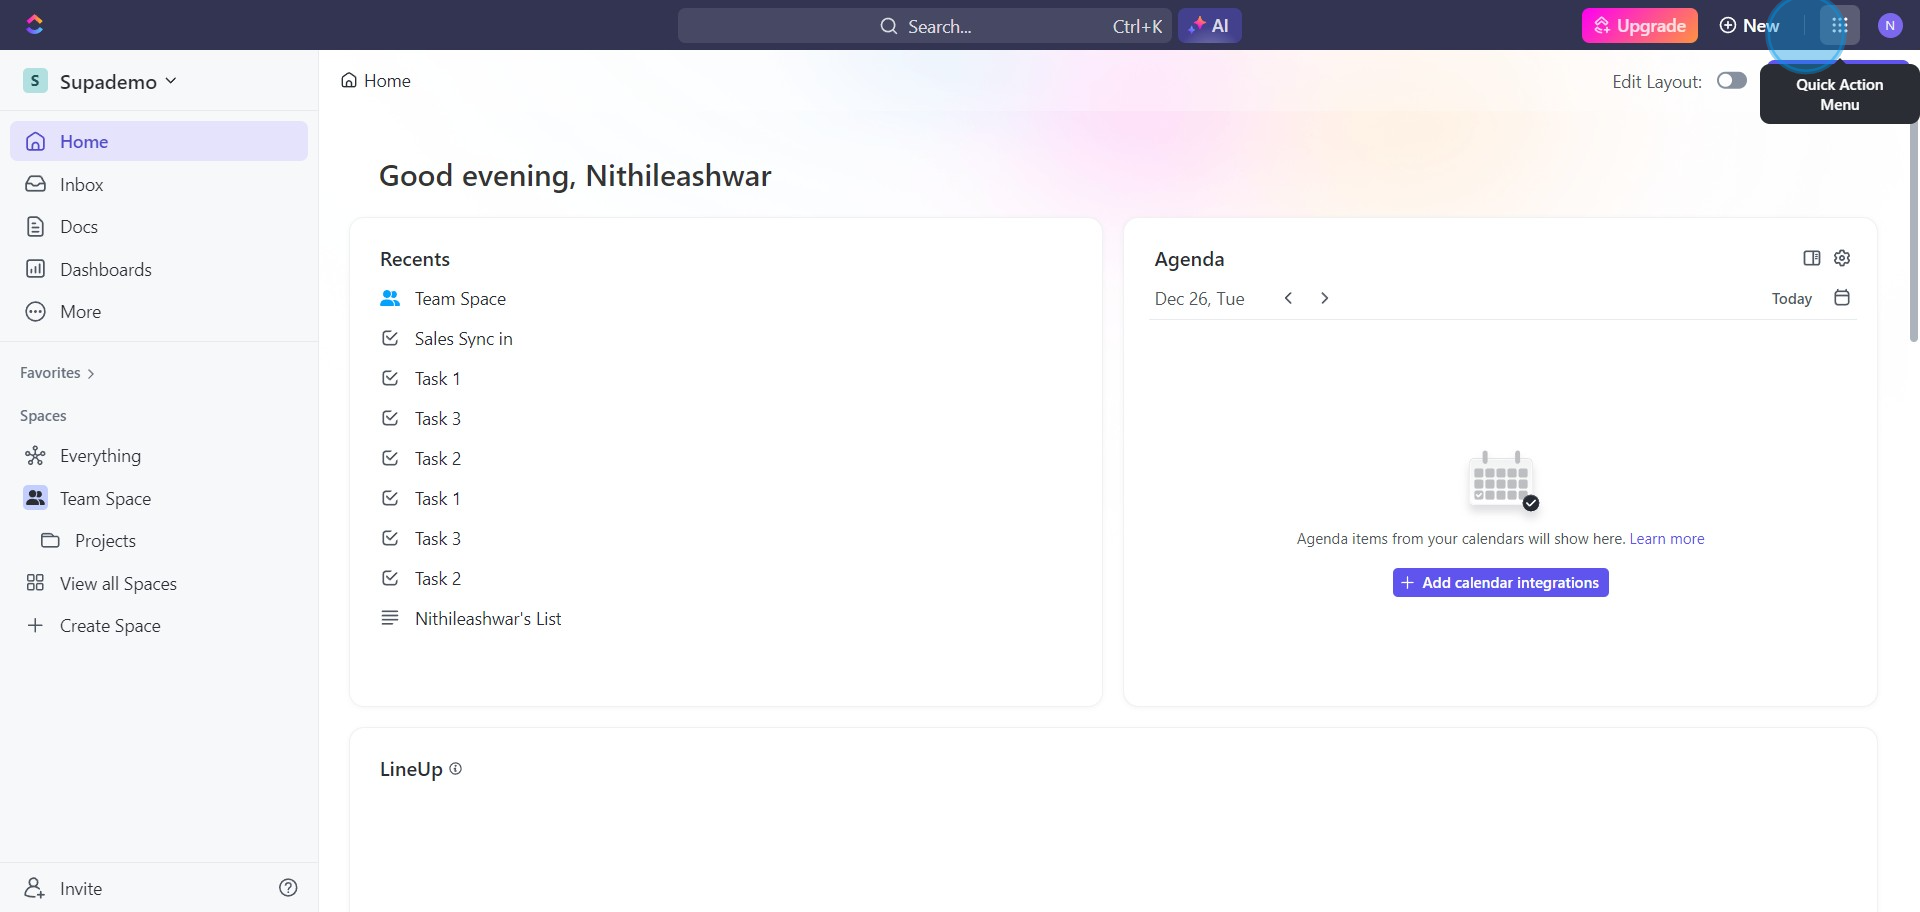
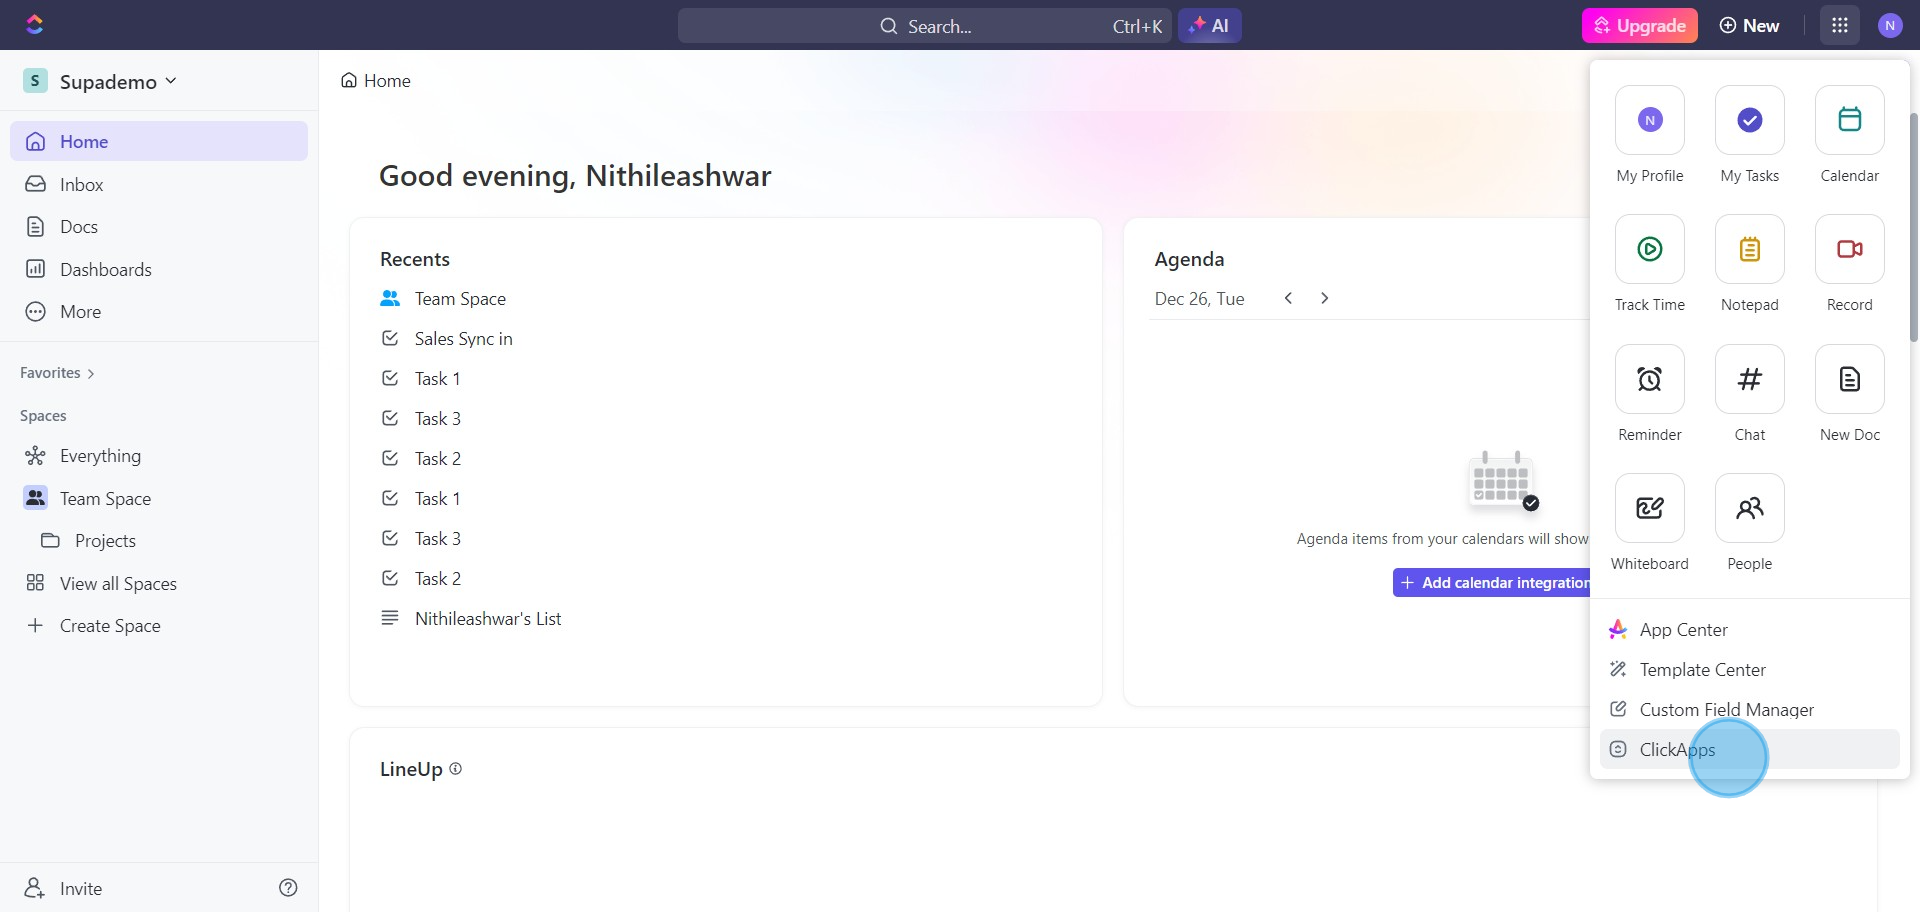
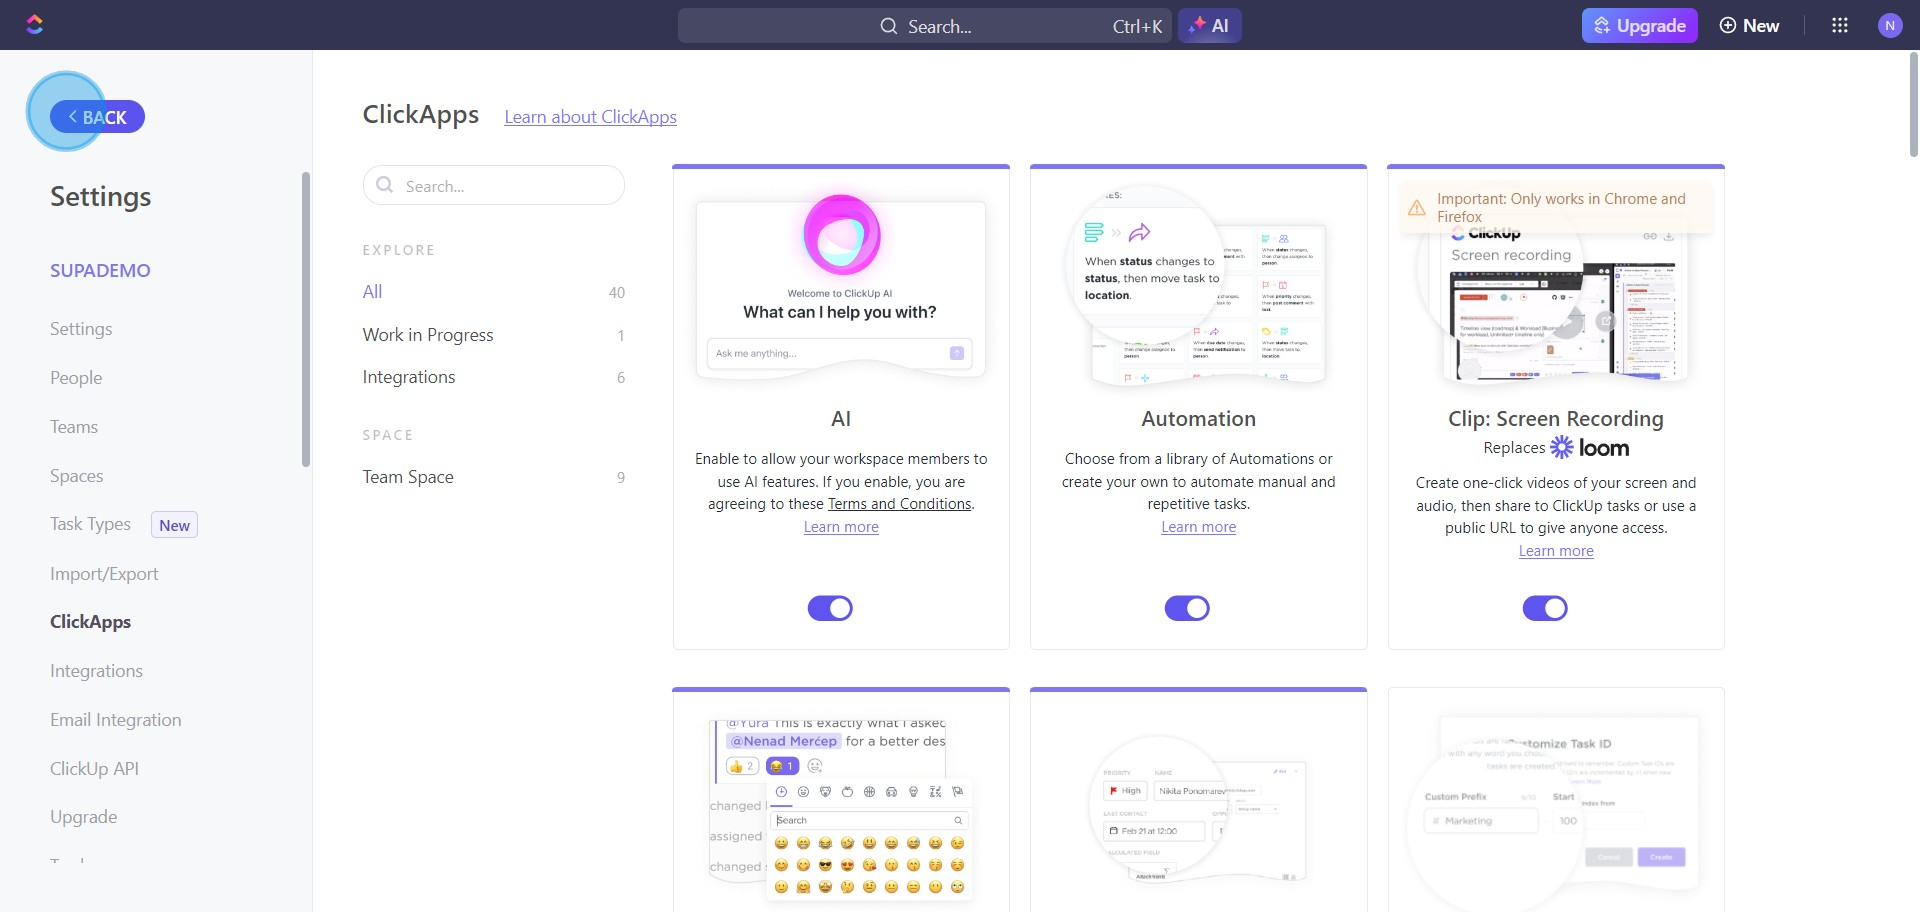
2. Next, navigate to the 'ClickApps' within the dropdown menu.
3. Ensure the 'Automation Feature' is turned on.
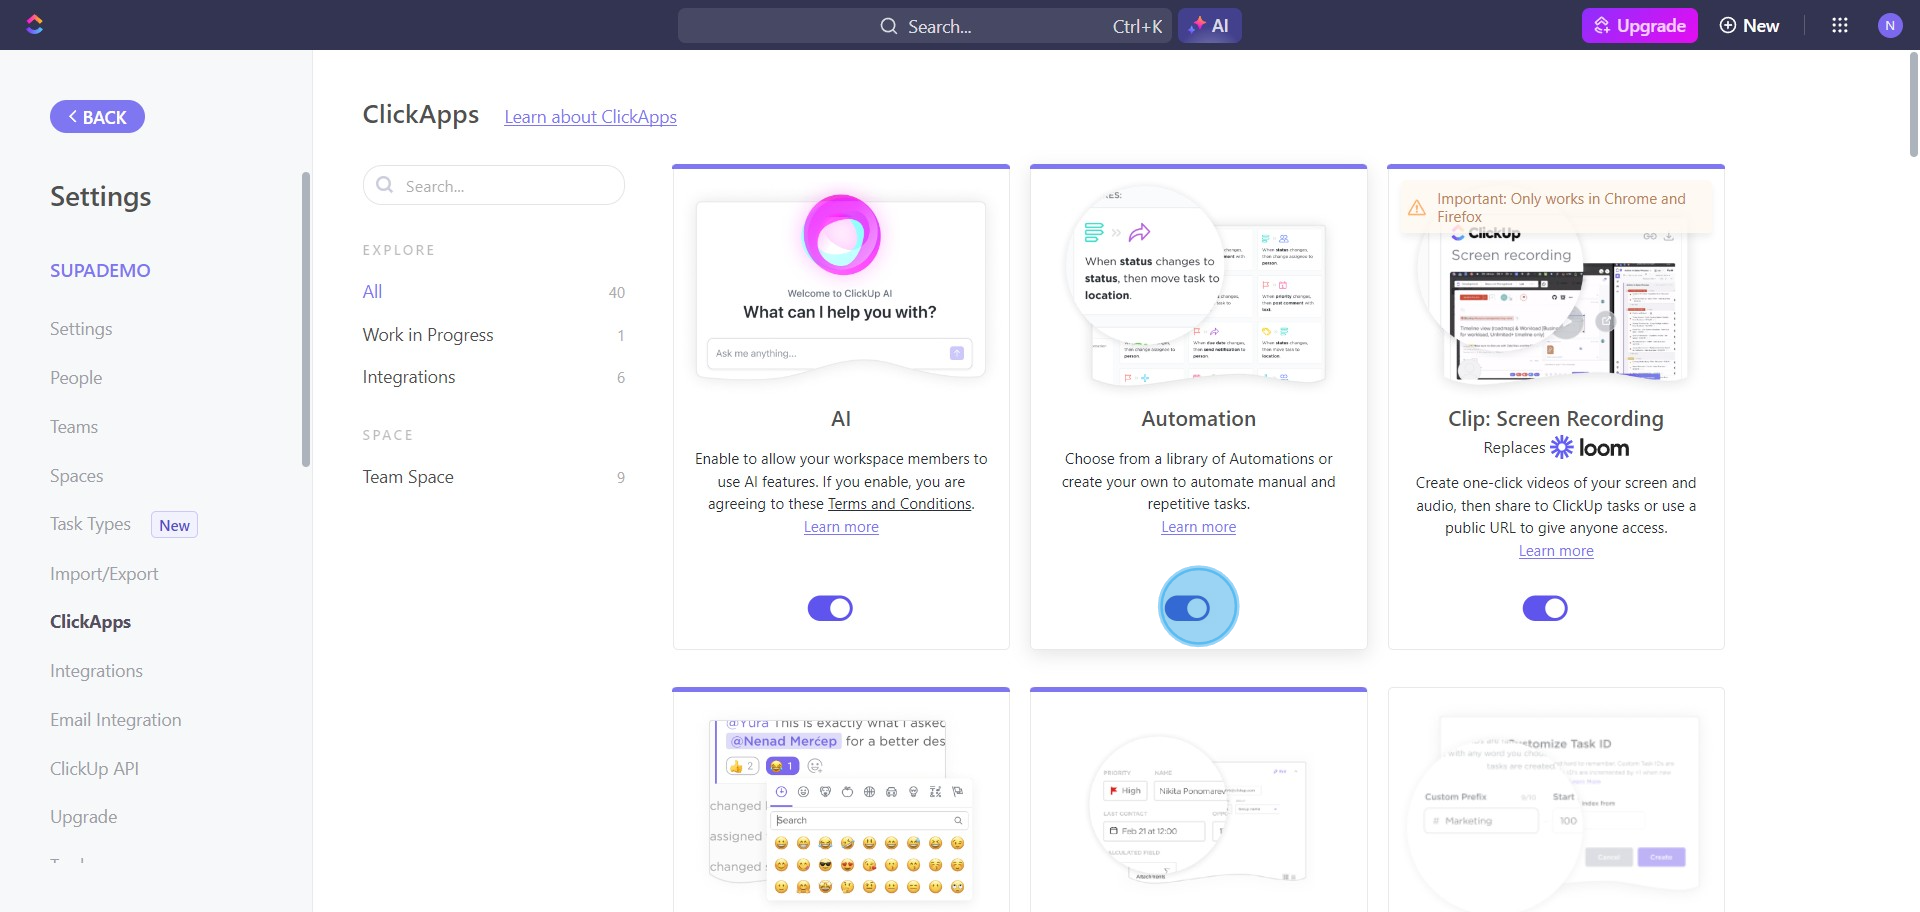
4. Then, return to the previous screen by clicking 'Back'.
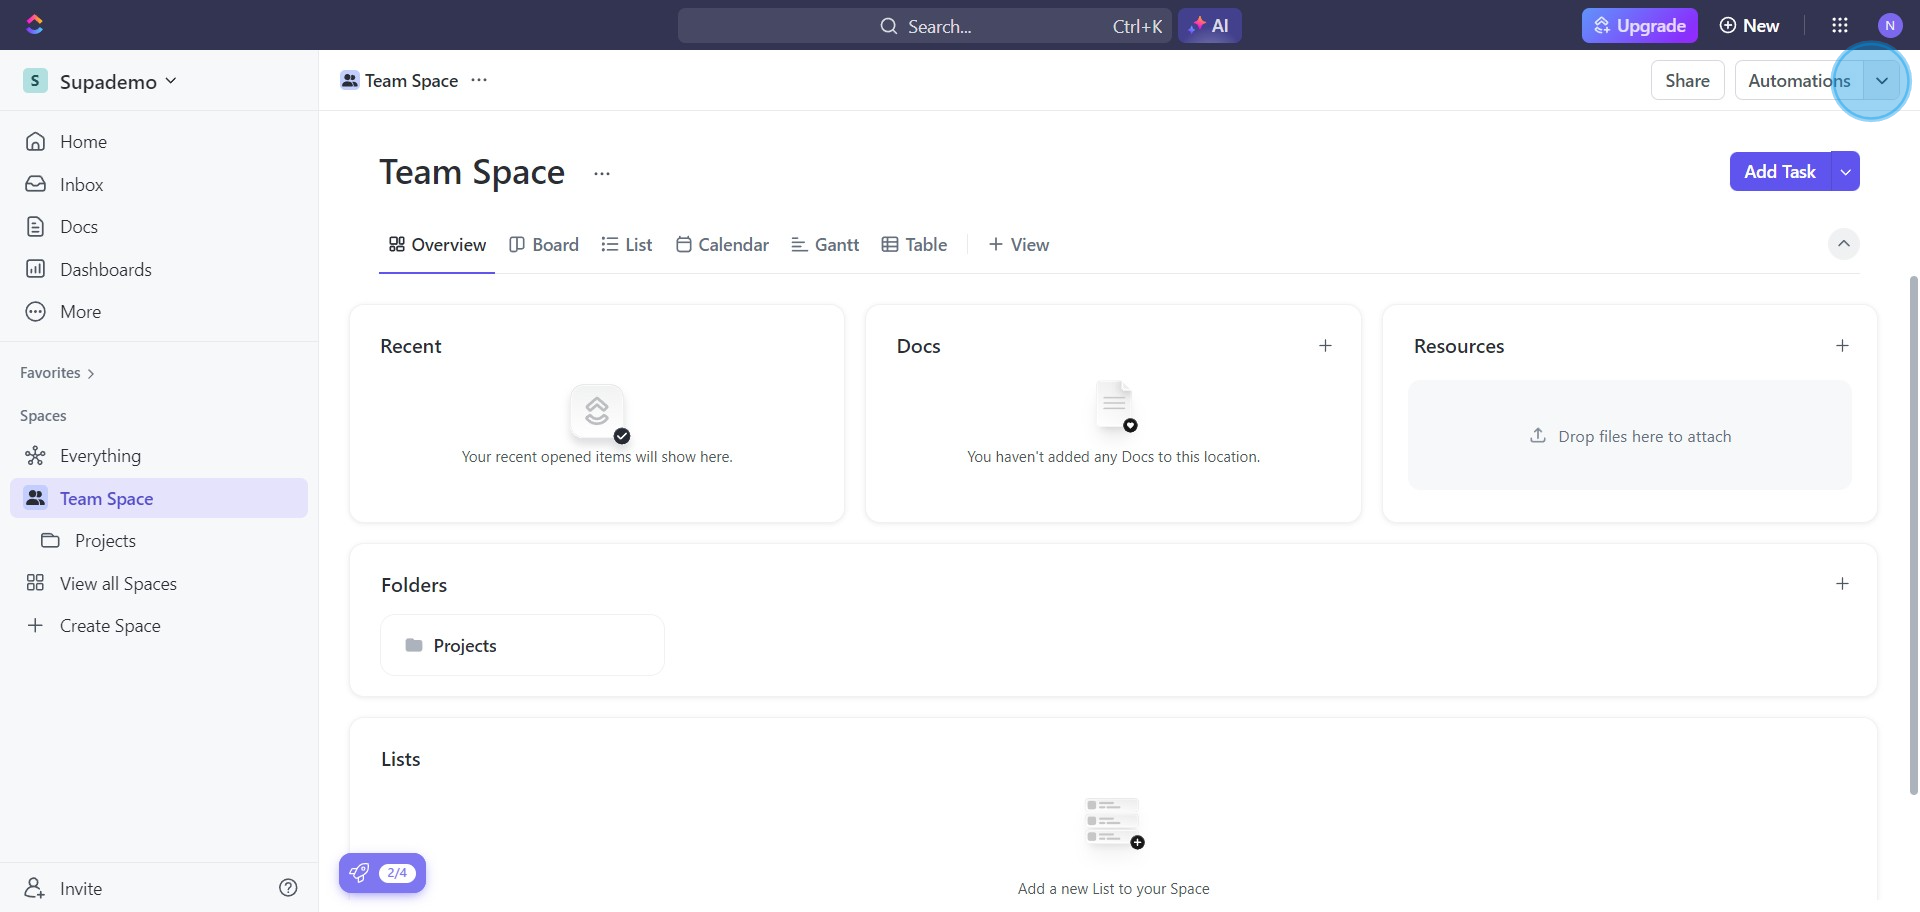
5. Proceed to the 'Automations' section.
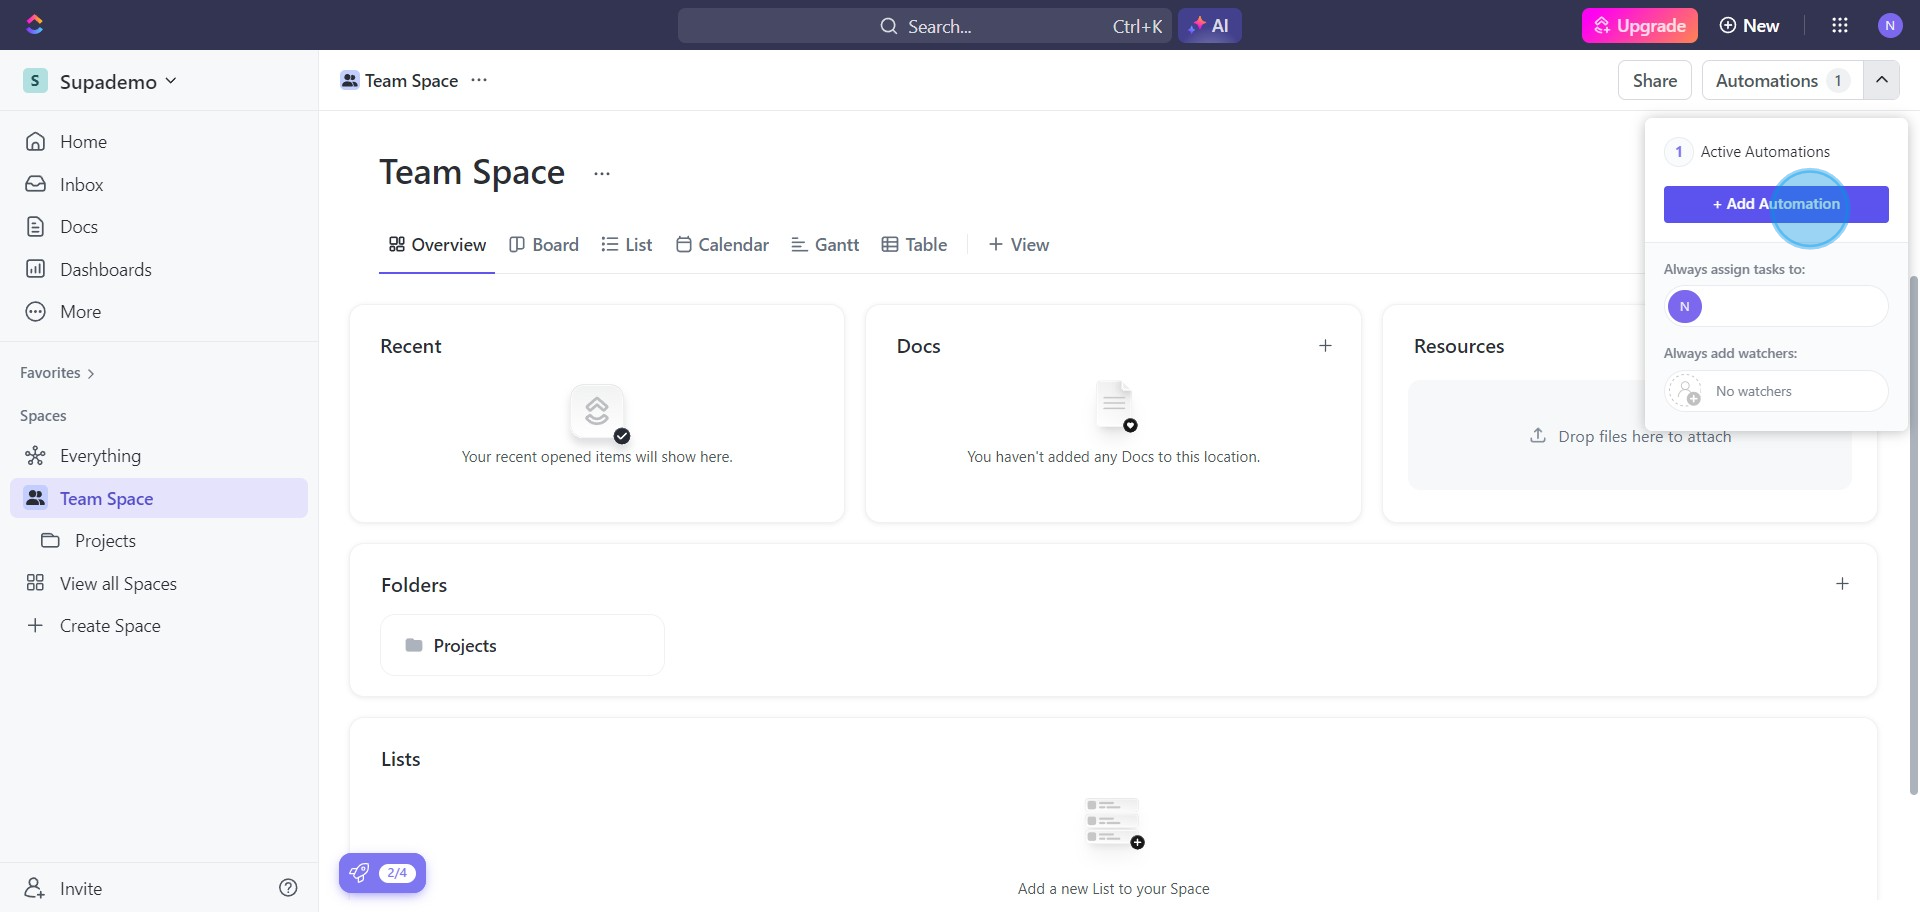
6. Continue by selecting the '+ Add Automation' option.
7. Click 'Add Automation', feel free to customize as needed.
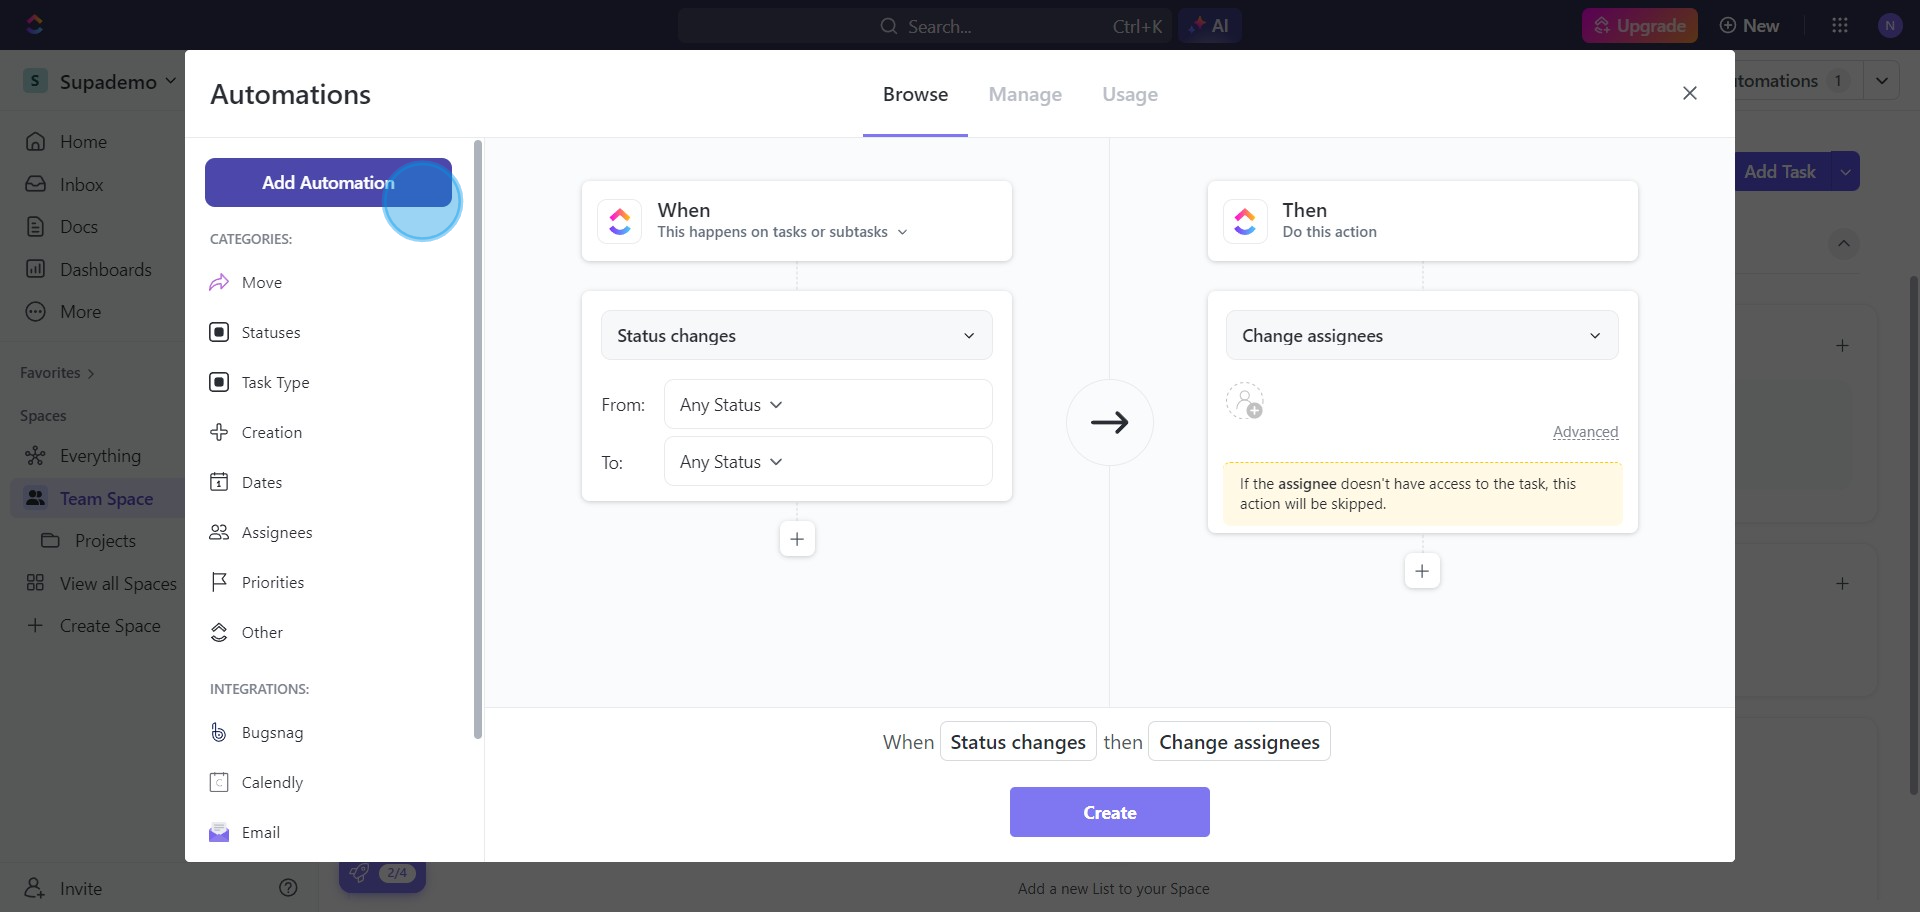
8. Identify the task that will initiate the automation by selecting 'Trigger'.
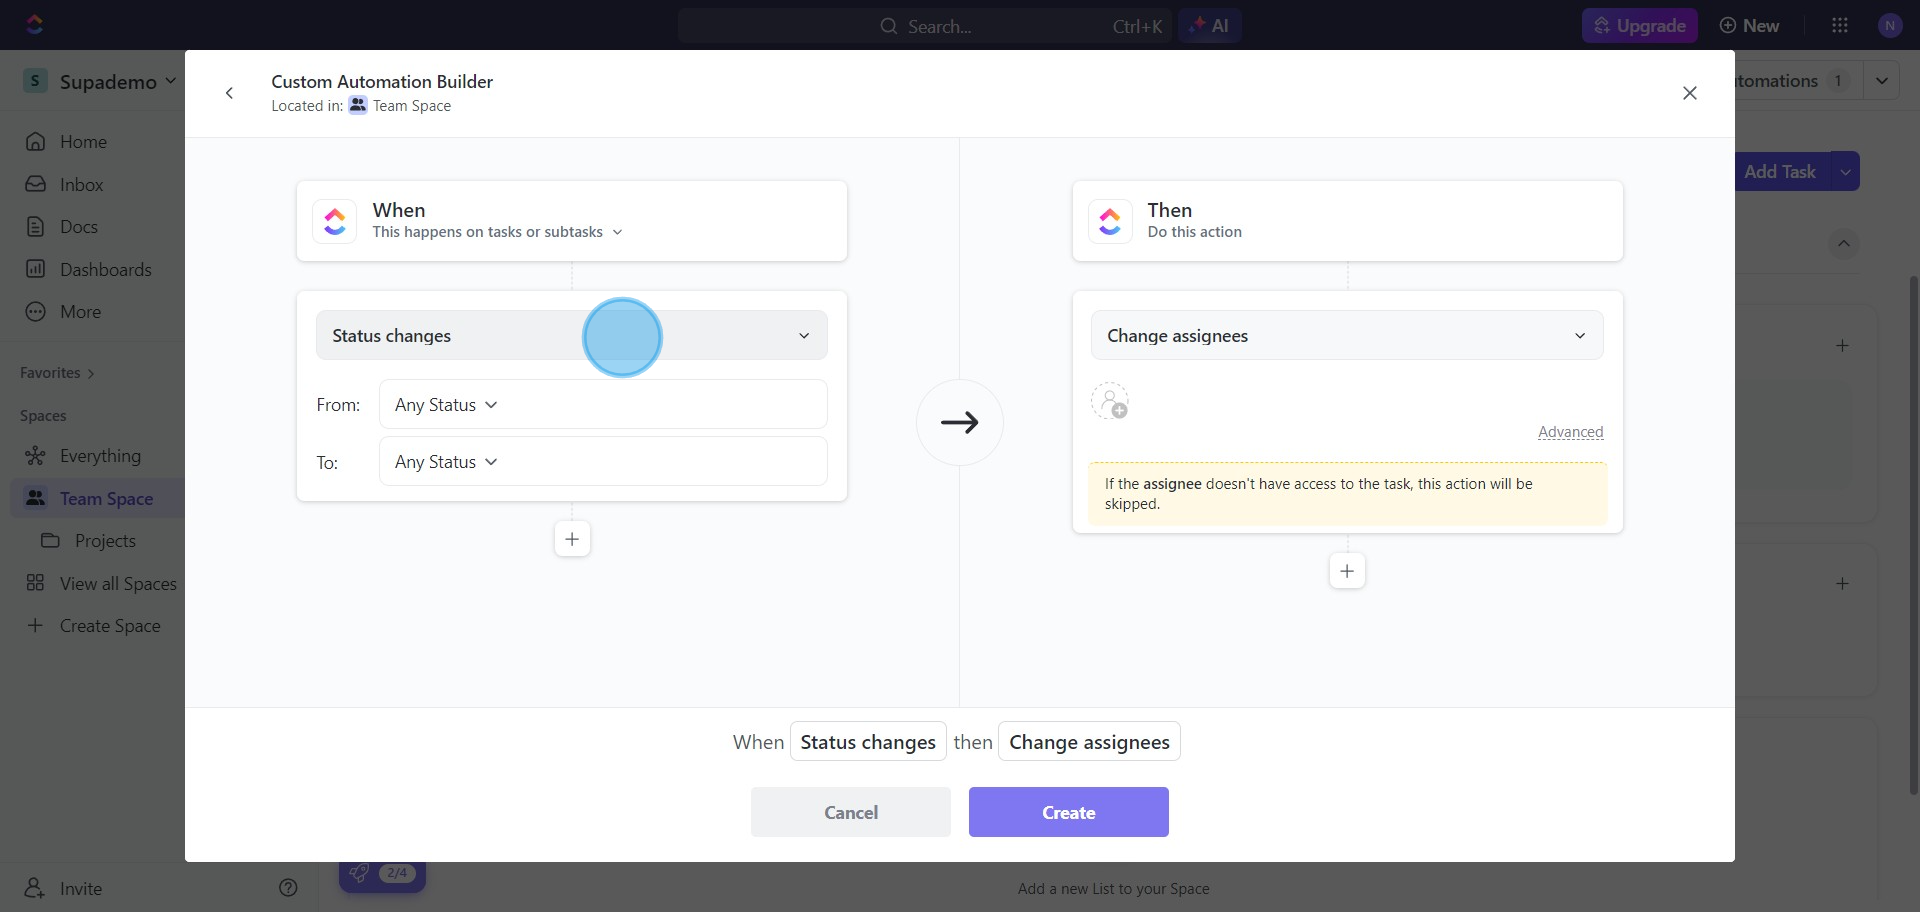
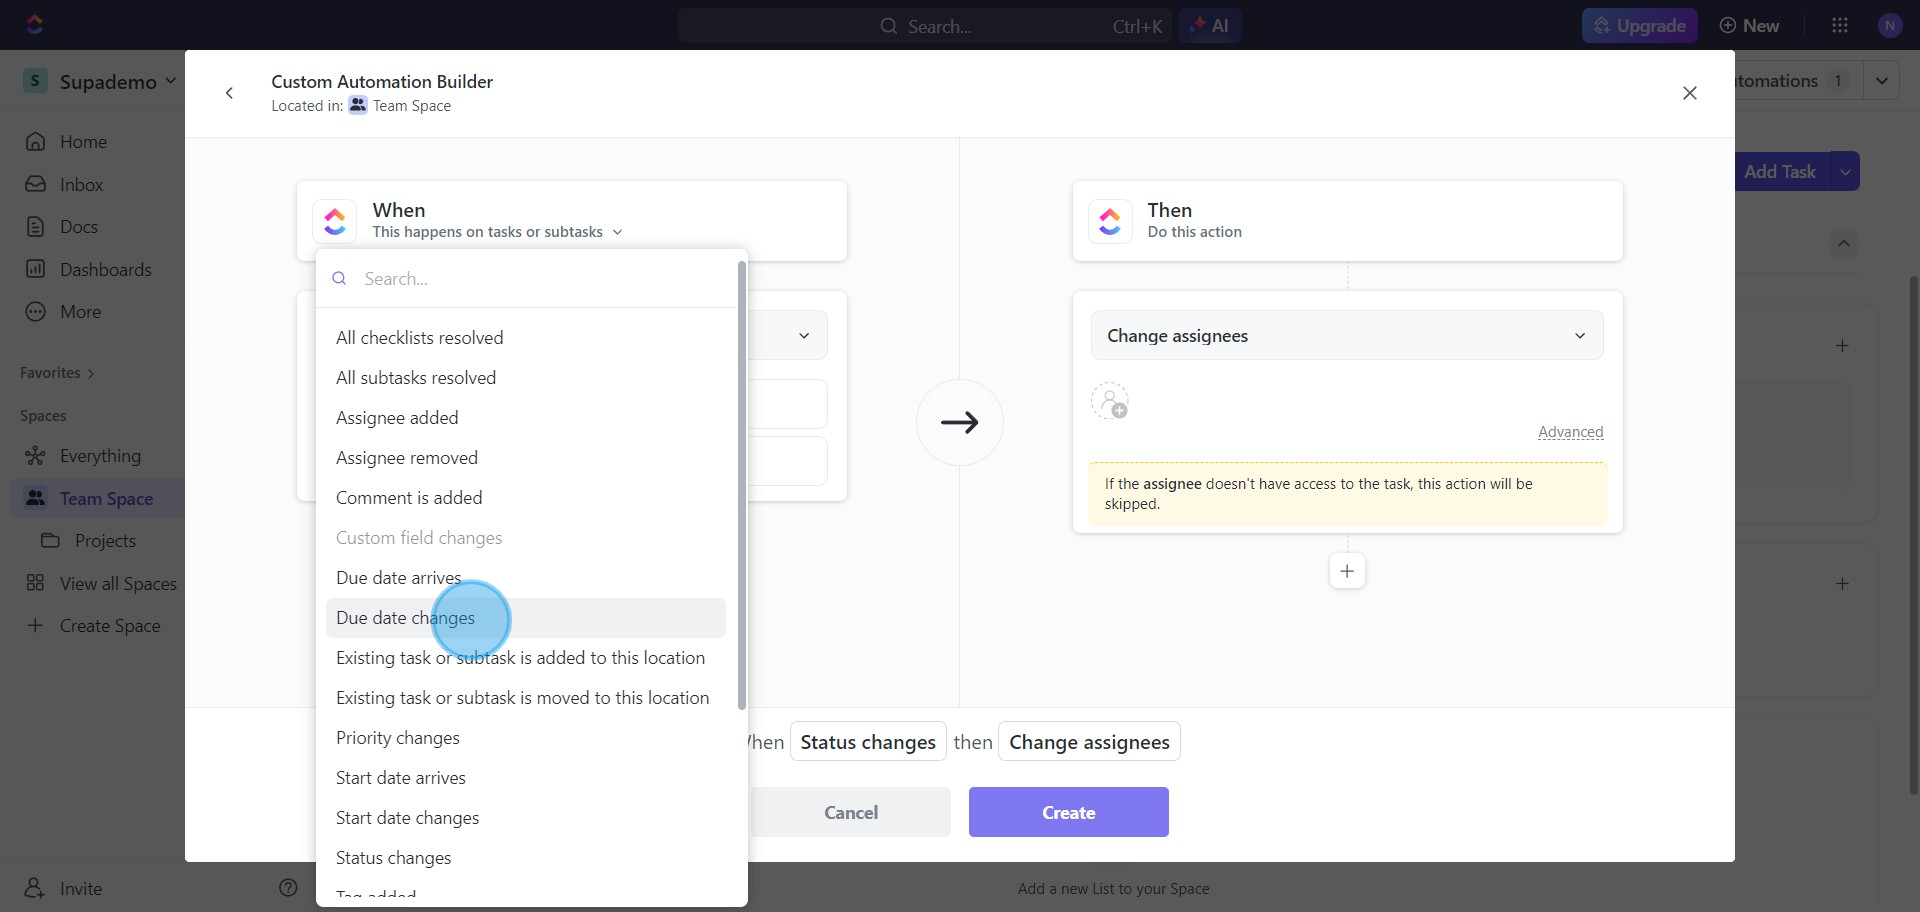
9. Choose the specific task you would like to automate.
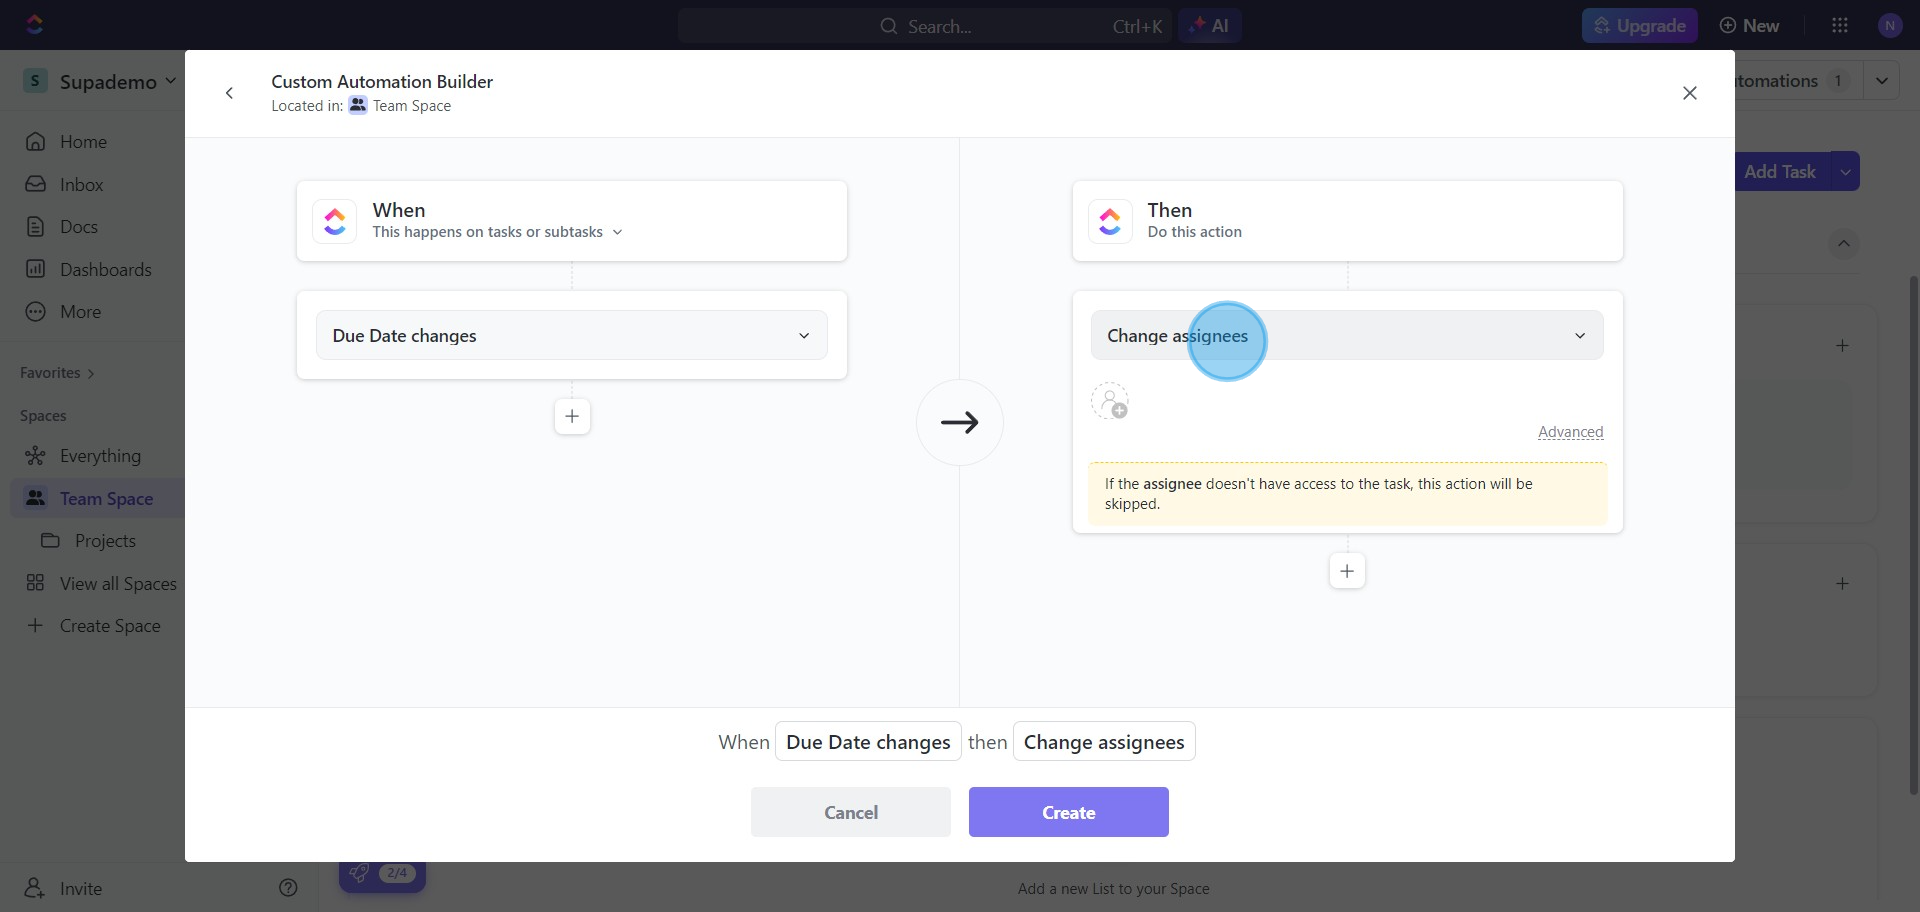
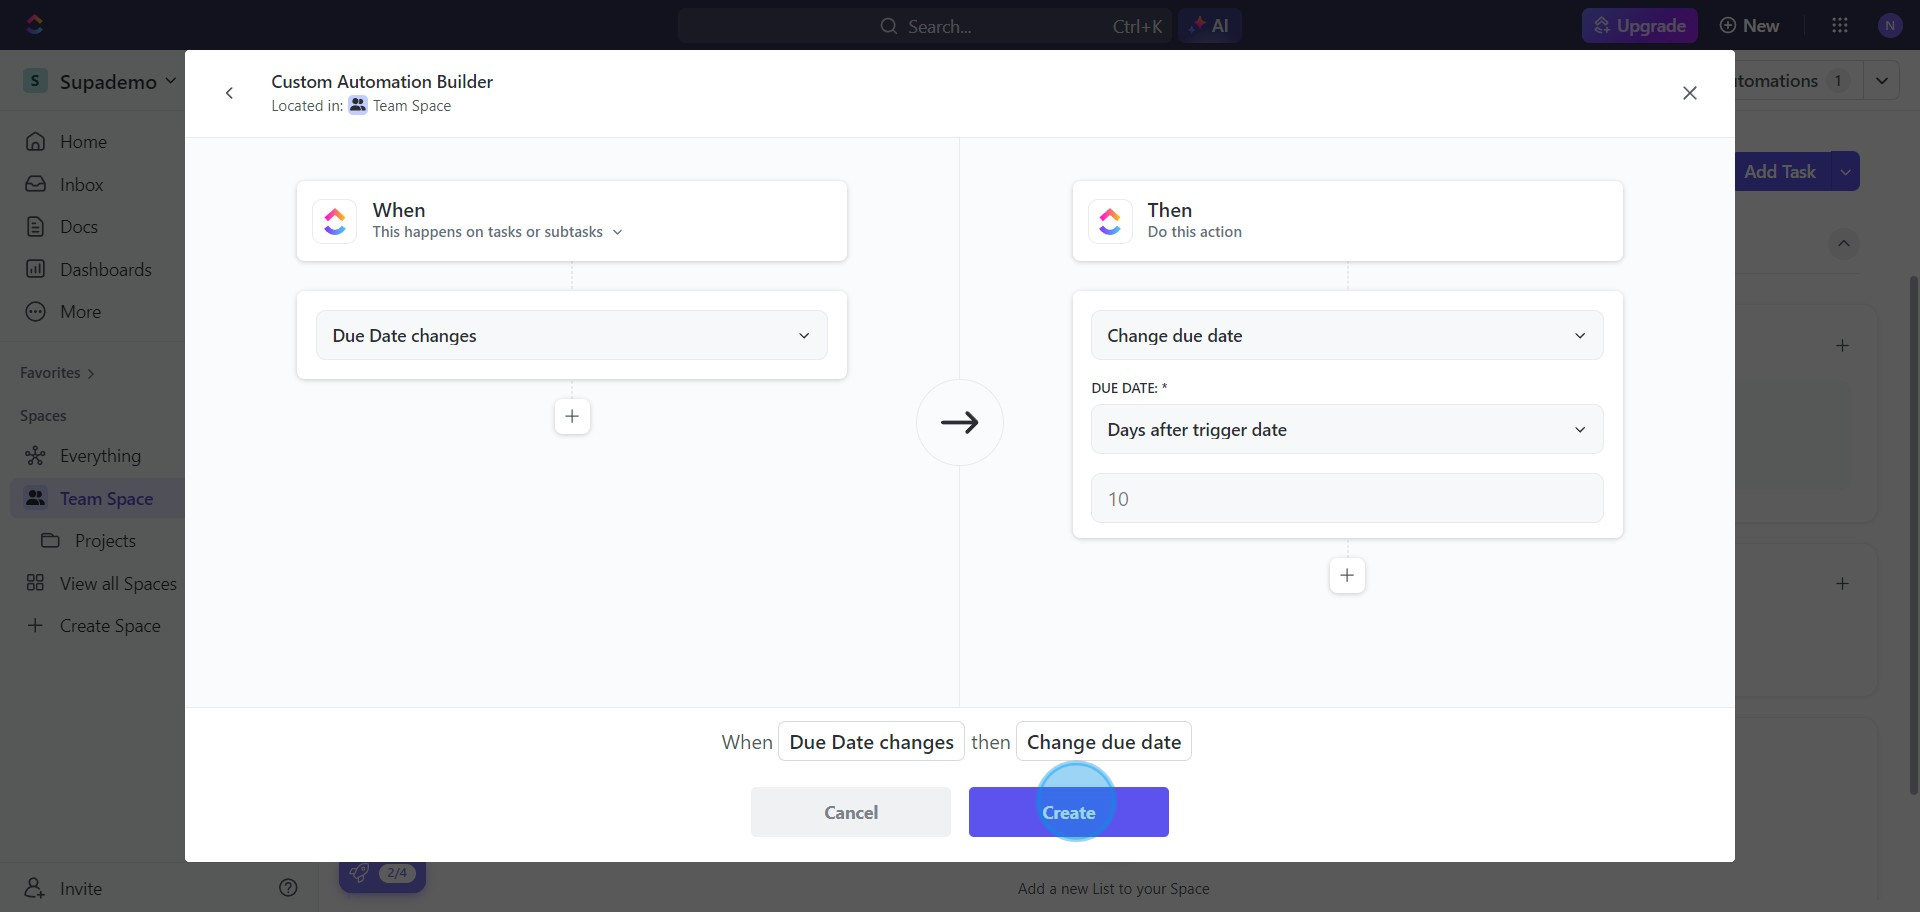
10. Define what happens in response to the trigger by selecting an automation action.
11. Select your preferred action from the options available.
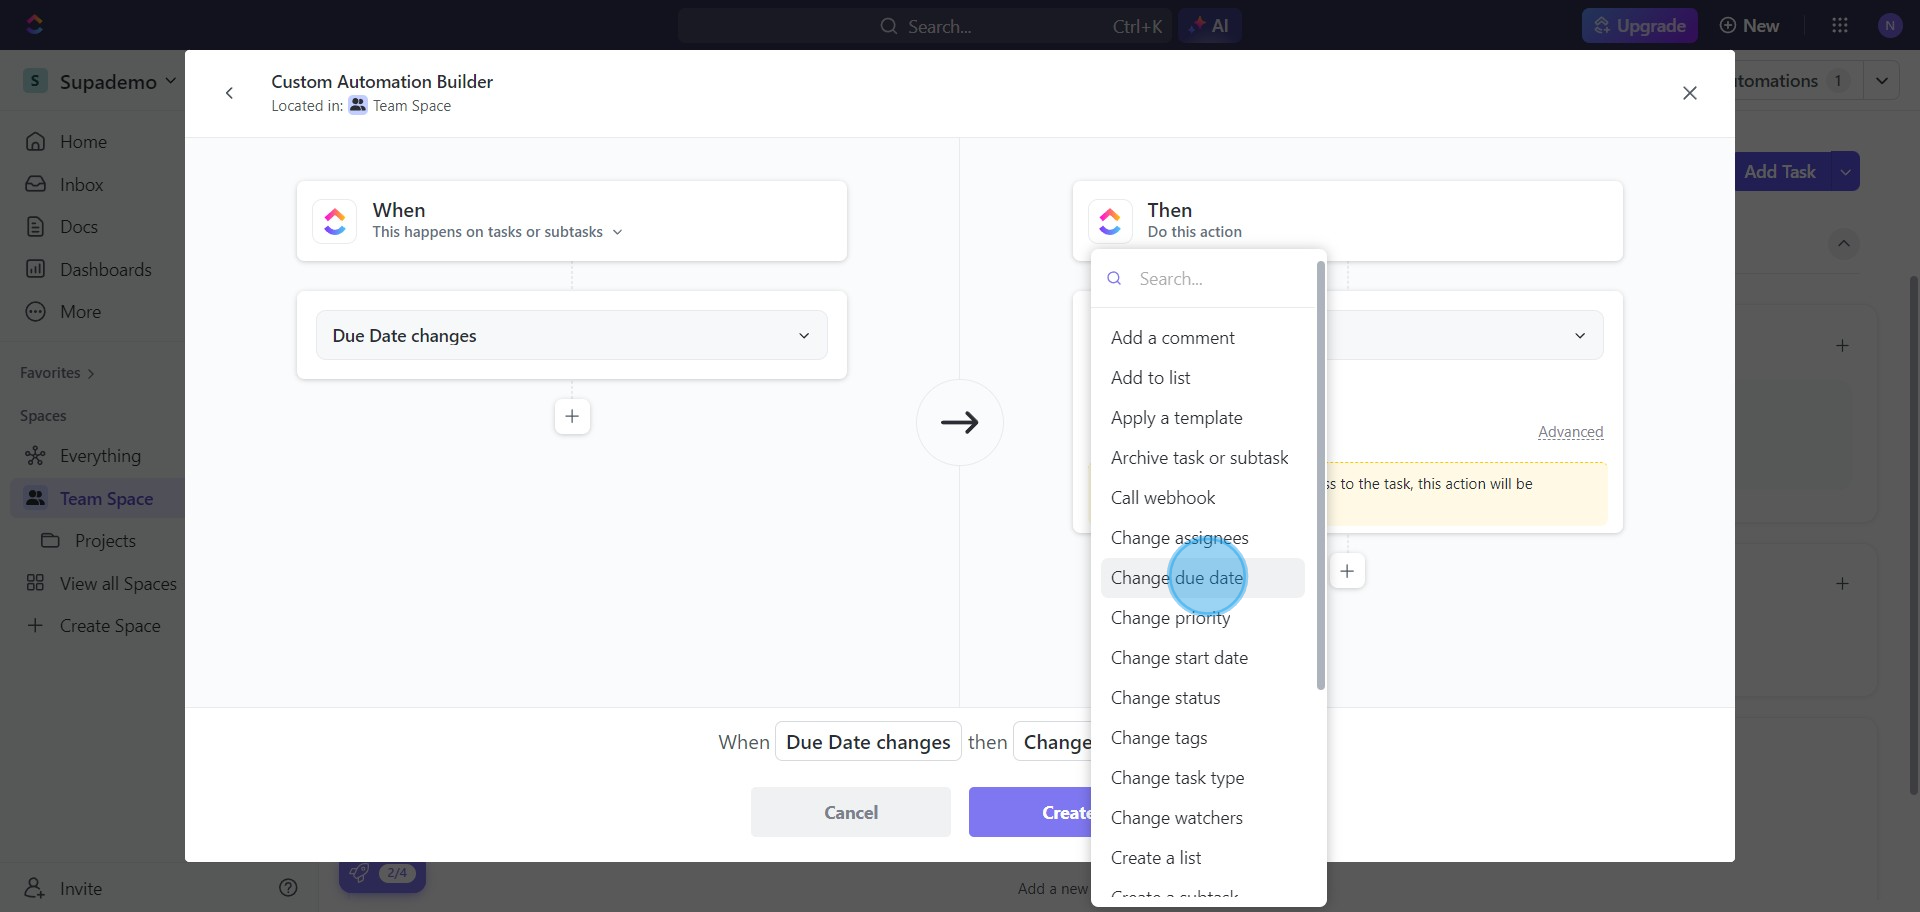
12. Finally, launch your new automation by clicking 'Create'.
Create your own step-by-step demo
Scale up your training and product adoption with beautiful AI-powered interactive demos and guides. Create your first Supademo in seconds for free.


