
Overview:
Streamline your task management in Asana by mastering the art of creating forms. Elevate user experience and simplify data collection by seamlessly designing and implementing forms tailored to your specific project needs. This comprehensive guide takes you through an effortless process, empowering you to efficiently create and utilize forms within Asana. Enhance task clarity and collaboration, optimizing your project management strategies for heightened efficiency and productivity.
Who is Asana best suited for?
Asana is best suited for a wide range of professionals, including Project Managers, Team Leaders, and Operations Coordinators. For example, Project Managers can use Asana for planning and tracking project milestones, Team Leaders can leverage it for assigning tasks and overseeing team progress, and Operations Coordinators can use it for streamlining workflows and managing day-to-day operations, all benefiting from Asana’s comprehensive task management and collaboration features.
How to create forms in Asana
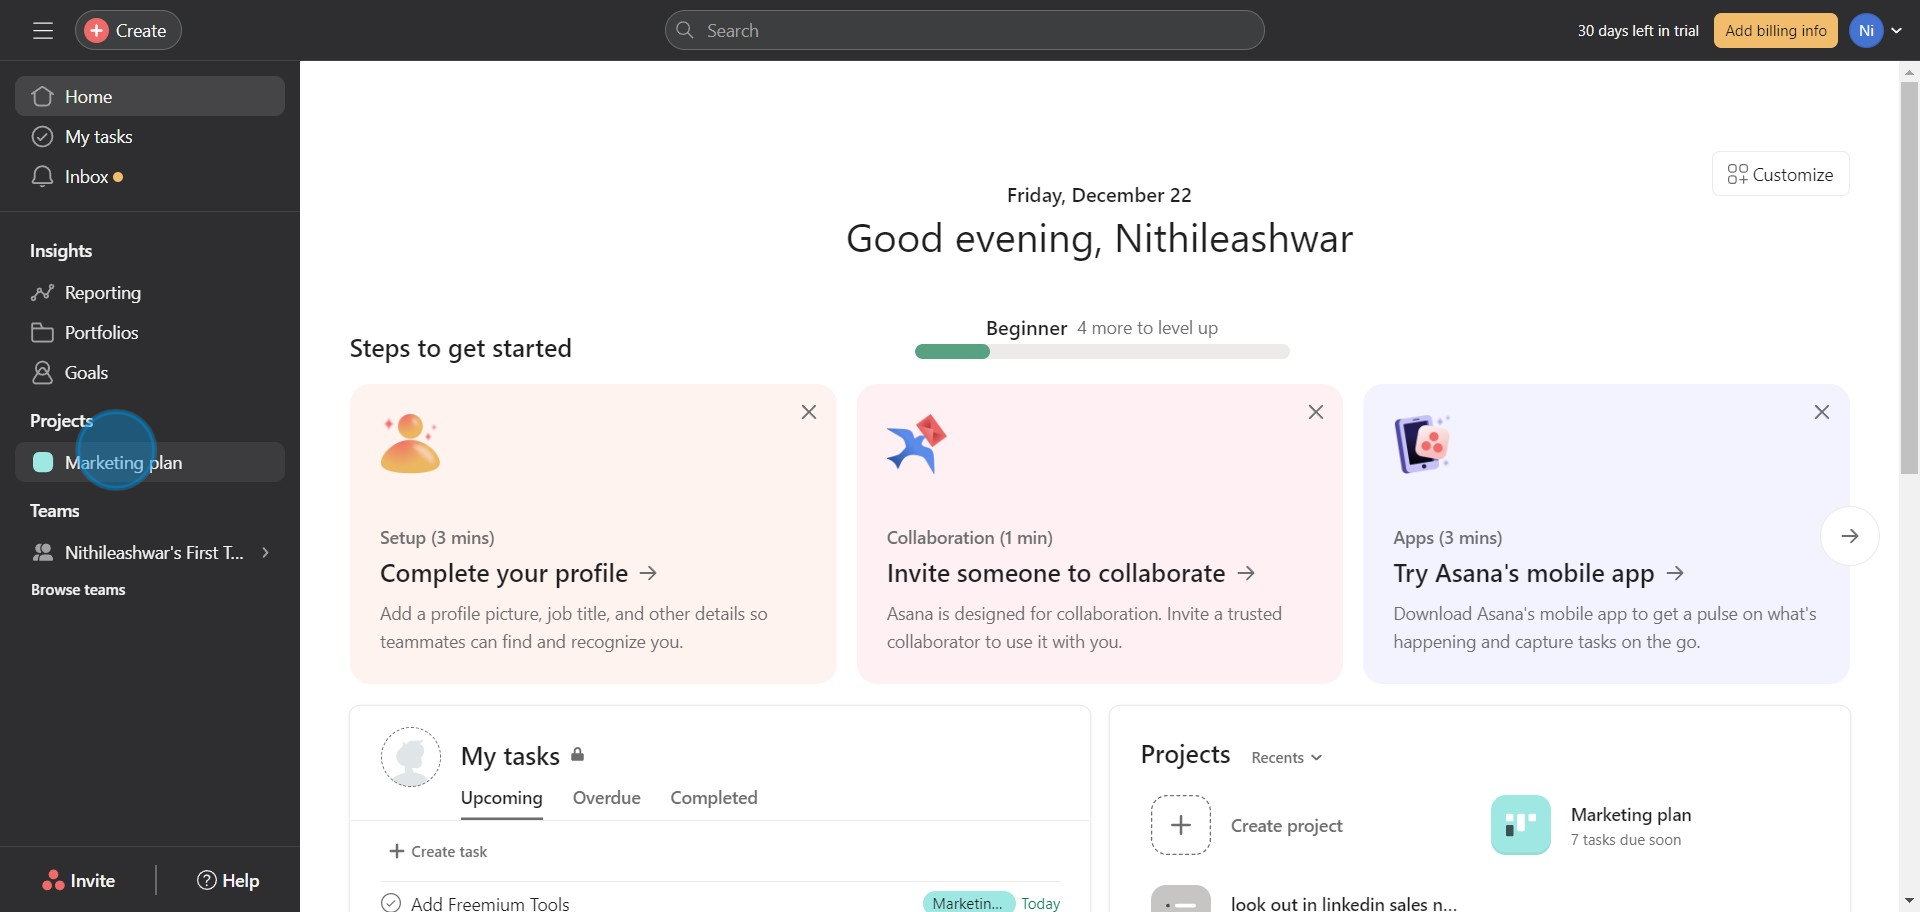
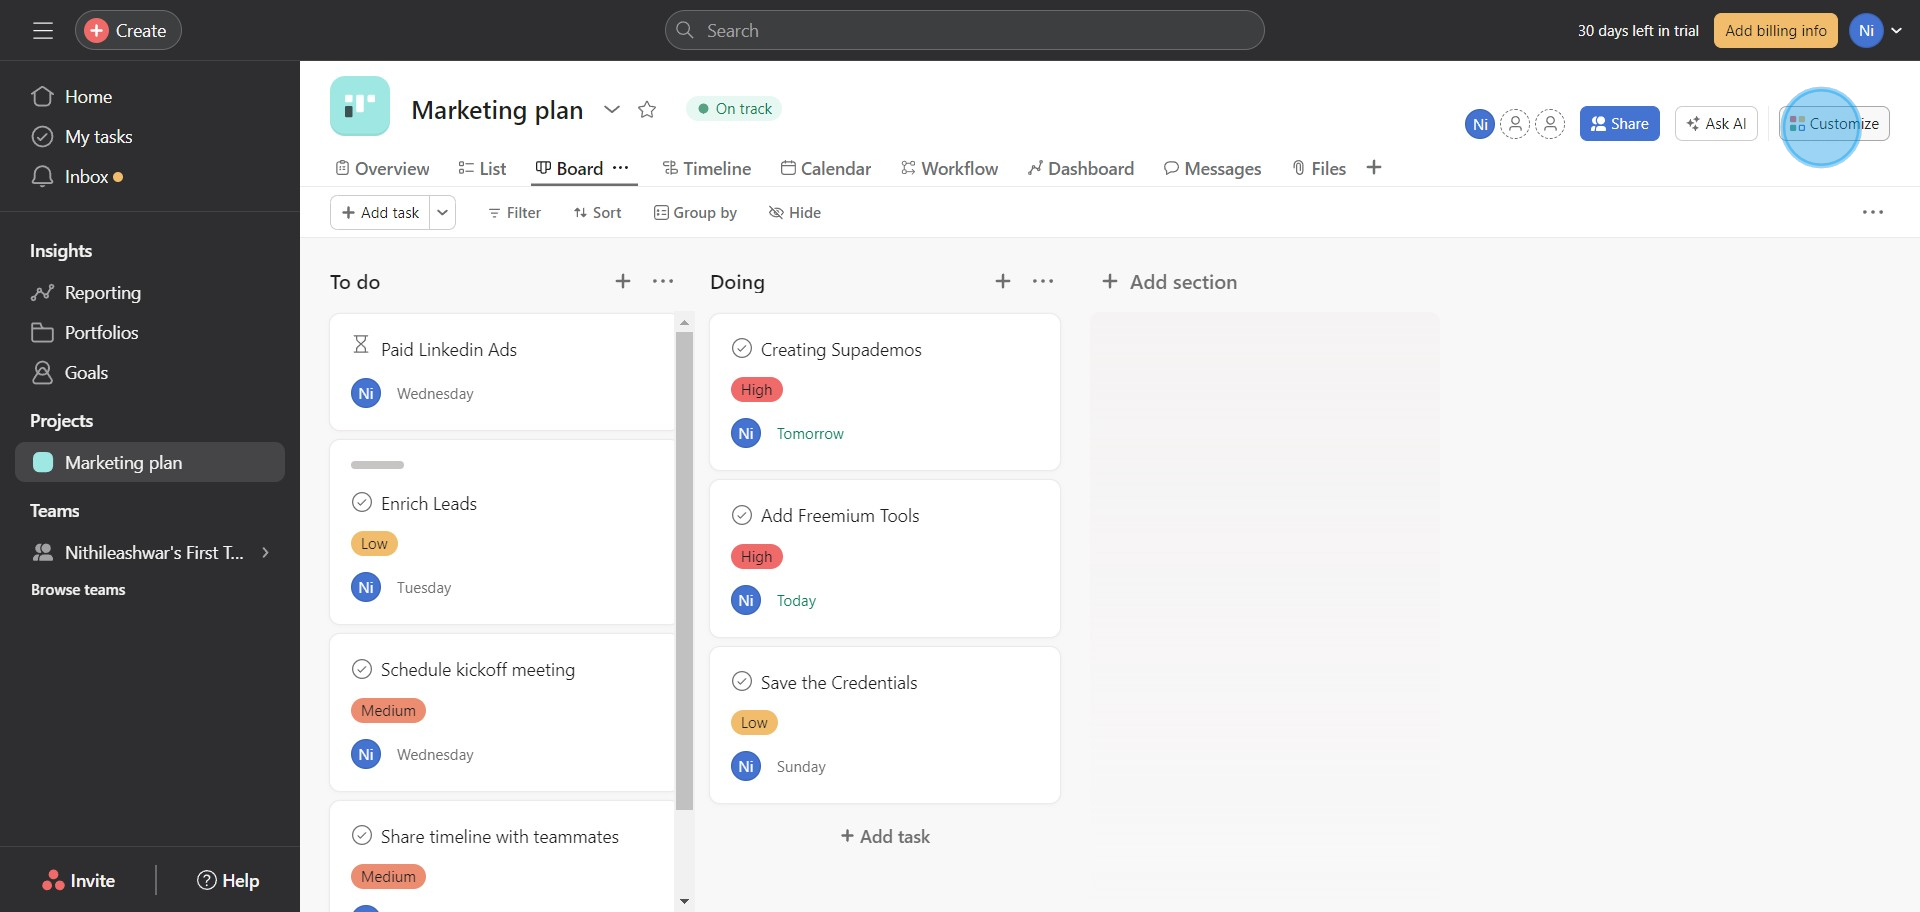
1. Select your intended project under Marketing plan.
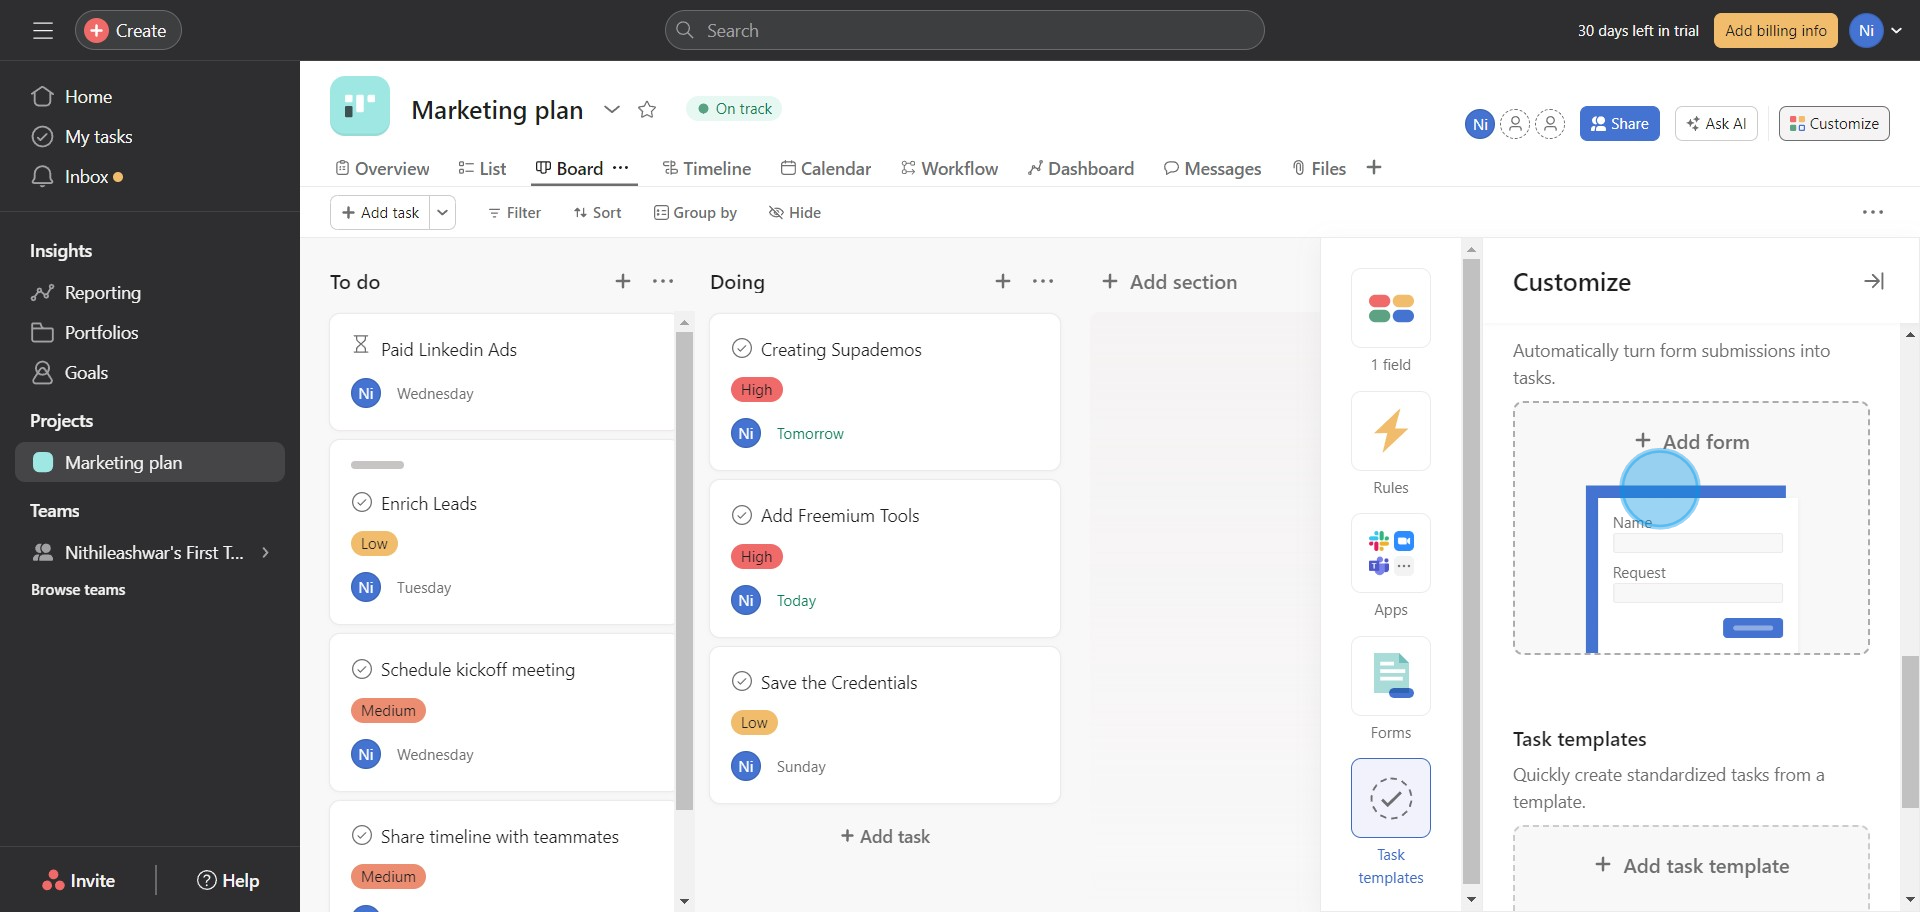
2. Proceed and hit the Customize button.
3. Click the Add Form option.
4. Opt to Add a heading for your form.
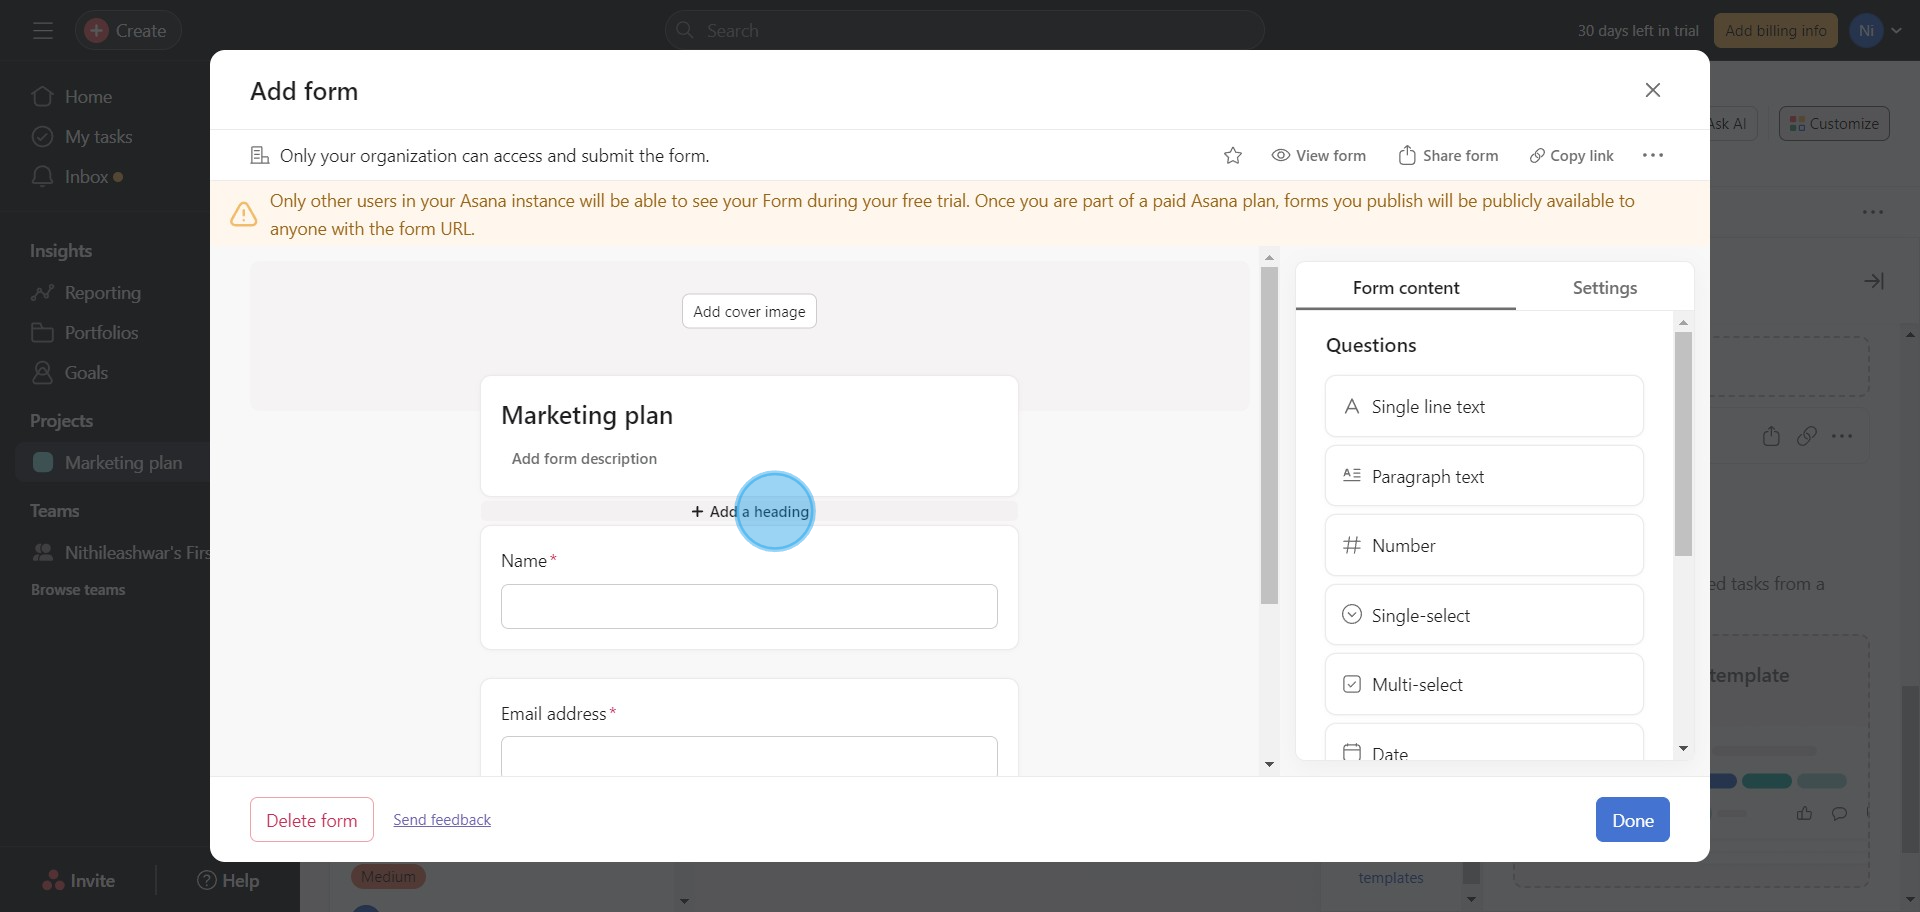
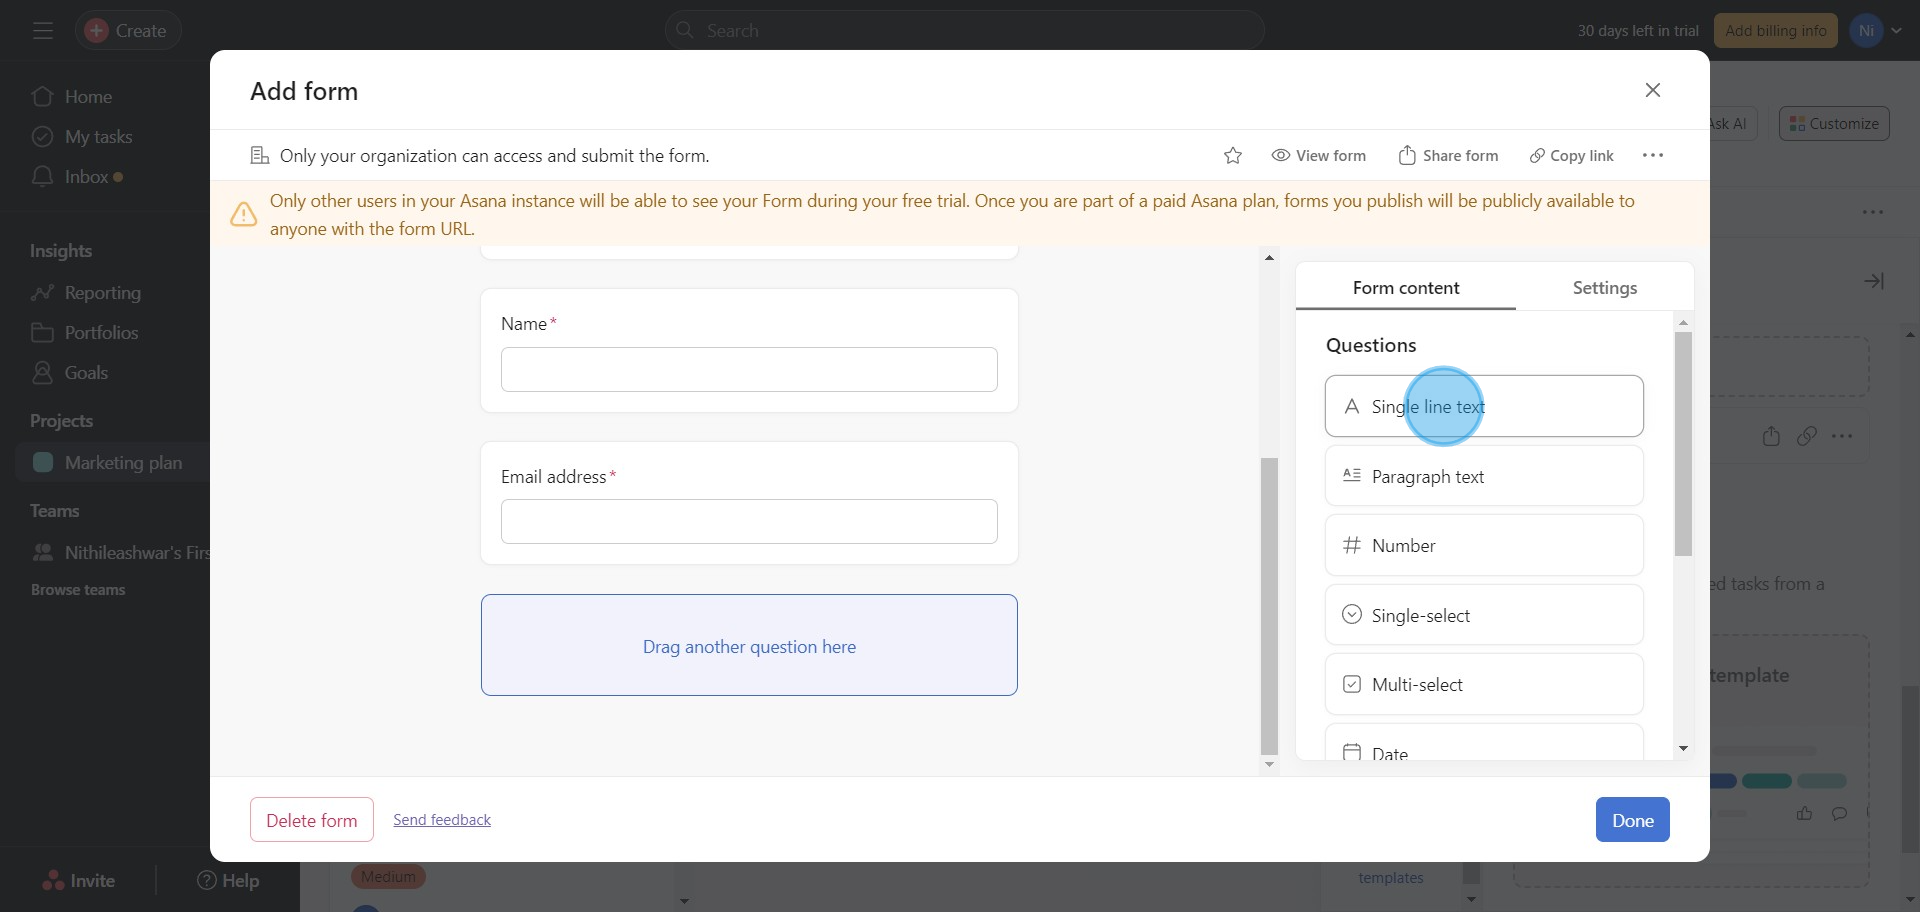
5. Choose desired fields like Single line text for your form.
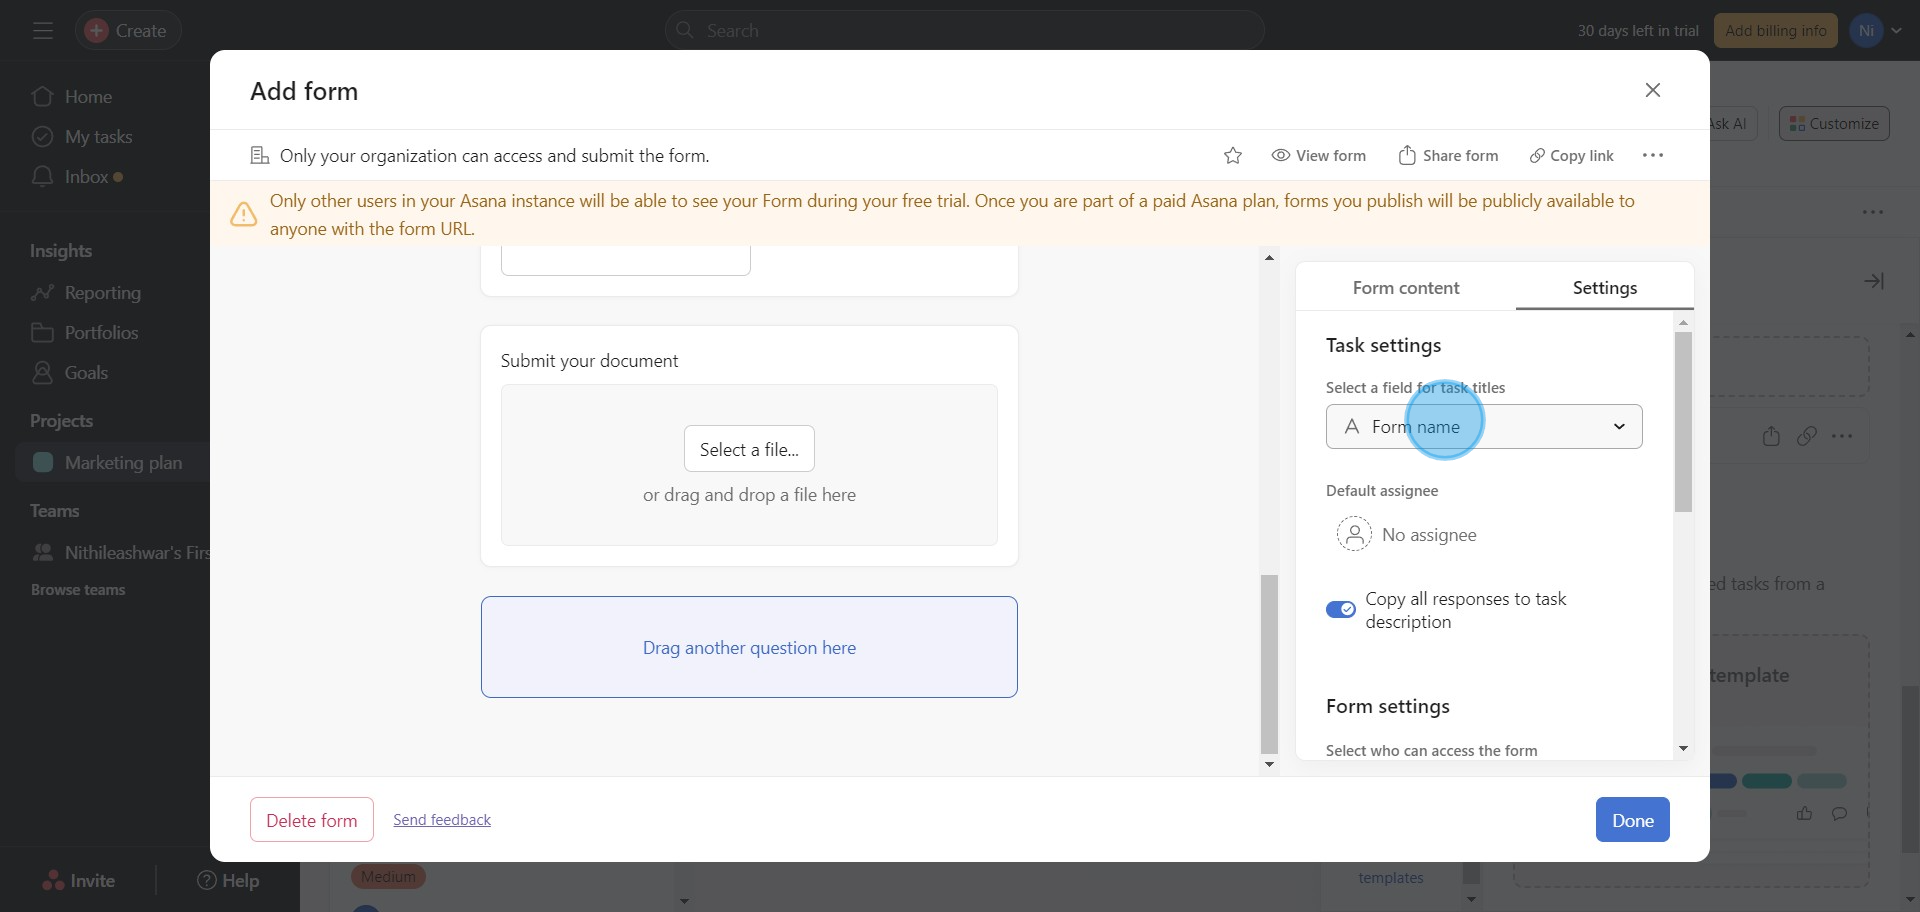
6. Advance to the Settings.

7. Input your preferred Form name.
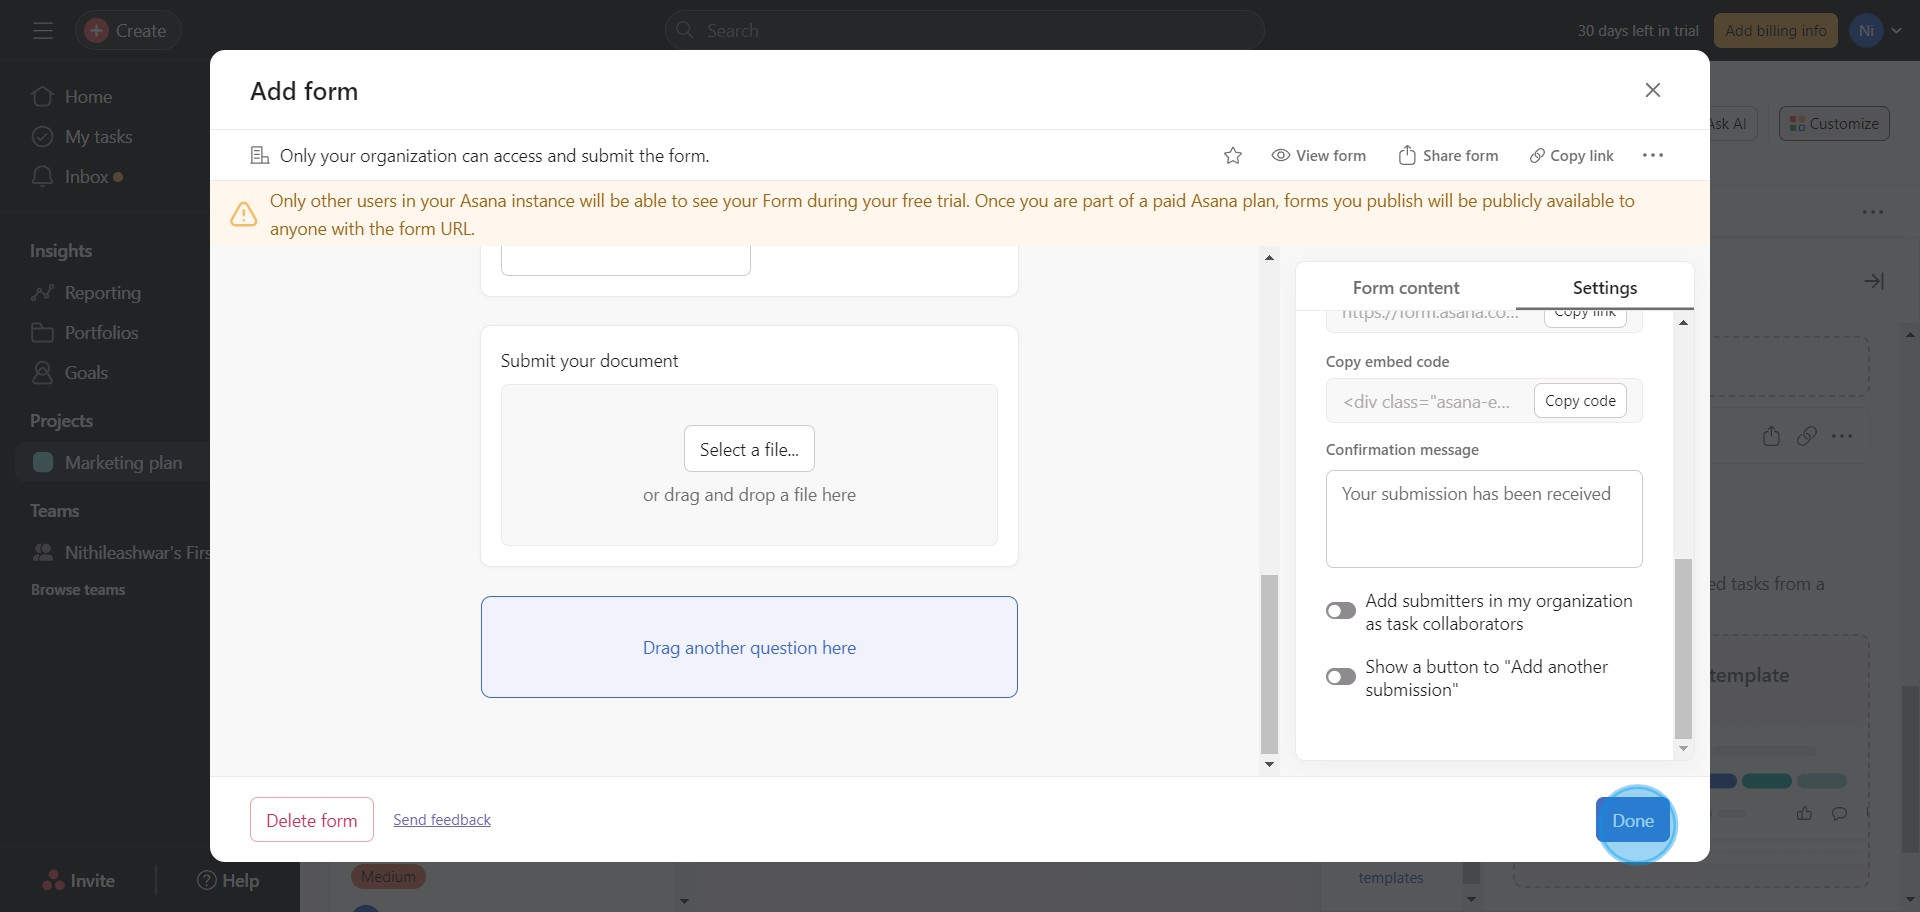
8. Once complete, press Done.
9. Input names or email addresses you intend to share the form with.
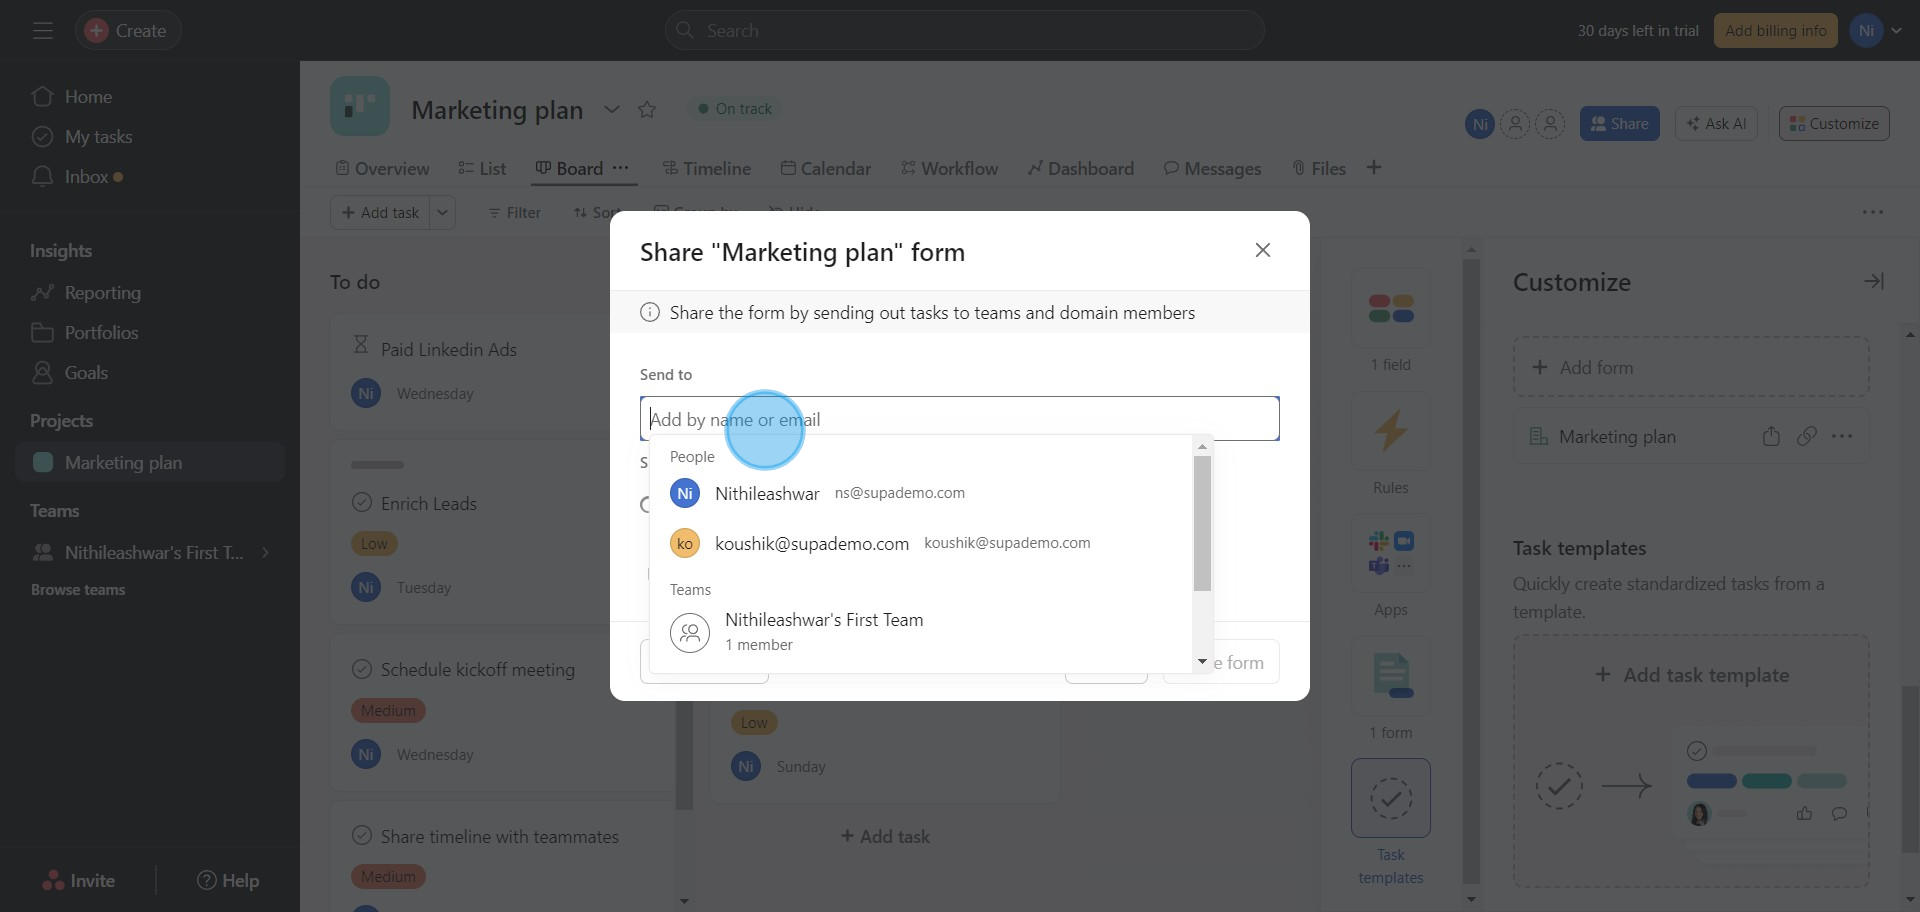
10. Conclude by clicking Share form.

Common FAQs on Asana
How do I create and organize tasks and projects in Asana?
To create a new task in Asana, navigate to your desired project and click the “+ Add Task” button or press "Enter" on your keyboard. Enter the task name and hit "Enter" to create it. You can then add details such as due dates, assignees, descriptions, and attachments. To organize tasks, you can use sections to categorize them within a project, or create different projects for different aspects of your work. For more complex project management, you can use the “Board” view to manage tasks in columns (such as To Do, In Progress, Done) or the “Timeline” view to visualize tasks on a Gantt chart. Additionally, you can create subtasks to break down larger tasks into smaller, manageable steps.
How can I set up and use Asana’s reporting and tracking features?
Asana offers several reporting and tracking features to help you monitor project progress and performance. You can use the “Project Dashboard” to get an overview of project status, including task completion rates and upcoming deadlines. The “Progress” tab within each project provides visual progress indicators and updates on task completion. For more detailed reporting, you can use the “Advanced Search” feature to create custom reports based on specific criteria like task status, assignees, or due dates. You can also use the “Workload” feature to see how tasks and projects are distributed among team members and adjust assignments as needed to balance the workload.
How do I integrate Asana with other tools to enhance my workflow?
Asana integrates with a variety of tools to enhance your workflow and streamline project management. To set up integrations, go to the “Apps” section in your Asana settings or visit the Asana App Directory. Popular integrations include Slack for communication, Google Drive and Dropbox for file storage, and Microsoft Teams for collaboration. Integrations with tools like Zapier or Automate.io allow you to create custom workflows between Asana and other apps. For example, you can set up automations to create tasks in Asana from form submissions or link Asana tasks with calendar events. These integrations help centralize your work processes, reduce manual tasks, and keep your team aligned.
Create your own step-by-step demo
Scale up your training and product adoption with beautiful AI-powered interactive demos and guides. Create your first Supademo in seconds for free.
