
Overview:
Streamline your feedback collection process with a comprehensive guide on creating NPS surveys in Pendo. Optimize your workflow by implementing these surveys to gauge customer satisfaction effectively. This step-by-step guide ensures a seamless process for designing and deploying NPS surveys, empowering you to enhance efficiency and clarity in customer satisfaction management within the Pendo platform.
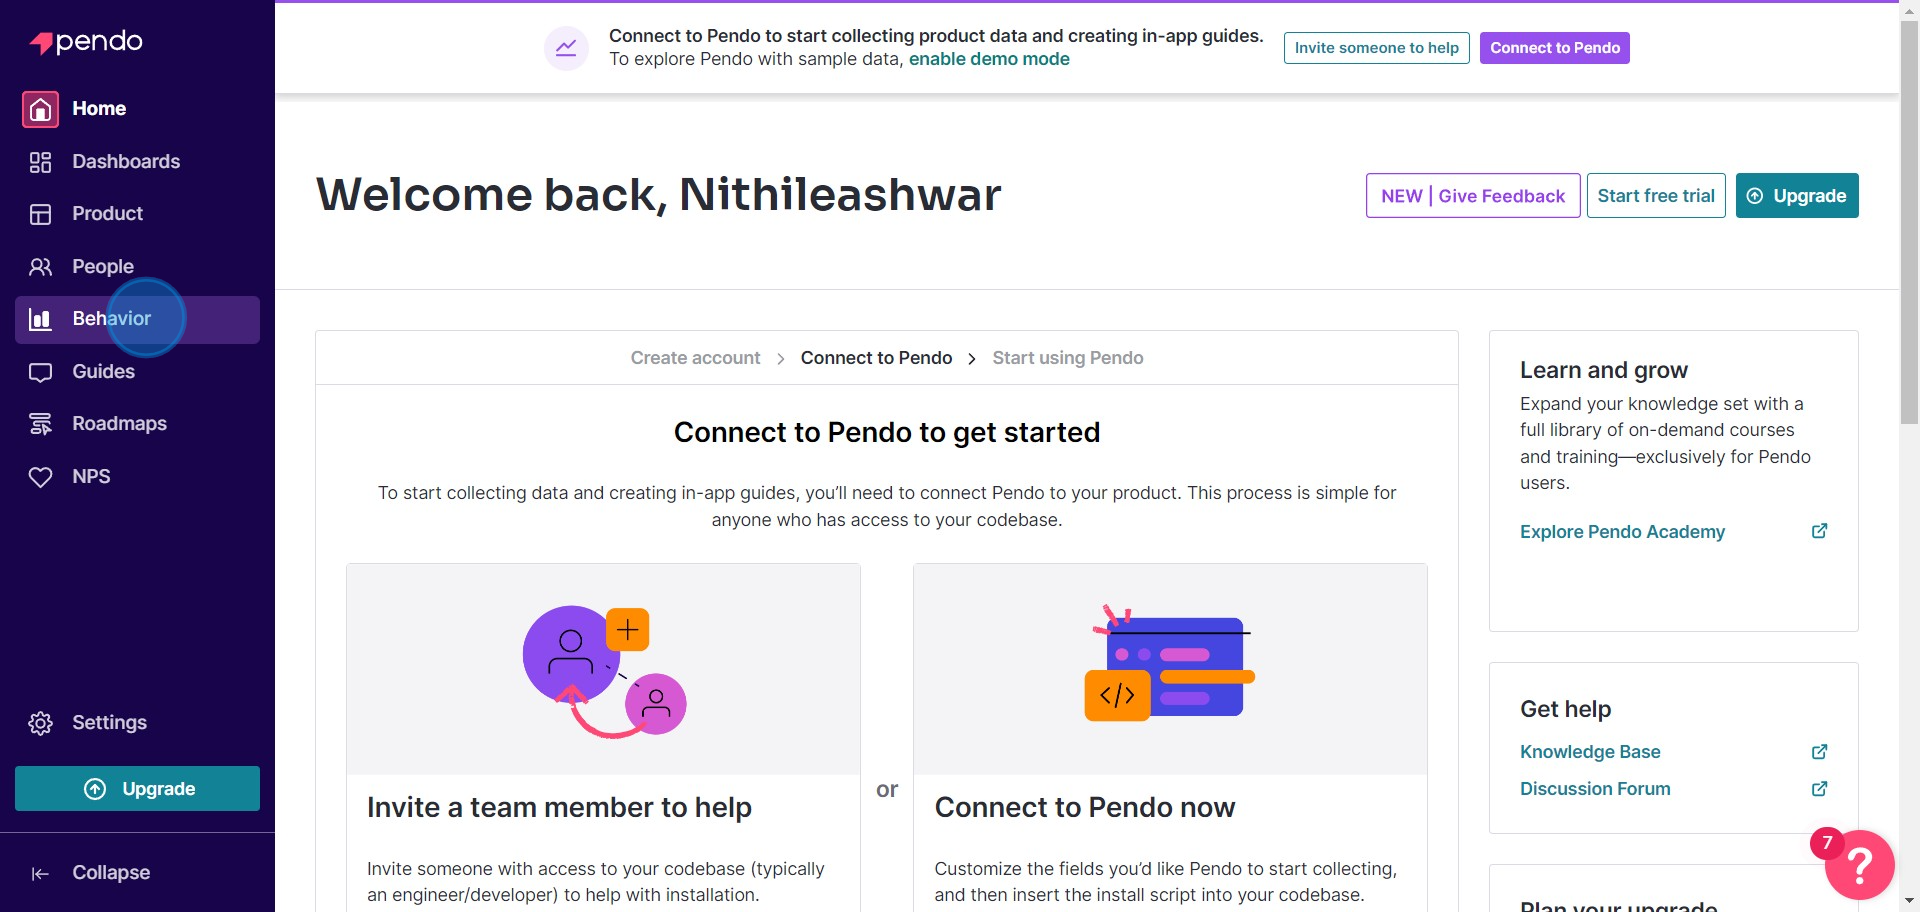
1. Begin by selecting the 'Behavior' option
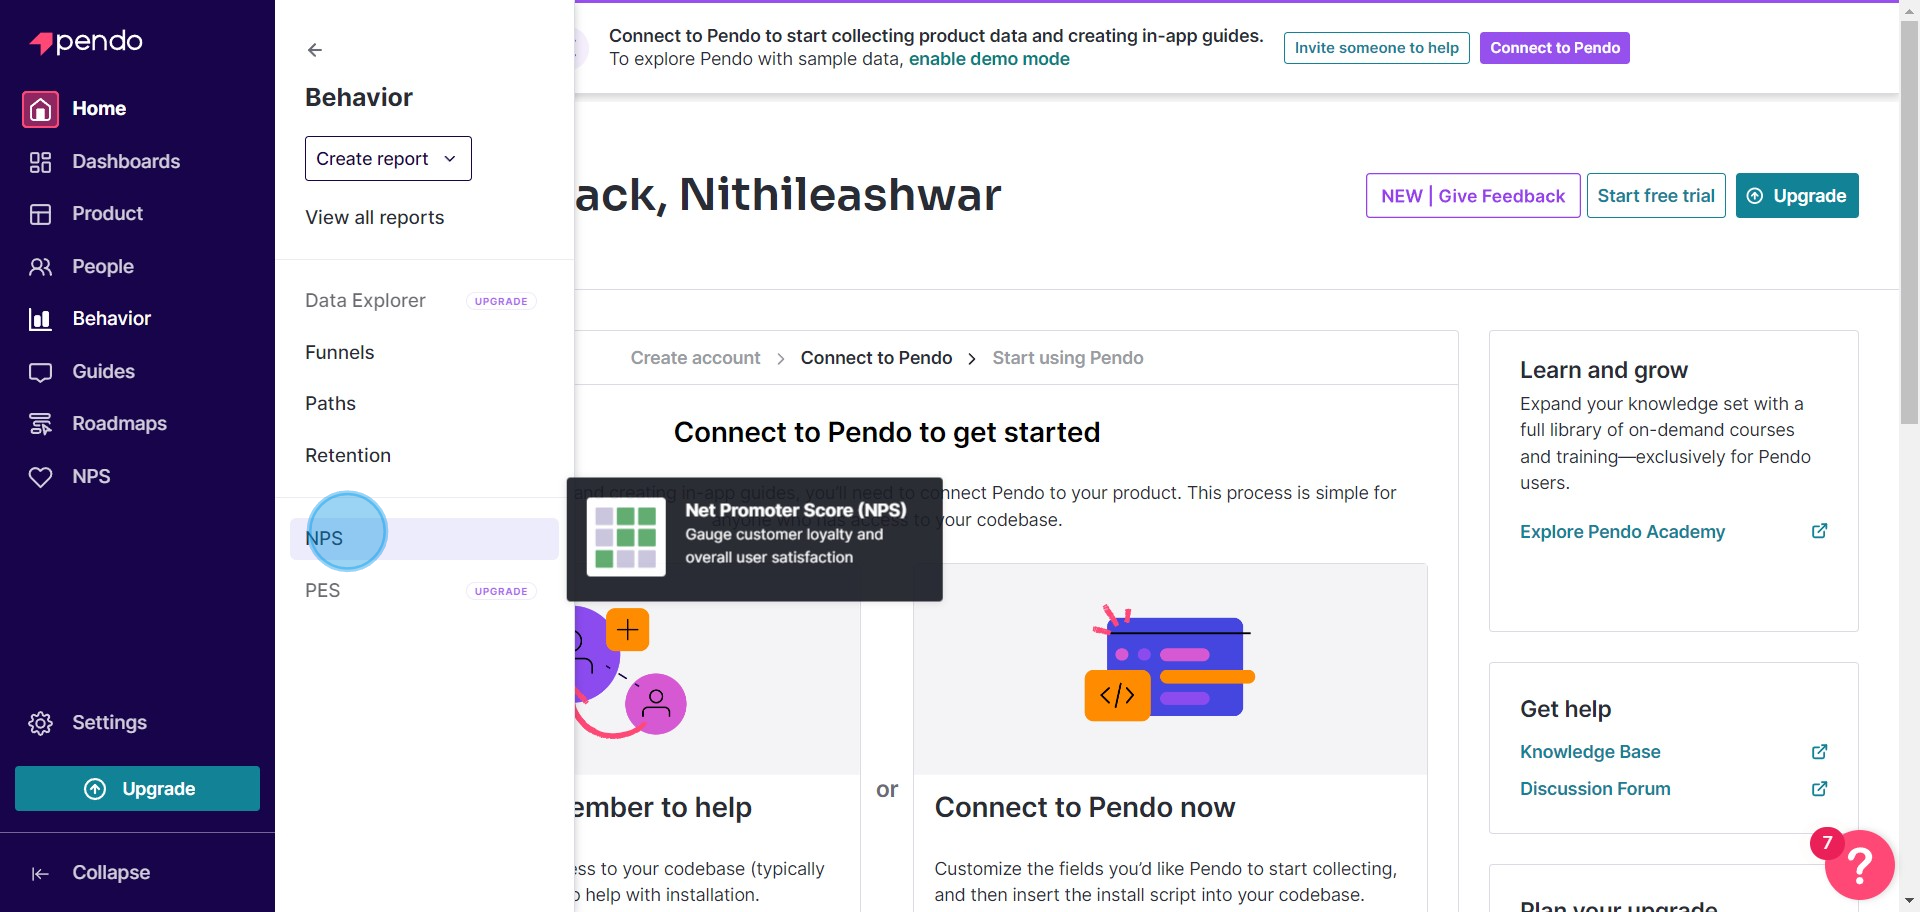
2. Next, click on the 'NPS' sub-category.
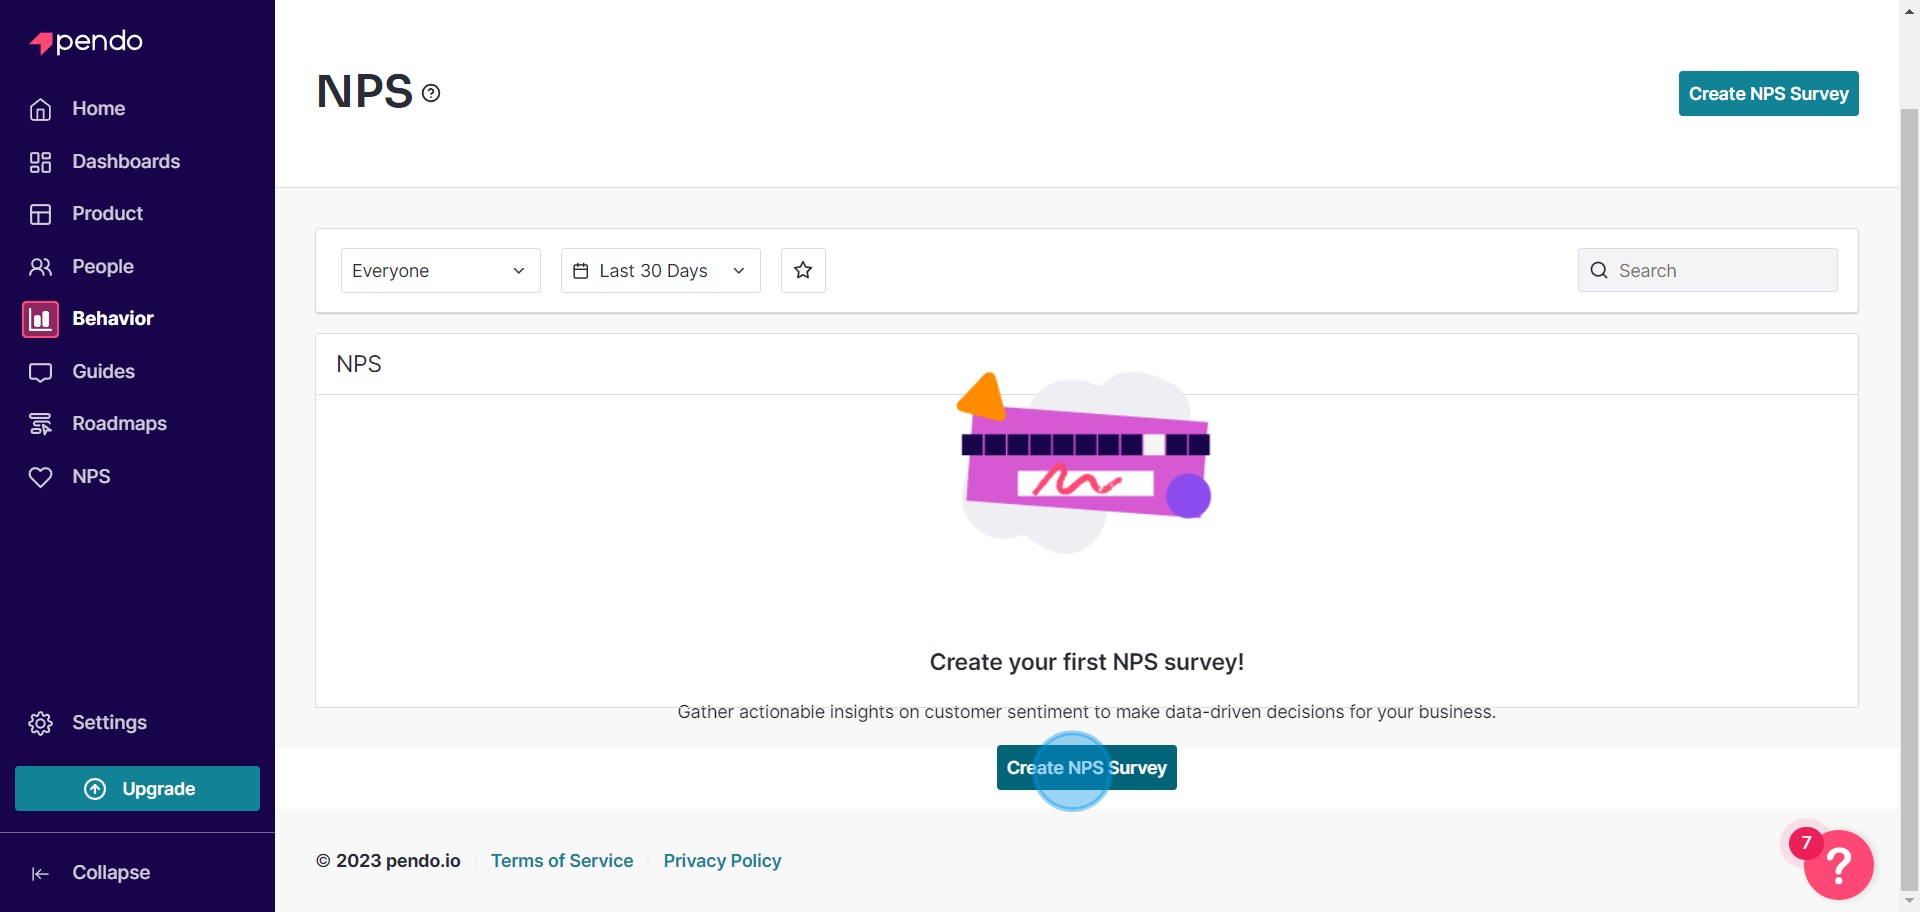
3. Proceed in choosing 'Create NPS Survey'.
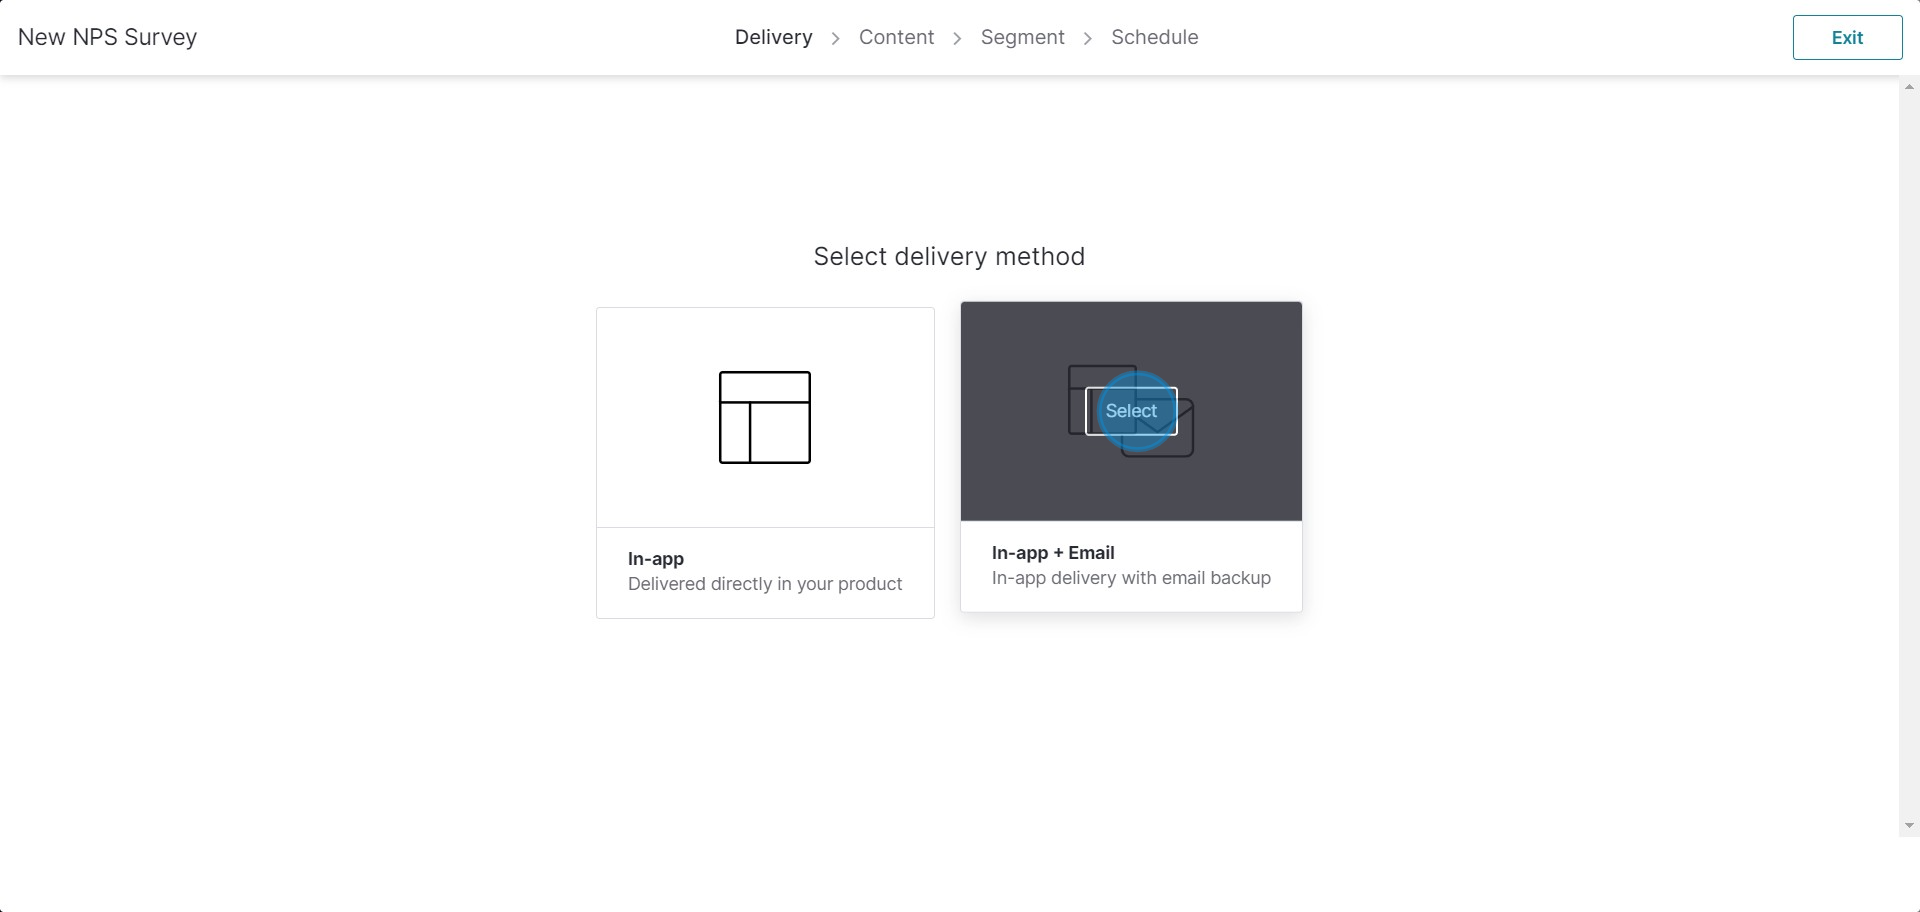
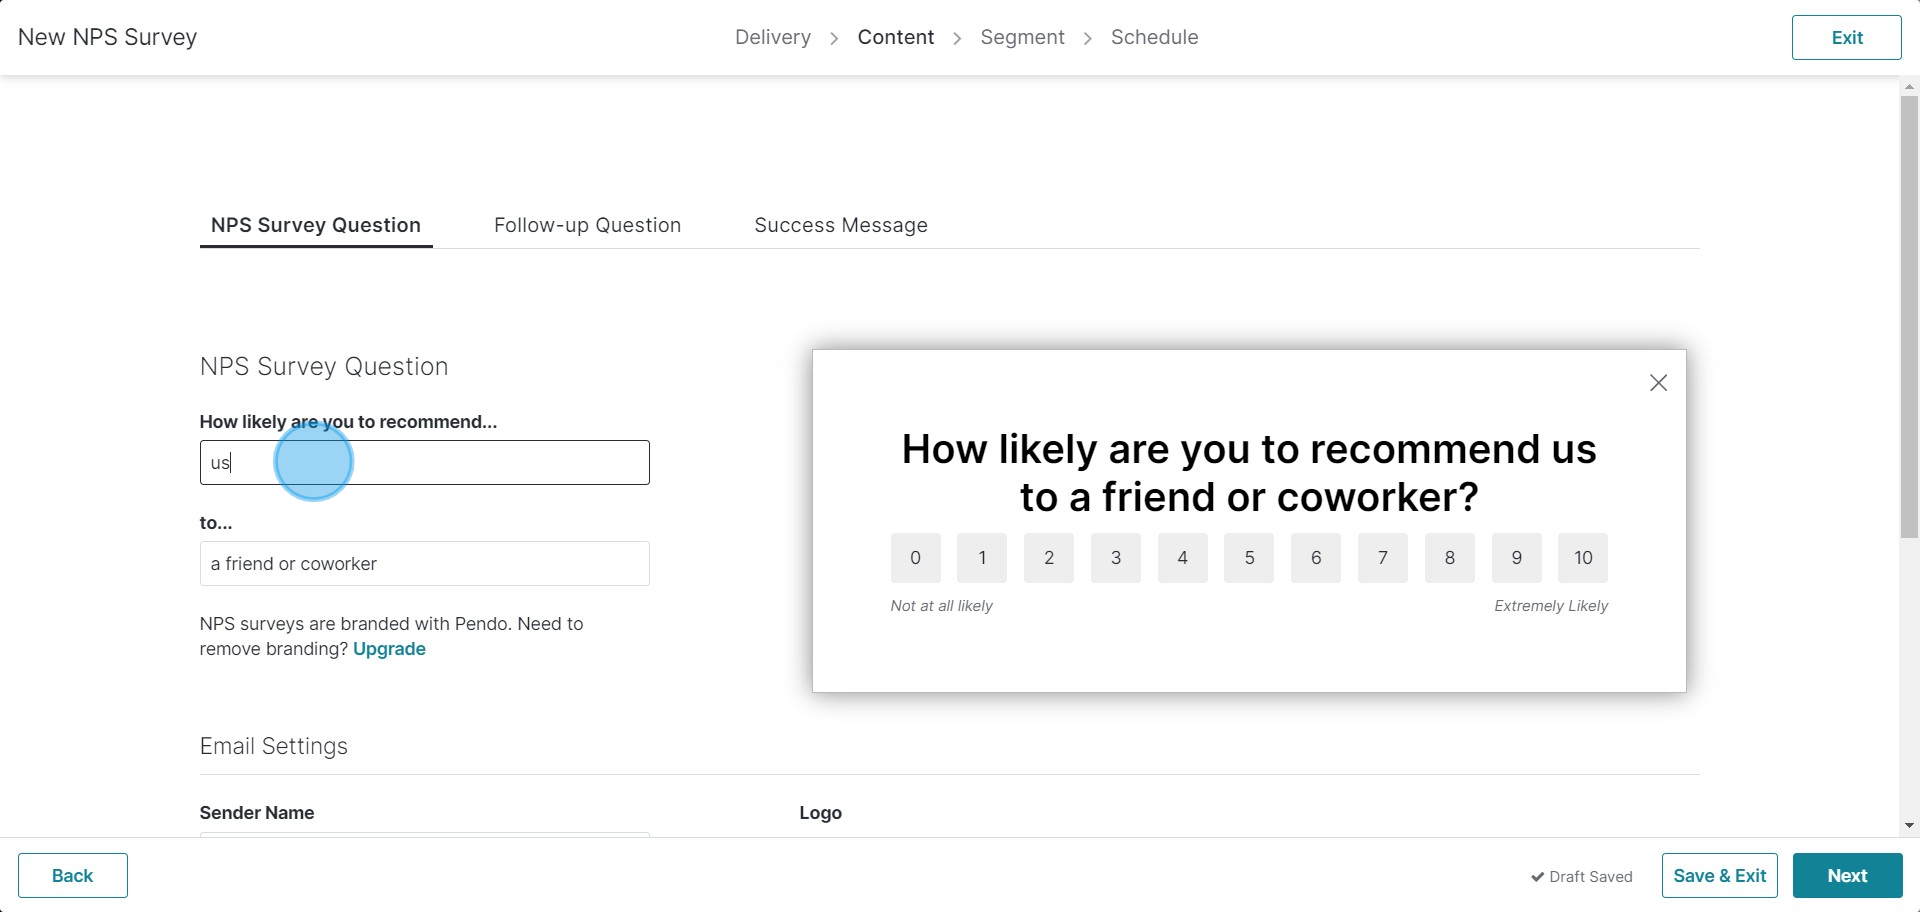
4. Choose your desired type of NPS Survey.
5. If customizing, write your text in the provided field.
6. Add your or the sender's company name as required.
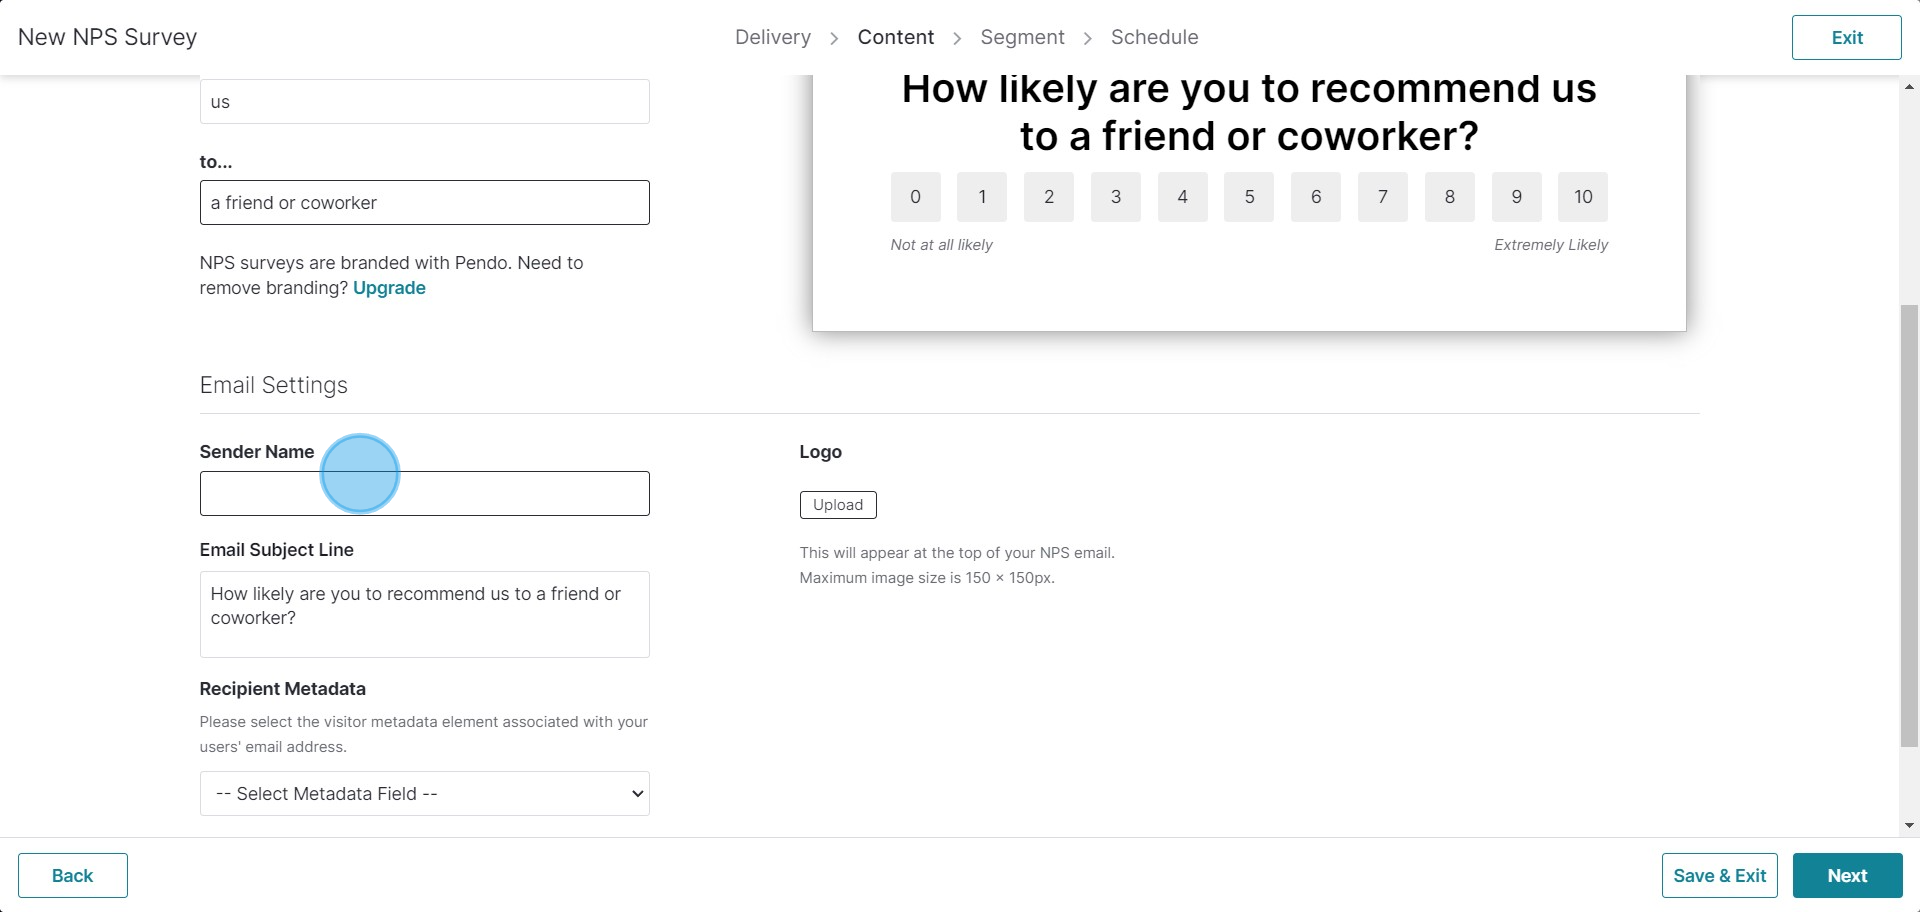
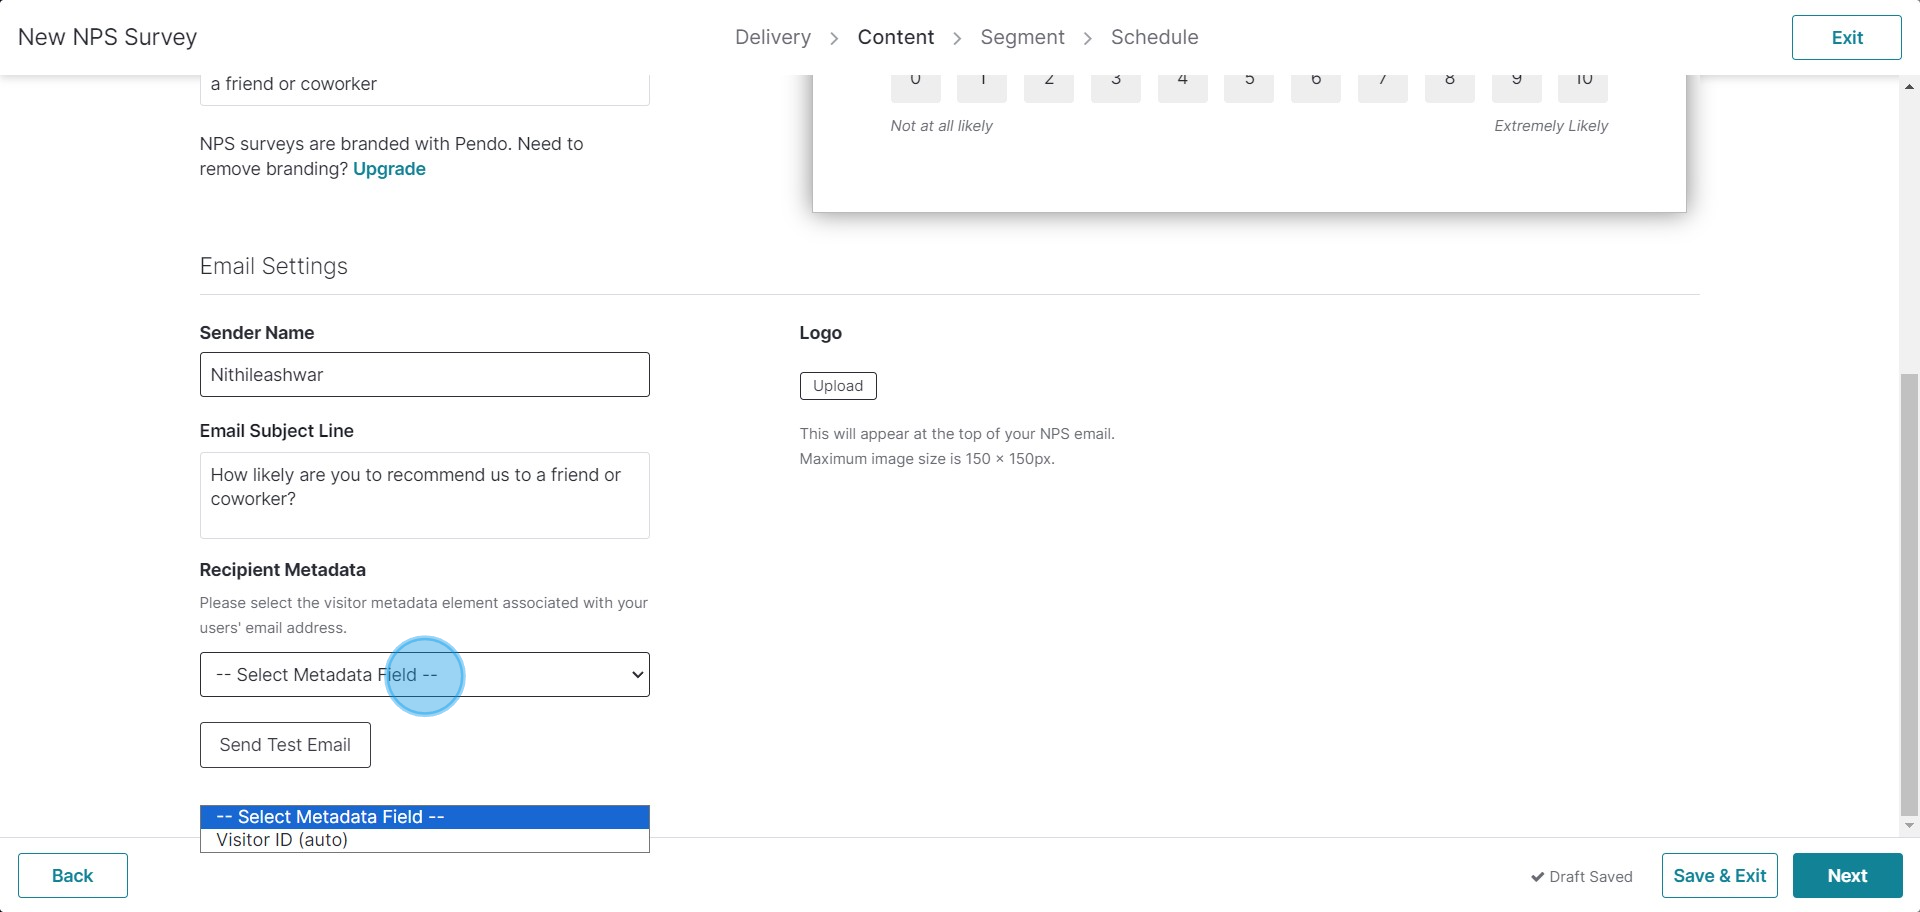
7. Choose the 'Visitor ID' as the metadata field from the drop-down menu for easier sharing.
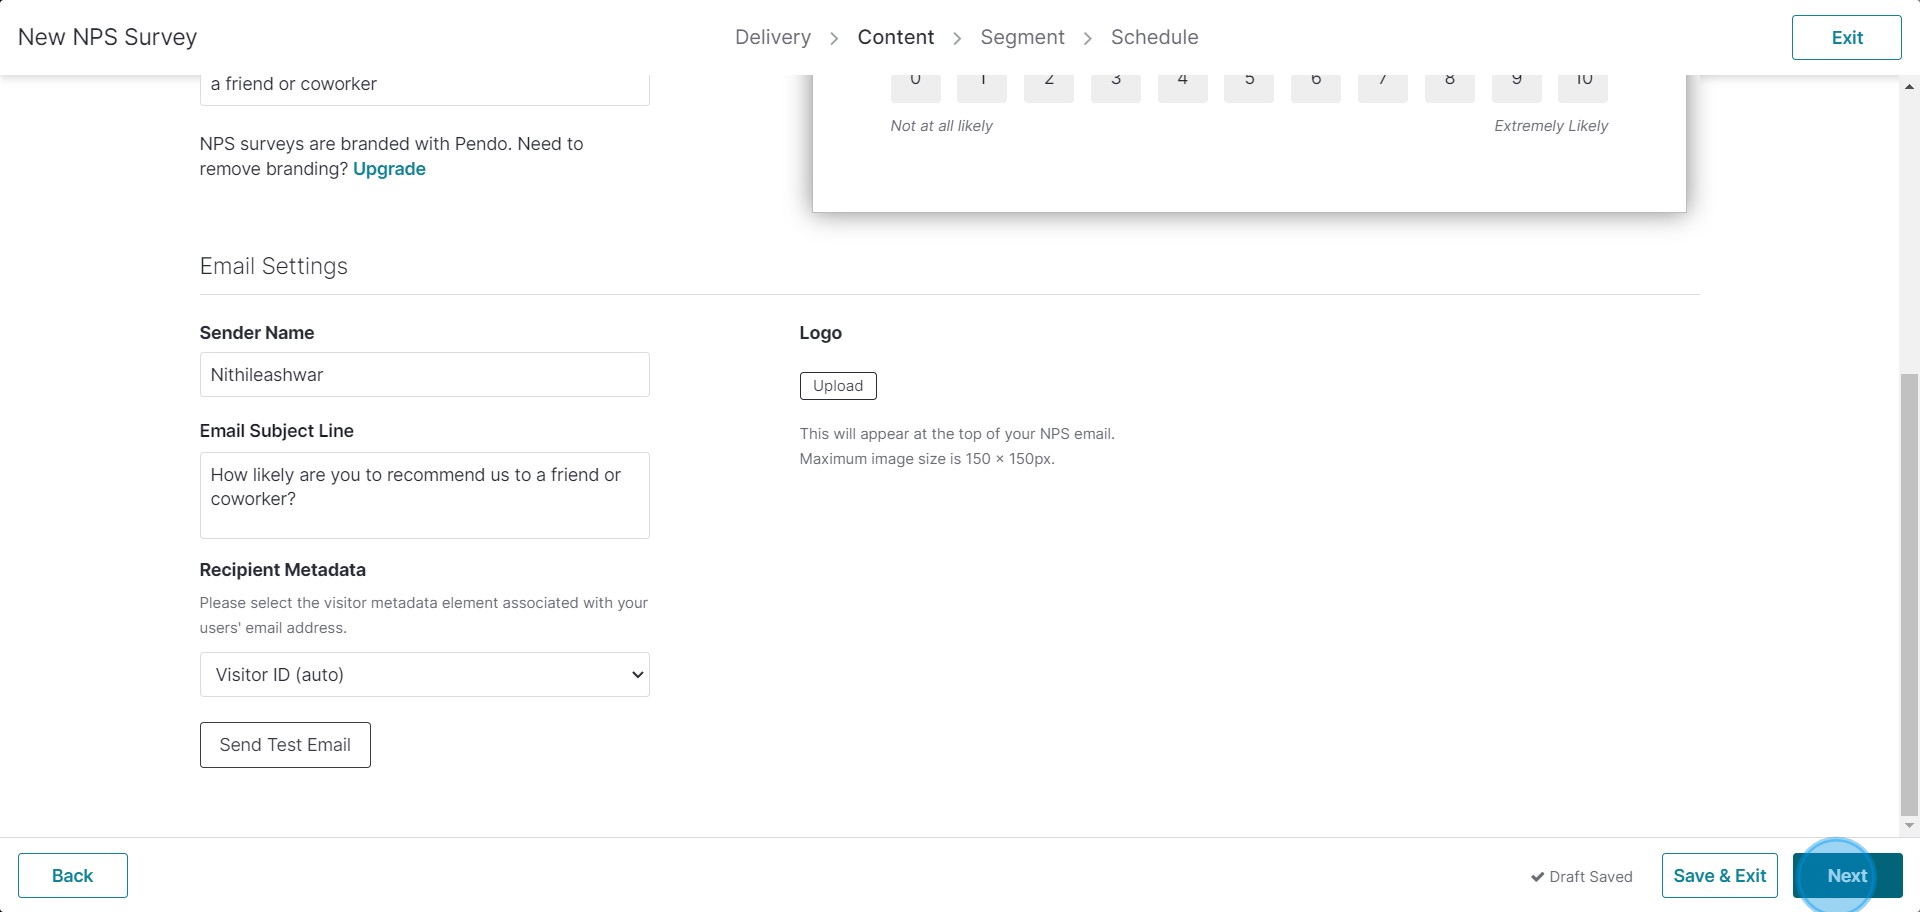
8. Press 'Next' to continue.
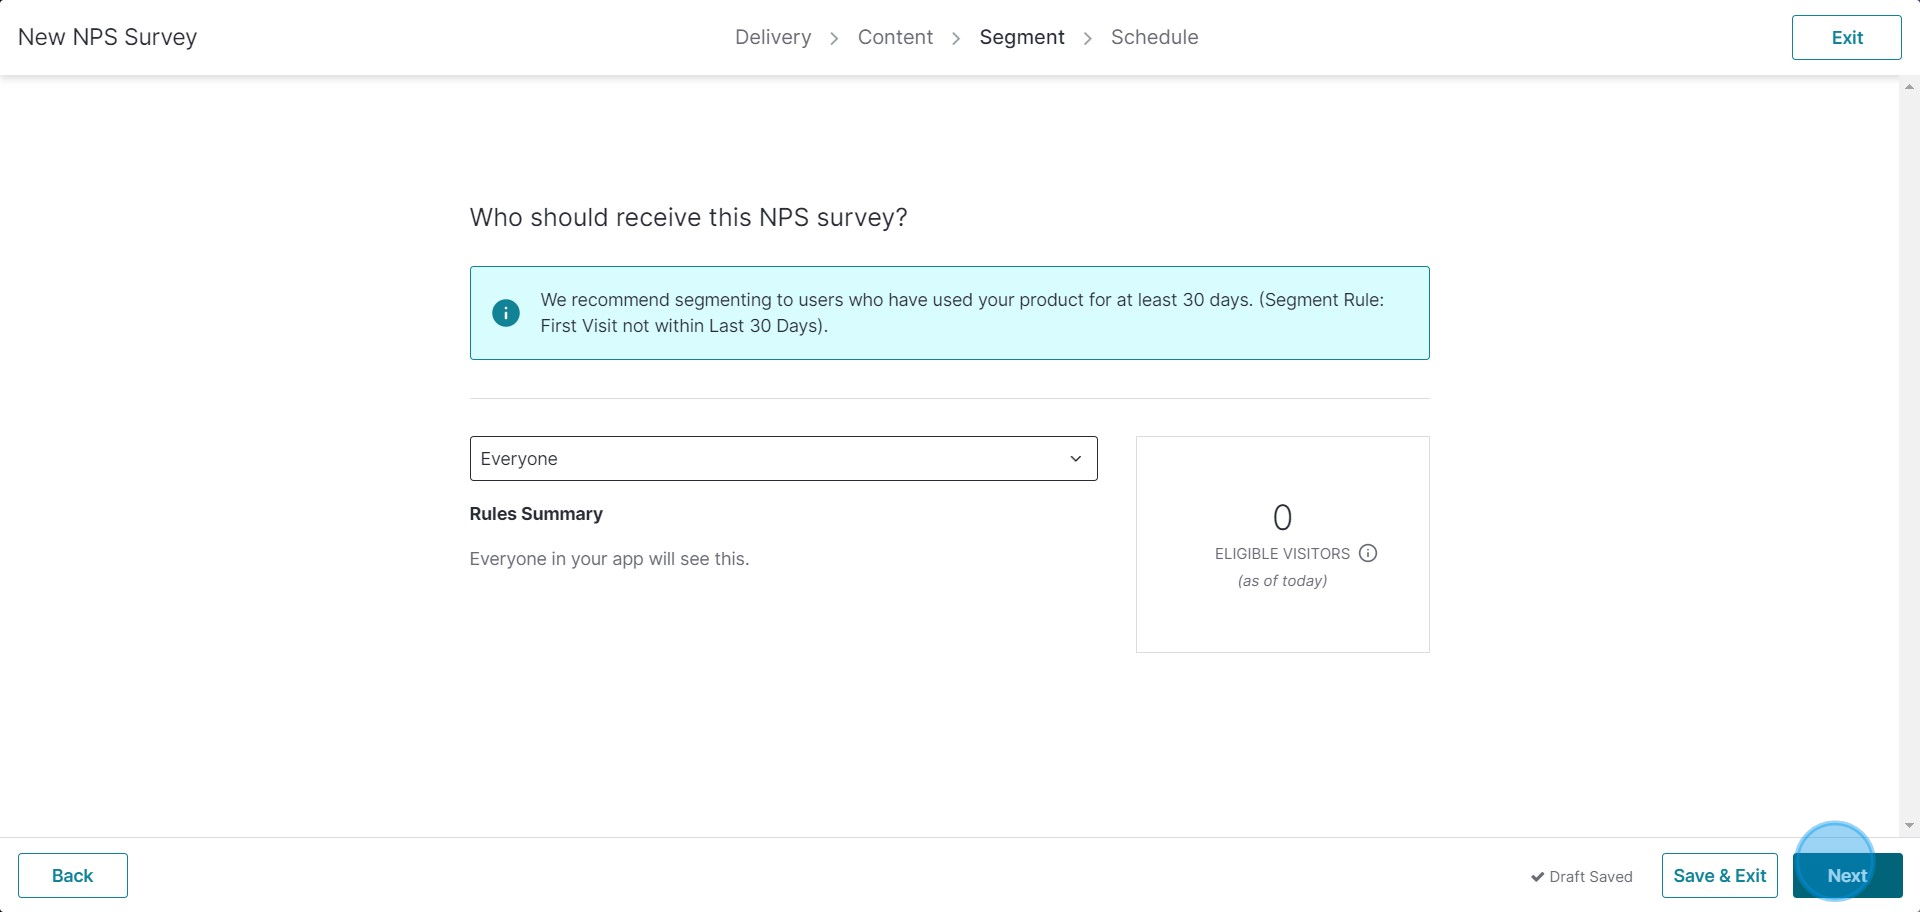
9. Define your target audience for the survey.

10. Choose your preferred option according to your needs.
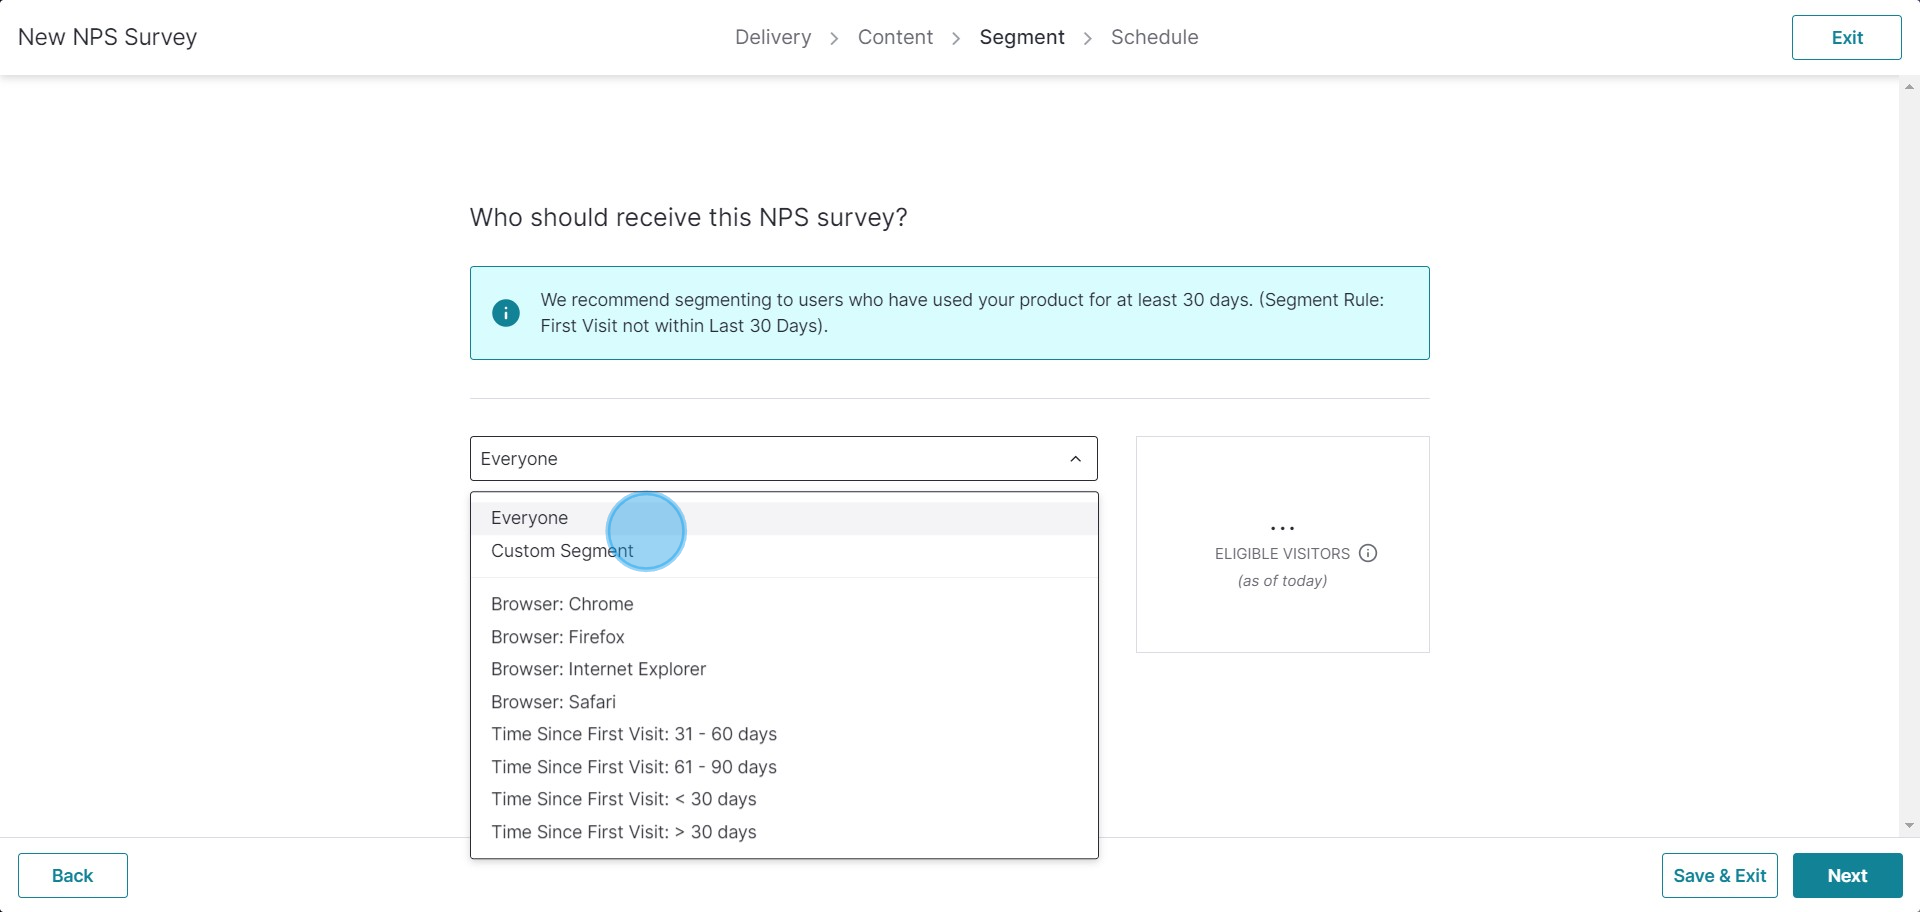
11. Click 'Next' to proceed.
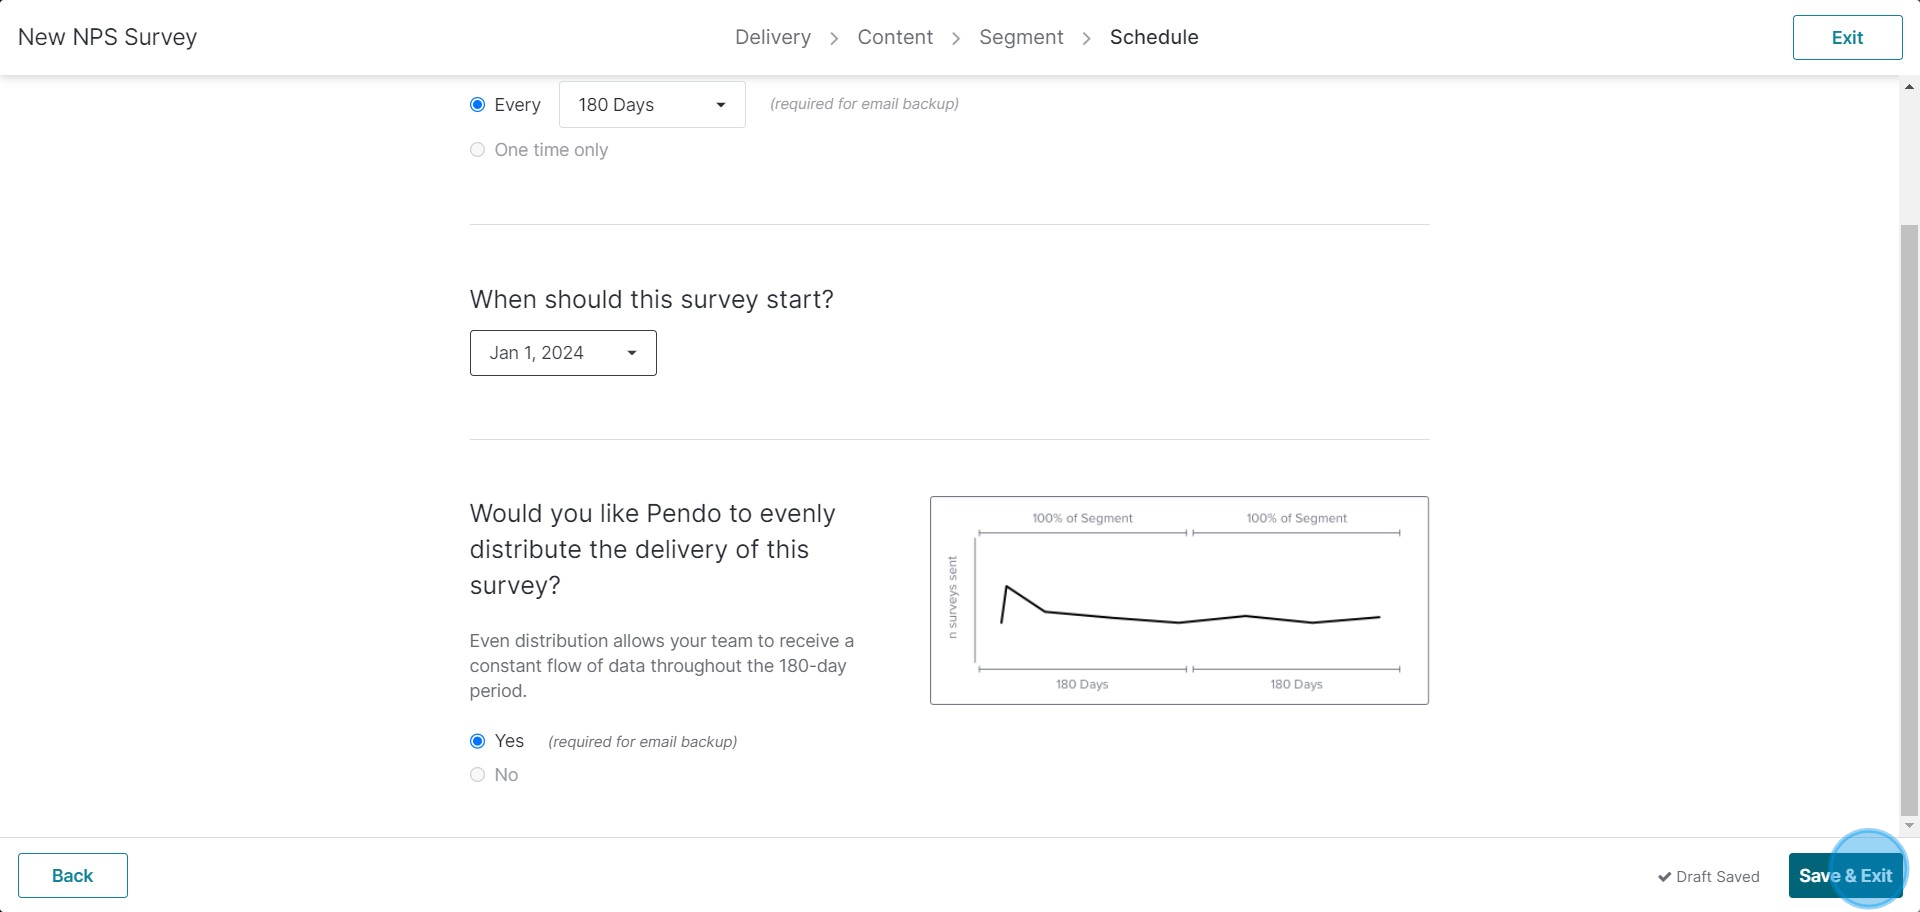
12. Define how often the survey will be sent to users.
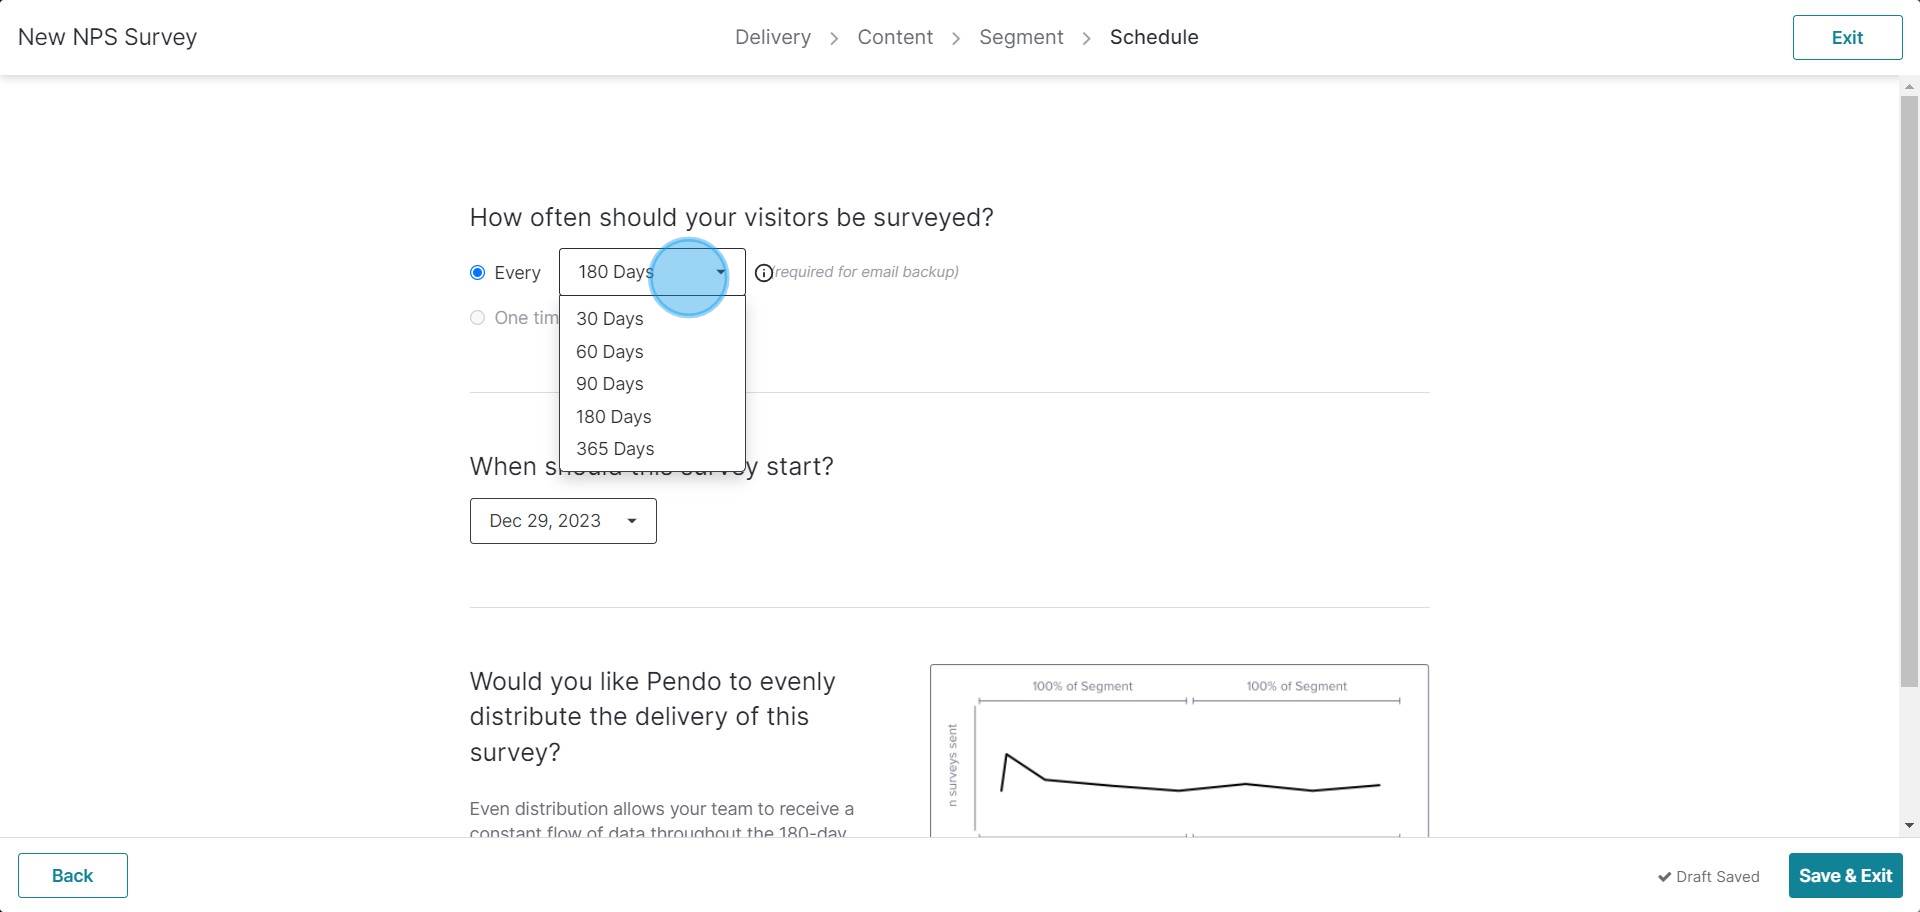
13. Customize the survey according to your plan.
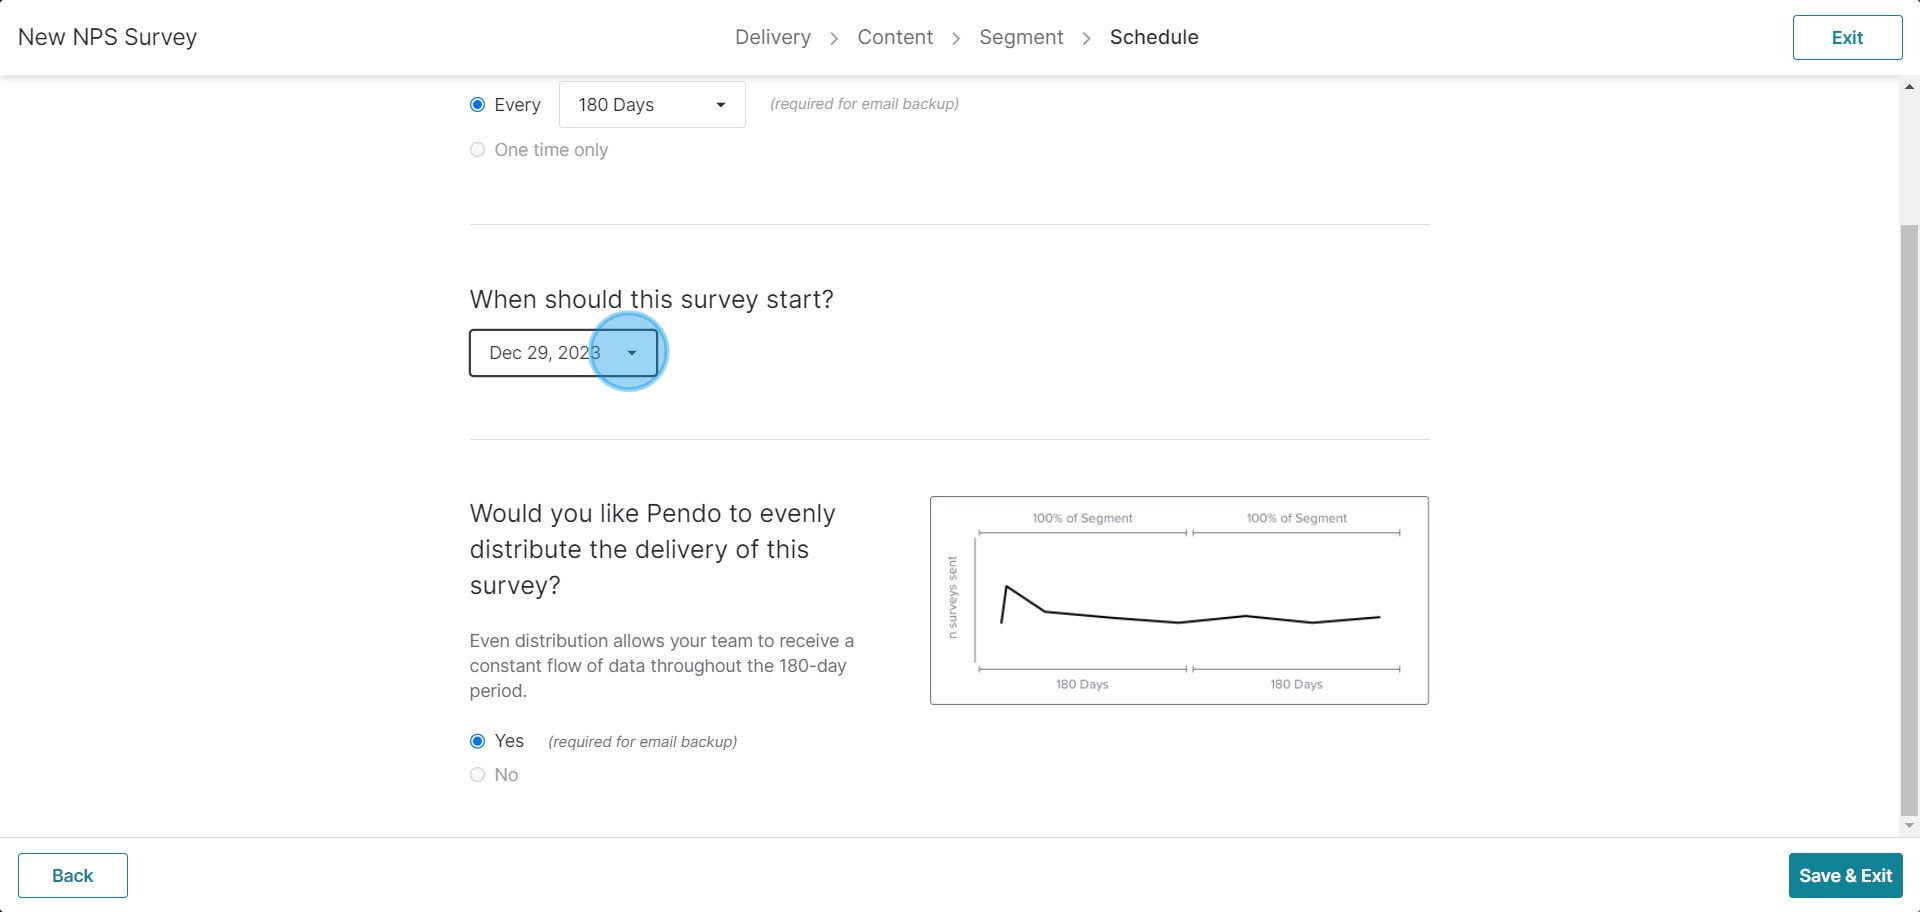
14. Once you're done, click 'Save & Exit'.
15. Congratulations - your NPS Form has been successfully created!

Create your own step-by-step demo
Scale up your training and product adoption with beautiful AI-powered interactive demos and guides. Create your first Supademo in seconds for free.
Frequently Asked Questions about how to create a nps survey in pendo
Commonly asked questions about this topic.
Can I collaborate with my team on NPS Survey in Pendo?
How does Pendo handle permissions and sharing for NPS Survey?
What are the best practices for designing an effective NPS survey?
How do I share my NPS survey setup process with my team?
Which Pendo subscription tier includes NPS survey functionality?
What steps do I need to follow to set up a NPS survey in Pendo?
Does Pendo offer templates for NPS Survey?
Nithil Shanmugam
Nithil is a startup-obsessed operator focused on growth, sales and marketing. He's passionate about wearing different hats across startups to deliver real value.


