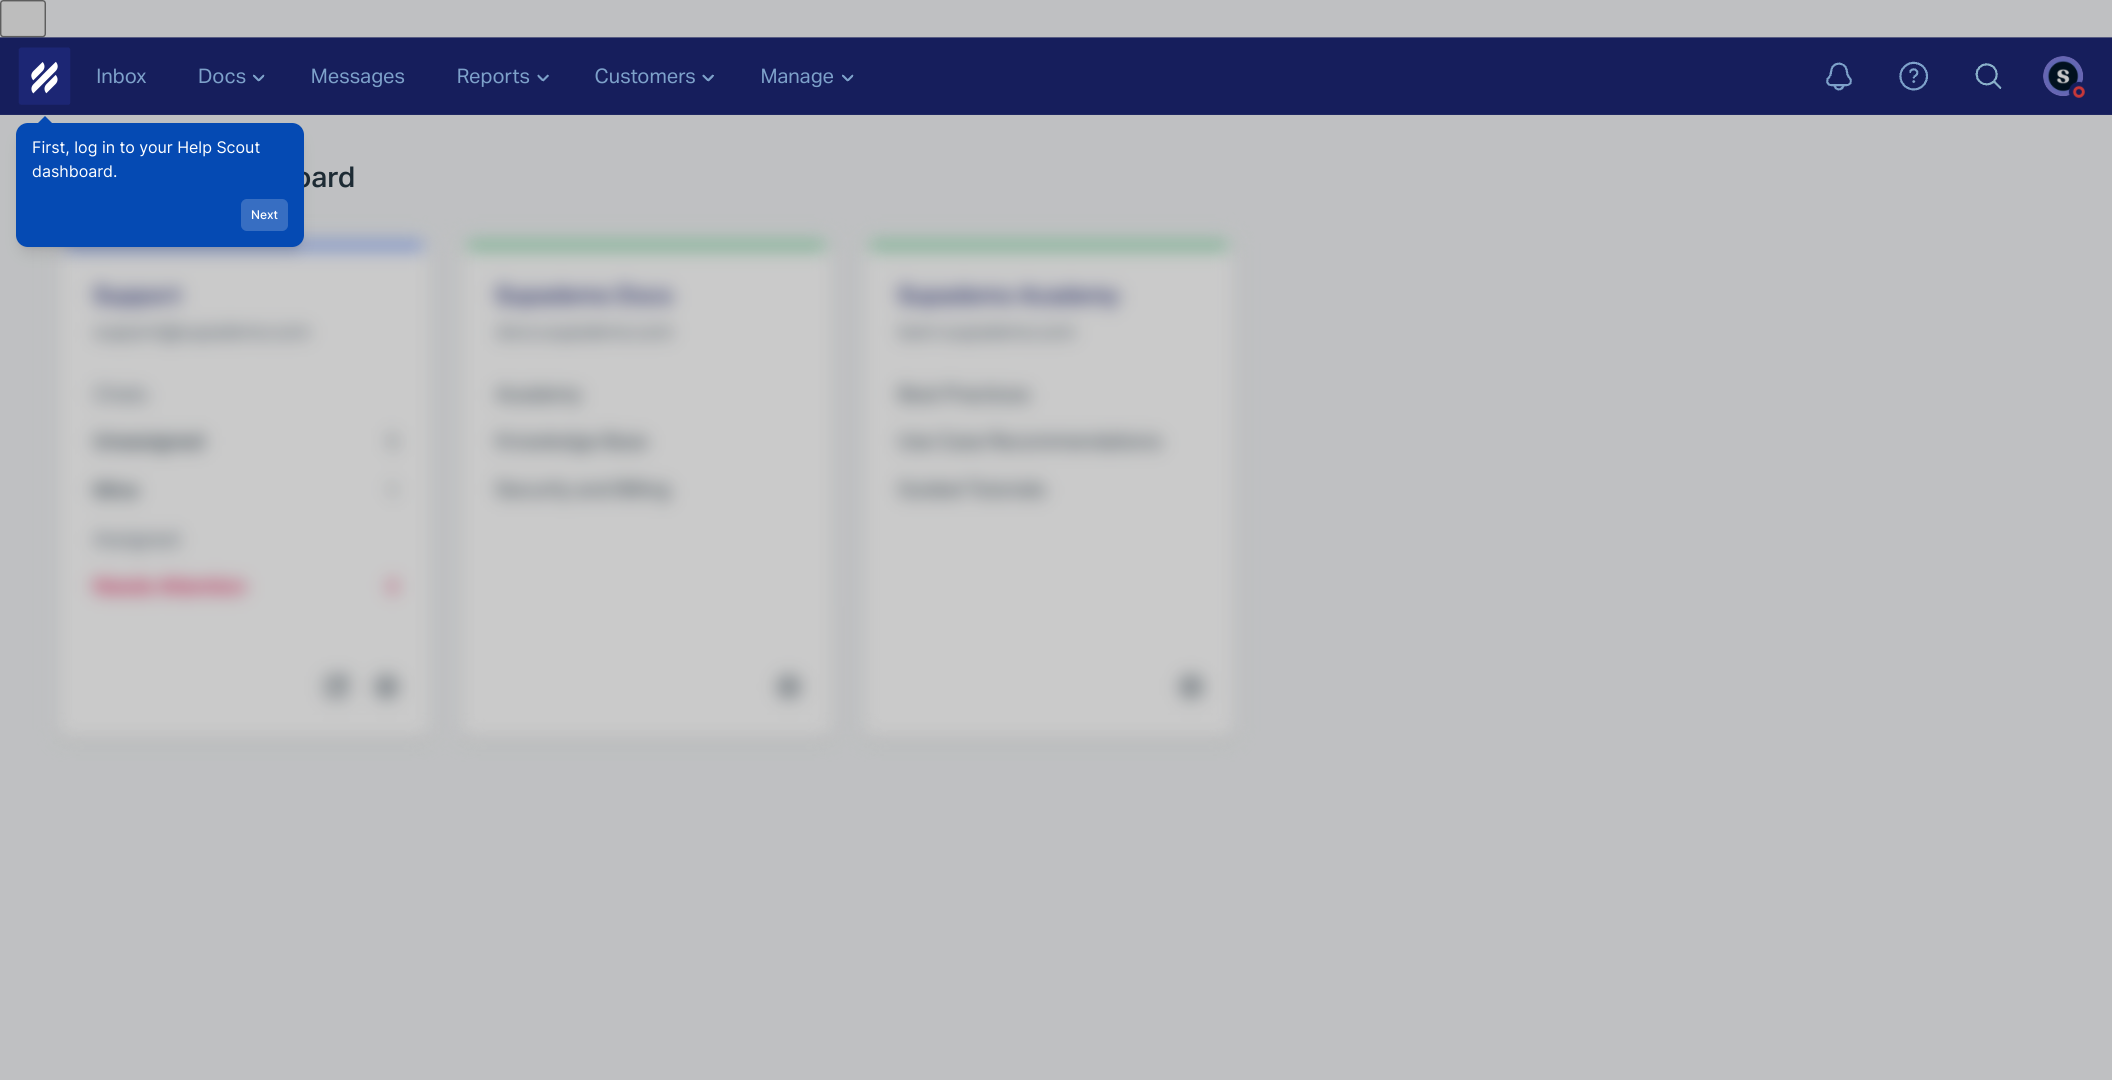
1. First, log in to your Help Scout dashboard.
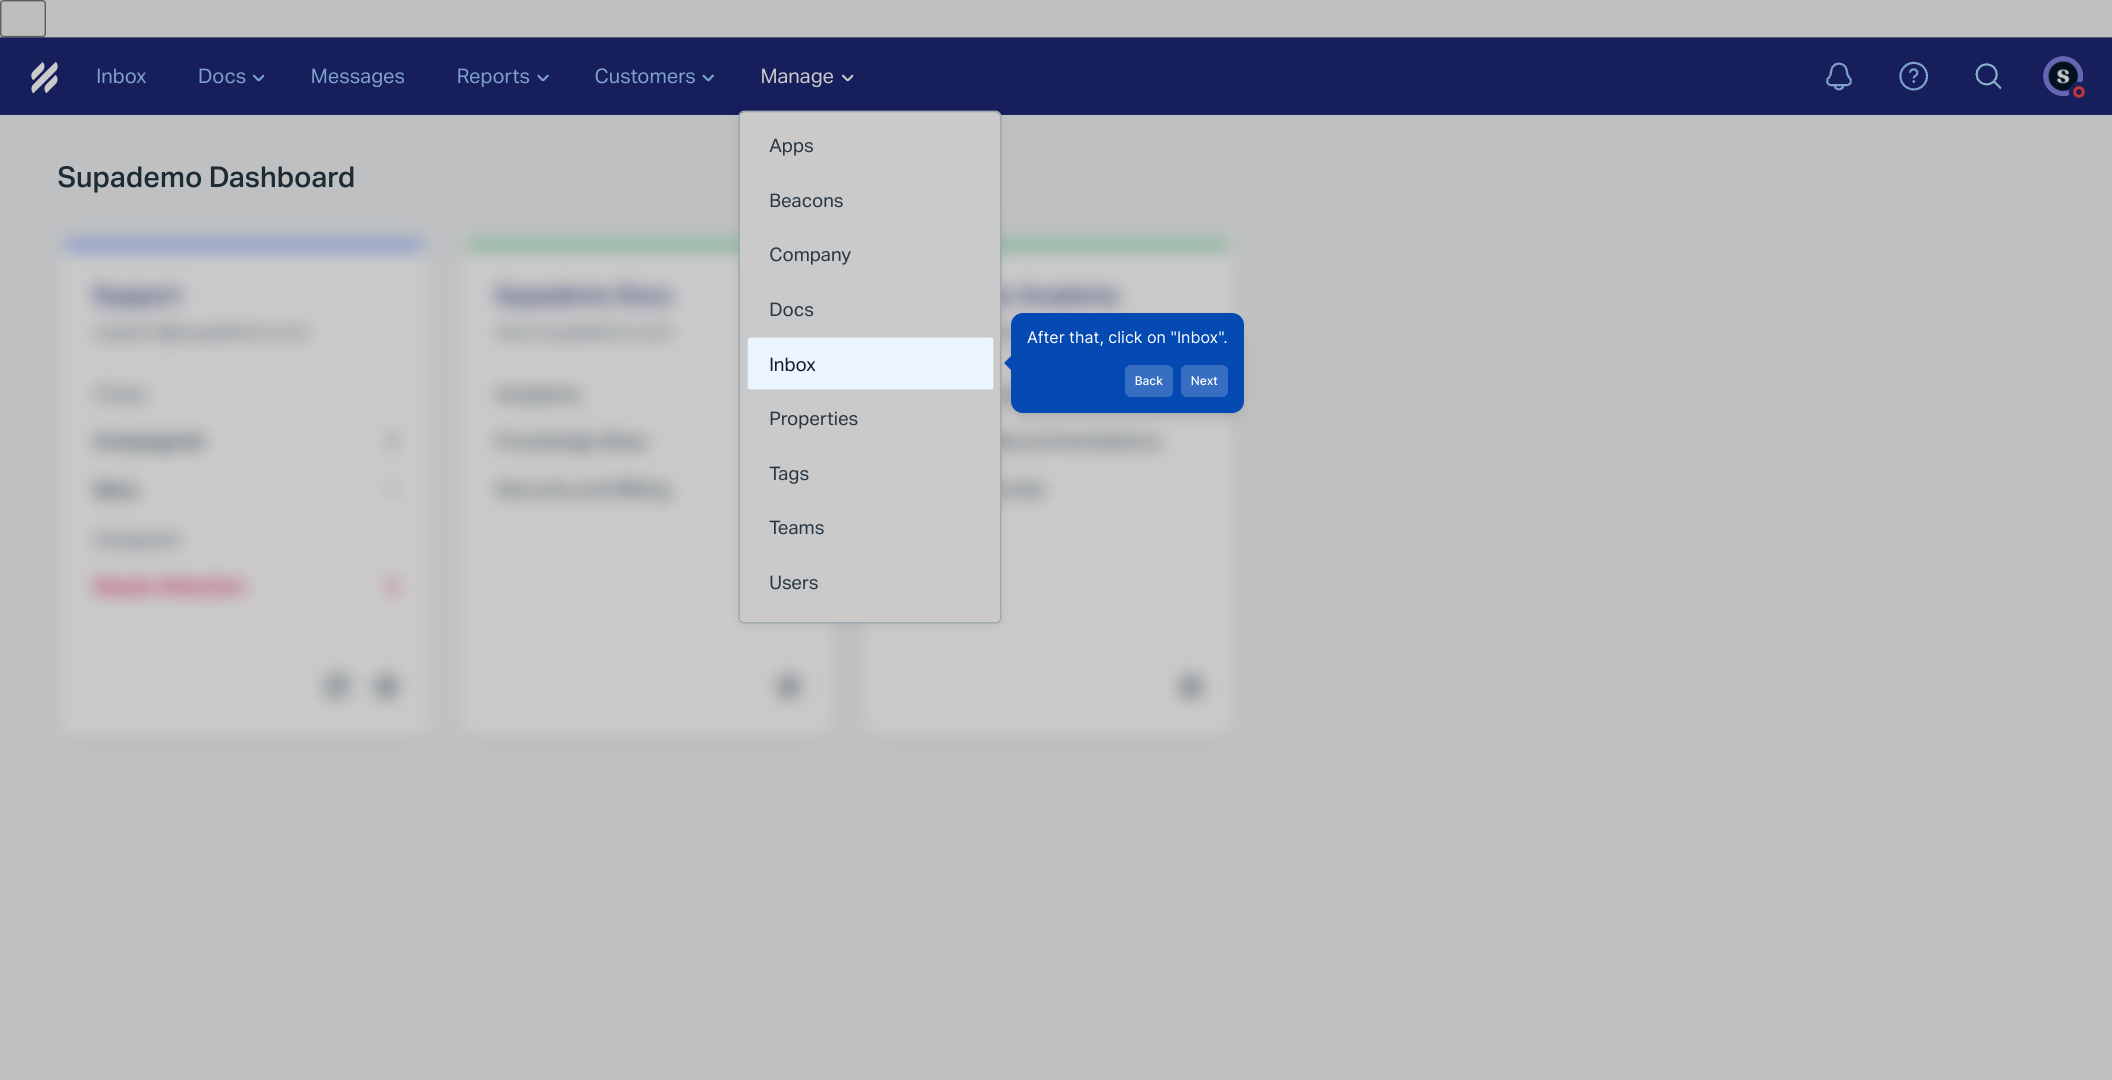
2. Next, click on "Manage".
3. After that, click on "Inbox".
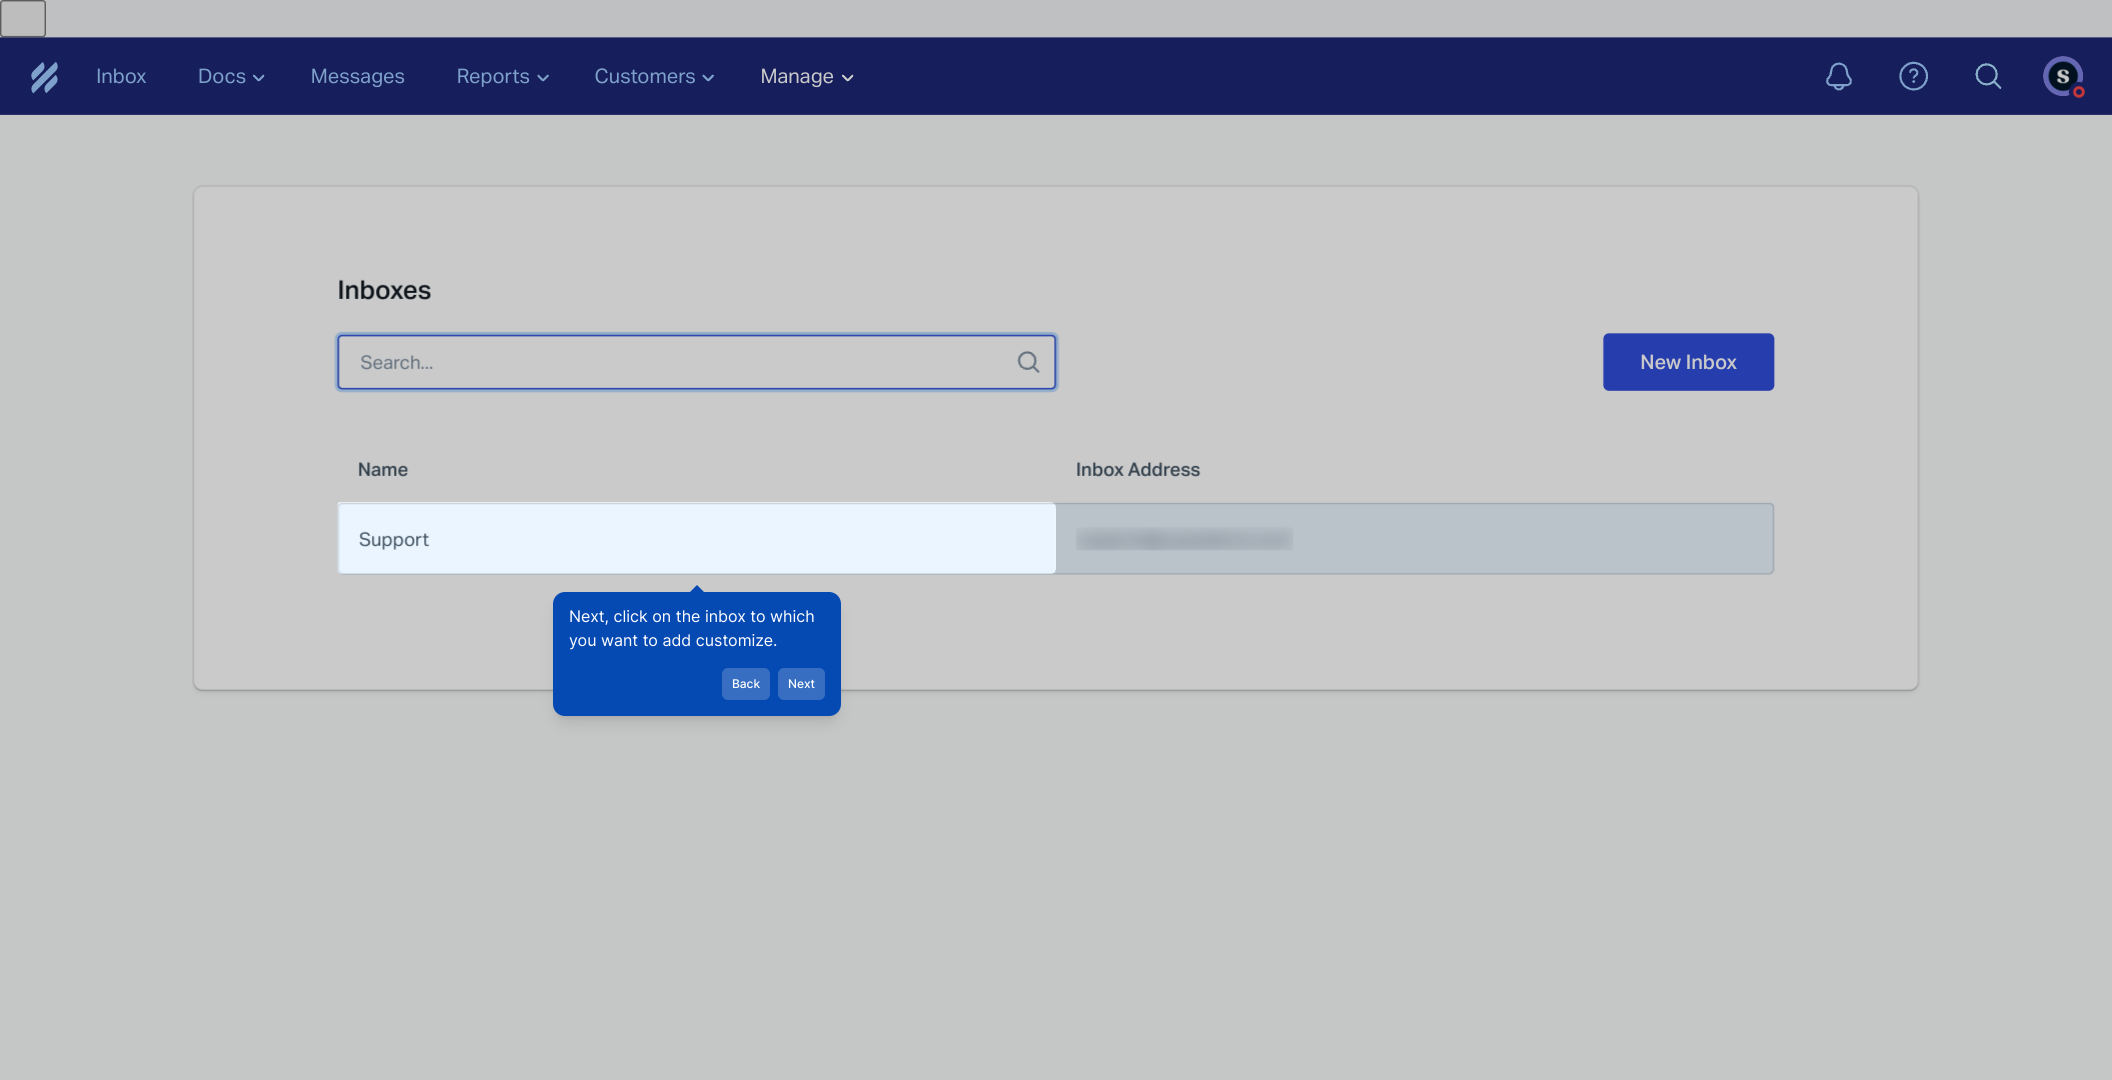
4. Next, click on the inbox to which you want to add customize.
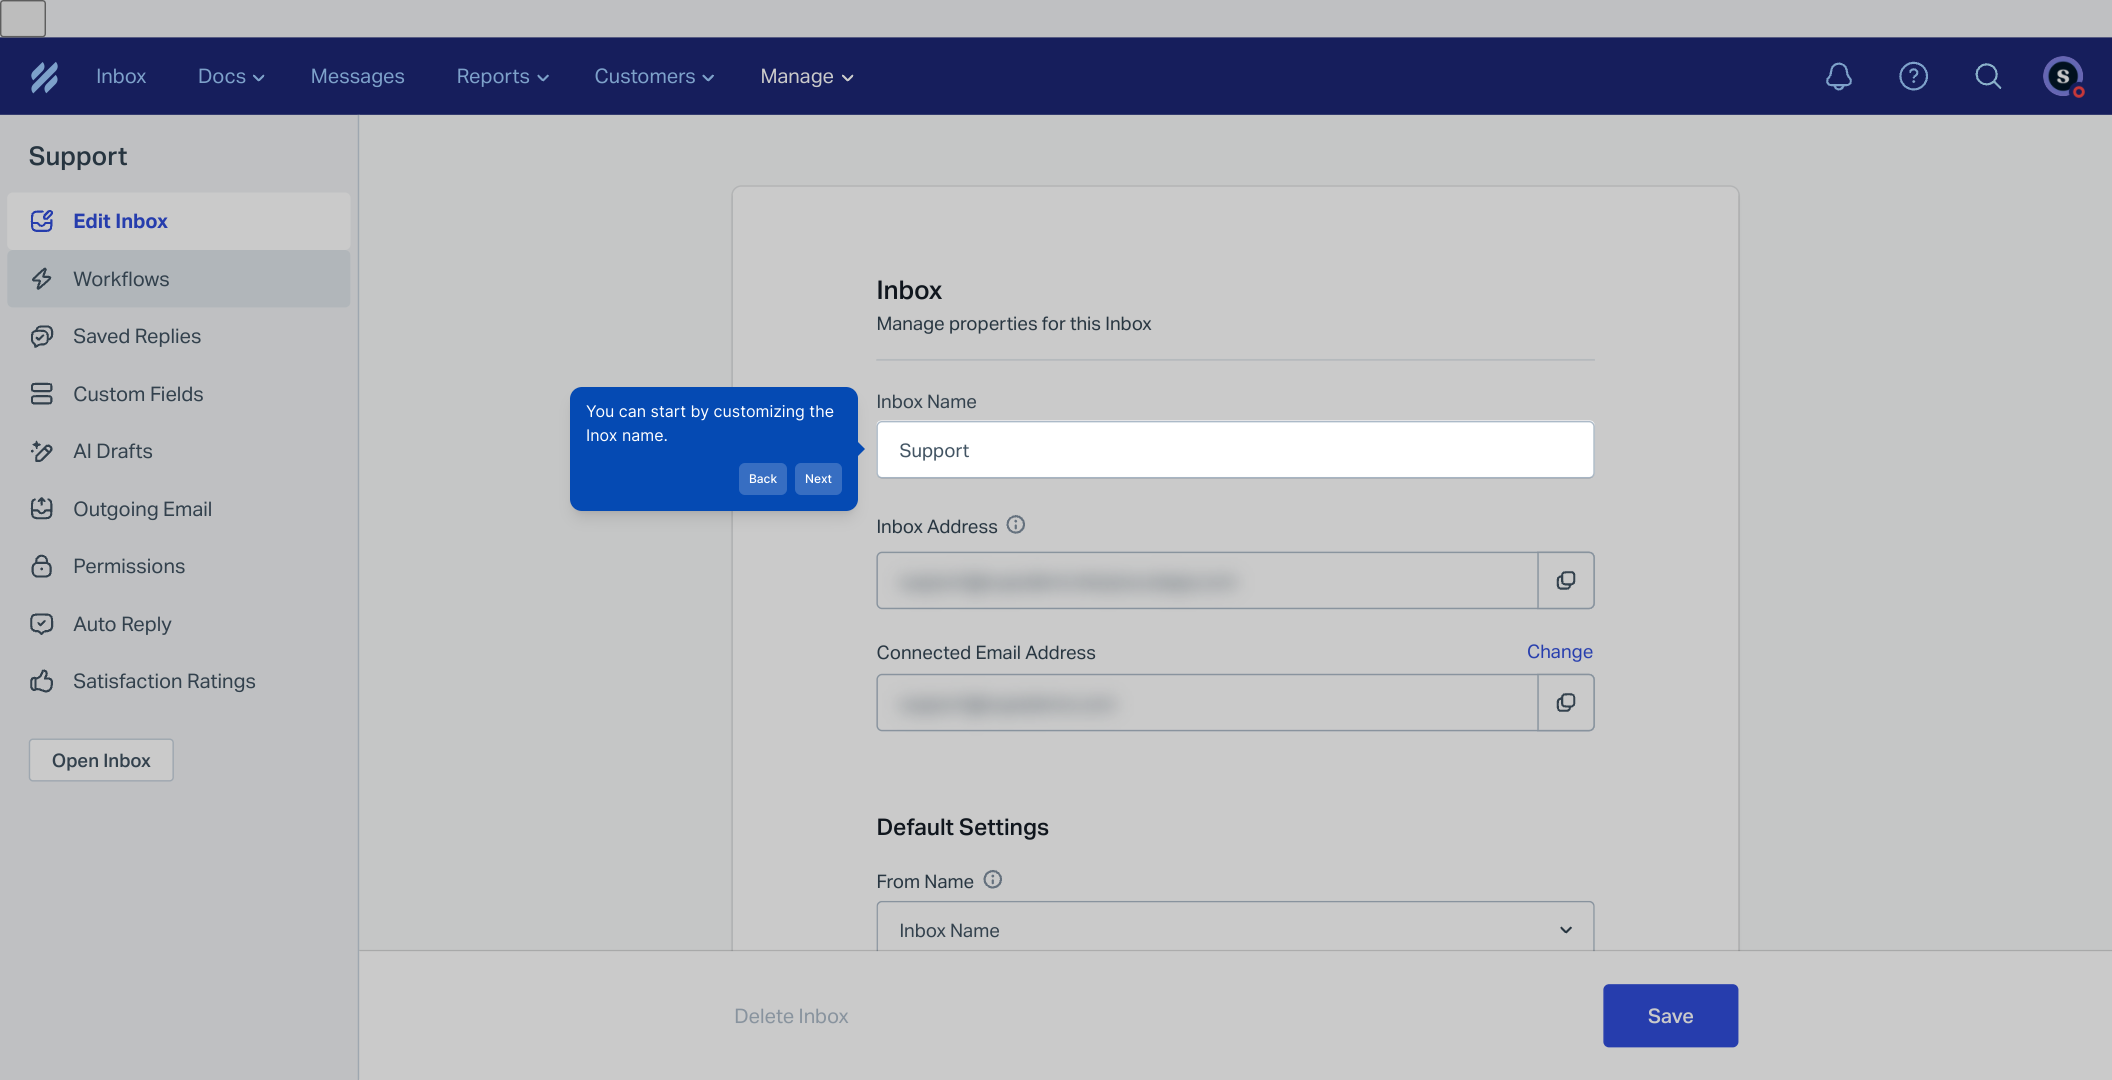
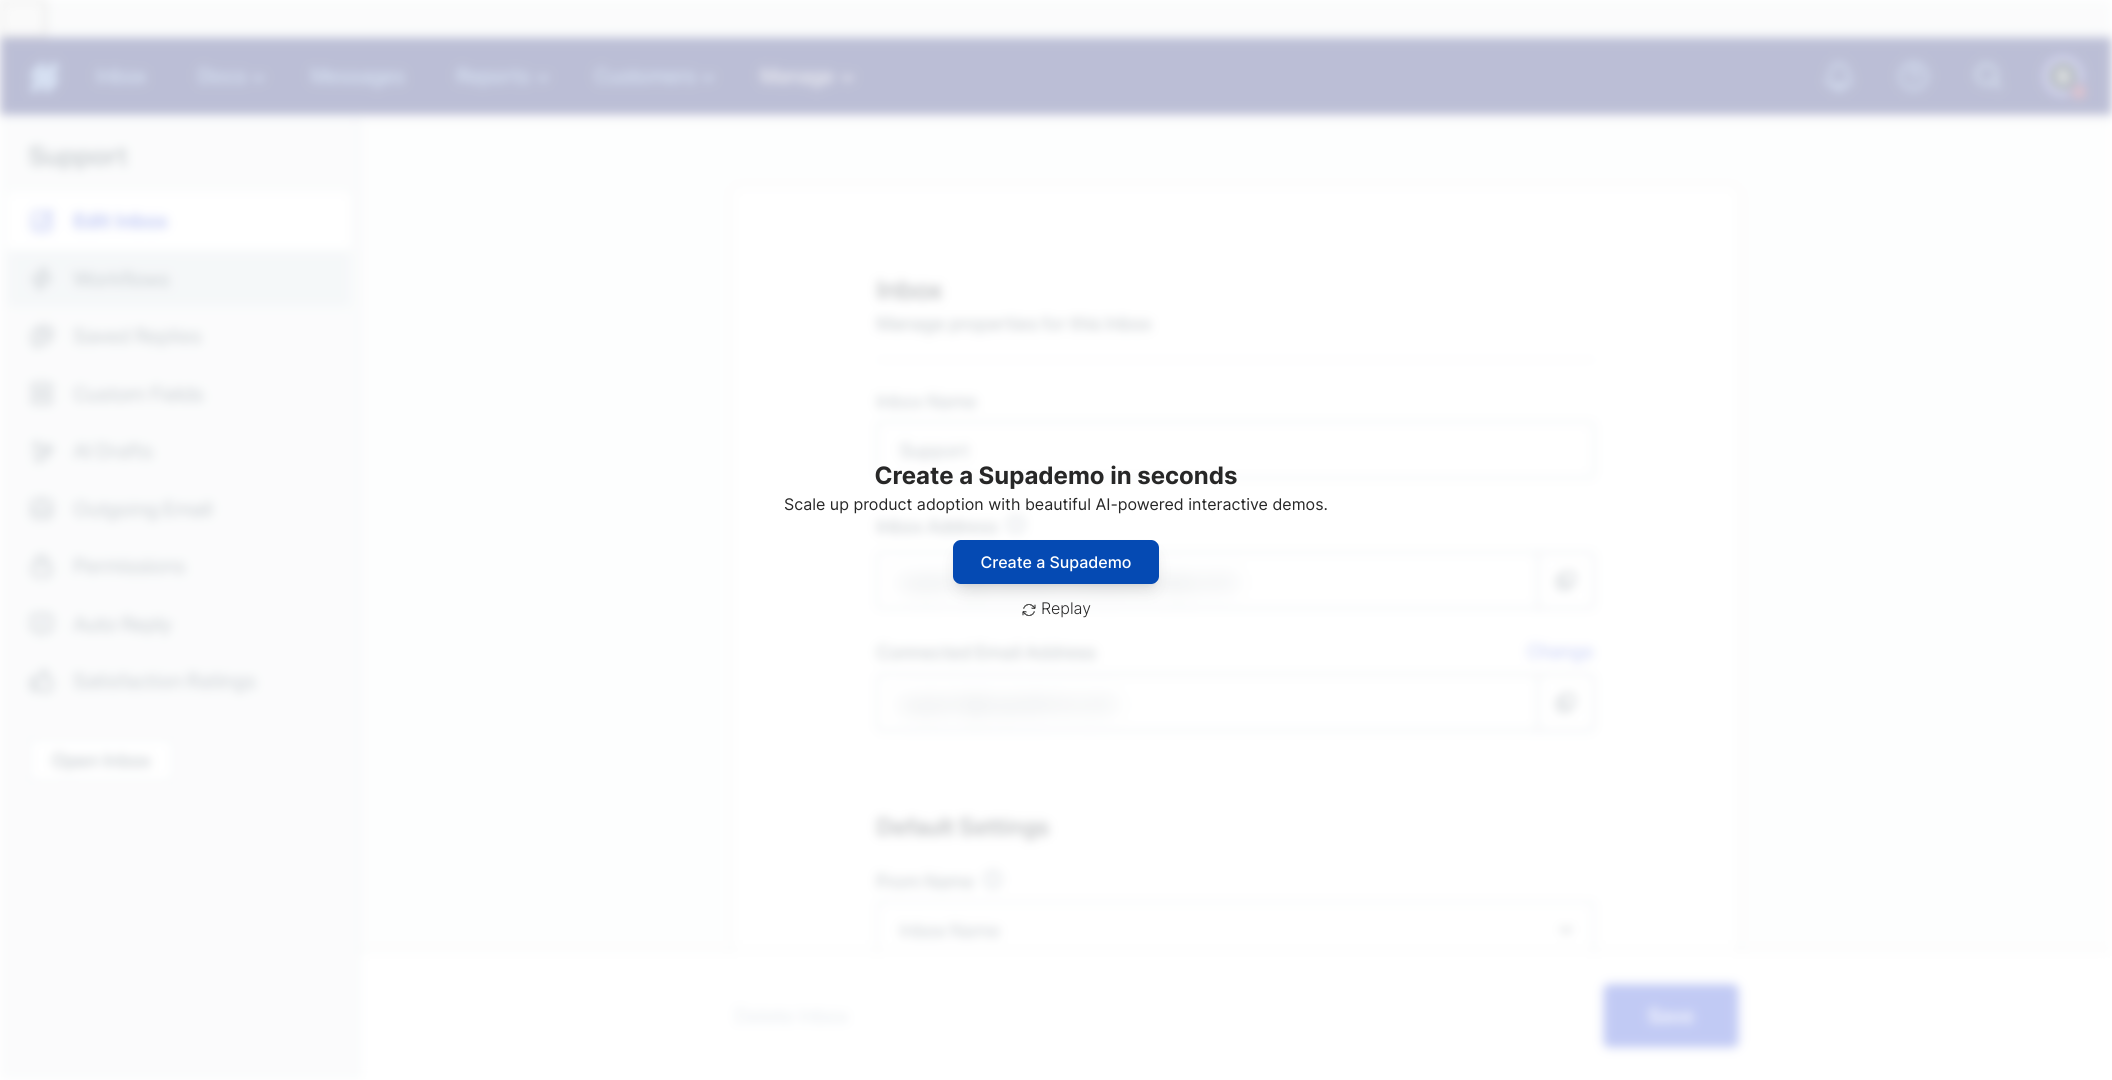
5. You can start by customizing the Inox name.
6. Following that, you can add a signature to the inbox.
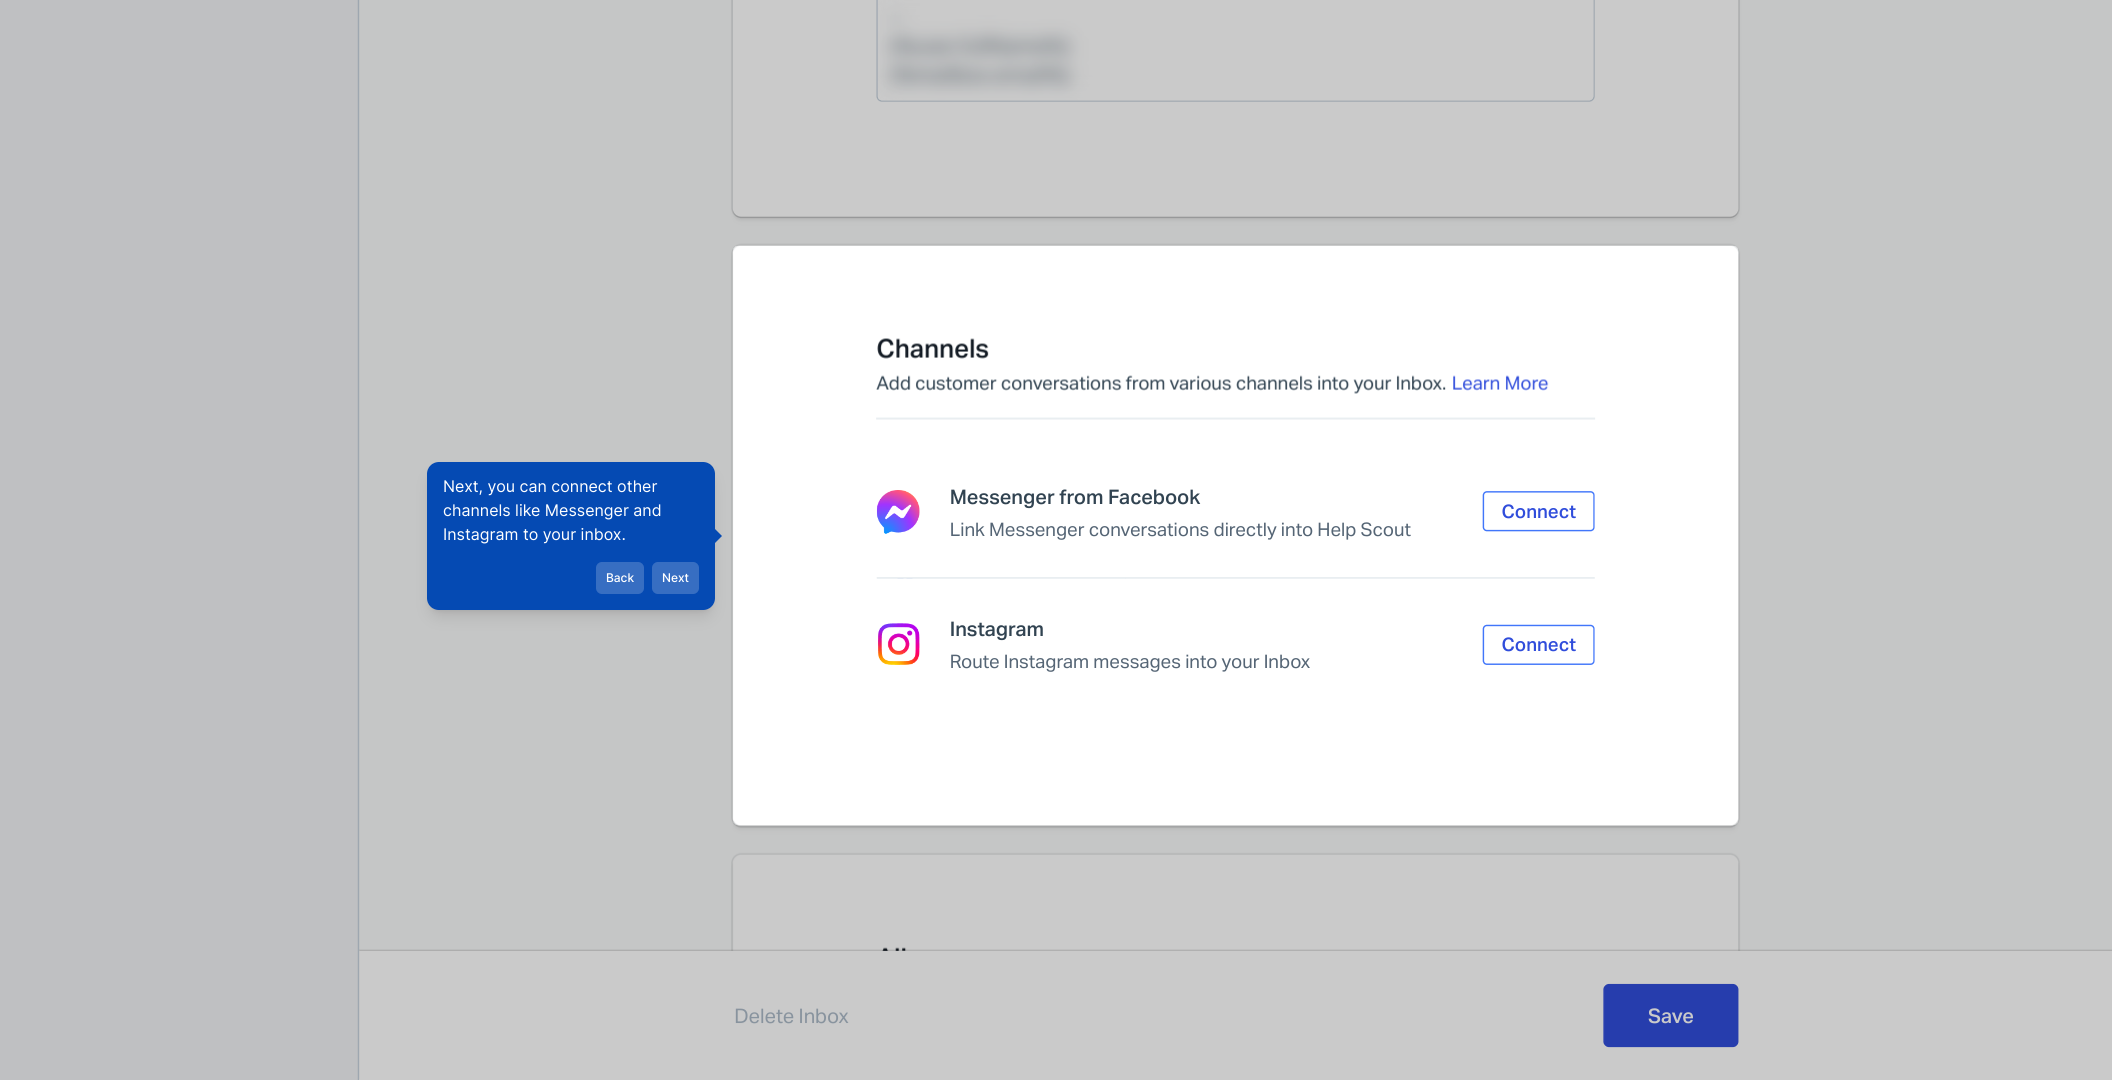
7. Next, you can connect other channels like Messenger and Instagram to your inbox.
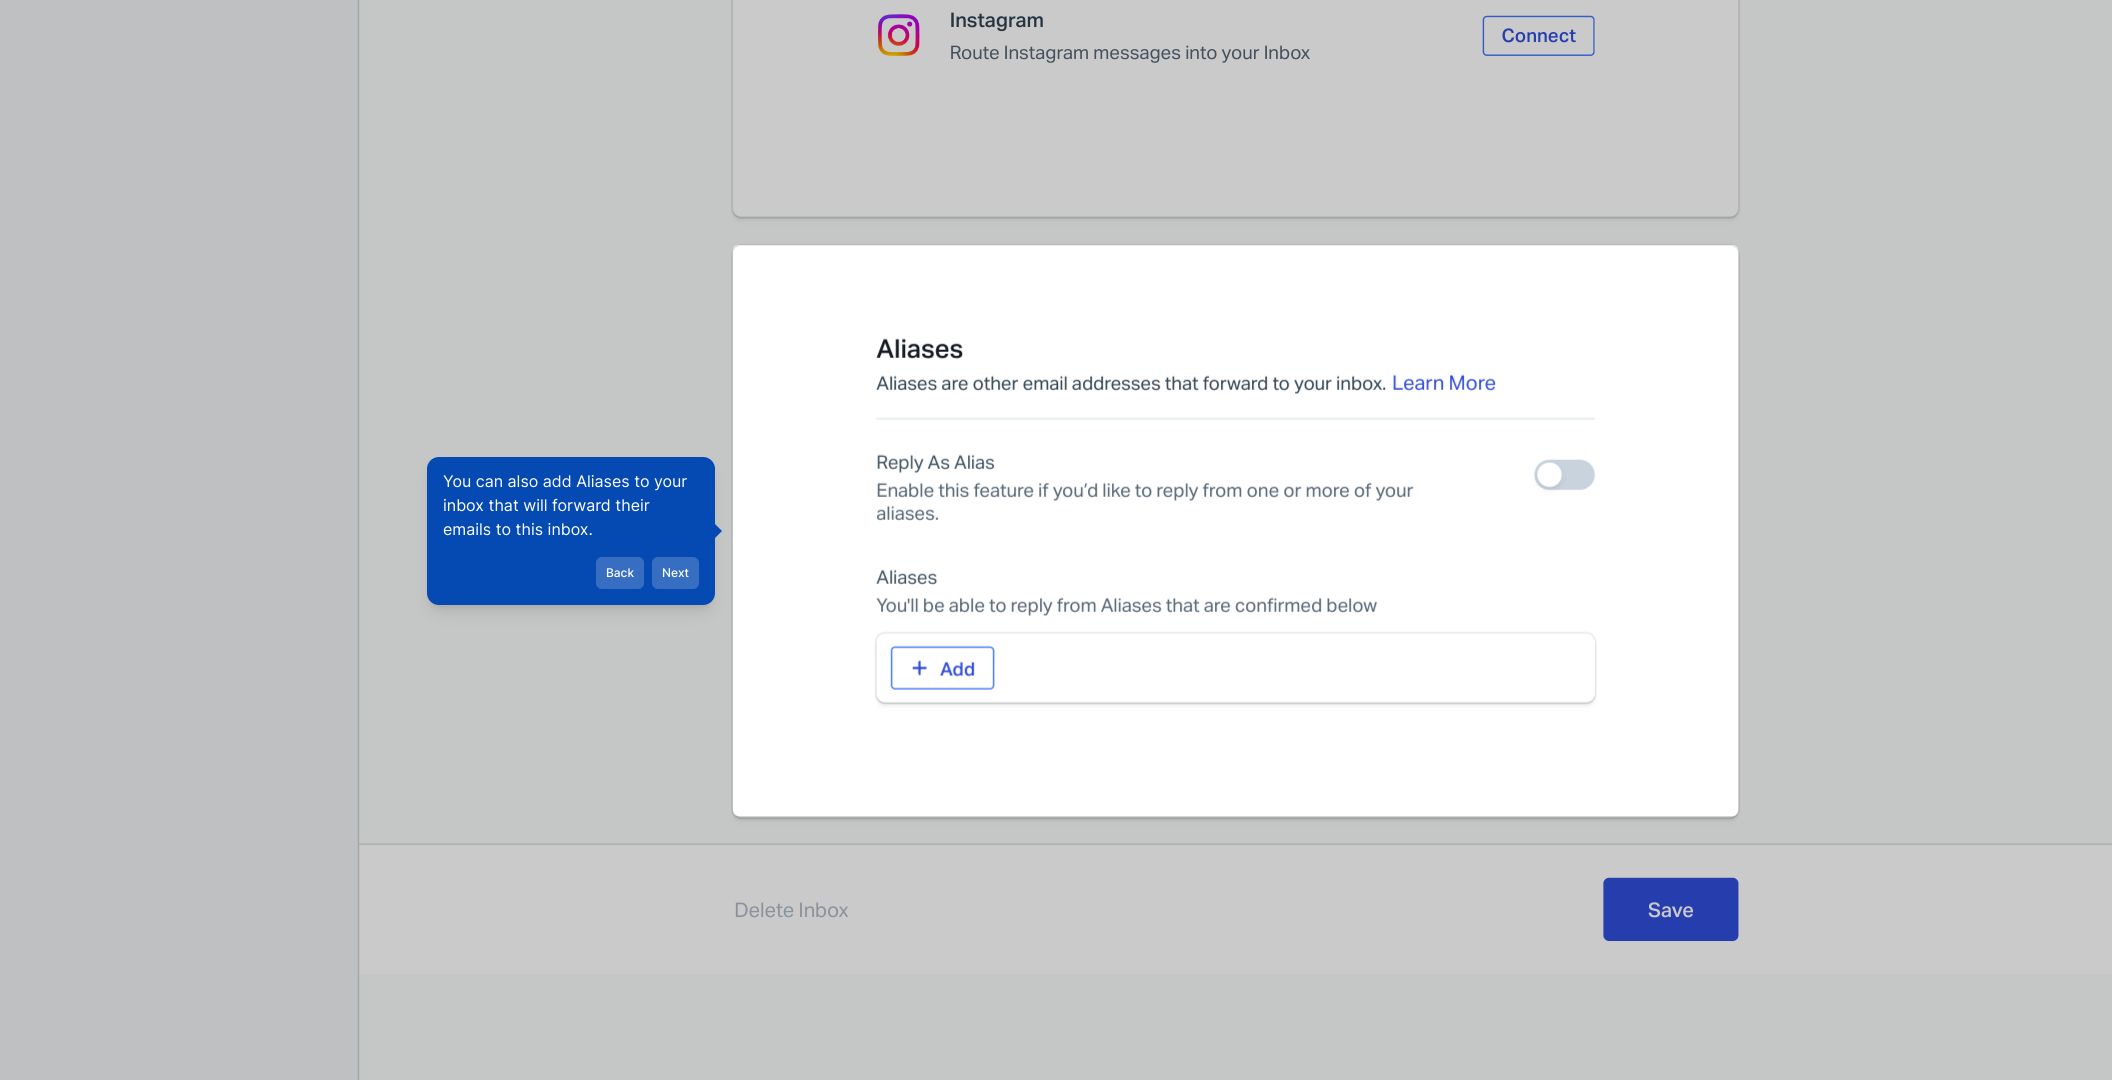
8. You can also add Aliases to your inbox that will forward their emails to this inbox.
9. Following that, you can add a signature to the inbox.
10. Following that, you can add workflows to automate actions, save replies for quicker response, and add AI drafts and much more.
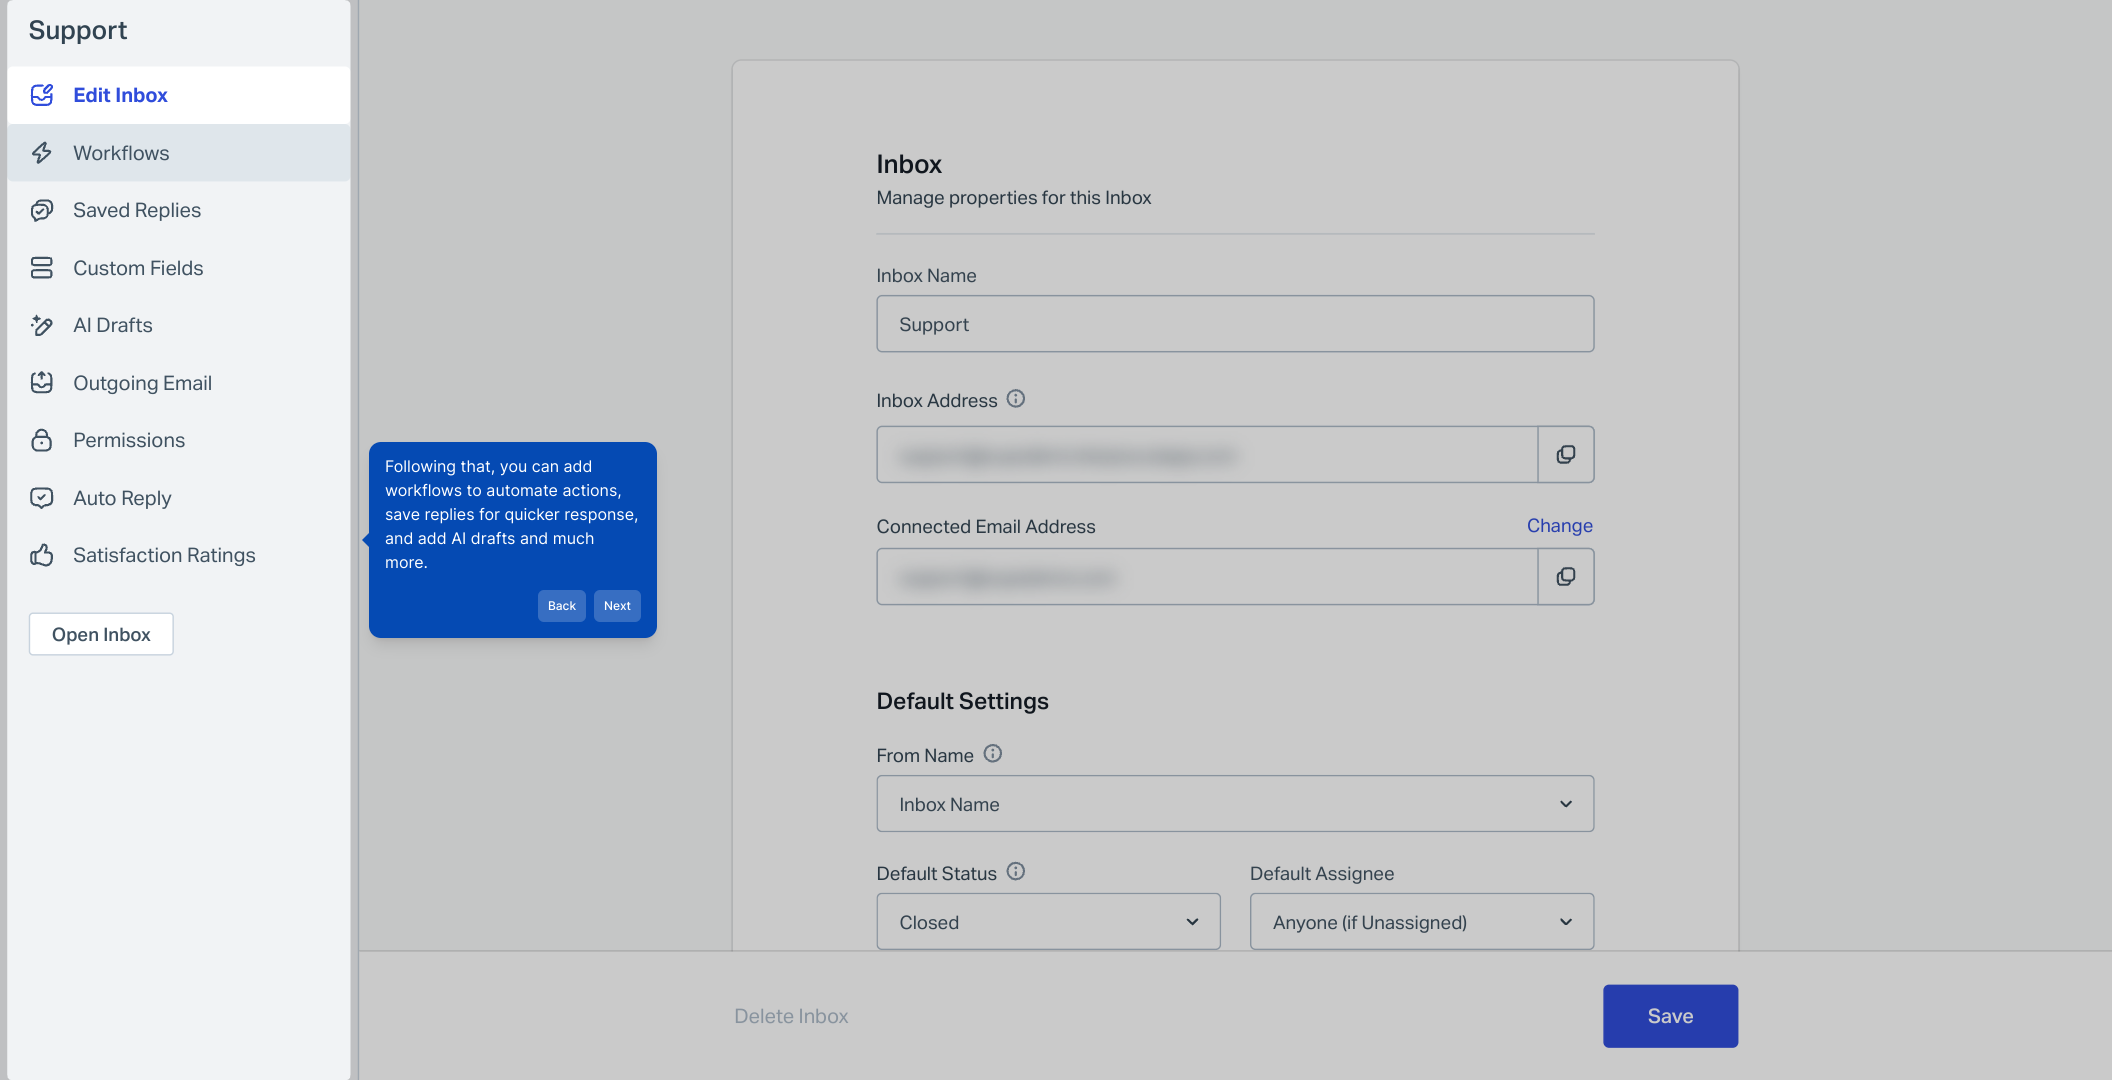
11. Create a Supademo in seconds
This interactive demo/guided walkthrough on How to Customize Your HelpScout Mailbox was created using Supademo.
How to Customize Your HelpScout Mailbox : Step-by-Step Guide
Start by signing into your Help Scout dashboard where you manage all your customer interactions. This will give you access to the tools you need to customize your inboxes.
From the main dashboard, look for the "Manage" option in the menu. Clicking this will take you to the settings where you can configure your inboxes and account details.

Within the Manage section, select "Inbox" to view all your current email inboxes. This is where you’ll handle all incoming customer messages.
Browse the list and click on the specific inbox you want to customize. This opens the detailed settings page for that inbox where you can make your adjustments.
Begin personalizing your inbox by updating its name to something descriptive and relevant. This helps you and your team easily identify it later.
Next, add a signature to your inbox. This signature will automatically appear at the end of your outgoing emails, ensuring a professional and consistent look.

You can also link other communication channels such as Messenger and Instagram directly to this inbox. This centralizes your messages and streamlines responses.
To manage emails more efficiently, consider adding aliases. These alternate email addresses will forward messages right to this inbox, keeping everything connected.
If you haven’t done so earlier, now’s a good time to finalize the signature that will represent your brand on all email correspondence.

Enhance your workflow by setting up automated actions, saving common replies for faster communication, and enabling AI-generated drafts. These features help you save time and maintain consistency.
Once everything is set up to your liking, you’ll be ready to create a Supademo in seconds to showcase your customized inbox in action.
Create your own interactive demos in < 5 mins with Supademo
You can create your own interactive product demo in minutes using Supademo. Drive growth, scale enablement, and supercharge product-led onboarding with Supademo.
Sign up for free here with no credit card required.
FAQs
Commonly asked questions about this topic.
What is a HelpScout mailbox?
How do I change the name of my HelpScout inbox?
Can I add a custom email signature to my HelpScout mailbox?
Is it possible to connect social channels like Messenger or Instagram?
What are aliases in a HelpScout mailbox?
How can workflows improve my HelpScout inbox?
Can I save canned replies for faster responses?
What are AI drafts in HelpScout?
Is customizing multiple inboxes possible in HelpScout?
How do I know if my inbox customizations are saving correctly?

Product Operations Associate
Vimal Kumar helps build and grow Supademo’s team and GTM efforts, with a focus on figuring out growth levers and improving product traction.


