Overview:
Simplify your Miro workspace by efficiently managing your boards with the step-by-step guide on deleting a board. Streamline your workflow and declutter your projects by easily removing unnecessary boards, enhancing overall productivity. This comprehensive guide ensures a seamless process, empowering you to optimize your Miro experience and maintain clarity in project management.
Who is Miro best suited for?
Miro is best suited for a wide range of professionals, including UX/UI Designers, Product Managers, and Remote Teams. For example, UX/UI Designers can use Miro for creating wireframes and prototyping, Product Managers can leverage it for planning roadmaps and brainstorming sessions, and Remote Teams can use it for virtual whiteboarding and collaborative planning, all benefiting from Miro’s interactive and visual collaboration tools.
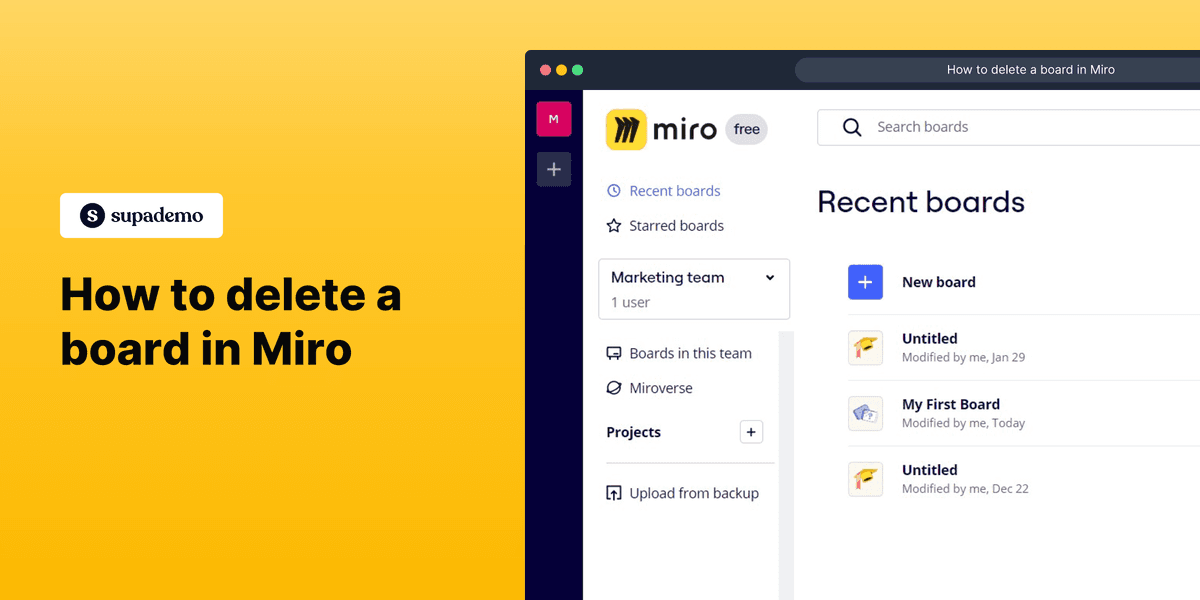
How to delete a board in Miro
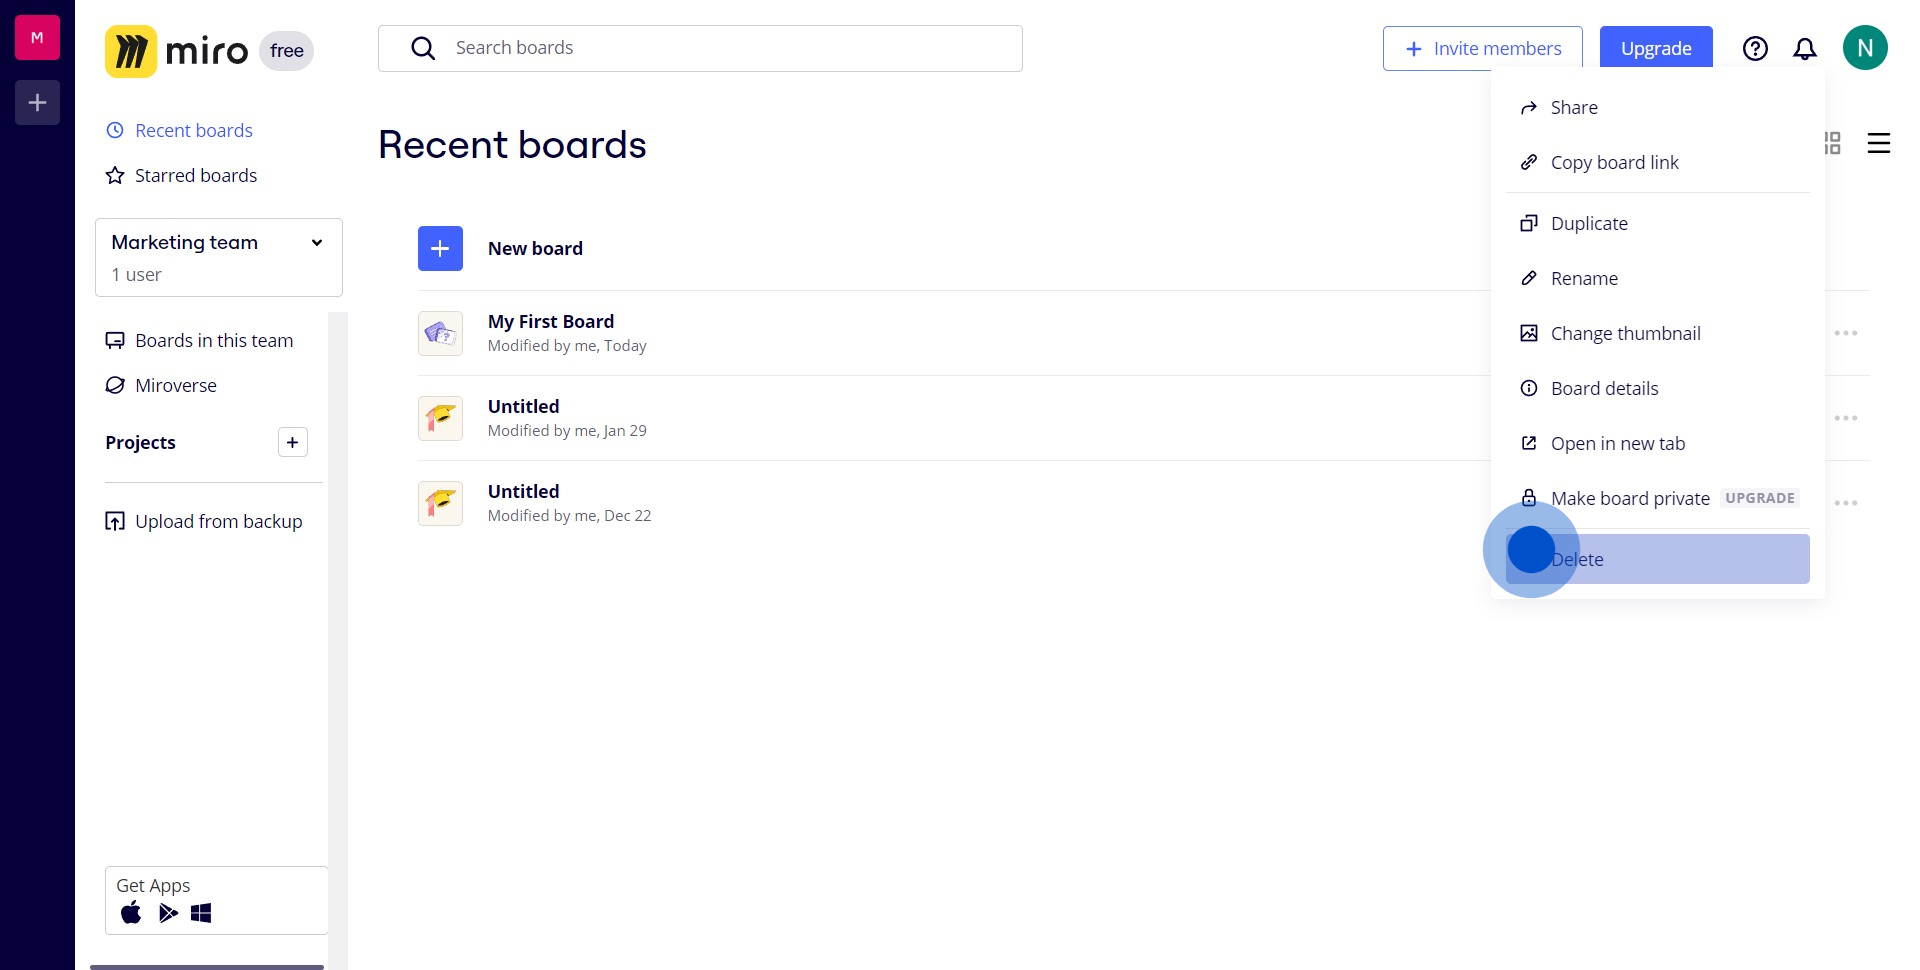
1. Select the board you want to delete by clicking on the three dots.
2. From the pop-up menu, choose the 'Delete' option.
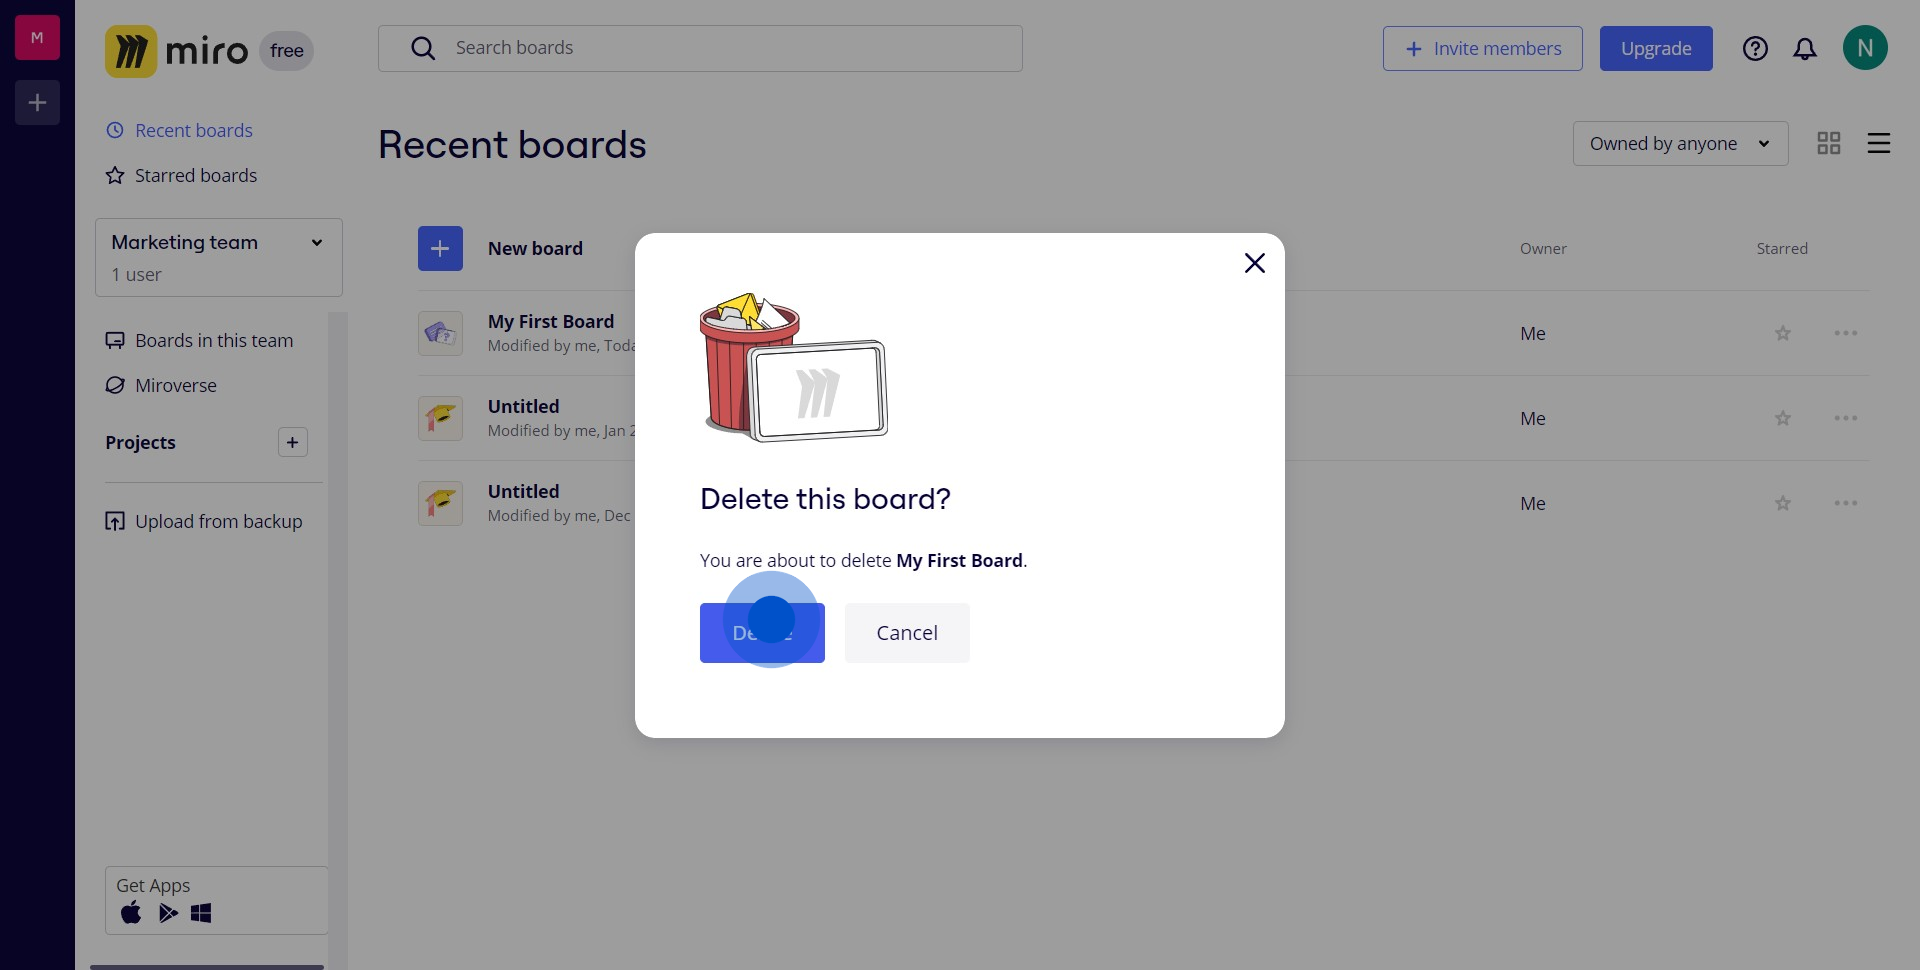
3. Confirm your decision by clicking once more on 'Delete'.
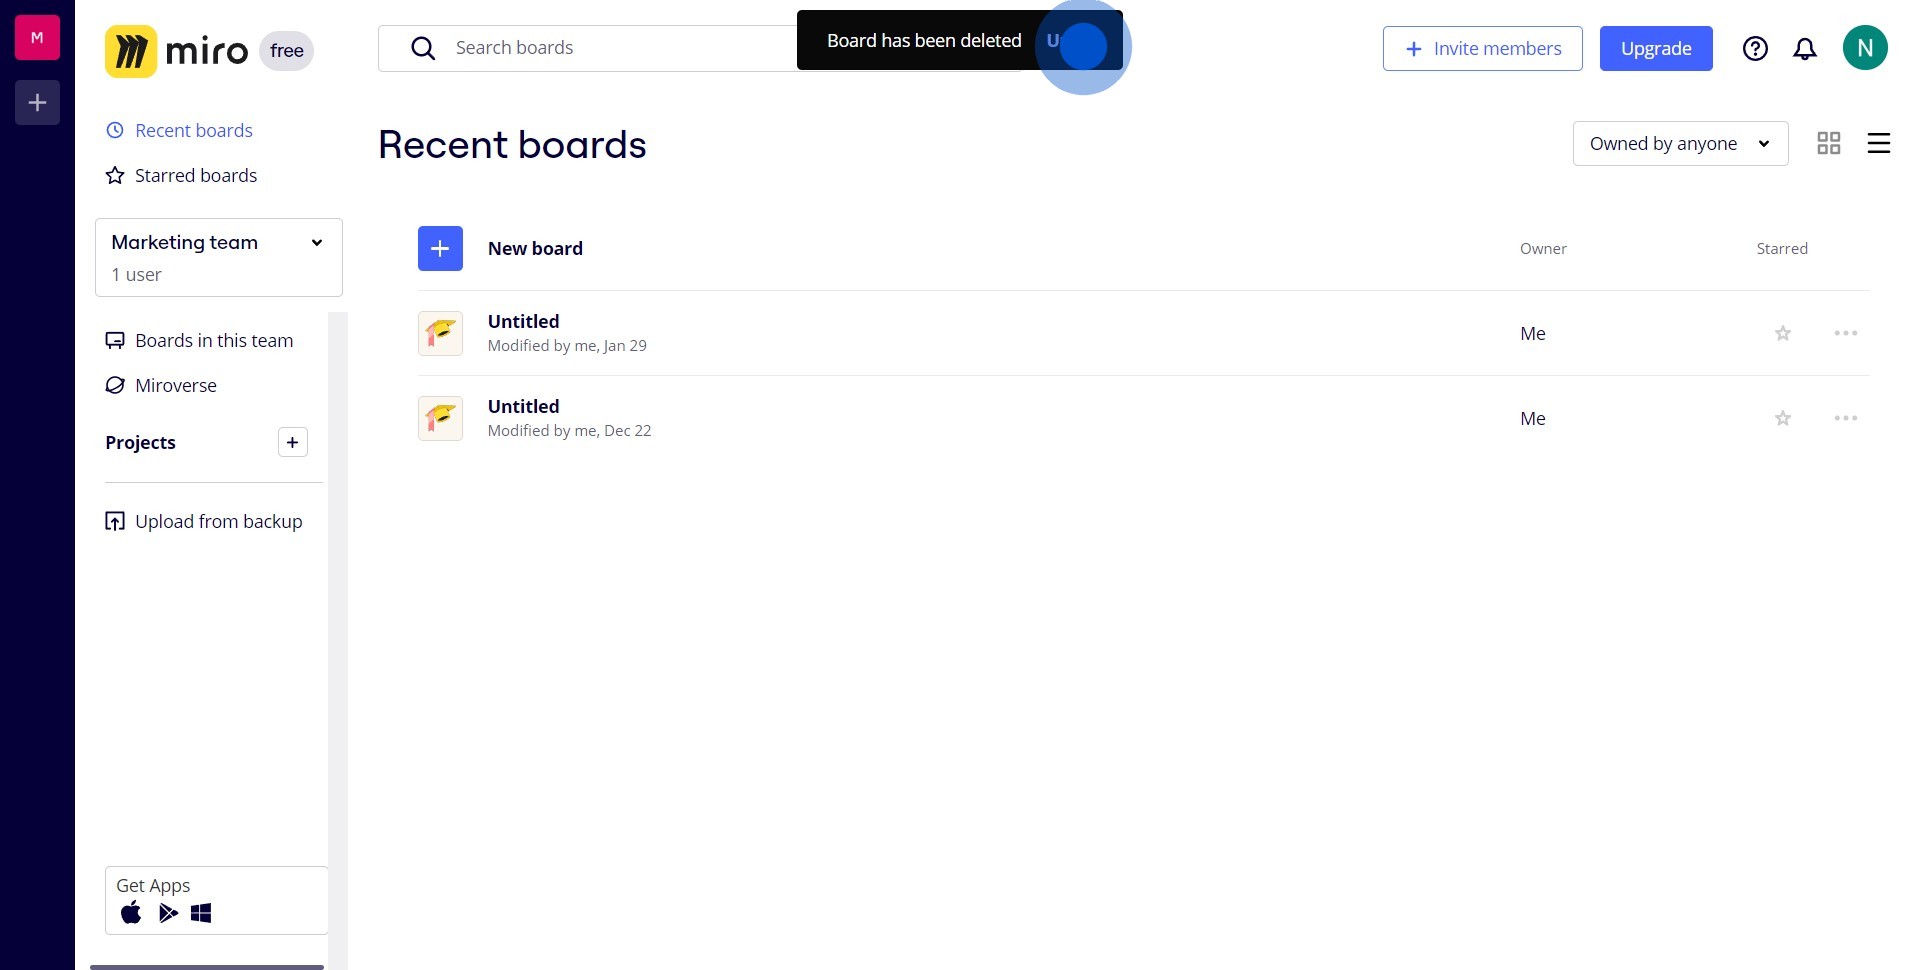
4. If you've made a mistake, click 'Undo' to restore your board.
Common FAQs on Miro
Commonly asked questions about this topic.
How do I create and manage boards in Miro?
To create a new board in Miro, log in to your account and click on the “+ Create Board” button from the dashboard. You can choose to start with a blank board or use one of the available templates. Once your board is created, you can add content such as sticky notes, shapes, text, and images using the toolbar on the left side of the screen. To manage your board, use the options in the board menu to organize content, set up frames, and adjust settings. You can also invite team members to collaborate by clicking the “Share” button and providing their email addresses or sharing a link with the appropriate permissions. Boards can be categorized and organized into folders for better management within your workspace.
How can I use Miro’s collaboration features effectively?
Miro offers several collaboration features to enhance teamwork and productivity. You can invite collaborators to your board by clicking the “Share” button and specifying their access level (e.g., “Can view,” “Can comment,” “Can edit”). Collaborators can add comments, tag other team members, and work on the board simultaneously. Use the “Comments” feature to leave feedback or suggestions directly on the board. Miro also includes a real-time chat function and video call integration, allowing team members to discuss and brainstorm without leaving the platform. Additionally, you can use the “Activity” panel to track changes and see who has been working on the board.
What integrations does Miro support and how can they enhance my workflow?
Miro integrates with various tools to streamline your workflow and improve productivity. Popular integrations include Slack, Microsoft Teams, Google Drive, Trello, and Asana. For example, integrating Miro with Slack allows you to receive updates and notifications about board activities directly in your Slack channels and share boards with your team. The Google Drive integration enables you to embed Drive files into your Miro boards and access them without leaving the platform. Integrating with project management tools like Trello and Asana allows you to link Miro boards with tasks and projects, keeping everything organized and accessible. To set up integrations, go to the “Integrations” section in Miro and follow the prompts to connect your preferred tools.
Create your own step-by-step demo
Scale up your training and product adoption with beautiful AI-powered interactive demos and guides. Create your first Supademo in seconds for free.
Nithil Shanmugam
Nithil is a startup-obsessed operator focused on growth, sales and marketing. He's passionate about wearing different hats across startups to deliver real value.
