Are you looking to tidy up your Slack workspace by removing unnecessary channels? While Slack is a simple and straightforward tool, it may not be intuitive for everyone on how they can easily delete channels.
Whether you're cleaning up outdated channels or consolidating discussions, here's a quick Slack demo guide to help you navigate the deletion process seamlessly:
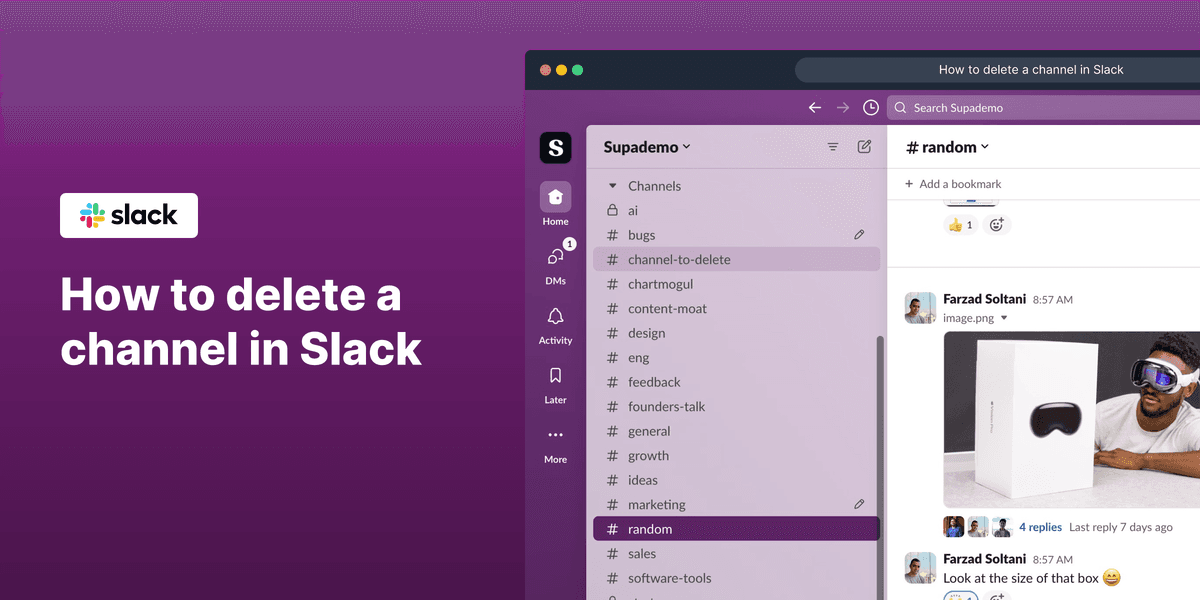
1. To kick off, click on the channel you'd like to delete. Let's choose "channel-to-delete".
2. After that, click on the channel name to suface options..
3. After that, click on "Settings".
4. After scrolling down, click on "Delete this channel".
5. Click on "Yes, permanently delete the channel".
6. Now, click on "Delete Channel".
7. Your Slack channel has been deleted!
Common FAQs on Slack
Commonly asked questions about this topic.
How do I create a new Slack workspace?
To create a new Slack workspace, go to the Slack website and click on “Create a new workspace.” Follow the prompts to enter your email address, verify it, and then provide details like your company name and workspace name. You’ll be guided through setting up channels and inviting team members.
How can I customize my Slack notifications?
To customize your Slack notifications, click on your profile picture in the top-right corner and select “Preferences.” Go to the “Notifications” tab, where you can adjust settings for direct messages, mentions, and keyword alerts. You can choose to receive notifications via desktop, mobile, or email and set notification preferences for different channels and threads.
How do I integrate apps and services with Slack?
To integrate apps and services with Slack, click on your workspace name in the top-left corner and select “Apps & integrations” from the menu. Browse or search for the app you want to add. Click on it and follow the instructions to install and authorize the app. Once integrated, you can use the app’s features directly within Slack, such as sending data or automating tasks.
This guide was created in minutes with Supademo
Scale up your training and guidance with engaging, AI-powered interactive demo walkthroughs. Create a Supademo for free with no credit card required.
Checkout Supademo Slack Integration (beta)
With Supademo's Slack integration, you can get real-time alerts on your highest performing interactive demos and prospects. This helps you narrow your focus on the highest intent, most engaged viewers.
Here's a quick summary of how it works
1. Set up the Slack integration by heading to the integrations page on the Supademo dashboard.
2. Choose the Slack channel you'd like to be notified on.
3. As viewers interact with personalized/trackable links, you'll be notified instantly.
Frequently Asked Questions about how to delete a channel in slack
Commonly asked questions about this topic.
Where do my messages go when I delete a Slack channel?
At minimum, review weekly with your team to flag outdated items and reprioritize as needed. For fast-moving projects, daily check-ins on critical channel elements prevent misalignment. Build the review cadence into your regular team rituals — standalone review meetings rarely get prioritized. Learn more about AI-powered demo creation.
Rev.io now creates training materials in hours instead of weeks, with a 50% smaller team.
How can I restore a Slack channel after deleting it?
Most modern platforms like Slack include starter templates for common use cases, including channel. Templates save setup time but should be customized to match your team's specific needs — default configurations rarely fit every workflow. Check Slack's template gallery or community library for options relevant to your industry.
Teams that update demos weekly or monthly see ~18% higher impact scores.
Do I need special permissions to delete a channel in Slack?
Slack typically integrates with popular tools like Slack, Google Workspace, Microsoft 365, and Zapier for cross-platform automation. These integrations help connect deleting a channel workflows with your existing tech stack. Check Slack's integration marketplace for specific connectors relevant to your use case.
beehiiv saw 50% better conversion rates after implementing interactive product demos.
Should I archive or delete a Slack channel instead?
Most platforms support exporting to CSV, PDF, or through API access for custom integrations. When sharing externally, consider whether the recipient needs a live view or a static snapshot — live links require account access while exports may go stale. For recurring reports, set up automated exports or scheduled summaries. For context, Supademo holds a 4.7/5 rating on G2 with top marks for ease of use.
Processmaker saved hundreds of hours by replacing manual demo processes with interactive walkthroughs.
Processmaker saved hundreds of hours by replacing manual demo processes with interactive walkthroughs. The average time from recording to publishing a Supademo is just 3.5 minutes.
Will channel members be notified when I delete a Slack channel?
Most platforms offer role-based permissions that control who can view, edit, or admin your channel. Slack typically supports workspace-level, project-level, and item-level permissions. Review your sharing) settings before collaborating with external stakeholders — default permissions may expose more data than intended.
Supademo was named the #5 fastest-growing software product on G2 in 2025. Supademo integrates with 30+ tools including HubSpot, Salesforce, Slack, and more.
Can I delete a channel I don't own in Slack?
For stakeholders without Slack access, create a shareable walkthrough that shows the key views and data points without requiring a login. Interactive demo tools let you capture your Slack workspace and share it as a clickable link — viewers see the real interface without needing an account. This works well for executive reviews, client presentations, and cross-team alignment.
According to the State of Interactive Demos 2026 report, teams using interactive demos across 3-5 use cases report up to 29% higher impact scores.
Is there a way to back up a channel before deleting it in Slack?
Slack supports real-time collaboration where multiple team members can view and edit simultaneously. Features like commenting, @mentions, and activity logs help keep communication in context. Set clear editing permissions — having too many editors without structure leads to version conflicts and confusion. Learn more about Supademo's features.
54% of top-completing demos use AI voiceover to improve the guided experience.
Joseph is the CEO and co-founder of Supademo, building AI-driven interactive demo tooling used by 100,000+ founders, marketers, and operators to accelerate product understanding and sales. He’s a two-time startup founder passionate about zero-to-one product building and remote-first company culture.
Learn how to easily remove the 'Powered by Shopify' text from your online store with step-by-step instructions and tips to customize your Shopify storefront.
Learn step-by-step how to add products to your Shopify store effortlessly, including tips on product details, images, pricing, and inventory management to boost your online sales.
Learn step-by-step how to deactivate your Shopify store easily, including important considerations and tips to pause or close your shop without losing data.
Learn how to easily remove the 'Powered by Shopify' text from your online store with step-by-step instructions and tips to customize your Shopify storefront.