How to enable emails and use it in ClickUp

Nithil Shanmugam
Nithil Shanmugam·
Featured image for How to enable emails and use it in ClickUp

Overview

Streamline your productivity in ClickUp by unlocking the power of email integration. Enhance your workflow by enabling emails and utilizing this feature seamlessly within the platform. This comprehensive guide walks you through the straightforward process of setting up and leveraging email functionality in ClickUp, empowering you to improve communication and efficiency in your project management endeavors. Explore the step-by-step instructions to optimize your experience and achieve clarity in email integration within the ClickUp platform.

Interactive demo powered by Supademo

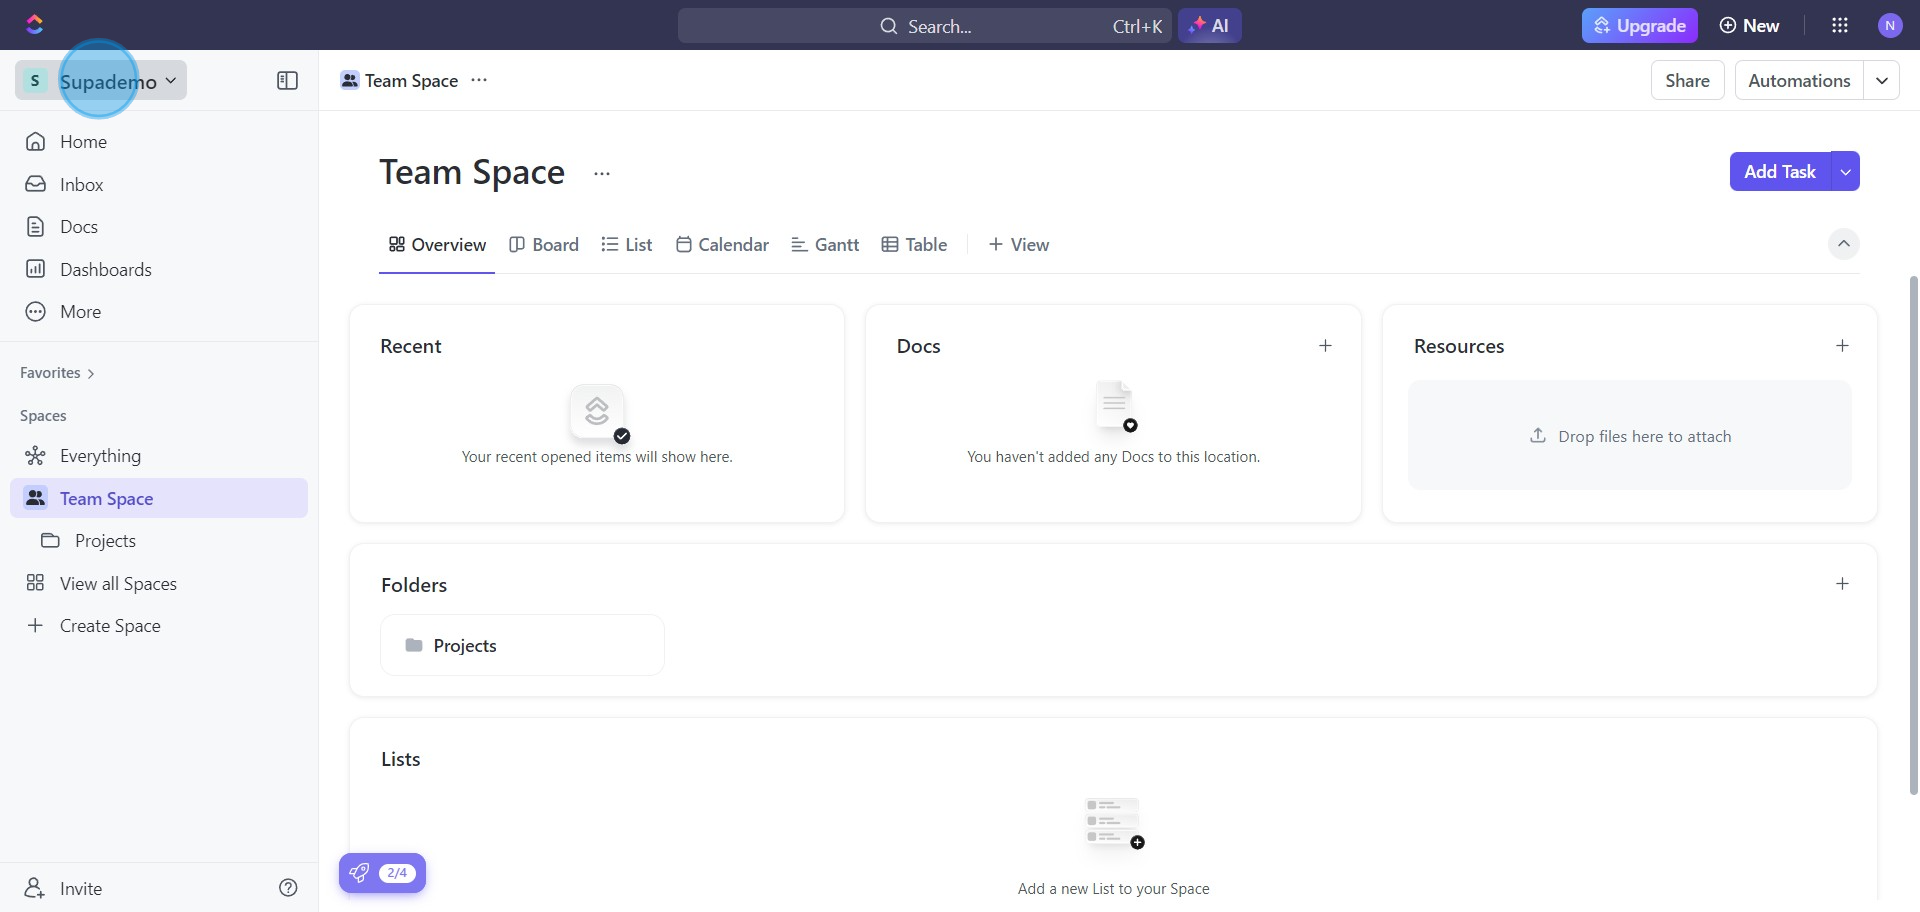
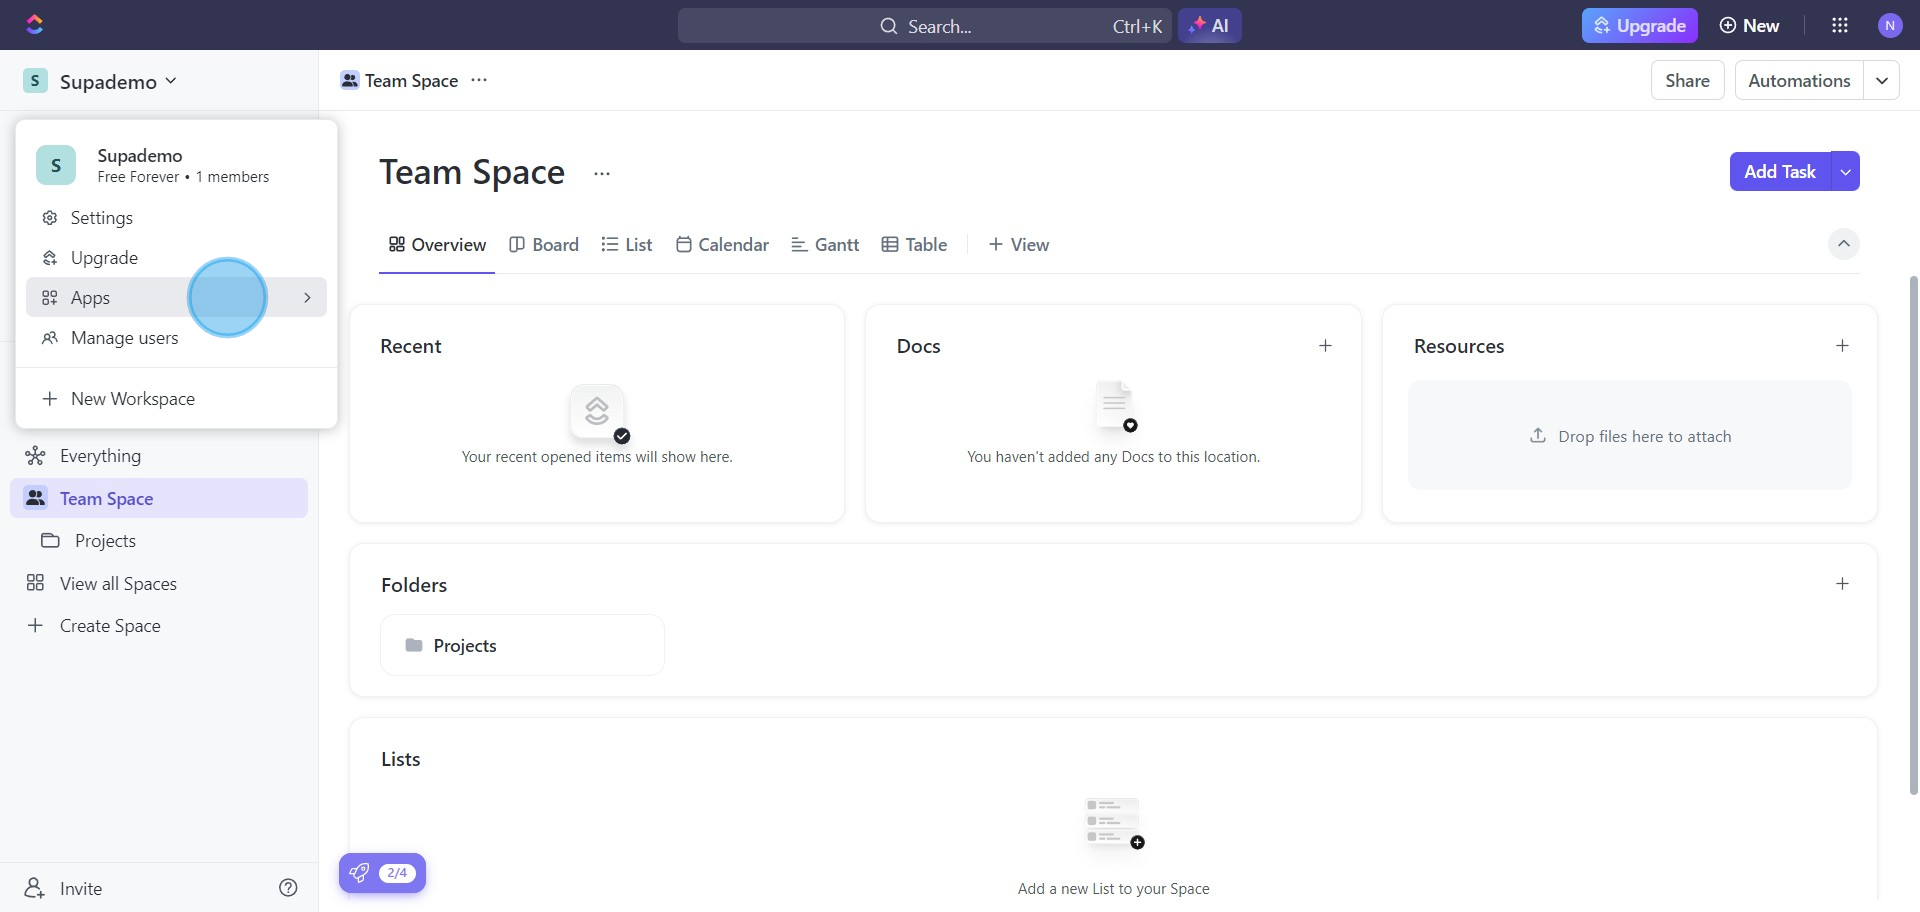
1. Navigate to your workspace from the main screen.

1 Click on "Supademo"

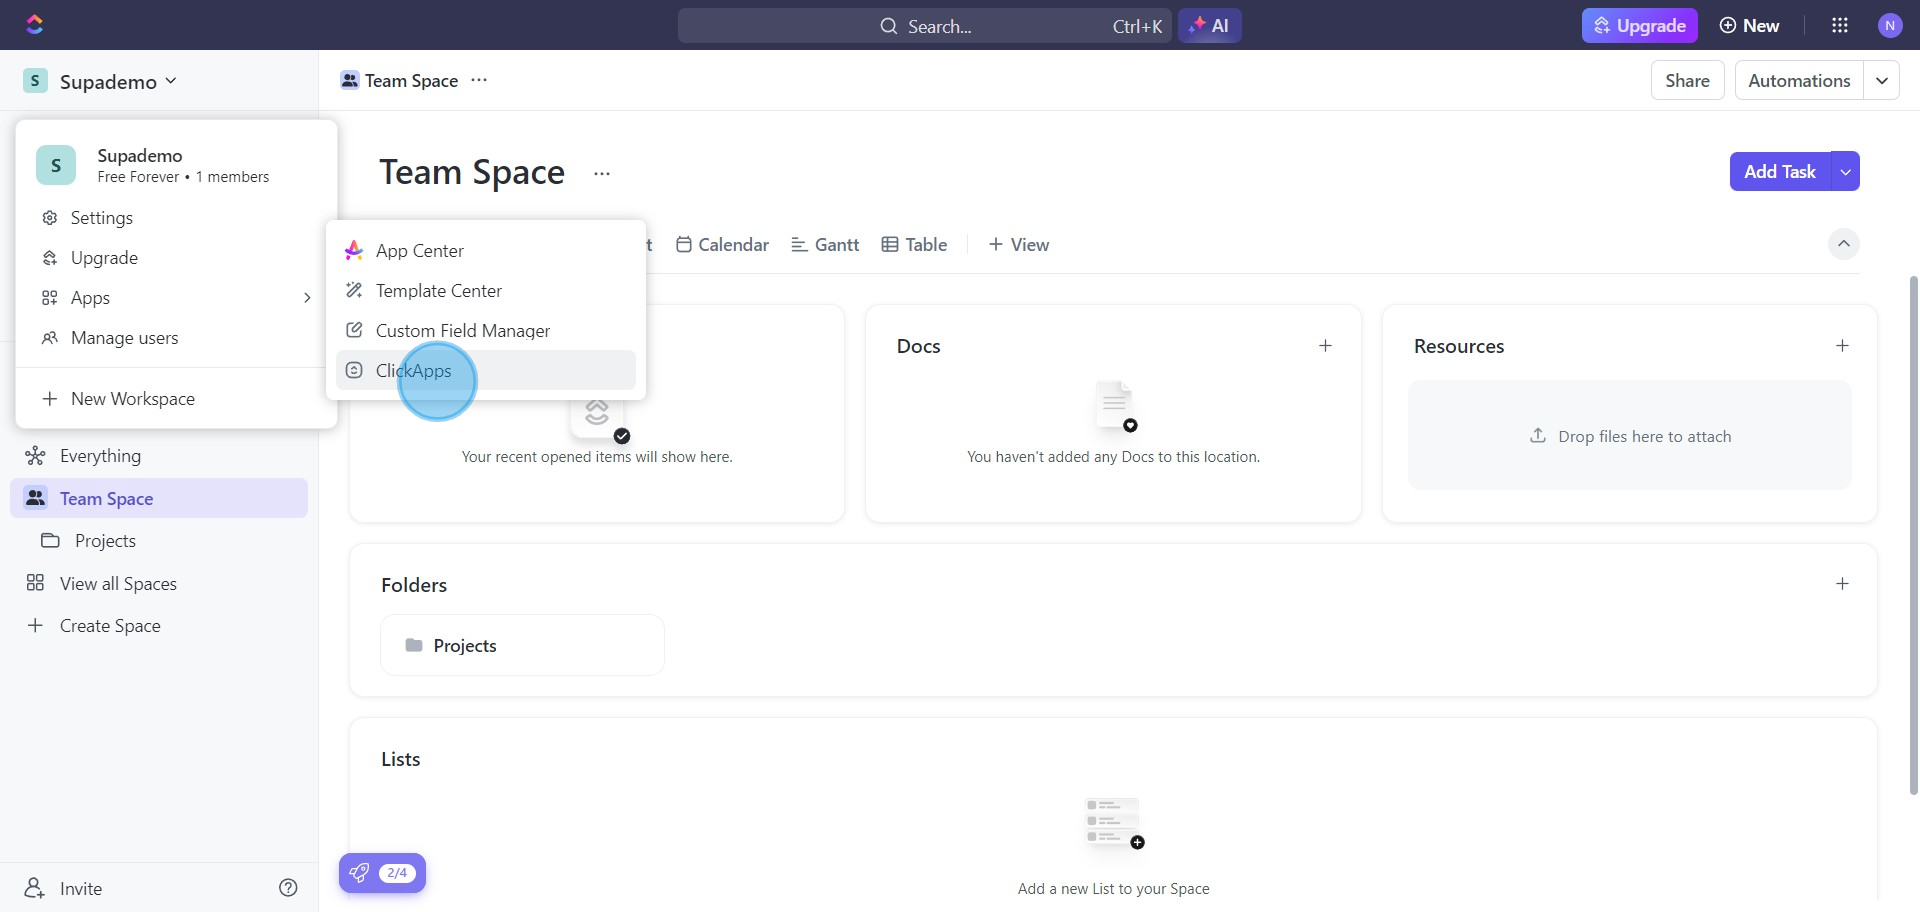
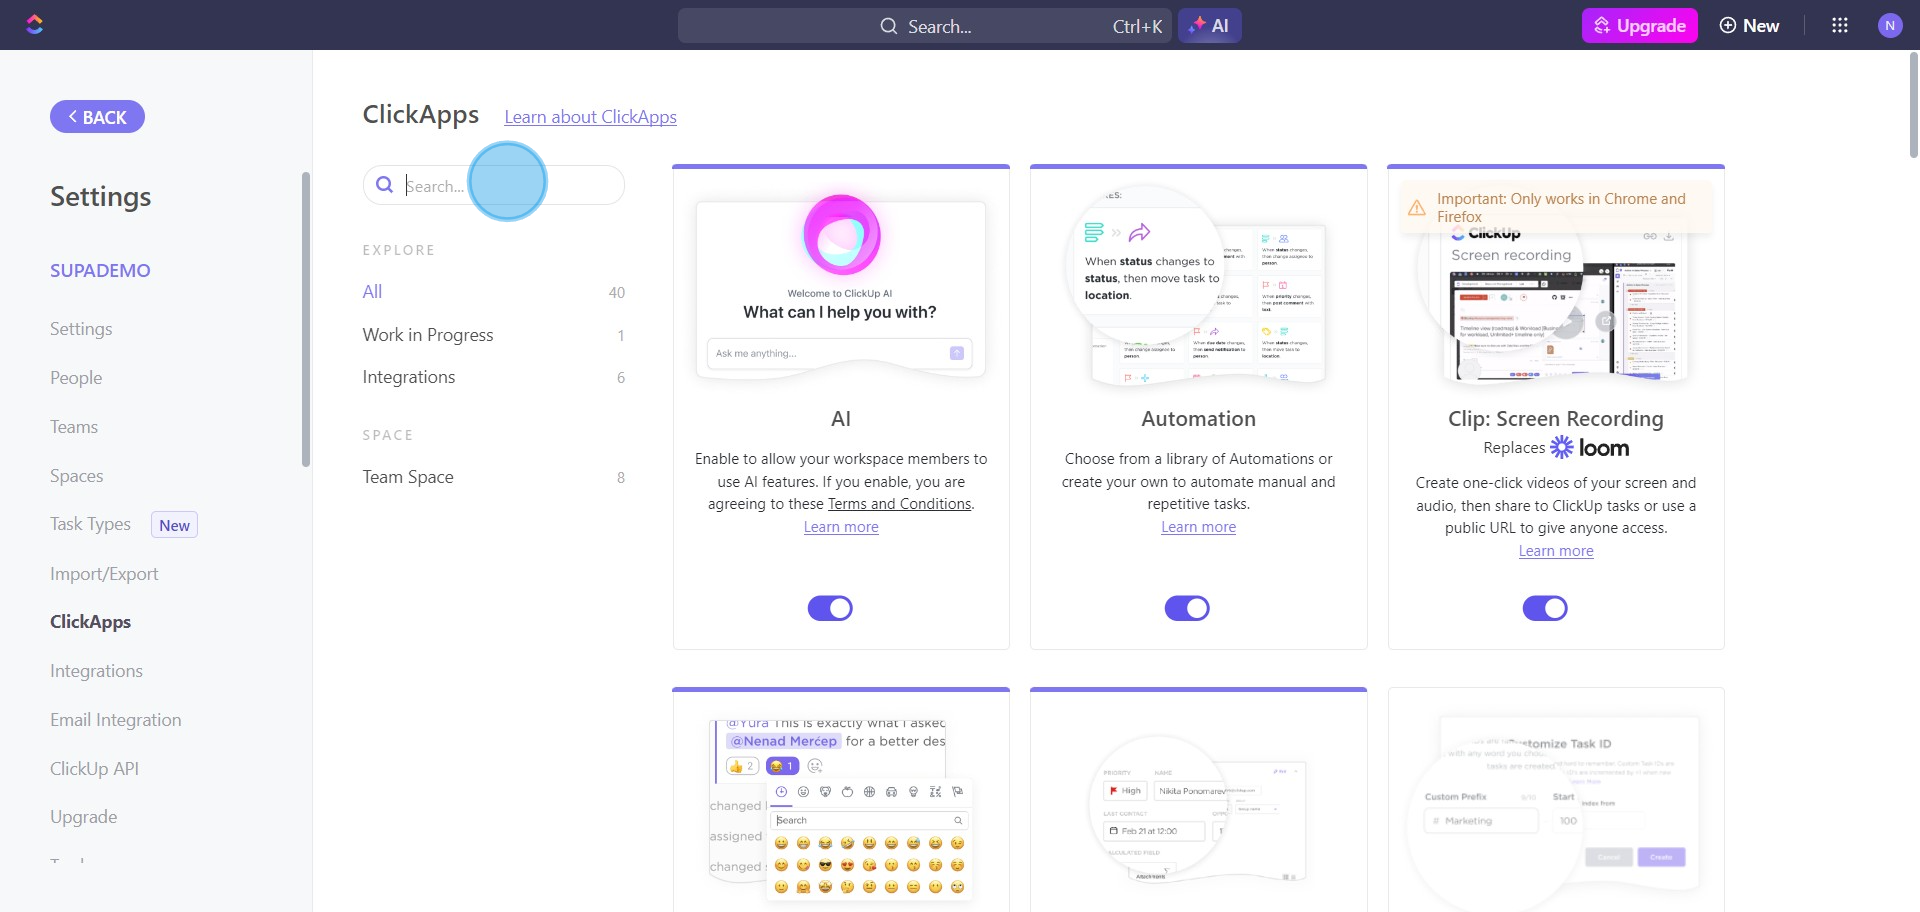
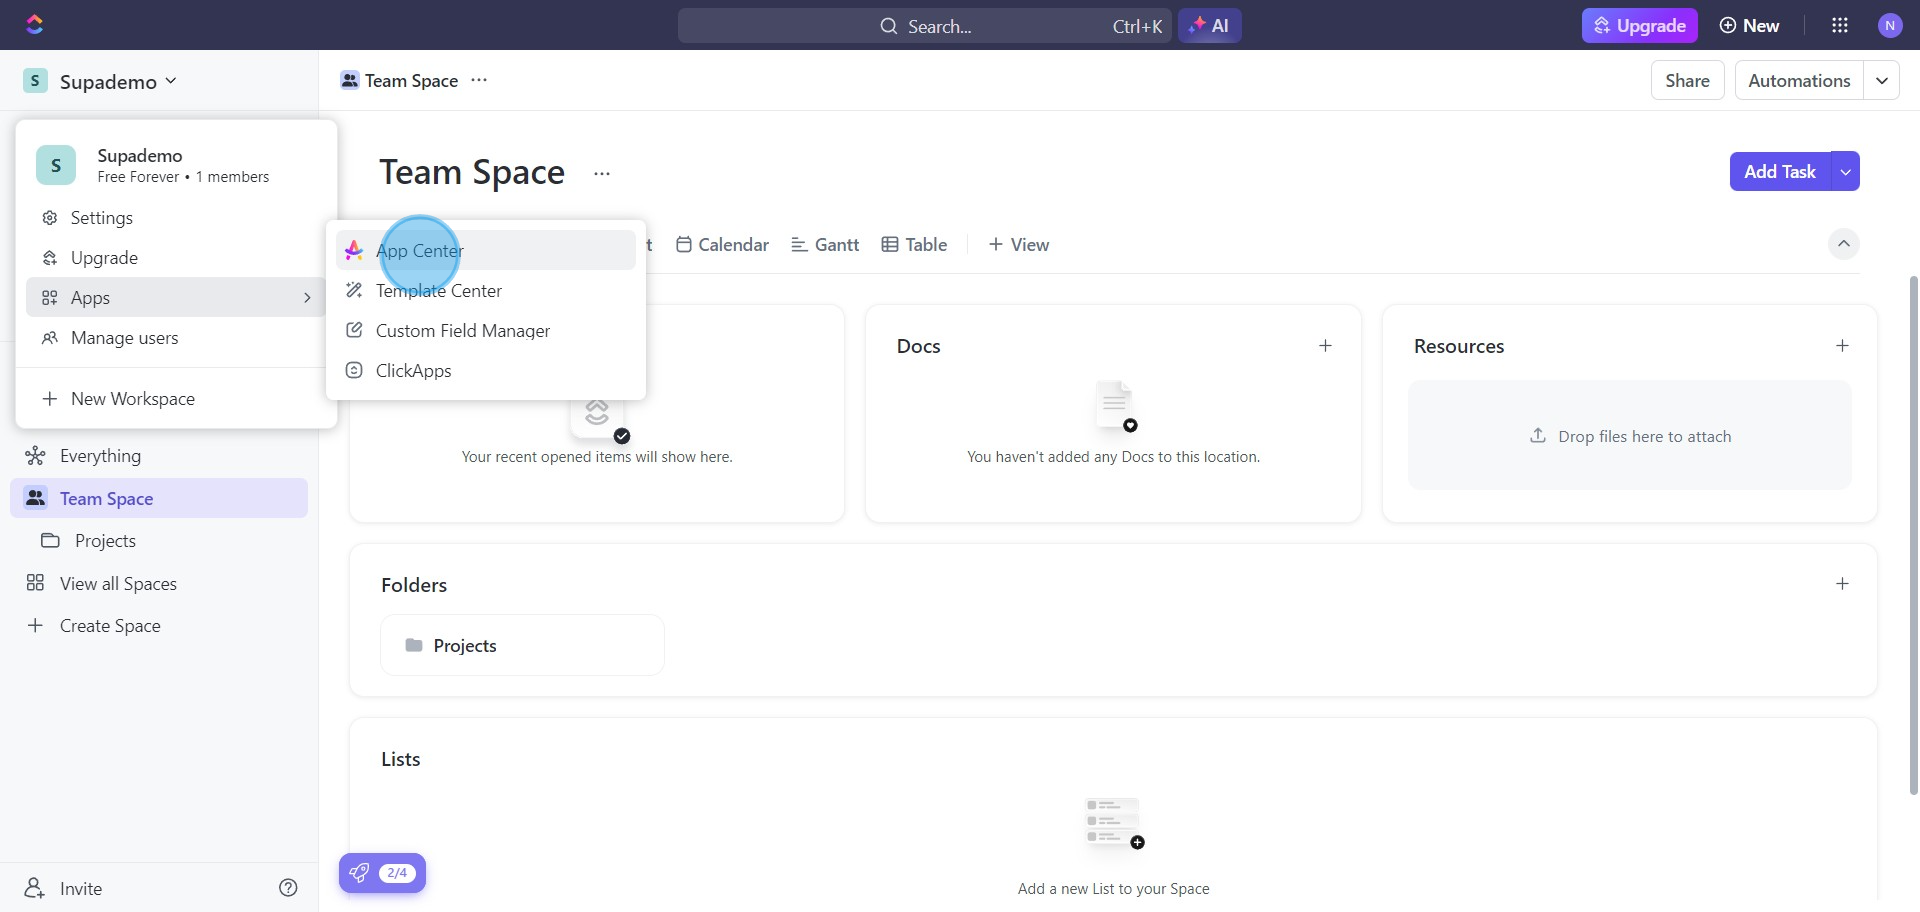
2. Locate and select the 'Apps' option.

2 Click on "Apps"

3. Find 'ClickApps' in the drop-down list and click on it.

3 Click on "ClickApps"

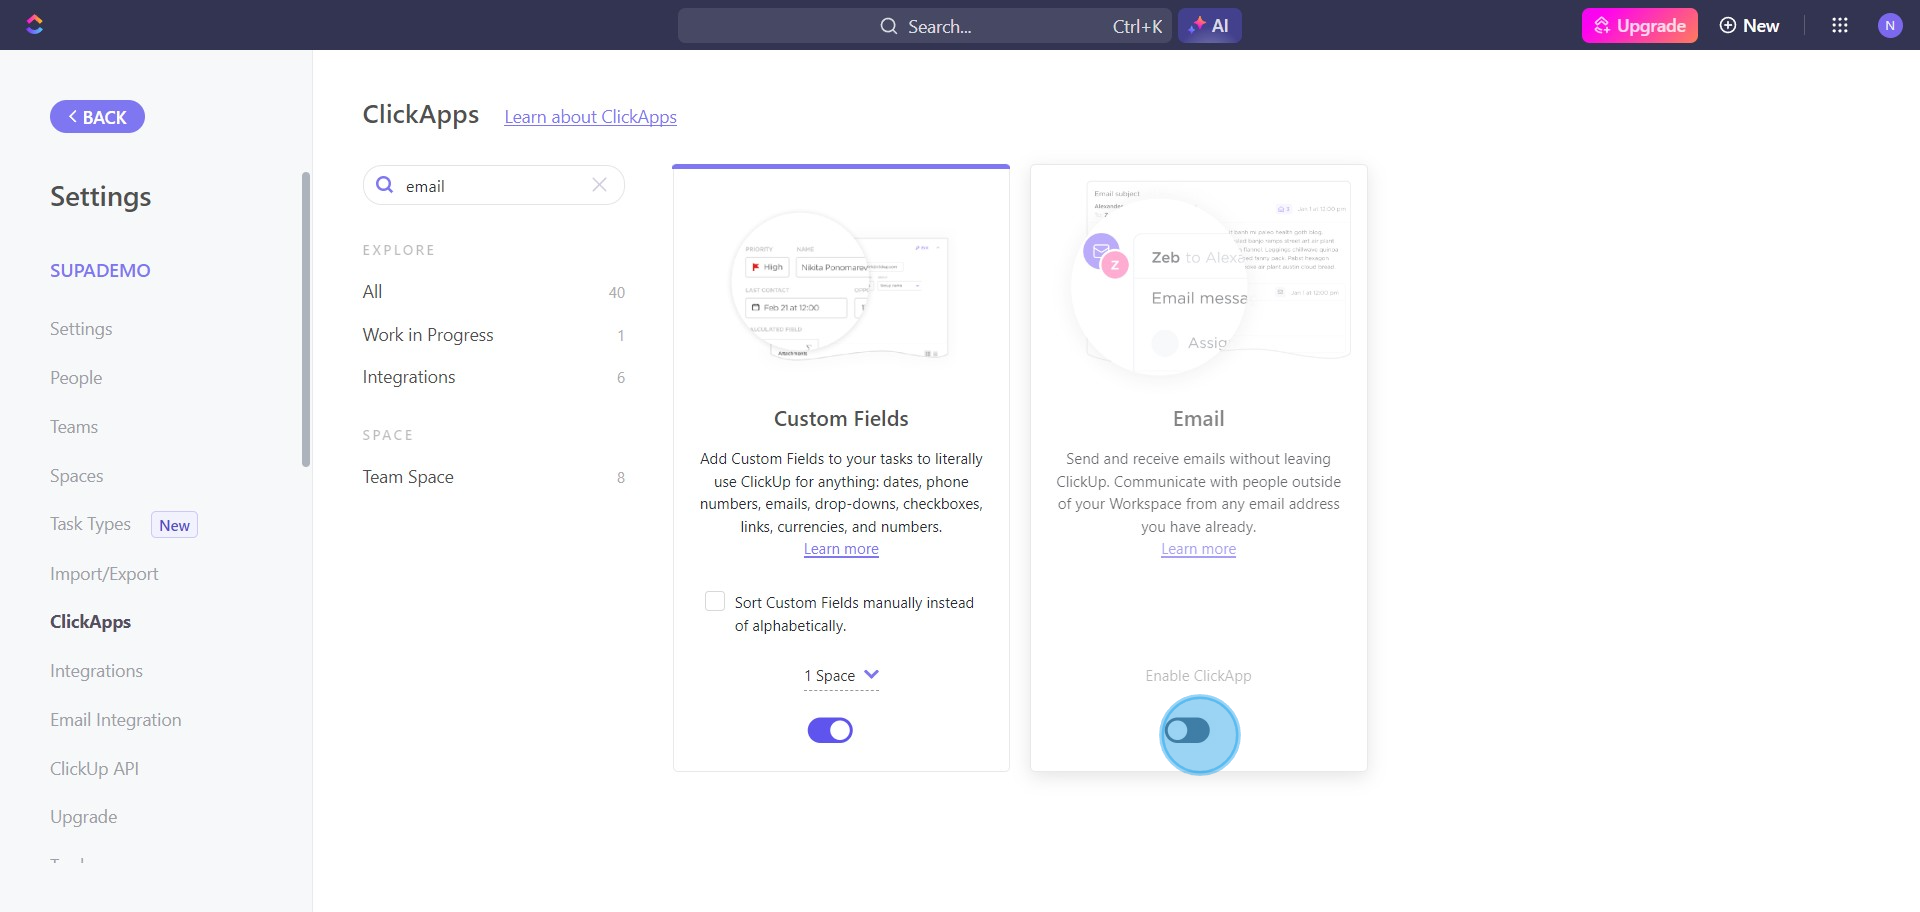
4. Type 'Email' in the search bar for enabling it.

4 Click here

5. Switch the toggle to enable the email option.

5 Click here

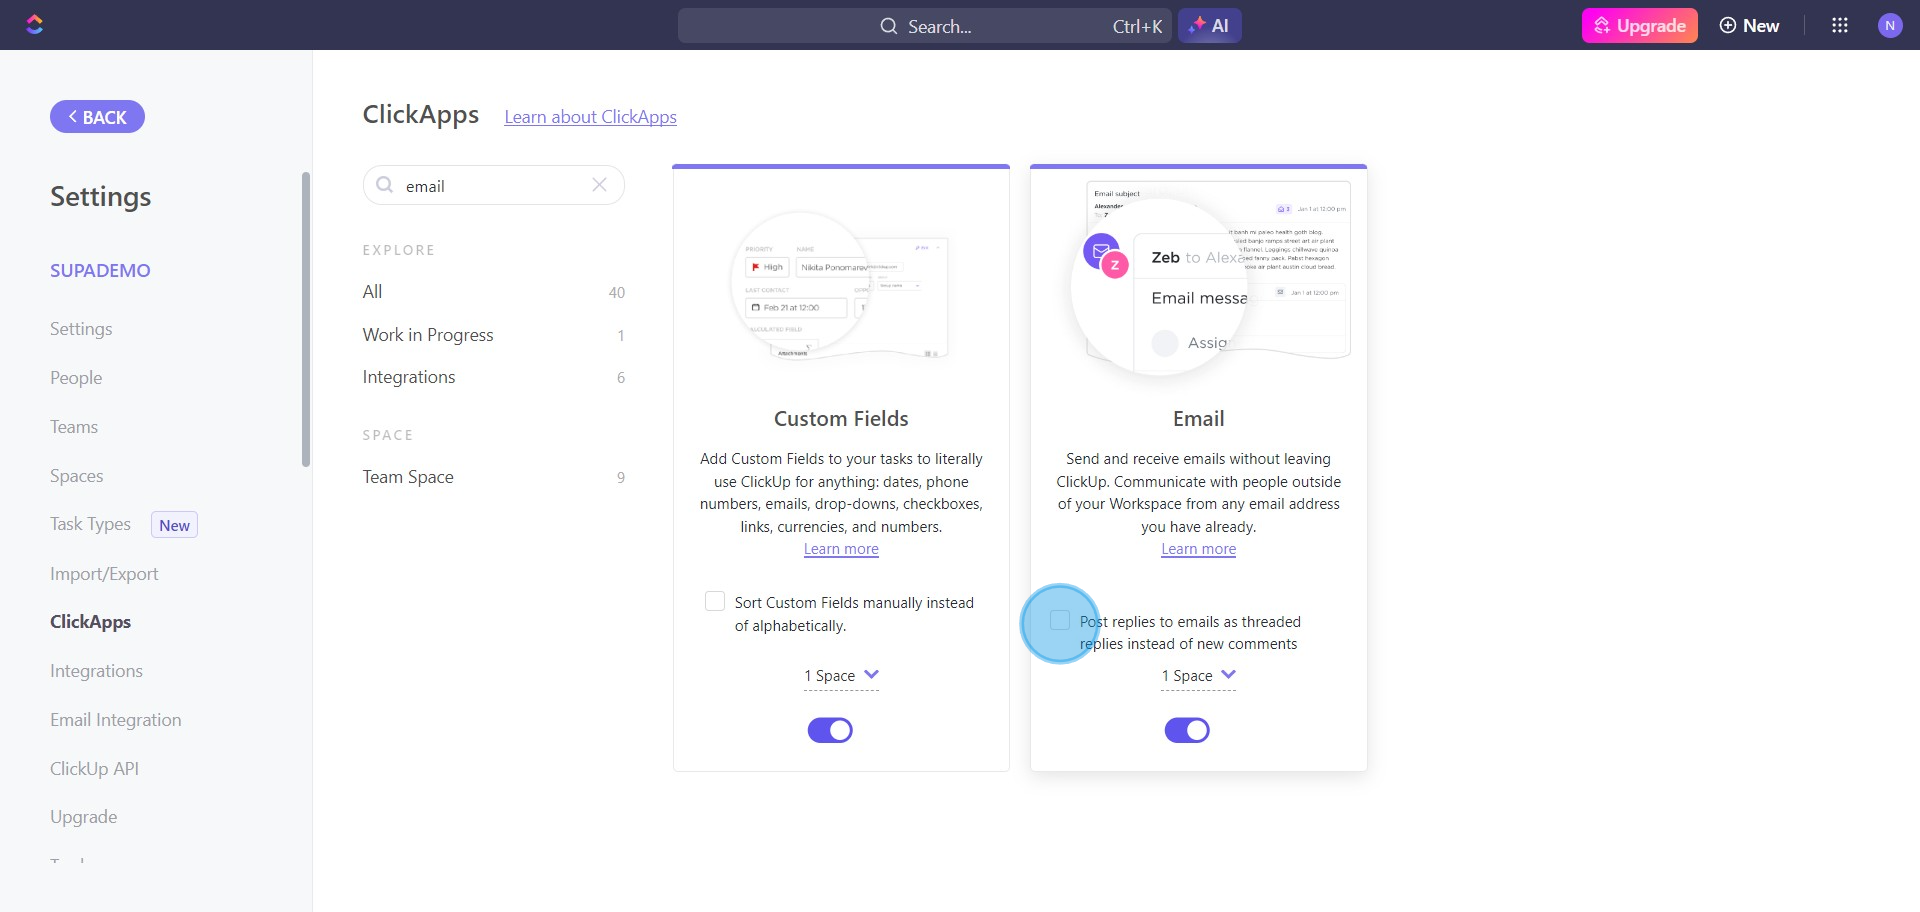
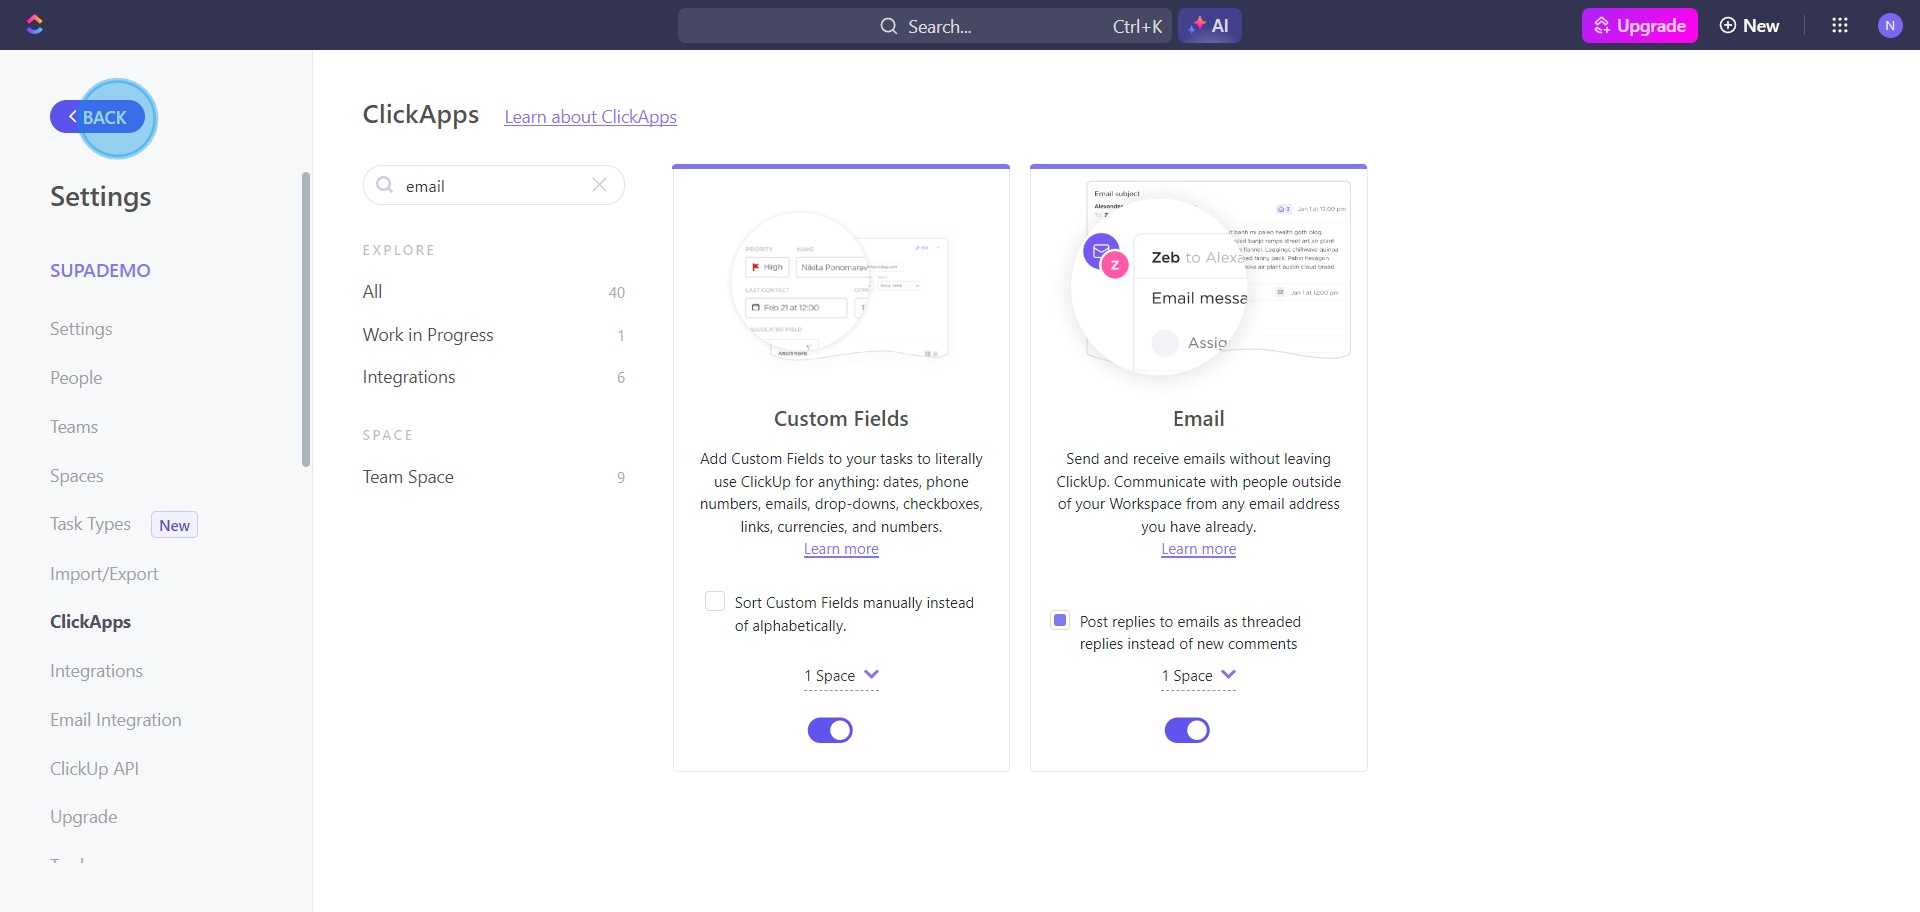
6. Opt for 'Post replies to emails as threaded replies instead of new comments' for a seamless email interaction.

6 Click on "Post replies to..."

7. Navigate back by clicking on 'BACK'.

7 Click on "BACK"

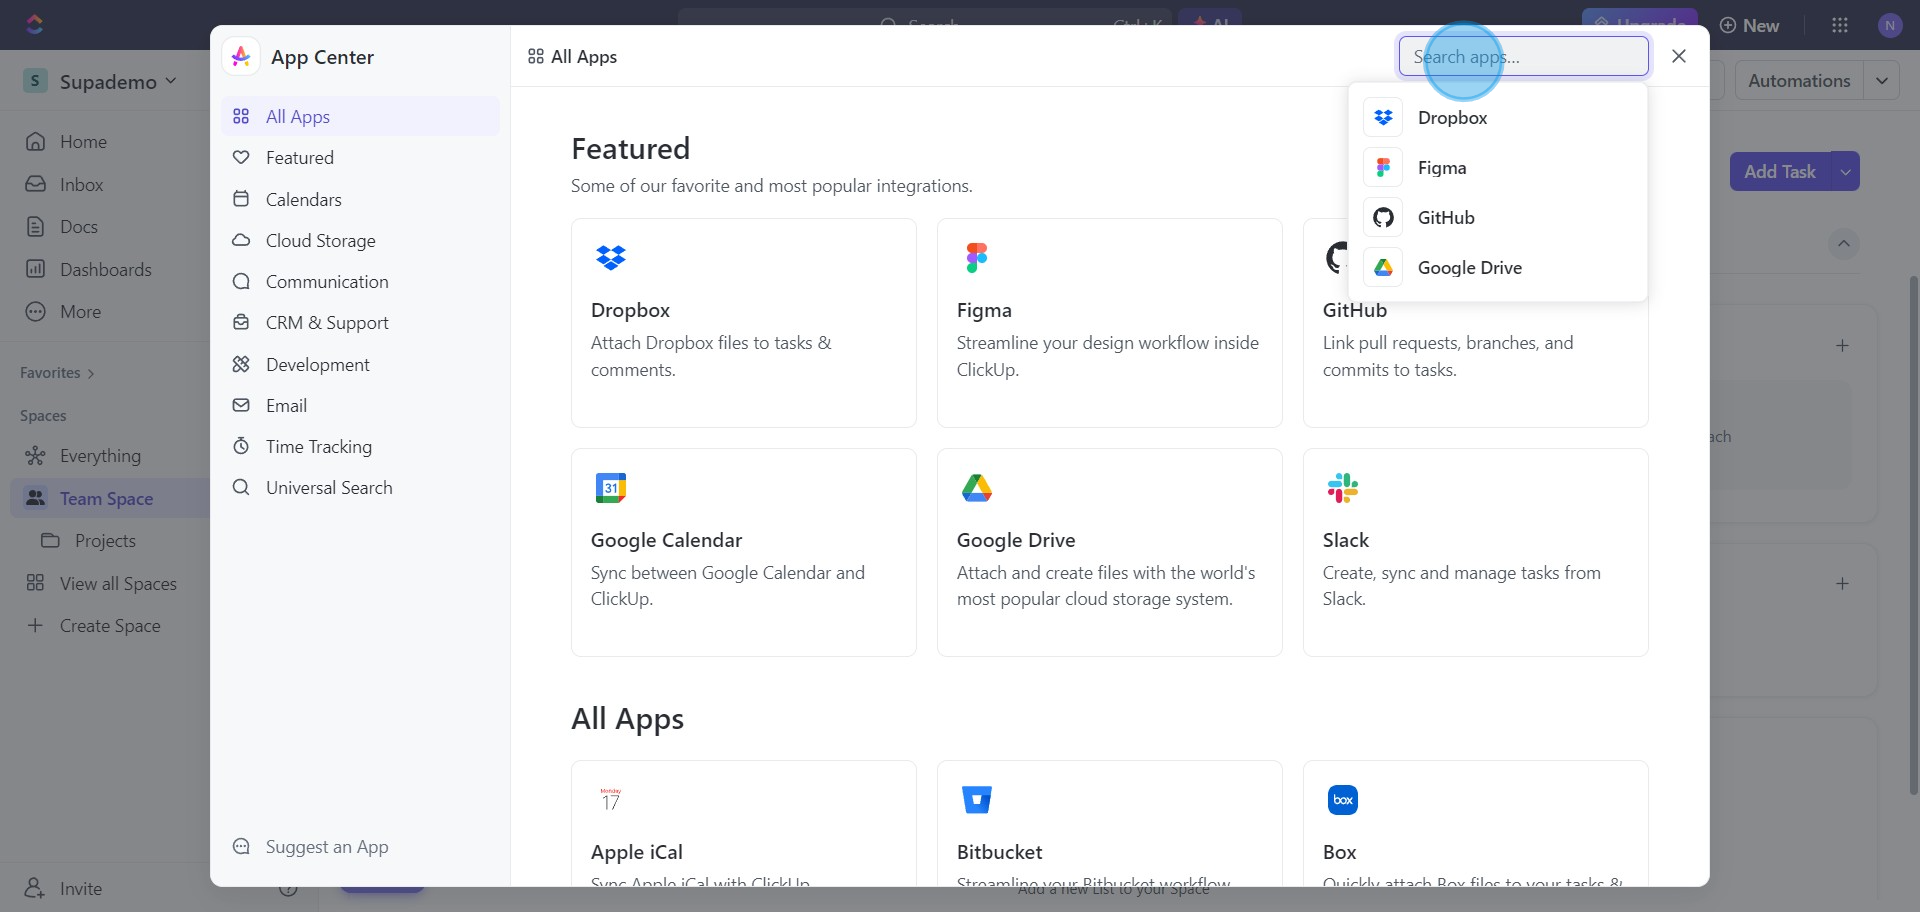
8. Proceed to the 'App Center' from the list.

8 Click on "App Center"

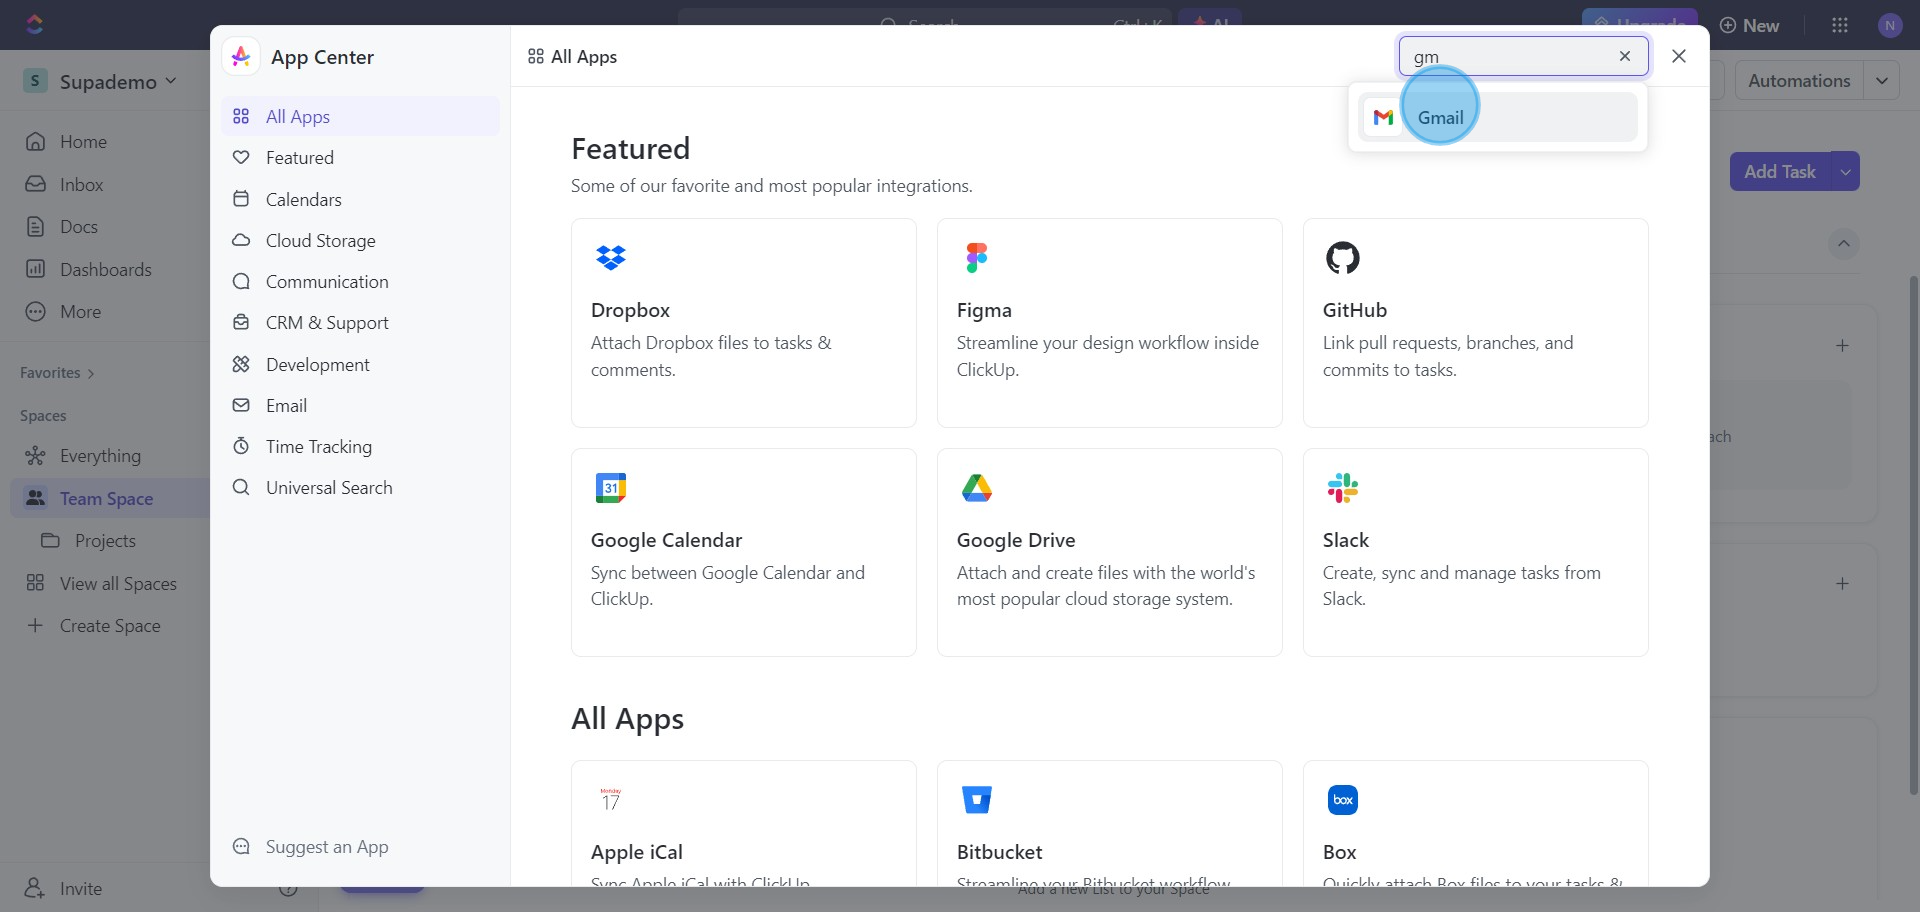
9. Type 'email' in the search bar to connect with ClickUp.

9 Click here

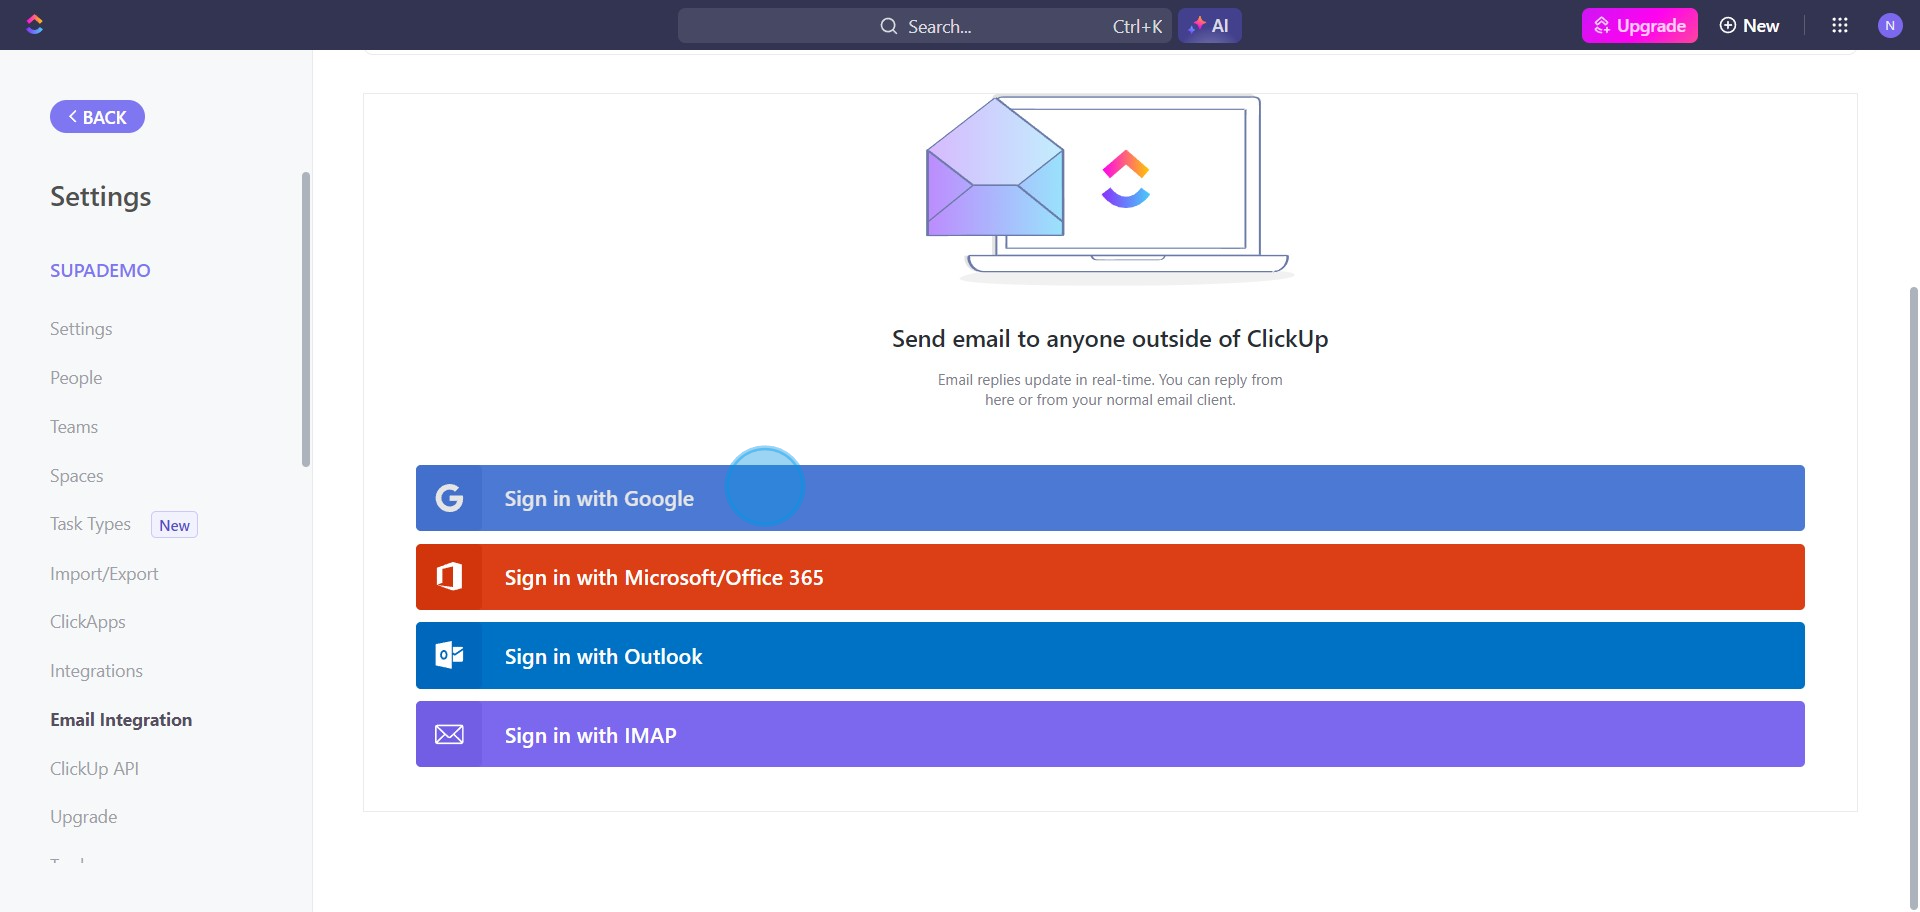
10. Select 'Gmail' from the search results.

10 Click on "Gmail"

11. Click on 'Configure' to set up the linkage.

11 Click on "Configure"

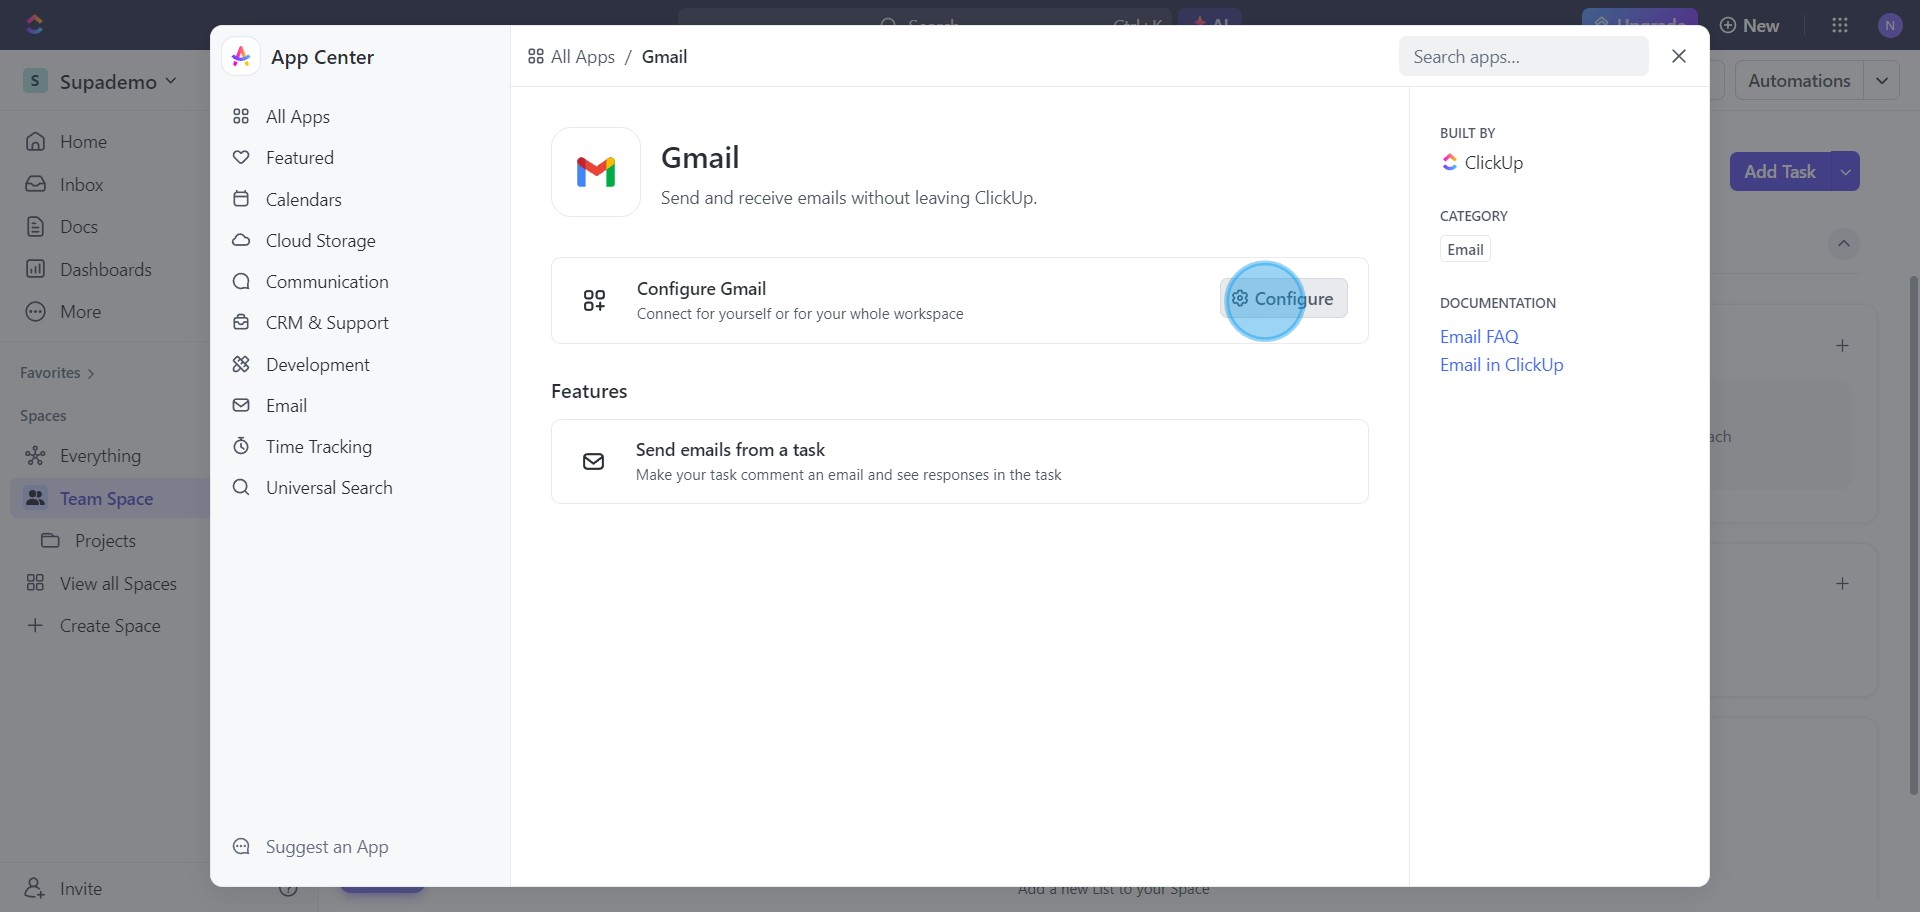
12. Finally, click on 'Sign in with Google', verify, and you'll have your email connected with ClickUp.

12 Click on "Sign in with Google"

Create your own step-by-step demo

Scale up your training and product adoption with beautiful AI-powered interactive demos and guides. Create your first Supademo in seconds for free.

Nithil Shanmugam

Nithil Shanmugam

Nithil is a startup-obsessed operator focused on growth, sales and marketing. He's passionate about wearing different hats across startups to deliver real value.

More from the blog

How to Add Products to Shopify

How to Add Products to Shopify

Learn step-by-step how to add products to your Shopify store effortlessly, including tips on product details, images, pricing, and inventory management to boost your online sales.

Vimal Kumar
Vimal KumarDec 17, 2025
How to Deactivate Your Shopify Store

How to Deactivate Your Shopify Store

Learn step-by-step how to deactivate your Shopify store easily, including important considerations and tips to pause or close your shop without losing data.

Vimal Kumar
Vimal KumarDec 17, 2025
How to Remove 'Powered by Shopify'

How to Remove 'Powered by Shopify'

Learn how to easily remove the 'Powered by Shopify' text from your online store with step-by-step instructions and tips to customize your Shopify storefront.

Vimal Kumar
Vimal KumarDec 17, 2025
How to Create a Shopify Account

How to Create a Shopify Account

Learn step-by-step how to create a Shopify account quickly and easily, set up your online store, and start selling your products in no time.

Vimal Kumar
Vimal KumarDec 17, 2025
How to Create a Stripe Account

How to Create a Stripe Account

Learn how to create a Stripe account quickly and easily with our step-by-step guide, perfect for beginners looking to start accepting online payments.

Vimal Kumar
Vimal KumarDec 17, 2025
How to Contact Stripe Support

How to Contact Stripe Support

Learn the easiest ways to contact Stripe support for quick assistance with your payment processing, account issues, and technical questions.

Vimal Kumar
Vimal KumarDec 16, 2025