

Overview:
Streamline your workflow in ClickUp by harnessing the power of Notepad. Enhance organization and clarity by utilizing Notepad to categorize and manage your tasks effortlessly. This guide offers a seamless process to enable Notepad in ClickUp and create a personalized one, empowering you to boost efficiency and maintain clear task management within the ClickUp platform.
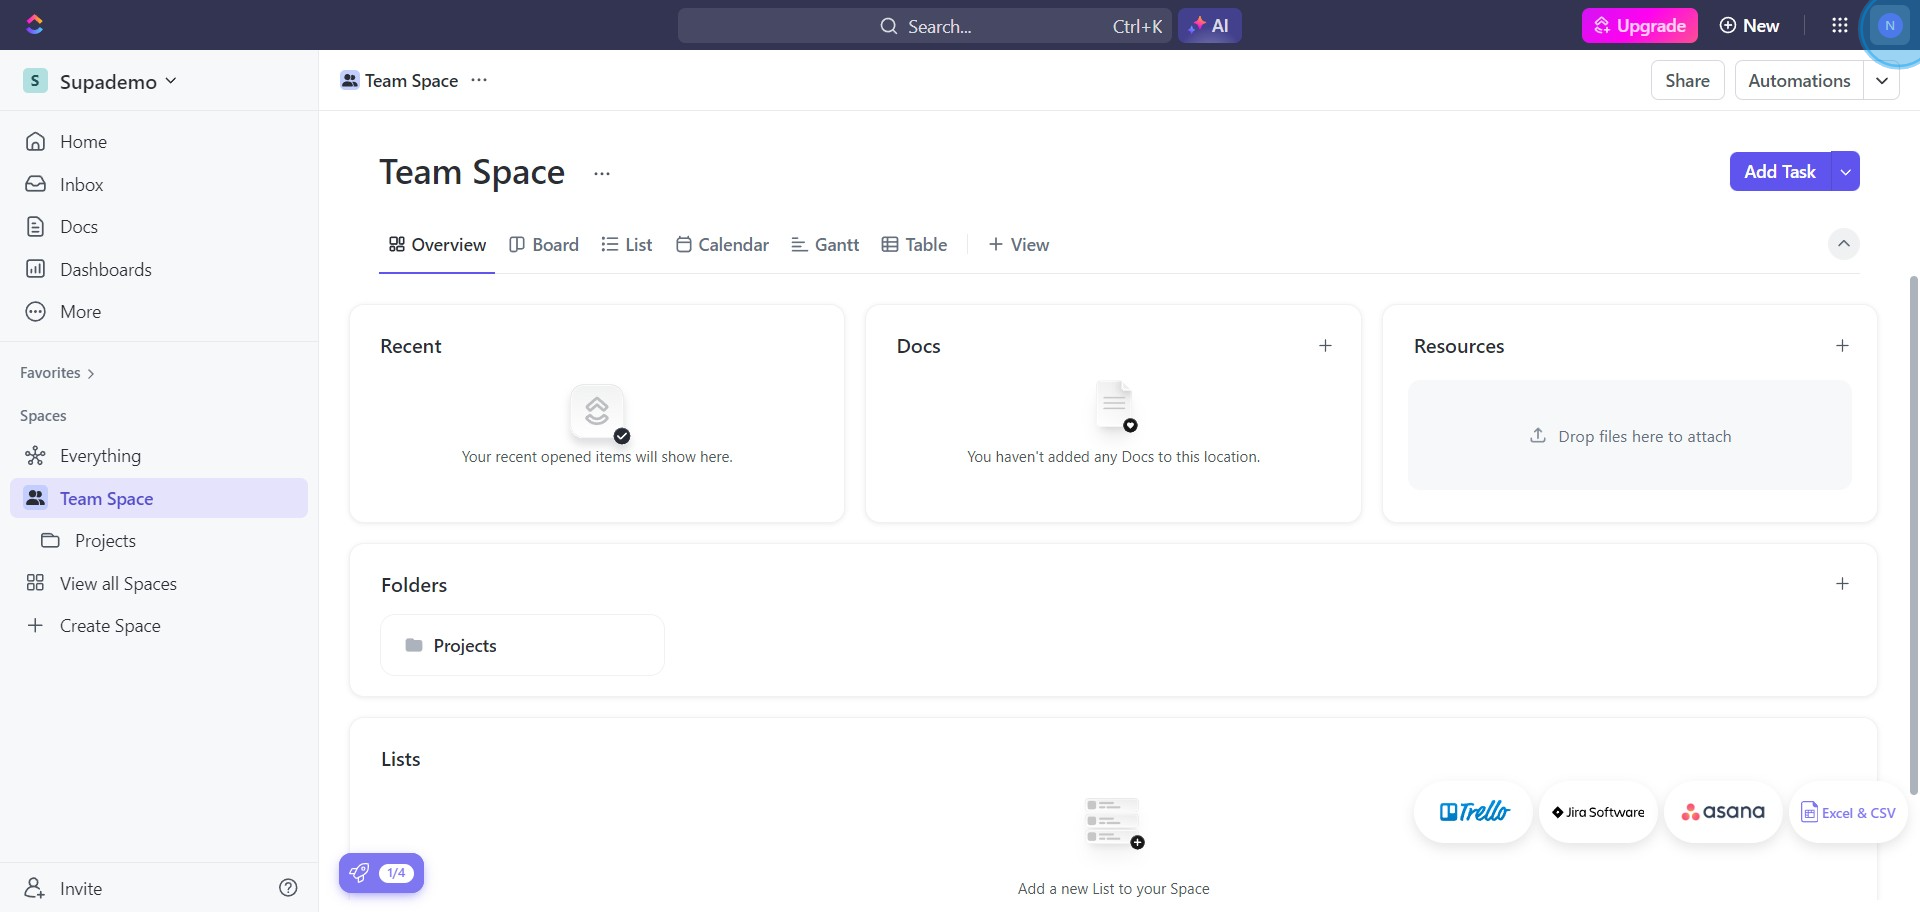
1. Start by selecting your profile icon.
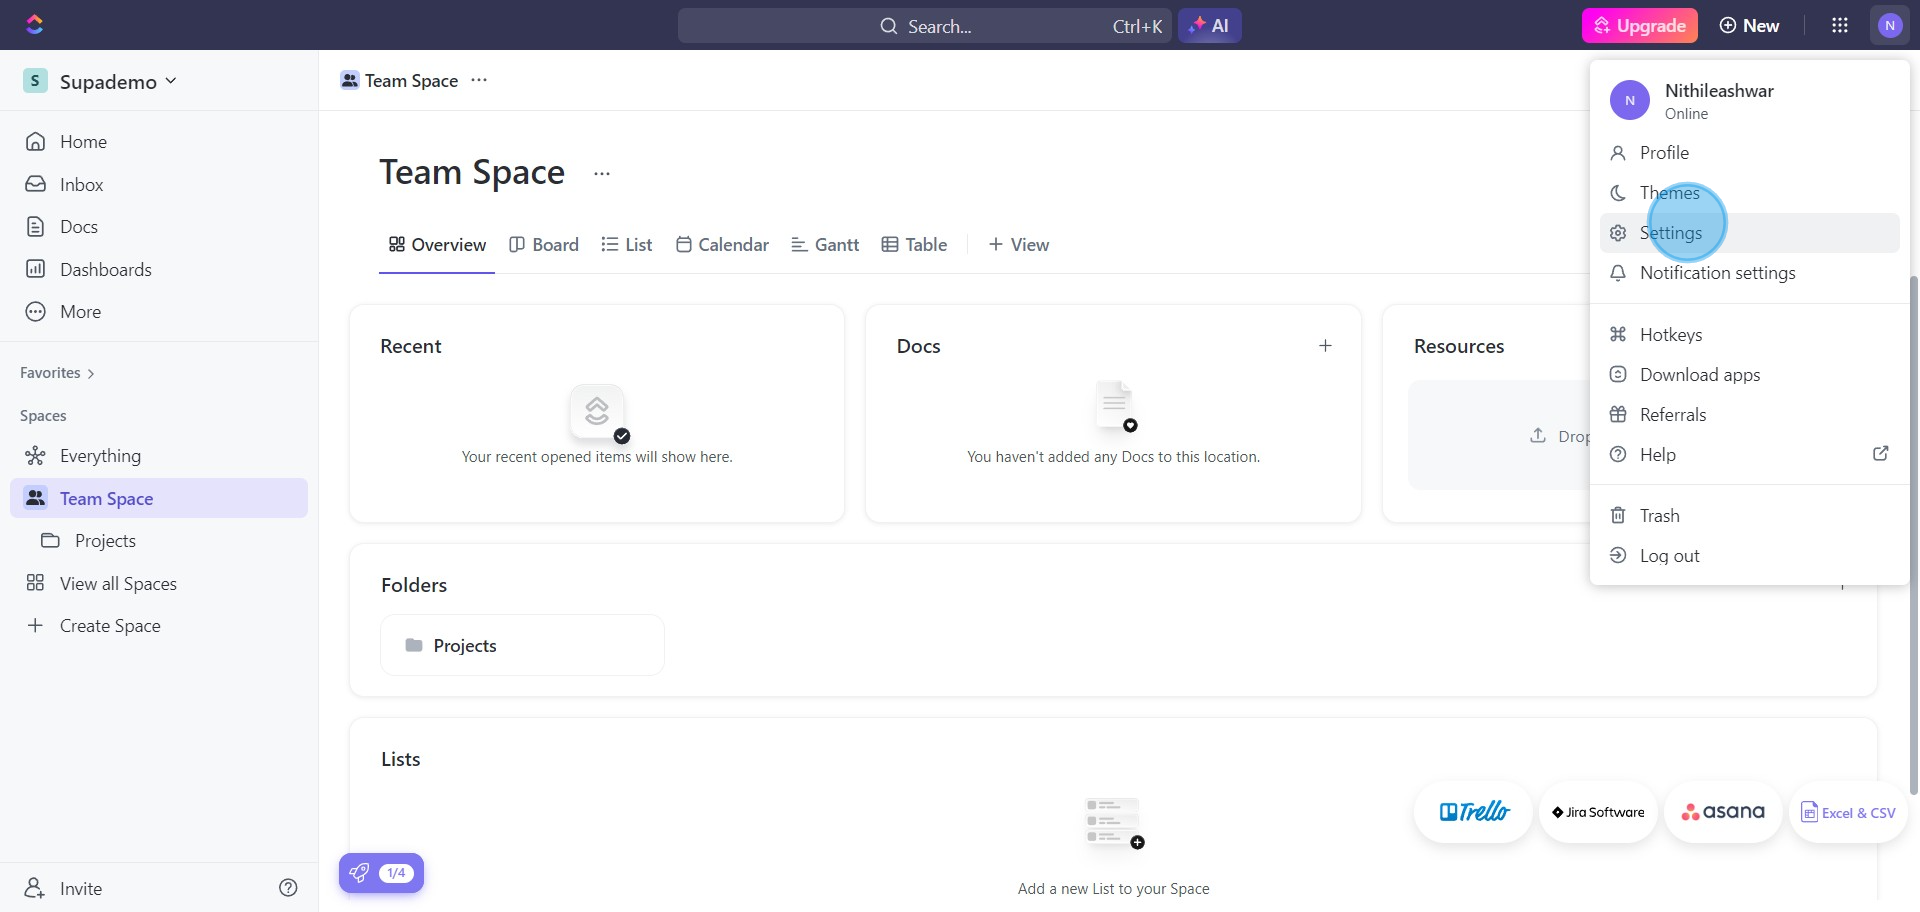
2. Proceed by choosing the 'Settings' option.
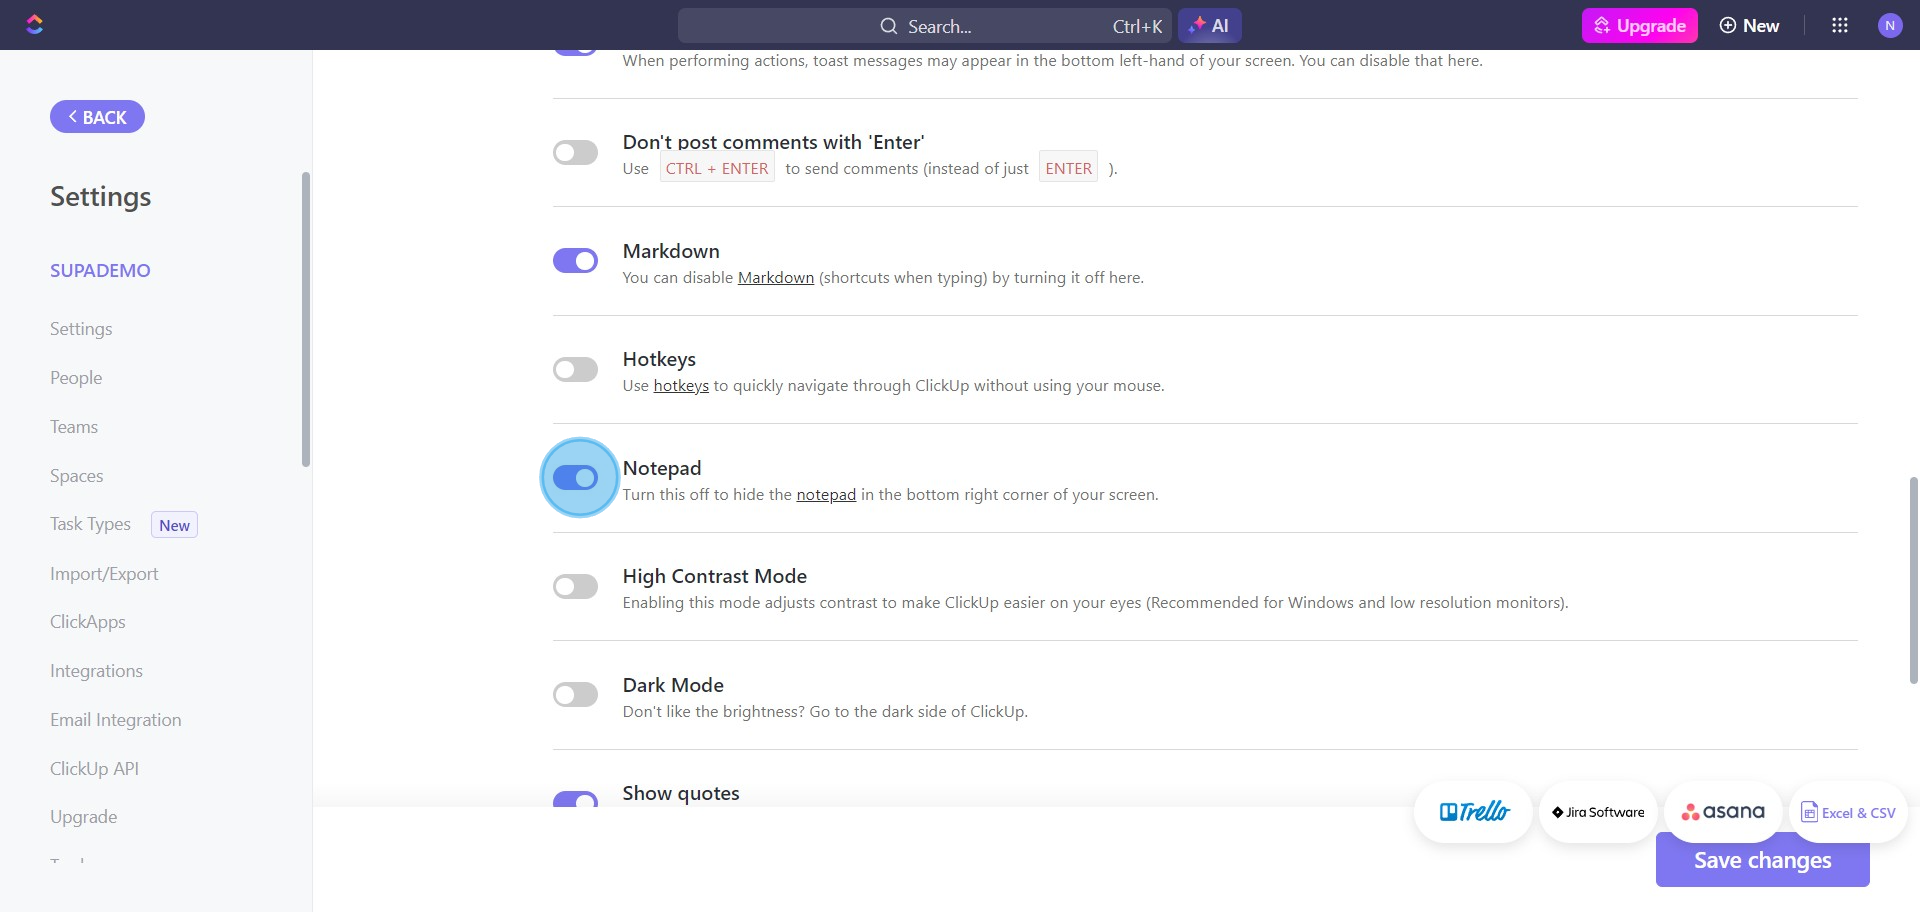
3. Now, activate your notepad settings by toggling the switch.
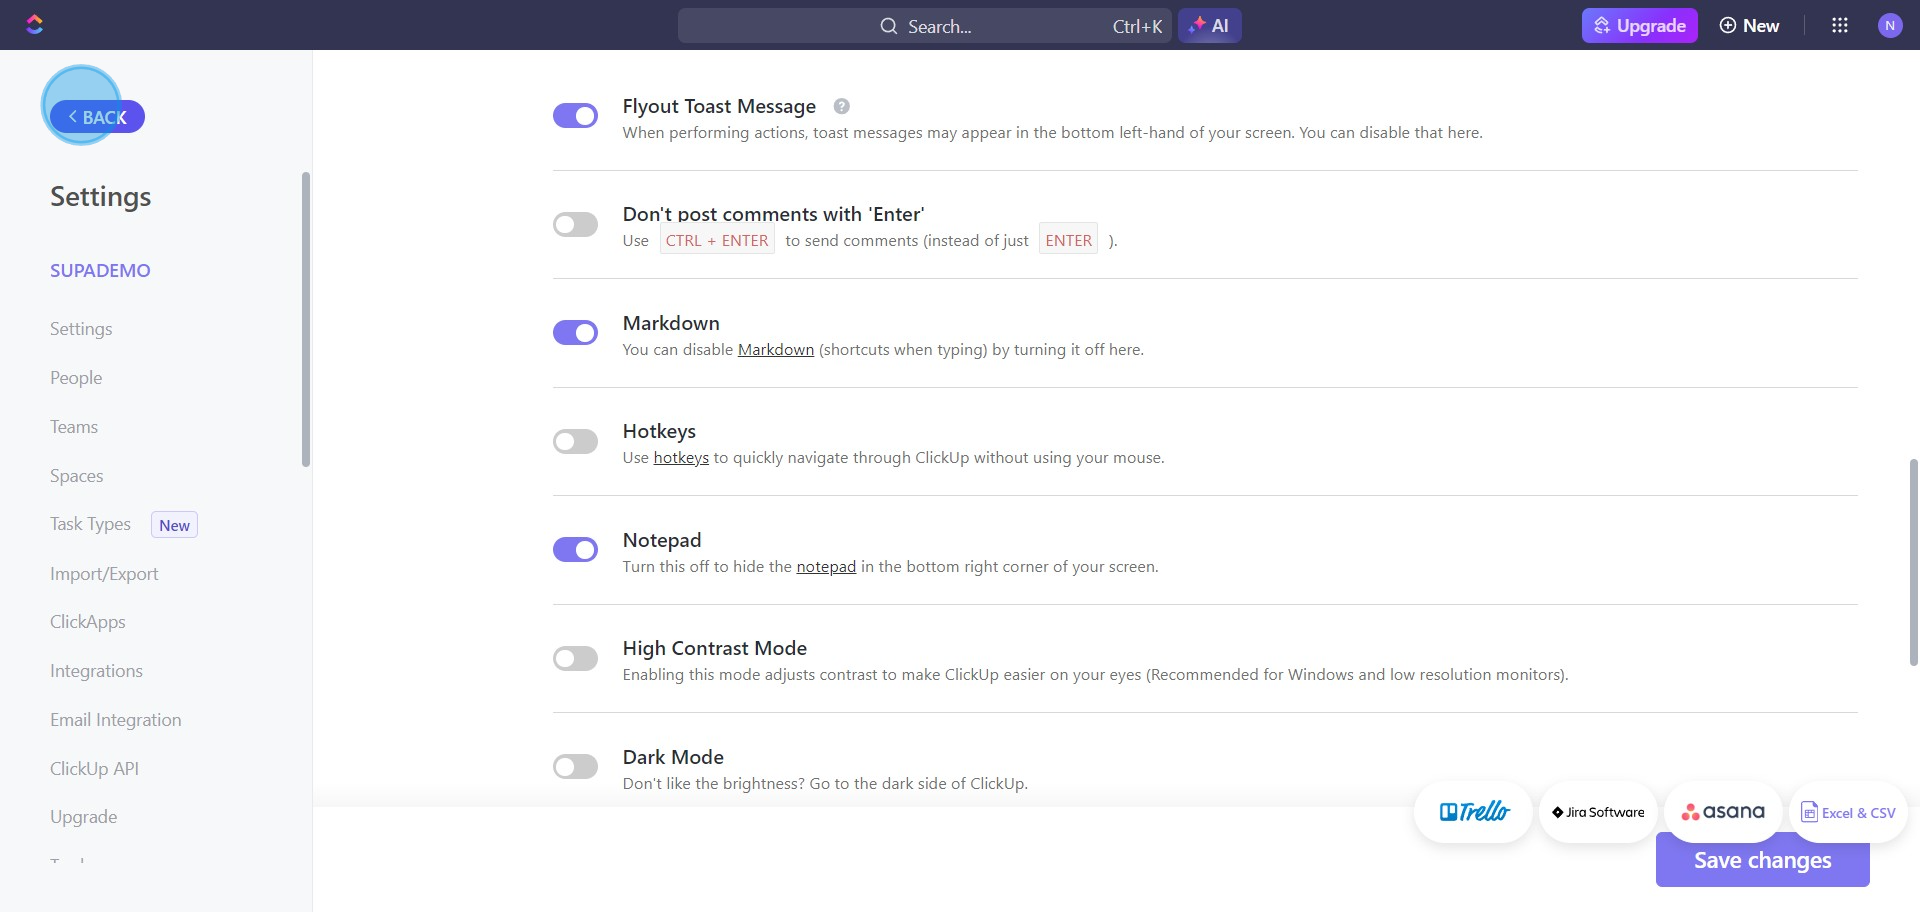
4. After enabling, click 'BACK' to return.
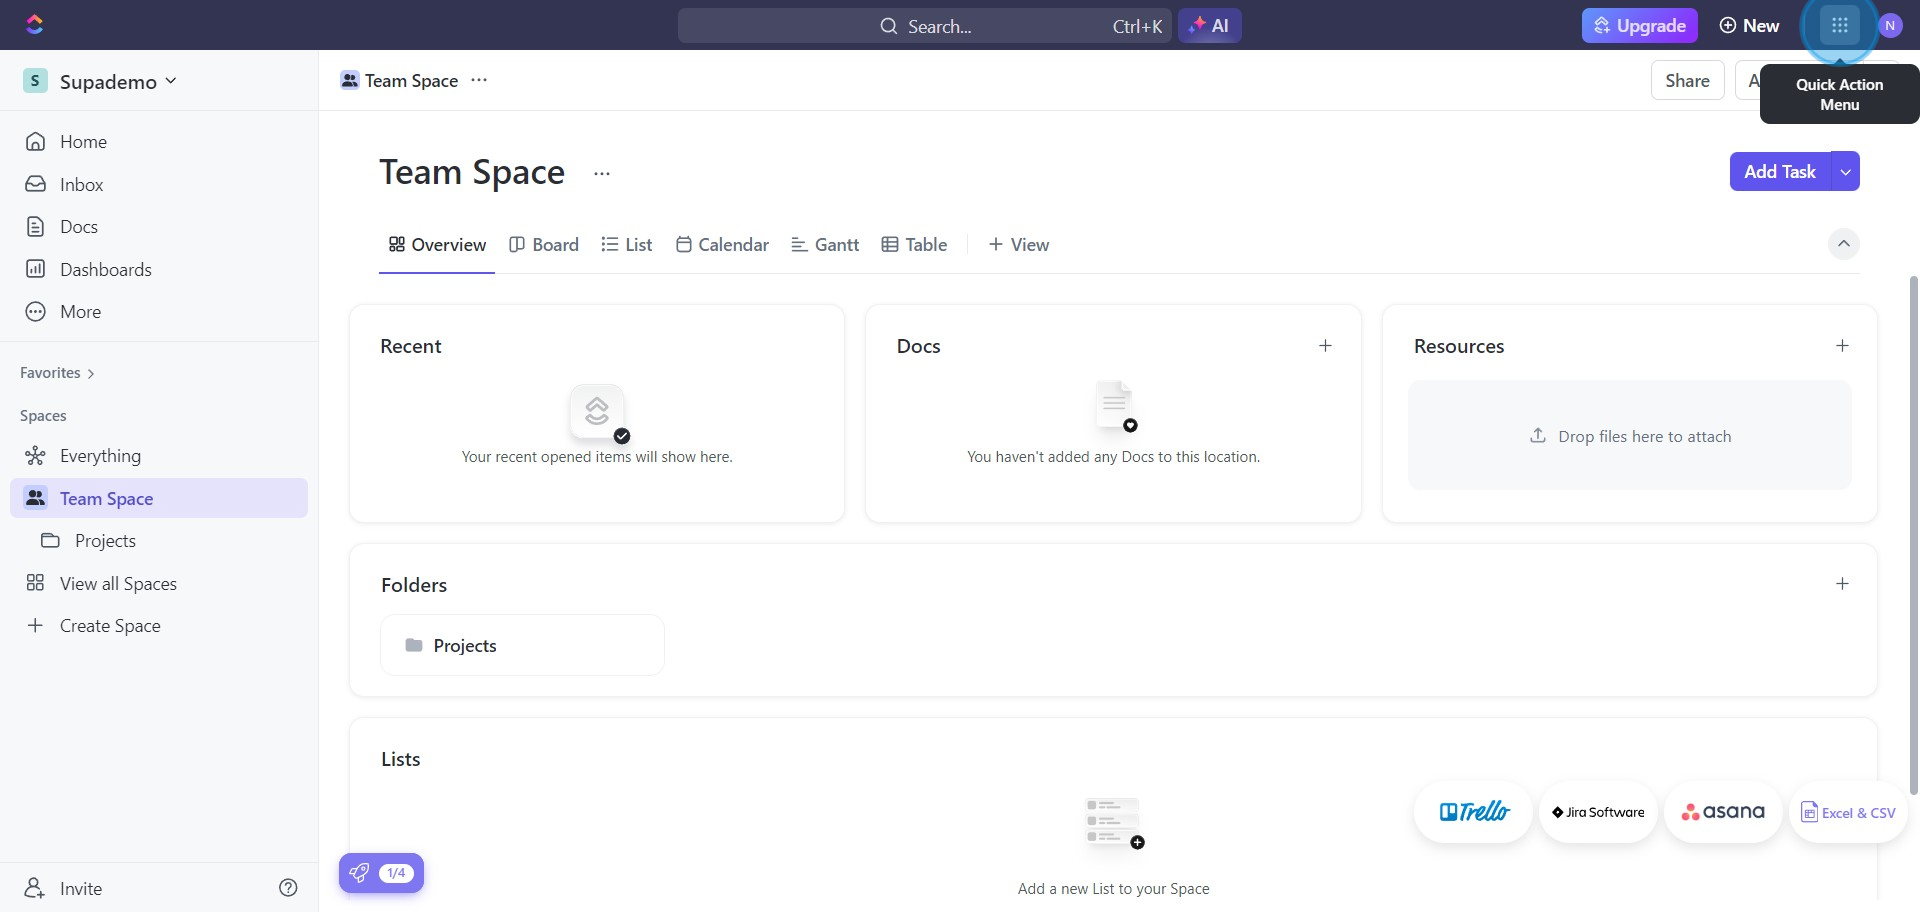
5. Select the 'Quick Action Menu' for the next move.
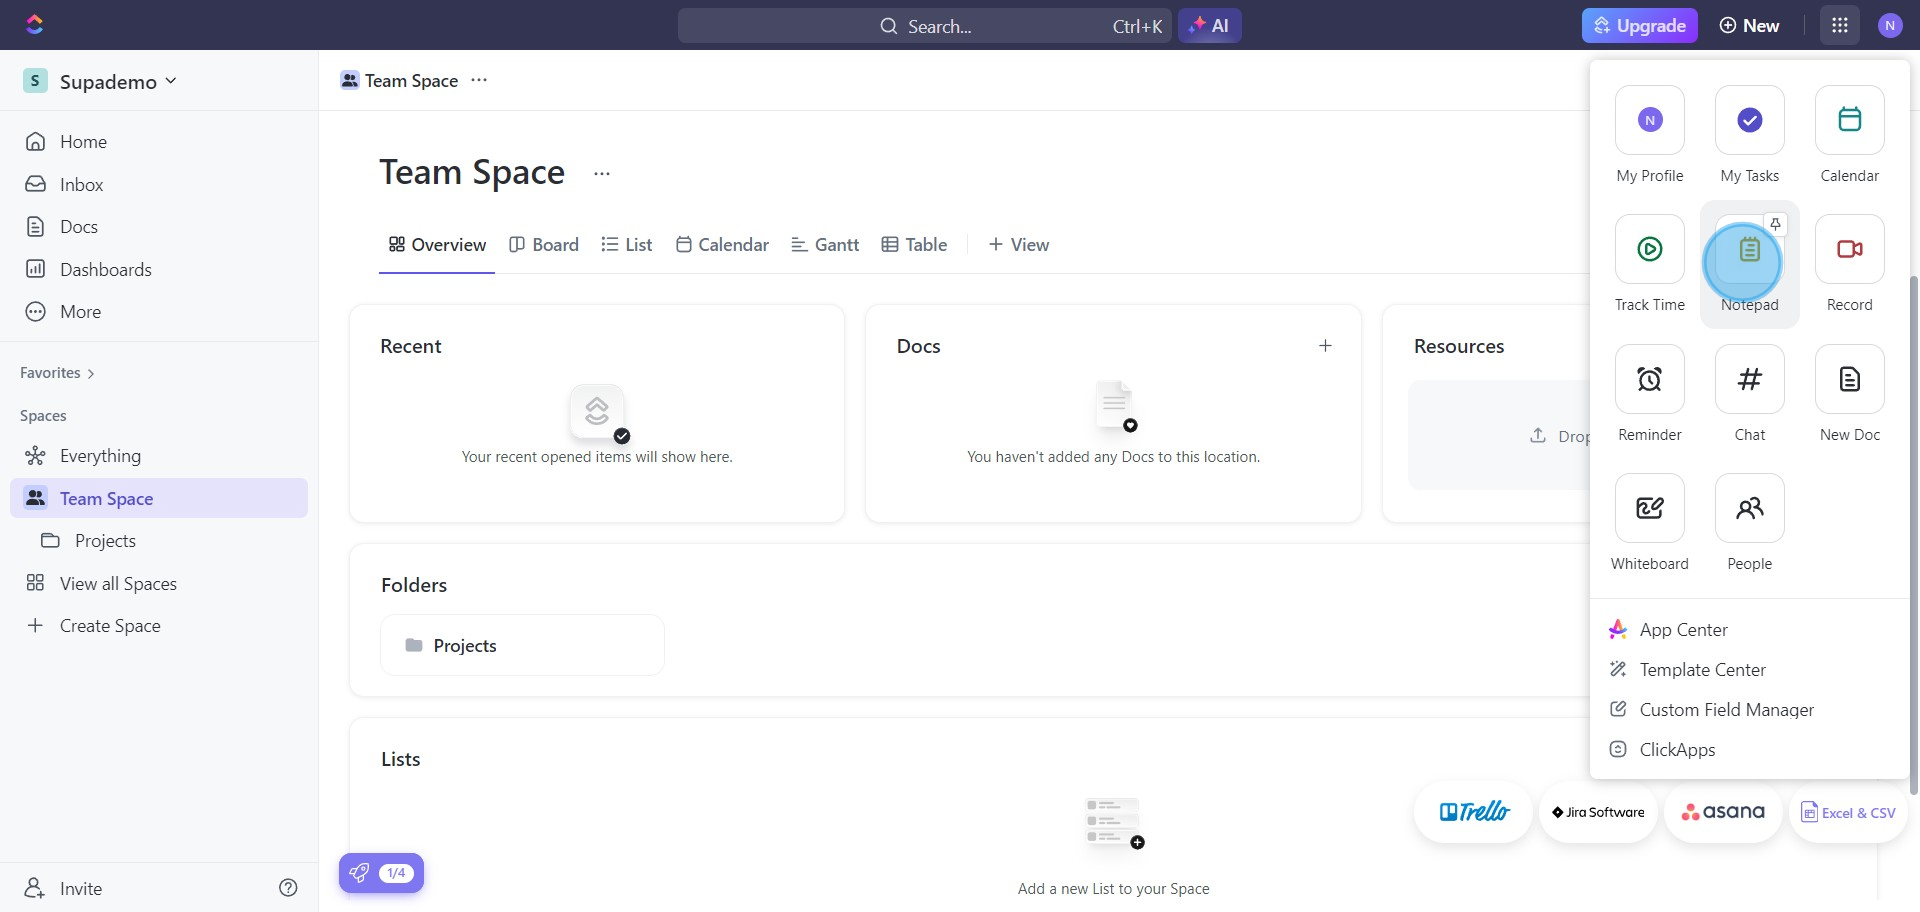
6. Here's your chance to create a note, go ahead.
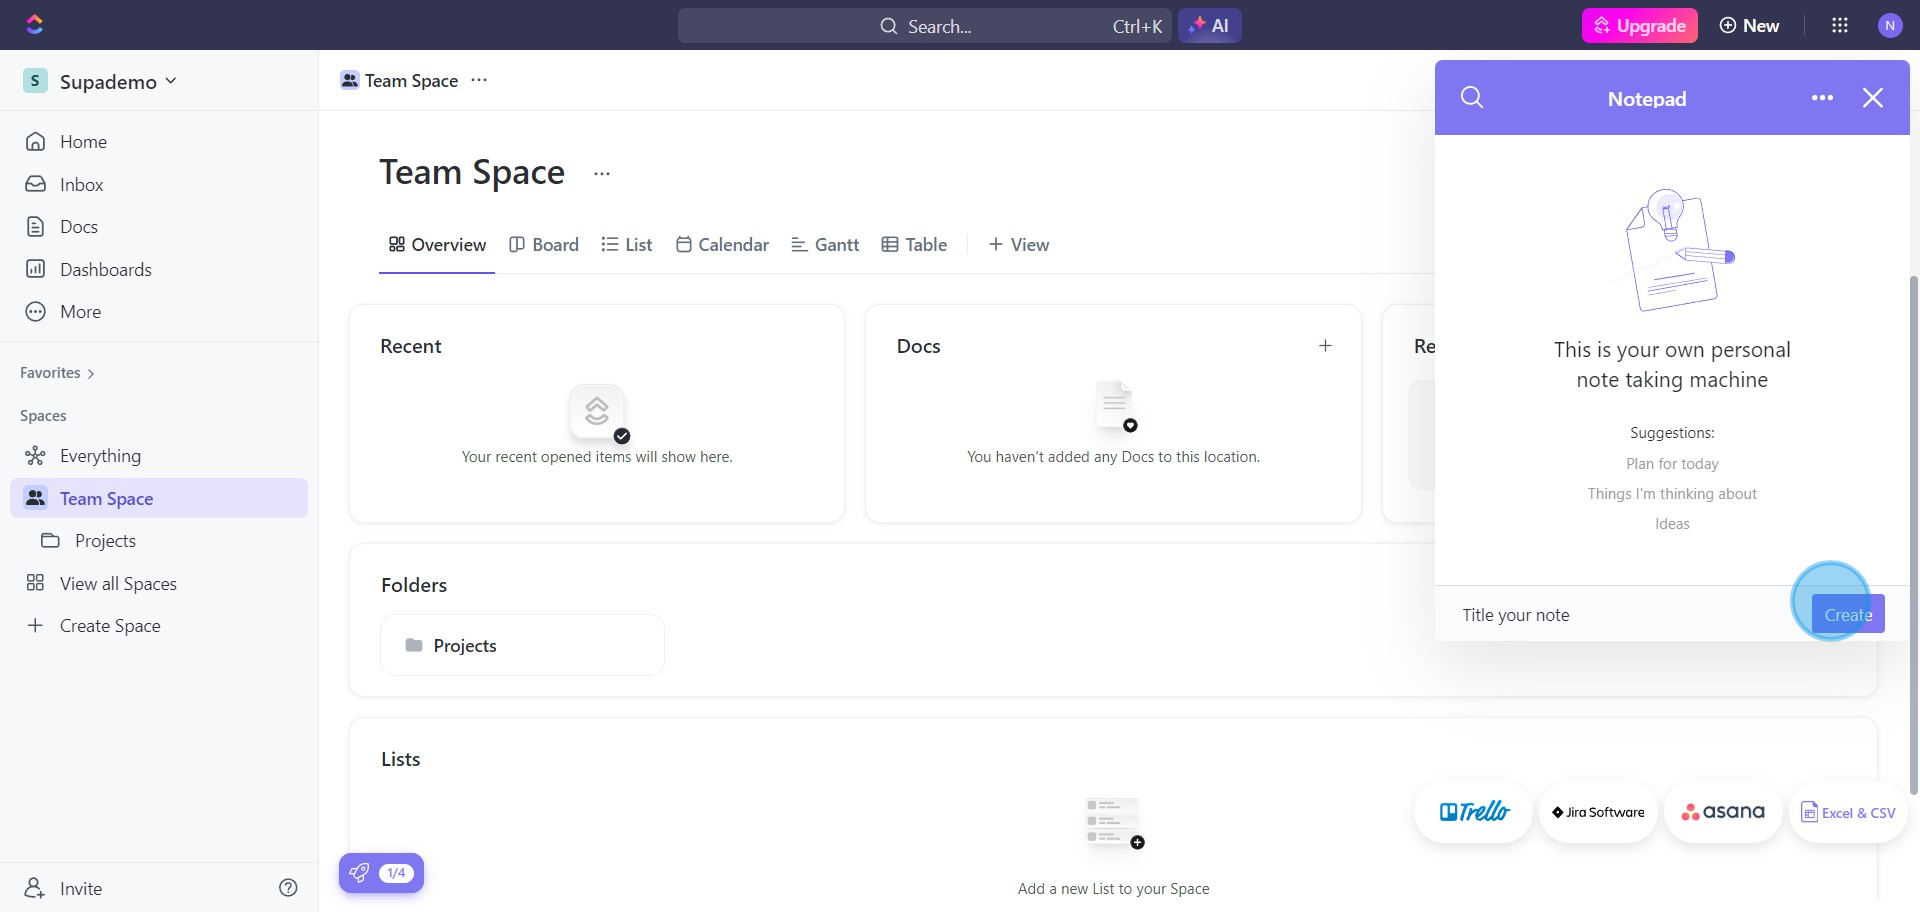
7. Give your notepad a creative title next.

8. Click the 'Create' button to materialize your notepad.
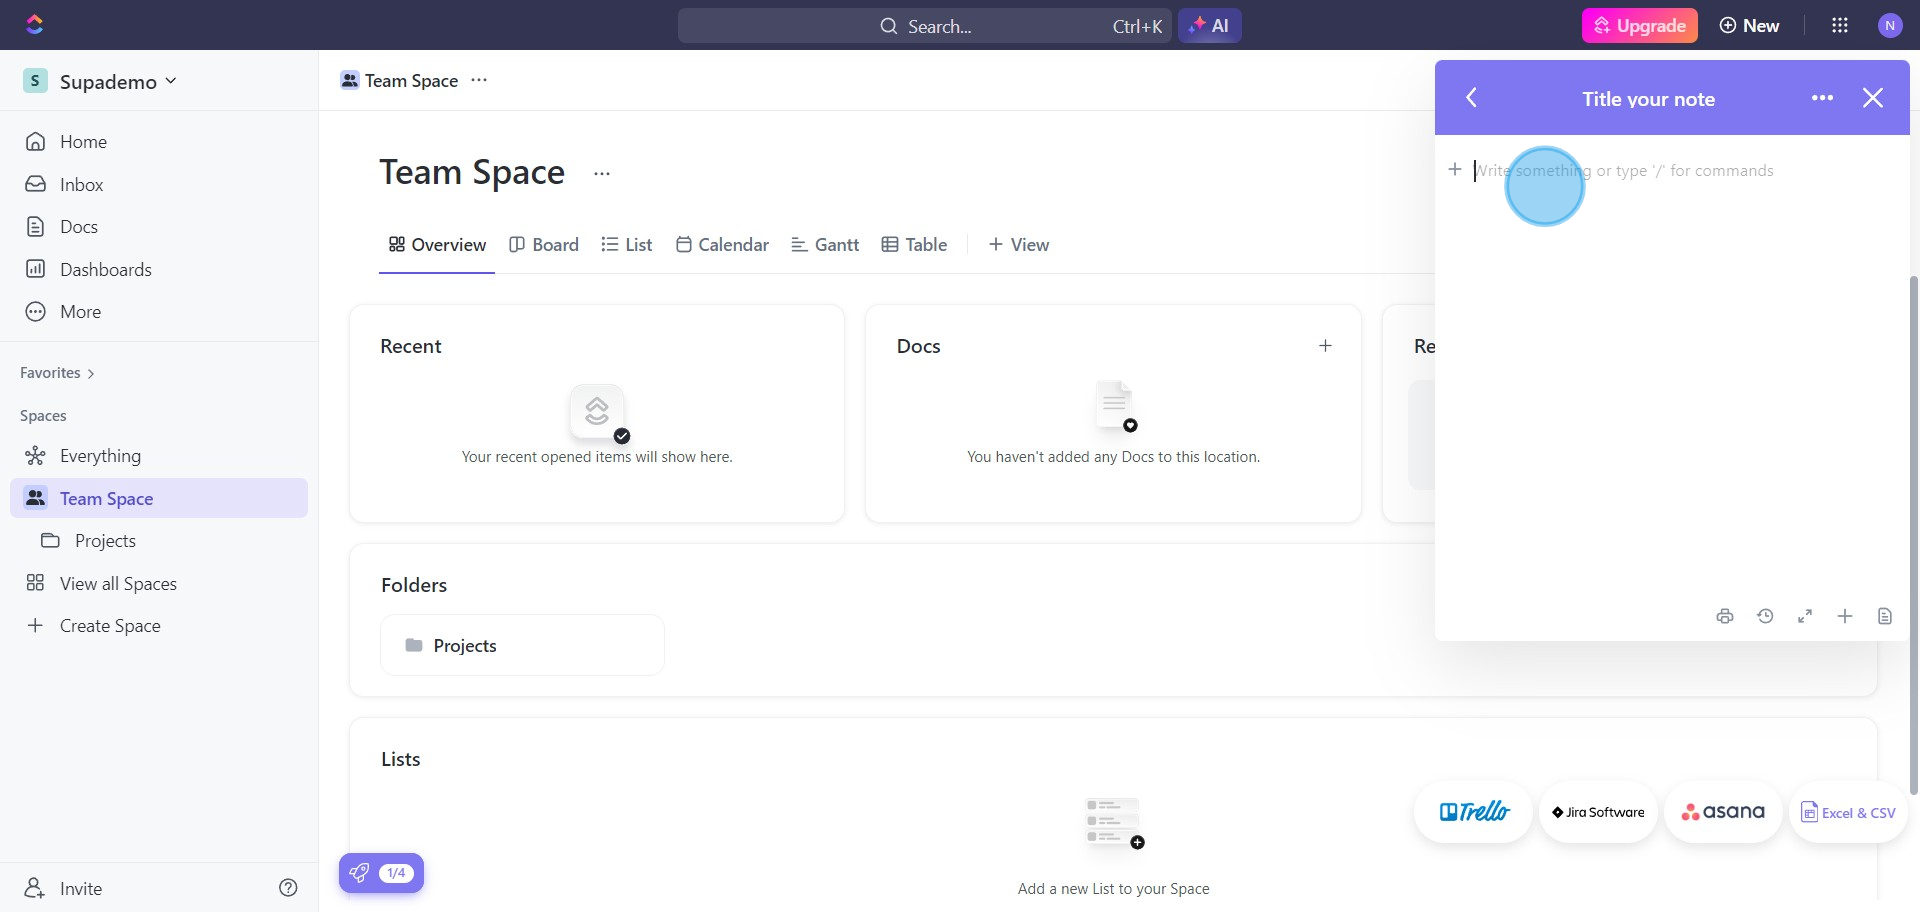
9. Congratulations! Your notepad is ready for use, and it will be here whenever you return.
Create your own step-by-step demo
Scale up your training and product adoption with beautiful AI-powered interactive demos and guides. Create your first Supademo in seconds for free.
