Overview
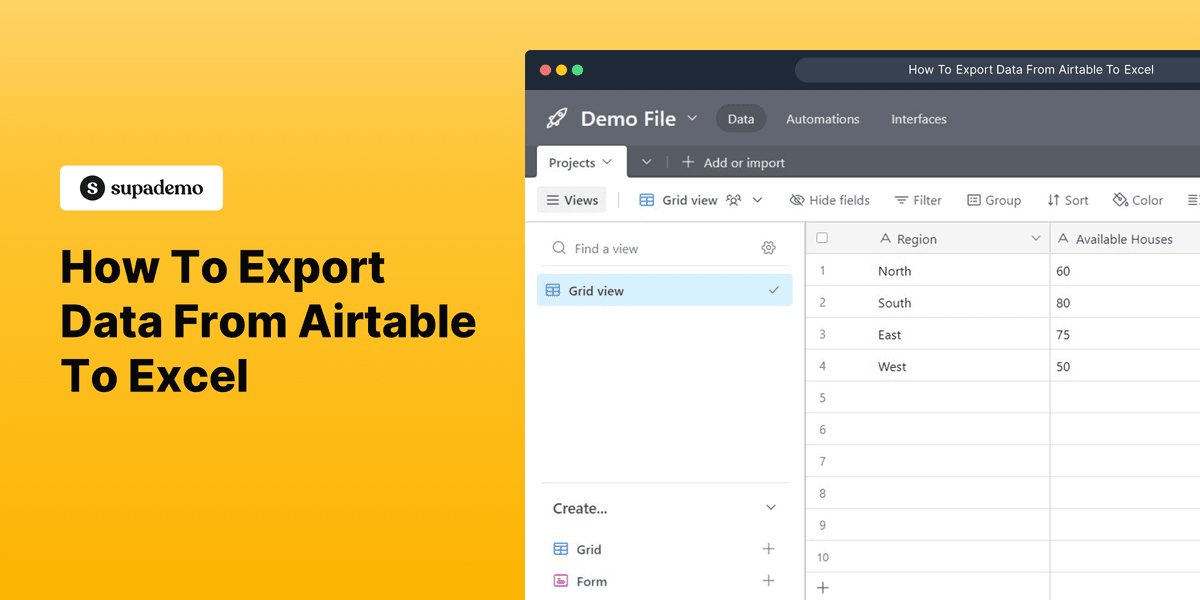
Unlock the power of data transfer between Airtable and Excel as you export your valuable information. This comprehensive guide provides you step by step instructions on how to export data from Airtable to Excel, bridge the gap between platforms, harness the full analytical capabilities of Excel, and take your data analysis and visualization to new heights of efficiency and insight.
Who is Airtable best suited for?
Airtable is best suited for a wide range of professionals, including Project Managers, Content Creators, and Event Planners. For example, Project Managers can use Airtable for organizing tasks and tracking project milestones, Content Creators can leverage it for managing editorial calendars and content workflows, and Event Planners can use it for coordinating event logistics and vendor information, all benefiting from Airtable’s flexible database structure and collaborative features.
Step by step interactive walkthrough
Steps to How To Export Data From Airtable To Excel
1) Navigate to Airtable. Choose a document which you want to convert into Excel file.
2) Click on "Grid view"
3) Click on "Download CSV"
4) Your file has been downloaded. Click on the Downloaded file.
5) Your Airtable document has now been converted into Excel file.
Common FAQs on Airtable
Commonly asked questions about this topic.
How do I link records between tables in Airtable?
To link records between tables in Airtable, open the table where you want to create the link and add a new field by clicking the “+” icon. Choose the “Link to another record” field type and select the table you want to link to. This creates a linked record field in your table. You can now connect records between the two tables by selecting or creating records from the linked table. This feature allows you to build relationships between different data sets, such as linking clients to projects or products to orders, making it easier to organize and analyze related information.
How can I create and use forms in Airtable?
To create a form, open the table where you want to collect data and click on the “+” icon next to the views options. Select “Form” from the list of view types. Airtable will automatically generate a form based on the fields in your table. You can customize the form by rearranging fields, adding descriptions, and adjusting field properties (e.g., required fields, default values). Once your form is ready, you can share it via a link or embed it on a website. Submissions will automatically populate your Airtable table, allowing you to collect and organize data efficiently.
How do I automate tasks in Airtable using Airtable Automations?
To automate tasks, open your base and click on the “Automations” tab. Create a new automation by selecting a trigger event, such as “When a record is created” or “When a field is updated.” After choosing the trigger, define the actions you want to occur, such as sending an email, creating a record, or updating a field. You can also add conditions to ensure the automation only runs under specific circumstances. Once set up, test your automation to ensure it works correctly, then turn it on to automate repetitive tasks and streamline your workflows within Airtable.
Create your own interactive demo
Scale up your training and product adoption with beautiful AI-powered interactive demos and guides. Create your first Supademo in seconds for free.

Justin James
Justin is a growth intern focused on content generation and marketing. He's passionate about making an impact across various startup roles.


