Overview
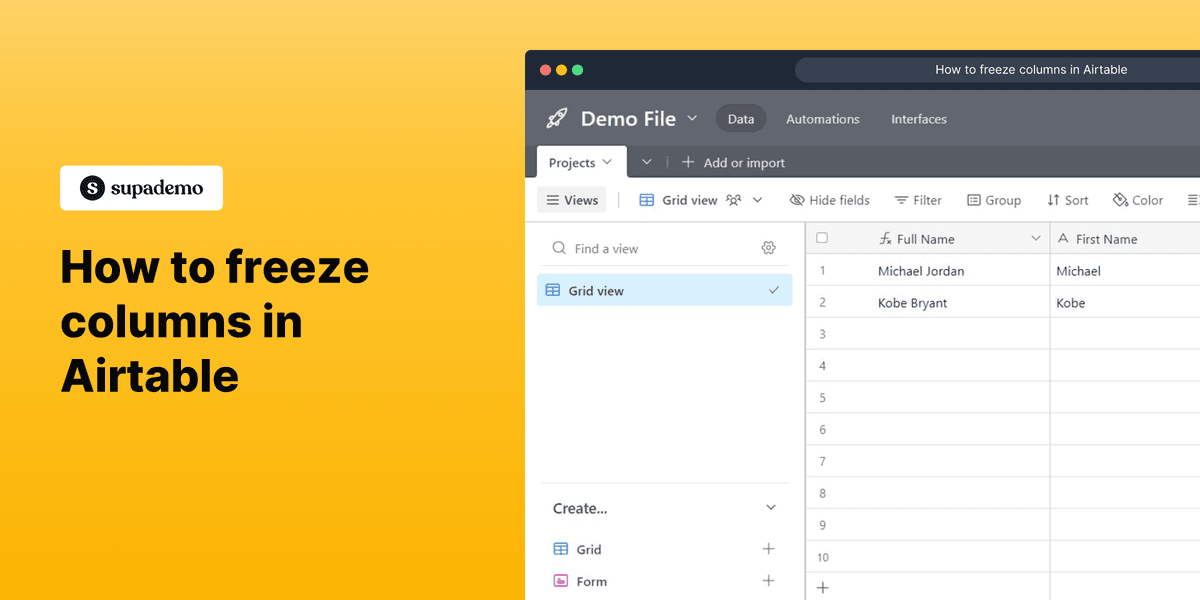
Optimize your data visualization in Airtable by easily freezing columns to keep important information in view while scrolling. This comprehensive guide provides you step by step instructions on how to freeze columns in Airtable.
Who is Airtable best suited for?
Airtable is best suited for a wide range of professionals, including Project Managers, Event Planners, and Creative Teams. For example, Project Managers can use Airtable for organizing tasks and tracking project timelines, Event Planners can leverage it for coordinating logistics and managing vendor information, and Creative Teams can use it for brainstorming and managing content workflows, all benefiting from Airtable’s flexible database capabilities and collaborative features.
Step by step interactive walkthrough
Steps to How to freeze columns in Airtable
1) Navigate to Airtable and open a document.
2) You will see a vertical line just after your primary field.
3) Click and hold the mouse on that line and drag it to right.
4) Your column has now been froze.
Common FAQs on Airtable
Commonly asked questions about this topic.
How do I create a base in Airtable and organize my data?
To create a base in Airtable, log in to your account and click on the “+ Add a base” button on your workspace dashboard. You can start with a blank base, choose from Airtable’s templates, or import data from a CSV file. Once your base is created, add tables to organize your data, where each table functions similarly to a spreadsheet. Within tables, you can create fields for different types of data, such as text, numbers, dates, or attachments. Organize your data by using views like Grid, Calendar, Kanban, and Gallery, and apply filters, groupings, and sorting to manage your information effectively.
How can I collaborate with my team in Airtable?
To collaborate in Airtable, share your base with team members by clicking the “Share” button in the top-right corner of your base. You can invite collaborators via email and set their access permissions (e.g., read-only, commenter, editor). Airtable supports real-time collaboration, so team members can view and edit records simultaneously. Use comments within records to discuss specific entries and @mention teammates to notify them of important updates. Airtable’s activity log also allows you to track changes and contributions made by different collaborators.
How do I automate tasks in Airtable with Automations?
To set up Automations in Airtable, open the base where you want to automate tasks and click on the “Automations” tab. Choose a trigger, such as when a record is created or updated, and define the conditions for when the automation should run. Then, select an action, such as sending an email, updating a record, or creating a task in another tool. Configure the action with specific details and test the automation to ensure it works as intended. Once activated, Airtable will automatically perform the task whenever the trigger conditions are met, saving you time and streamlining your workflow.
Create your own step-by-step demo
Scale up your training and product adoption with beautiful AI-powered interactive demos and guides. Create your first Supademo in seconds for free.

Justin James
Justin is a growth intern focused on content generation and marketing. He's passionate about making an impact across various startup roles.


