
Overview:
Elevate your collaboration in Miro with this guide on efficiently grouping and ungrouping objects. Organize your content seamlessly, enhance user interaction, and simplify navigation by grouping related elements. This step-by-step guide empowers you to create and manage object groups effortlessly, optimizing your workflow for improved efficiency and clarity within the Miro collaboration platform.
Who is Miro best suited for?
Miro is best suited for a wide range of professionals, including UX/UI Designers, Product Managers, and Remote Teams. For example, UX/UI Designers can use Miro for creating wireframes and gathering design feedback, Product Managers can leverage it for mapping out product roadmaps and brainstorming sessions, and Remote Teams can use it for virtual whiteboarding and collaborative planning, all benefiting from Miro’s interactive and visual collaboration tools.
How to group and ungroup objects in Miro
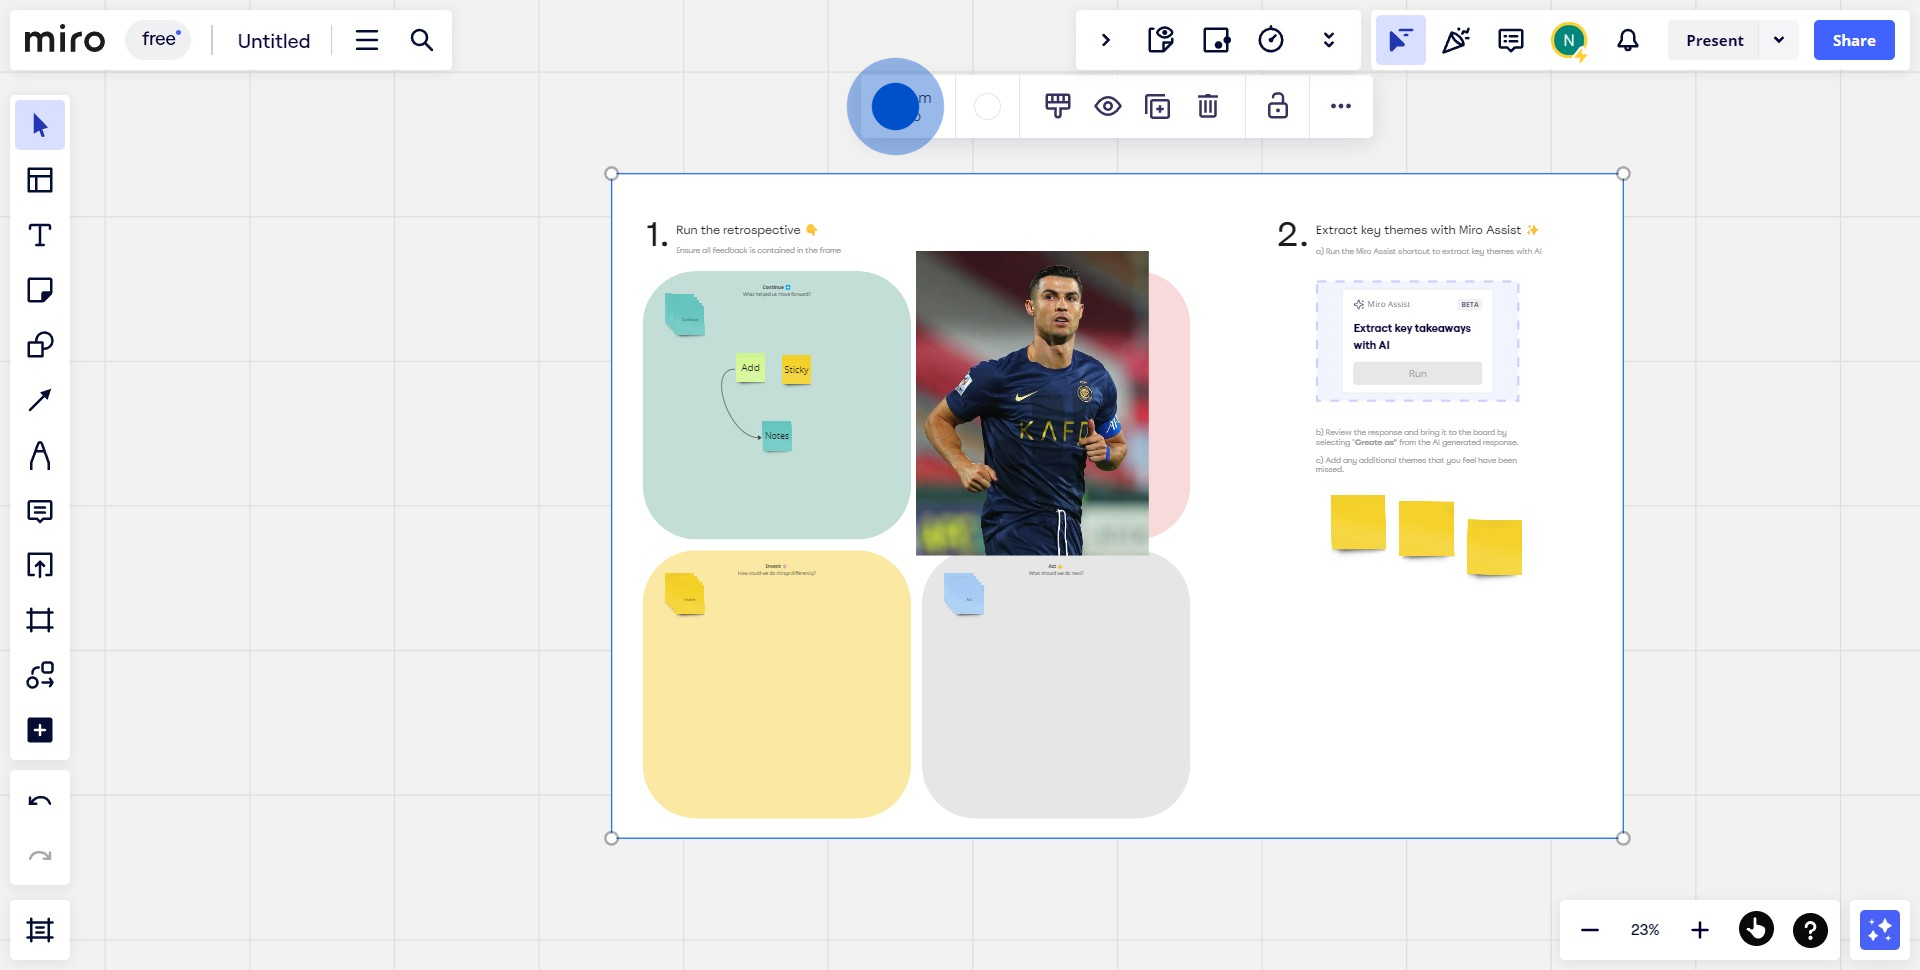
1. Start by selecting the objects you want to group together.
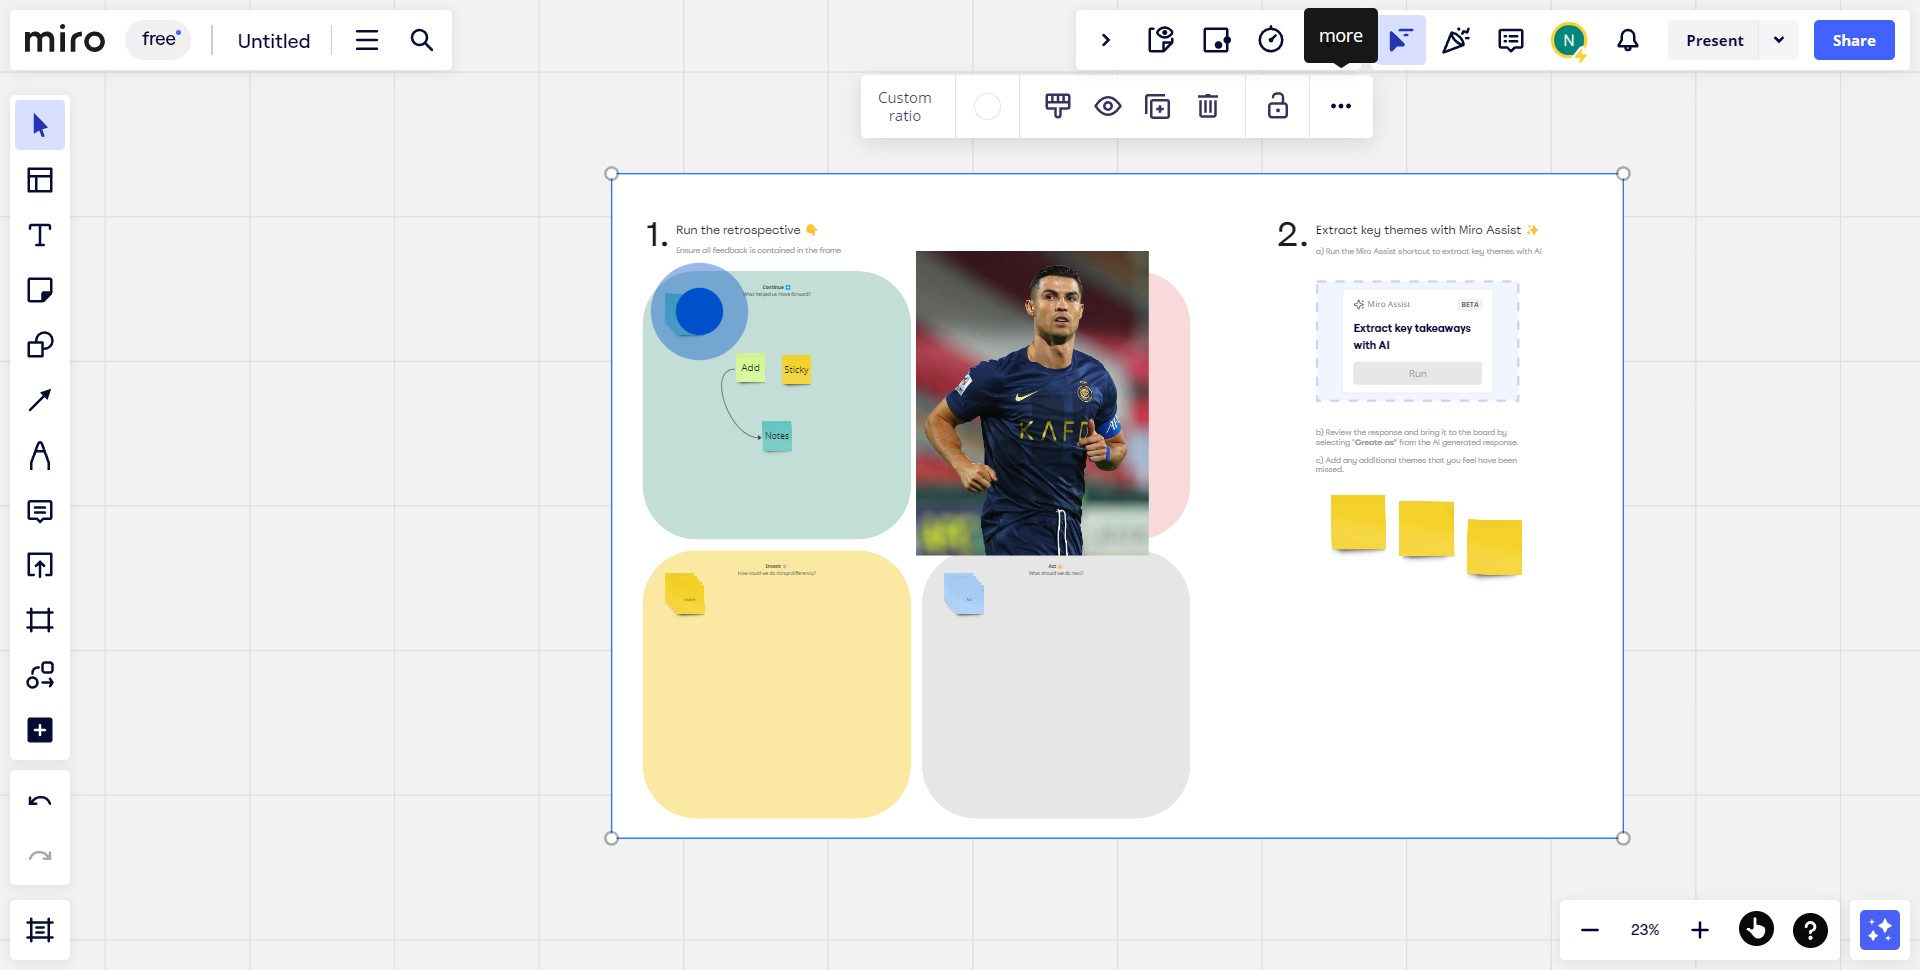
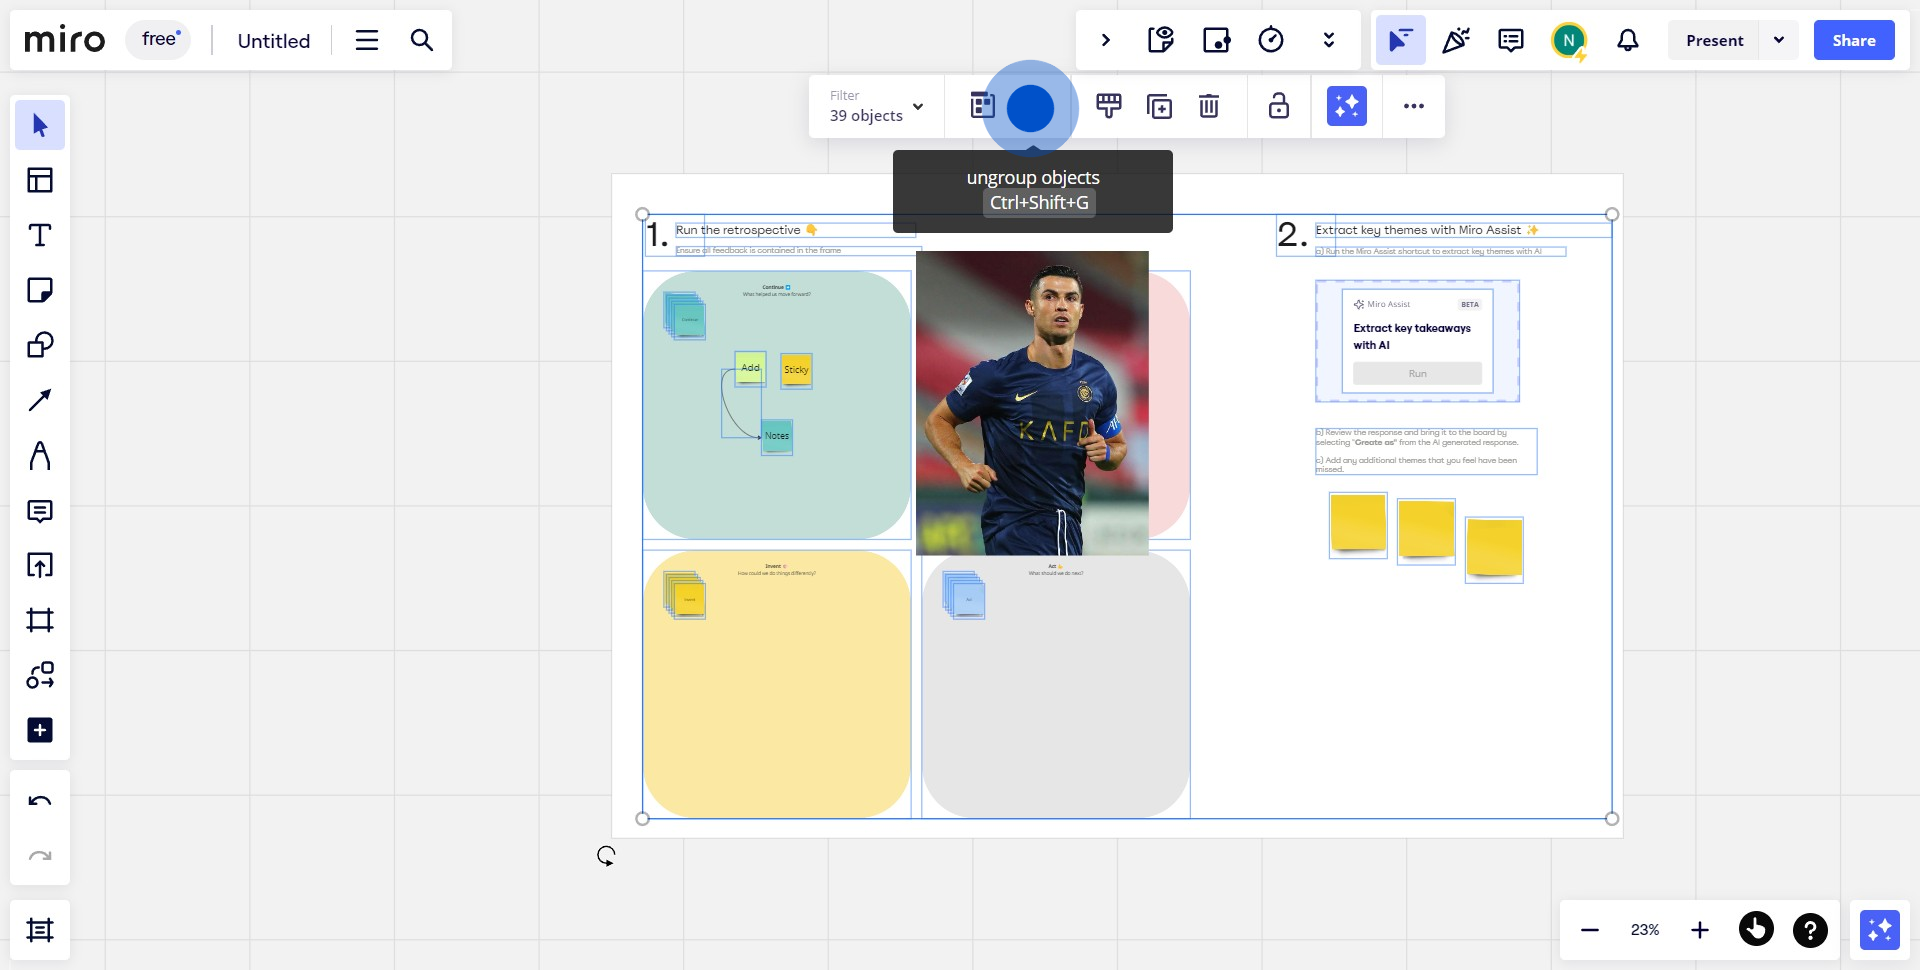
2. Next, click on the provided icon to initialize the grouping process.
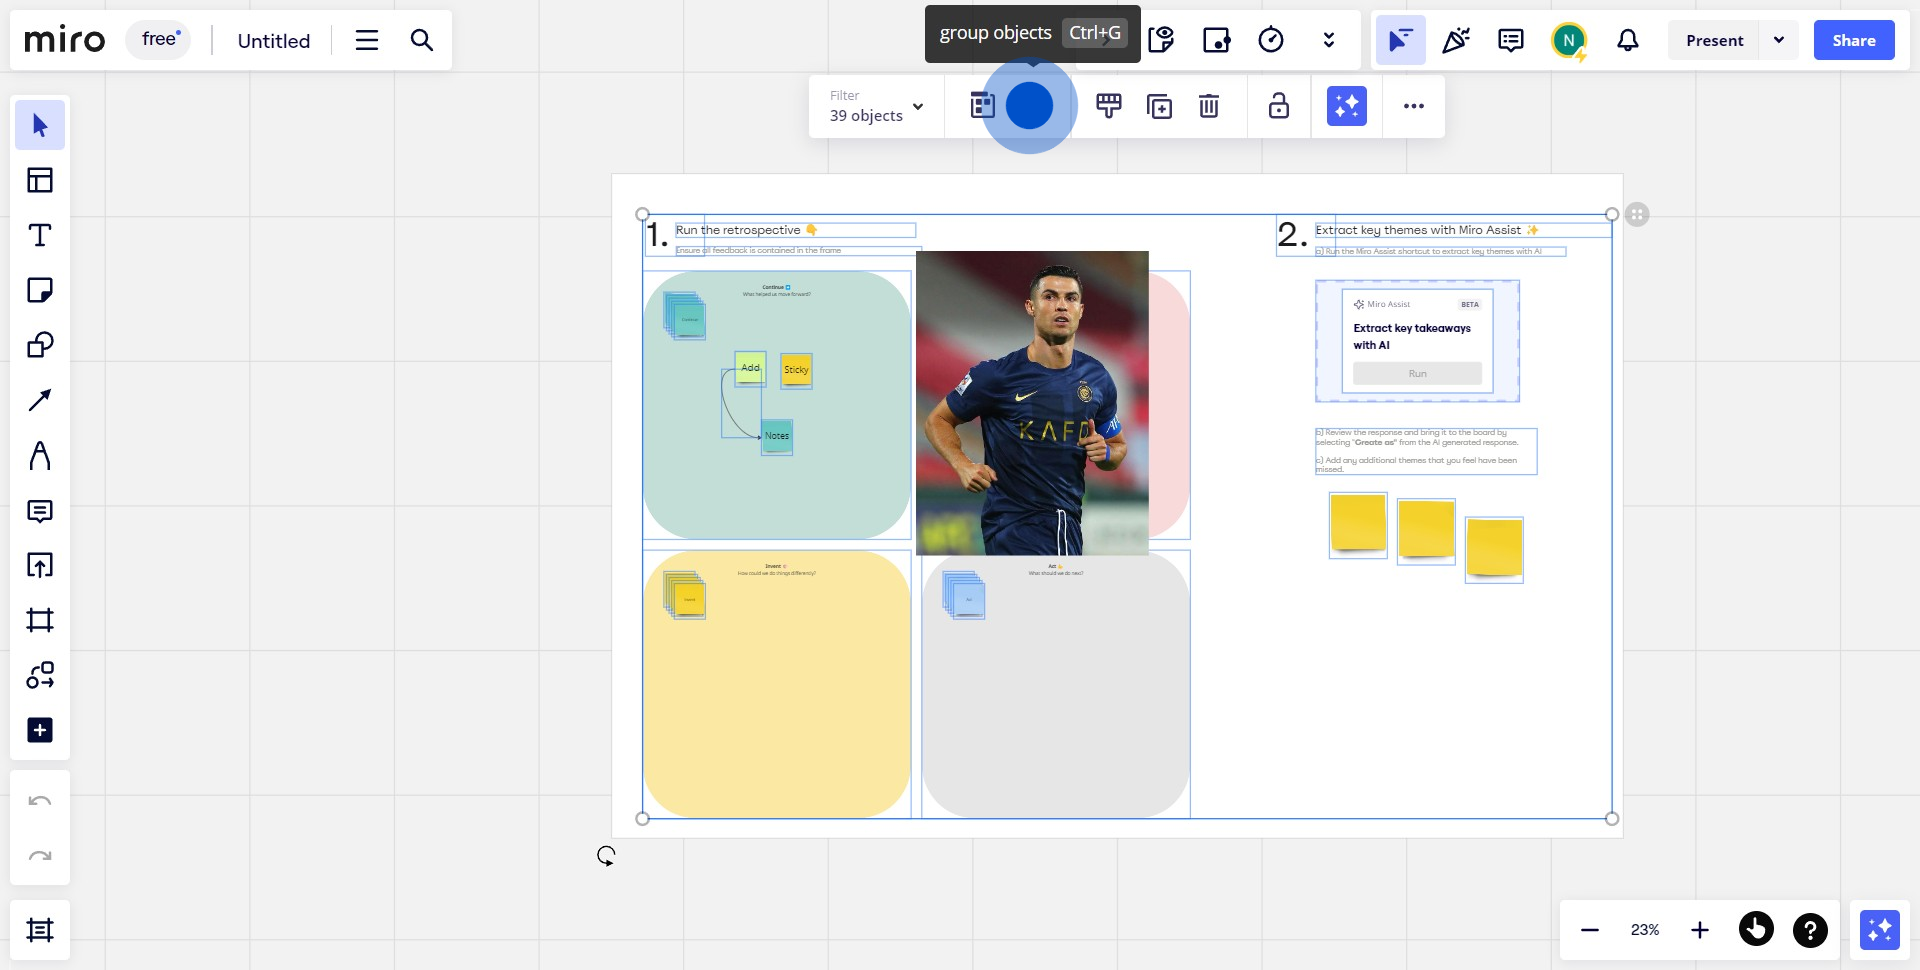
3. Congrats! You've successfully grouped the objects into a single entity.
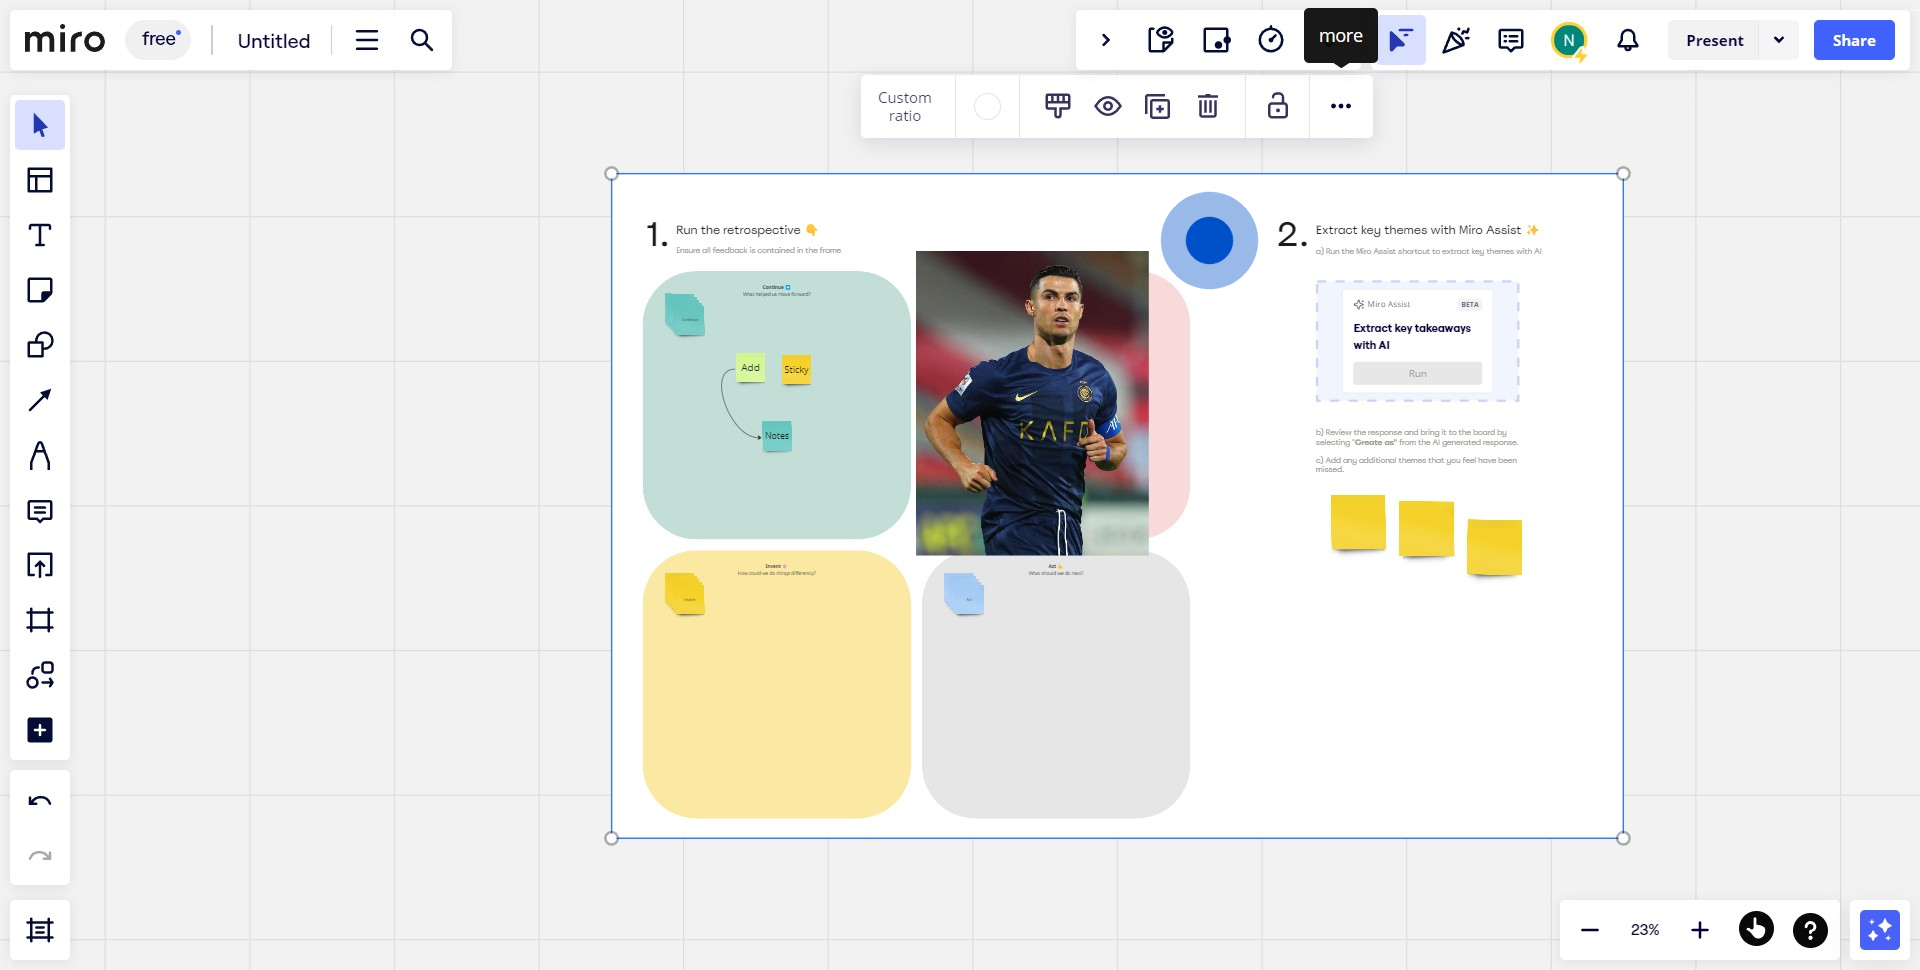
4. Should you wish to split the group back to individual components, proceed to the next step.
5. Click the given icon to initiate the ungrouping process.
Common FAQs on Miro
How do I create and use boards in Miro?
To create a new board in Miro, log in to your account and click on the “+ New Board” button or select “Create New Board” from the dashboard. You can start with a blank board or choose from various templates tailored for different use cases, such as brainstorming, project planning, or user journey mapping. Once your board is created, use Miro’s tools to add and arrange elements like sticky notes, shapes, text, and images. You can also create and link frames to organize your content into sections. Boards can be resized and customized to fit your project’s needs, allowing you to visualize and collaborate on ideas effectively.
How can I collaborate with others on a Miro board?
To collaborate on a Miro board, click the “Share” button in the top-right corner of the board. You can invite team members by entering their email addresses or by sharing a link to the board. Set their access permissions to control whether they can view, comment, or edit the board. Miro supports real-time collaboration, allowing multiple users to work on the board simultaneously. You can see who is currently viewing or editing the board, and use the built-in chat feature or comments to communicate with collaborators directly. Miro also offers version history to track changes and restore previous versions if needed.
How do I use Miro’s templates and integrations?
Miro offers a wide range of templates to help you get started with various tasks, from project management to brainstorming sessions. To access templates, click on the “Templates” button when creating a new board or explore the template library from the board’s menu. You can search for templates based on categories or keywords and customize them to fit your needs. Miro also integrates with many popular tools like Slack, Microsoft Teams, Google Drive, and Trello. To set up integrations, go to the “Apps” section in Miro and follow the instructions to connect your tools. Integrations help streamline workflows by linking Miro boards with other applications and enabling features like embedded content and automated updates.
Create your own step-by-step demo
Scale up your training and product adoption with beautiful AI-powered interactive demos and guides. Create your first Supademo in seconds for free.