
Overview:
Streamline your contact management in Brevo by utilizing the comprehensive guide on importing contacts. Enhance your workflow efficiency as you organize and categorize contacts seamlessly. Improve user experience with straightforward steps, ensuring easy identification and navigation. This guide empowers you to optimize contact management within Brevo, fostering enhanced efficiency and clarity in your processes.
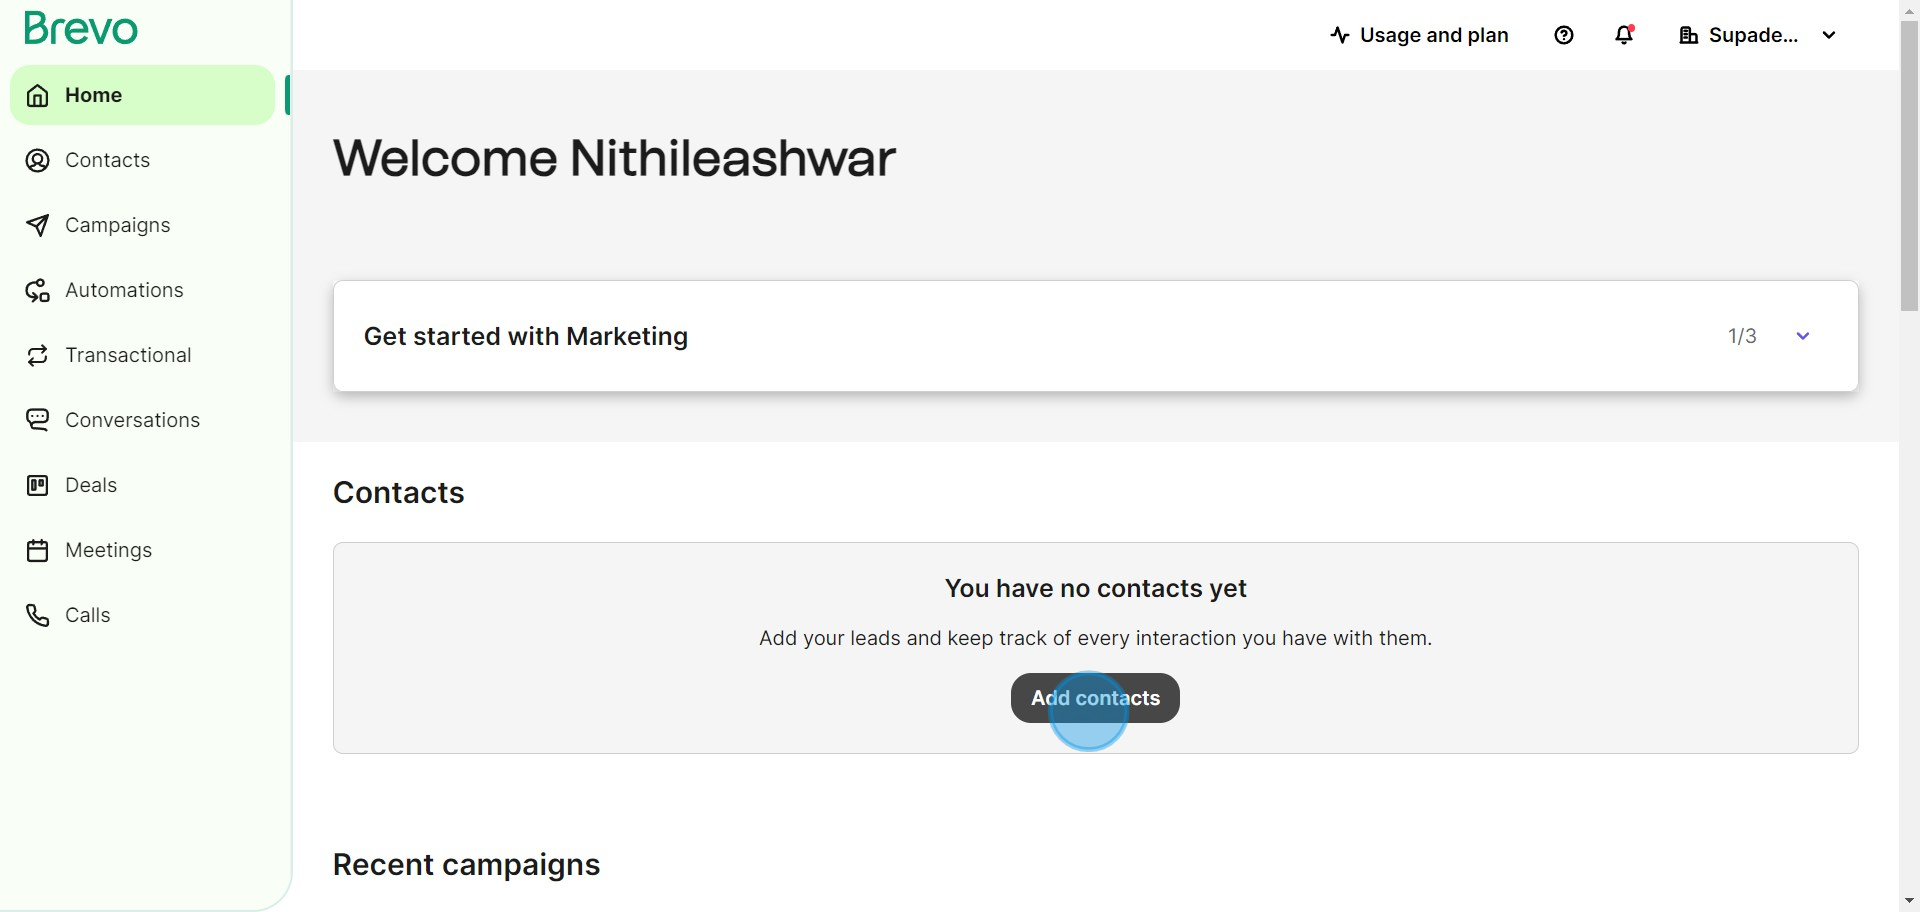
1. Initiate your process by clicking on 'Add contacts'.
2. Next, select the option to import contacts.
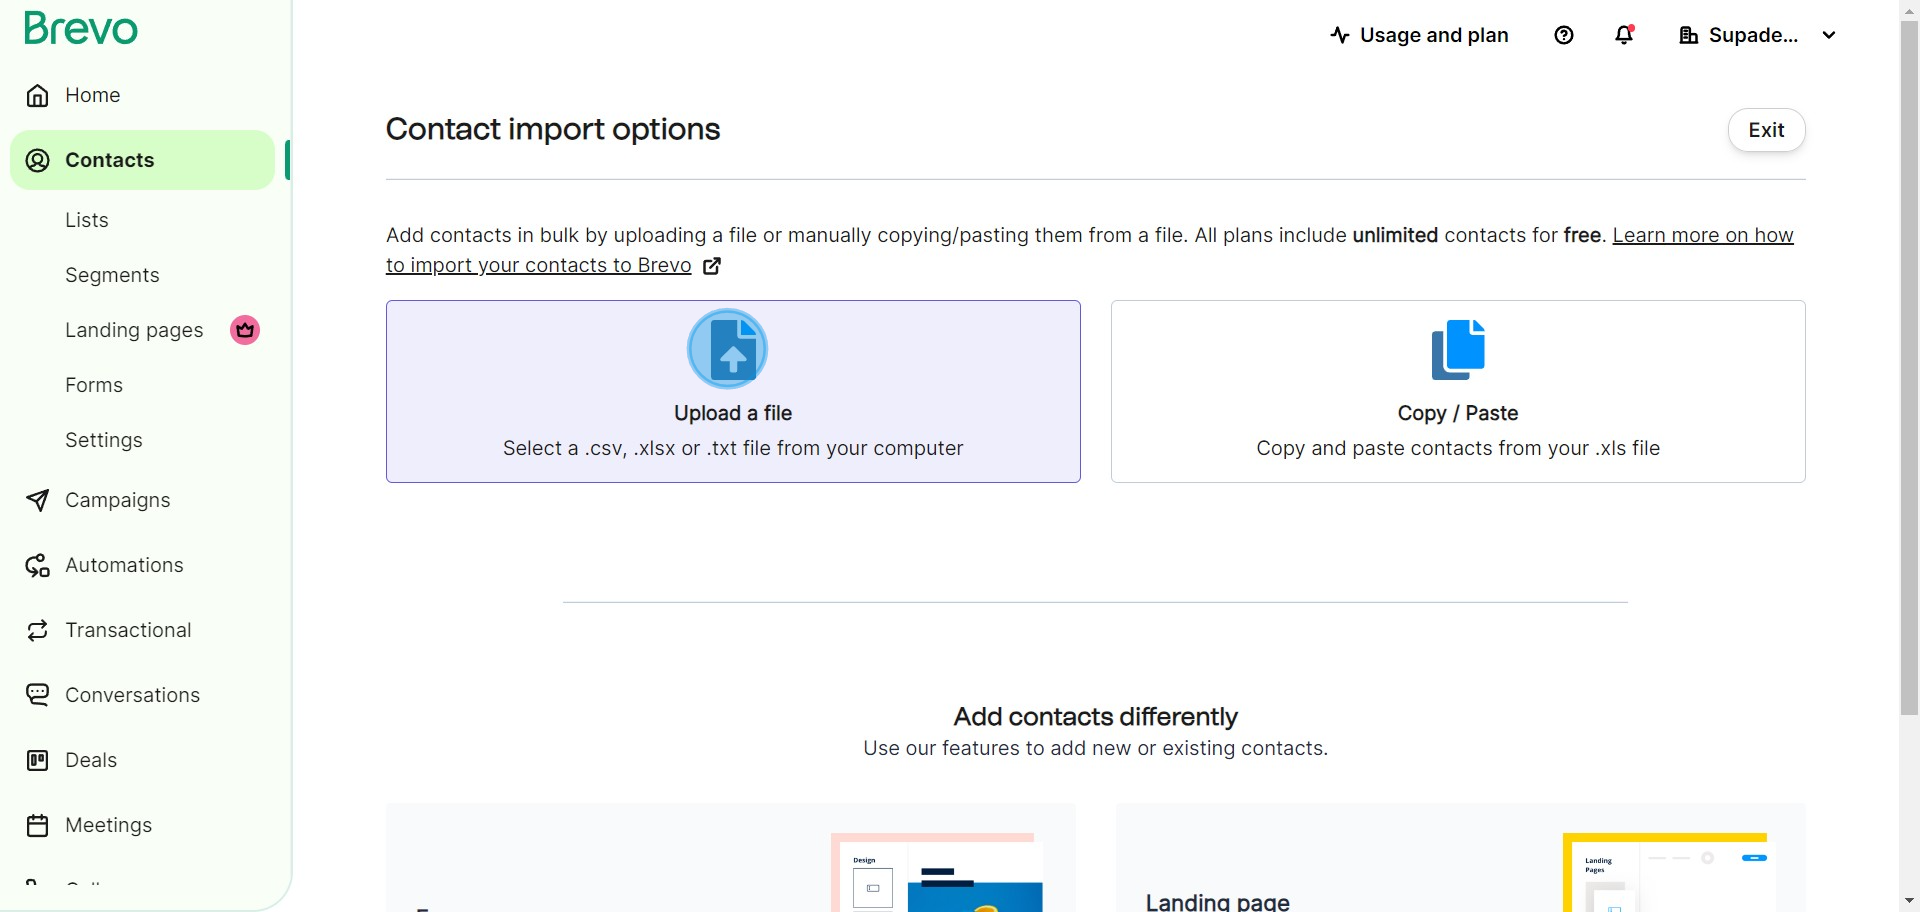
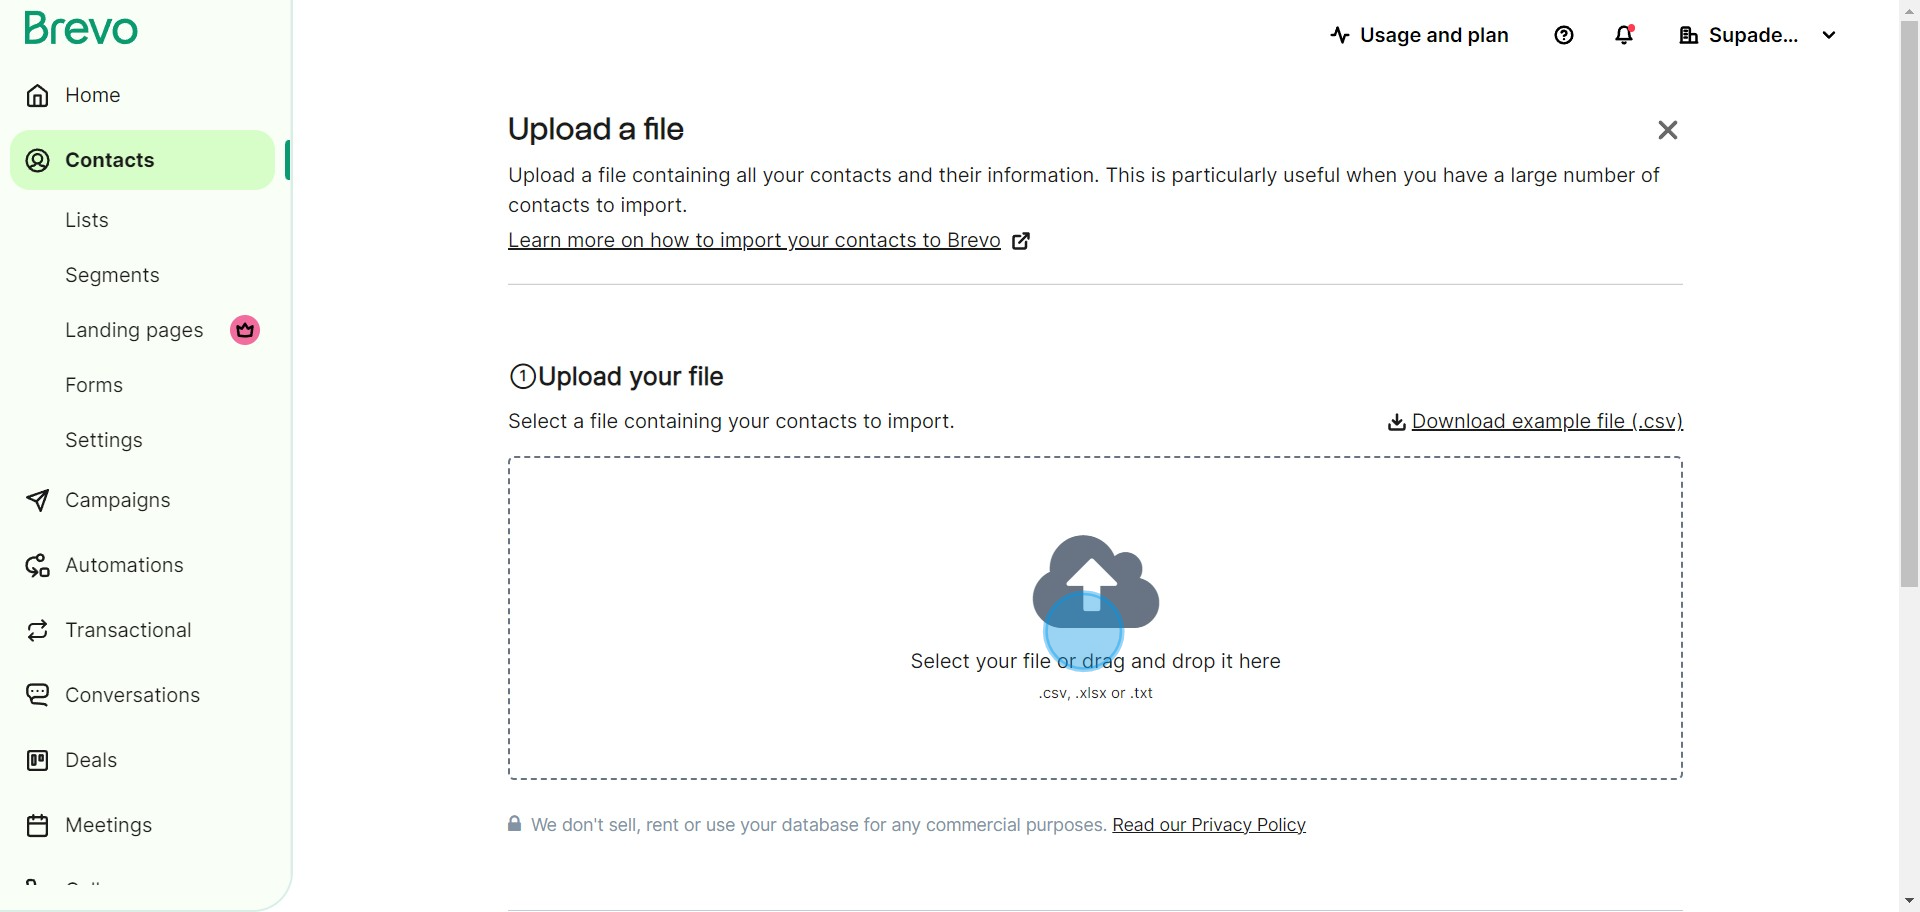
3. Now, choose and upload your desired contact list.
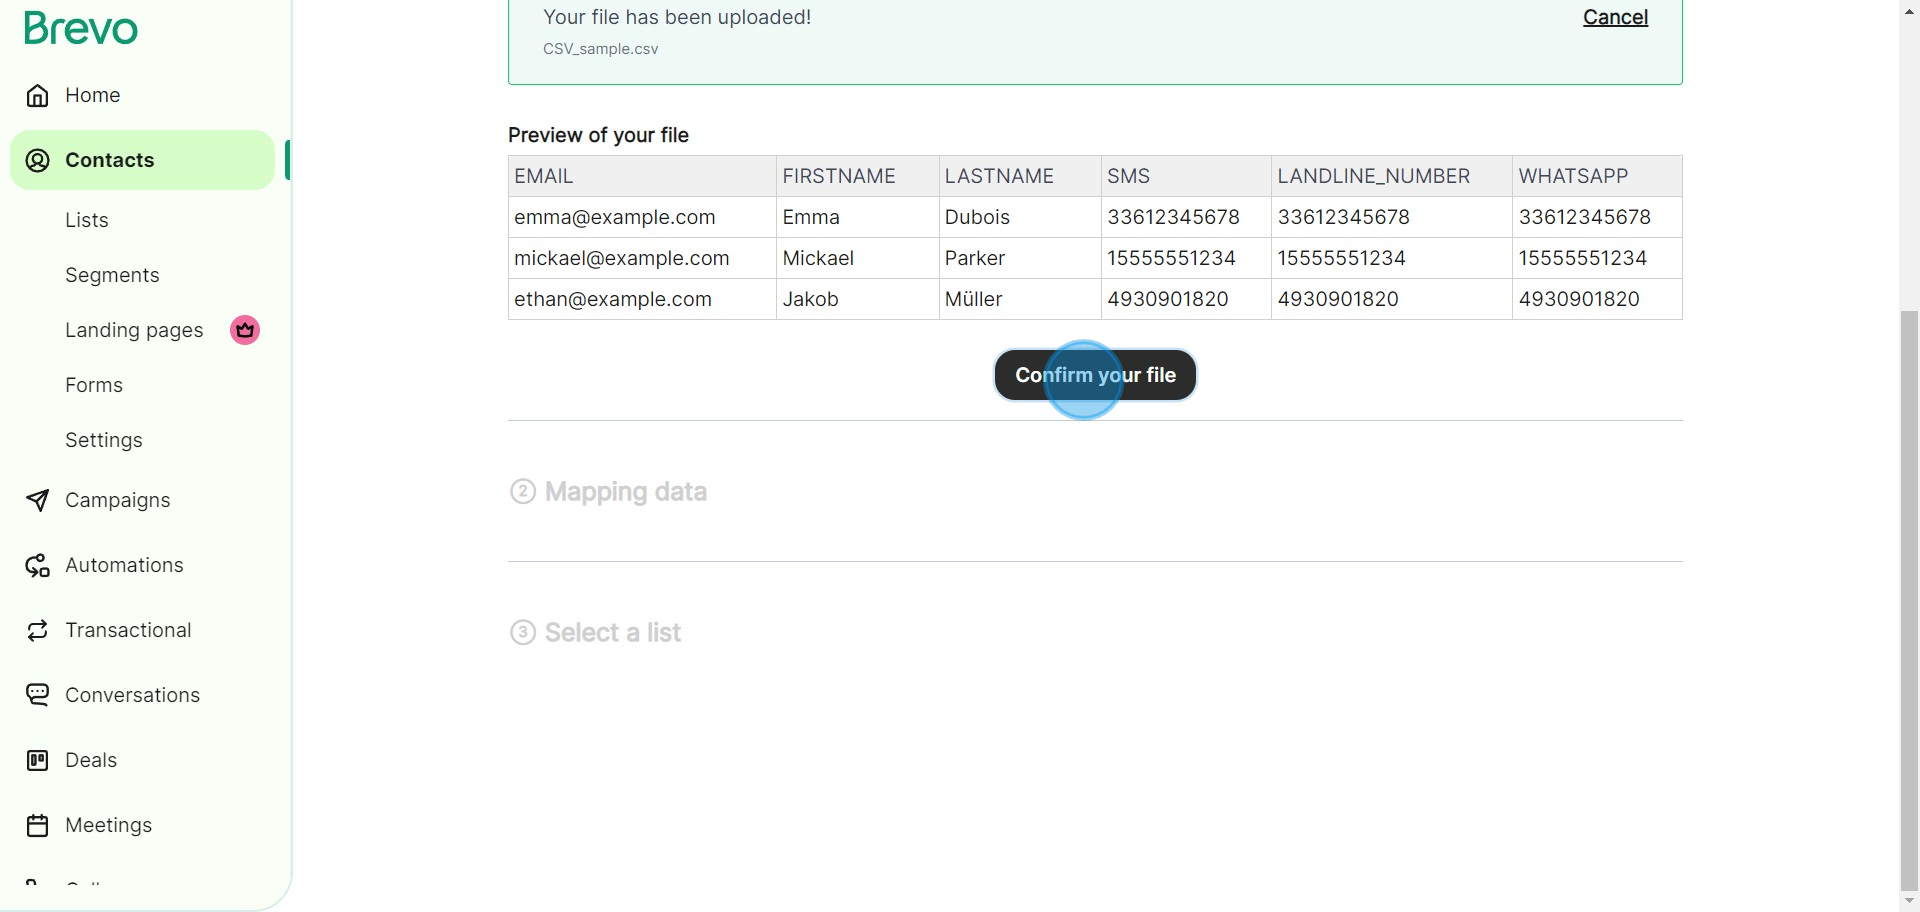
4. Once uploaded, confirm your contact list.
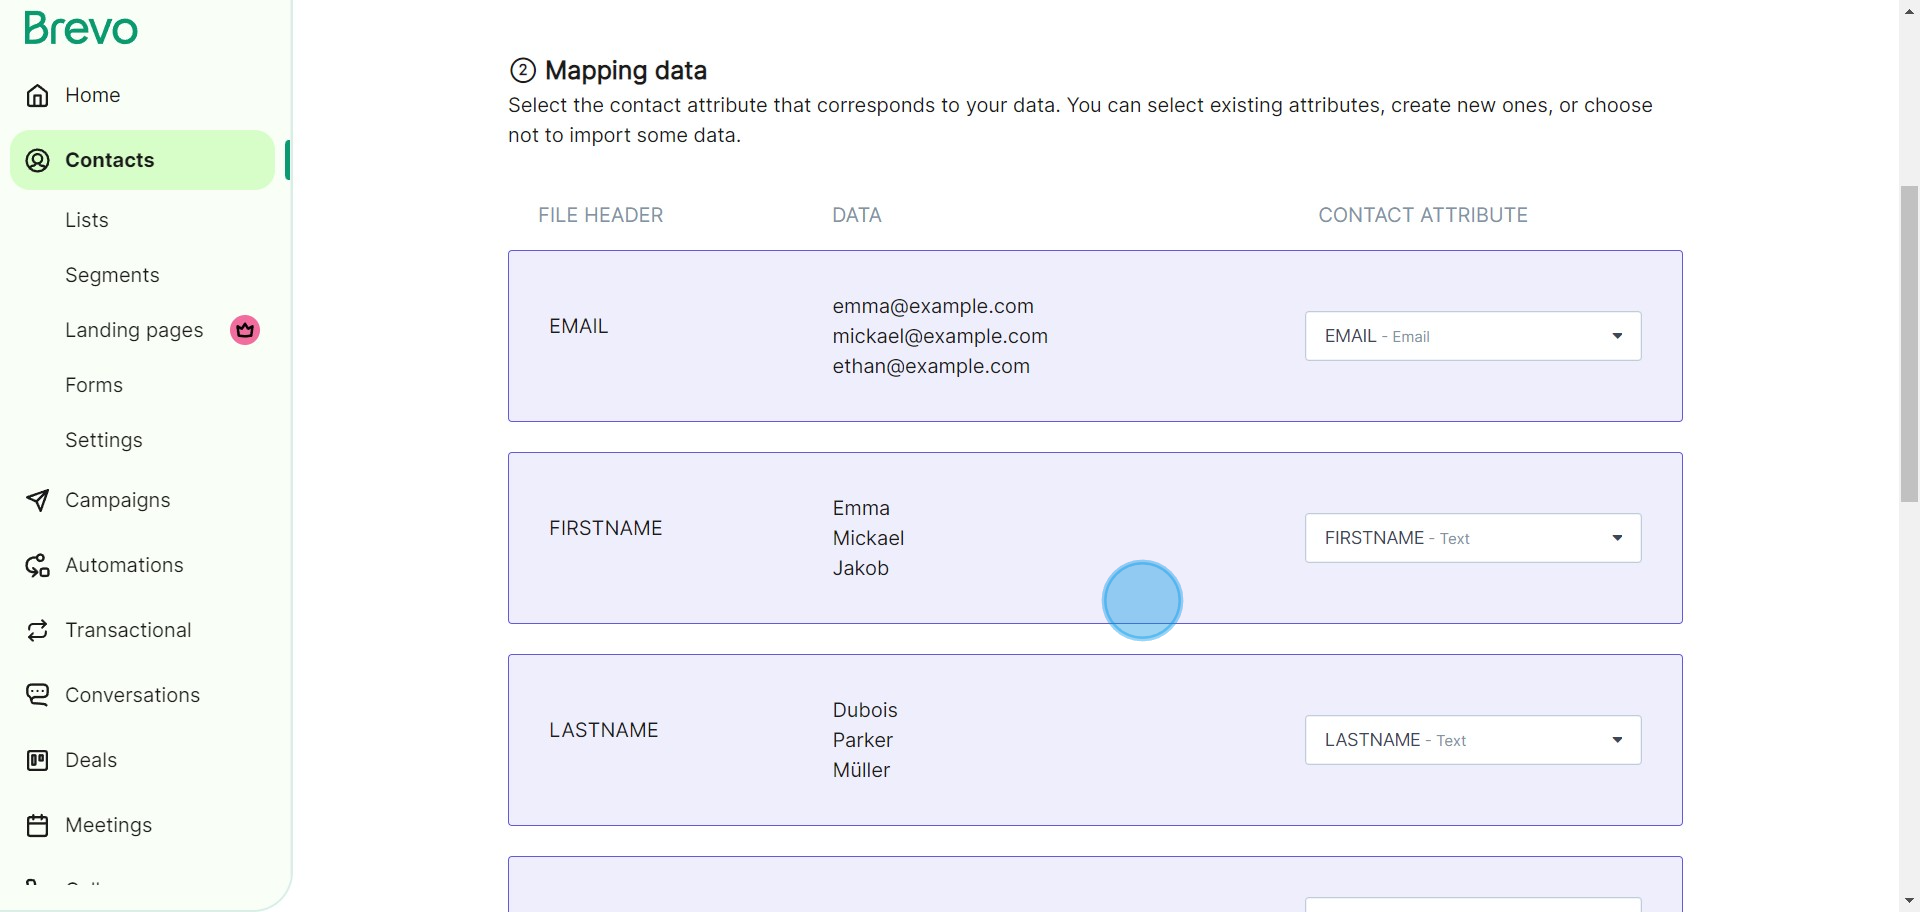
5. Then, map the necessary contact data to its corresponding attribute.
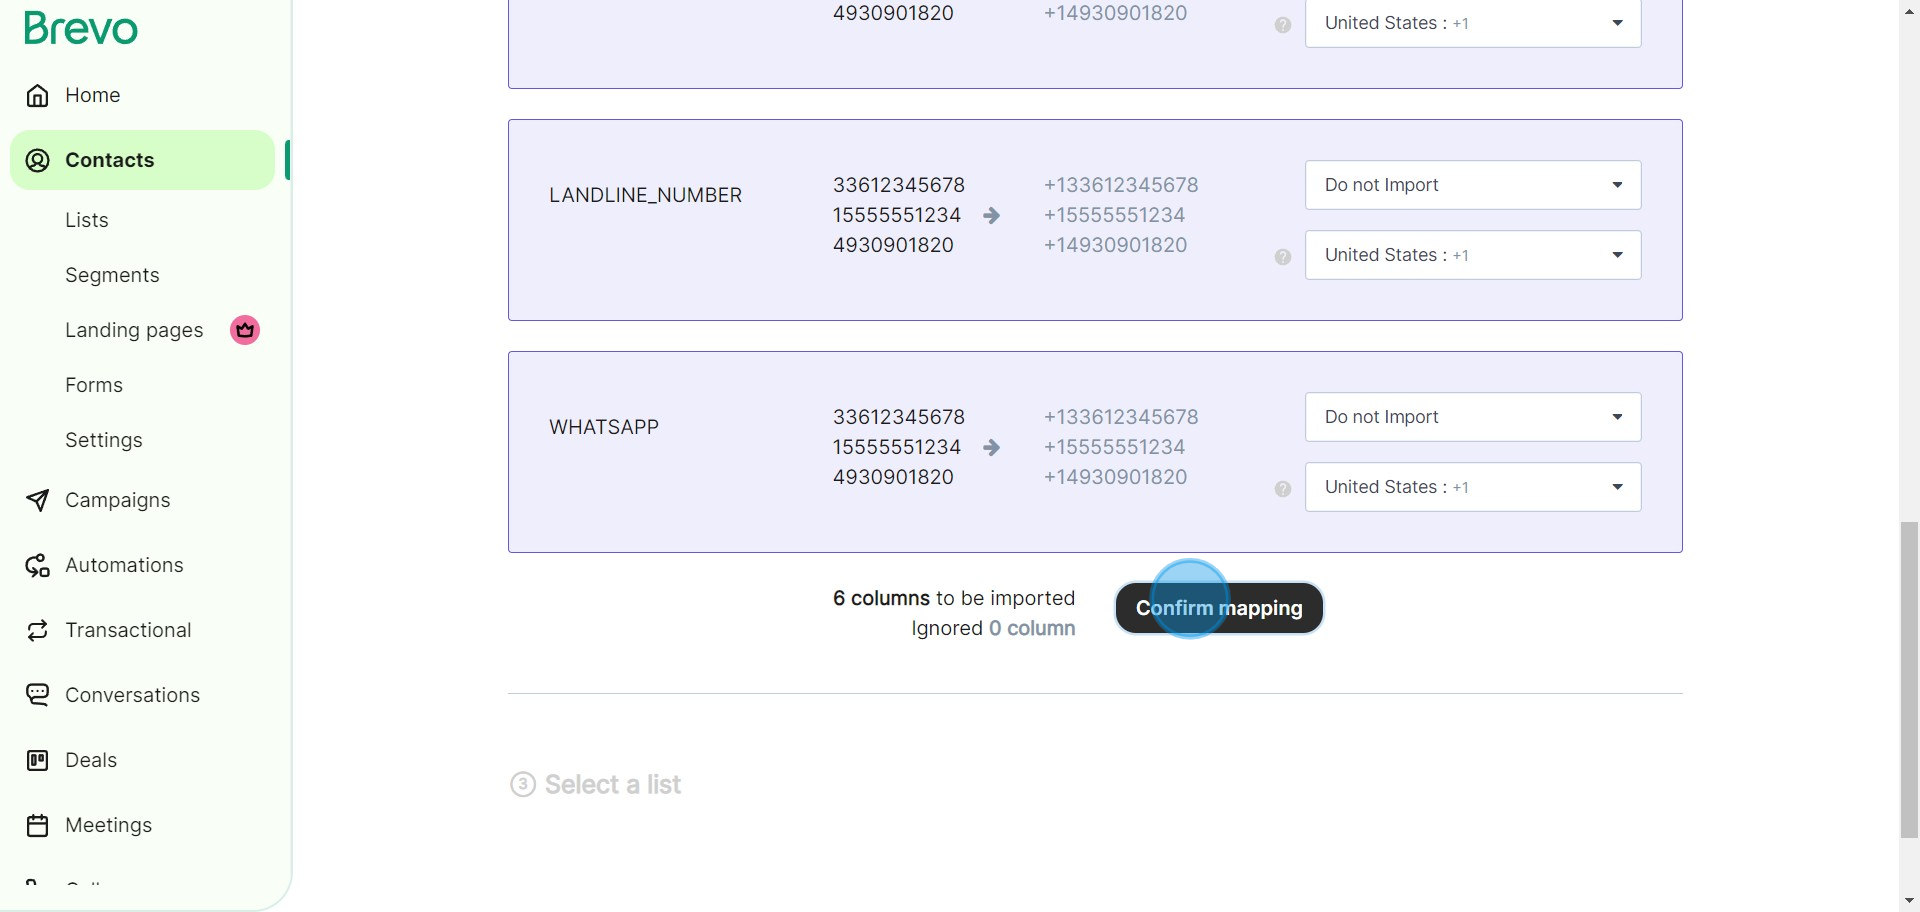
6. After mapping, make sure to confirm your actions.
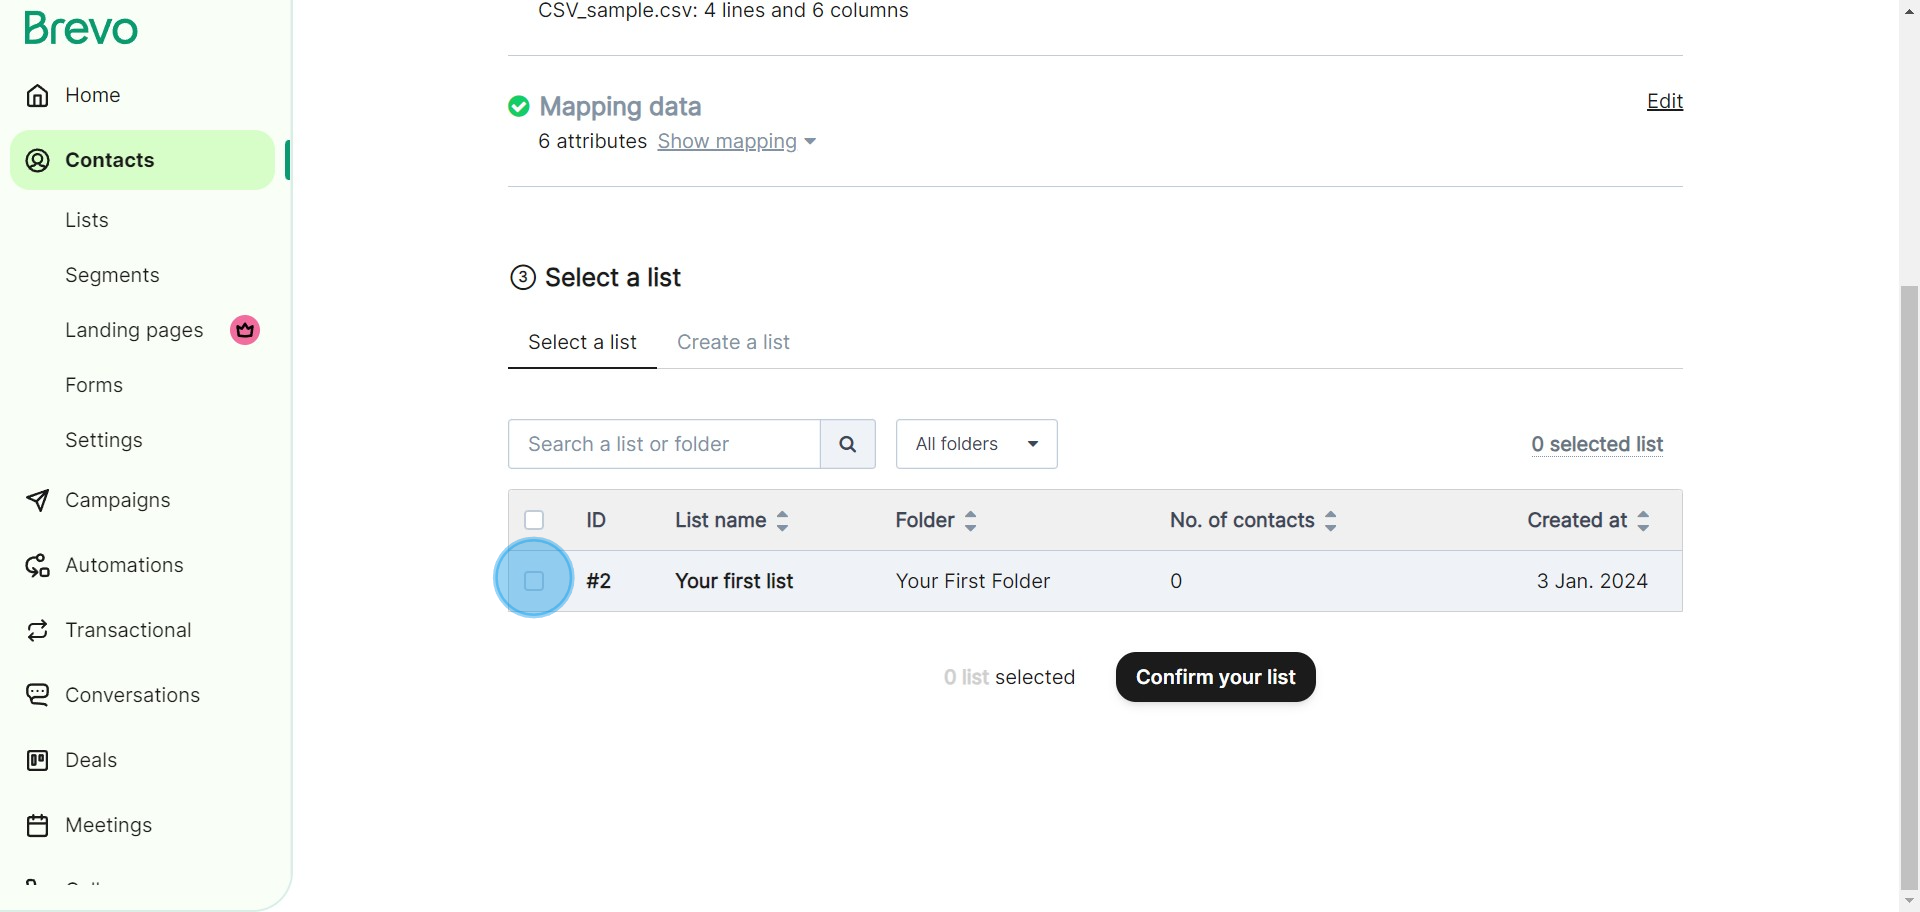
7. Select the particular contact list you want to import.
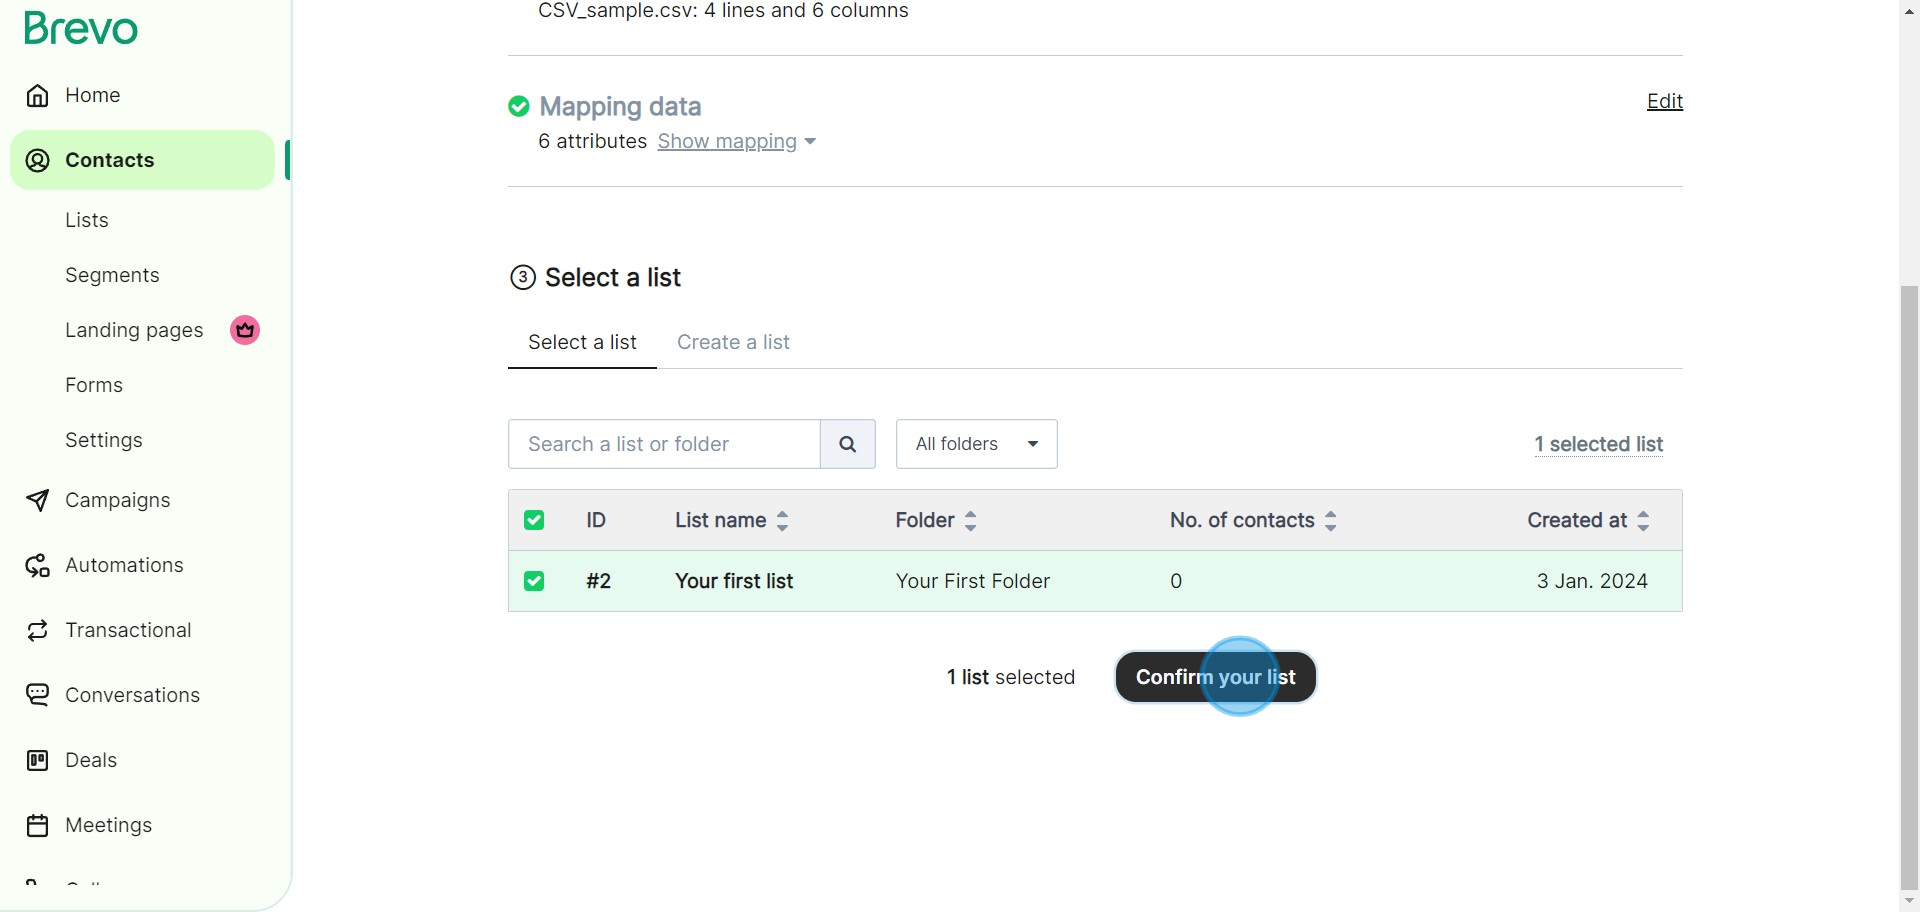
8. Once you've chosen, confirm your preferred list.
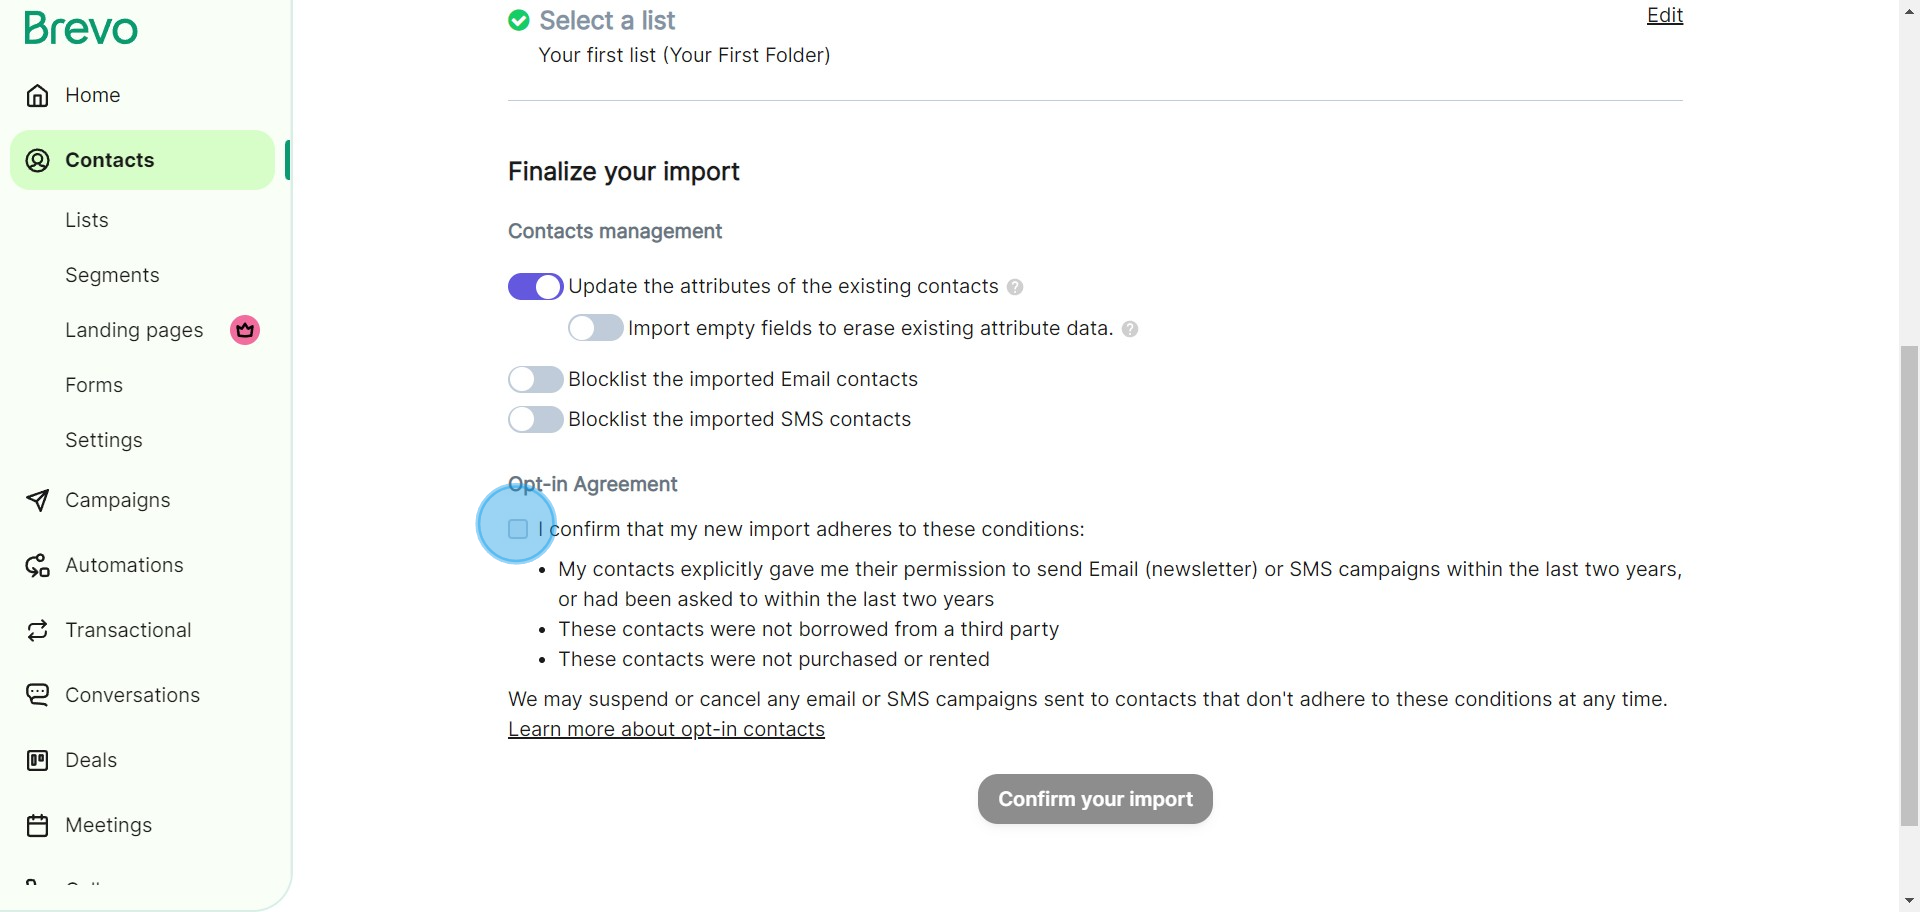
9. Before proceeding, ensure to accept Brevo's Terms and Conditions.
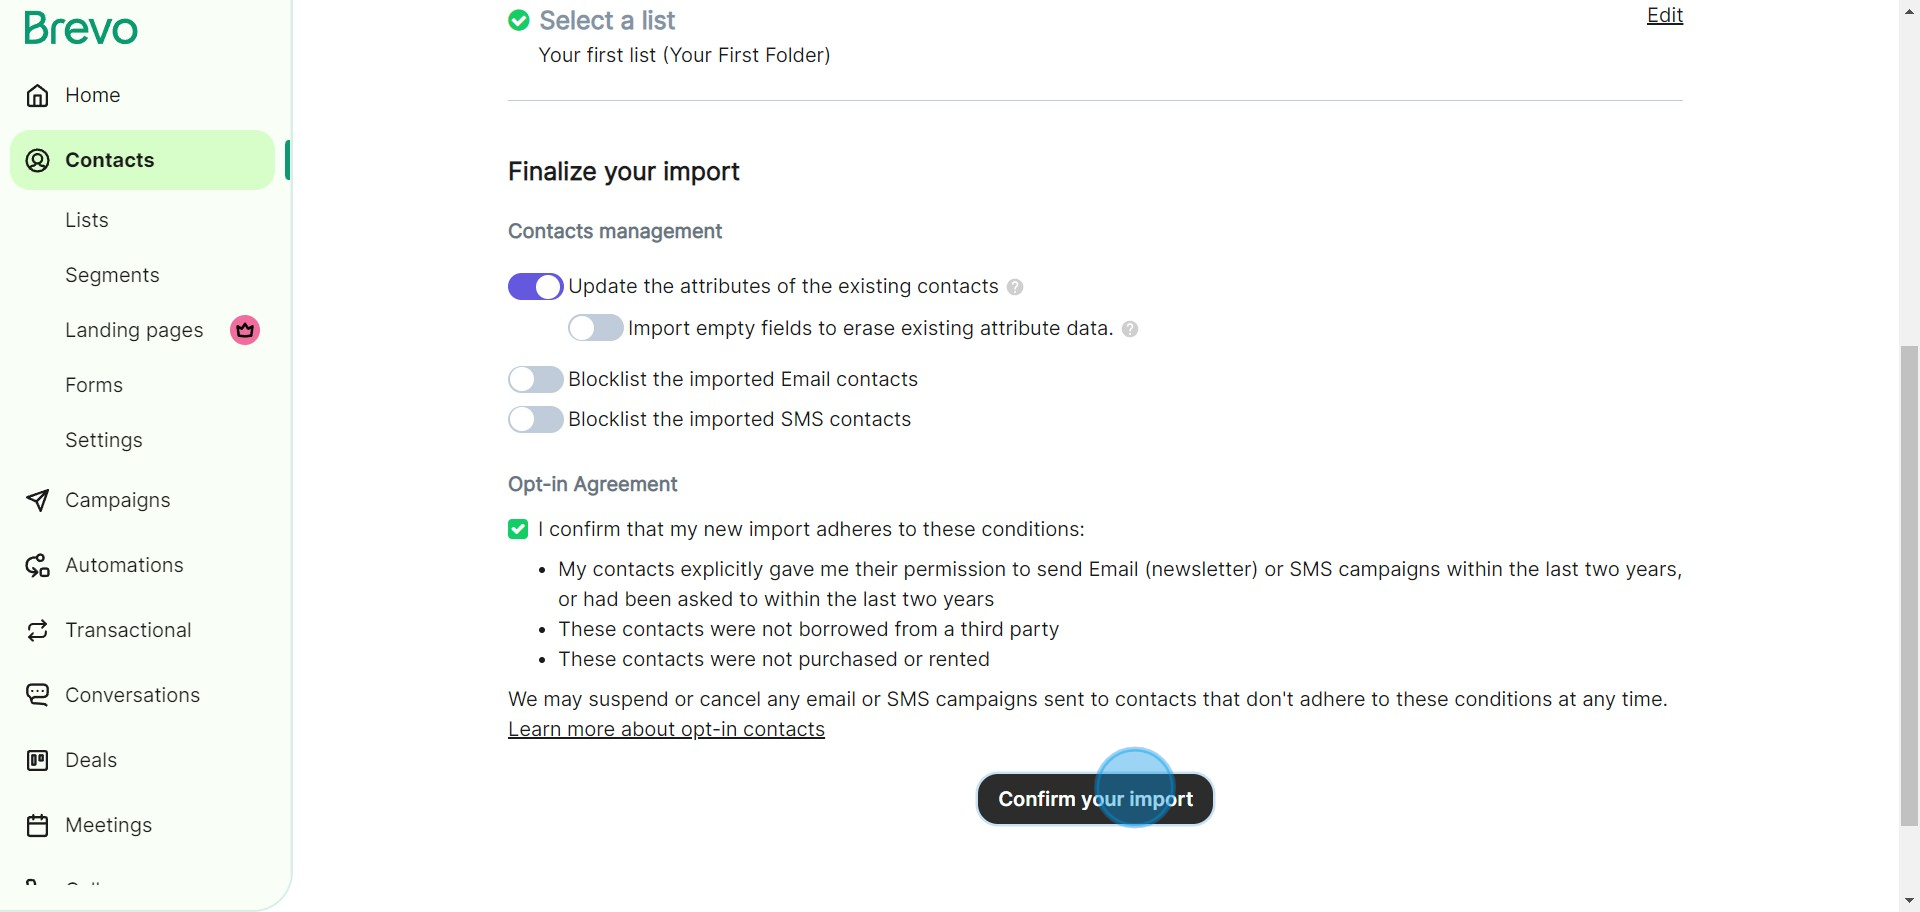
10. To finalize the process, confirm your import decision.
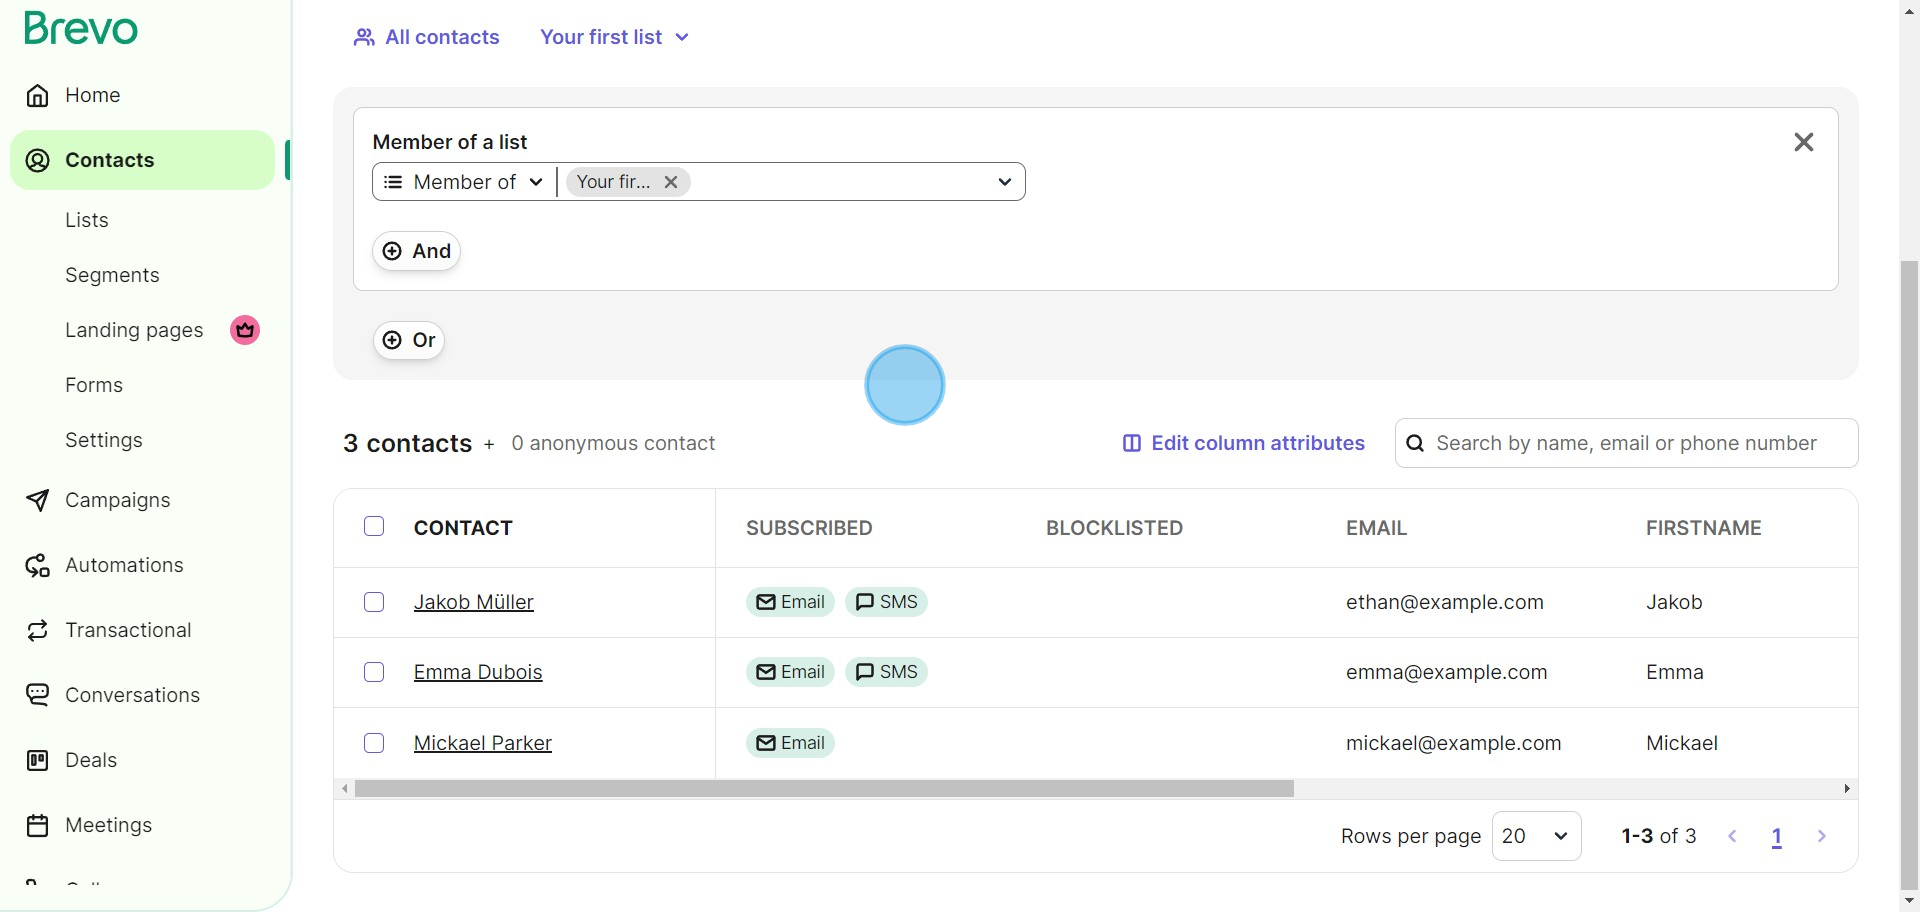
11. Congratulations! You have successfully imported your contacts on Brevo.
Create your own step-by-step demo
Scale up your training and product adoption with beautiful AI-powered interactive demos and guides. Create your first Supademo in seconds for free.
Frequently Asked Questions about how to import contacts on brevo
Commonly asked questions about this topic.
What file formats and templates does Brevo accept for contact imports?
Is Brevo suitable for enterprise-scale importing contacts?
How frequently should I clean and validate contact data before importing?
What's the proper CSV format for importing contacts into Brevo?
Which Brevo subscription tier supports unlimited contact imports?
What's the best way to onboard new team members to importing contacts in Brevo?
How can I create a documented process for my team to follow during imports?
Nithil Shanmugam
Nithil is a startup-obsessed operator focused on growth, sales and marketing. He's passionate about wearing different hats across startups to deliver real value.


