
Overview
Streamline your document creation in Google Docs by mastering the art of inserting and deleting tables. Elevate your user experience and document organization by efficiently incorporating tables for clear data presentation. This guide offers a seamless step-by-step process to effortlessly insert and delete tables in Google Docs, empowering you to enhance efficiency and clarity in document management within the Google Workspace platform.
Who is Google Docs best suited for?
Google Docs is best suited for a wide range of professionals, including Writers, Team Managers, and Researchers. For example, Writers can use Google Docs for drafting and editing articles, Team Managers can leverage it for creating and sharing collaborative project documents, and Researchers can use it for compiling and organizing research notes, all benefiting from Google Docs' real-time collaboration and cloud-based accessibility.
How to insert and delete tables in Google Docs
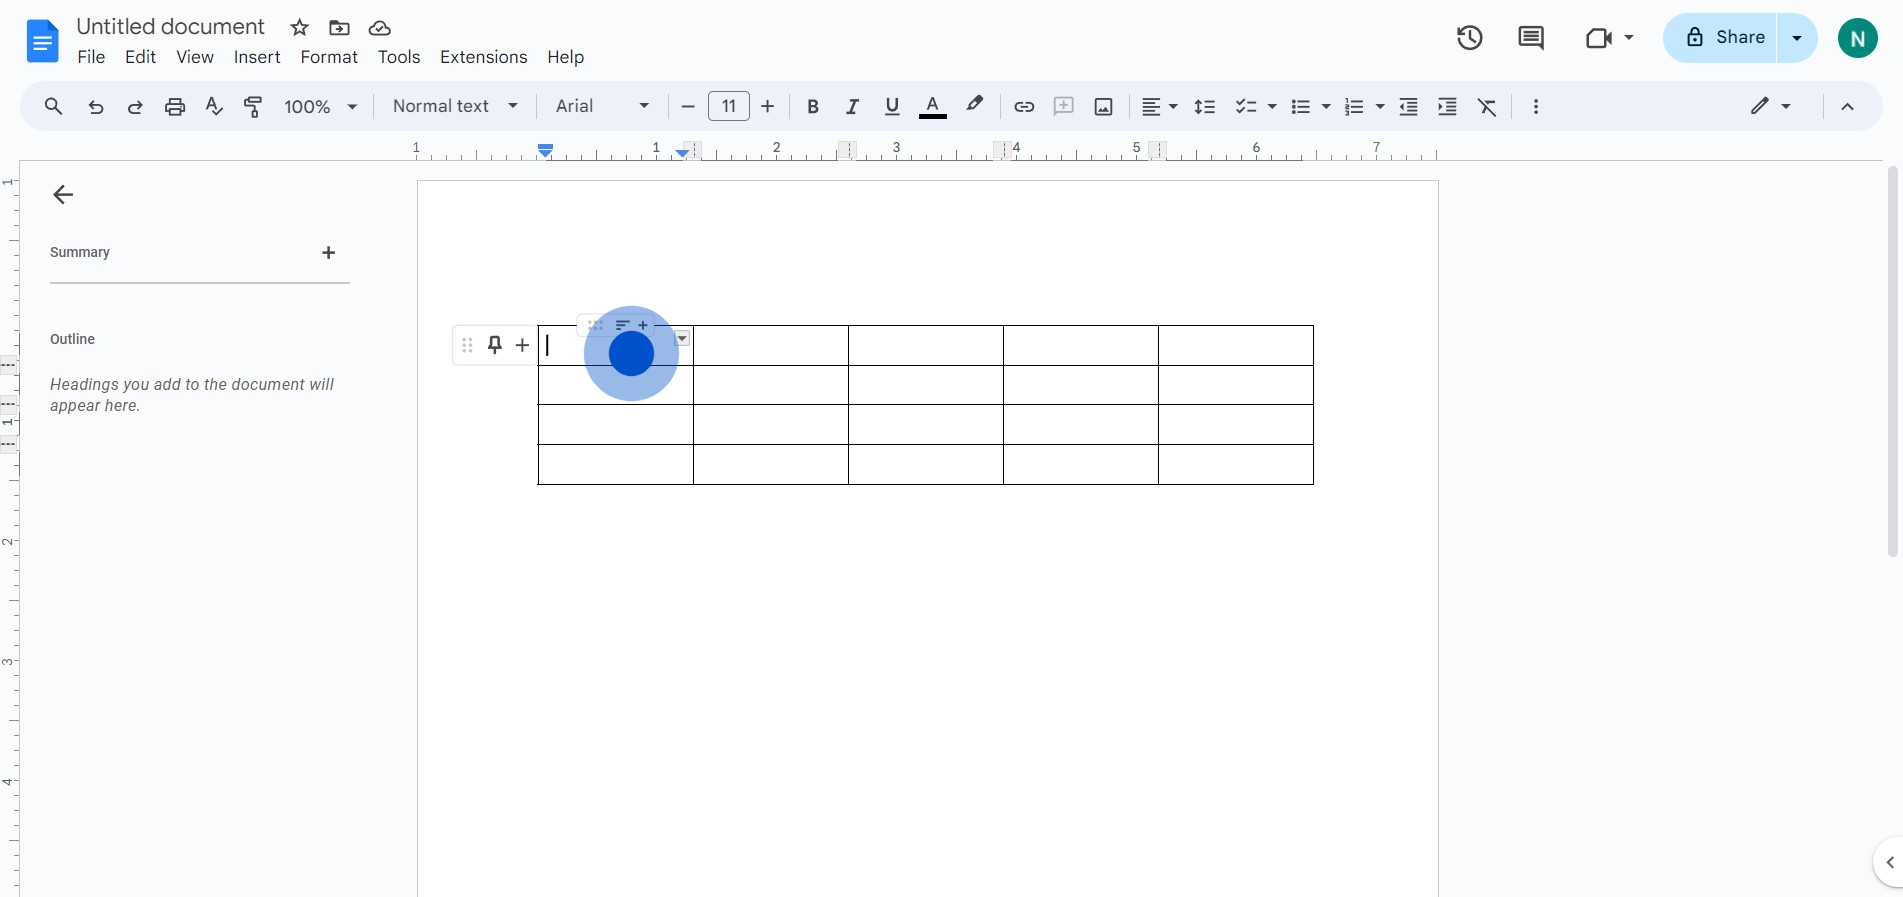
1. Select the table elements you want to modify.
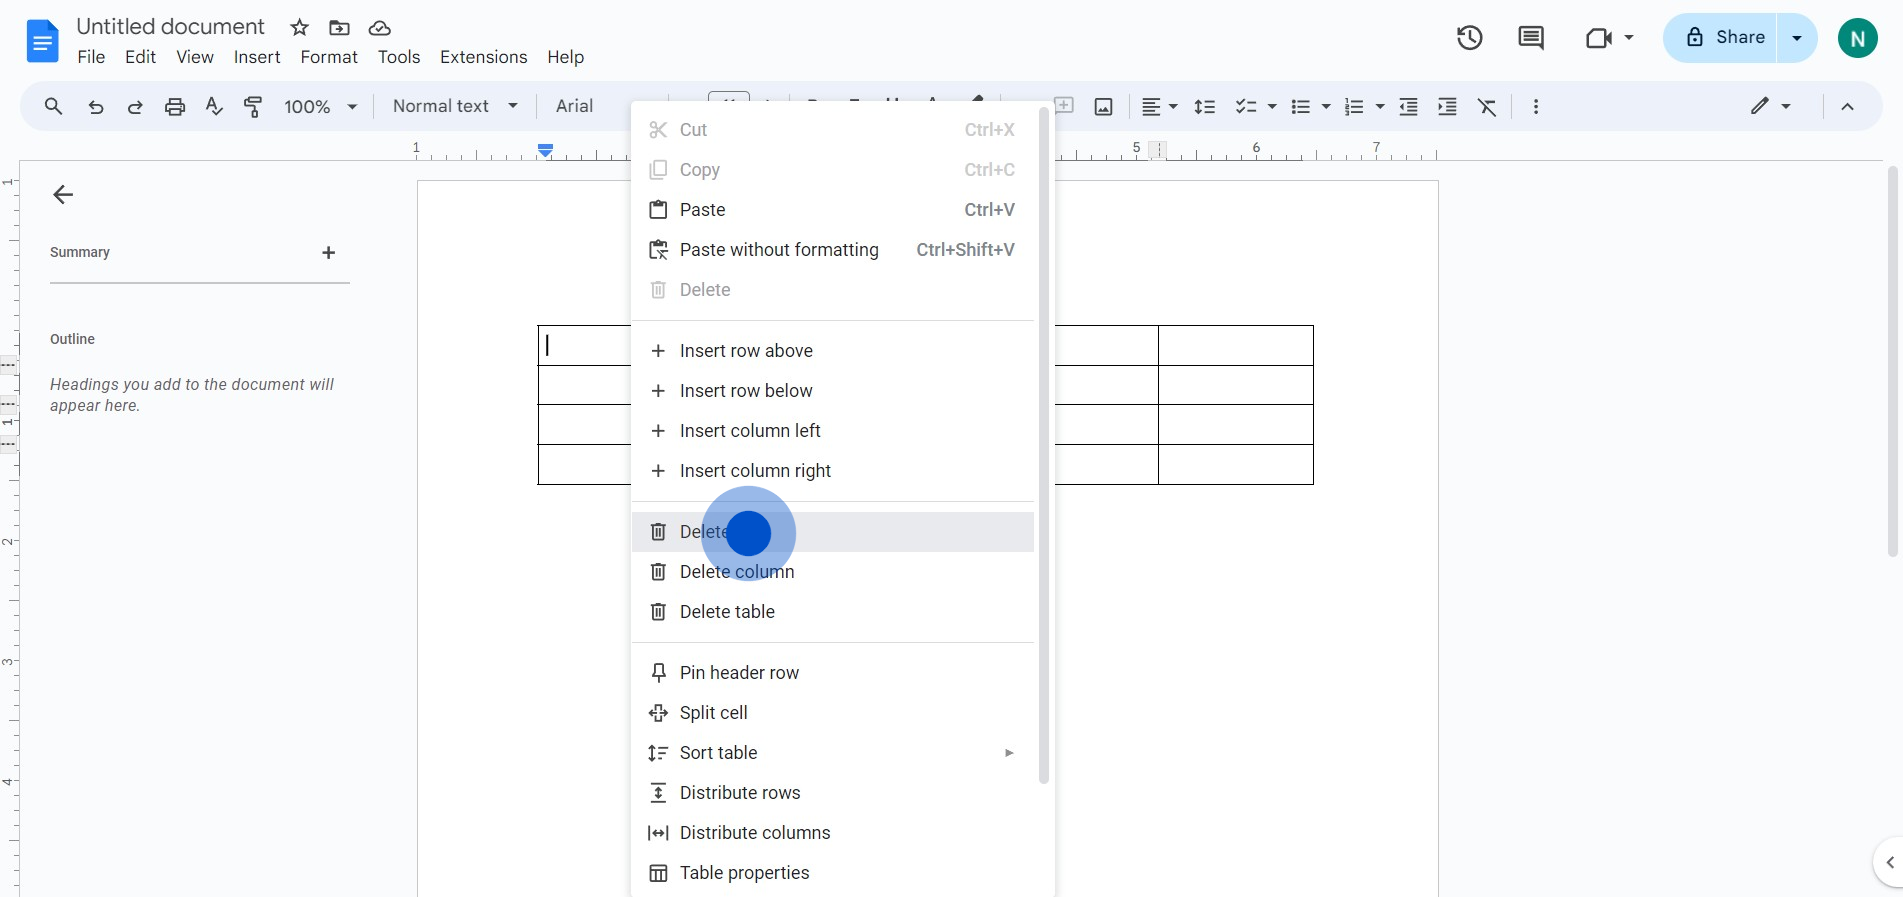
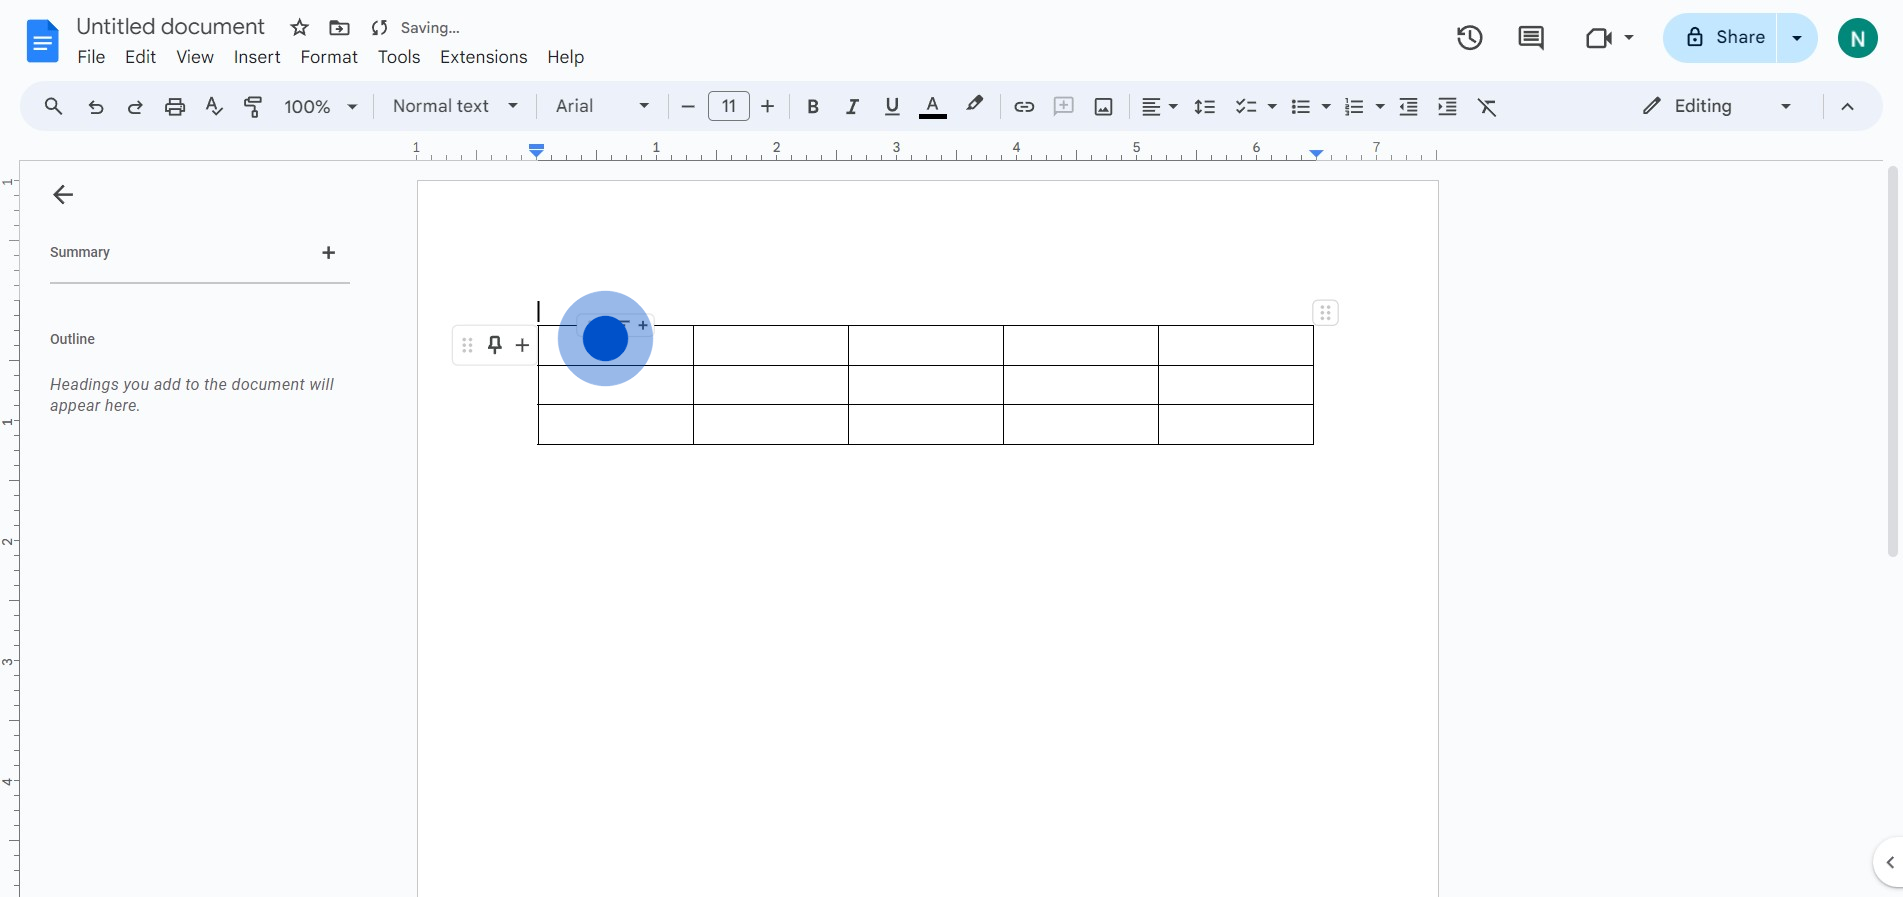
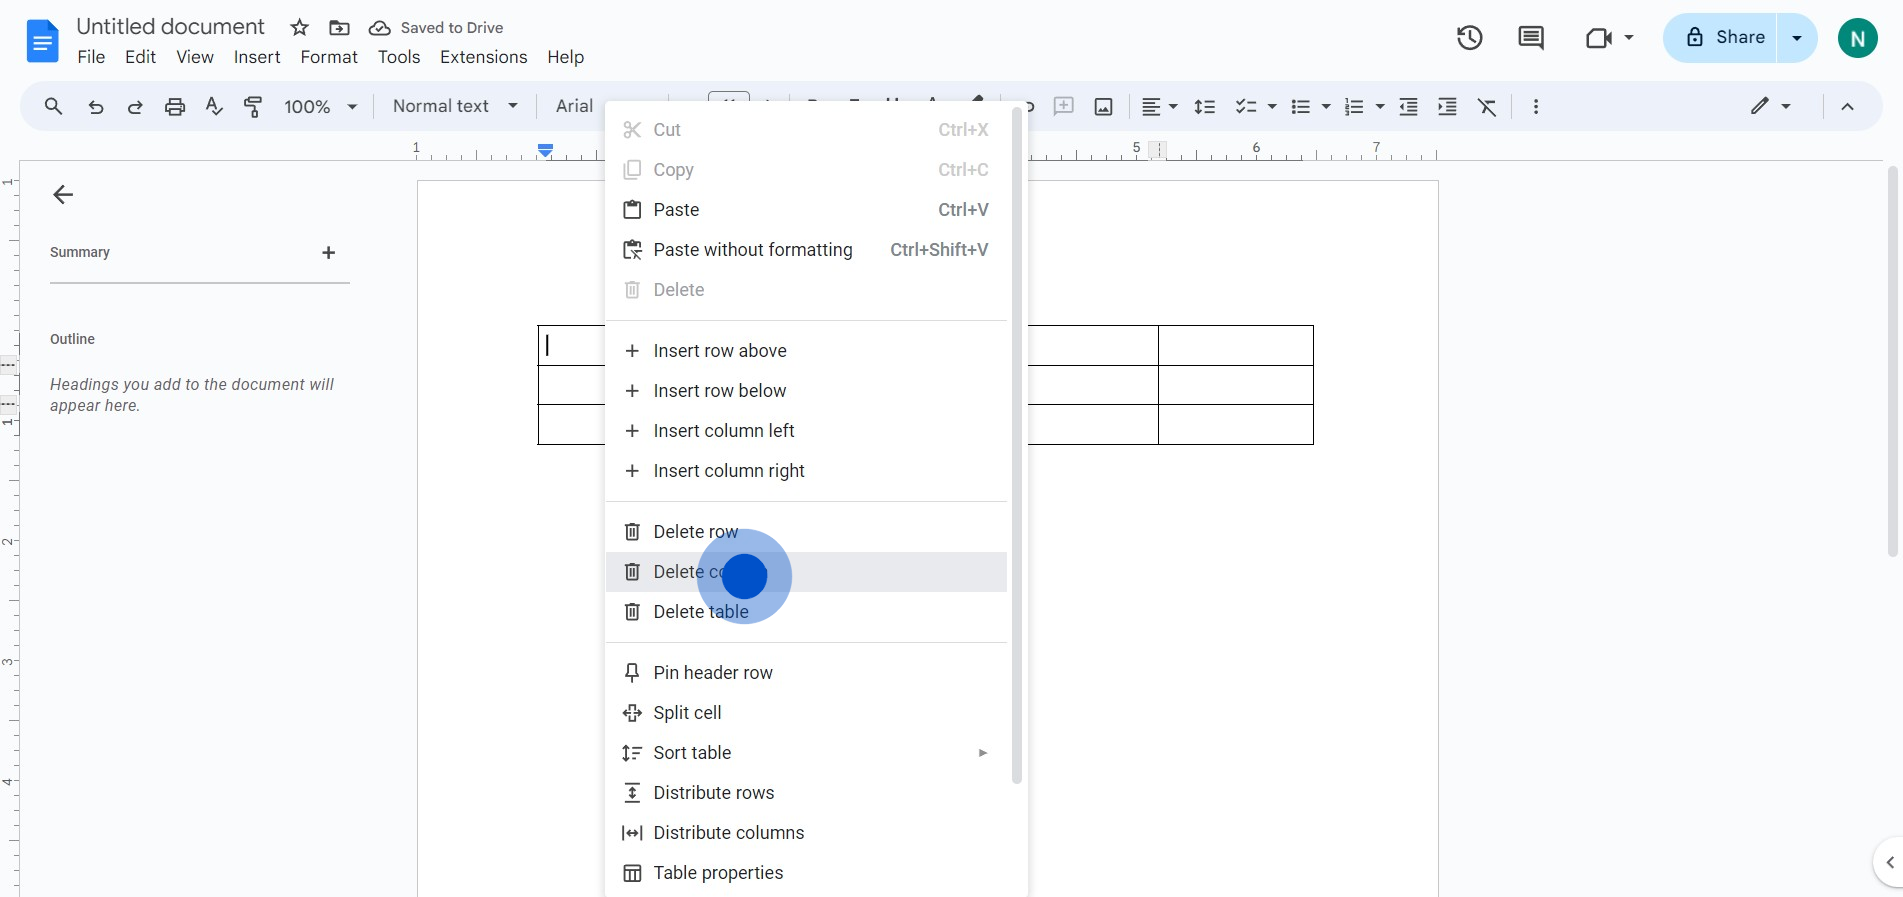
2. To remove a row, find and select the 'Delete row' option.
3. Repeat the process of selecting the table element.
4. Now, locate and click on the 'Delete column' option.
5. To add a table, find the 'Insert' button and click on it.
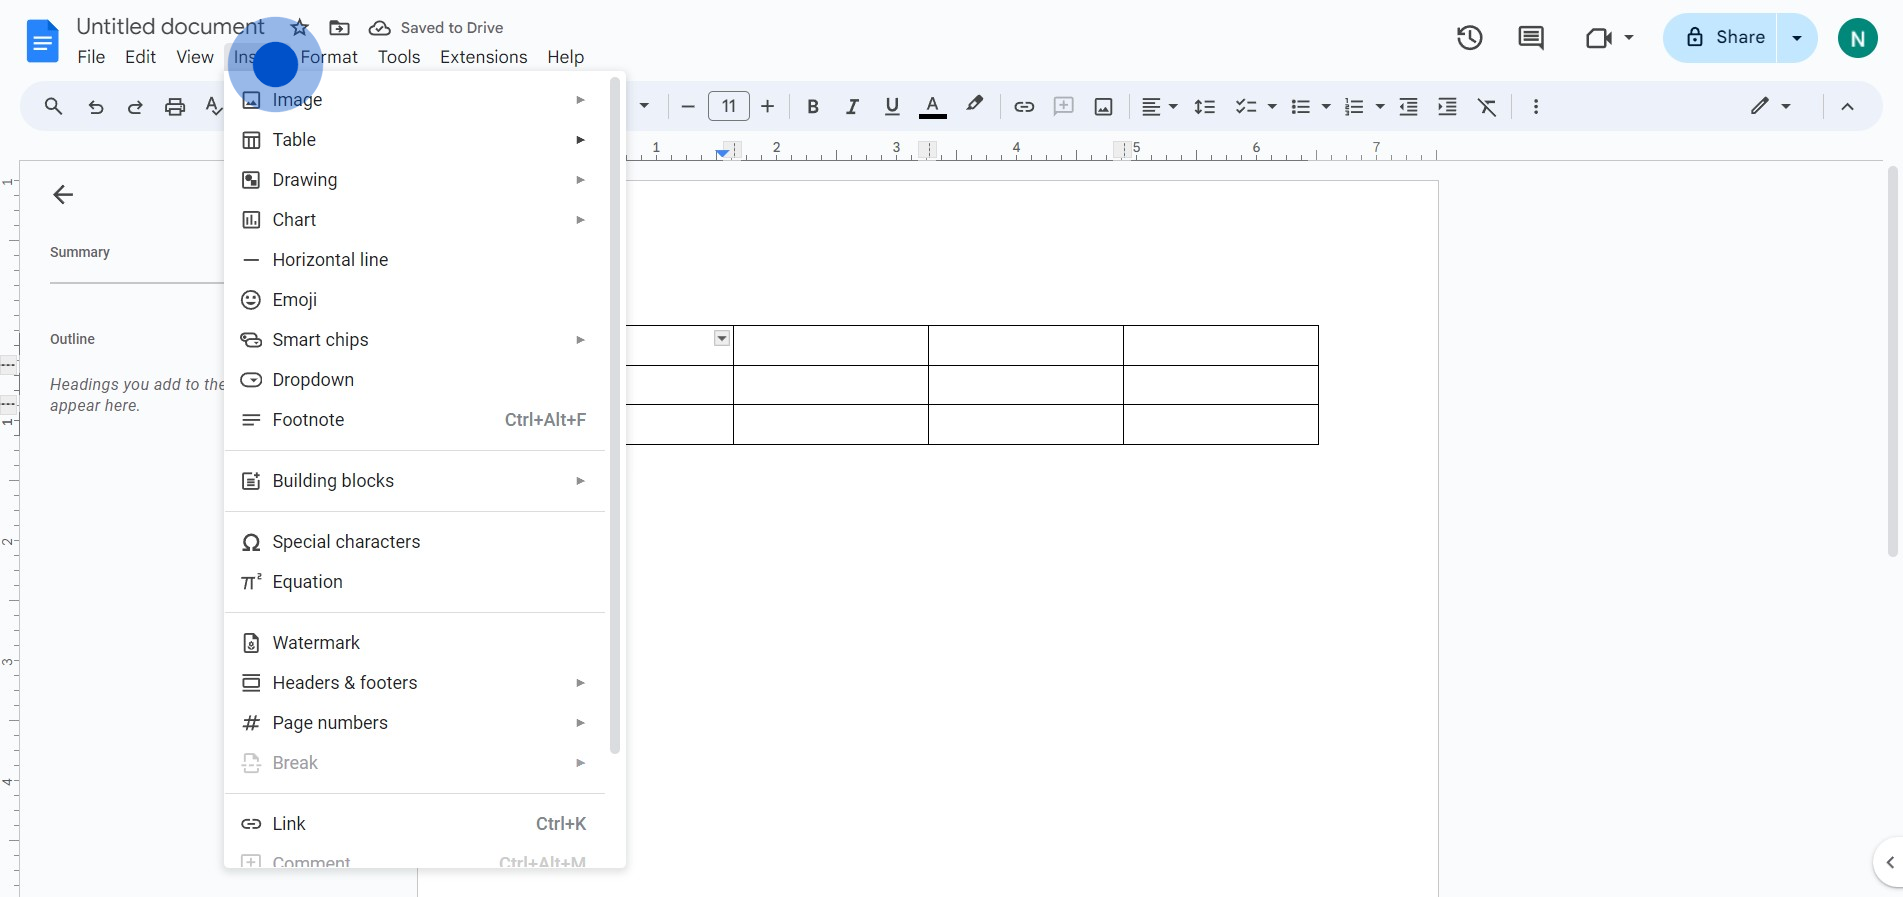
6. Finally, choose the 'Table' option from the Insert dropdown menu.
Common FAQs on Google Docs
How do I use voice typing in Google Docs?
To use voice typing, open your Google Docs document and click on “Tools” in the top menu. Select “Voice typing...” from the dropdown menu. A microphone icon will appear on the left side of the document. Click the microphone icon and start speaking. Google Docs will transcribe your speech into text in real-time. Click the microphone icon again to stop voice typing.
Can I create and use a table of contents in Google Docs?
Yes, you can create a table of contents by first applying heading styles to the sections of your document. Select the text you want to include in the table of contents and apply a heading style (e.g., Heading 1, Heading 2) from the toolbar. Then, place your cursor where you want the table of contents to appear, go to “Insert” in the top menu, and select “Table of contents.” Choose a format (with or without links) and Google Docs will generate a table of contents based on your headings.
How do I track changes and review edits in Google Docs?
To track changes, switch to “Suggesting” mode by clicking on the pencil icon in the upper-right corner and selecting “Suggesting.” Any edits you make will appear as suggestions that others can accept or reject. To review and manage changes, click on the “Comments” icon on the right side of the screen to see all suggestions and comments. You can accept or reject changes directly from the comment pane.
Create your own step-by-step demo
Scale up your training and product adoption with beautiful AI-powered interactive demos and guides. Create your first Supademo in seconds for free.
