

Overview
Revolutionize your collaborative efforts on Miro Whiteboard by seamlessly integrating Google Images. Elevate your visual communication and brainstorming sessions with this step-by-step guide, designed to enhance efficiency and creativity. Streamline the process of incorporating Google Images into your Miro Whiteboard, fostering a more dynamic and visually compelling collaborative environment. This comprehensive guide empowers you to harness the power of integration for a smoother and more engaging collaboration experience.
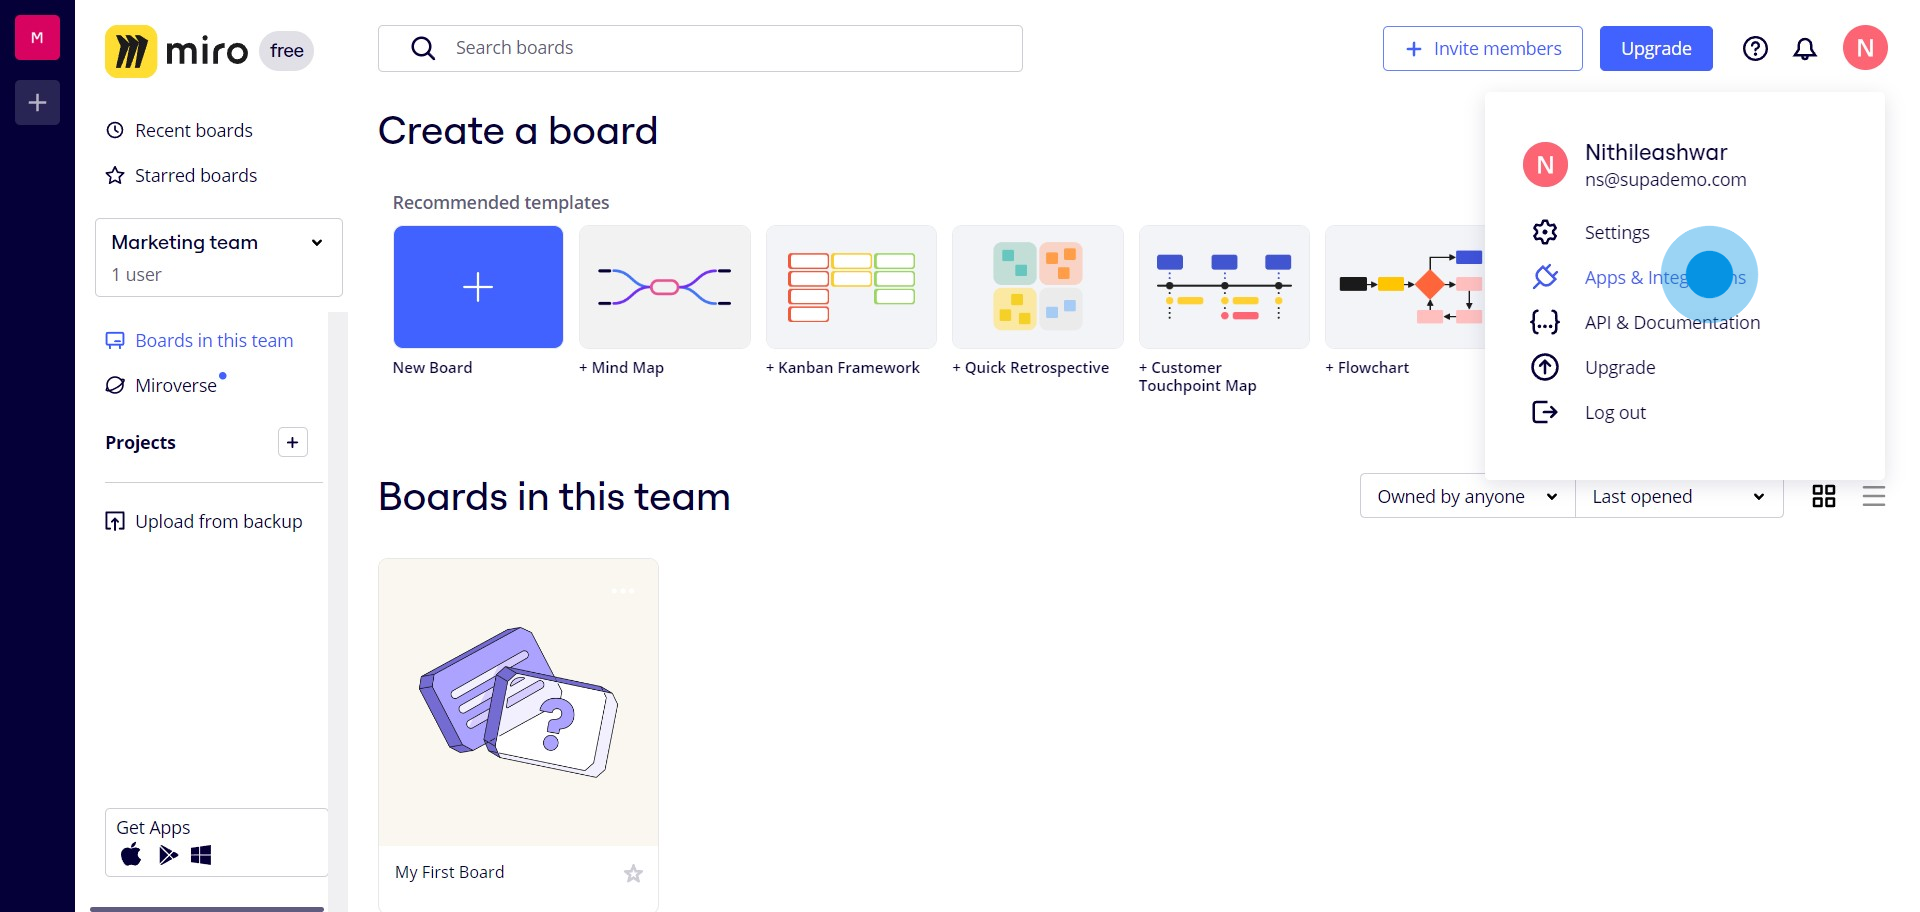
1. Navigate to your user profile.

2. Access 'Apps & Integrations' section.
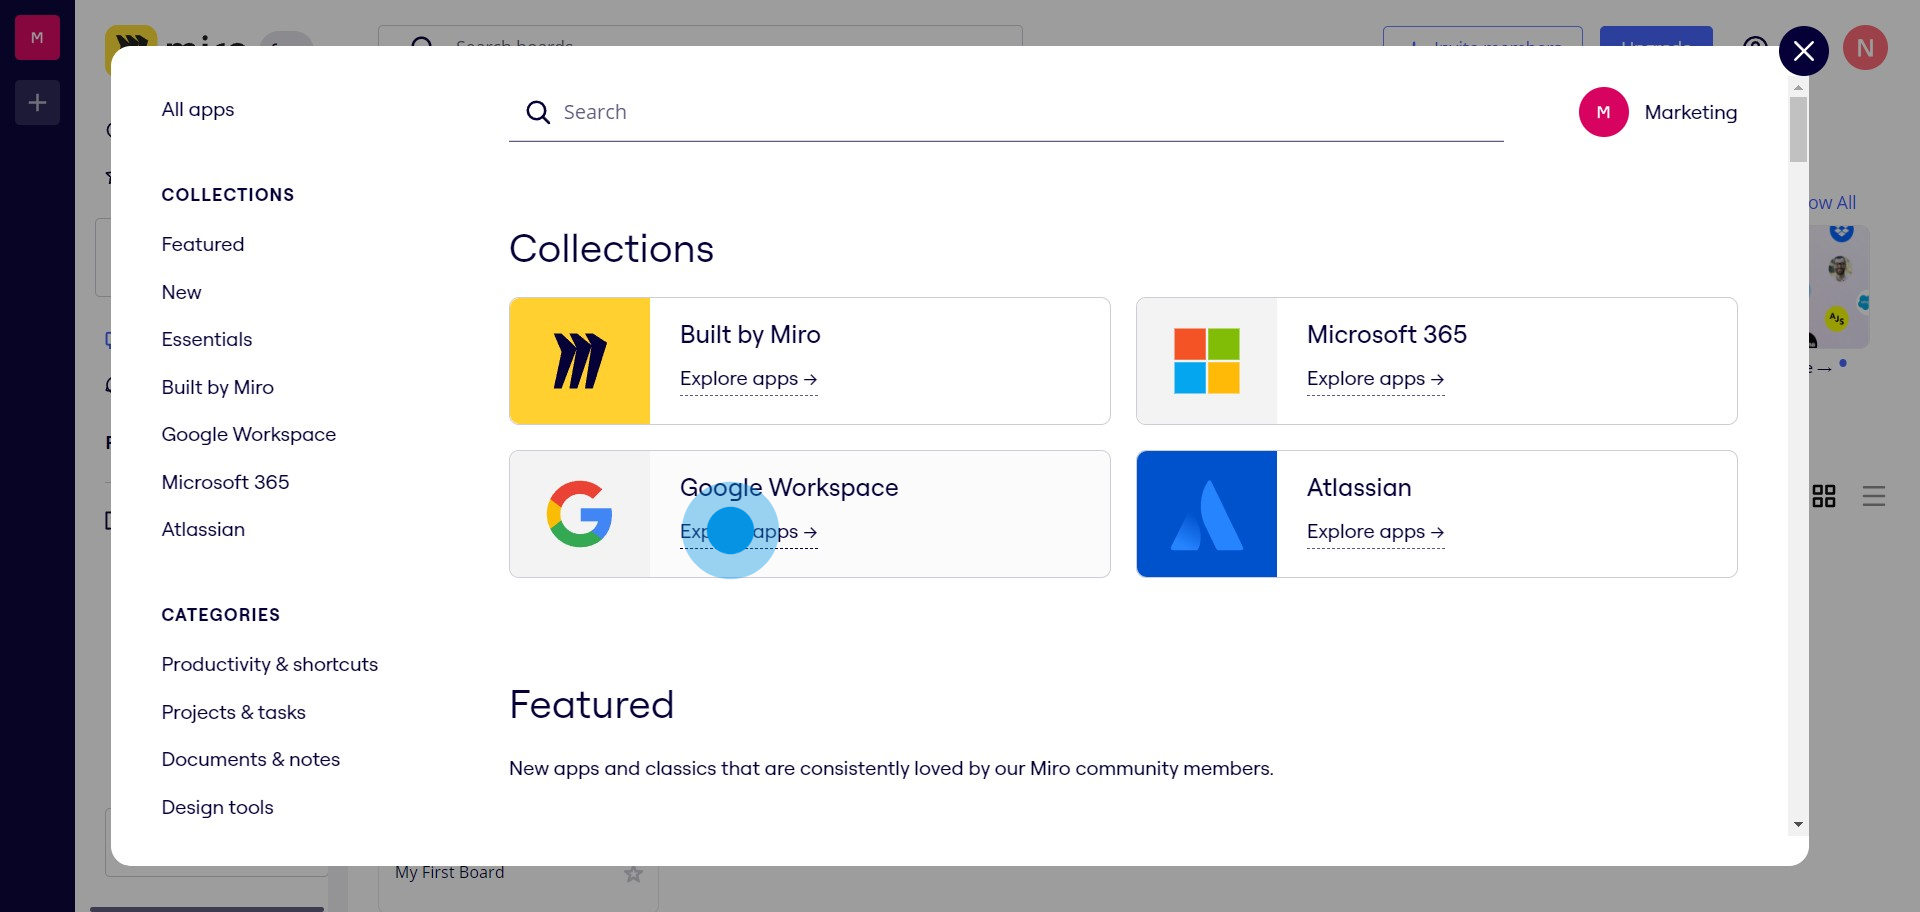
3. Explore 'Google Workspace' applications.
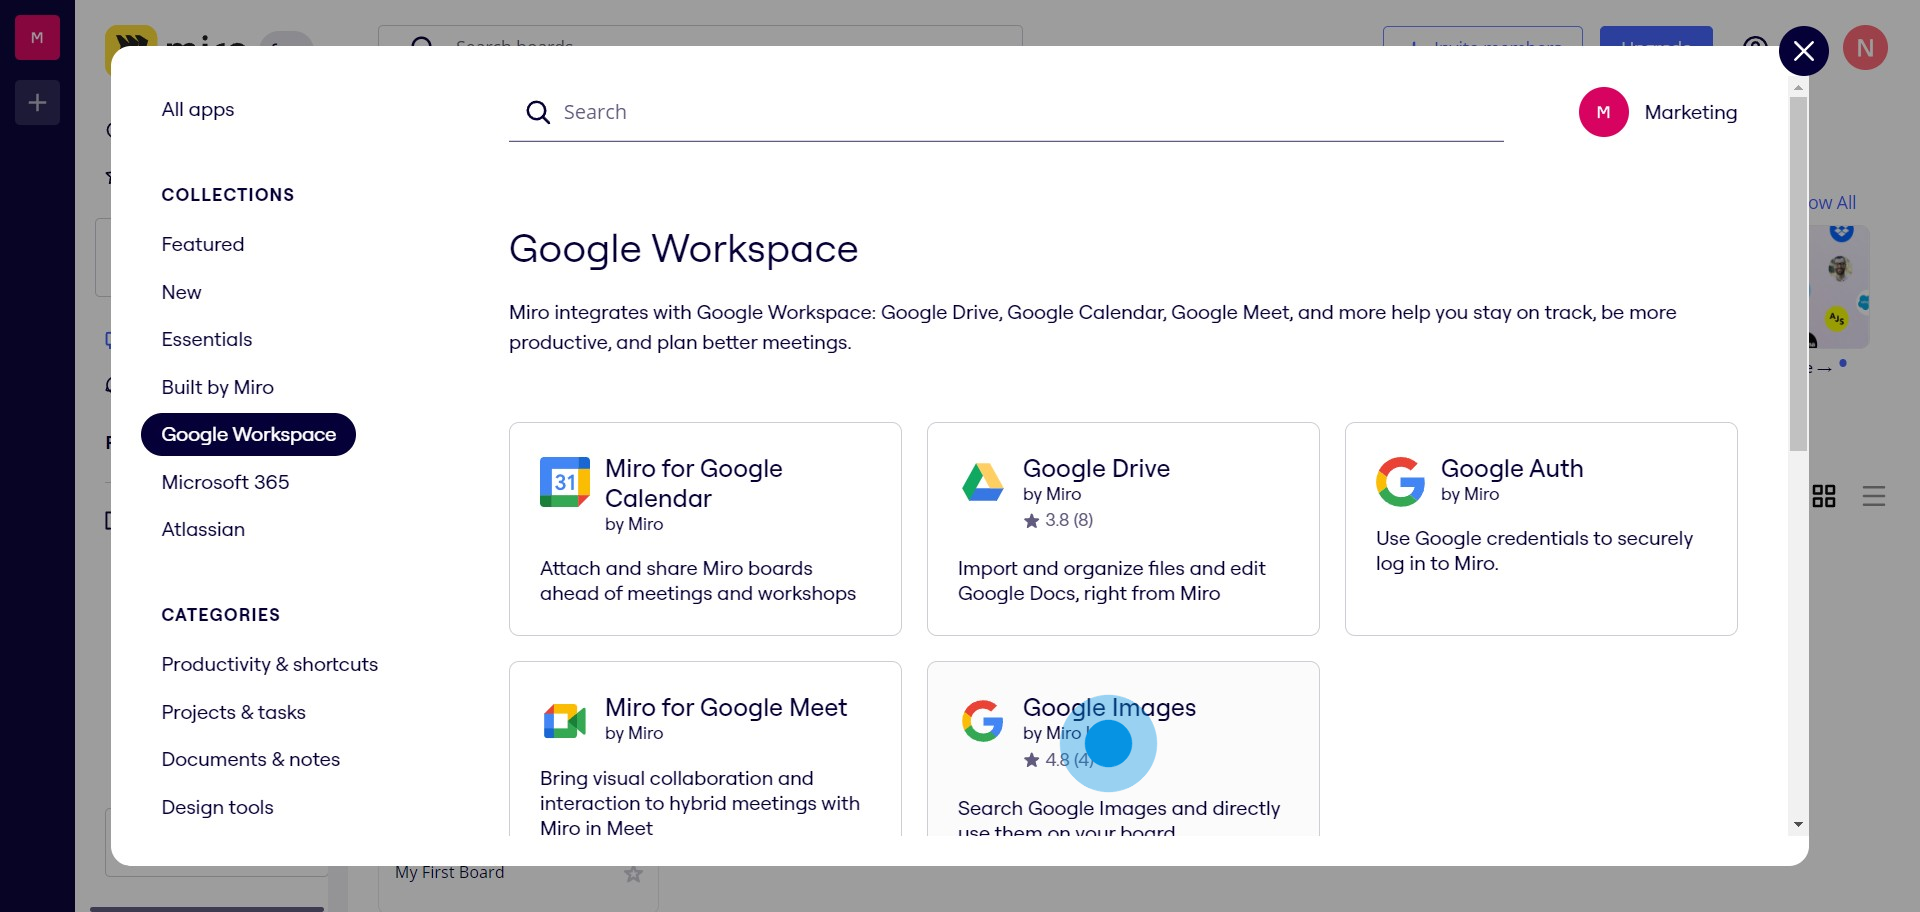
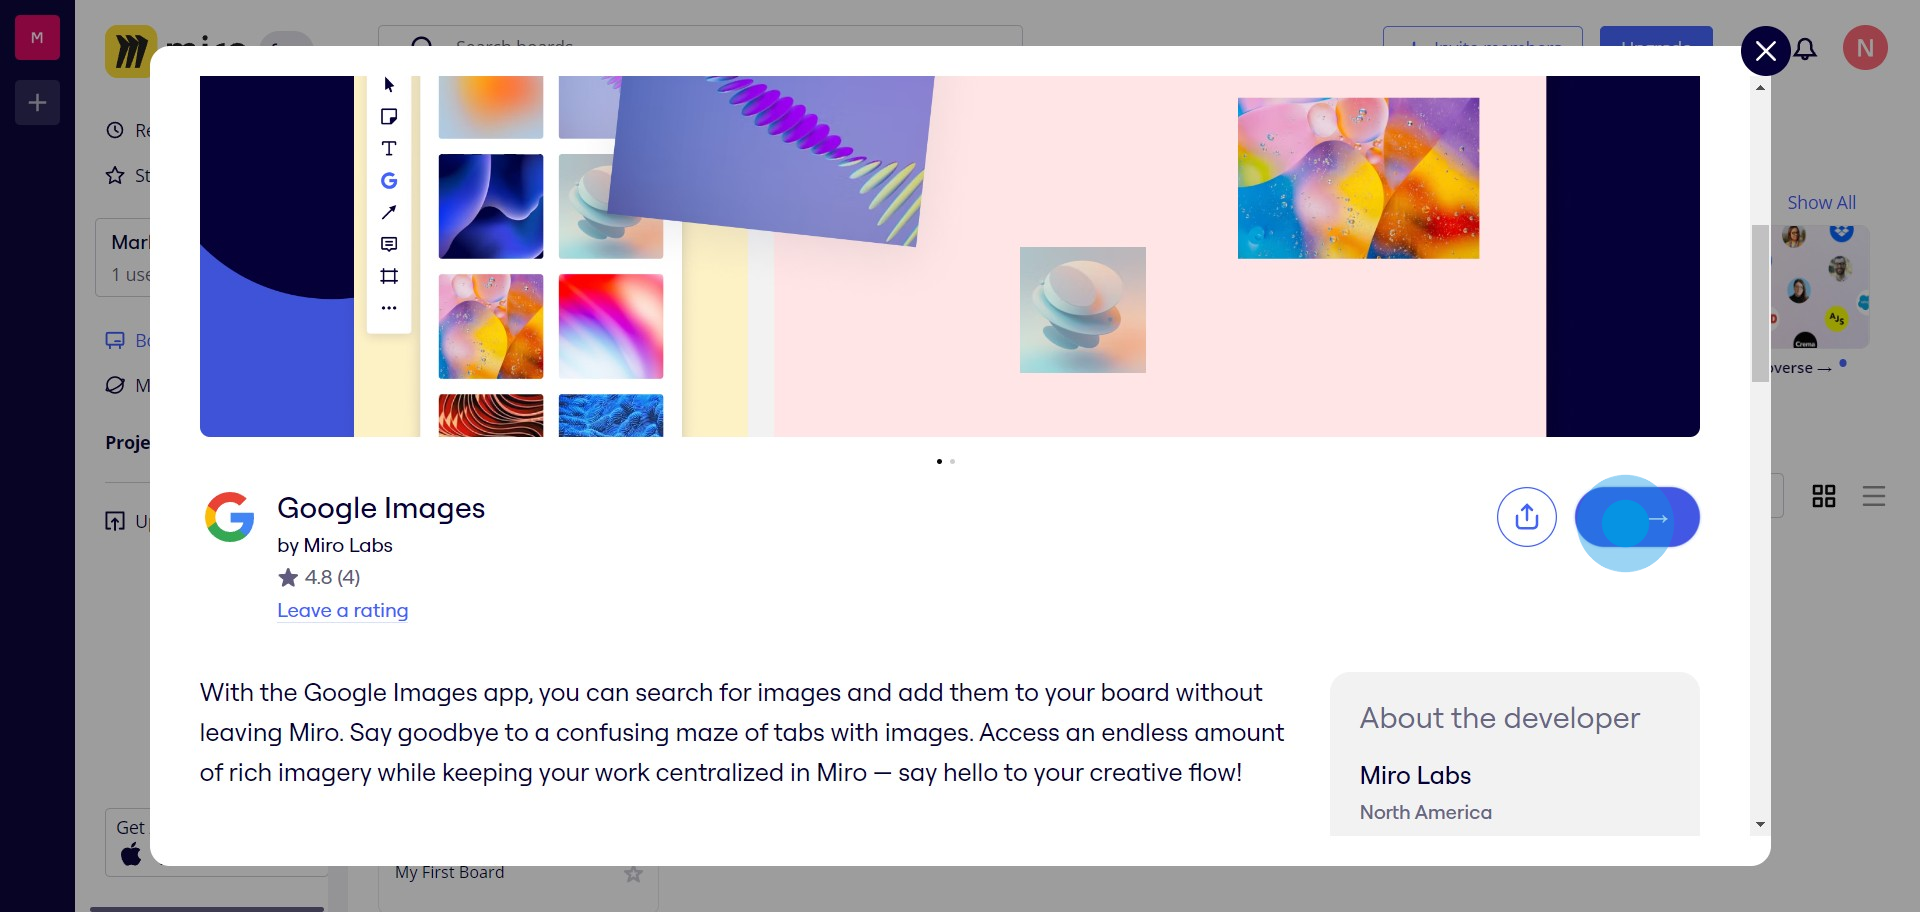
4. Select 'Google Images' by Miro Labs.
5. Click 'Run' to install the Google Images integration.
6. Choose the project where you want to add Google Images.
7. Open 'More apps' to find Google Images option.
8. Search 'Google Images' in the search bar.
9. Select the Google Images option from the dropdown.
10. Enter your desired search term.
11. Upon finding the image, drag and drop it into your Miro board.
Create your own step-by-step demo
Scale up your training and product adoption with beautiful AI-powered interactive demos and guides. Create your first Supademo in seconds for free.
