

Overview:
Streamline your collaboration in ClickUp by mastering the art of inviting individuals to your workspace. Elevate your team's efficiency by seamlessly organizing and categorizing tasks. Enhance user experience and simplify navigation through the use of relevant invitations, ensuring straightforward access and identification. This guide offers a step-by-step process on inviting people to your ClickUp workspace, empowering you to optimize collaboration and clarity within the platform.
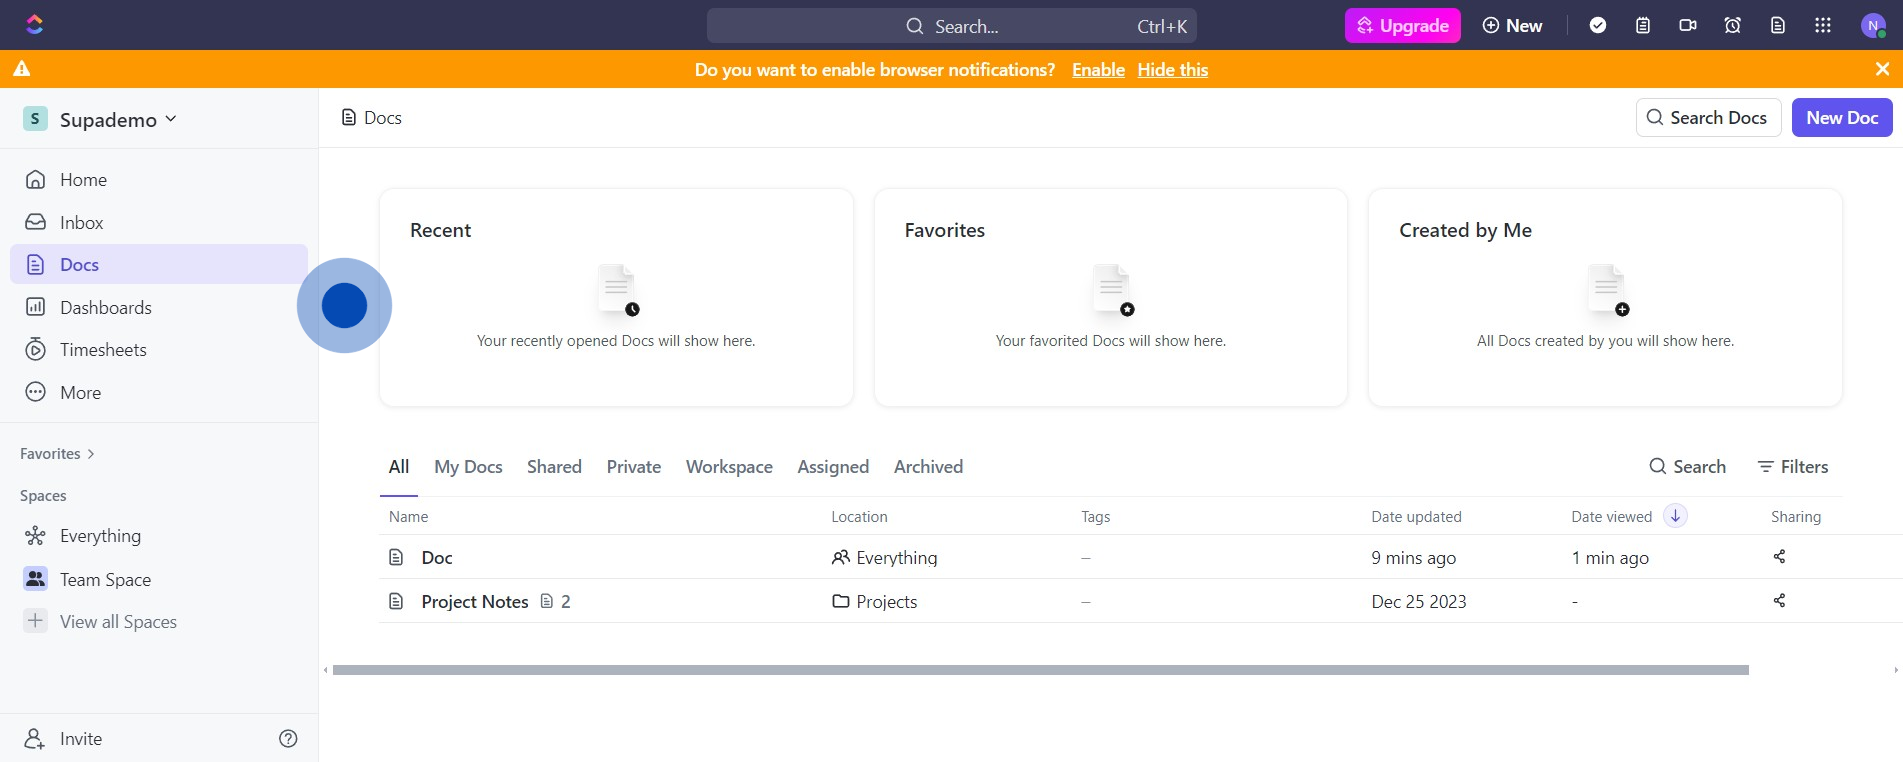
1. Navigate to your ClickUp workspace.
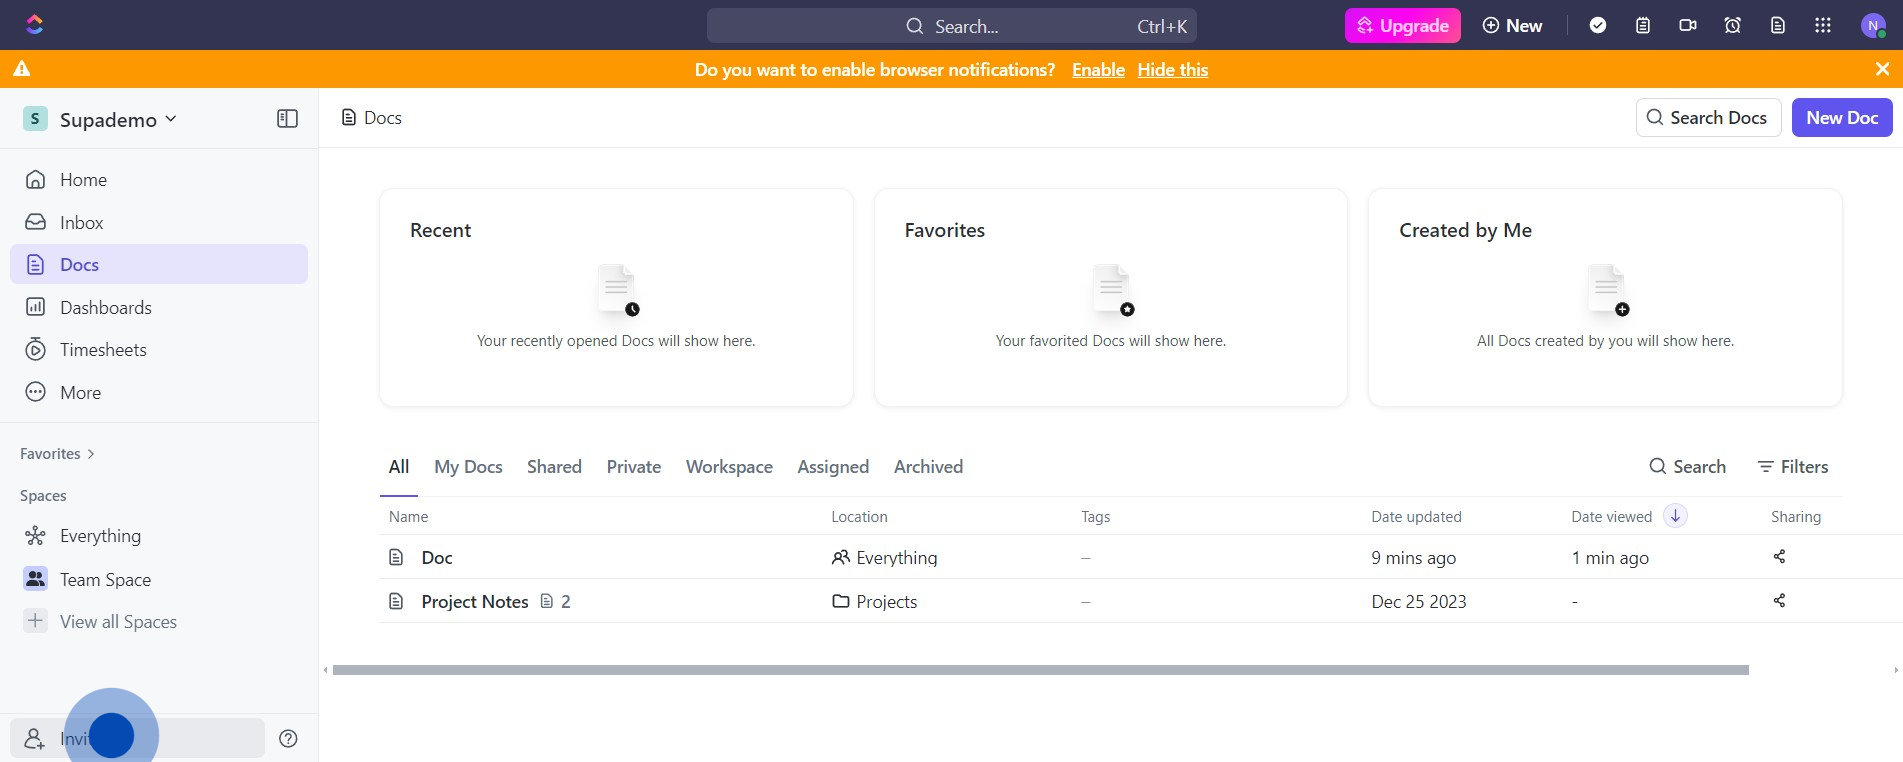
2. Find and click on the 'Invite' button.
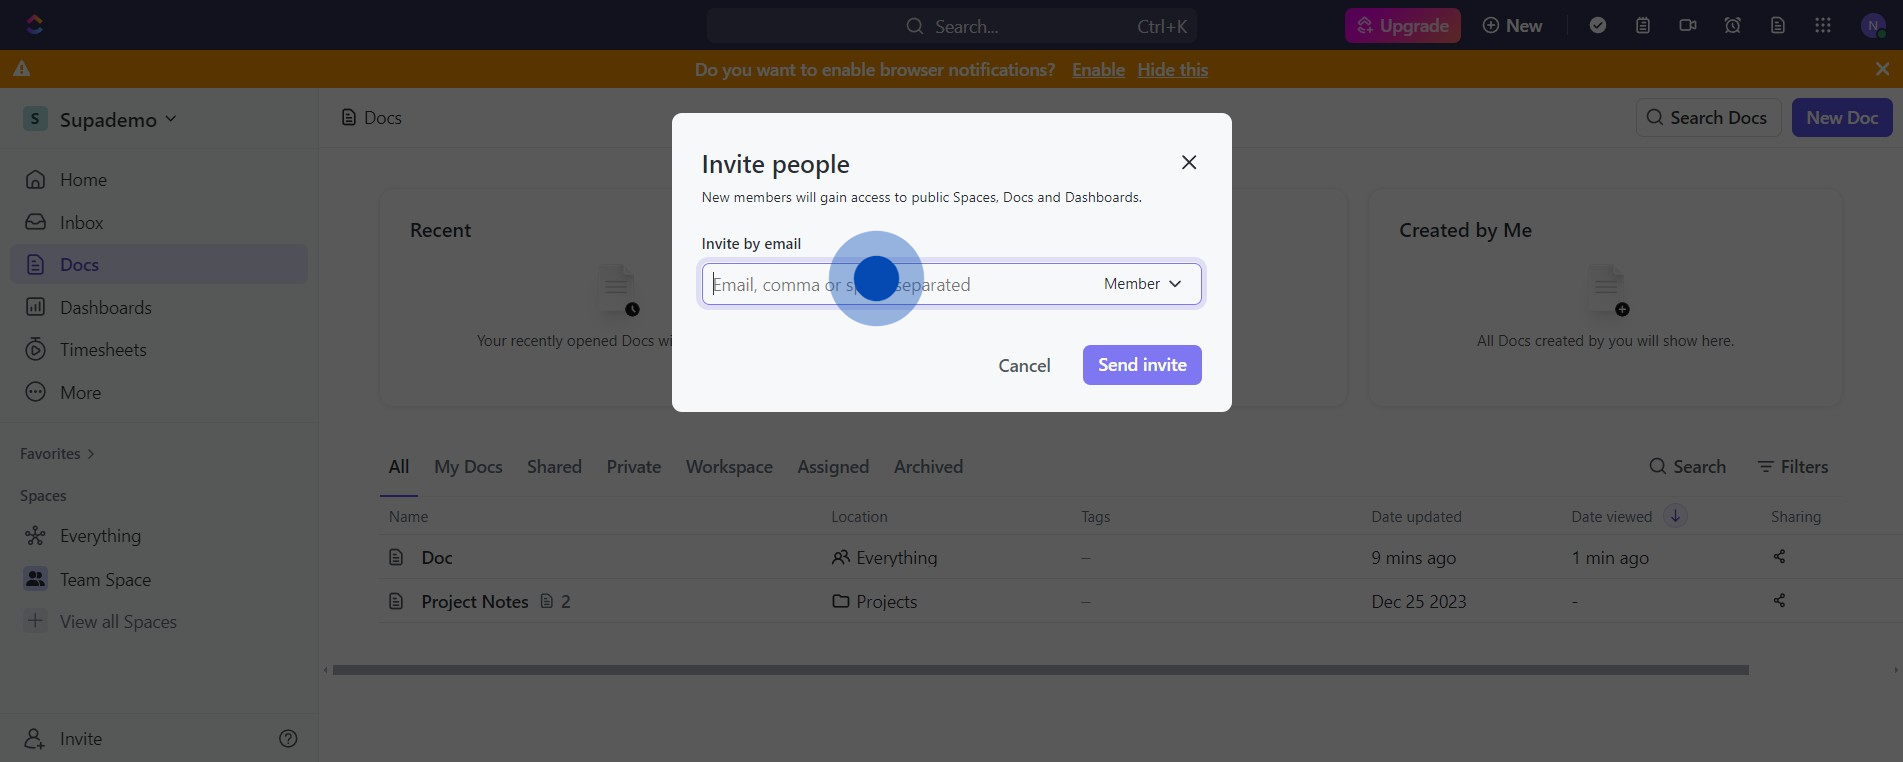
3. Type in the email address(es) of the person/people you wish to invite.
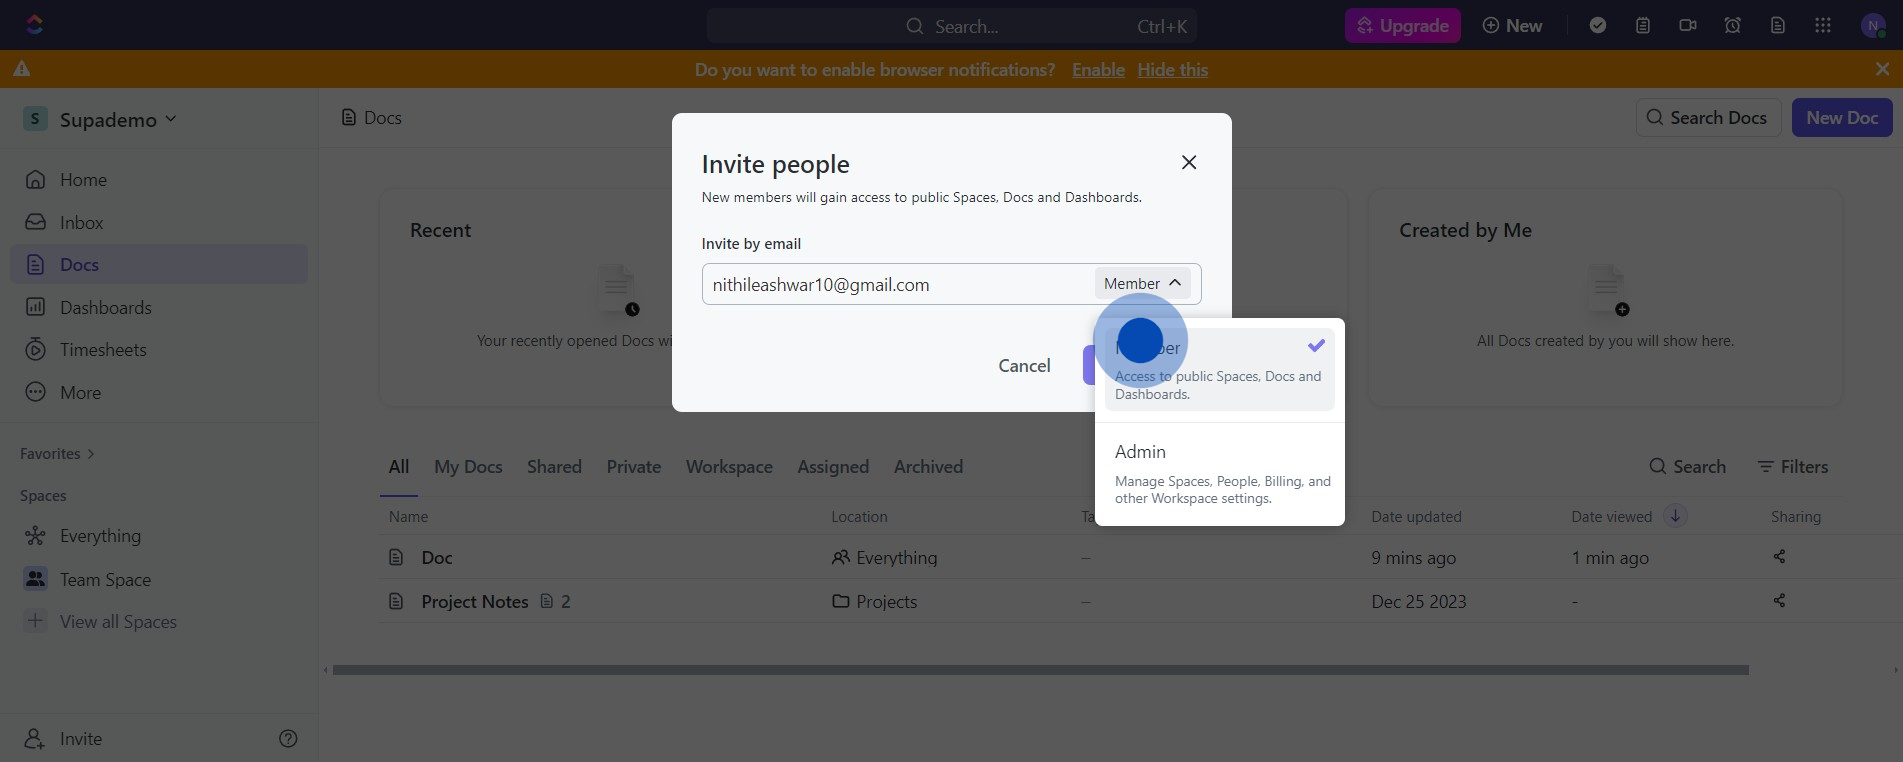
4. Click on 'Member' to specify user type.
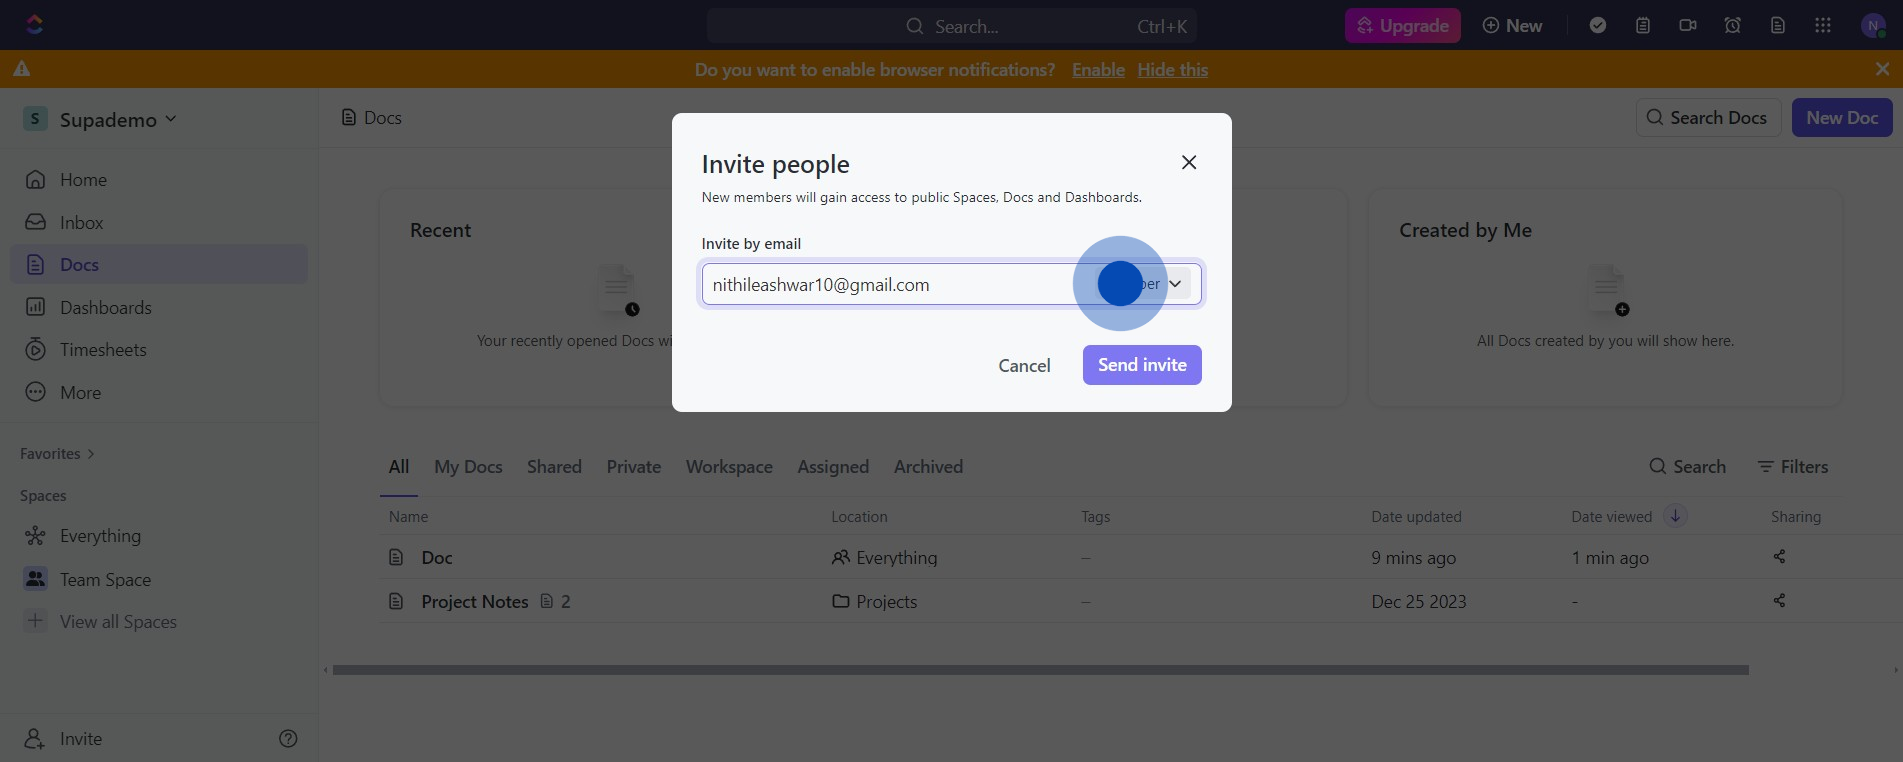
5. Select the suitable user type from the dropdown.
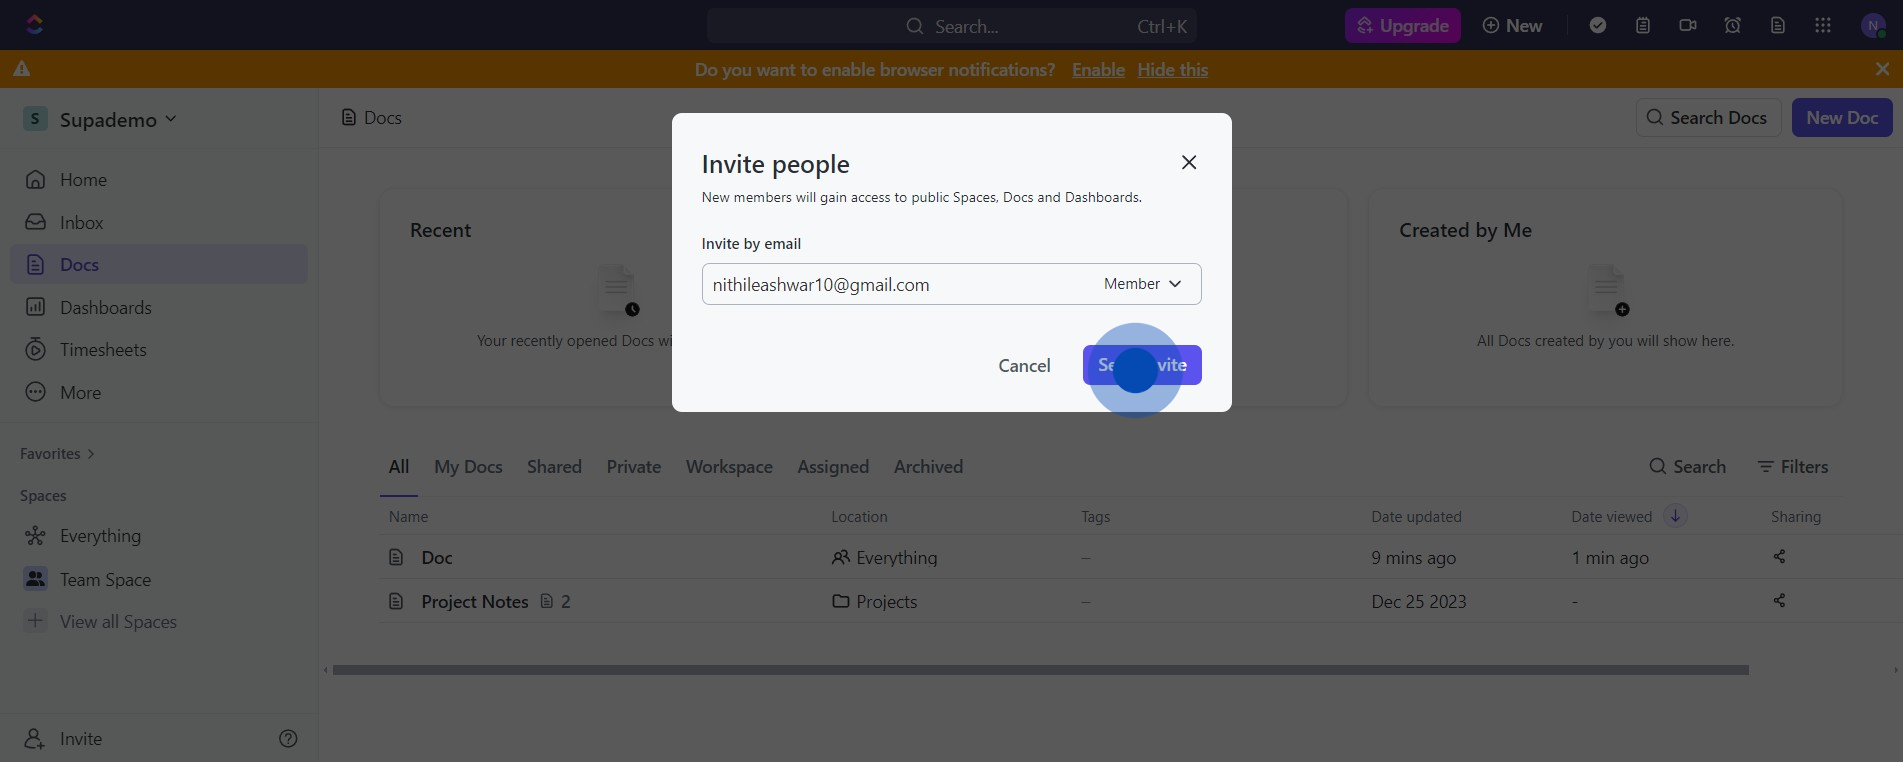
6. Click 'Send invite' to issue the invitation.
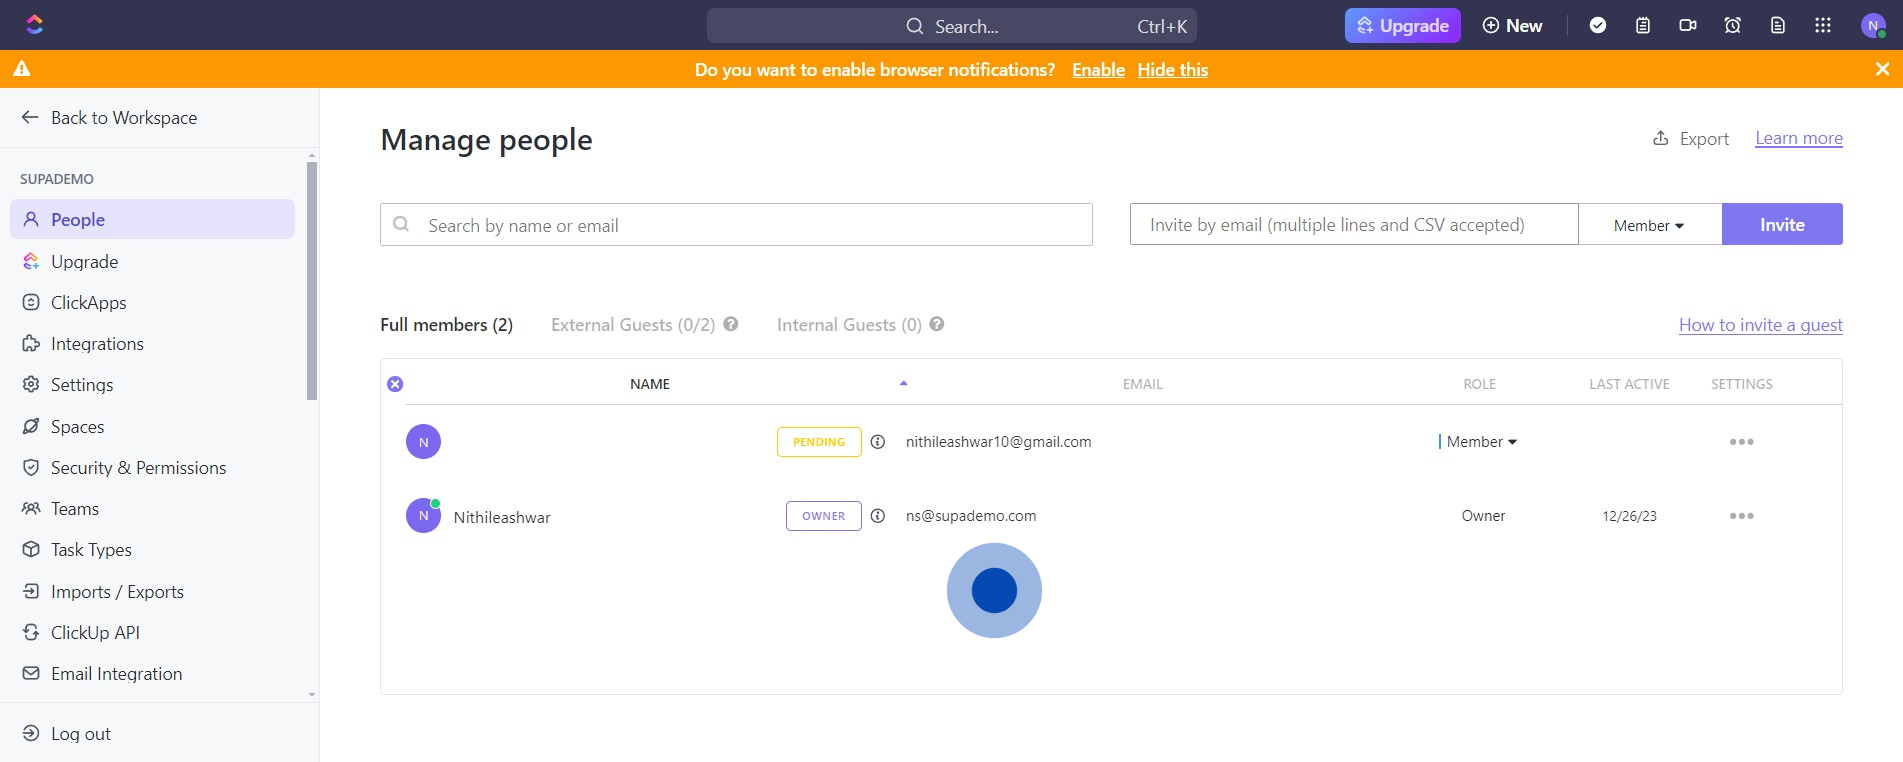
7. Select 'Manage' to view your team.
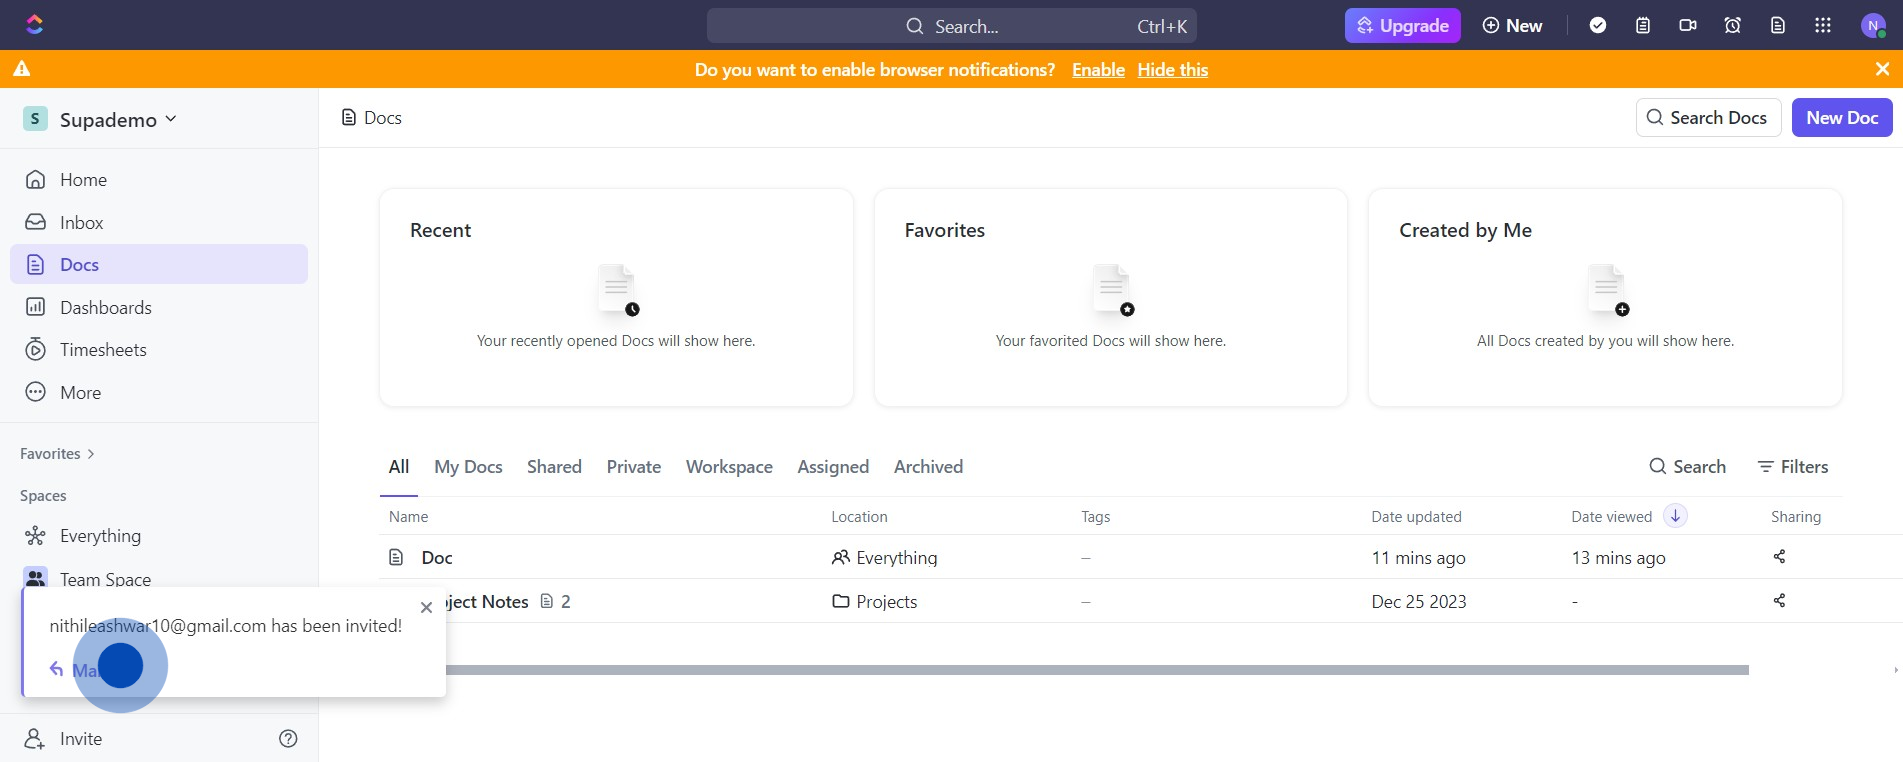
8. Success! You've just invited new member(s) to your workspace.
Create your own step-by-step demo
Scale up your training and product adoption with beautiful AI-powered interactive demos and guides. Create your first Supademo in seconds for free.
