
Overview
Enhance your Google Sheets proficiency by mastering the art of cell and sheet security. Learn to optimize your workflow by locking cells and sheets strategically, ensuring data integrity and preventing unintentional edits. This guide offers a step-by-step process for easily implementing these protective measures, empowering you to bolster efficiency and maintain clarity in your data management within the Google Sheets environment.
Who is Google Sheets best suited for?
Google Sheets is best suited for a wide range of professionals, including Financial Analysts, Project Managers, and Data Analysts. For example, Financial Analysts can use Google Sheets for budgeting and financial modeling, Project Managers can leverage it for tracking project tasks and resources, and Data Analysts can use it for organizing, processing, and visualizing data, all benefiting from Google Sheets’ collaborative features and powerful data processing tools.
How to lock cells and sheets in Google Sheets
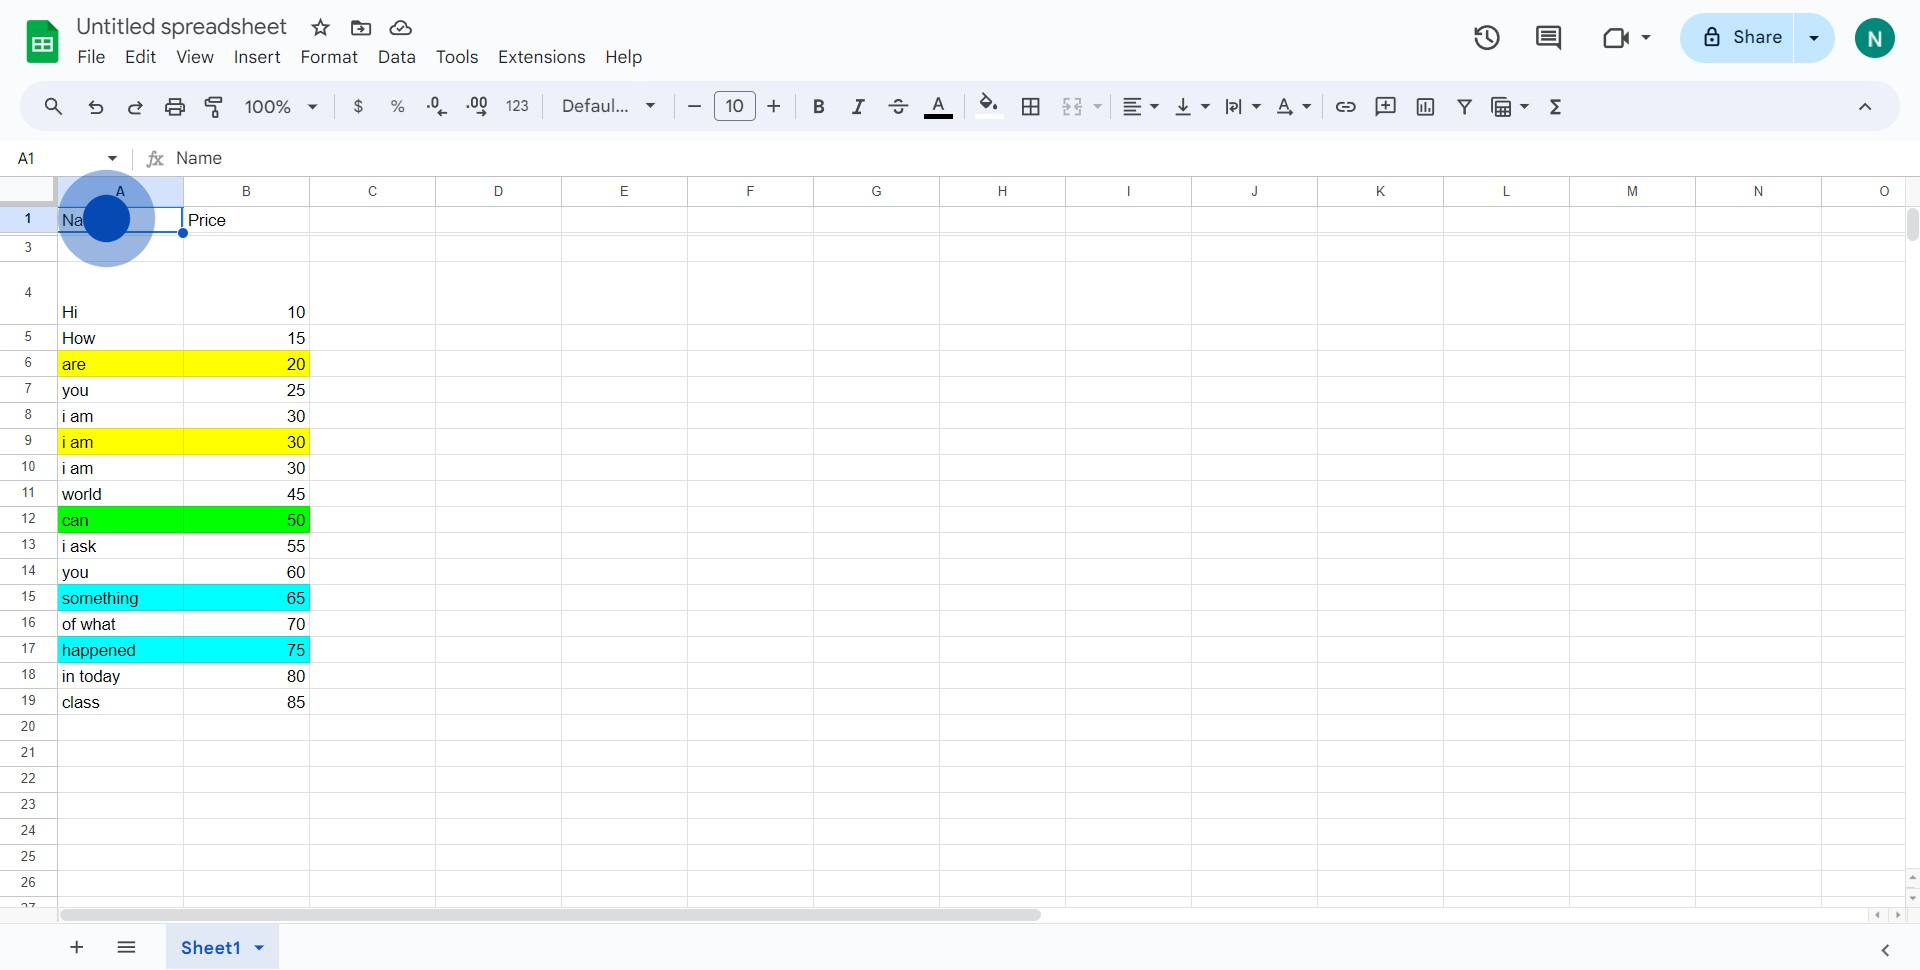
1. Start by right-clicking in the sheet.
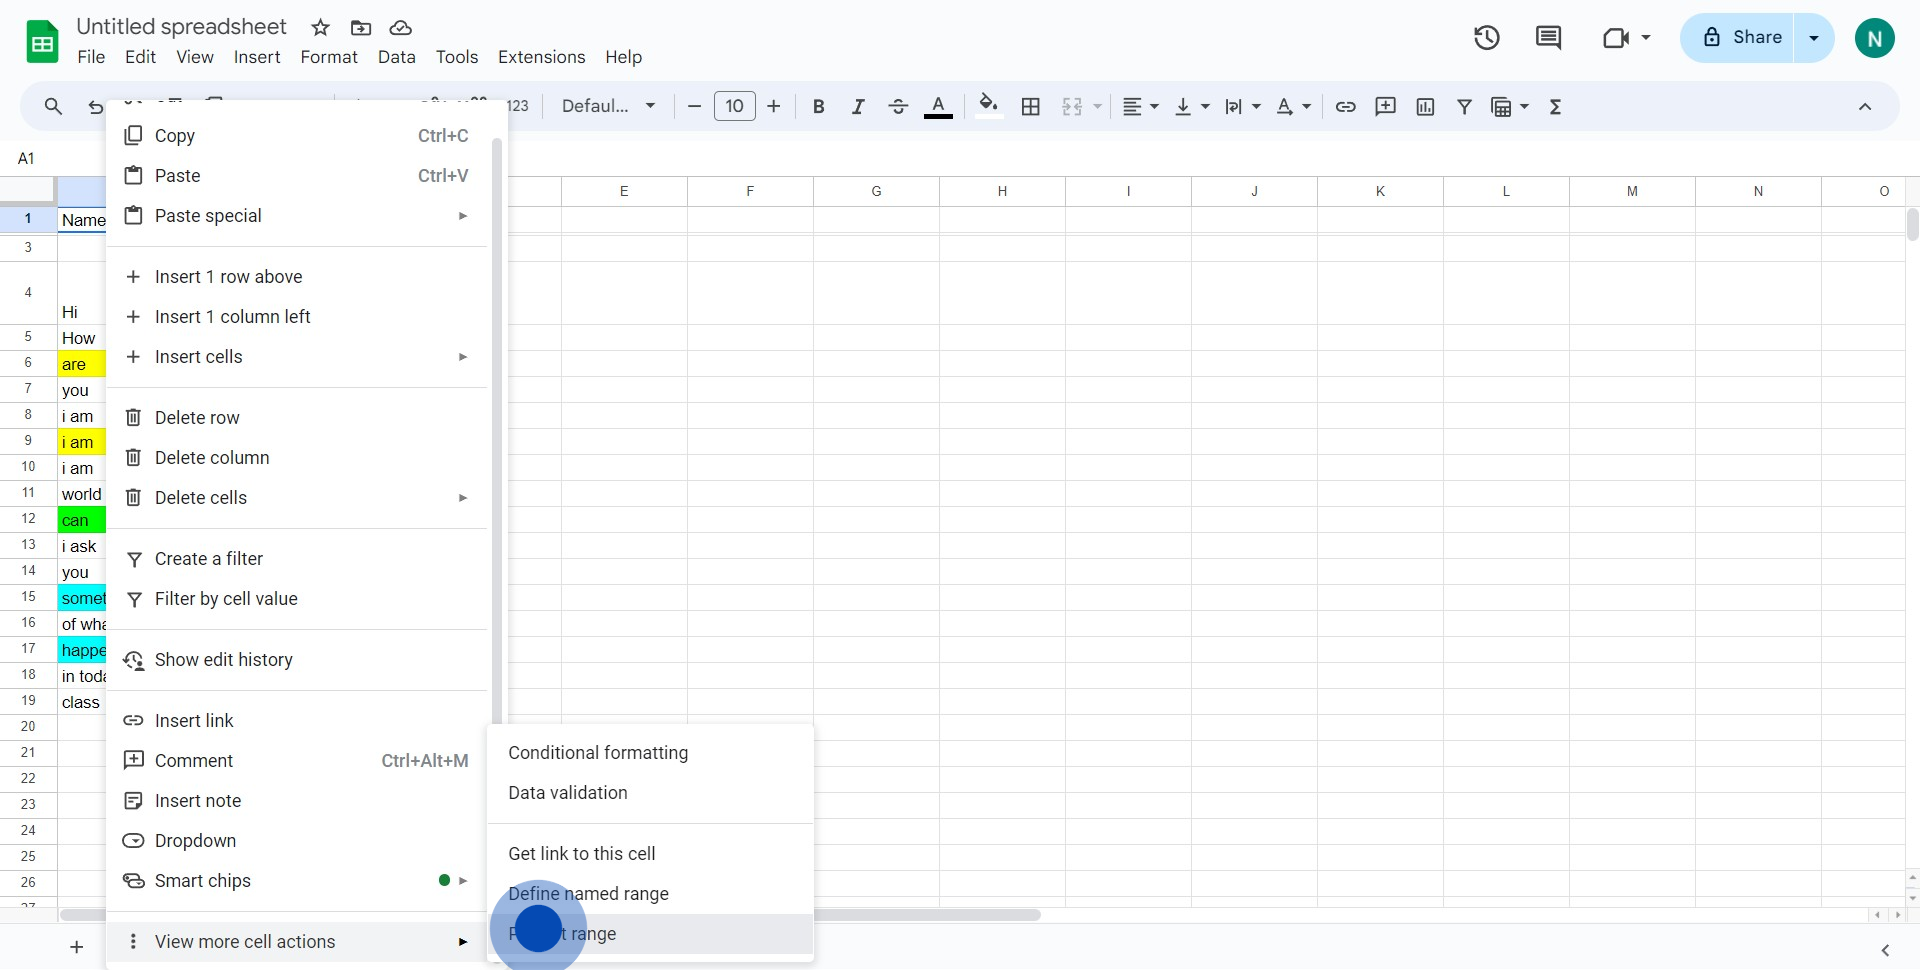
2. Then, find and click 'View more cell actions'.
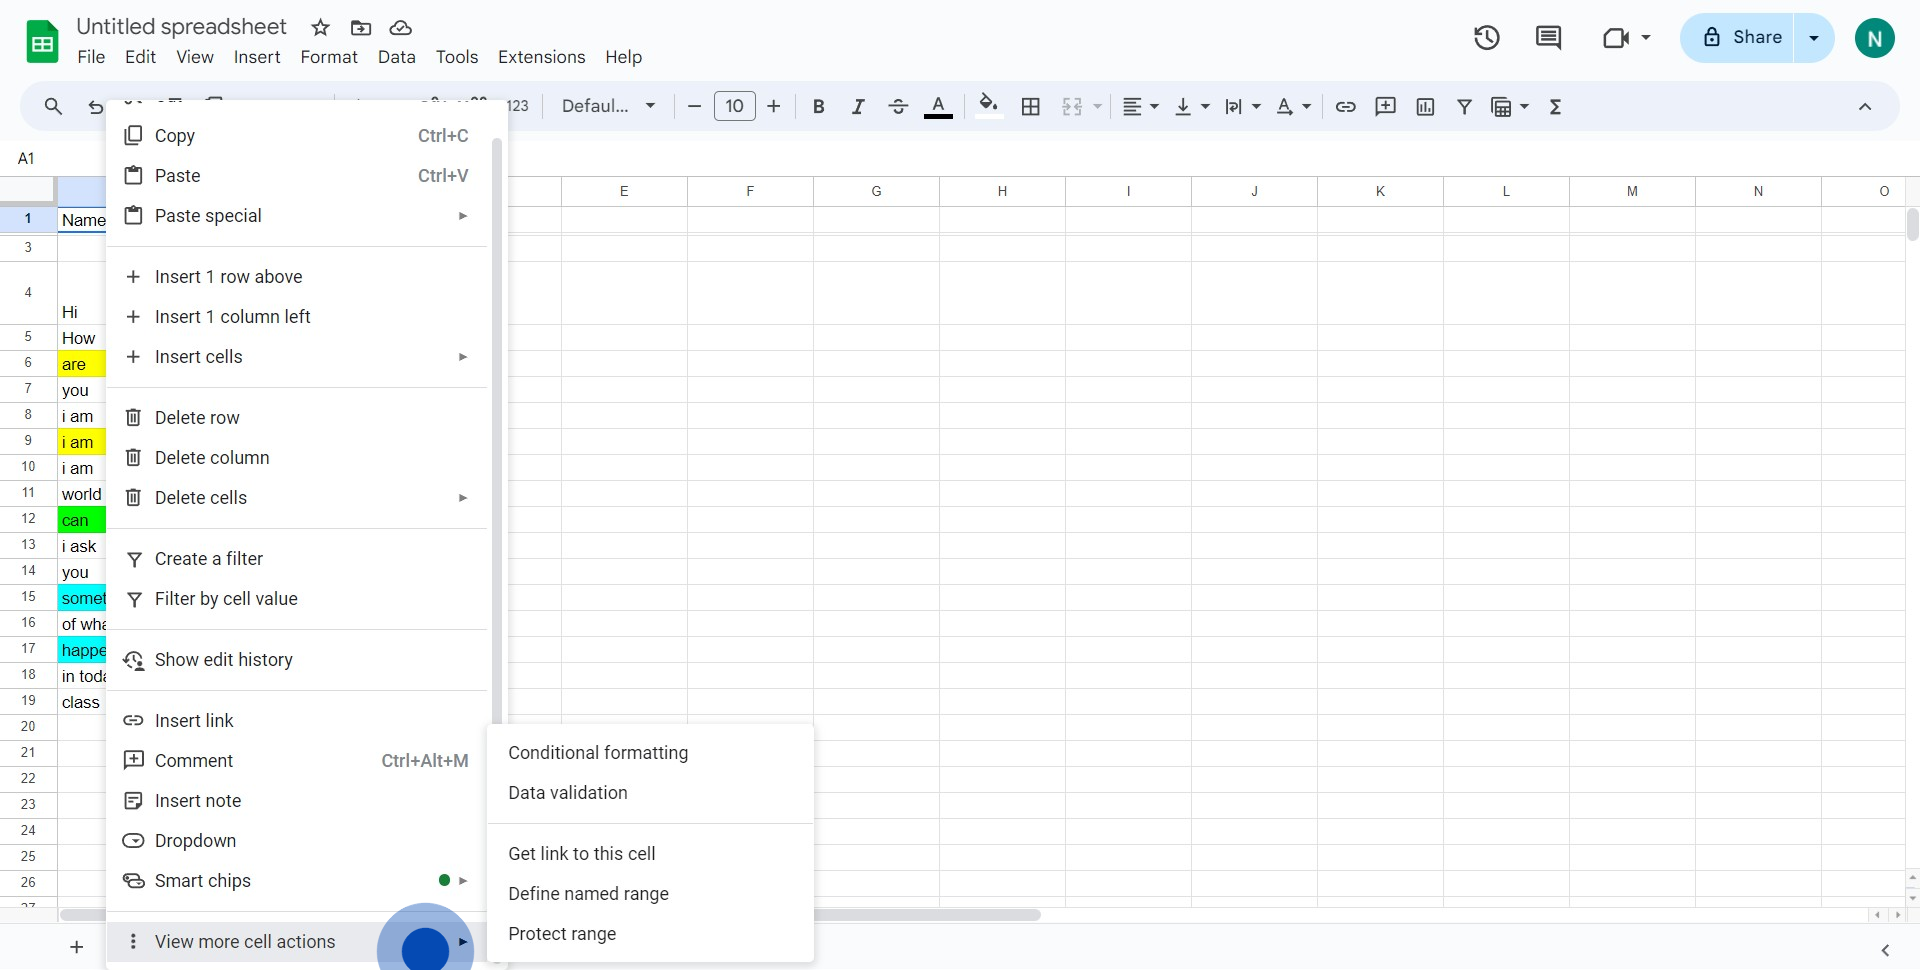
3. Next, click 'Protect range' from the drop-down menu.
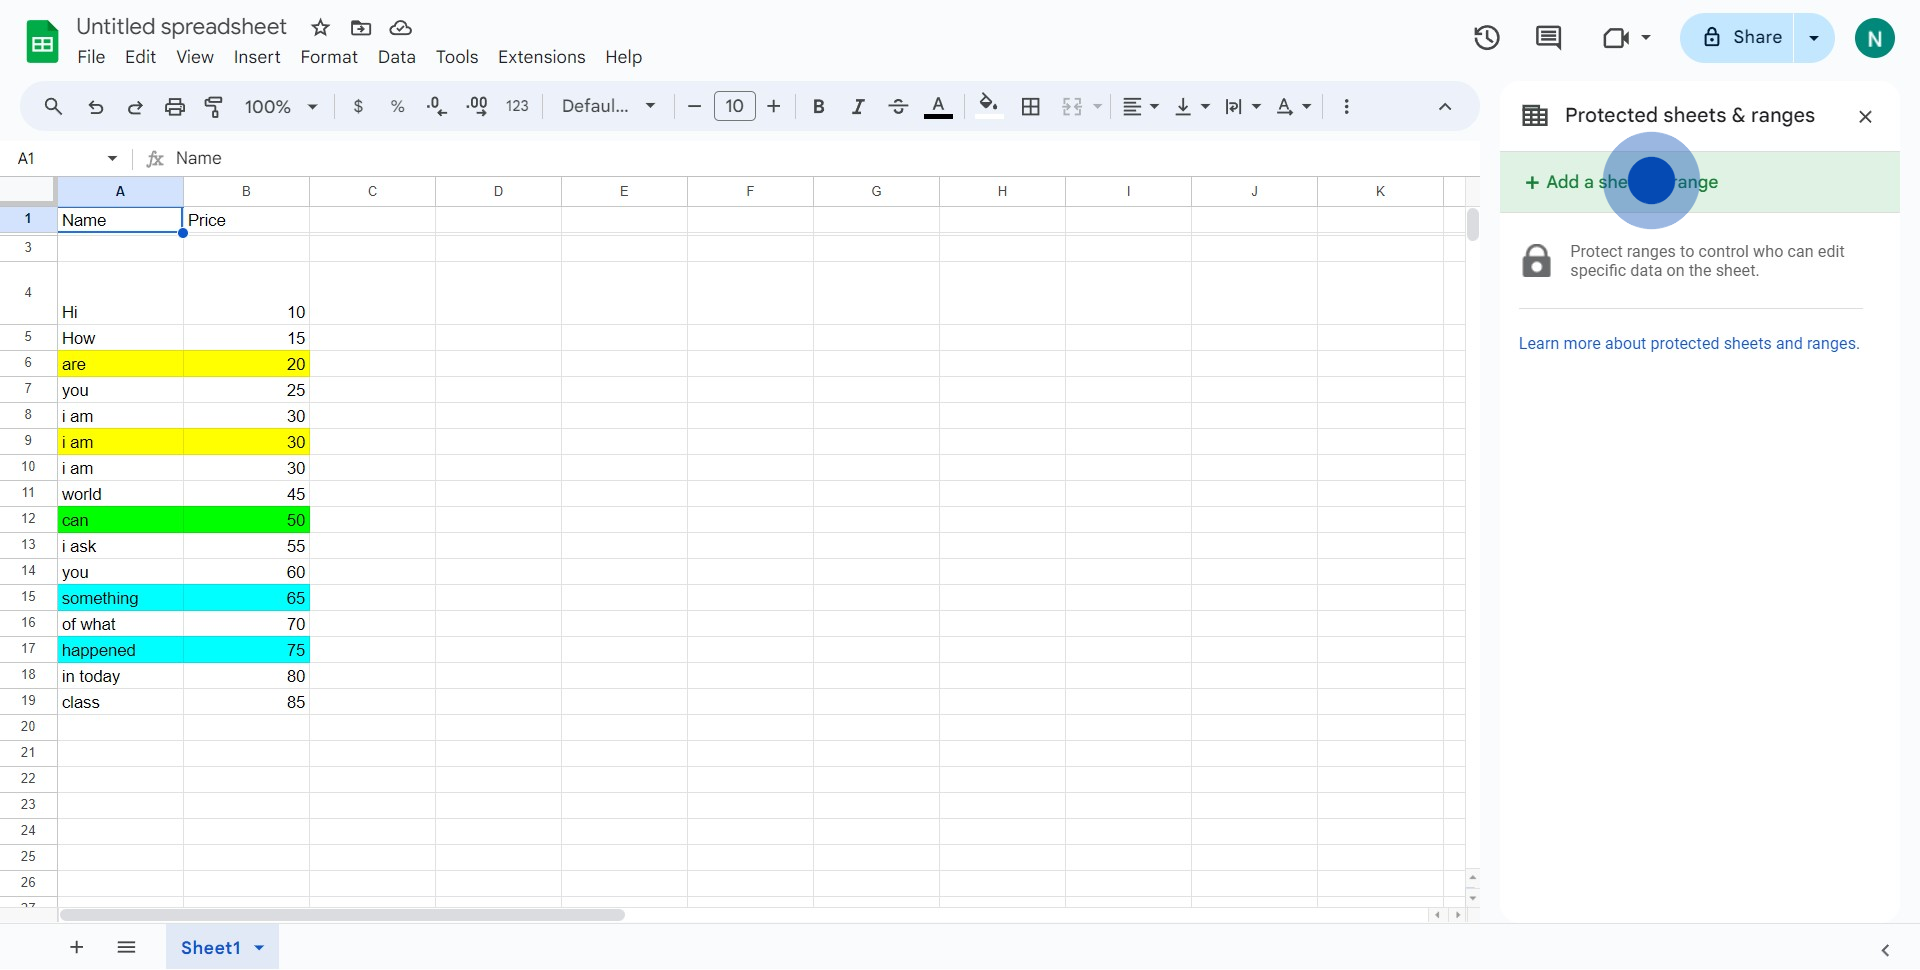
4. Click on 'Add a sheet or range'.
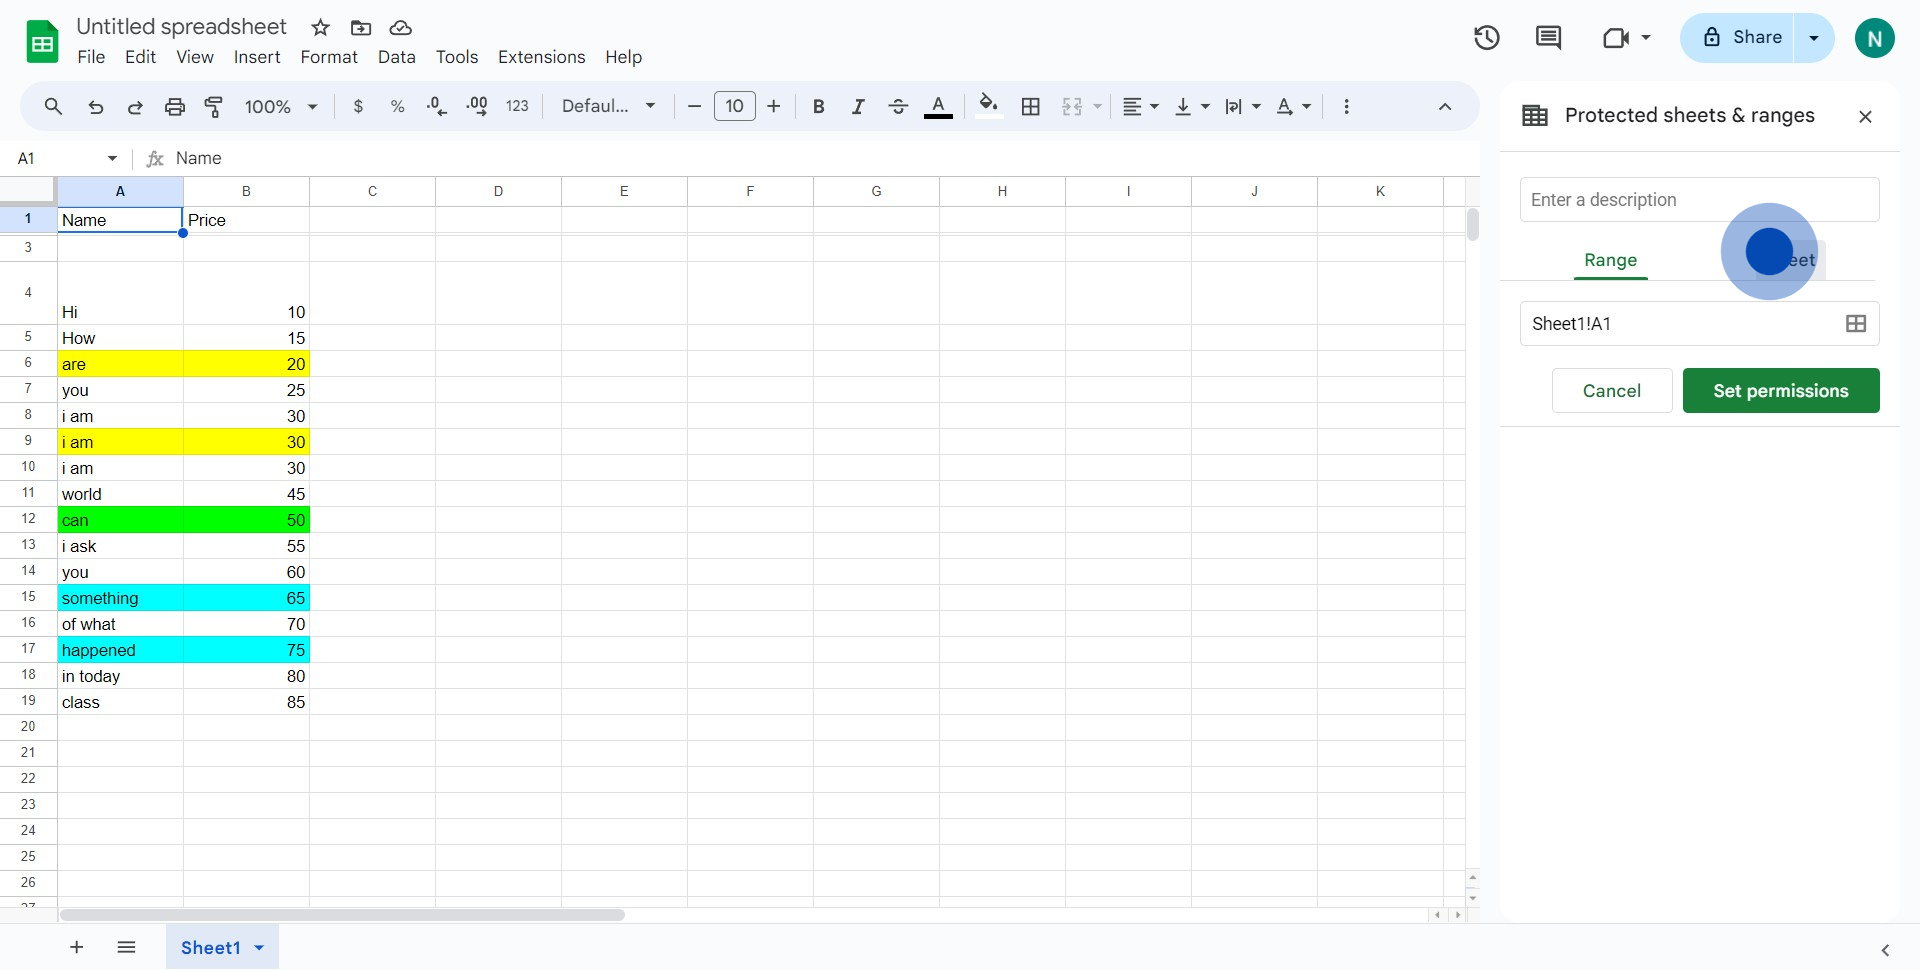
5. Now, select 'Sheet' from the options.
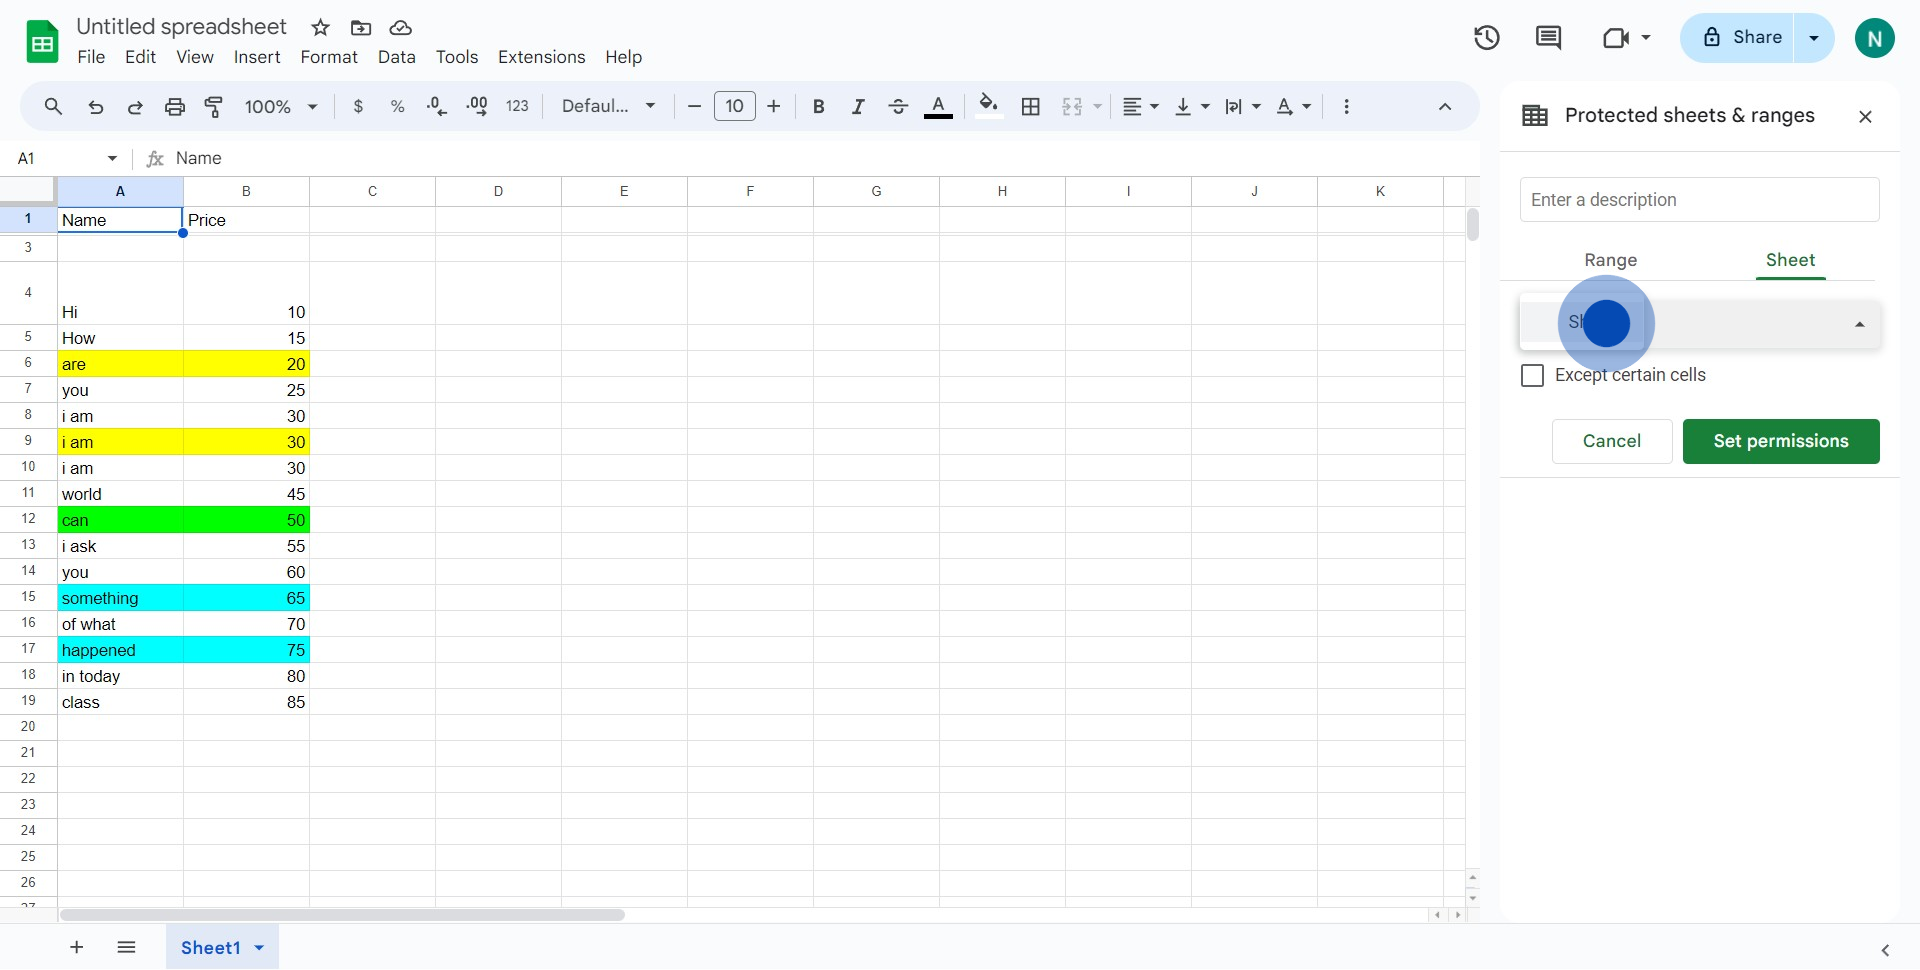
6. Choose the sheet you wish to protect.
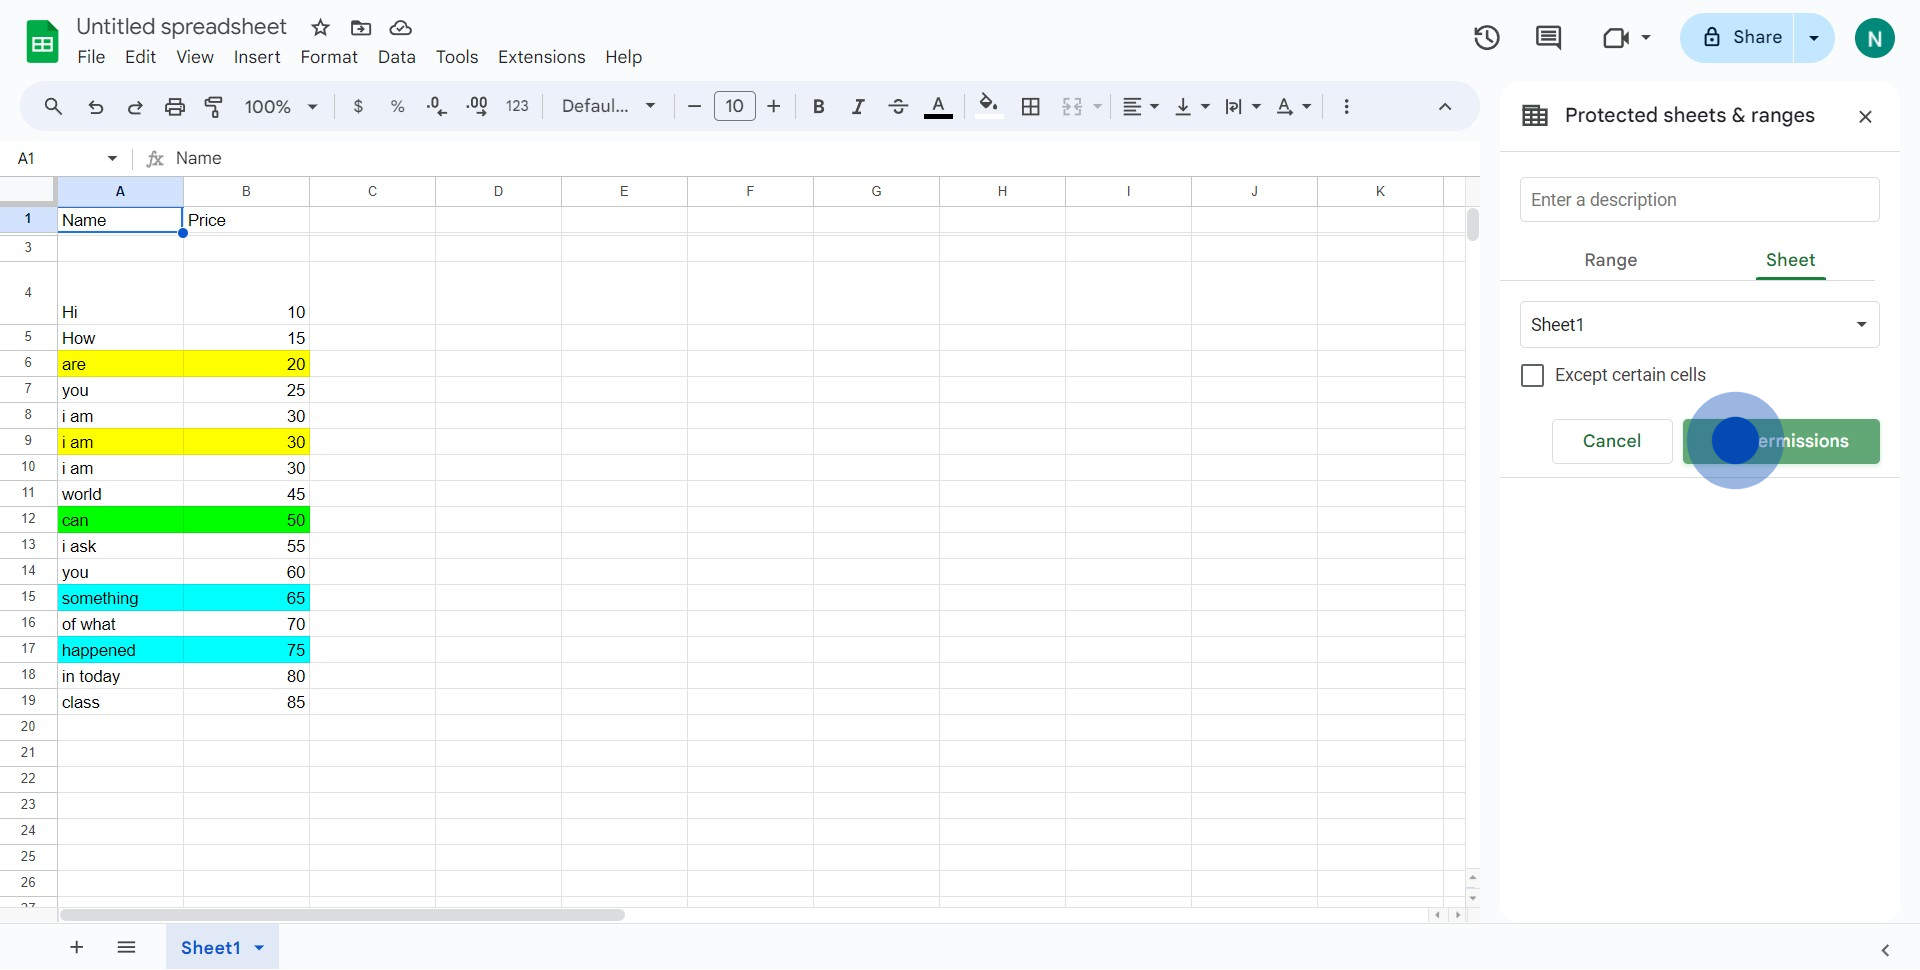
7. Click on 'Set permissions' to begin customization.
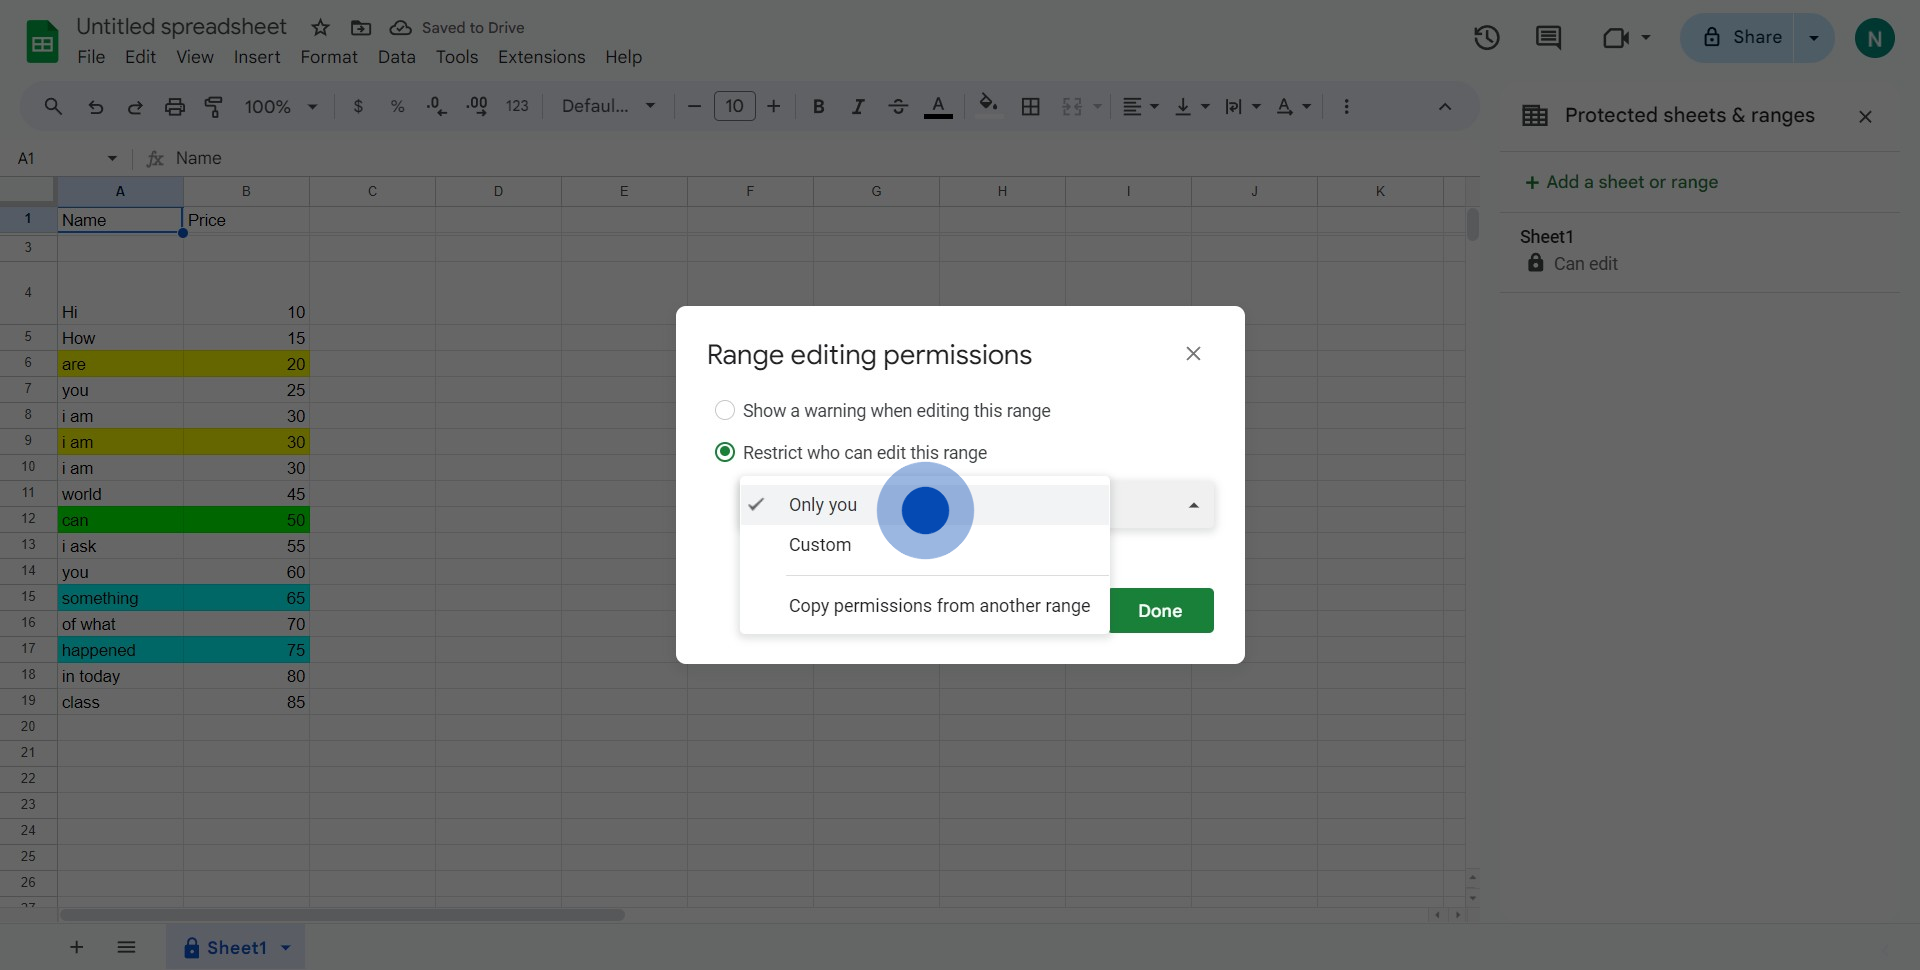
8. Select 'Only you' for the editing permissions.
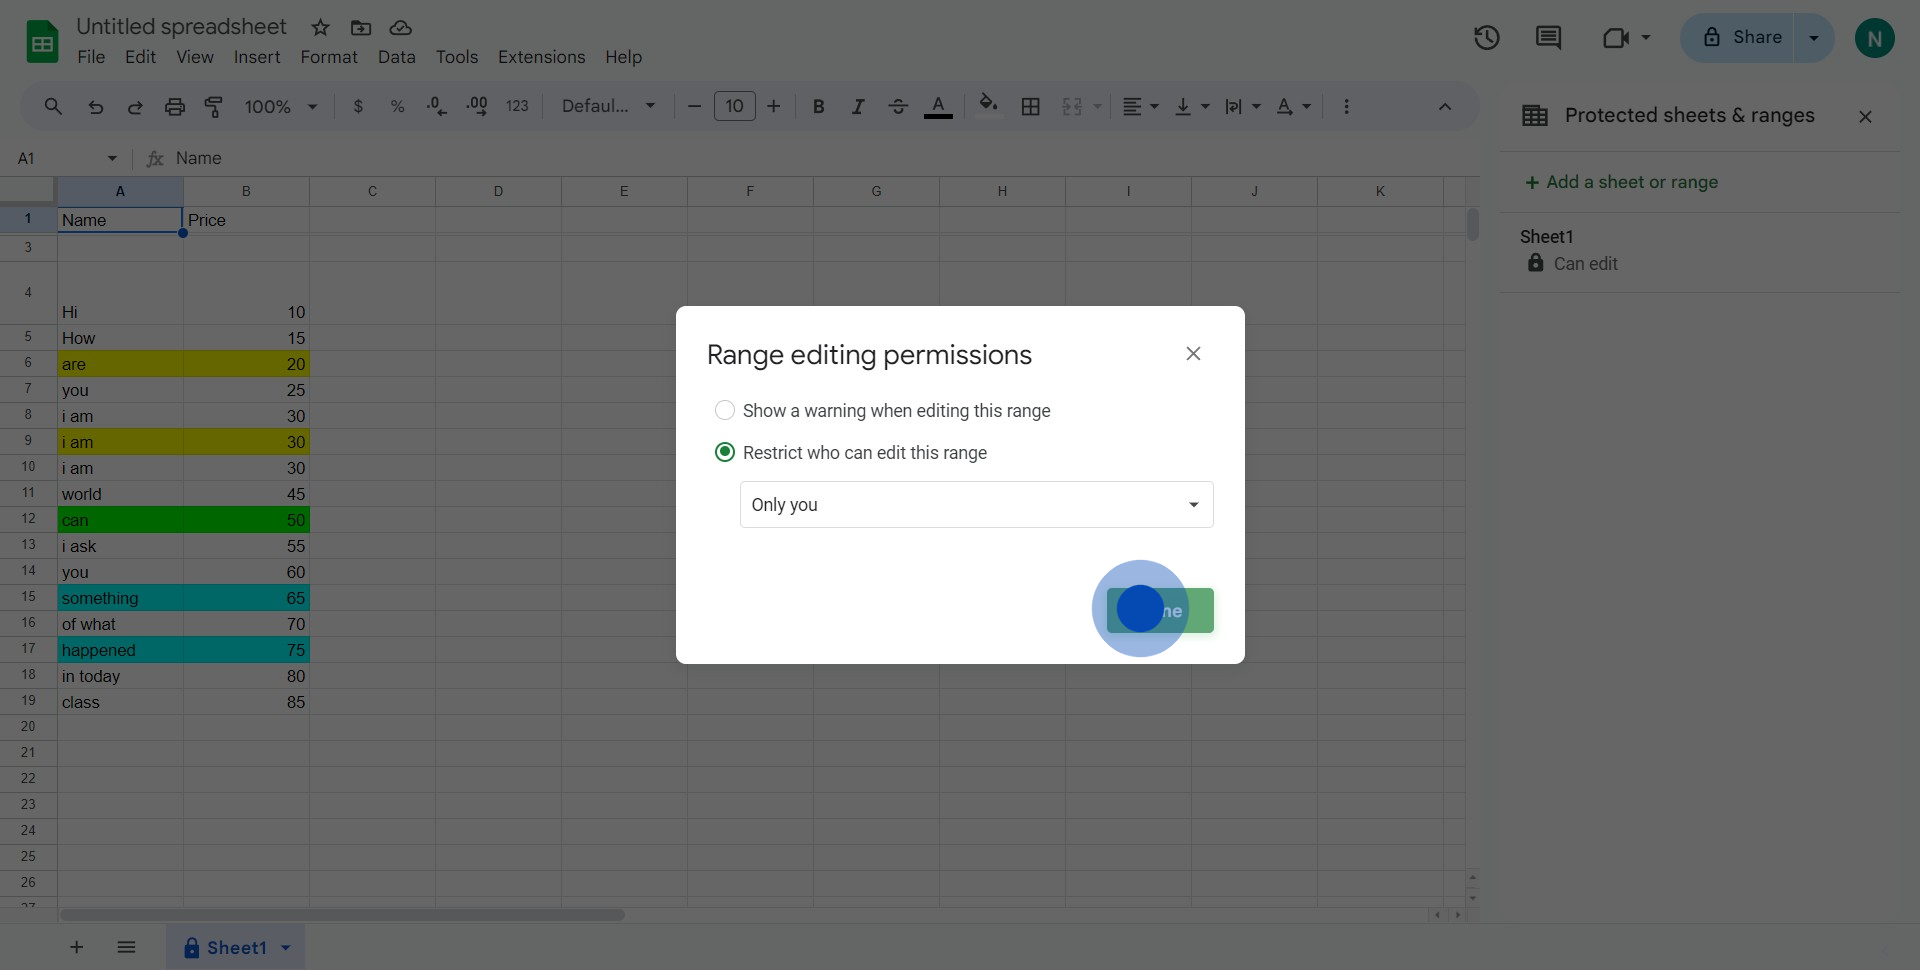
9. Finally, confirm your actions by clicking 'Done'.
Common FAQs on Google Sheets
How do I use formulas in Google Sheets to perform calculations?
In Google Sheets, formulas are used to perform calculations and analyze data. To use a formula, click on the cell where you want the result to appear, then type the equals sign (=) followed by the formula you want to use. For example, to add the values in cells A1 and B1, you would type =A1+B1. Google Sheets offers a wide range of formulas, including SUM for summing a range of cells, AVERAGE for calculating the average, IF for logical comparisons, and many more. As you type a formula, Google Sheets will provide suggestions and help you complete it. You can also click on the “Functions” dropdown in the toolbar to browse and insert formulas directly.
How can I sort and filter data in Google Sheets?
To sort data in Google Sheets, select the range of cells you want to sort, then go to “Data” in the menu and choose “Sort range.” You can sort the data in ascending or descending order based on one or more columns. For filtering, select the range of data, then click the “Create a filter” button in the toolbar (or go to “Data > Create a filter”). This will add filter dropdowns to the column headers, allowing you to filter the data by specific values, conditions, or even custom formulas. Filtering is useful for quickly narrowing down data to find what you need.
How do I share a Google Sheets document with others and control their access?
To share a Google Sheets document, click the “Share” button in the top-right corner of the sheet. You can enter email addresses to invite people directly or generate a shareable link. When sharing, you can set permissions to control how others interact with the sheet: “Viewer” allows them to see the data without making changes, “Commenter” allows them to leave comments but not edit, and “Editor” gives them full editing rights. Additionally, you can adjust link-sharing settings to control who within your organization or the public can access the document.
Create your own interactive demo
Scale up your training and product adoption with beautiful AI-powered interactive demos and guides. Create your first Supademo in seconds for free.
