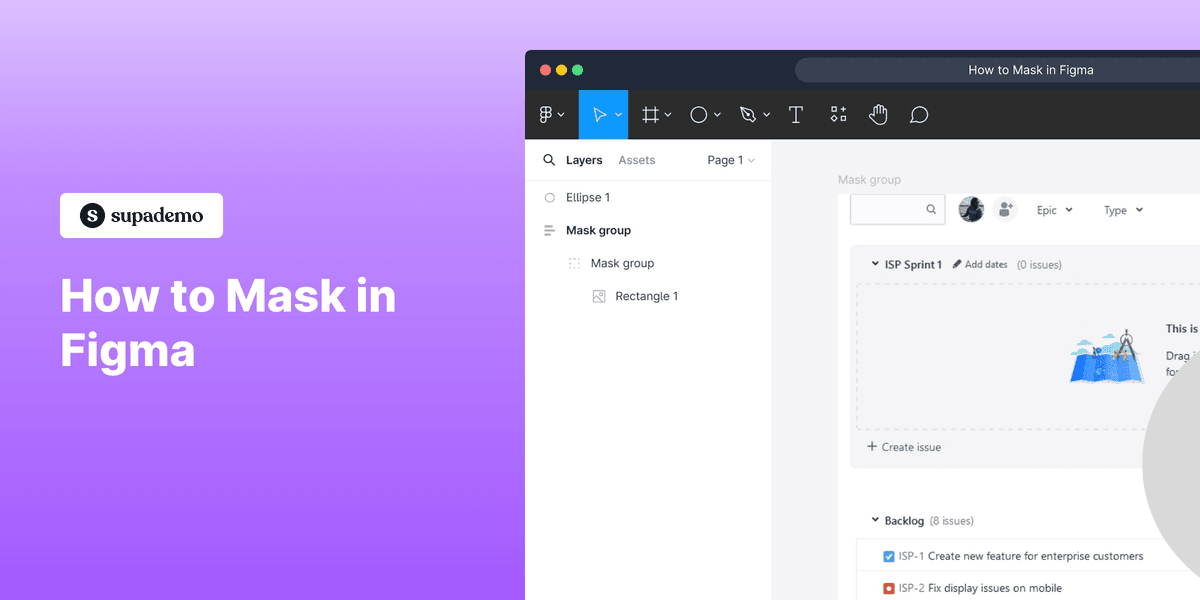
1. First, open the Figma project where you want to apply a mask.
2. Select the objects you want to use for the mask.
3. Finally, click on the Mask icon on the top.
4. Create a Supademo in seconds
This interactive demo/guided walkthrough on How to Mask in Figma was created using Supademo.
How to Mask in Figma : Step-by-Step Guide
Begin by launching the Figma project where you'd like to add a mask. This is where all your design elements live, and setting the stage here ensures you’re ready to apply the necessary masking effect.

Next, carefully choose the shapes or objects within your project that will form the basis of your mask. Selecting the right elements is key because they define the visible areas of your designs once the mask is applied.

After selecting your desired objects, look towards the toolbar at the top of the Figma interface and find the Mask icon. Clicking this will activate the masking feature, allowing your chosen elements to creatively reveal or hide parts of the design.

With your mask now in place, you’ve quickly transformed your design—demonstrating how Supademo makes creating detailed visuals fast and straightforward. Experiment and enjoy the flexibility this adds to your workflow!

Create your own interactive demos in < 5 mins with Supademo
You can create your own interactive product demo in minutes using Supademo. Drive growth, scale enablement, and supercharge product-led onboarding with Supademo. Sign up for free here with no credit card required.
FAQs
Commonly asked questions about this topic.
What is masking in Figma?
How do I select objects to mask in Figma?
Can I edit the mask after applying it?
Does masking affect the original layers?
How is masking different from clipping in Figma?
Can I mask multiple layers at once?
Are there keyboard shortcuts for masking?
What types of shapes can be used as masks in Figma?
Can I use images as masks in Figma?
What happens if I ungroup a masked group?

Vimal Kumar
Product Operations Associate
Vimal Kumar helps build and grow Supademo’s team and GTM efforts, with a focus on figuring out growth levers and improving product traction.


