

Overview:
Streamline your task management in Jira by mastering the art of moving tickets effortlessly. Enhance your user experience and organizational efficiency by understanding the seamless process of relocating tickets within the Jira platform. This guide empowers you with step-by-step instructions, ensuring a smooth transition and improved clarity in managing tasks, ultimately optimizing your workflow within Jira.
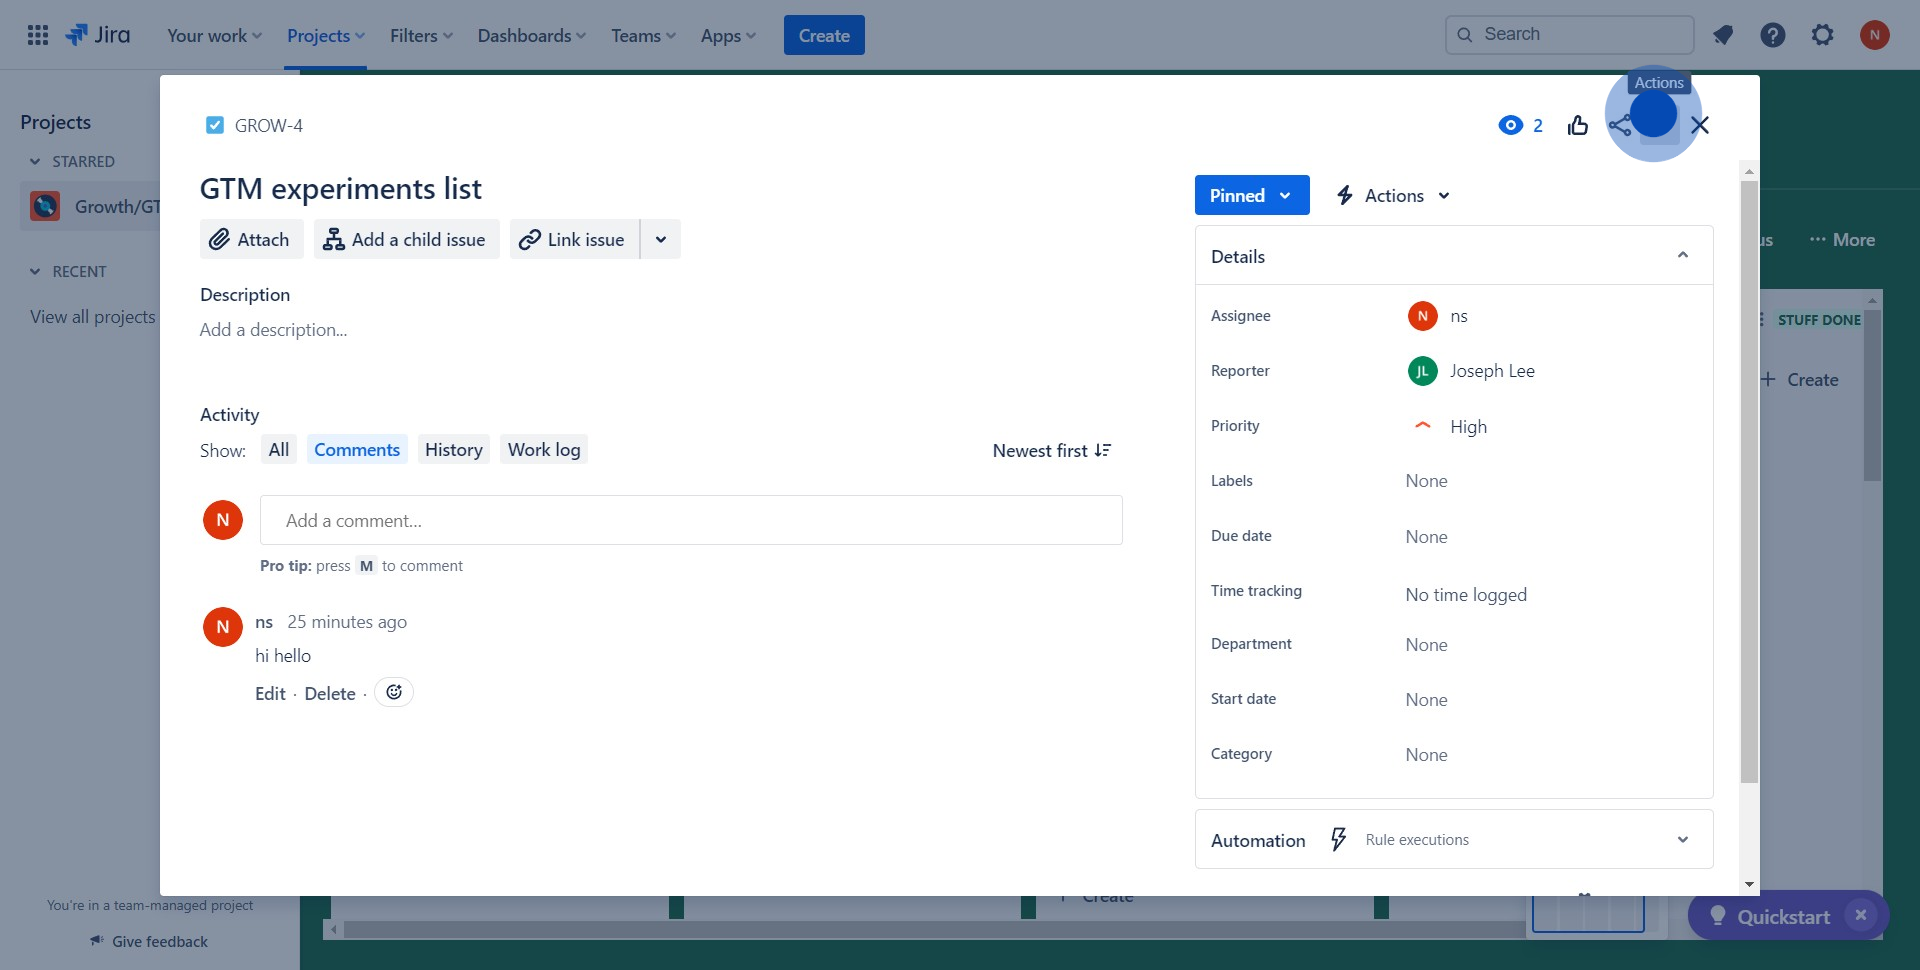
1. Let's start by selecting the required ticket.

2. Now, please locate and click the designated icon.
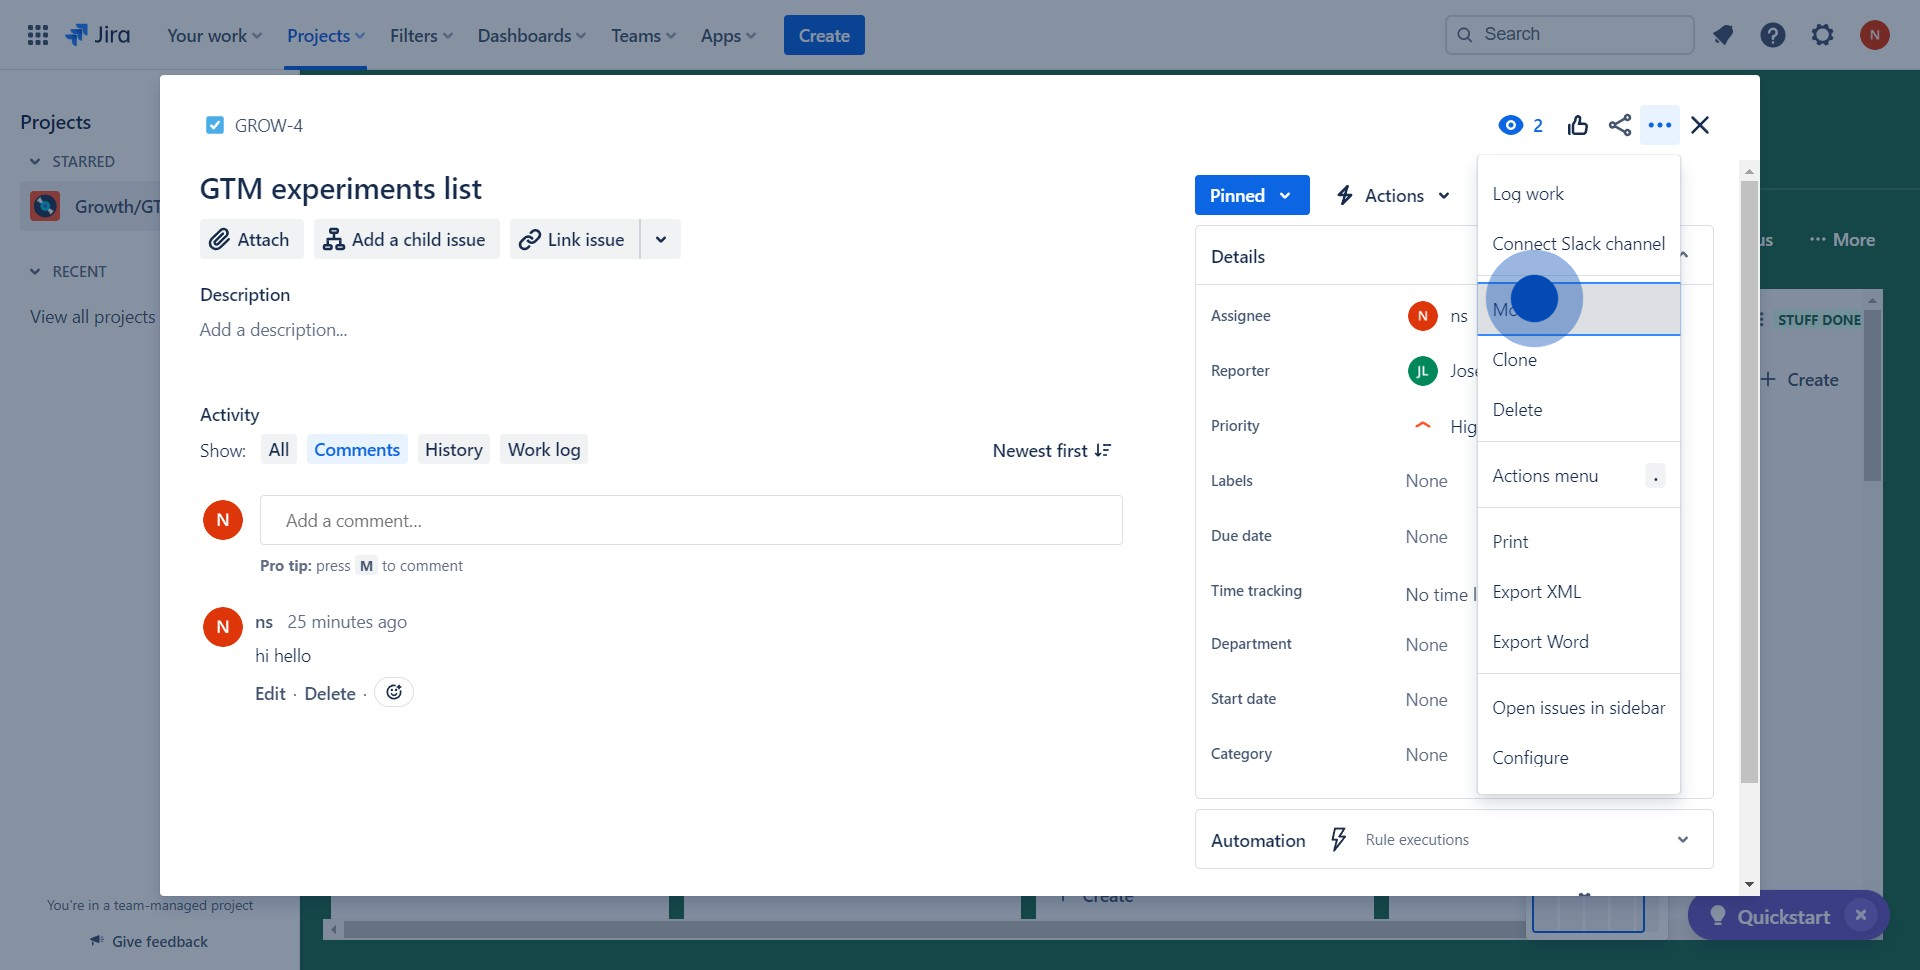
3. Alright, find and click the 'Move' option.
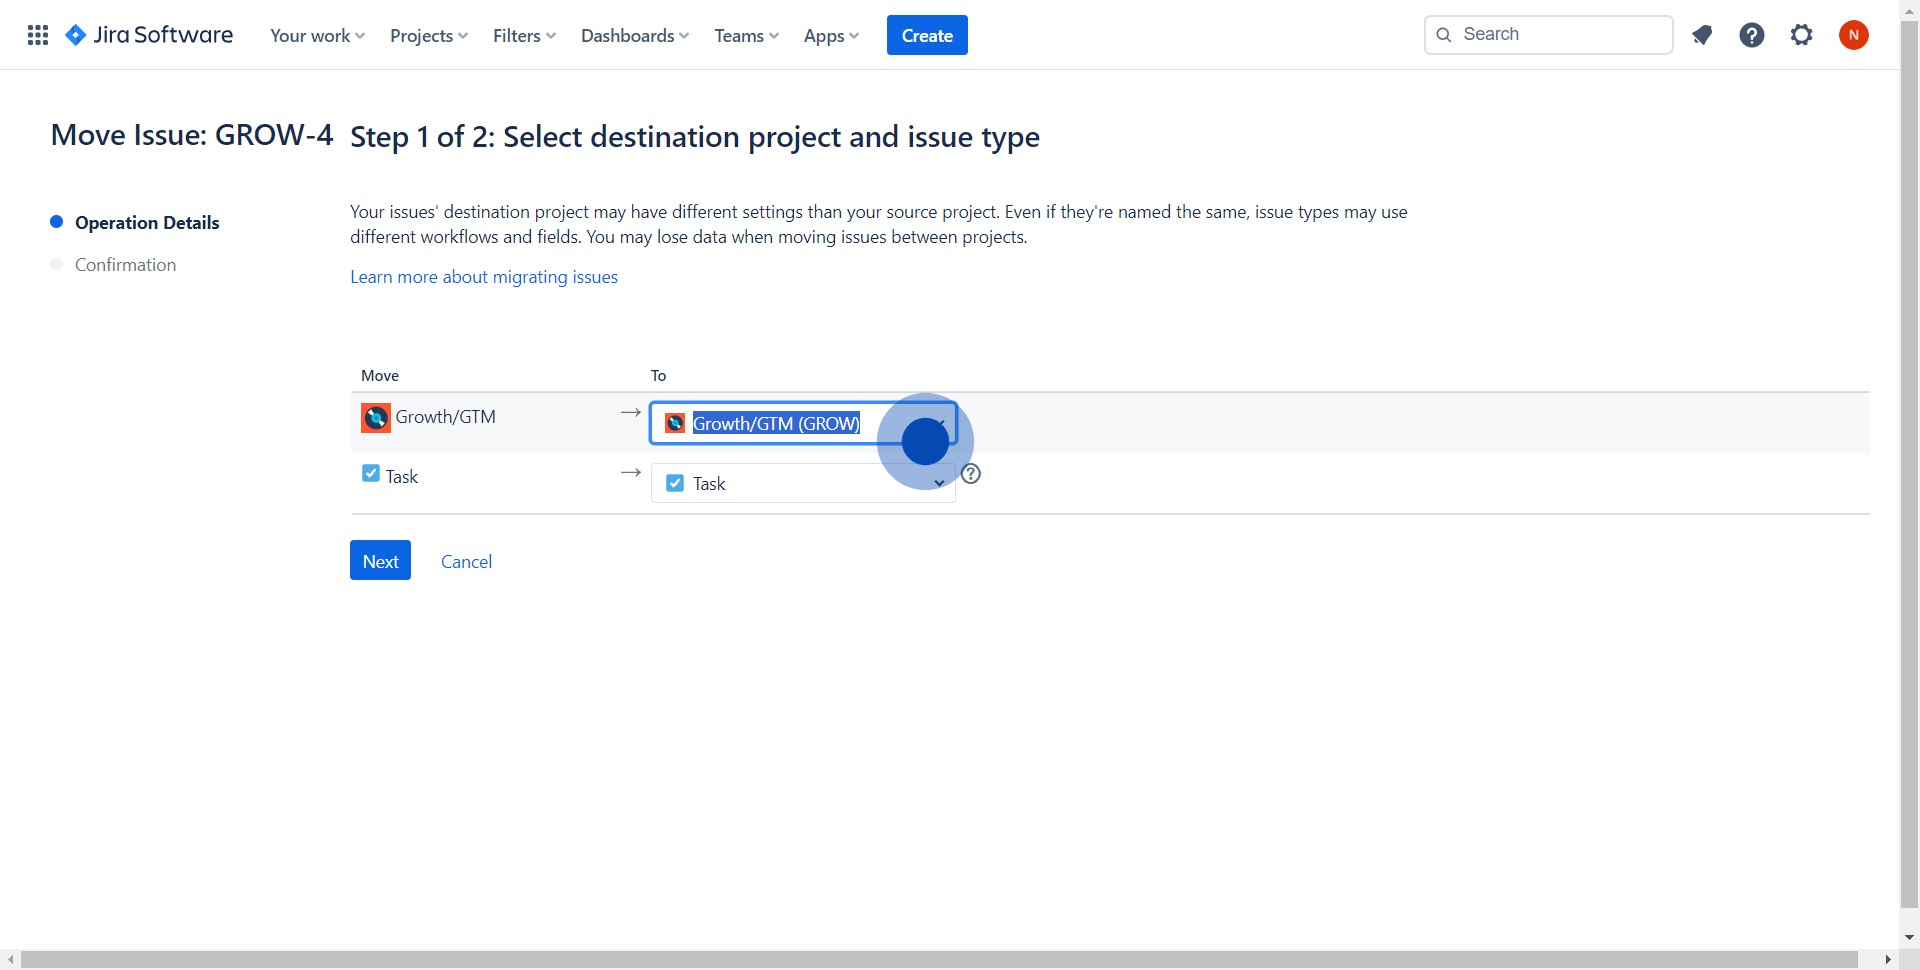
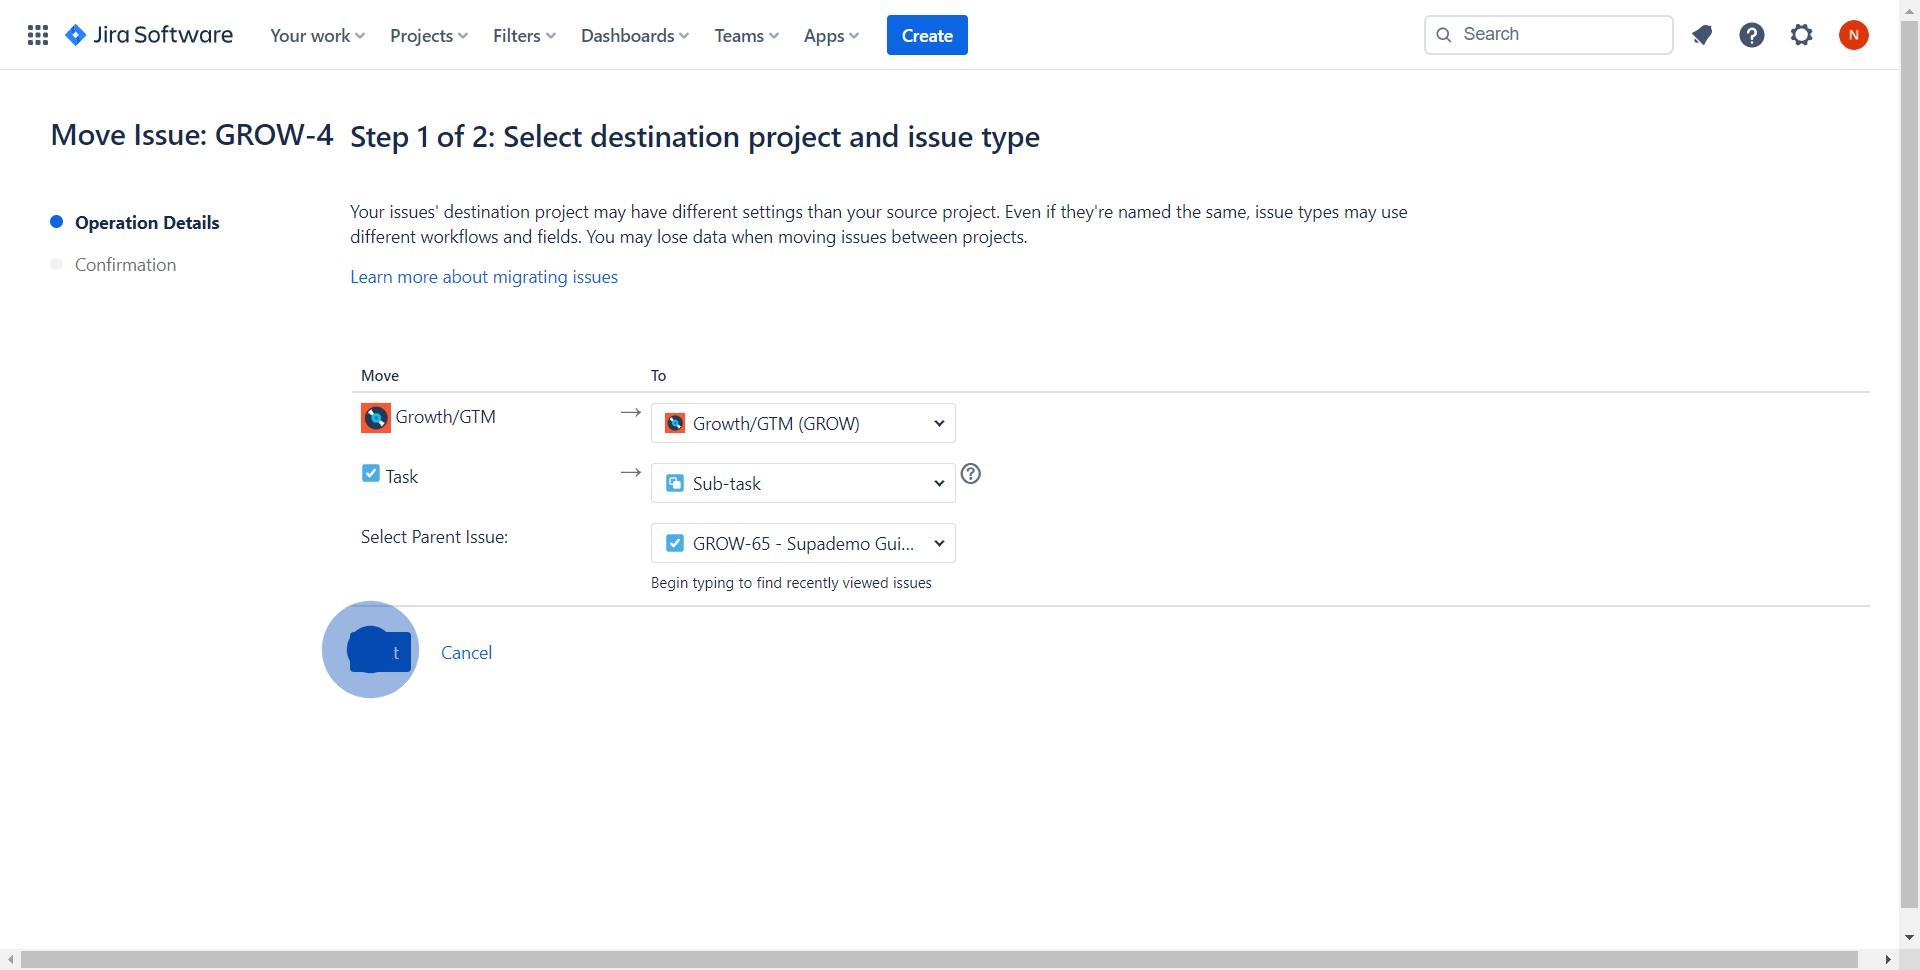
4. Next, specify the two areas to relocate the ticket.

5. Click this field and select a project to move from the drop-down menu.
6. Great, now select your preferred task to move.
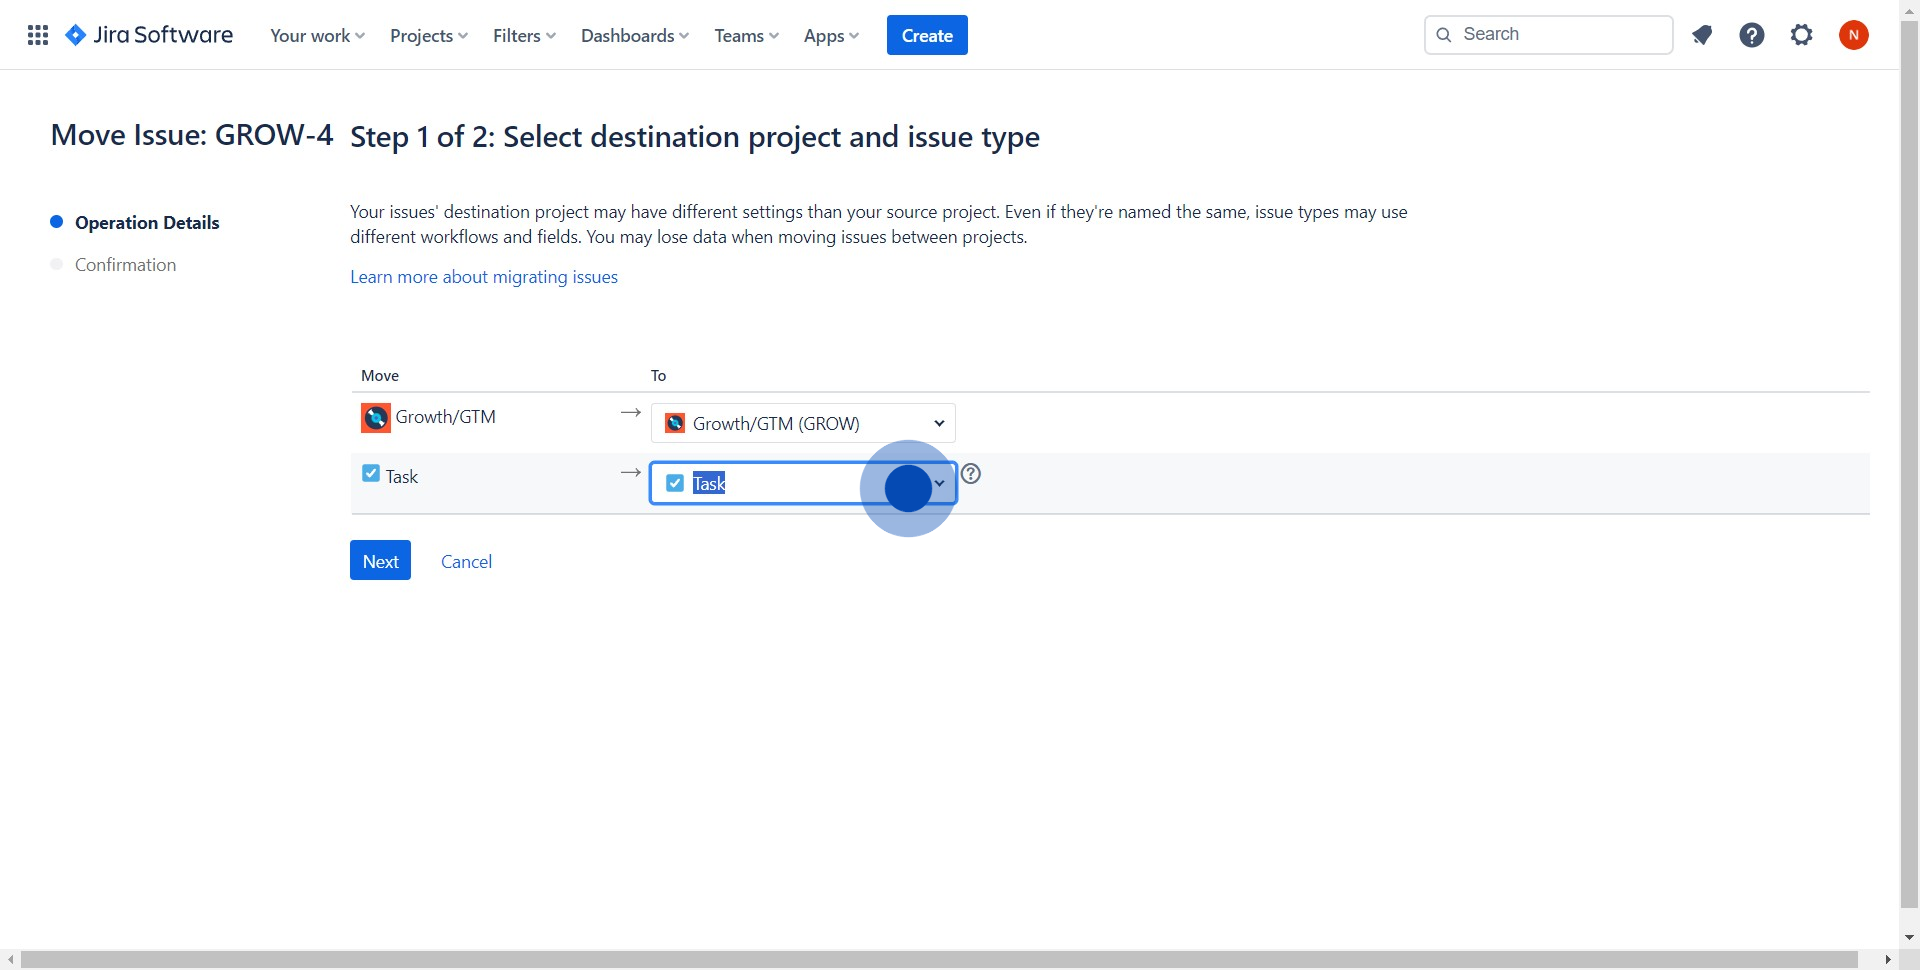
7. Proceed by clicking the 'Next' button.
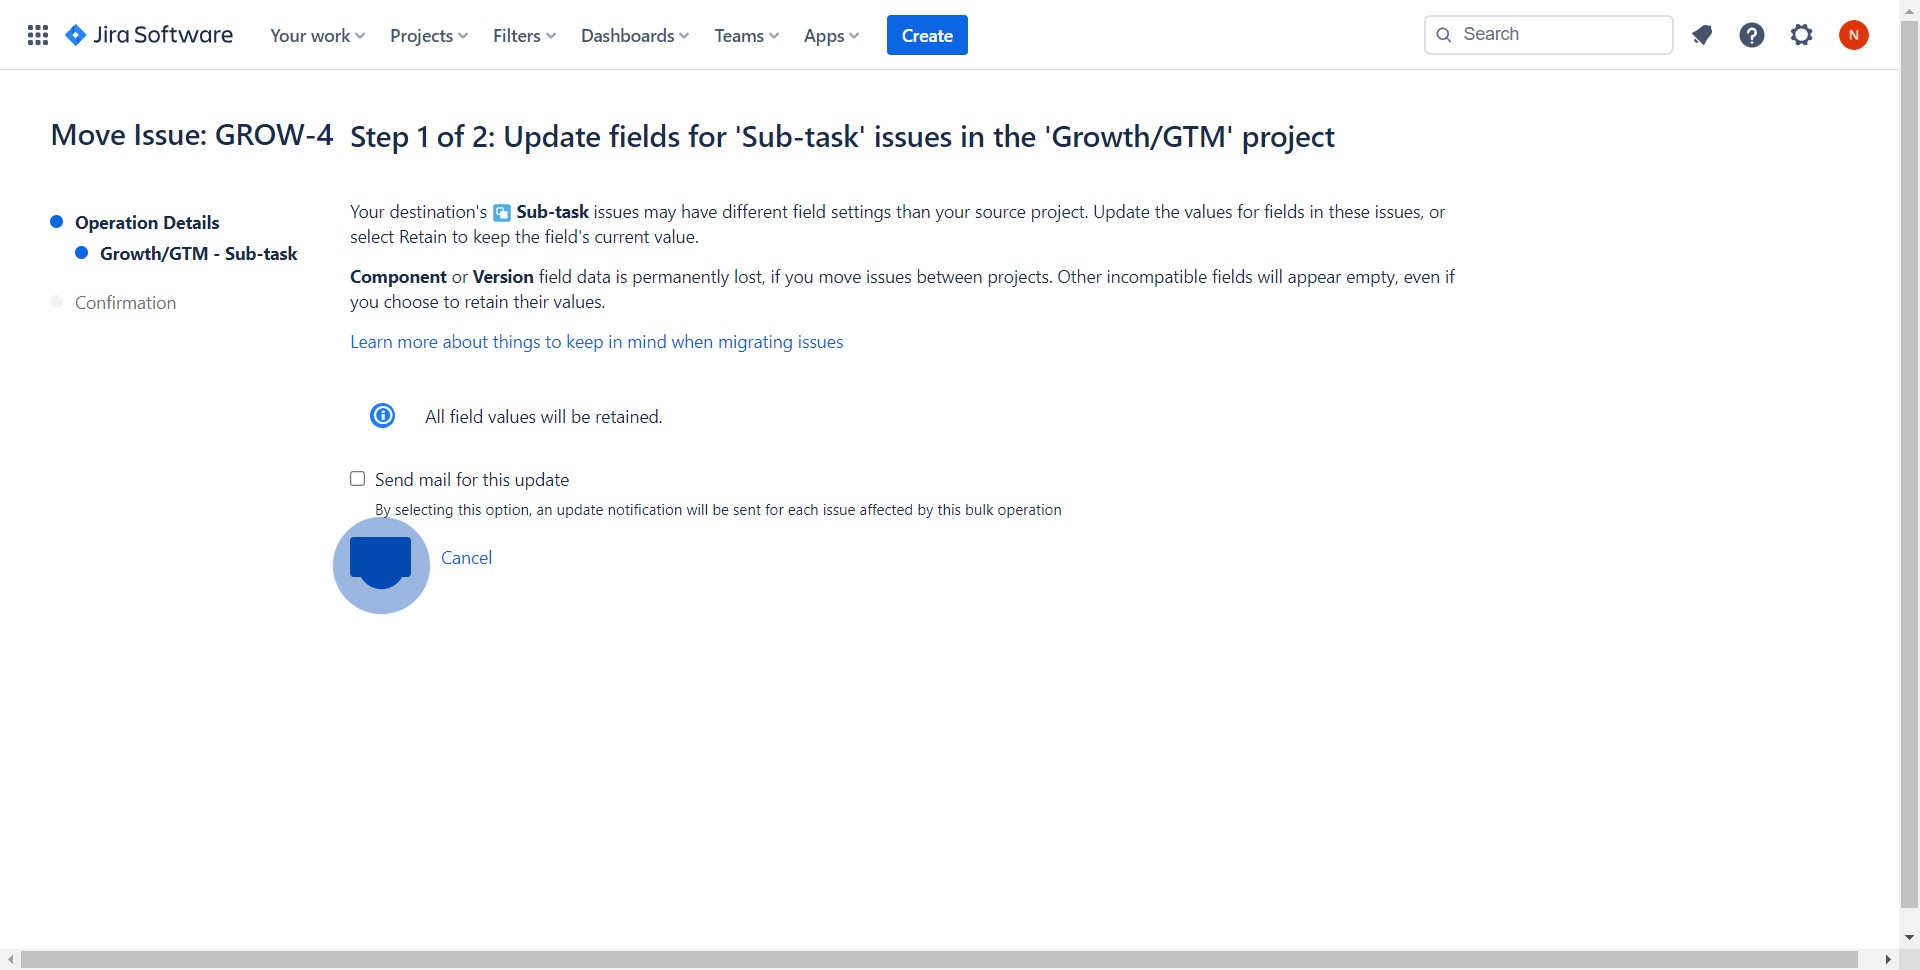
8. Keep going by clicking 'Next' once more.
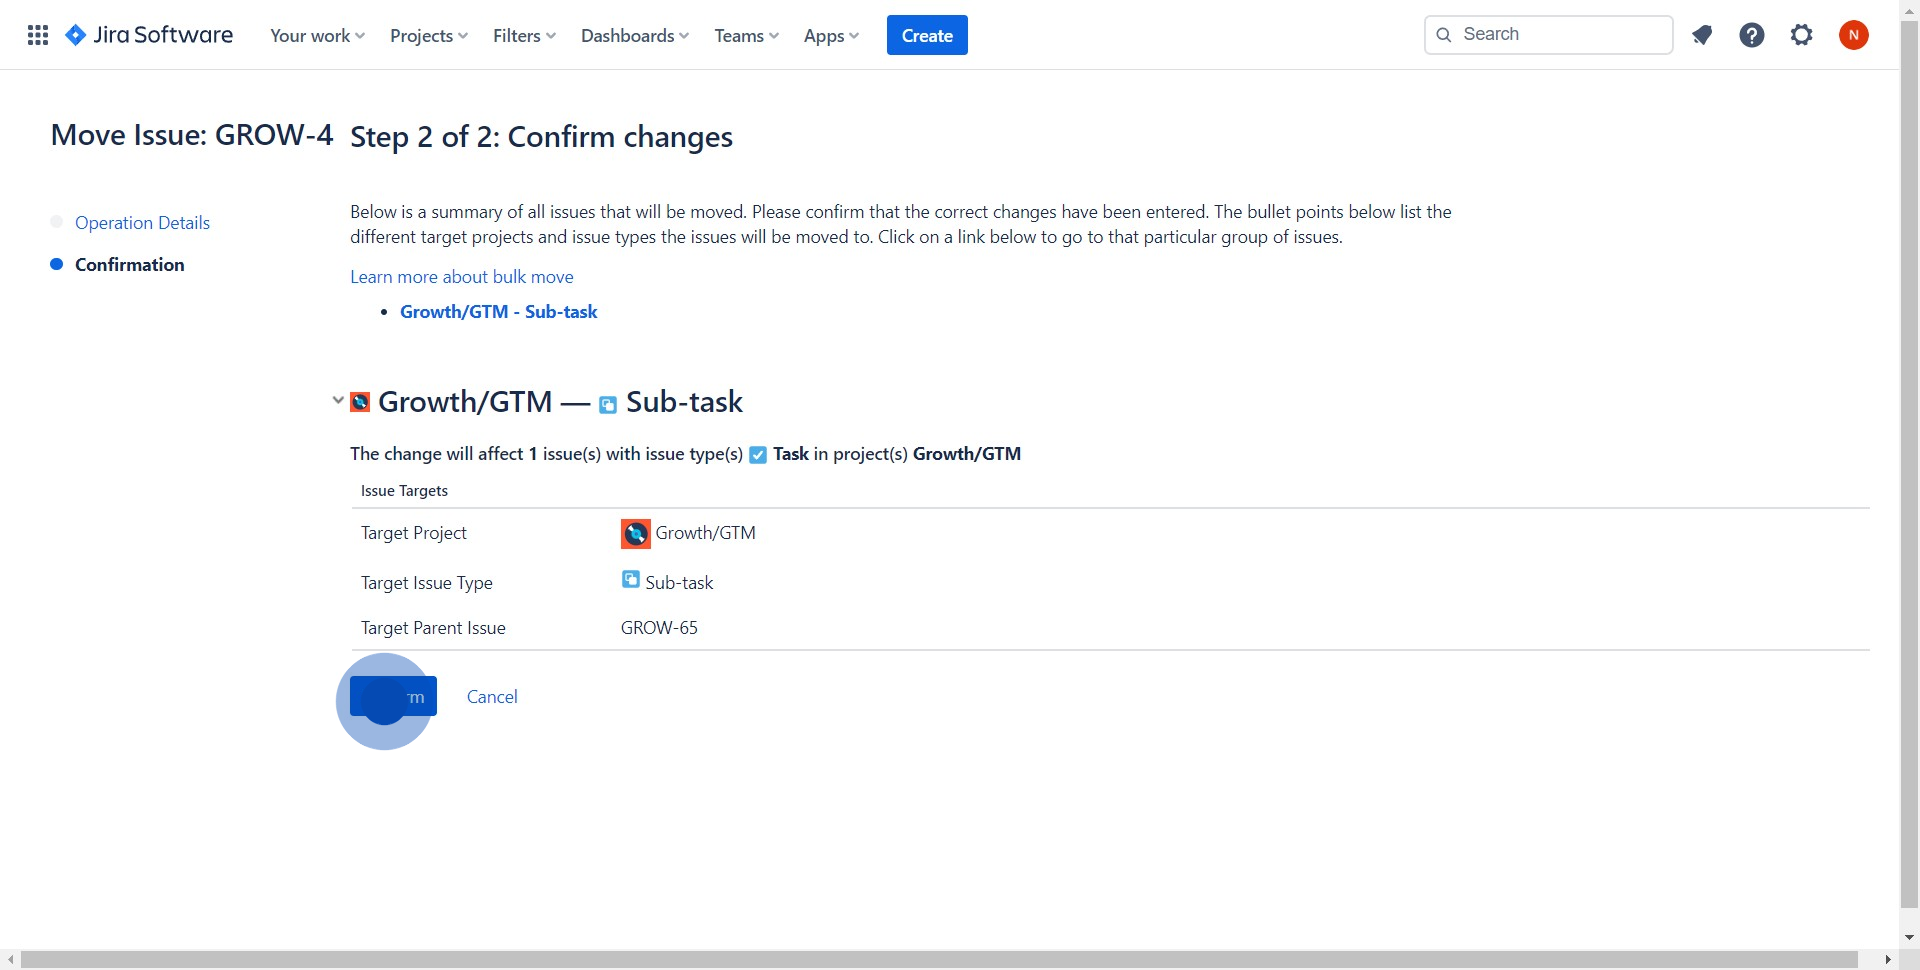
9. Almost there, confirm your choices by clicking 'Confirm'.
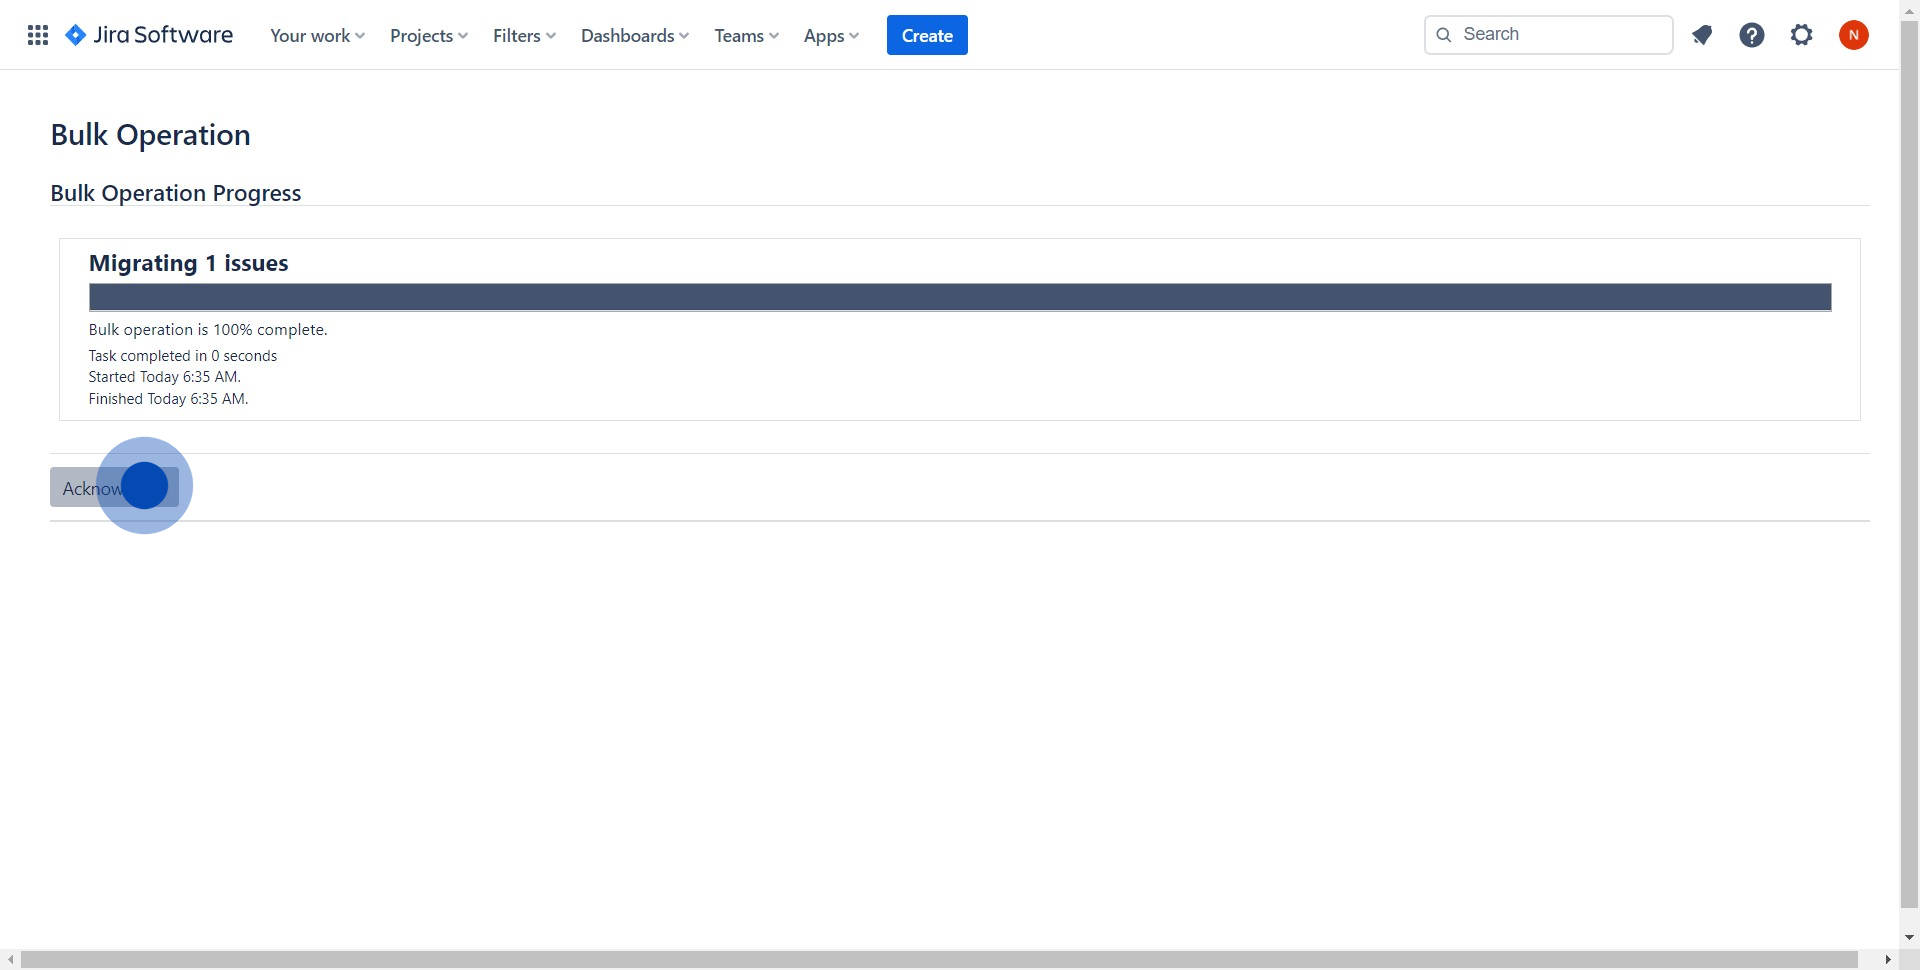
10. Finally, affirm your decision by clicking 'Acknowledge'.
Create your own interactive demo
Scale up your training and product adoption with beautiful AI-powered interactive demos and guides. Create your first Supademo in seconds for free.
