Overview:
Maximize your productivity in Mixpanel by efficiently transitioning between projects with this comprehensive guide. Seamlessly organize and navigate through different projects to enhance user experience. Learn the step-by-step process to smoothly move between projects, ensuring efficiency and clarity in project management within the Mixpanel platform.
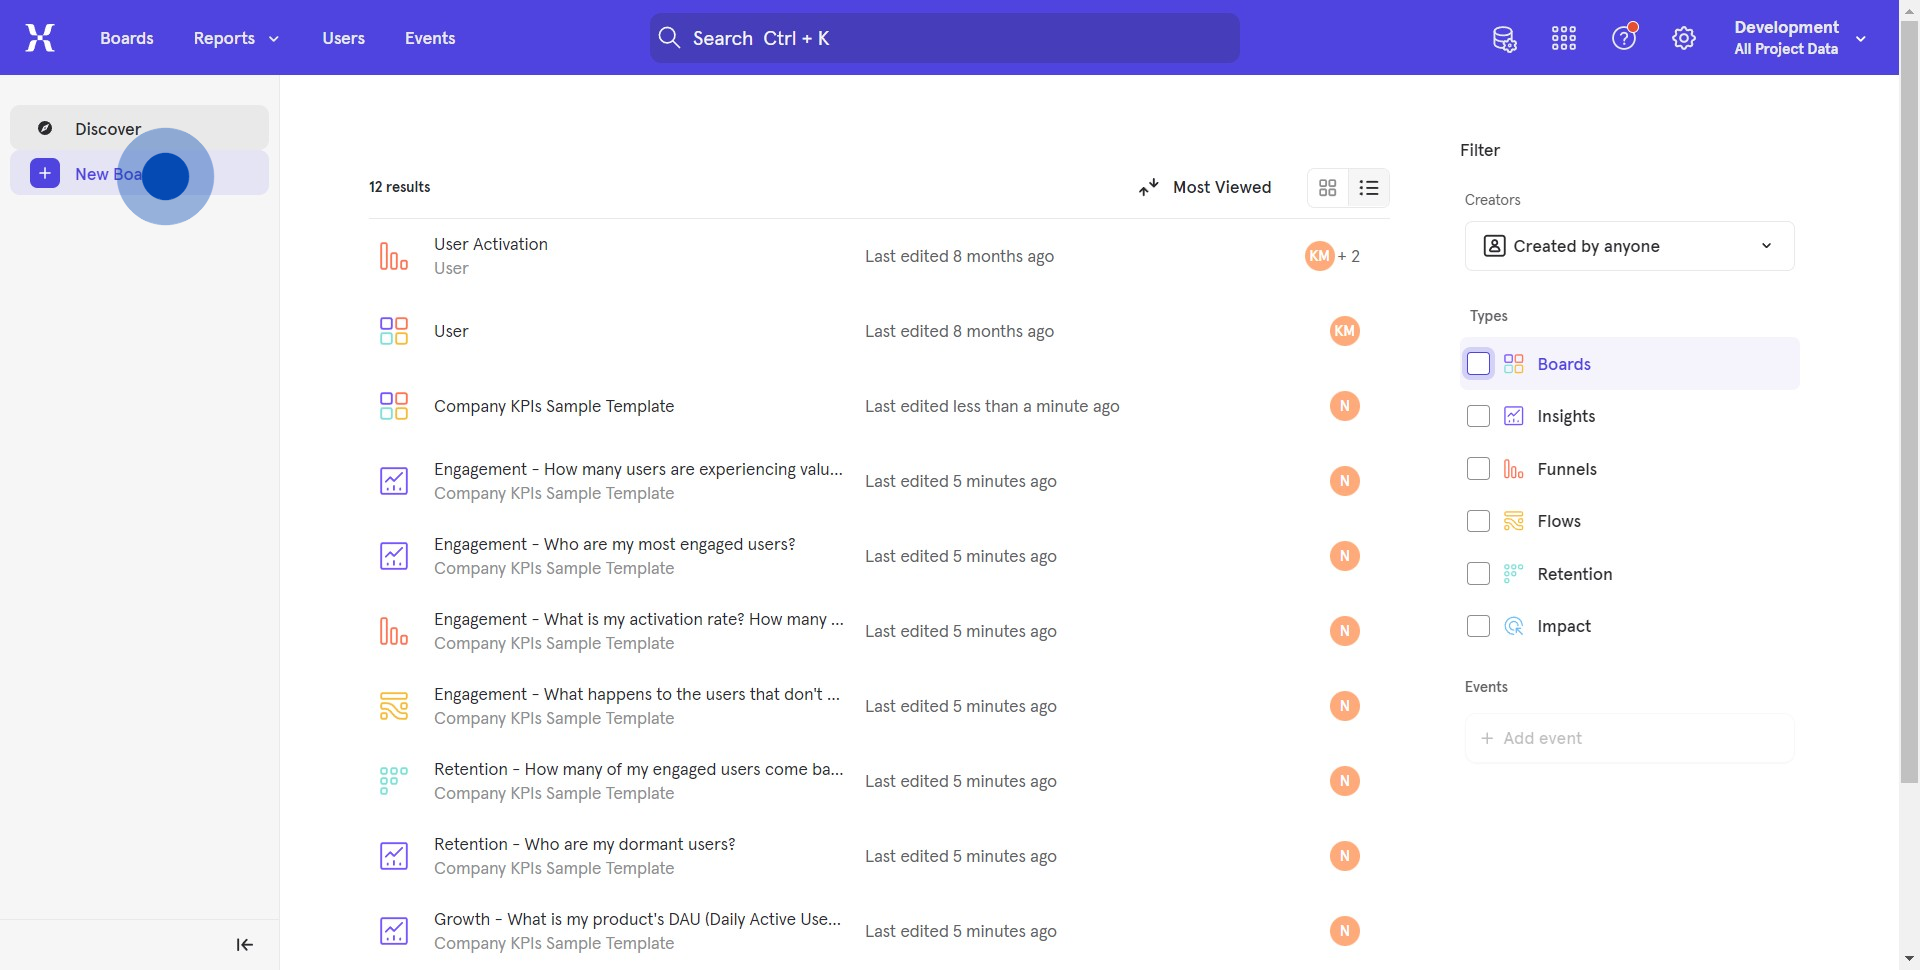
1. Start by creating and selecting a new board.
![1 Click here](https://d16ev9qffqt5qm.cloudfront.net/?s3_key=clpuqml380gpfpen01p6lxgt6/5dn-niH1tDUt9g9kk_.png&x=165&y=176&fill=054ab3&color=054ab3)
2. Next, decide on a dashboard type.
![2 Click here](https://d16ev9qffqt5qm.cloudfront.net/?s3_key=clpuqml380gpfpen01p6lxgt6/n11HCEqGeM4Yt_7fu3.png&x=1235&y=610&fill=054ab3&color=054ab3)
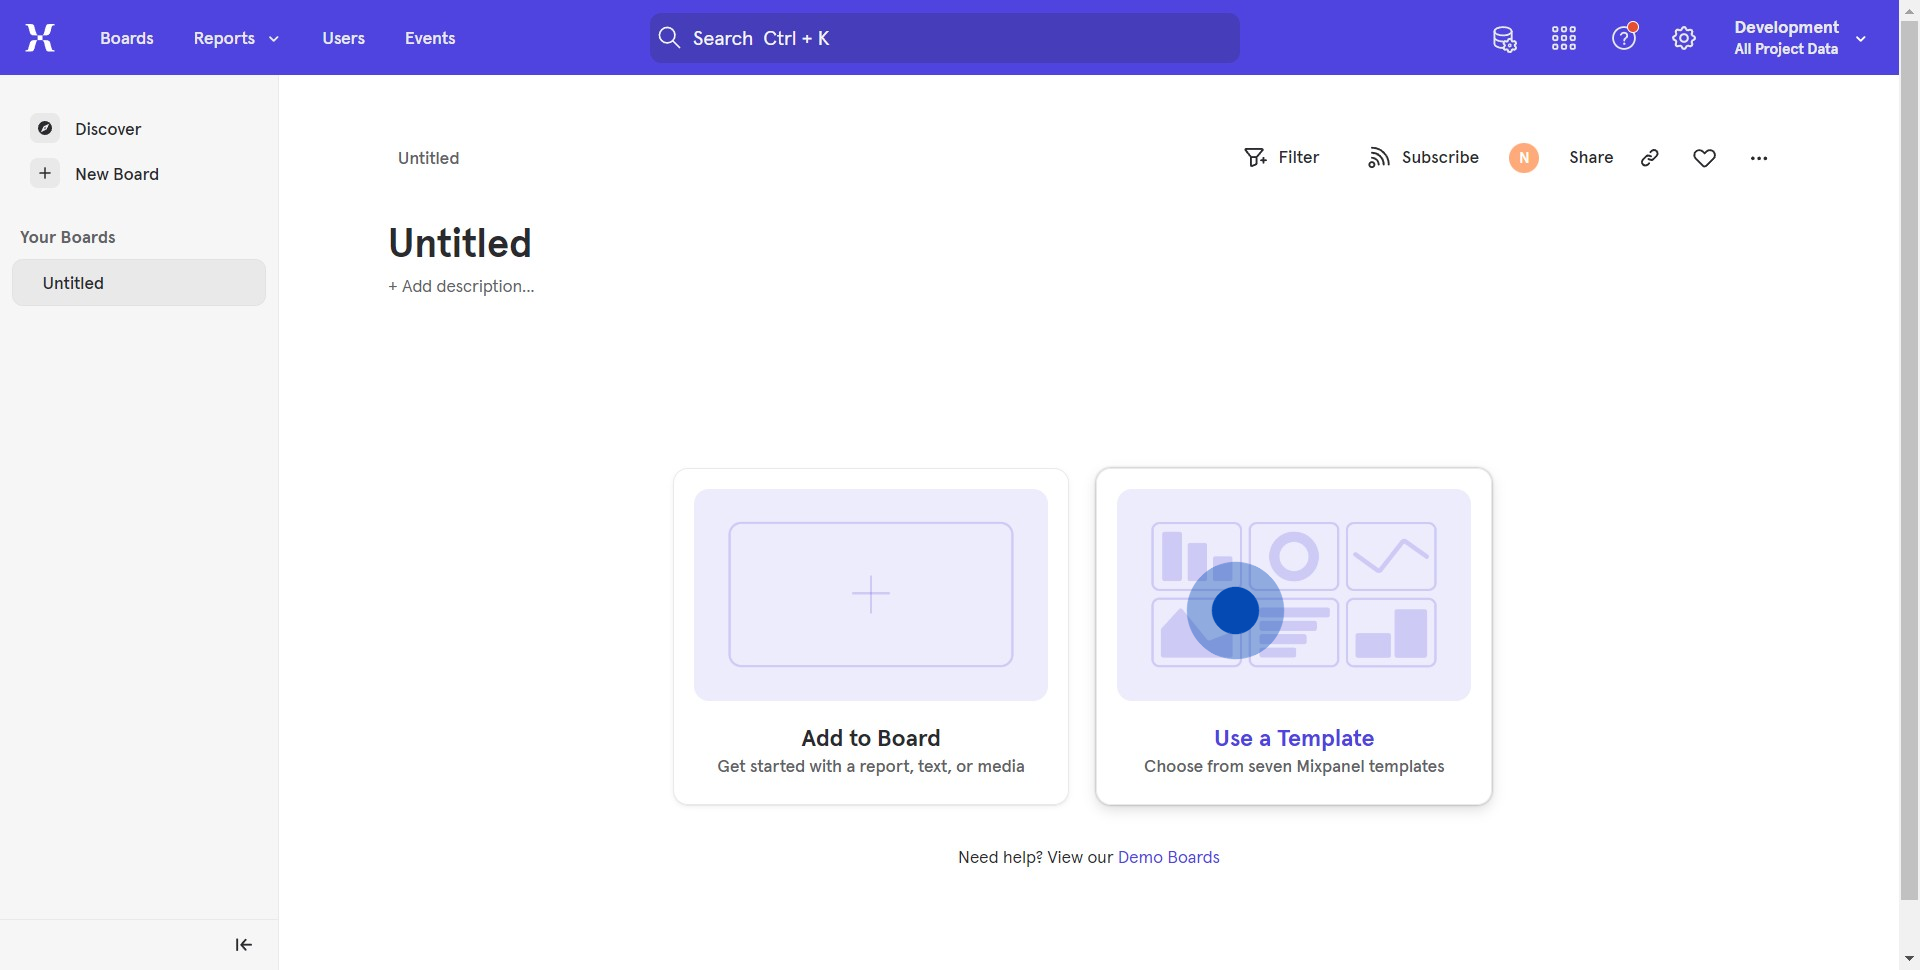
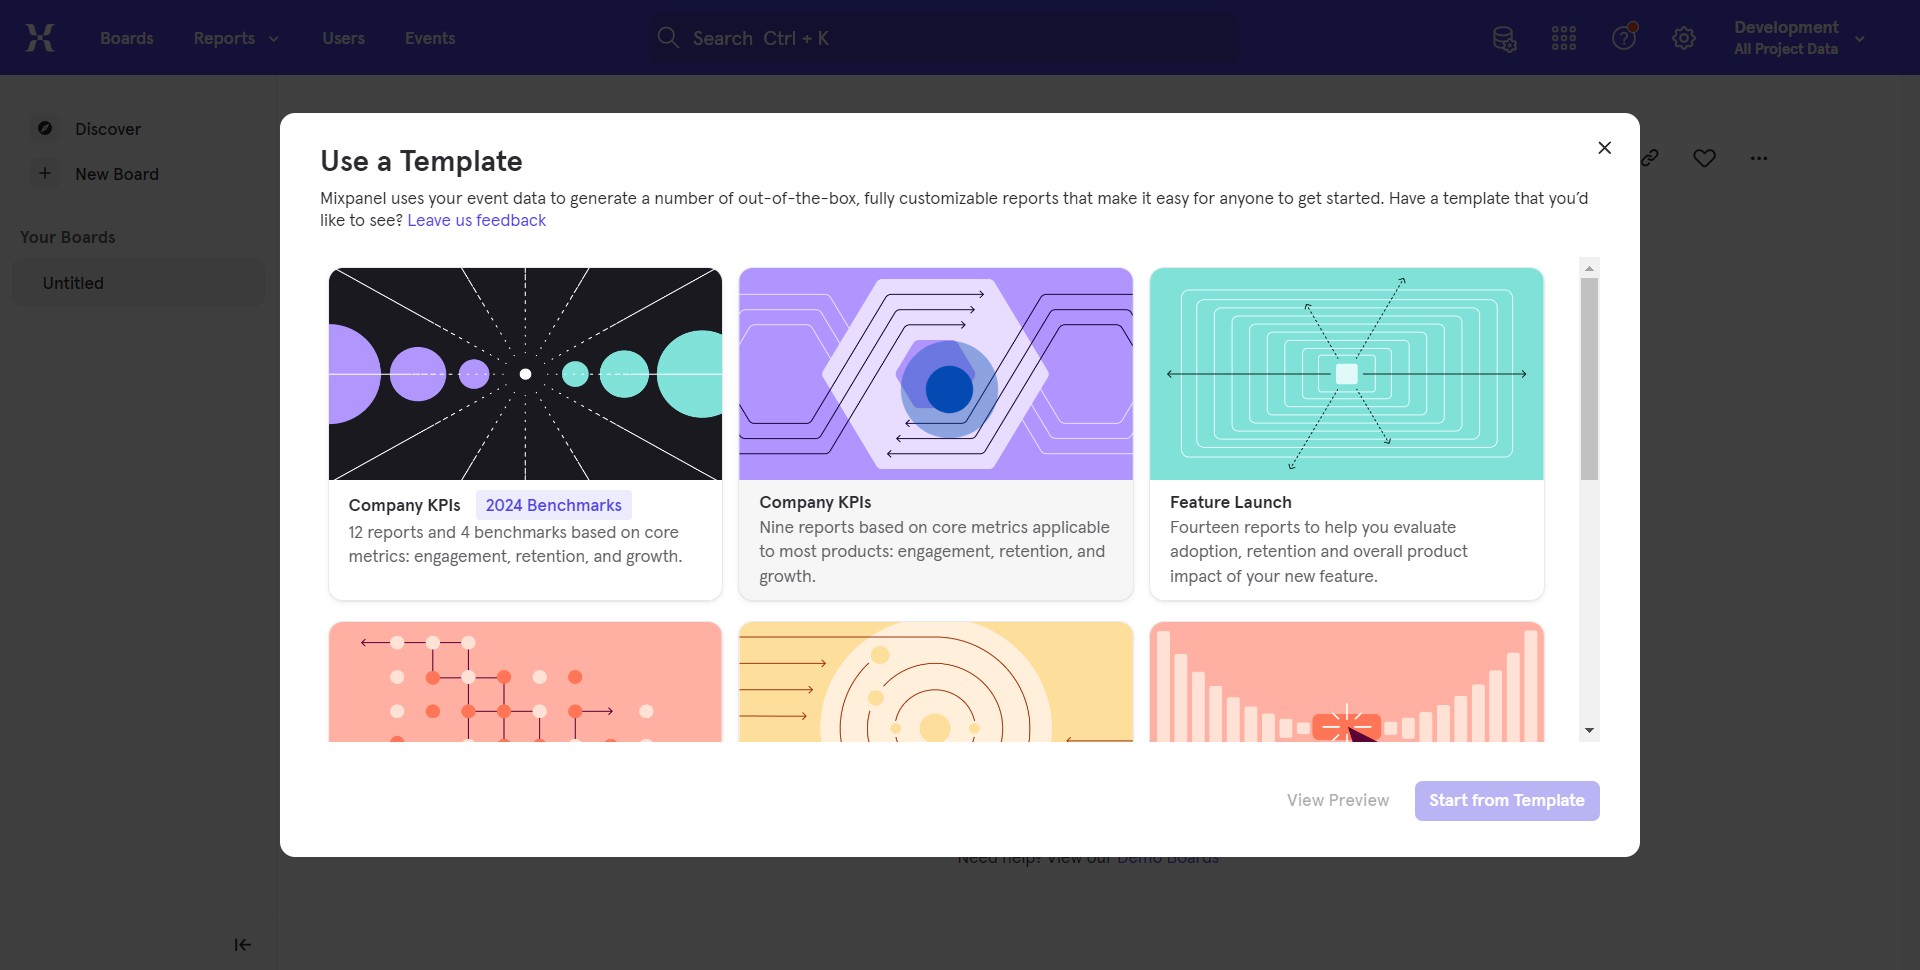
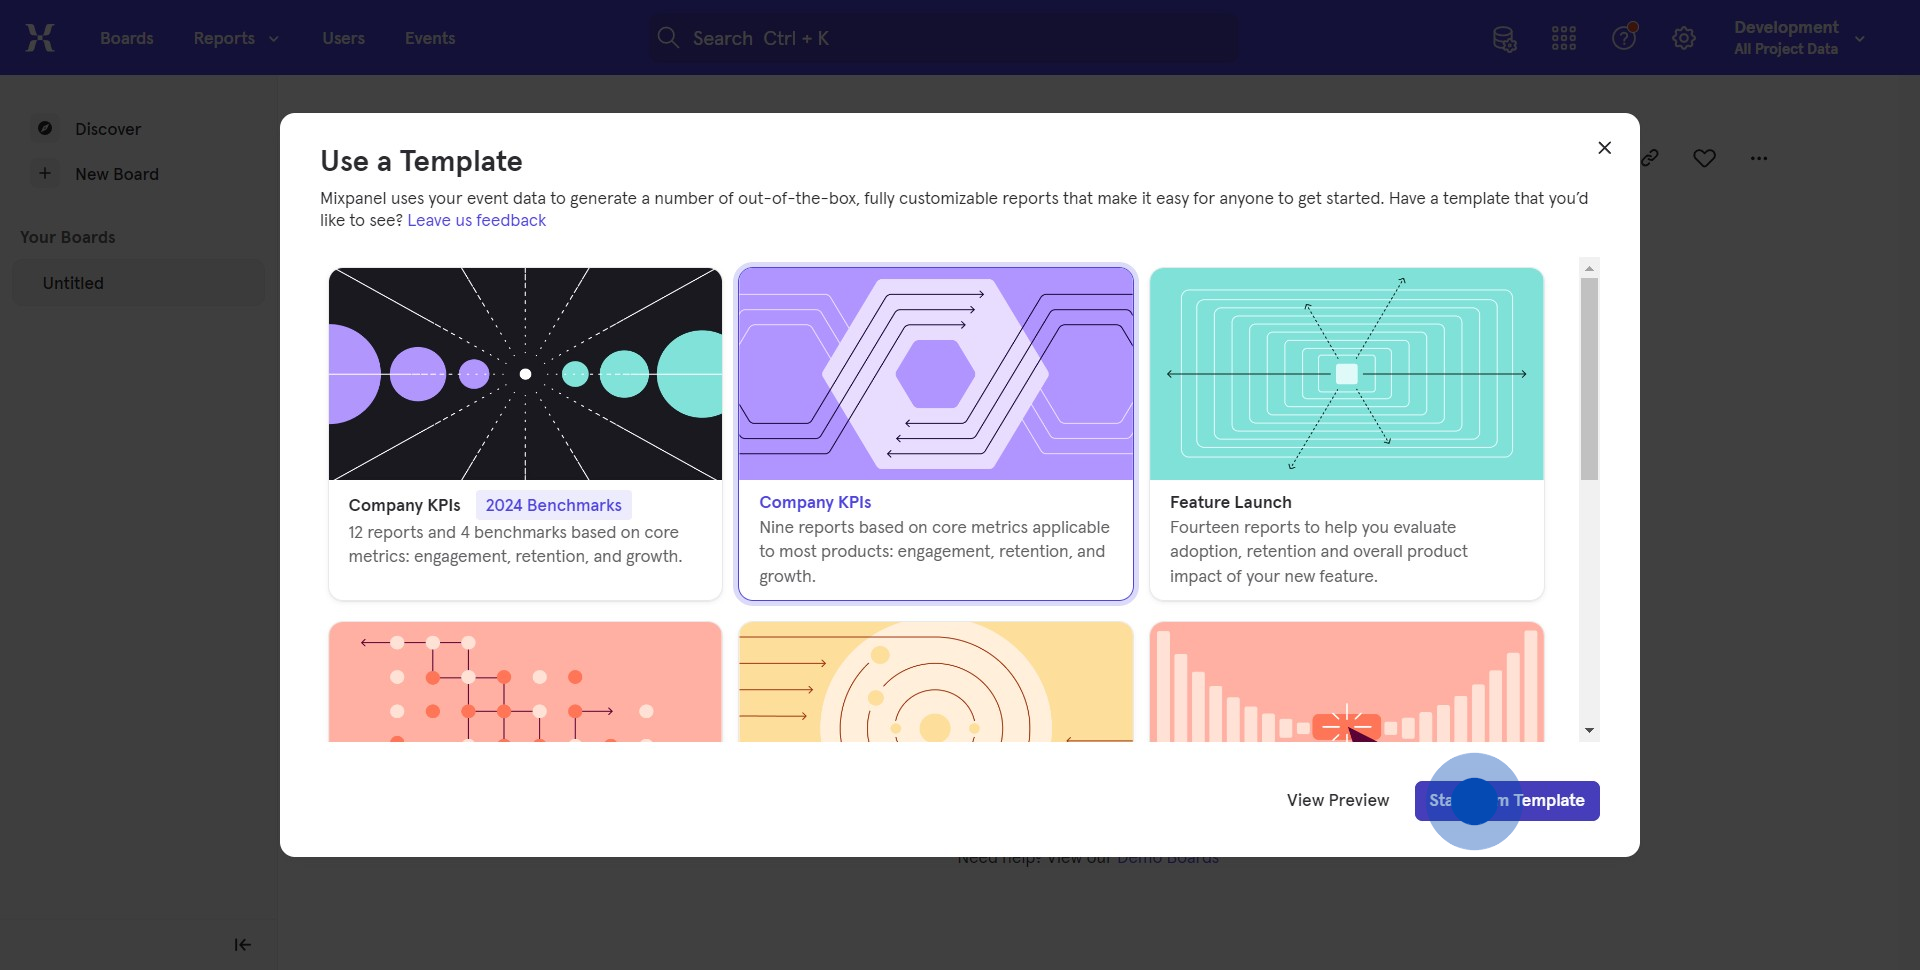
3. Then choose a suitable template type.
![3 Click here](https://d16ev9qffqt5qm.cloudfront.net/?s3_key=clpuqml380gpfpen01p6lxgt6/jcBsosR0oGQvTn-wkp.png&x=949&y=389&fill=054ab3&color=054ab3)
4. Click this area to initialize your board.
![4 Click here](https://d16ev9qffqt5qm.cloudfront.net/?s3_key=clpuqml380gpfpen01p6lxgt6/Hbmi5_4dh_wazNKncK.png&x=1474&y=801&fill=054ab3&color=054ab3)
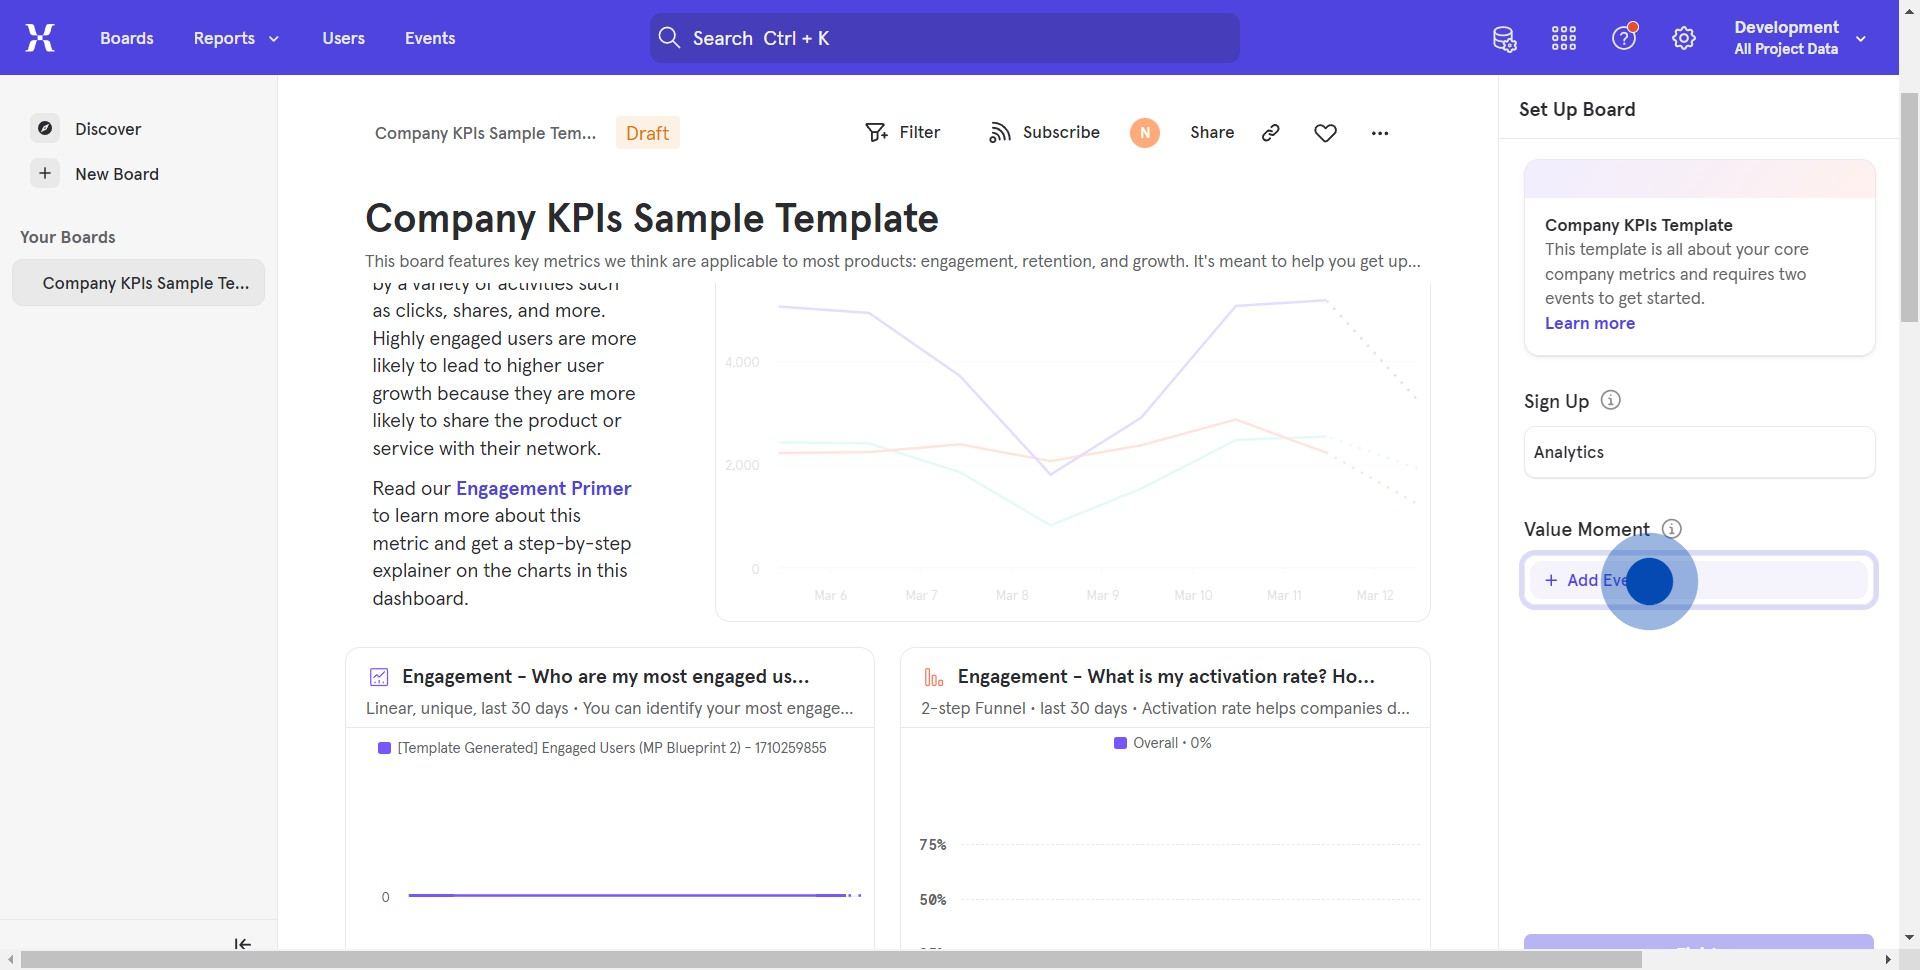
5. Let's add a metric related to the sign-up task.
![5 Click on "Company KPIs Sa..."](https://d16ev9qffqt5qm.cloudfront.net/?s3_key=clpuqml380gpfpen01p6lxgt6/EBz219vBHgRHNoMBjB.png&x=1589&y=463&fill=054ab3&color=054ab3)
6. Now, from the dropdown, pick an option.
![6 Click on "Company KPIs Sa..."](https://d16ev9qffqt5qm.cloudfront.net/?s3_key=clpuqml380gpfpen01p6lxgt6/S-dalgCWPs0Y4ari1R.png&x=1795&y=916&fill=054ab3&color=054ab3)
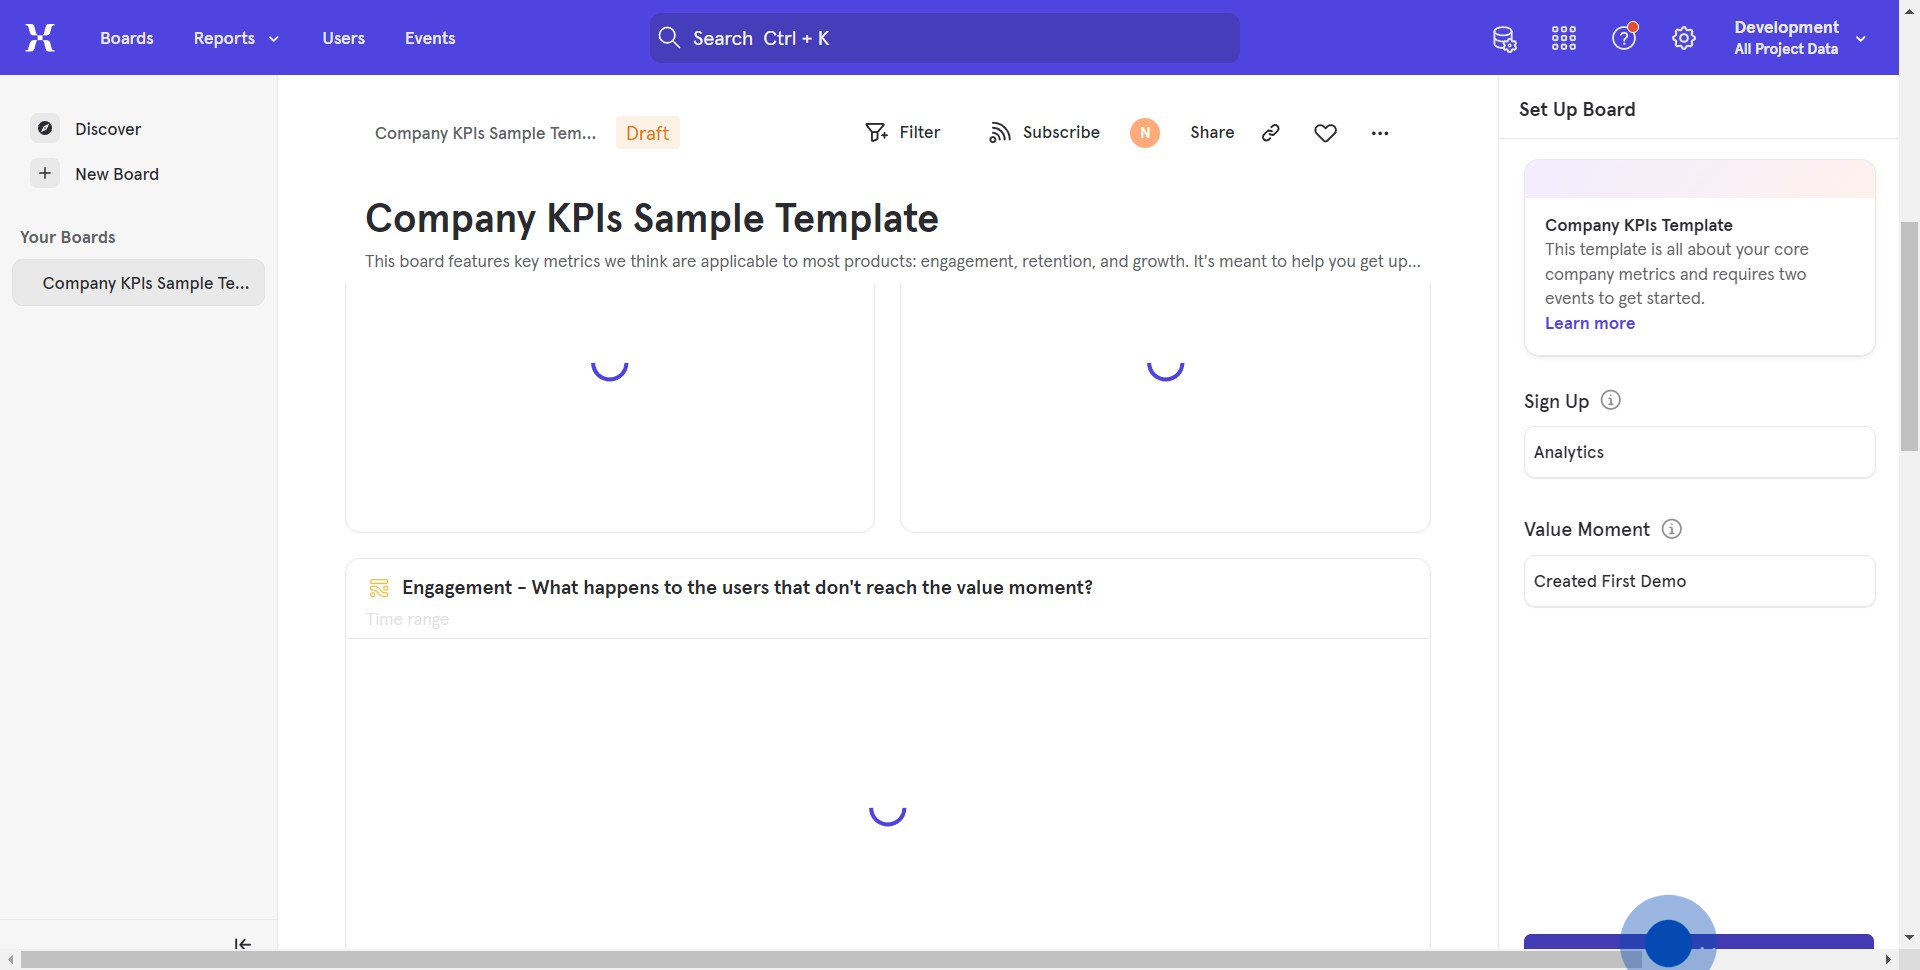
7. Add another relevant metric to the Value moment.
![7 Click on "Company KPIs Sa..."](https://d16ev9qffqt5qm.cloudfront.net/?s3_key=clpuqml380gpfpen01p6lxgt6/IVMdJoWfb4XSXAVJbH.png&x=1649&y=581&fill=054ab3&color=054ab3)
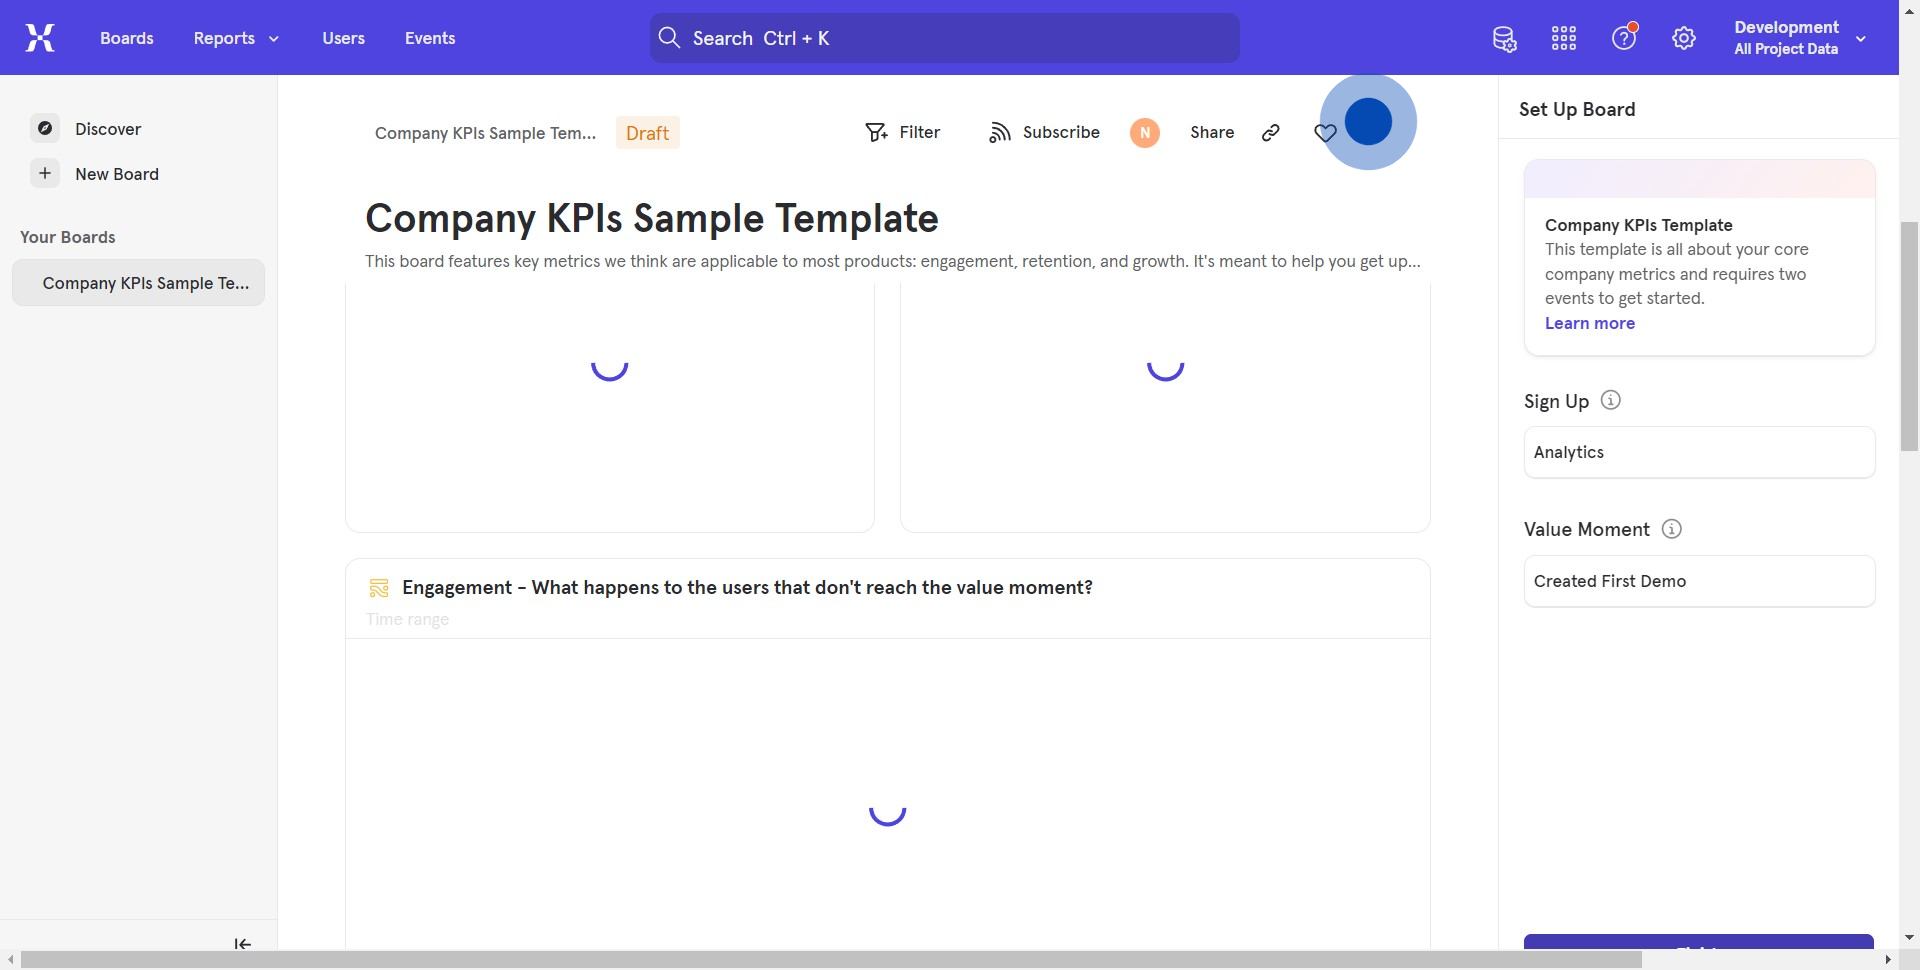
8. Once done, don't forget to publish by hitting 'Finish'.
![8 Click on "Company KPIs Sa..."](https://d16ev9qffqt5qm.cloudfront.net/?s3_key=clpuqml380gpfpen01p6lxgt6/4QJUXKP9gFcpAqOMF5.png&x=1668&y=943&fill=054ab3&color=054ab3)
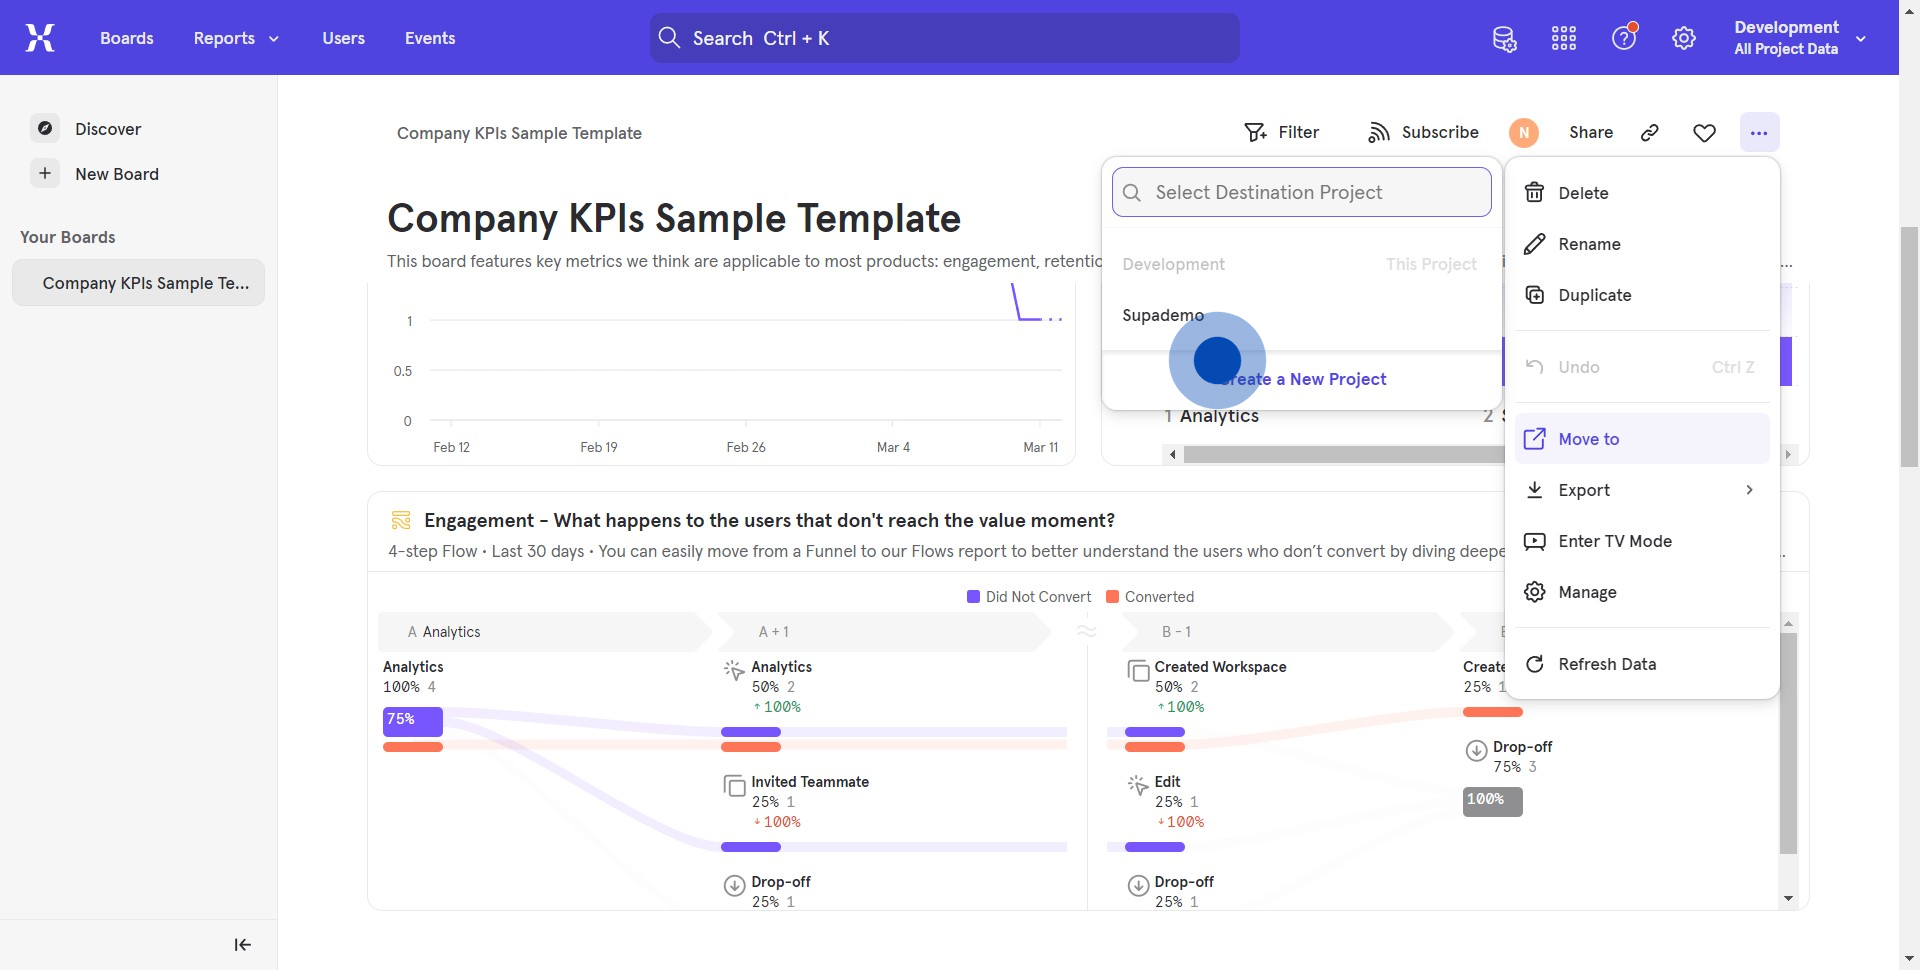
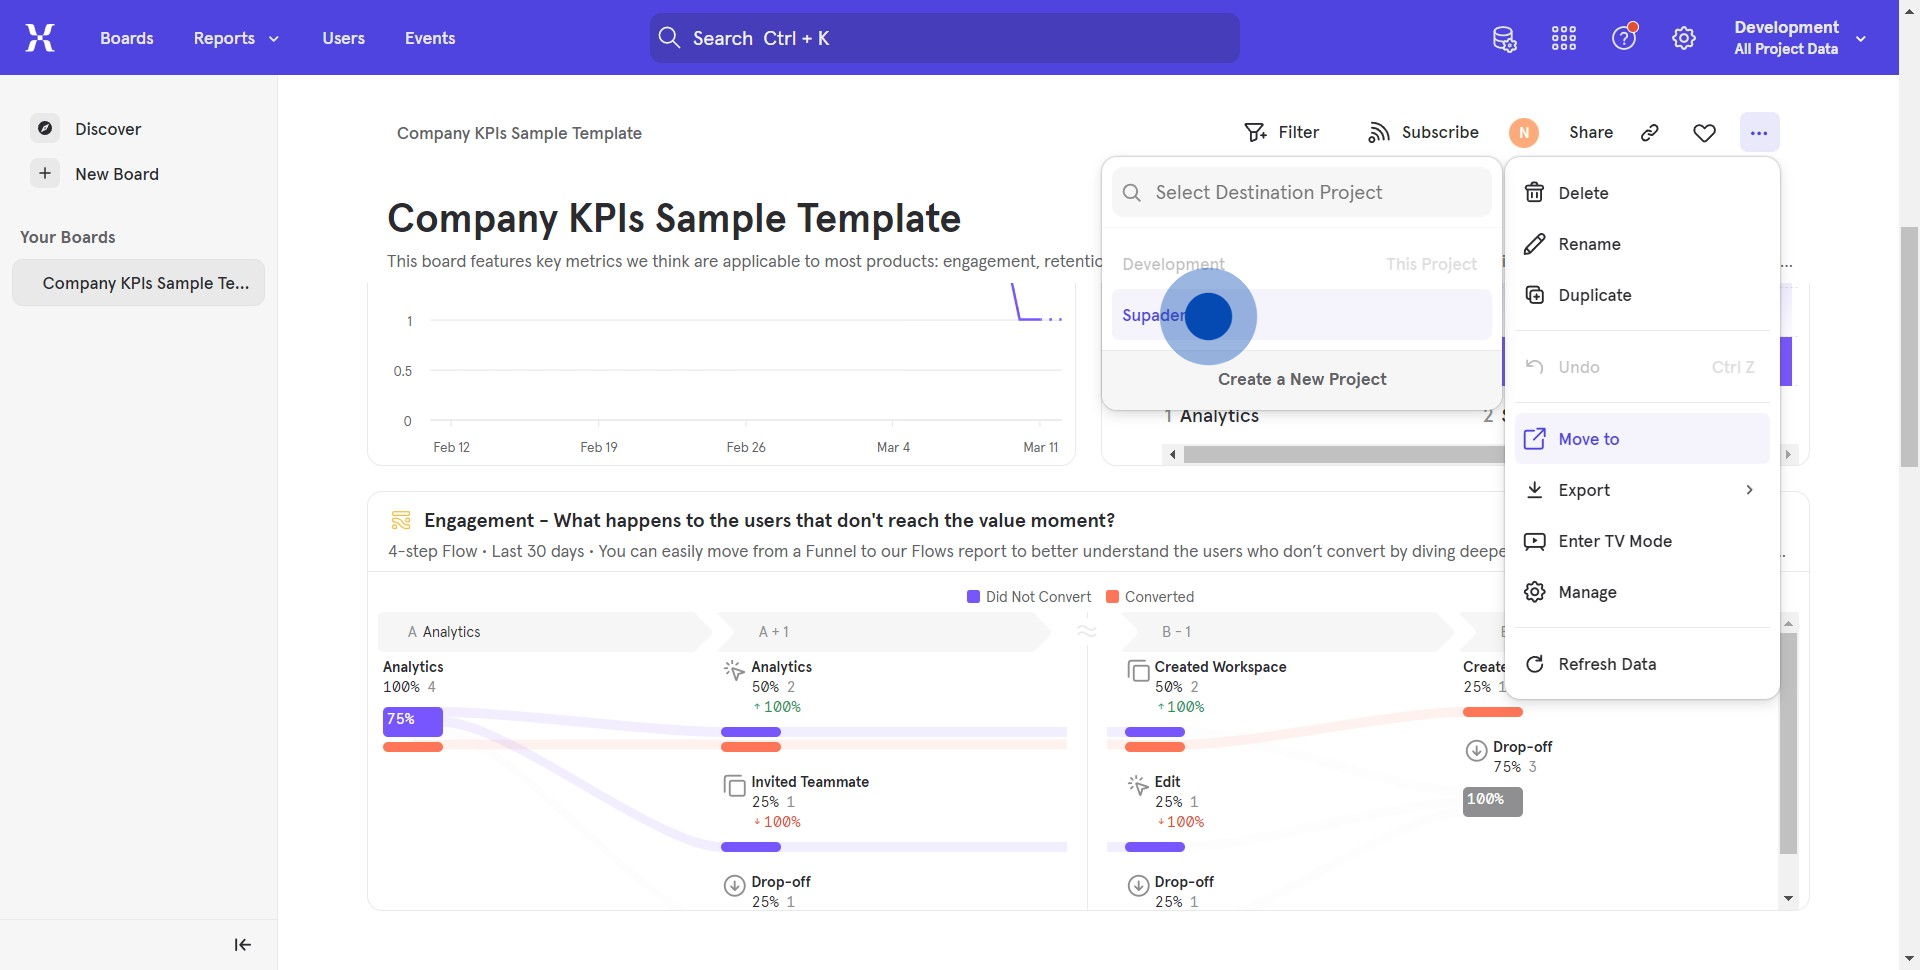
9. Explore more options by tapping on the three-dot symbol.
![9 Upload](https://d16ev9qffqt5qm.cloudfront.net/?s3_key=clpuqml380gpfpen01p6lxgt6/4QJUXKP9gFcpAqOMF5.png&x=1368&y=121&fill=054ab3&color=054ab3)
10. Use 'Move to' when navigating between projects.
![10 Click here](https://d16ev9qffqt5qm.cloudfront.net/?s3_key=clpuqml380gpfpen01p6lxgt6/od71DHj4VNif5TqaTG.png&x=1600&y=441&fill=054ab3&color=054ab3)
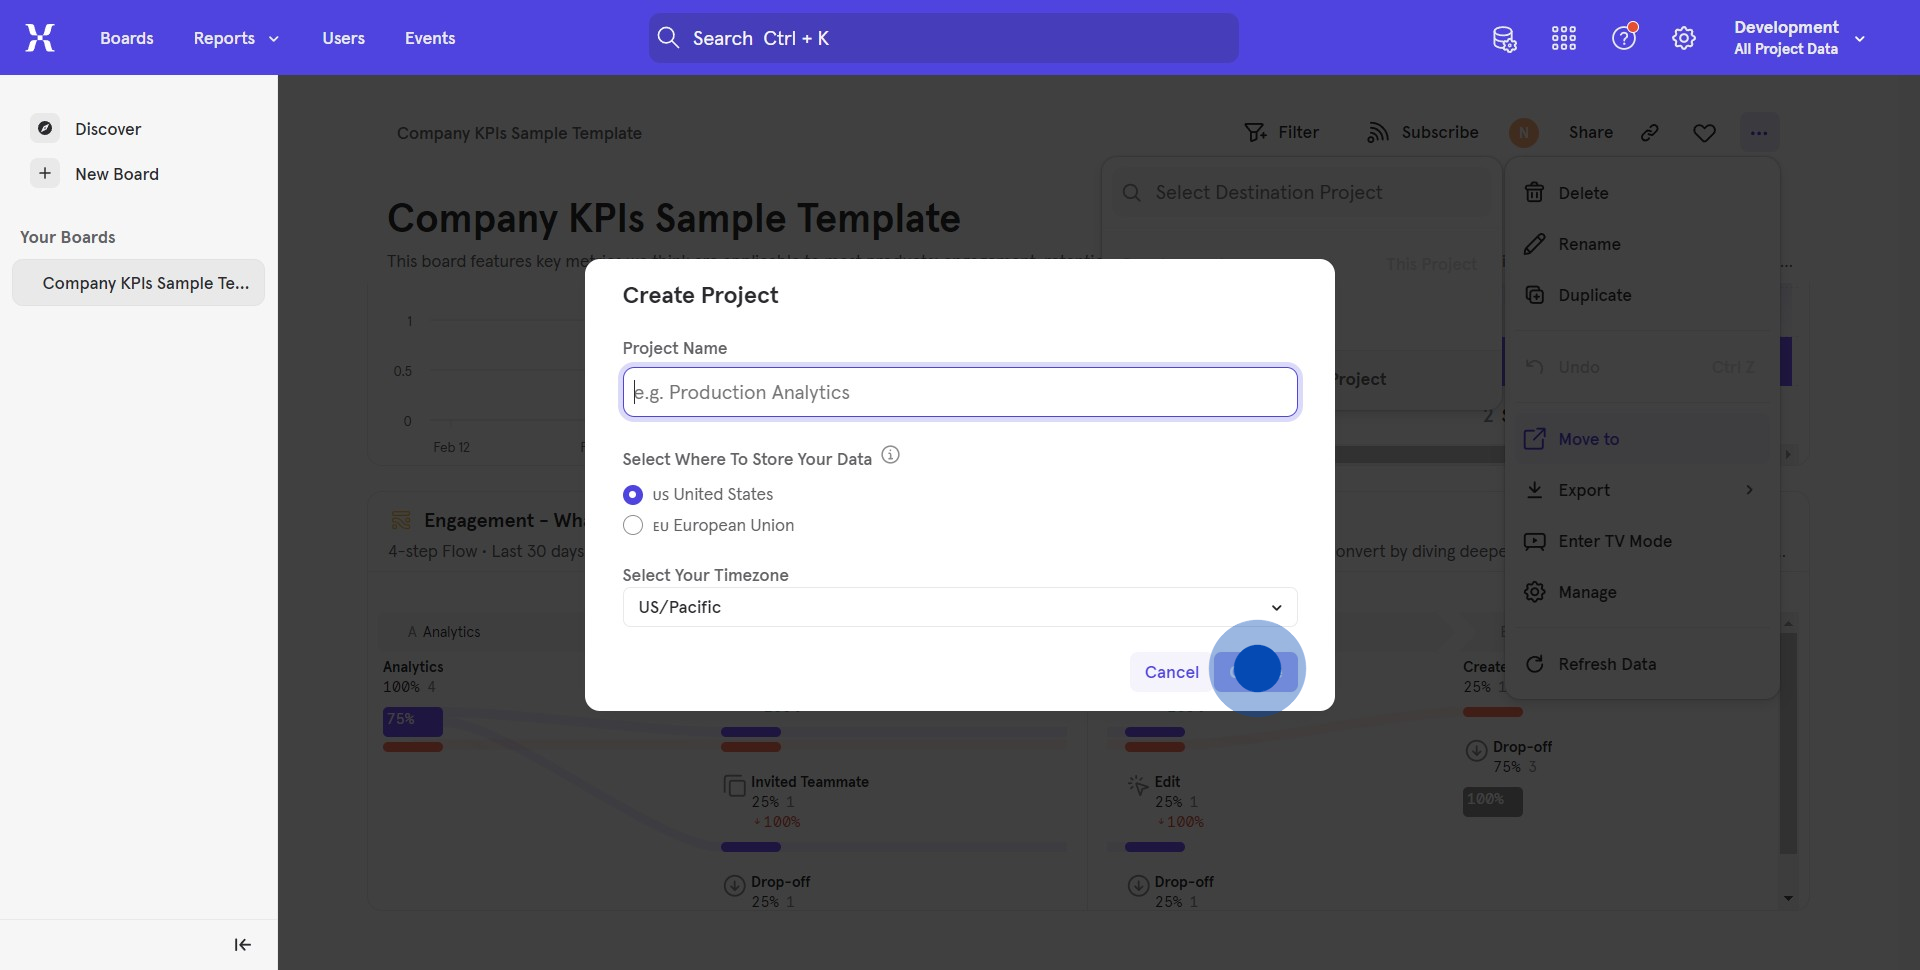
11. Select an existing project or add a new one.
![11 Click here](https://d16ev9qffqt5qm.cloudfront.net/?s3_key=clpuqml380gpfpen01p6lxgt6/dEitXcbPYWwtDbgciB.png&x=1217&y=360&fill=054ab3&color=054ab3)
12. Enter all necessary project details then hit 'Create'.
![12 Click here](https://d16ev9qffqt5qm.cloudfront.net/?s3_key=clpuqml380gpfpen01p6lxgt6/V3wCBwERmmmEXE9X3q.png&x=1257&y=668&fill=054ab3&color=054ab3)
13. Clicking the project will enable the board to move
![13 Click here](https://d16ev9qffqt5qm.cloudfront.net/?s3_key=clpuqml380gpfpen01p6lxgt6/kRtsjo0BrVUTvkO159.png&x=1208&y=316&fill=054ab3&color=054ab3)
Create your own step-by-step demo
Scale up your training and product adoption with beautiful AI-powered interactive demos and guides. Create your first Supademo in seconds for free.