

Overview:
Streamline your task management in ClickUp by effectively setting task statuses. Elevate your productivity and enhance collaboration by assigning and tracking task progress with relevant status updates. This guide offers a straightforward process to create and manage task statuses within ClickUp, ensuring optimal efficiency and clarity in your project management endeavors within the platform.
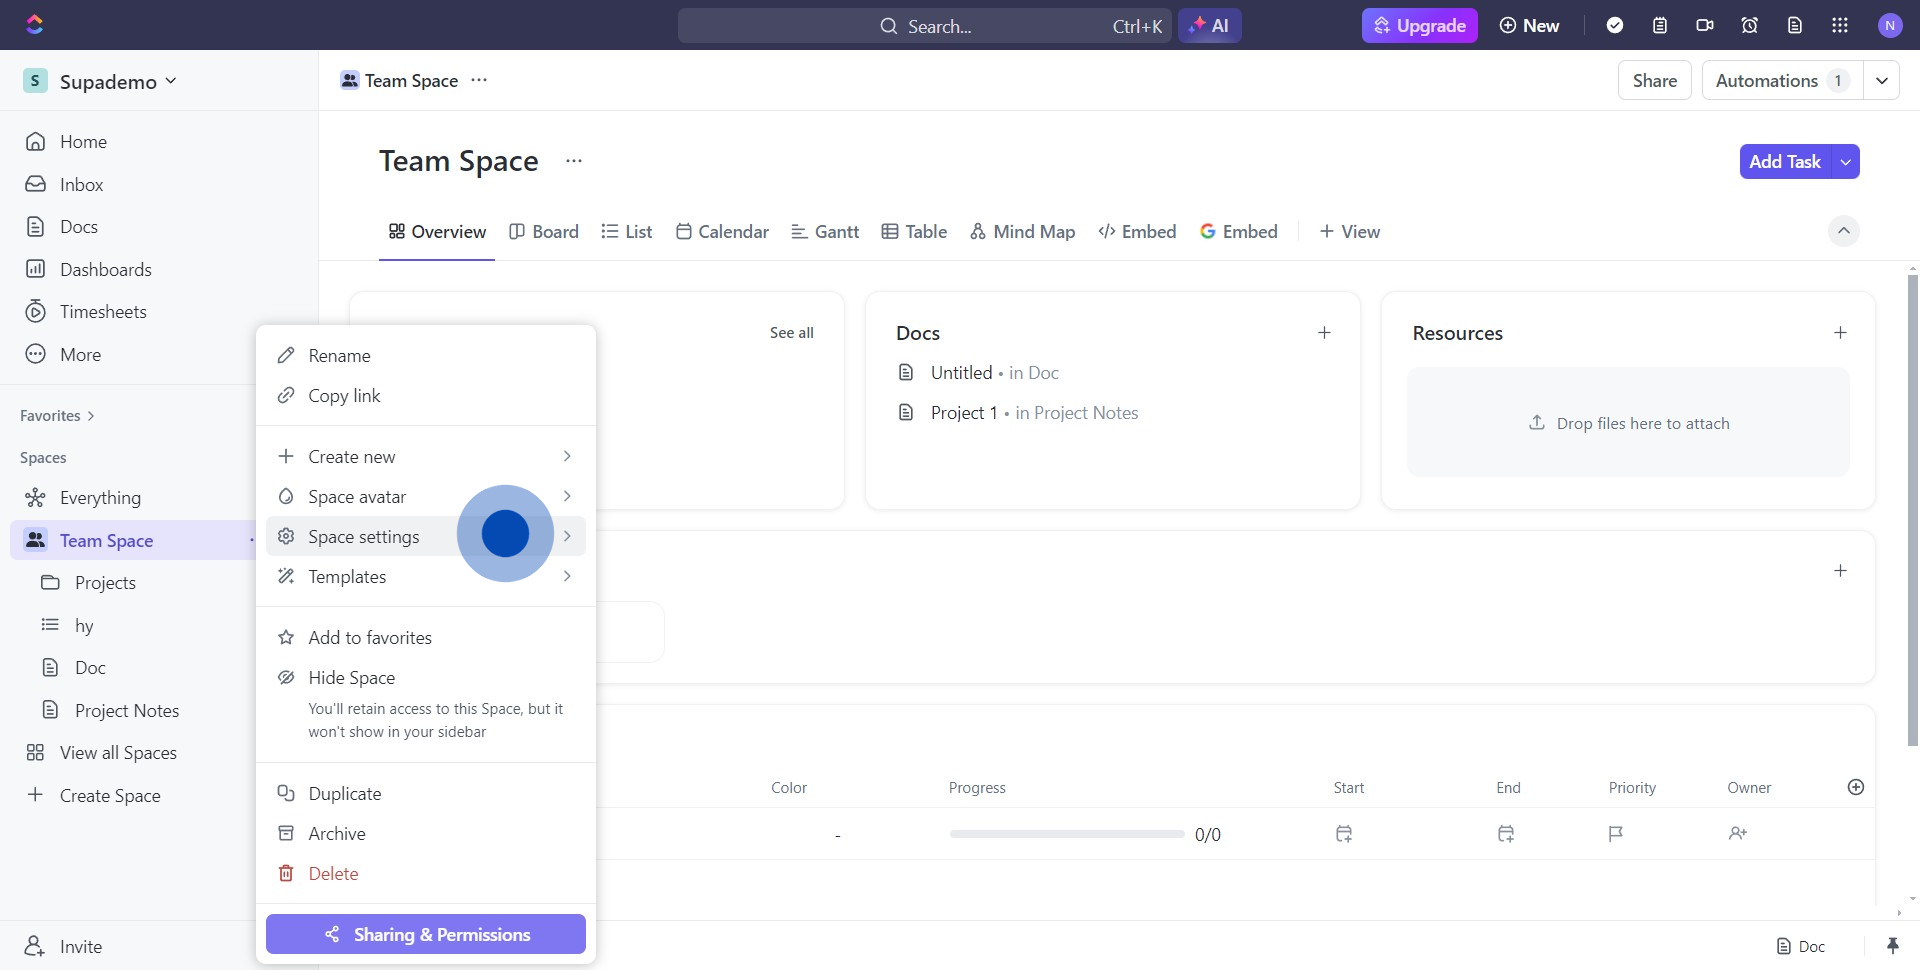
1. Begin by clicking the ellipsis (three dots) to access your options.

2. Continue by selecting the 'Space settings' from the dropdown menu.
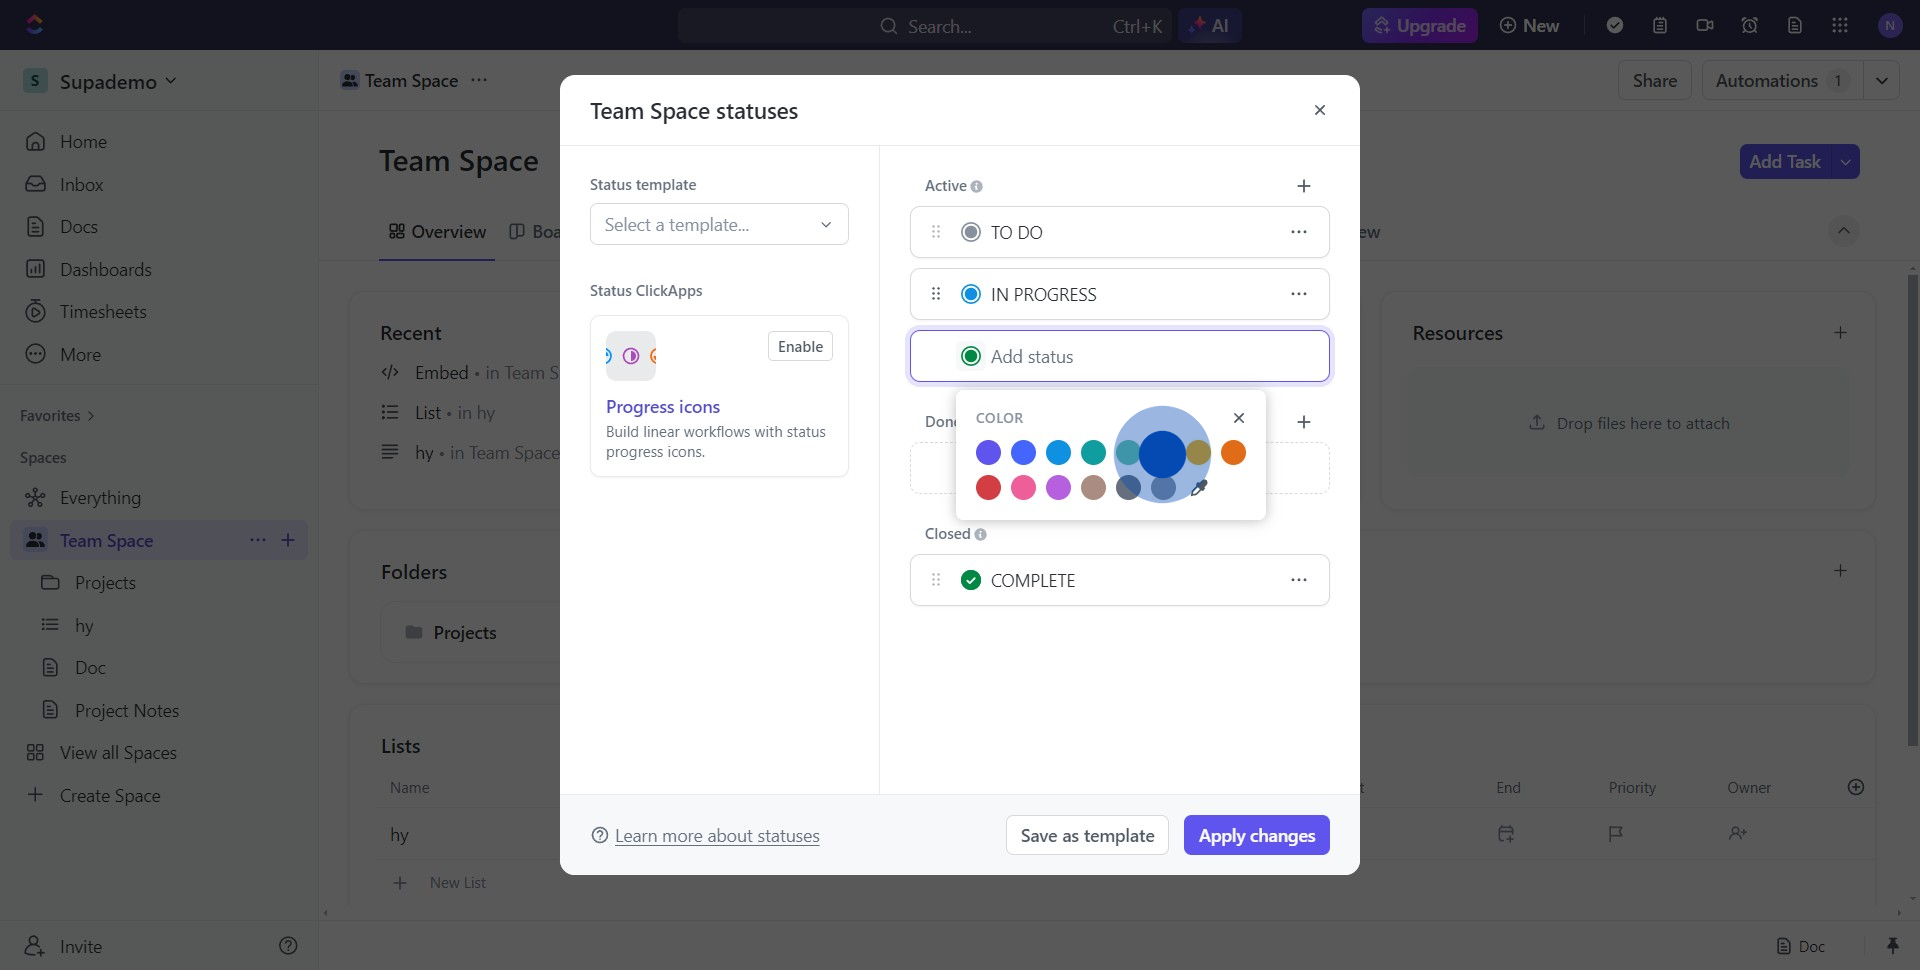
3. Now, proceed by clicking on the 'Task statuses' category.

4. Choose the color corresponding with your desired action next.
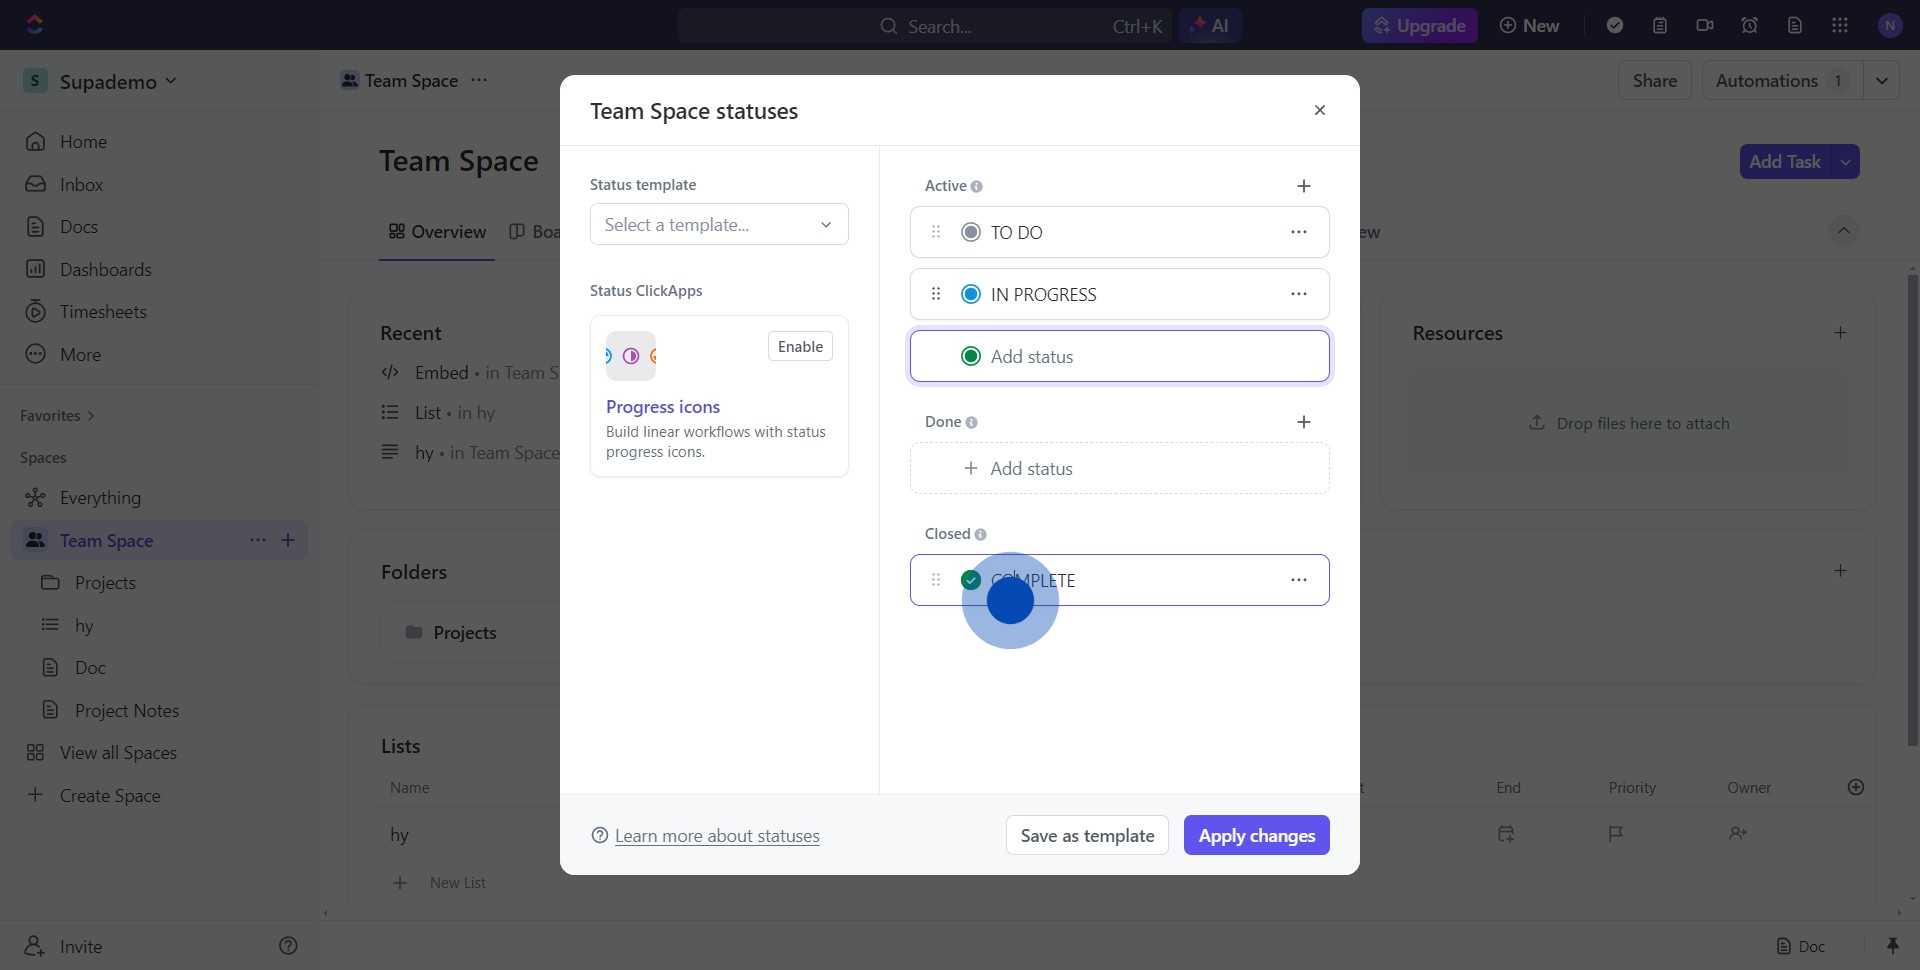
5. Next, enter your preferred status into the 'Status name' field.
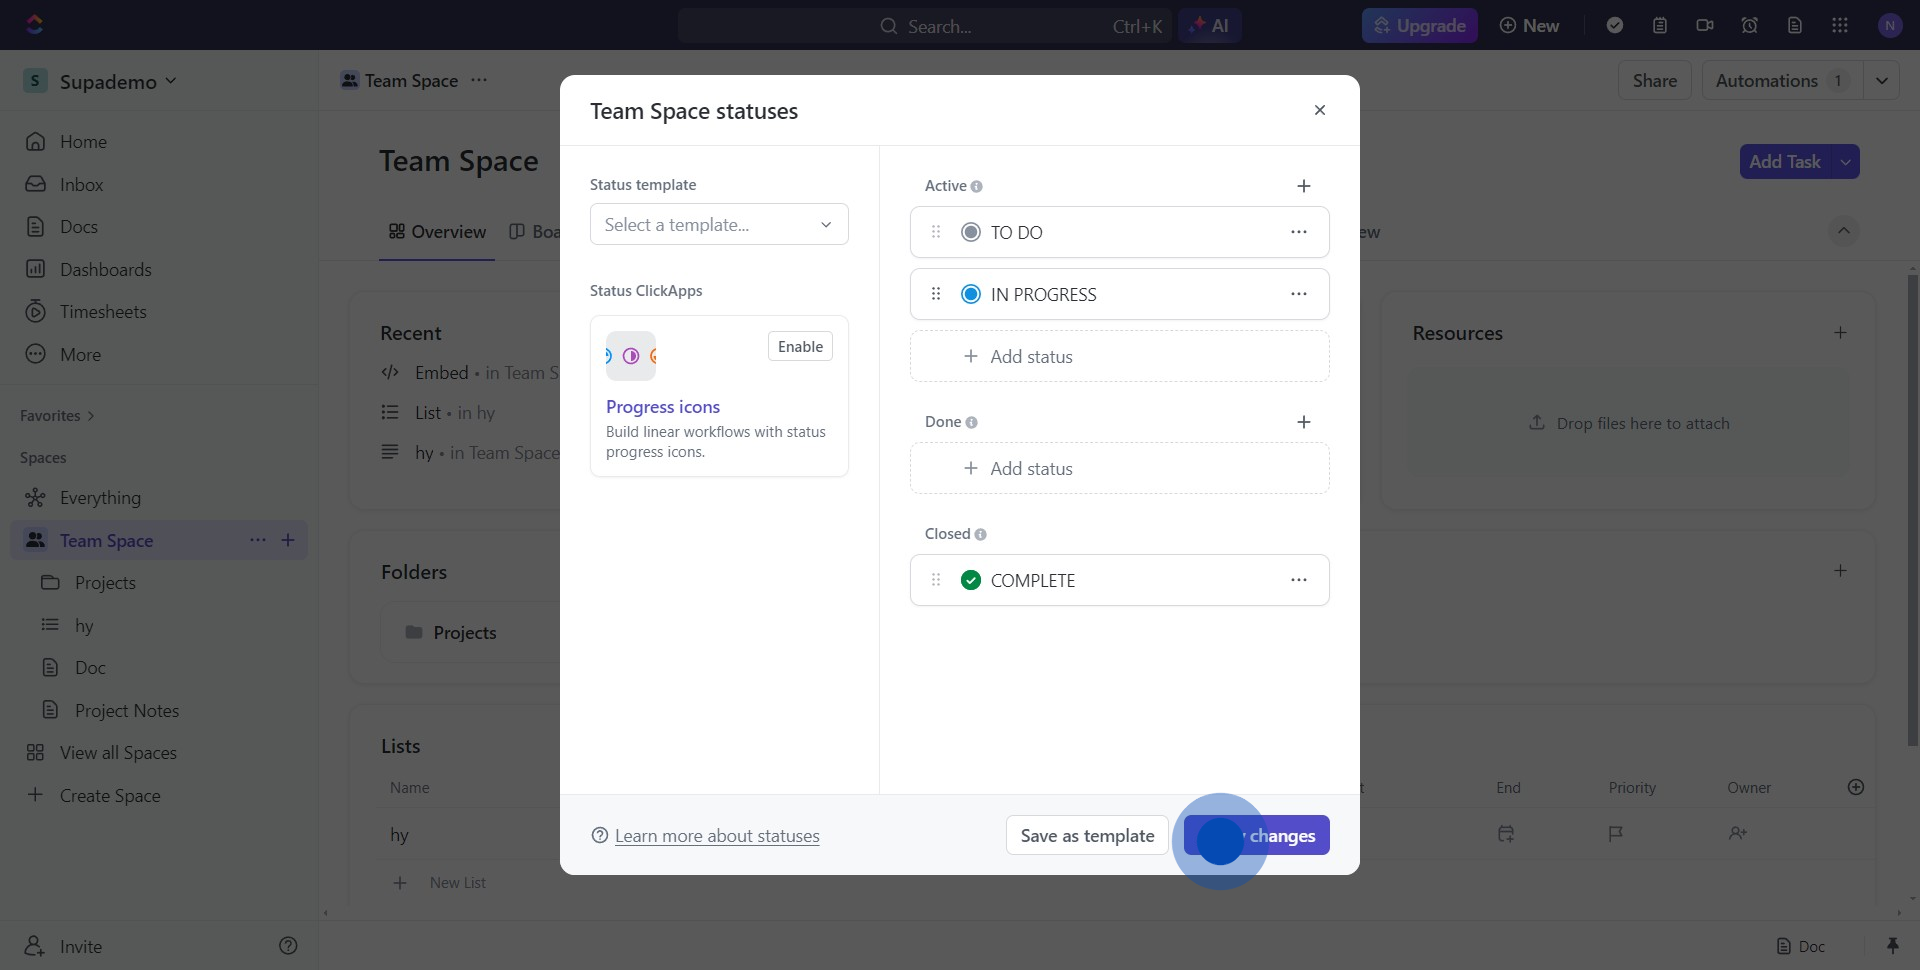
6. Finally, solidify your changes by pressing the 'Apply changes' button.
Create your own step-by-step demo
Scale up your training and product adoption with beautiful AI-powered interactive demos and guides. Create your first Supademo in seconds for free.
