
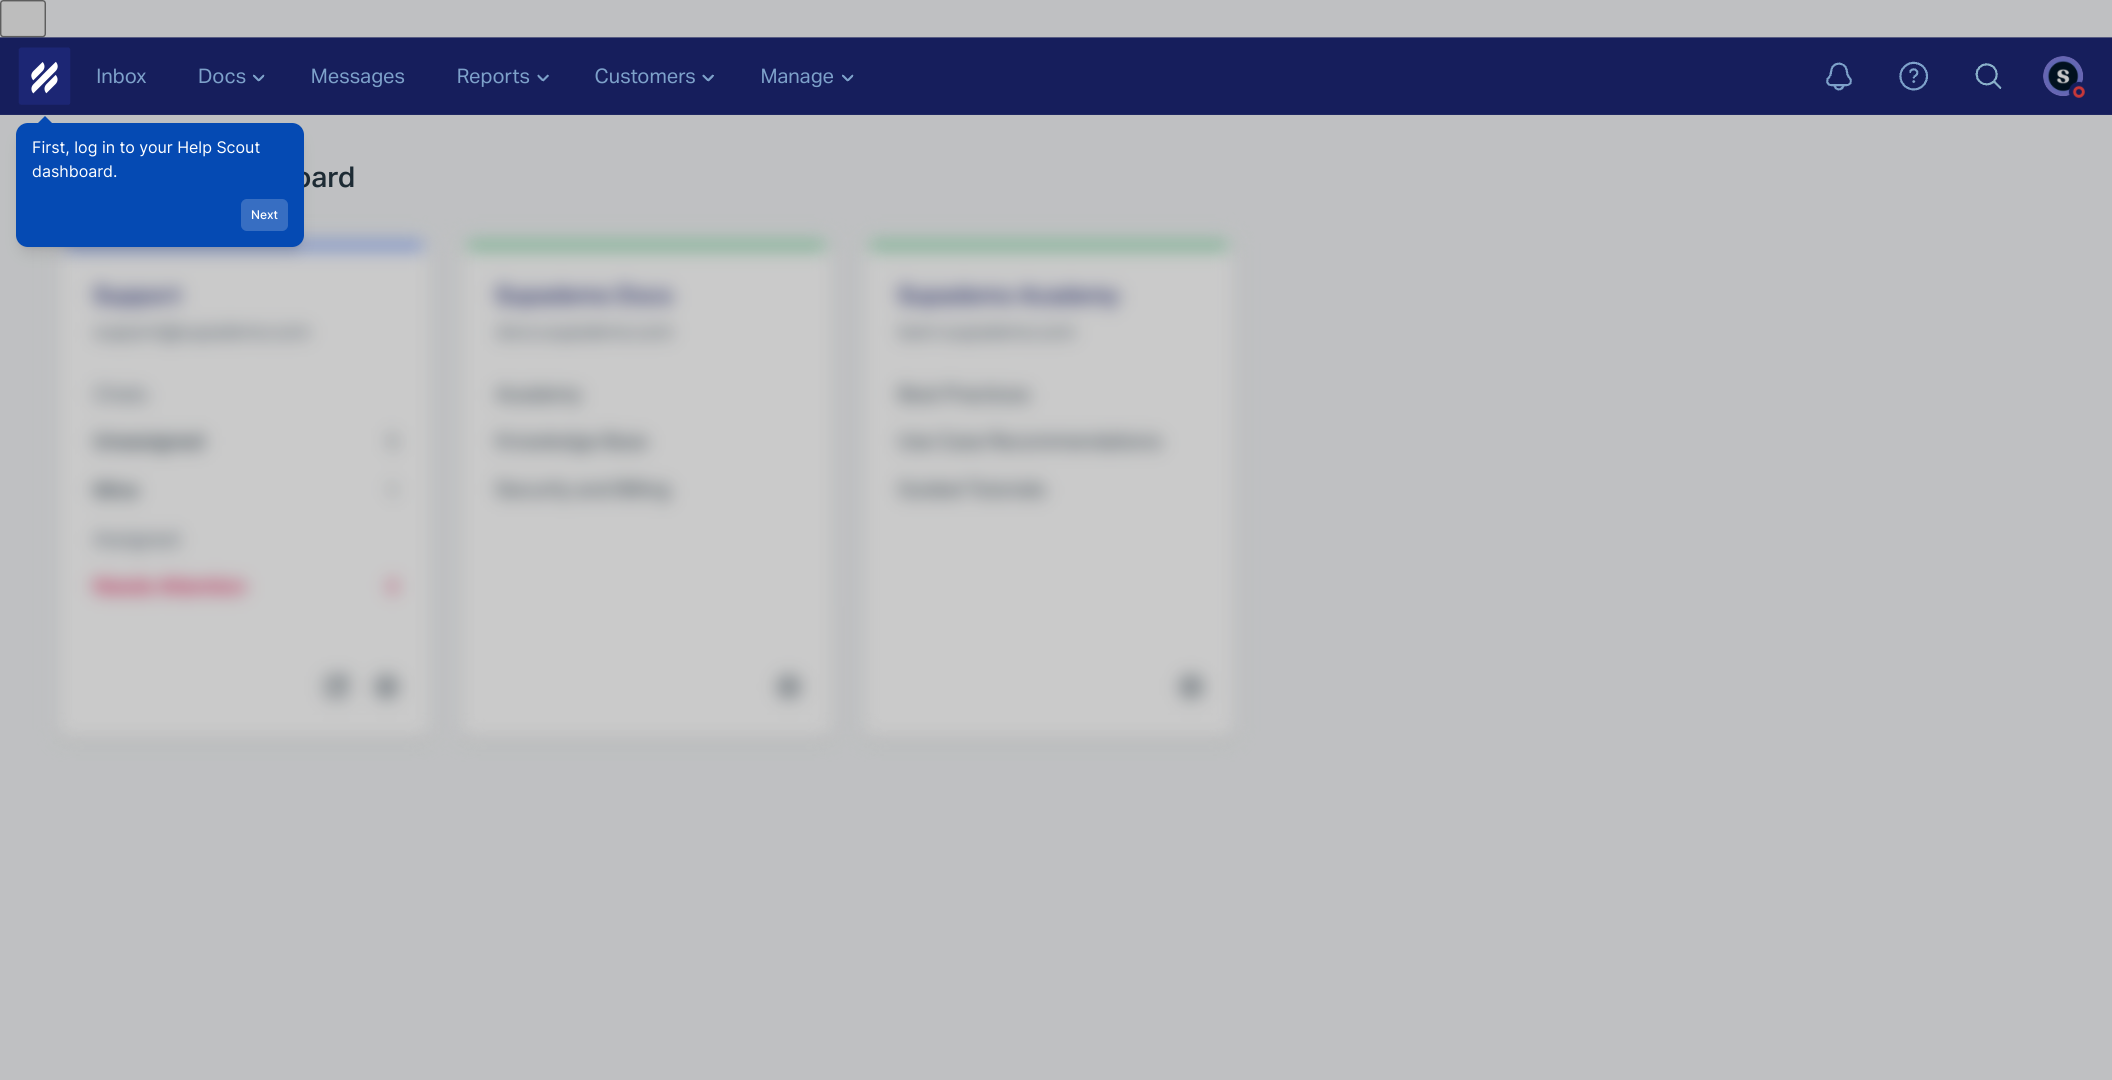
1. First, log in to your Help Scout dashboard.
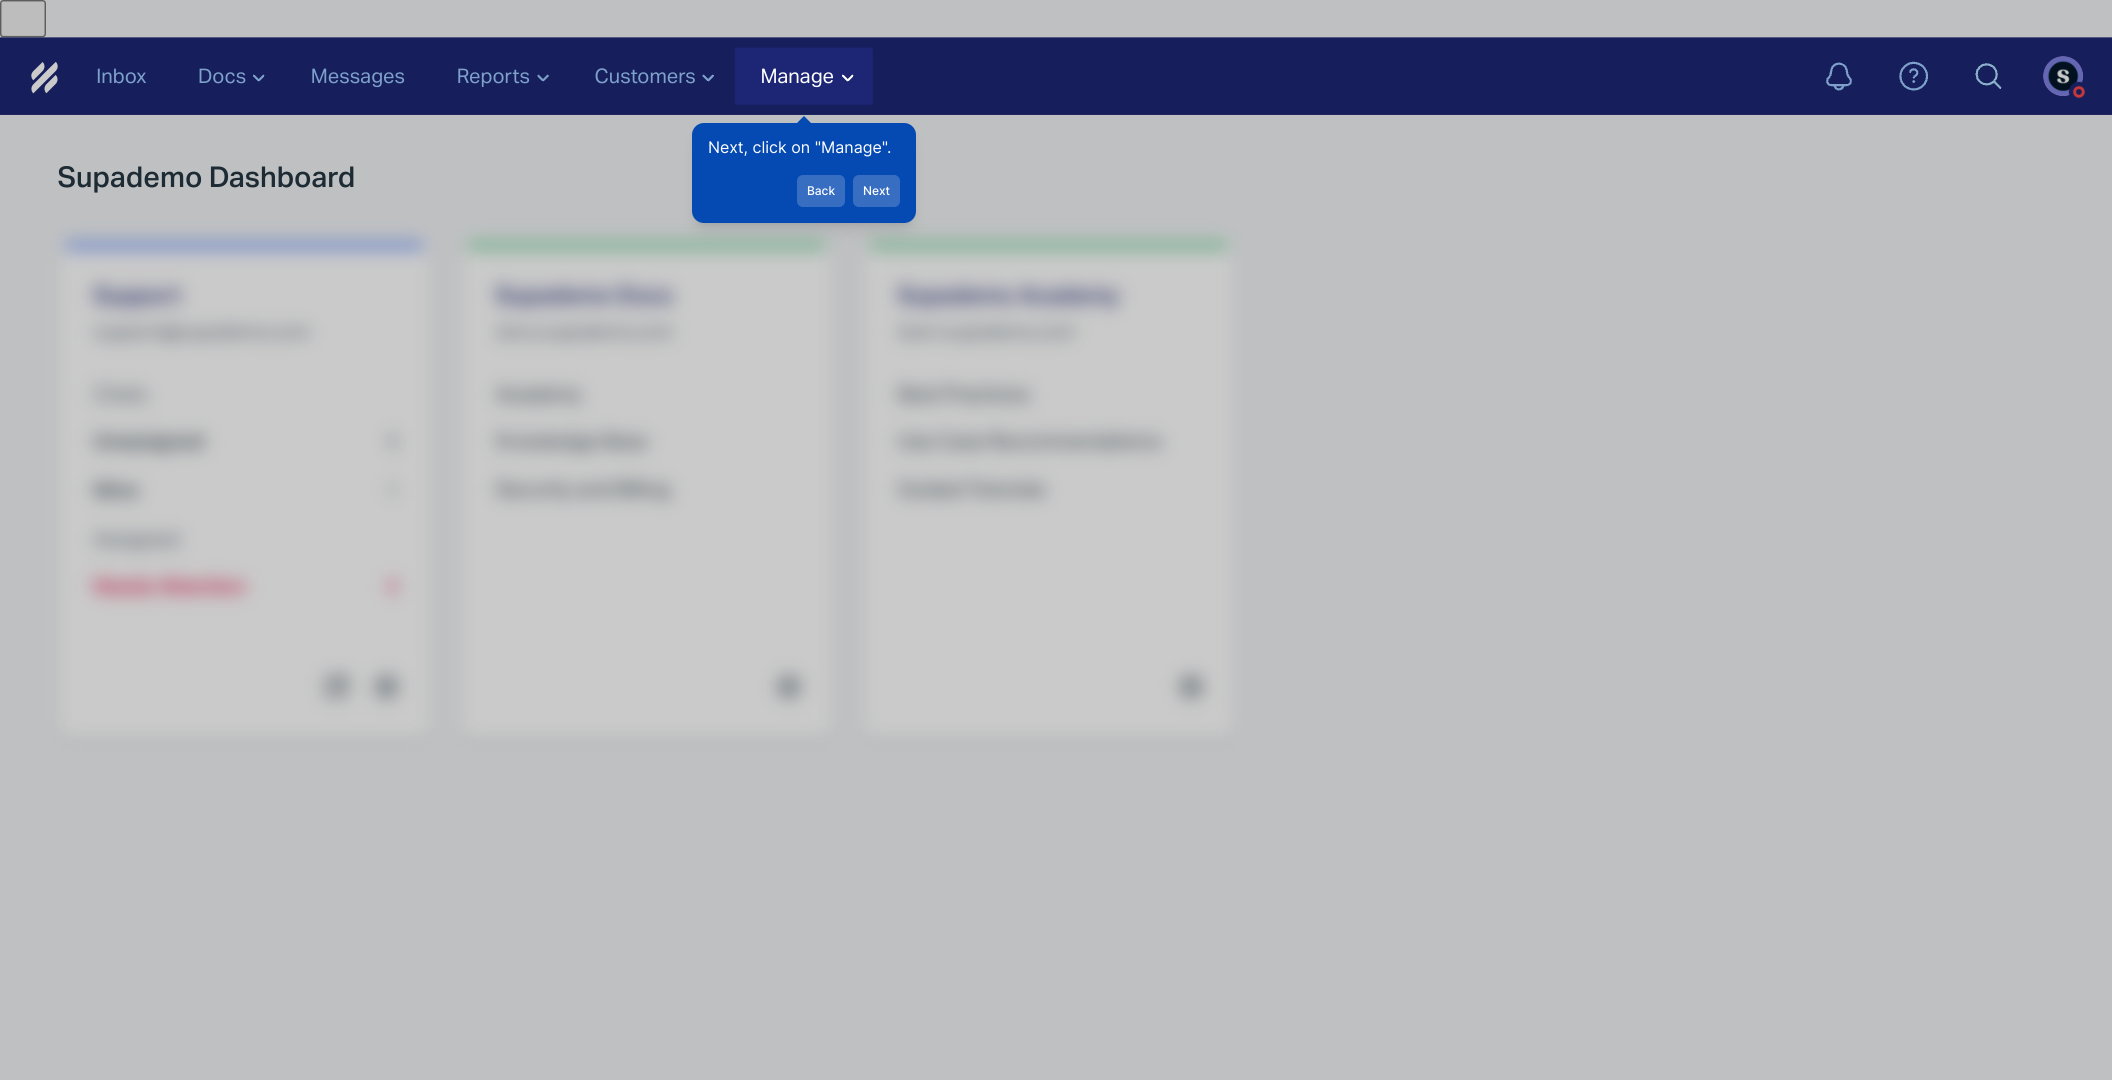
2. Next, click on "Manage".
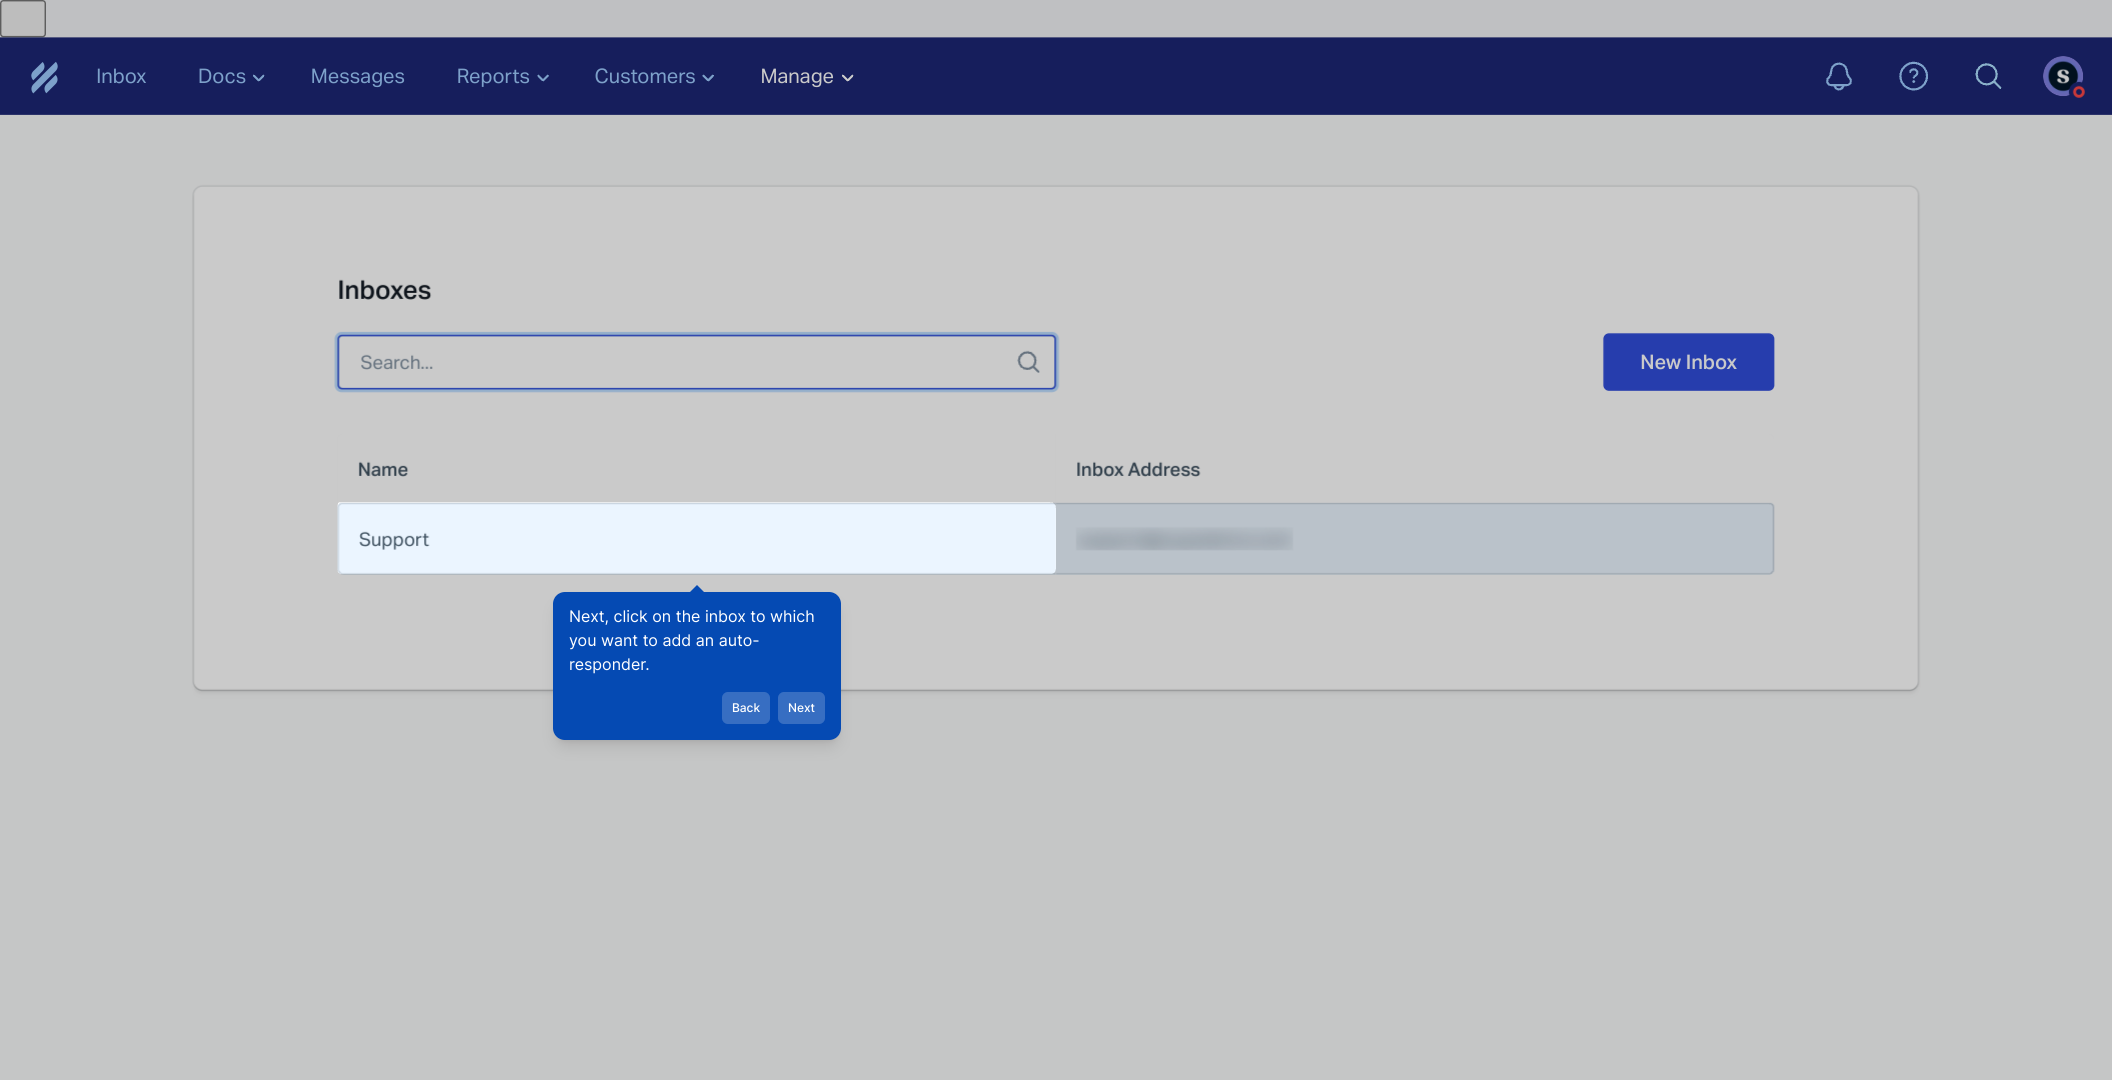
3. After that, click on "Inbox".
4. Next, click on the inbox to which you want to add an auto-responder.
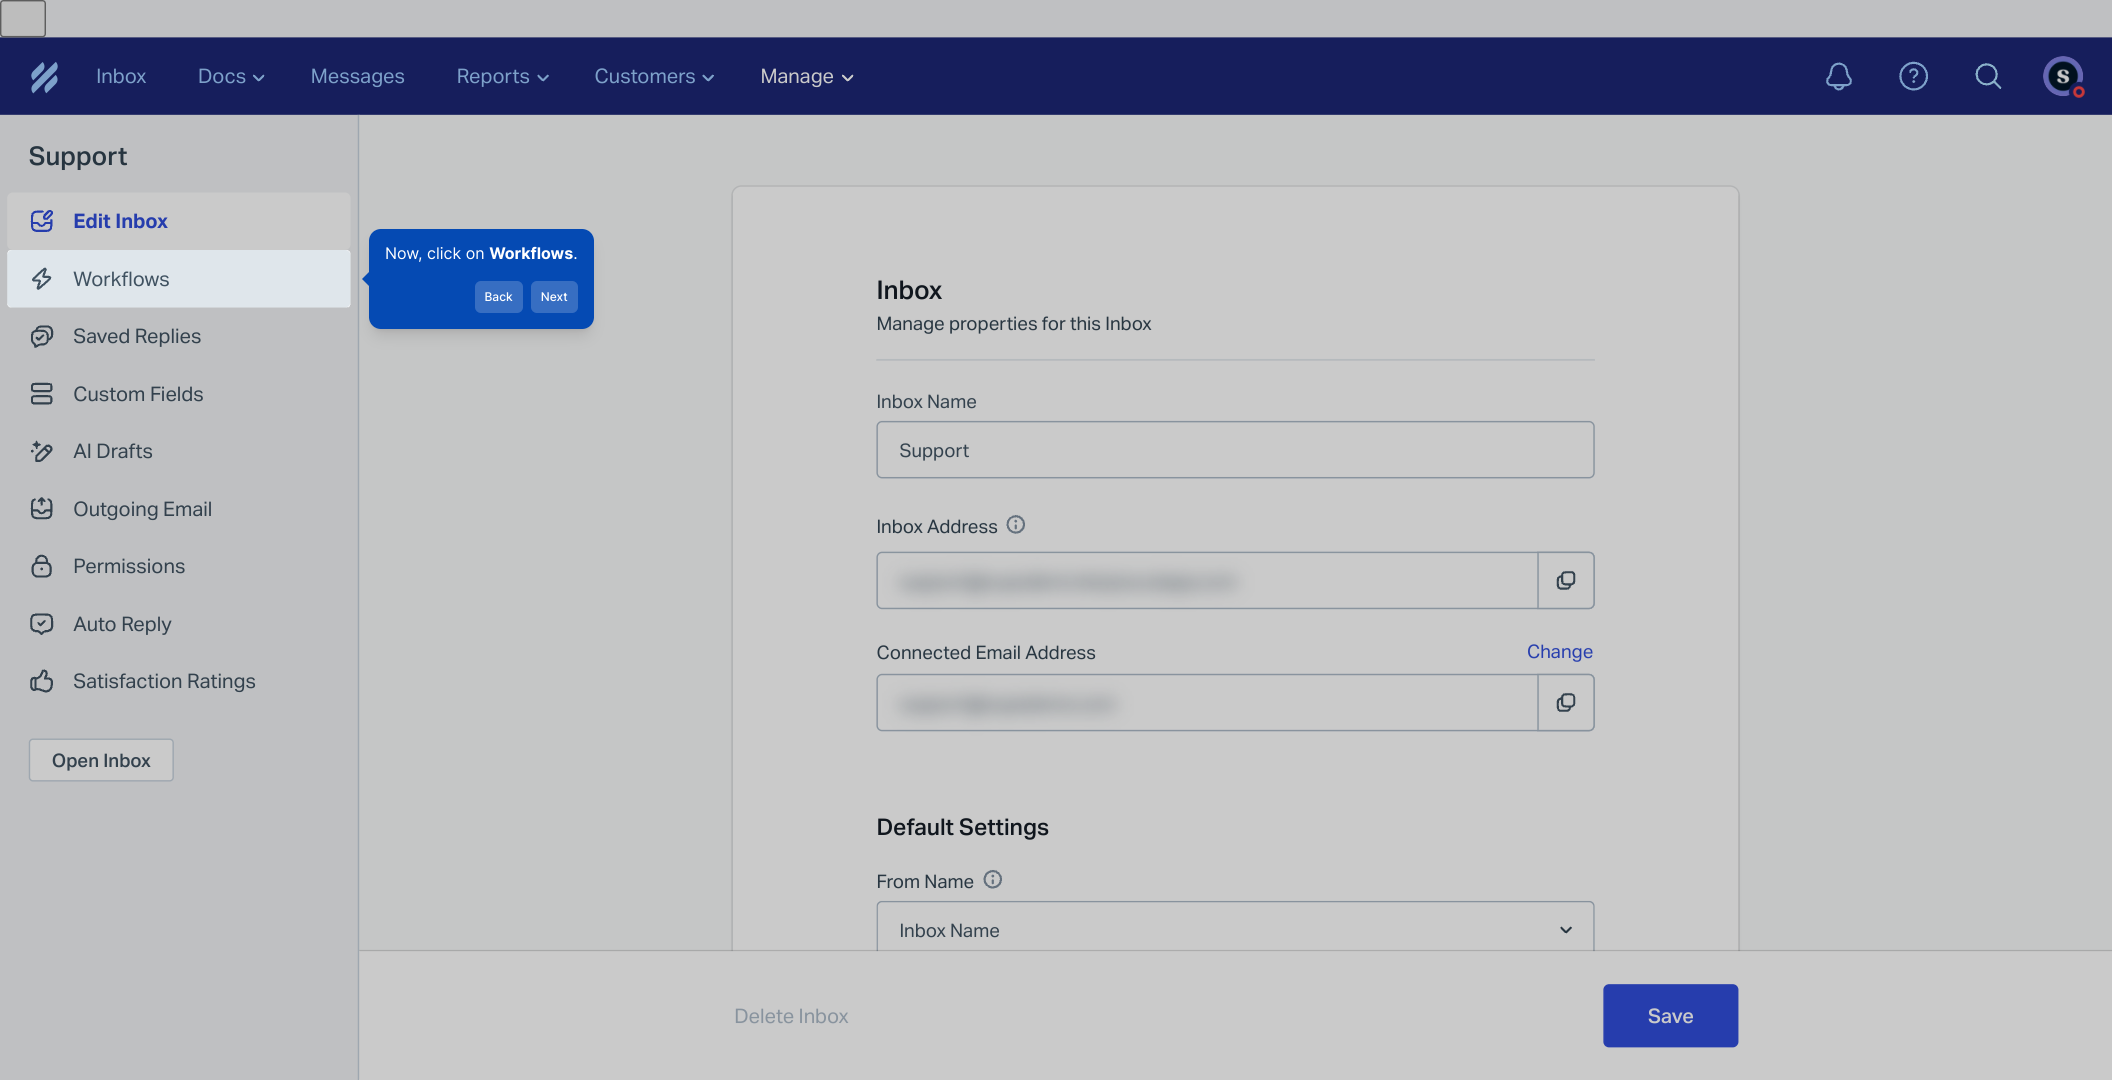
5. Now, click on Workflows.
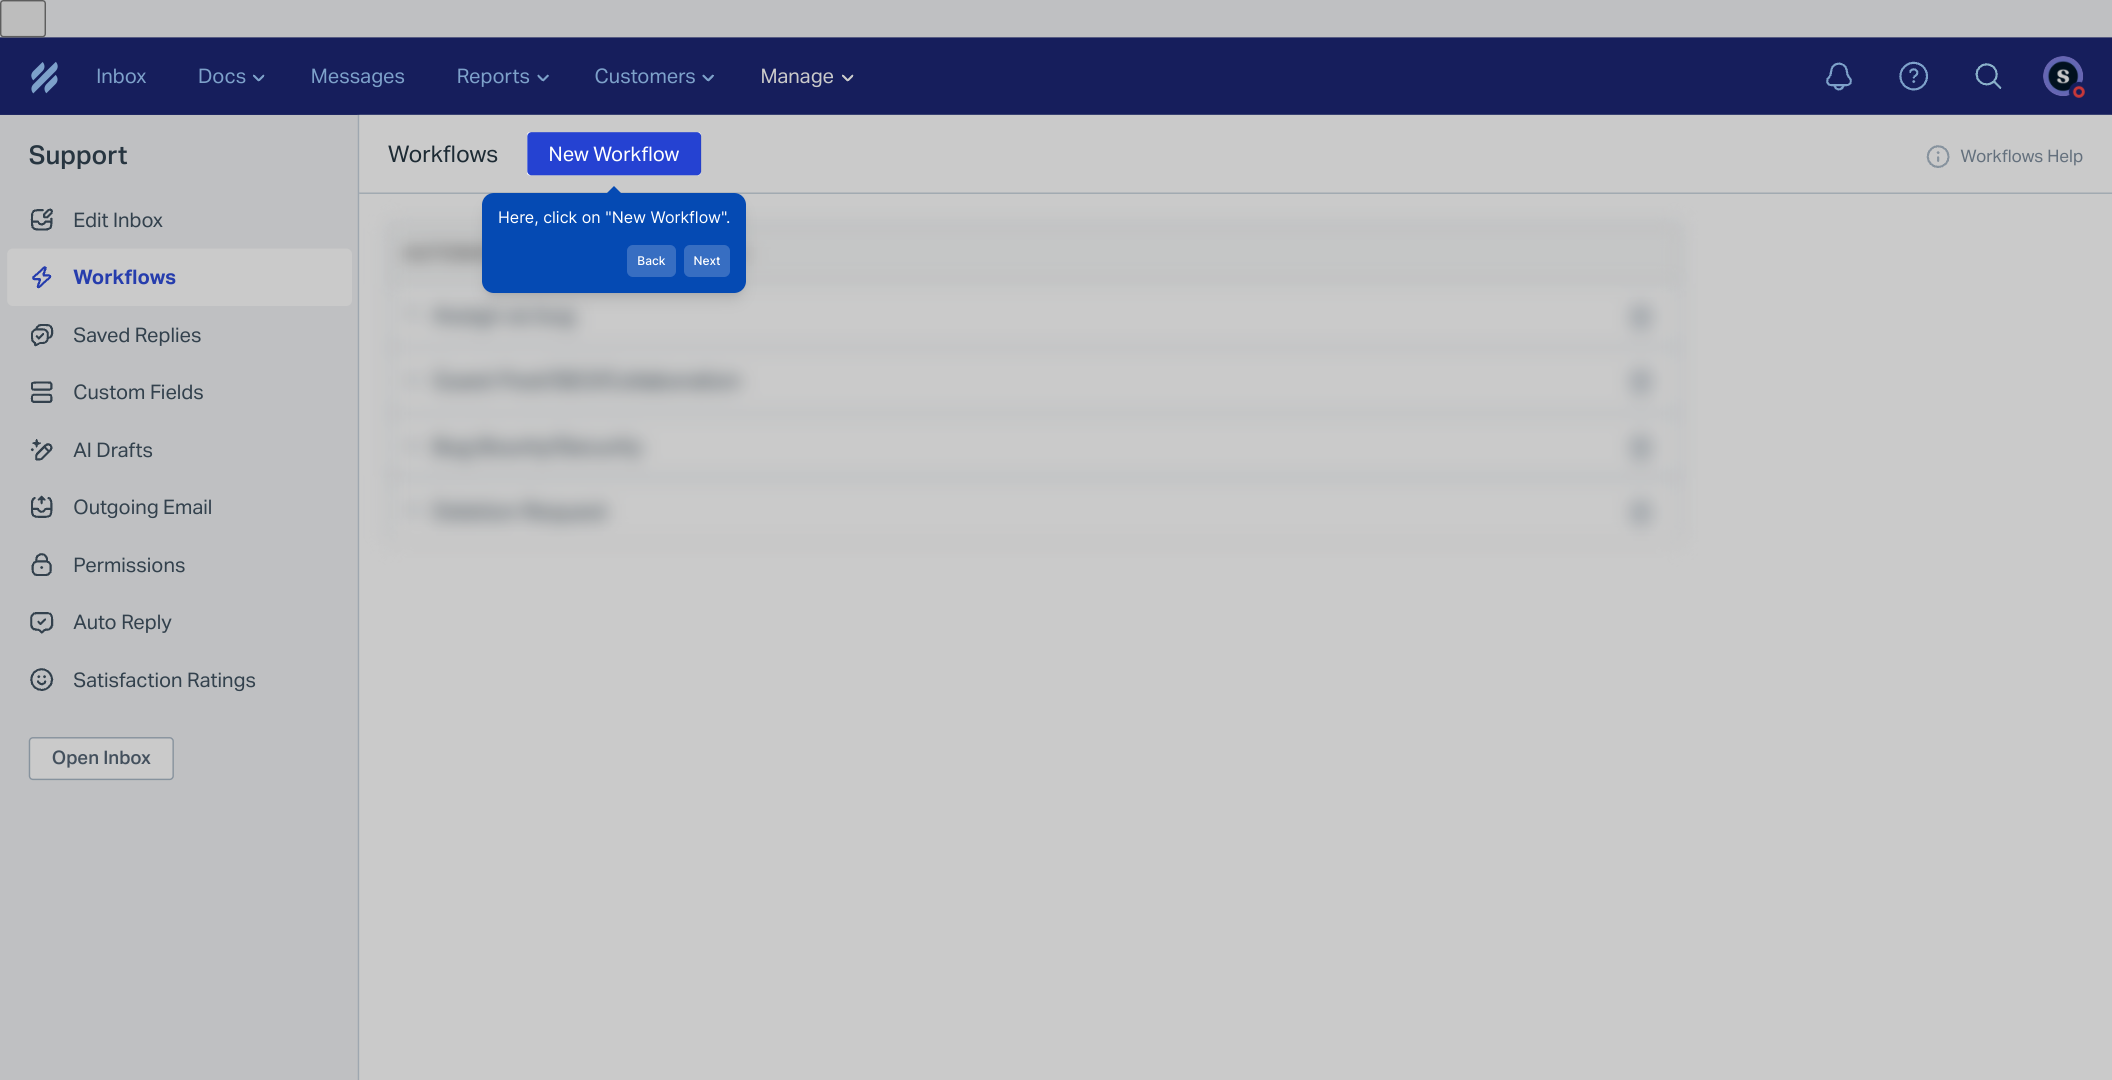
6. Here, click on "New Workflow".
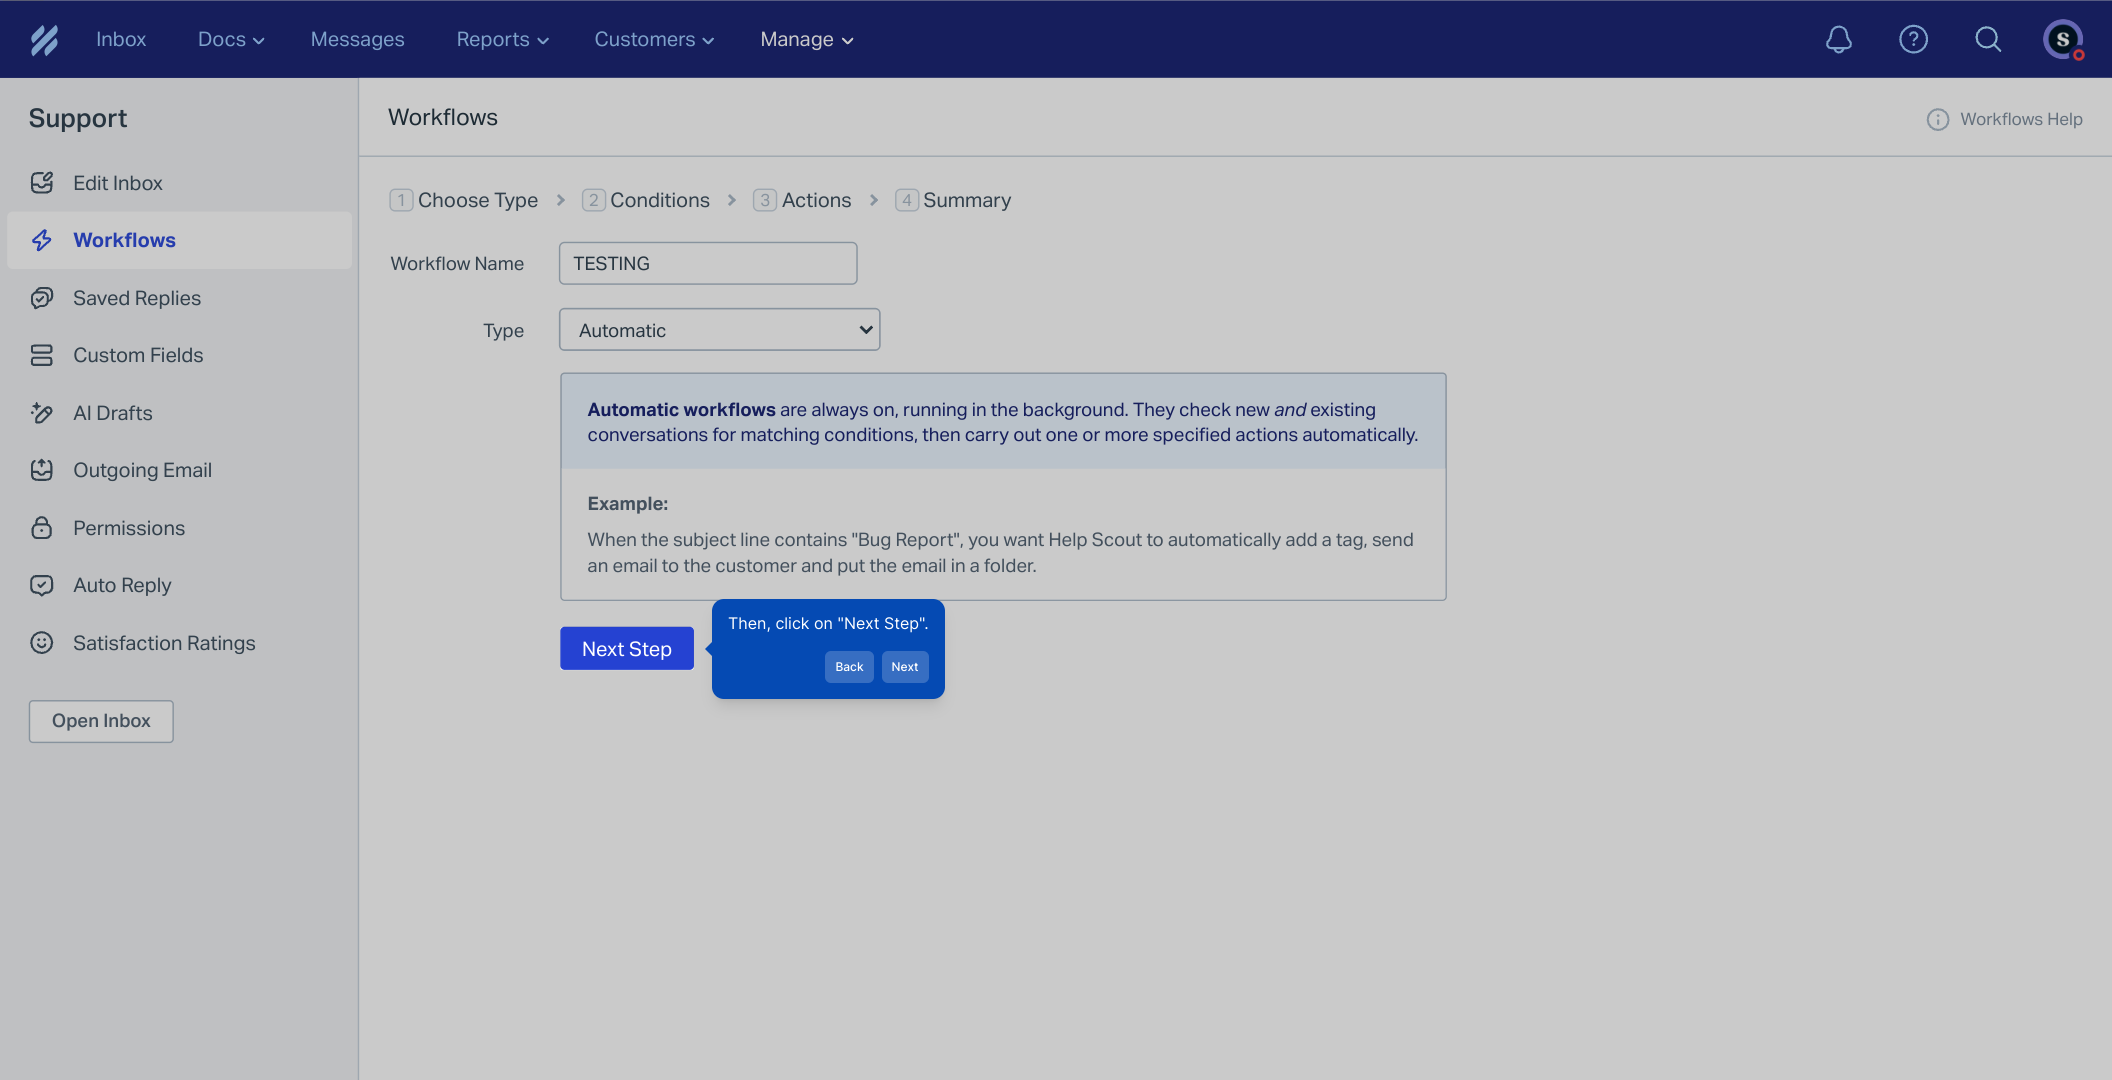
7. Start by naming the workflow and adding a type to it.
8. Then, click on "Next Step".
9. After, click on "Select a Condition".
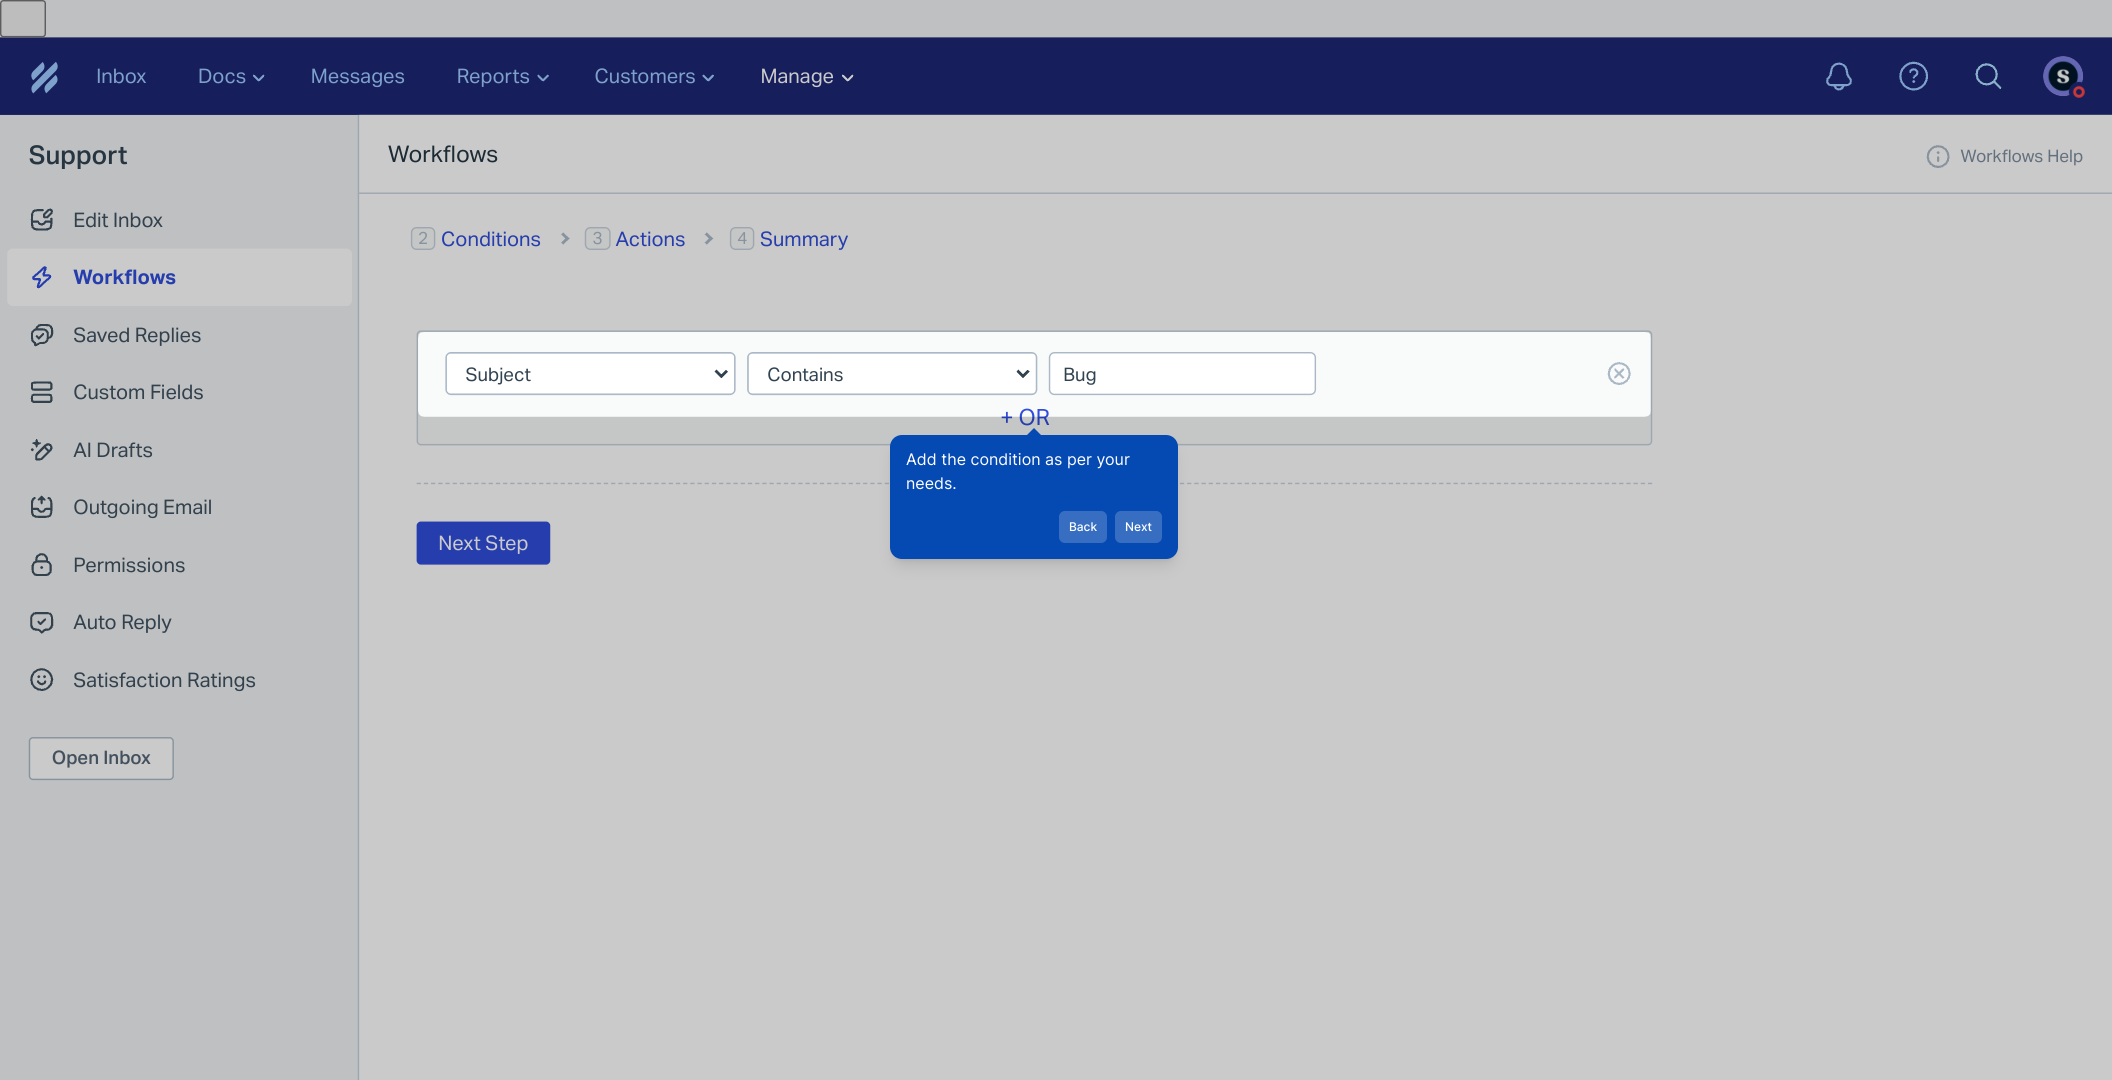
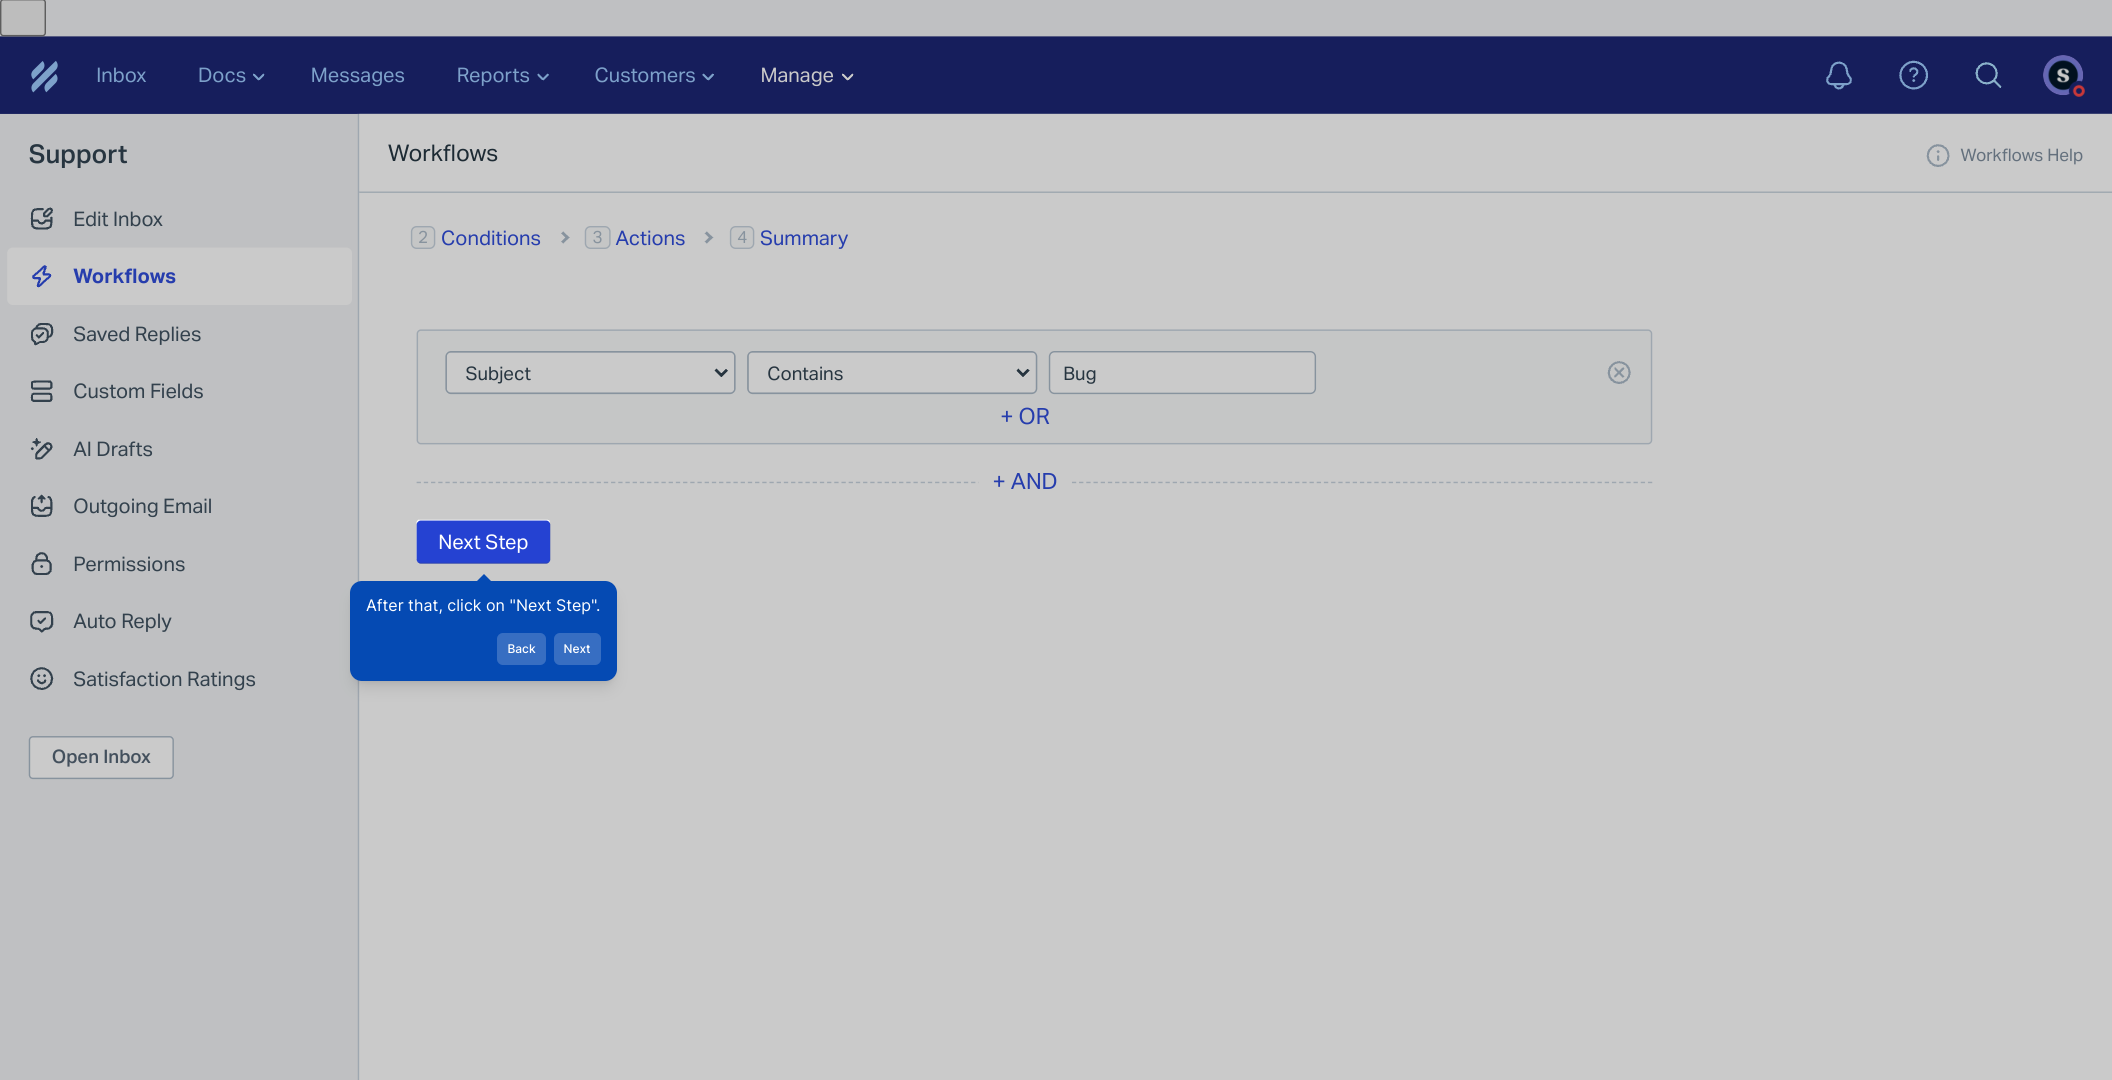
10. Add the condition as per your needs.
11. After that, click on "Next Step".
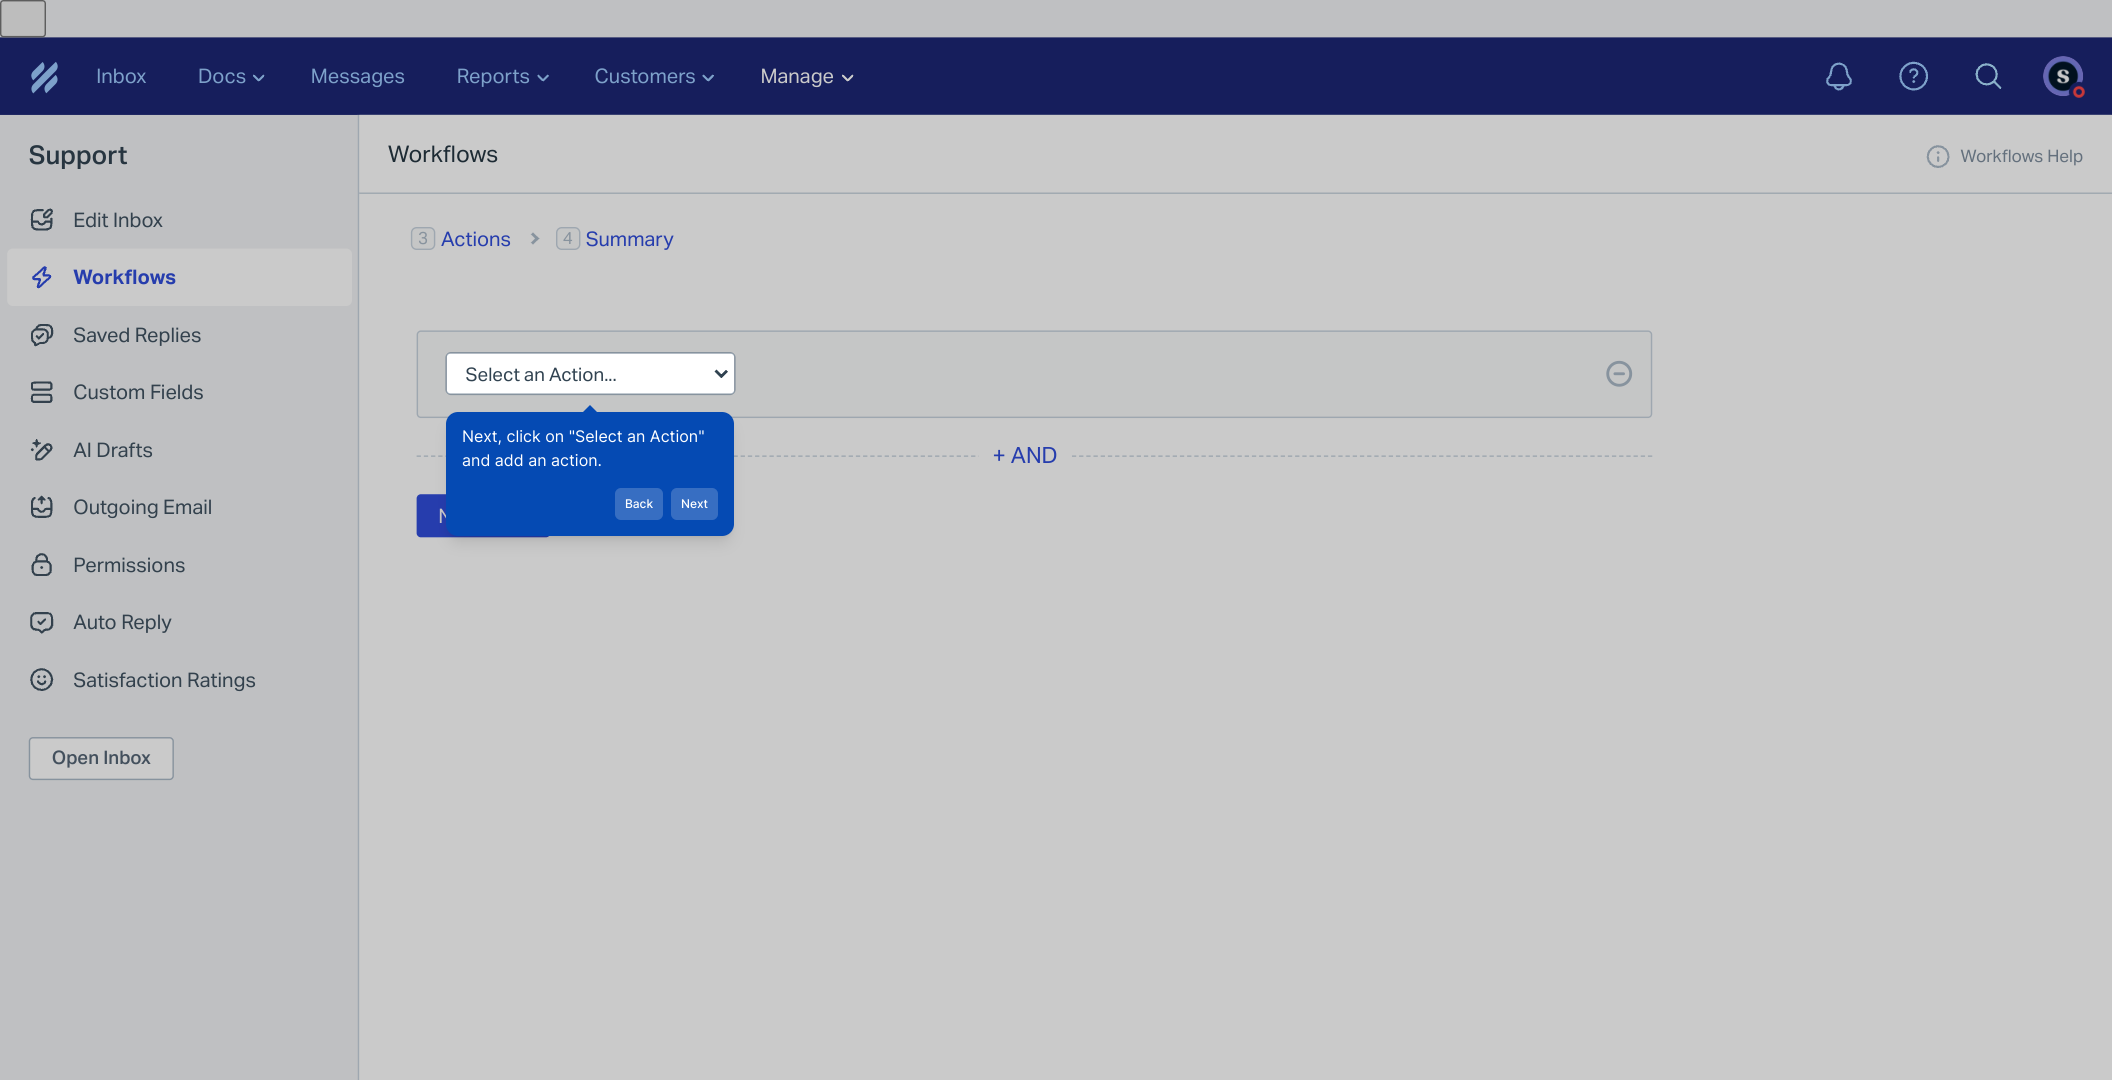
12. Next, click on "Select an Action" and add an action.
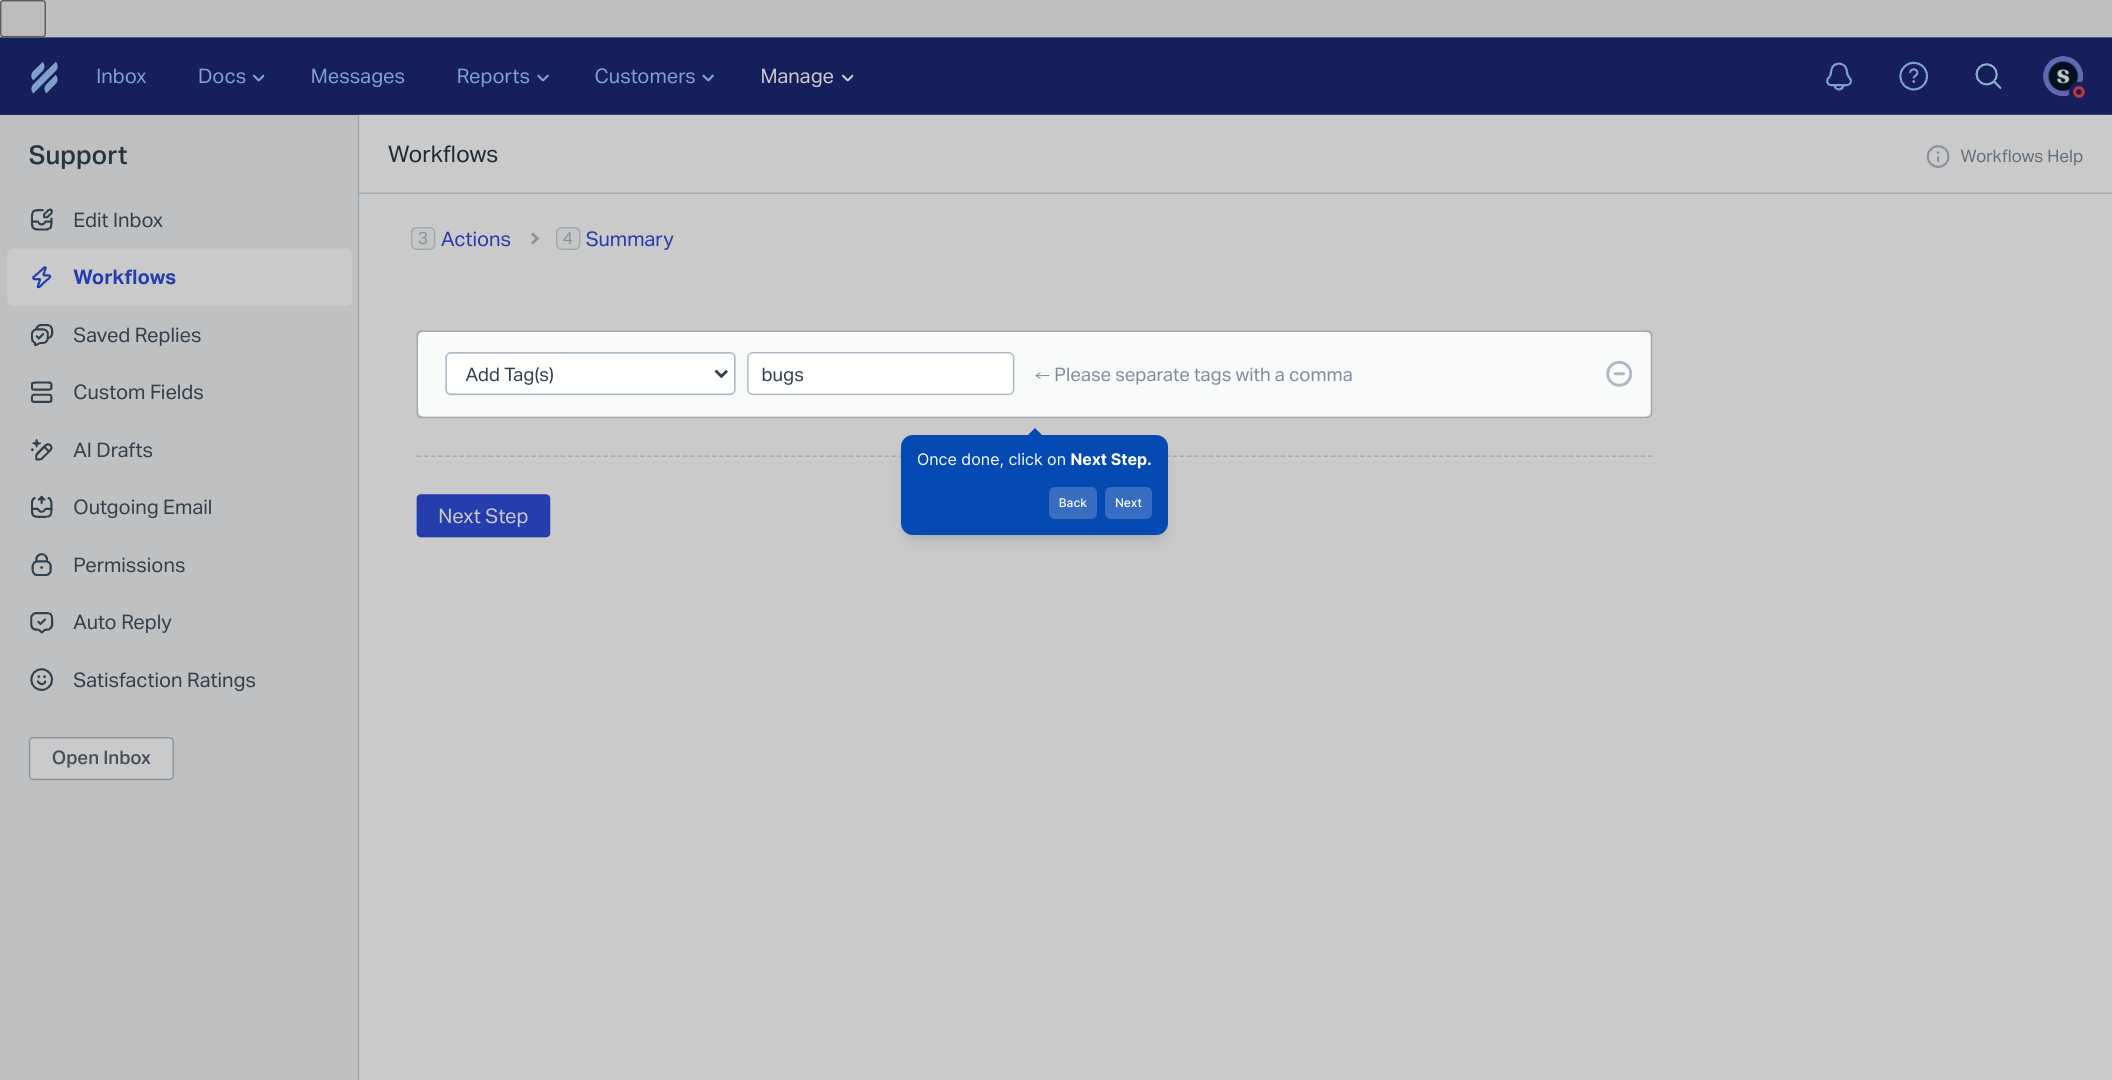
13. Once done, click on Next Step.
14. Finally, click on Active Workflow, and it will act as an auto-responder for the given condition.
15. Create a Supademo in seconds
This interactive demo/guided walkthrough on How to Set Up Auto-Responders in HelpScout was created using Supademo.
How to Set Up Auto-Responders in HelpScout : Step-by-Step Guide
Start by logging into your Help Scout account to access the main dashboard where you manage your support operations.
Once you’re on the dashboard, find and select the “Manage” option in the sidebar to begin configuring your settings.
Inside the Manage section, navigate to the “Inbox” tab where all your communication channels are listed.

Here, choose the specific inbox you want to set up with an auto-responder. This ensures responses go to the right place.
Next, select Workflows from the menu to open the automation options related to your inbox.
To create a new automation, click on the “New Workflow” button, which lets you start customizing the auto-responder.
Begin by giving your workflow a clear name and select the type that best describes the action you want it to perform.
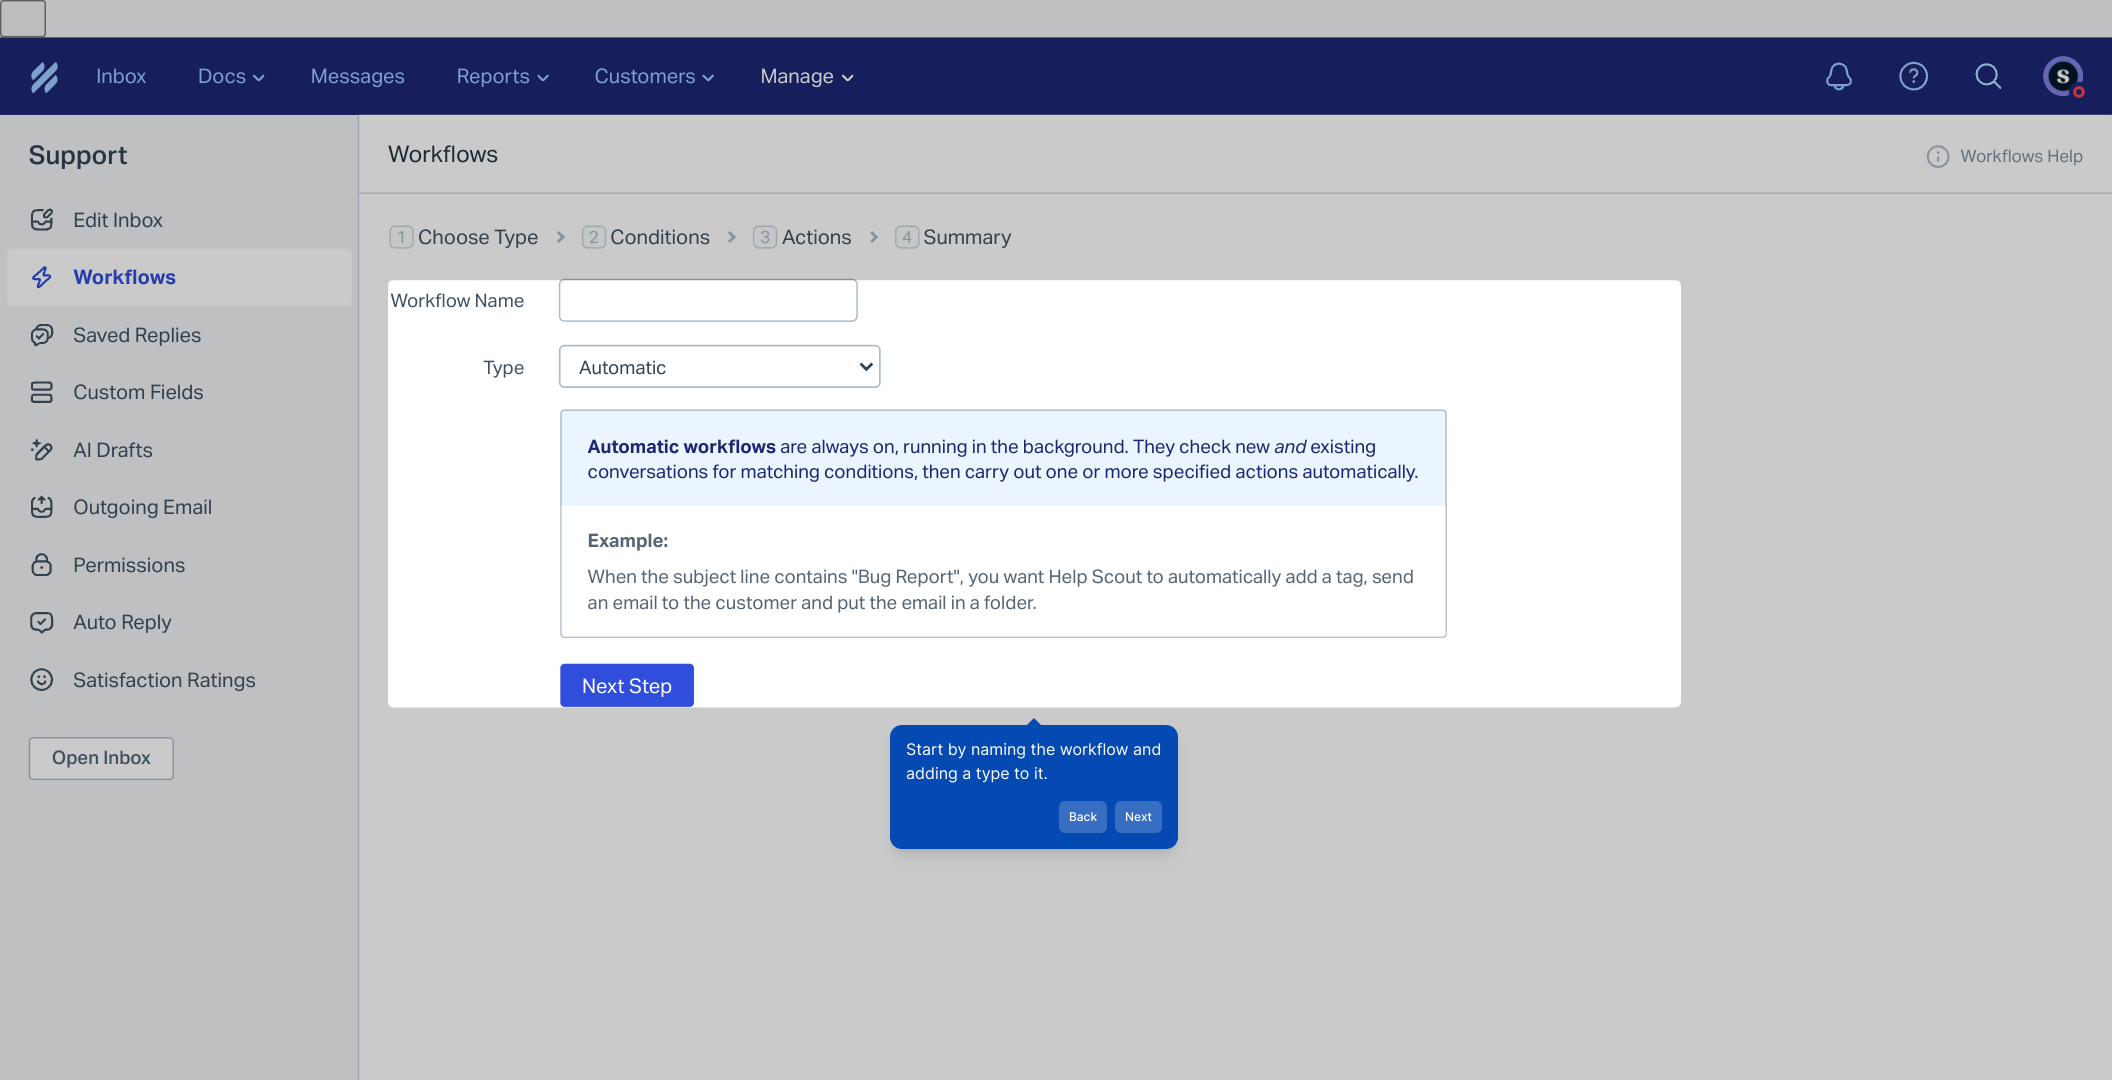
Once you’ve set the name and type, proceed by clicking the “Next Step” button to move forward with your setup.
Now, select “Choose a Condition” to specify when this workflow should trigger in your inbox.

Define the condition carefully based on your requirements — this controls what types of messages will activate the auto-response.
After setting your condition, click “Next Step” to continue refining your workflow.
Then, select “Choose an Action” to decide what the auto-responder should do when the condition is met.
Once you’ve added the appropriate action, continue by clicking on the Next Step button to proceed.
Finally, activate the workflow by clicking Active Workflow. This enables your auto-responder to start handling messages automatically based on your settings.

That’s it! You’ve now quickly created a Supademo workflow to automate your customer inbox interactions.
Create your own interactive demos in < 5 mins with Supademo
You can create your own interactive product demo in minutes using Supademo. Drive growth, scale enablement, and supercharge product-led onboarding with Supademo.
Sign up for free here with no credit card required.
FAQs
What are auto-responders in HelpScout?
Auto-responders in HelpScout are automated messages sent to customers based on predefined triggers or conditions. They help quickly acknowledge inquiries or provide relevant information without manual intervention, improving customer experience and response time.
How do I create a new workflow for an auto-responder?
In HelpScout, navigate to Manage > Inbox > select your inbox > Workflows. Click "New Workflow," name it, select the type, set conditions, add actions, and activate it. This workflow will function as your auto-responder.
Can I customize the message sent by the auto-responder?
Yes, you can tailor auto-responder messages within the workflow action settings. Customize templates to fit your brand voice and address specific customer concerns or scenarios effectively.
What types of conditions can trigger an auto-responder?
HelpScout allows you to set conditions like email source, tags, conversation status, or specific keywords. These conditions determine when the auto-responder activates, ensuring relevant and timely messages.
Is there a way to test my auto-responder before activating?
HelpScout does not have a dedicated test mode for workflows, but you can create the conditions and trigger the workflow with a test email to verify the auto-responder's behavior before going fully live.
How quickly does an auto-responder send messages after a trigger?
Auto-responders in HelpScout typically send messages immediately after the specified condition is met, ensuring customers receive prompt acknowledgment or follow-up without noticeable delays.
Can I have multiple workflows acting as auto-responders in one inbox?
Yes, you can create multiple workflows for the same inbox, each with different conditions and actions. This allows for diverse auto-responses based on various triggers or customer segments.
Will auto-responders interfere with manual replies from my support team?
No, auto-responders complement manual replies. They typically acknowledge initial contact or predefined cases, while support staff can provide personalized follow-ups without conflict.
Are auto-responders available on all HelpScout plans?
Auto-responder workflows are available on most paid HelpScout plans. However, features may vary, so check your plan details to confirm availability and any limitations.
How can I modify or deactivate an existing auto-responder?
Go to Manage > Inbox > select your inbox > Workflows. Find the workflow used as an auto-responder, edit or deactivate it by toggling the Active Workflow switch or deleting it.