Overview:
Efficiently manage document sharing in ClickUp by implementing private sharing features. Elevate user collaboration and simplify access control by securely sharing documents with relevant stakeholders. This guide offers a straightforward process to create and share documents privately within ClickUp, ensuring enhanced efficiency and clarity in document management within the platform.
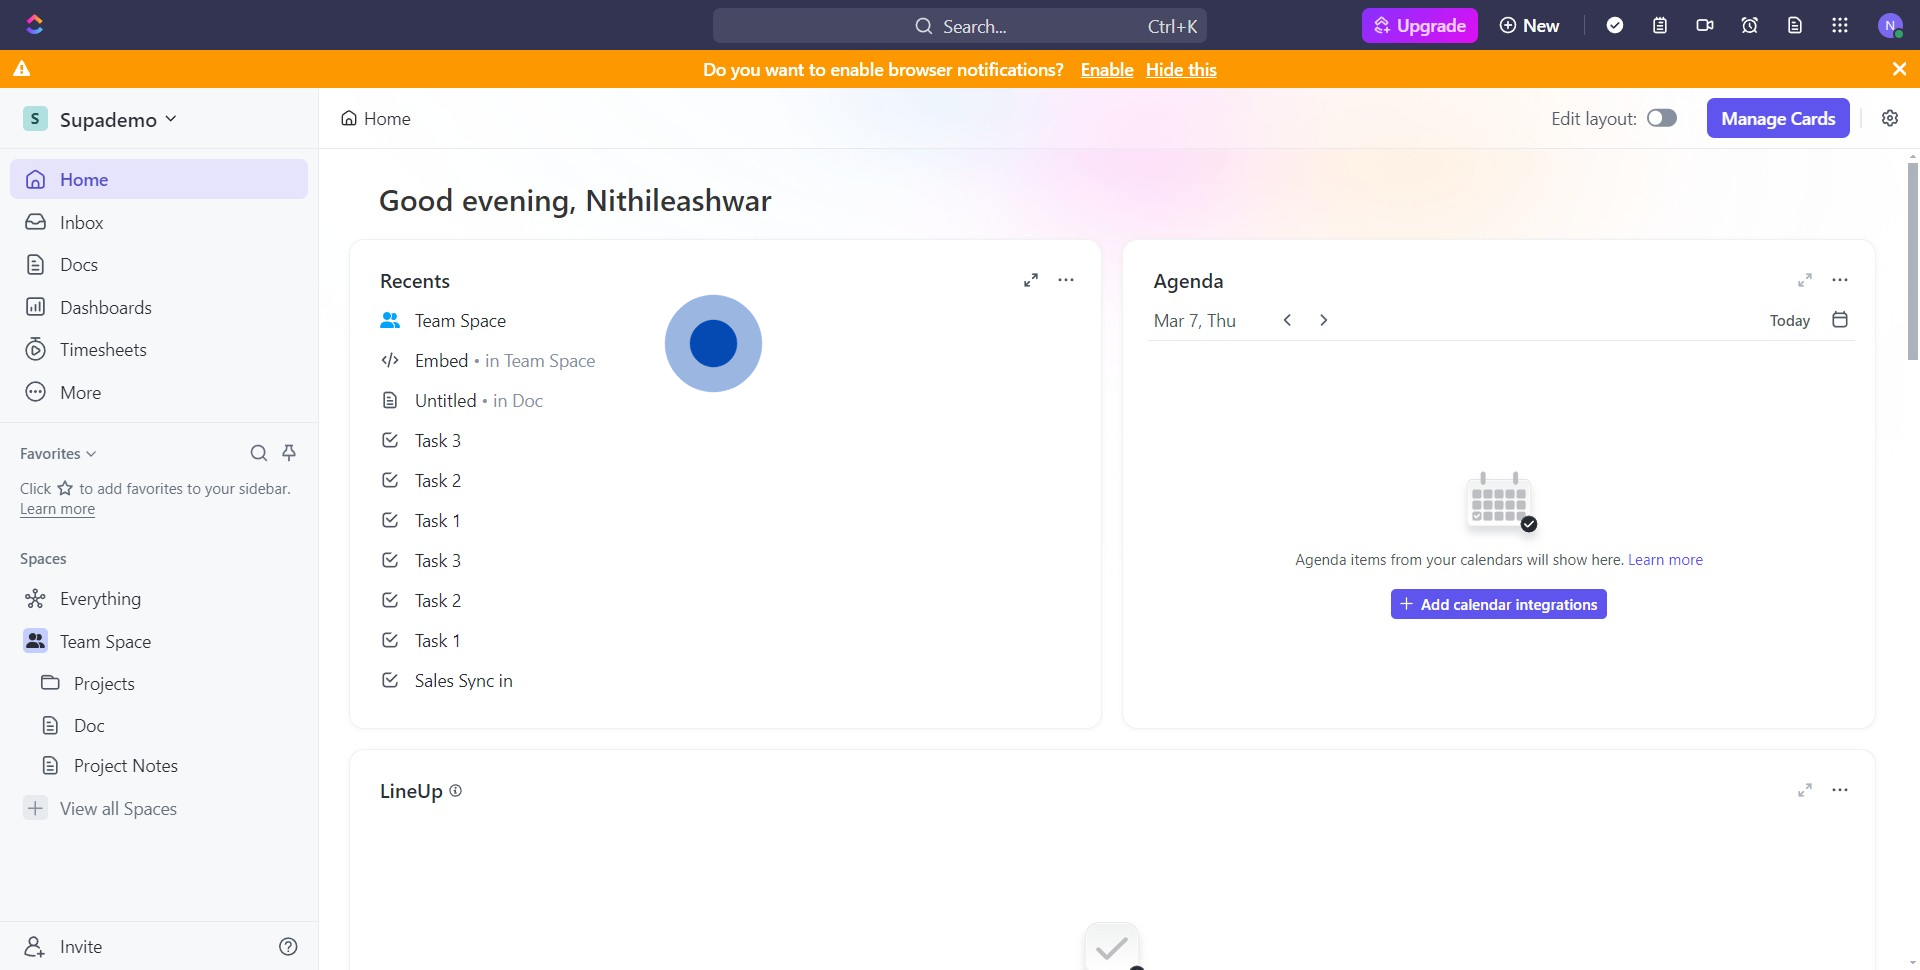
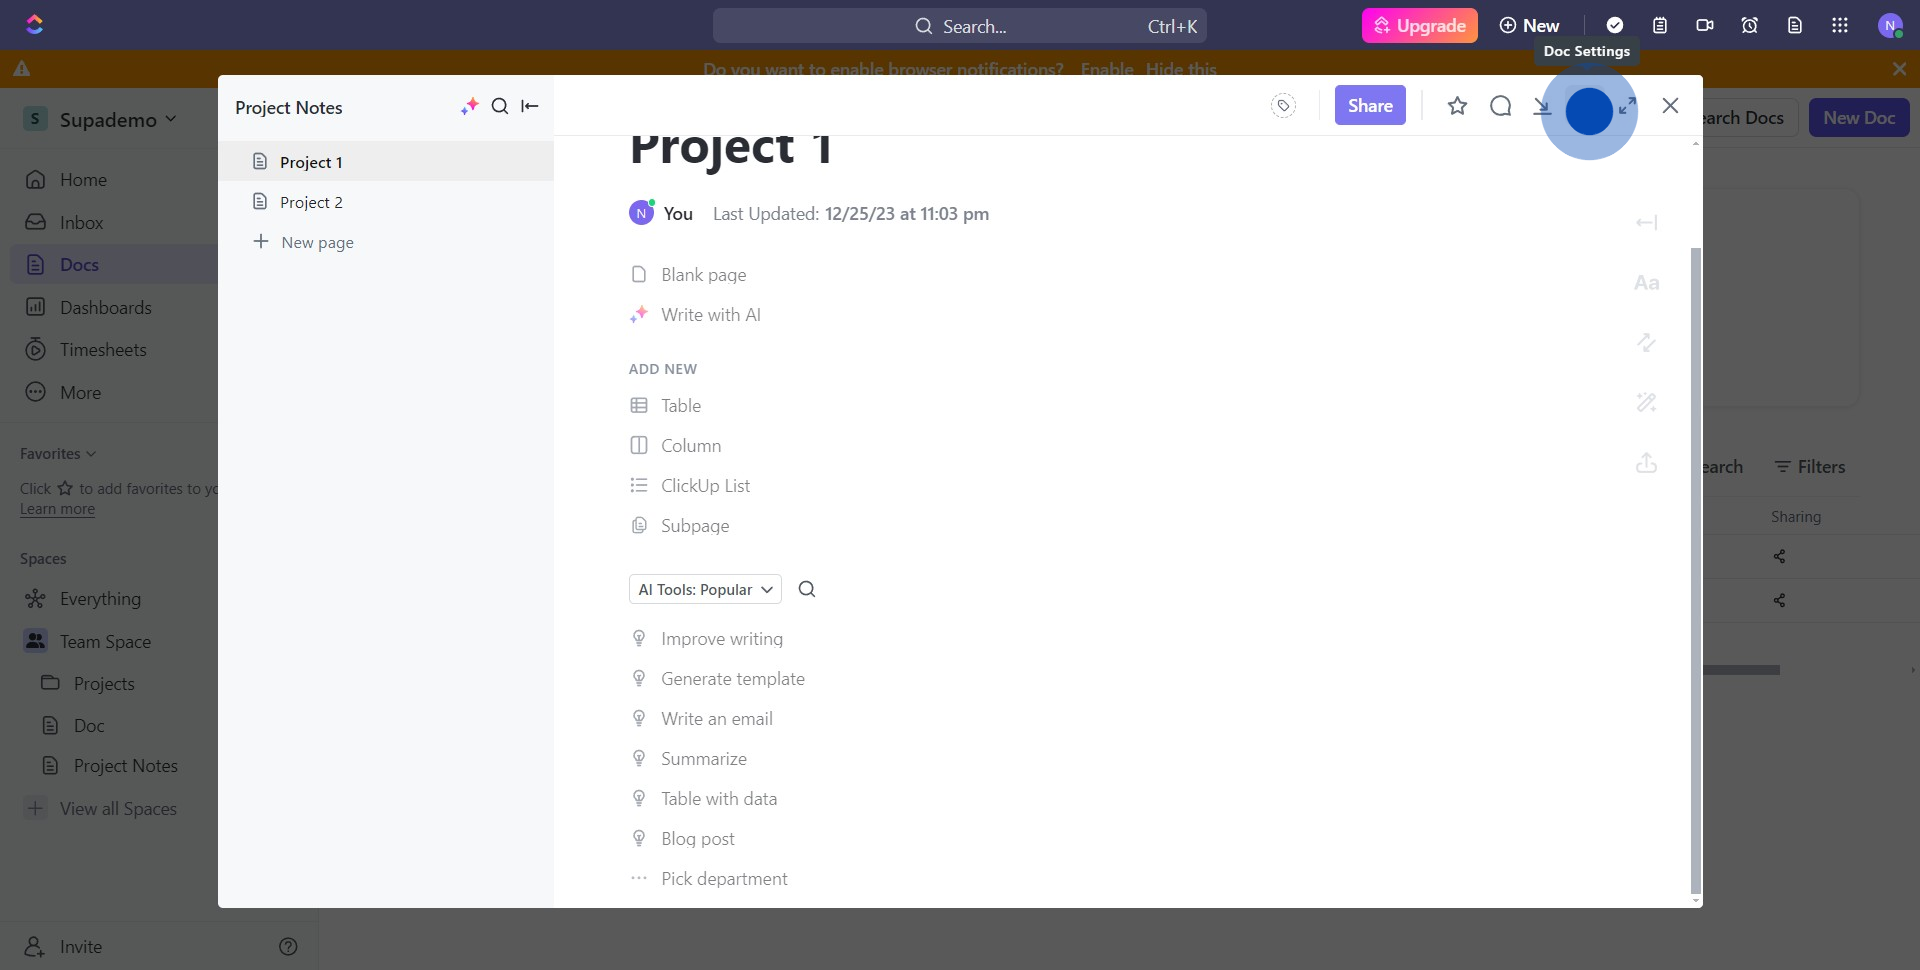
1. Start from your ClickUp workspace.
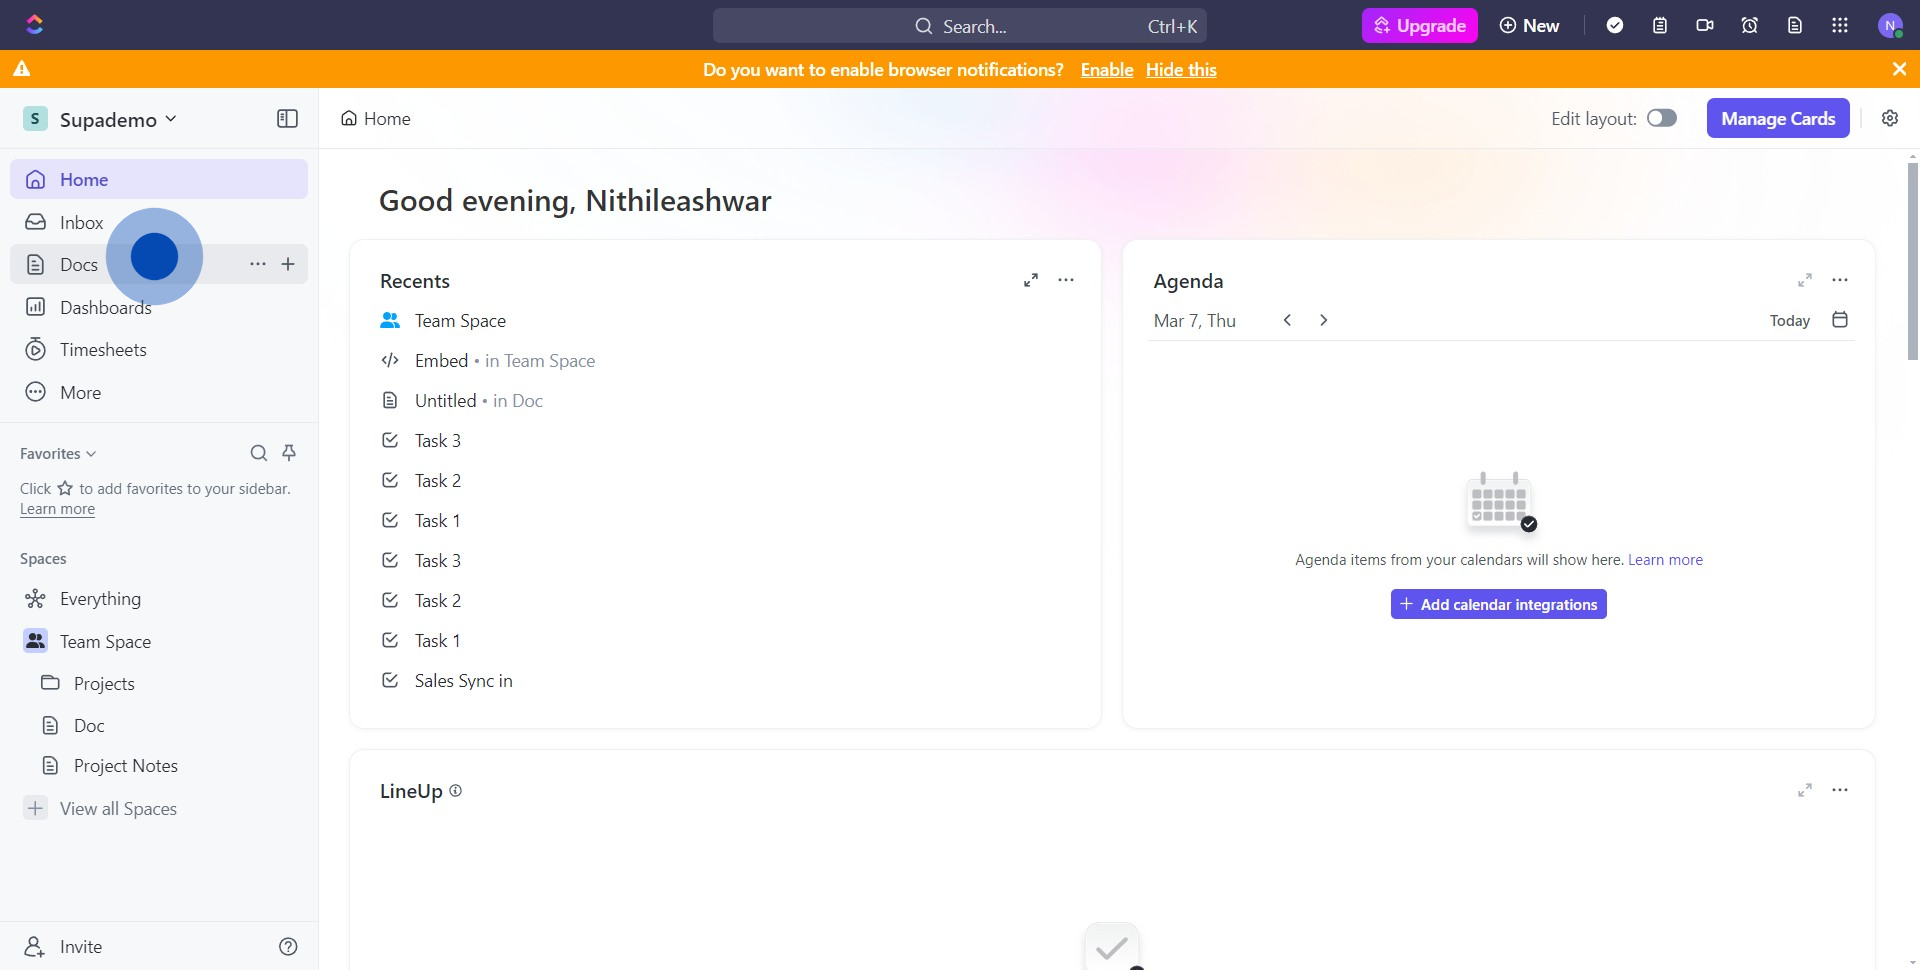
2. Find and select the 'Docs' option.
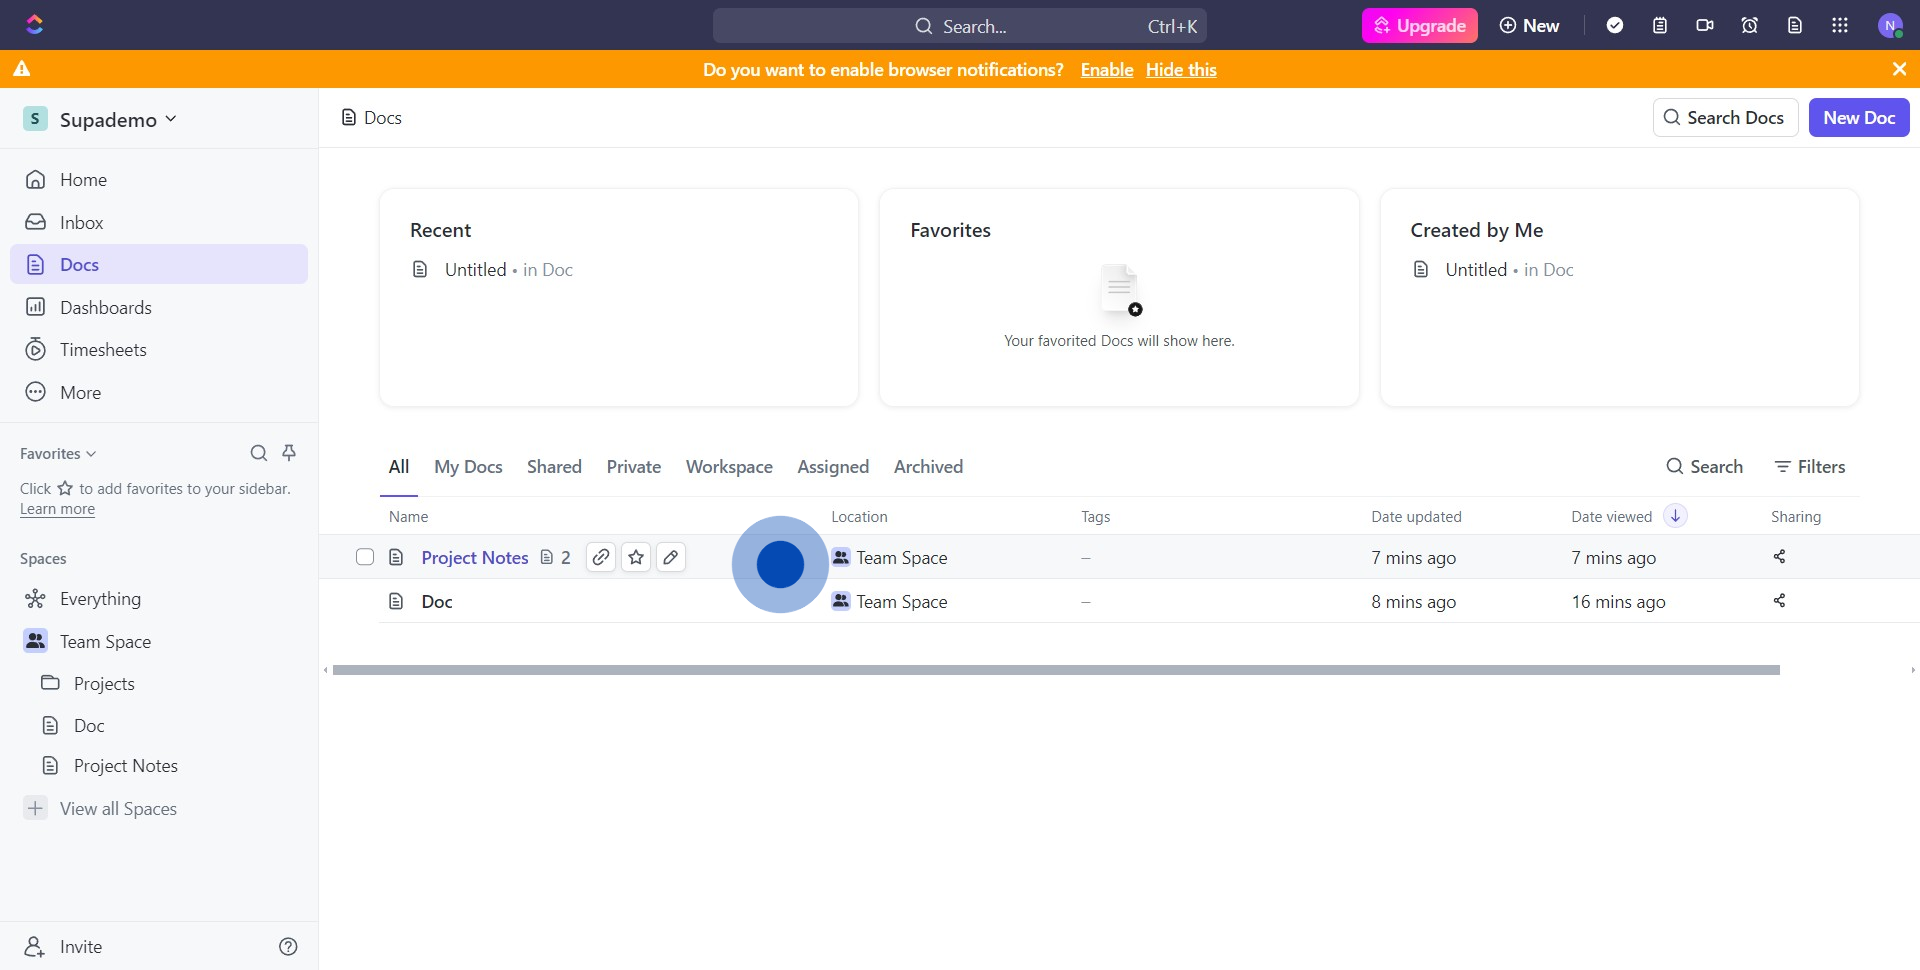
3. Choose the particular project note you are interested in.
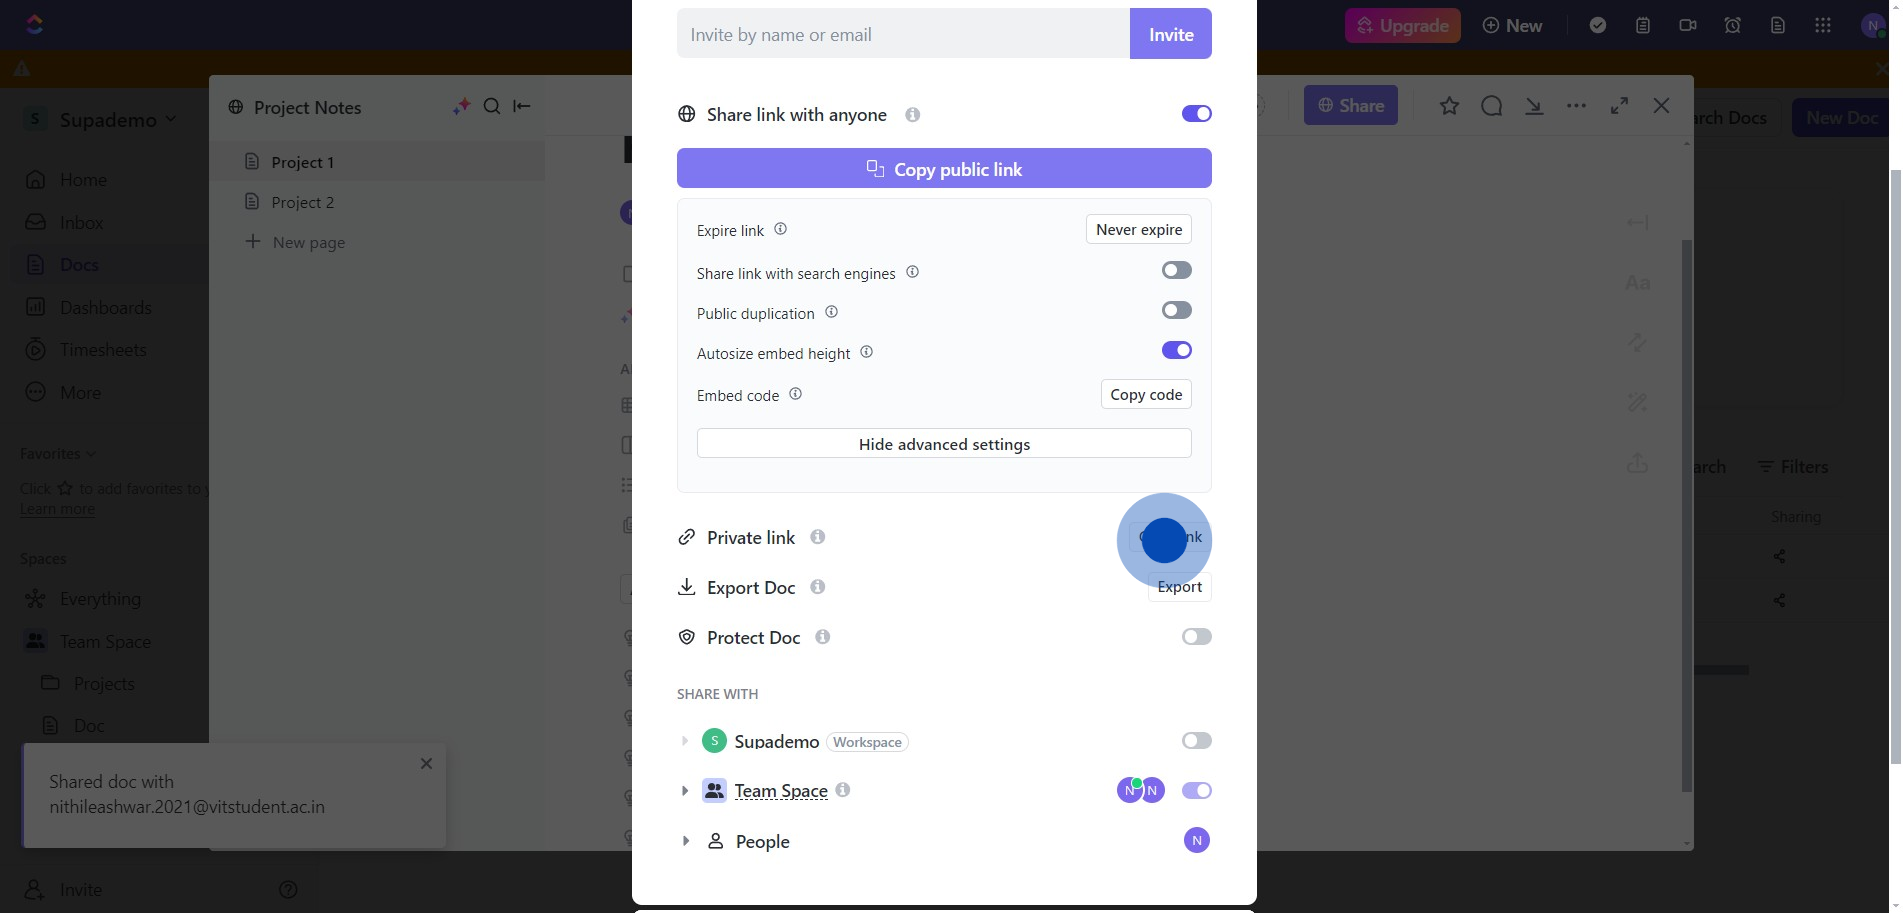
4. Look for the sharing icon and click on it.
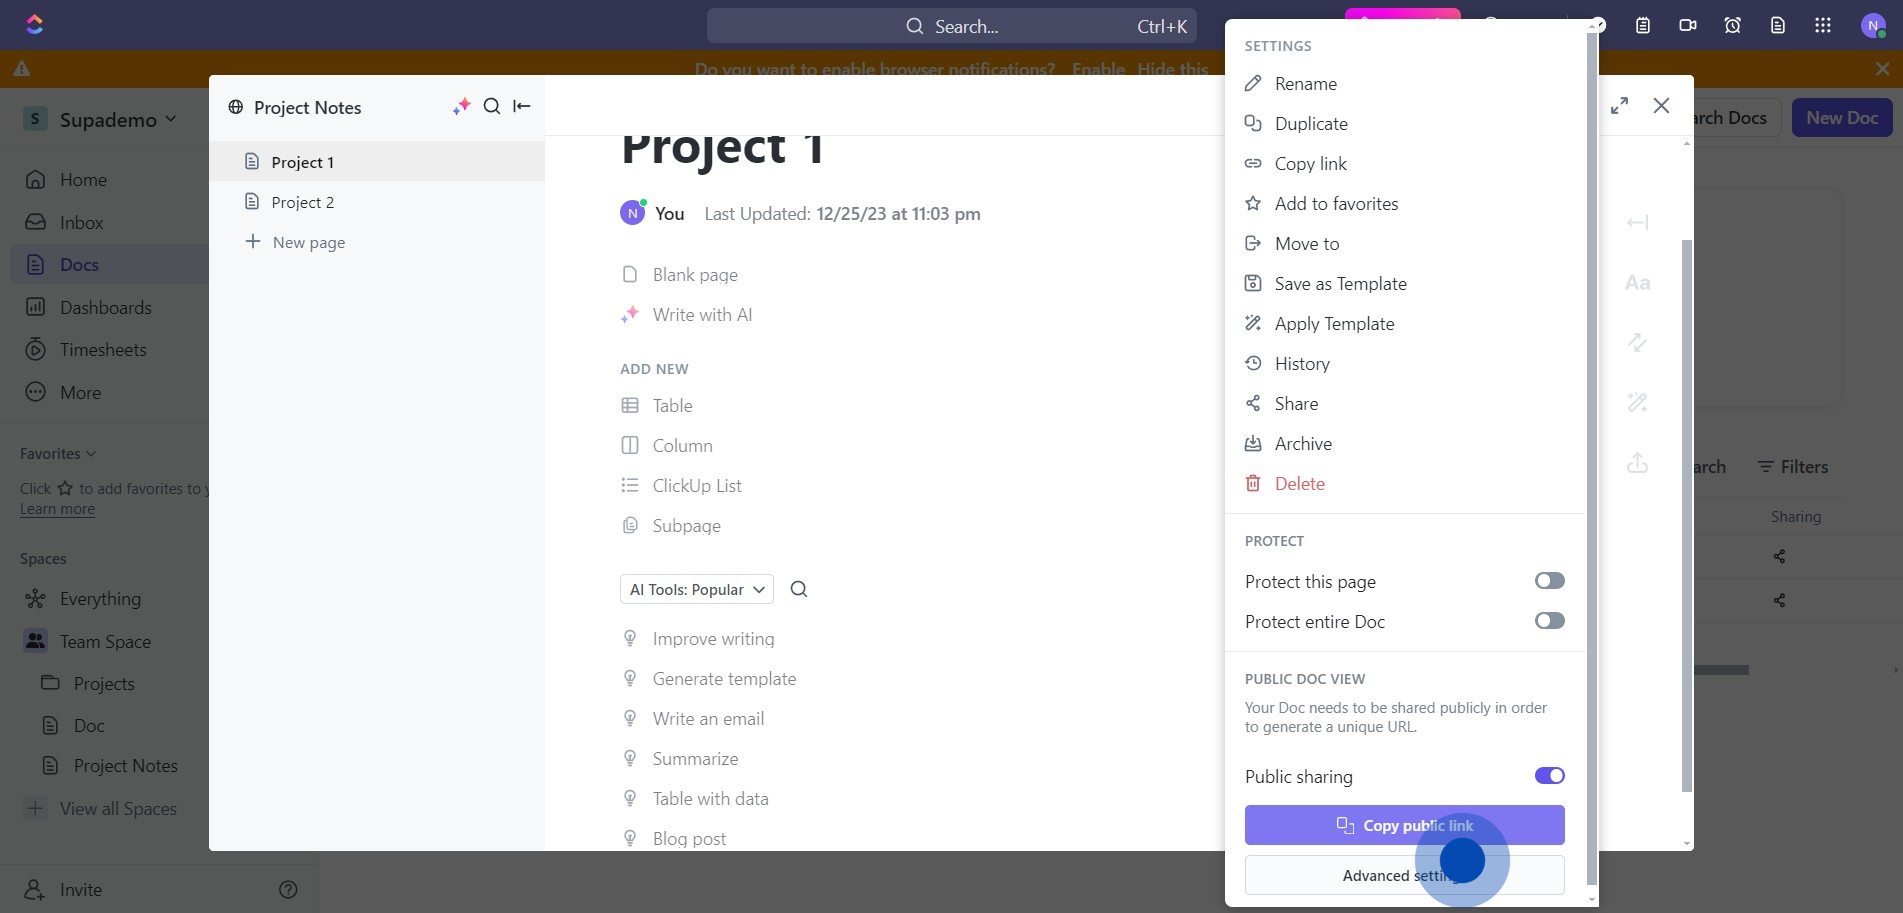
5. Turn on the public sharing by toggling the switch.
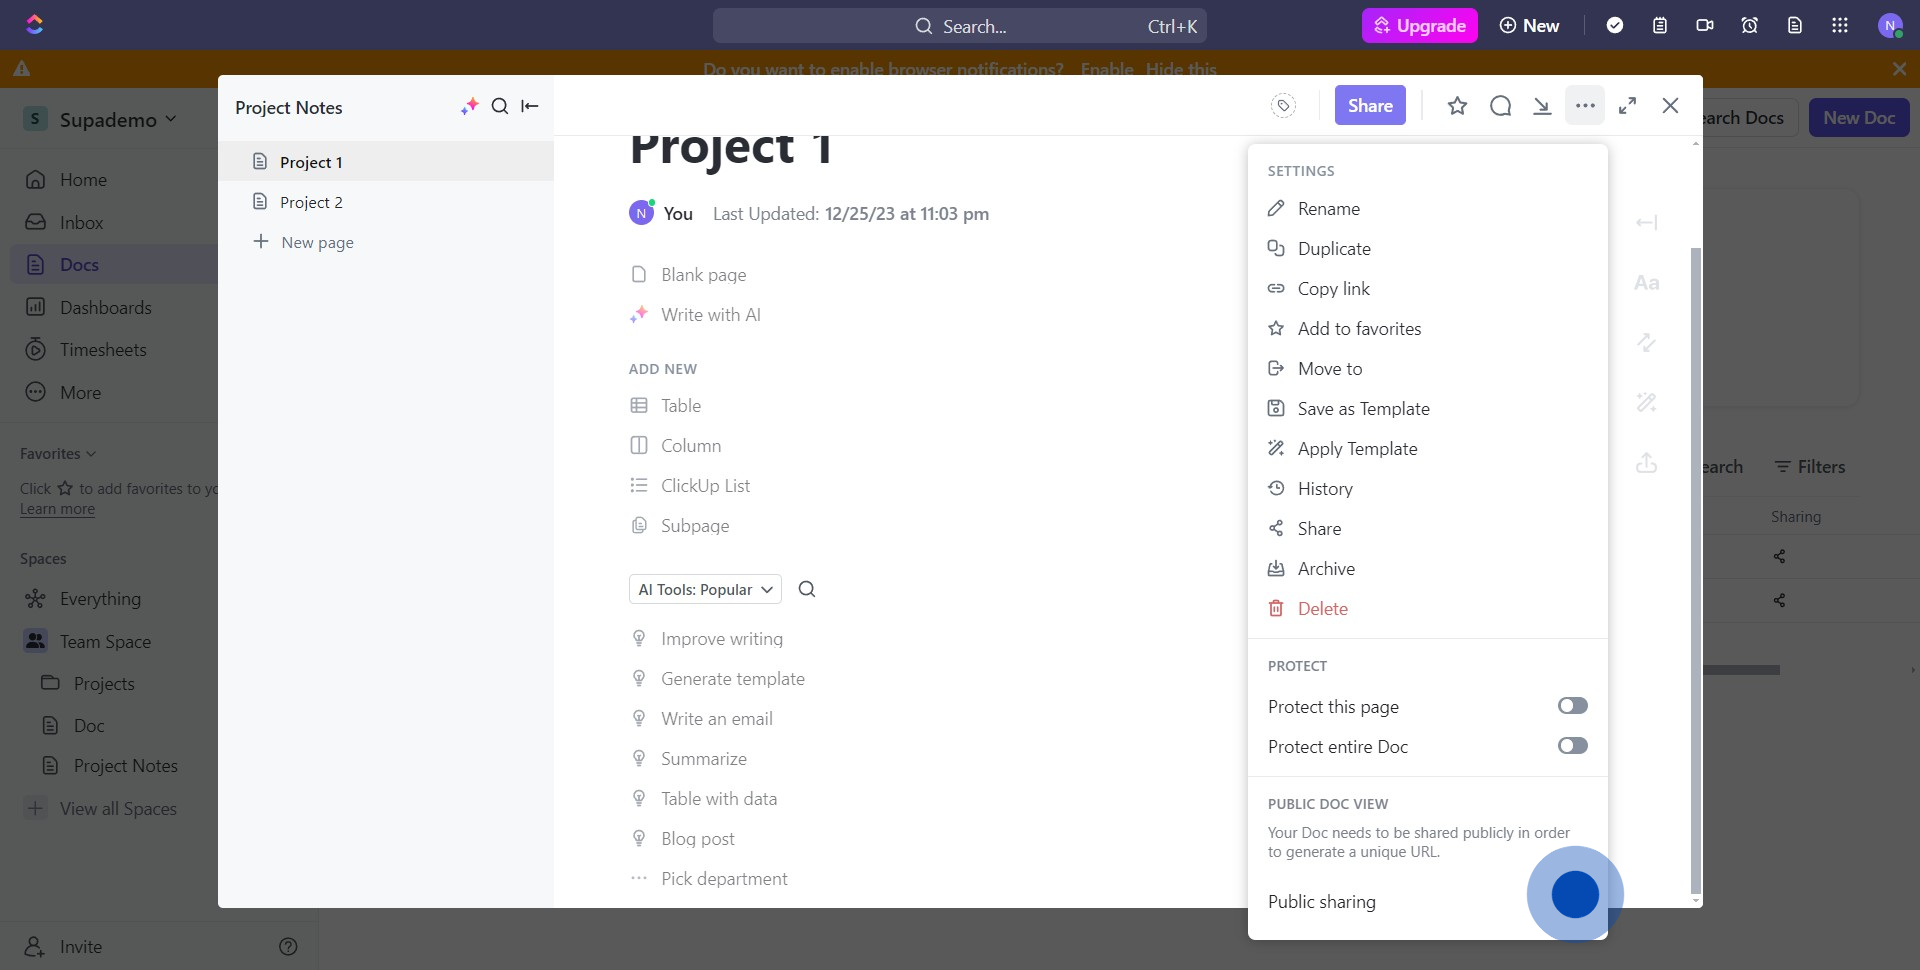
6. Opt for more configurations by clicking on 'Advanced settings'.
7. If you wish, send a private invite via email.
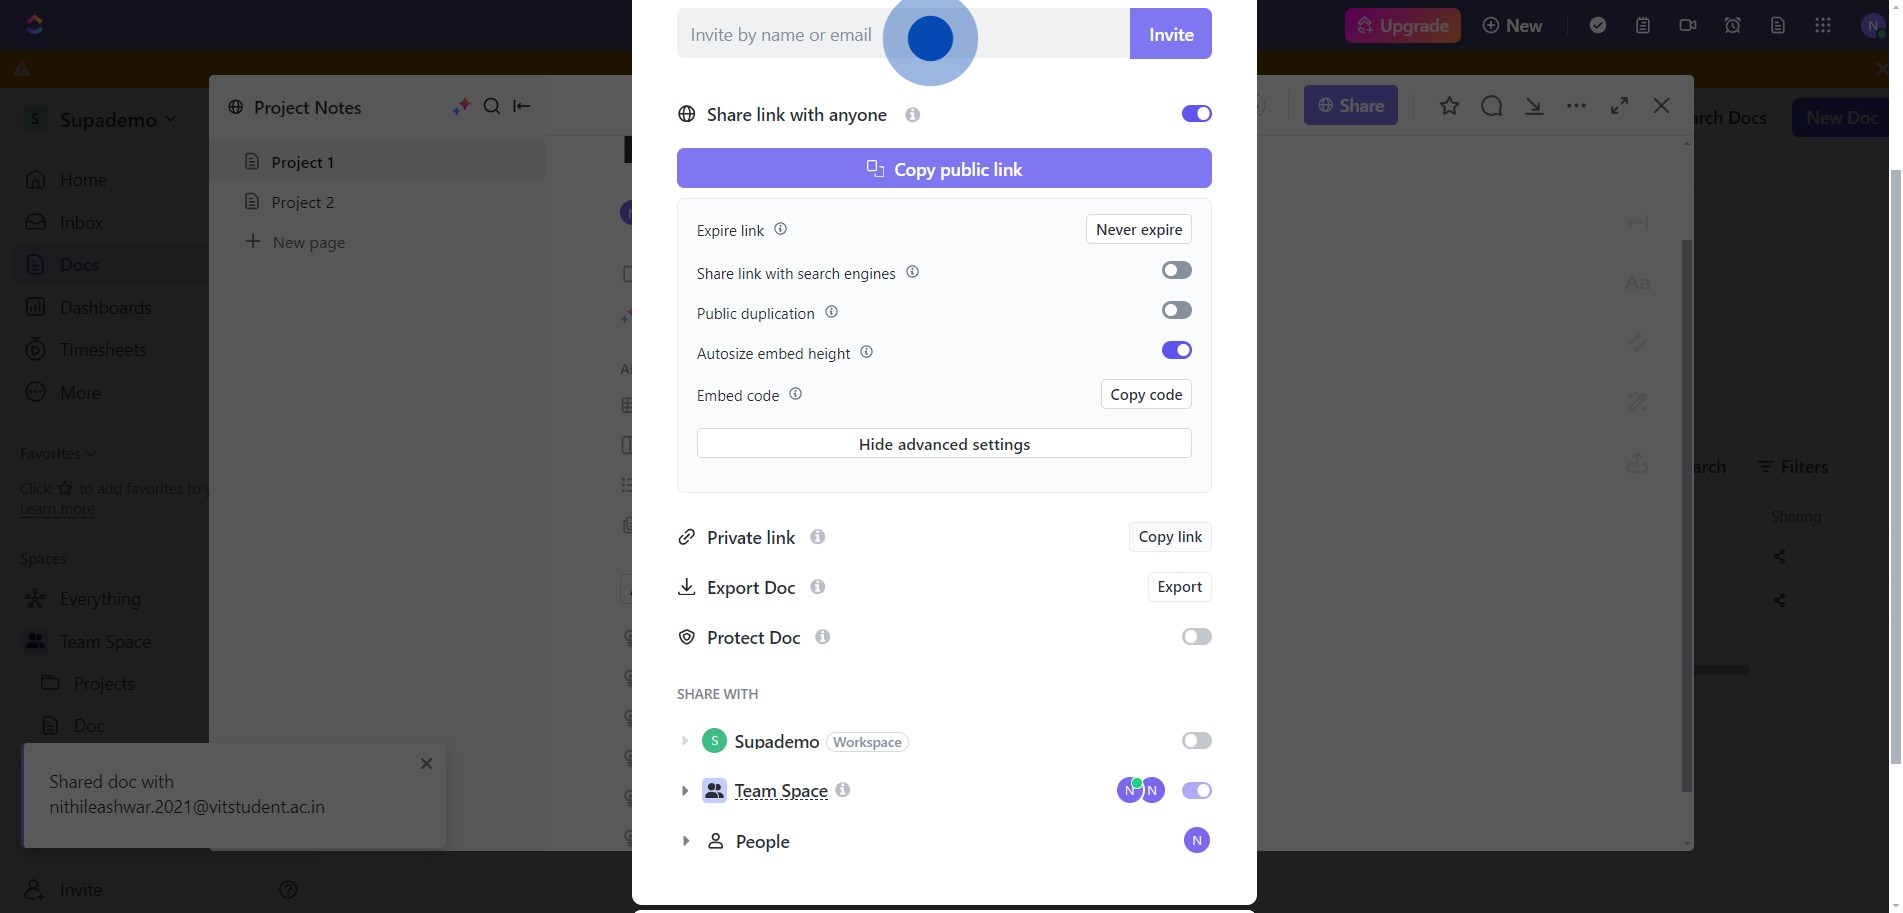
8. Alternatively, you can also choose to copy the private sharing link.
Create your own step-by-step demo
Scale up your training and product adoption with beautiful AI-powered interactive demos and guides. Create your first Supademo in seconds for free.
Nithil Shanmugam
Nithil is a startup-obsessed operator focused on growth, sales and marketing. He's passionate about wearing different hats across startups to deliver real value.