

Overview:
Streamline your data organization in Airtable with this comprehensive guide on sorting fields. Elevate your user experience by efficiently arranging and categorizing information. Learn the seamless process of sorting fields, ensuring easy identification and improved clarity in data management within the Airtable platform. This guide empowers you to optimize your workflow, enhancing efficiency in sorting and managing fields effortlessly.
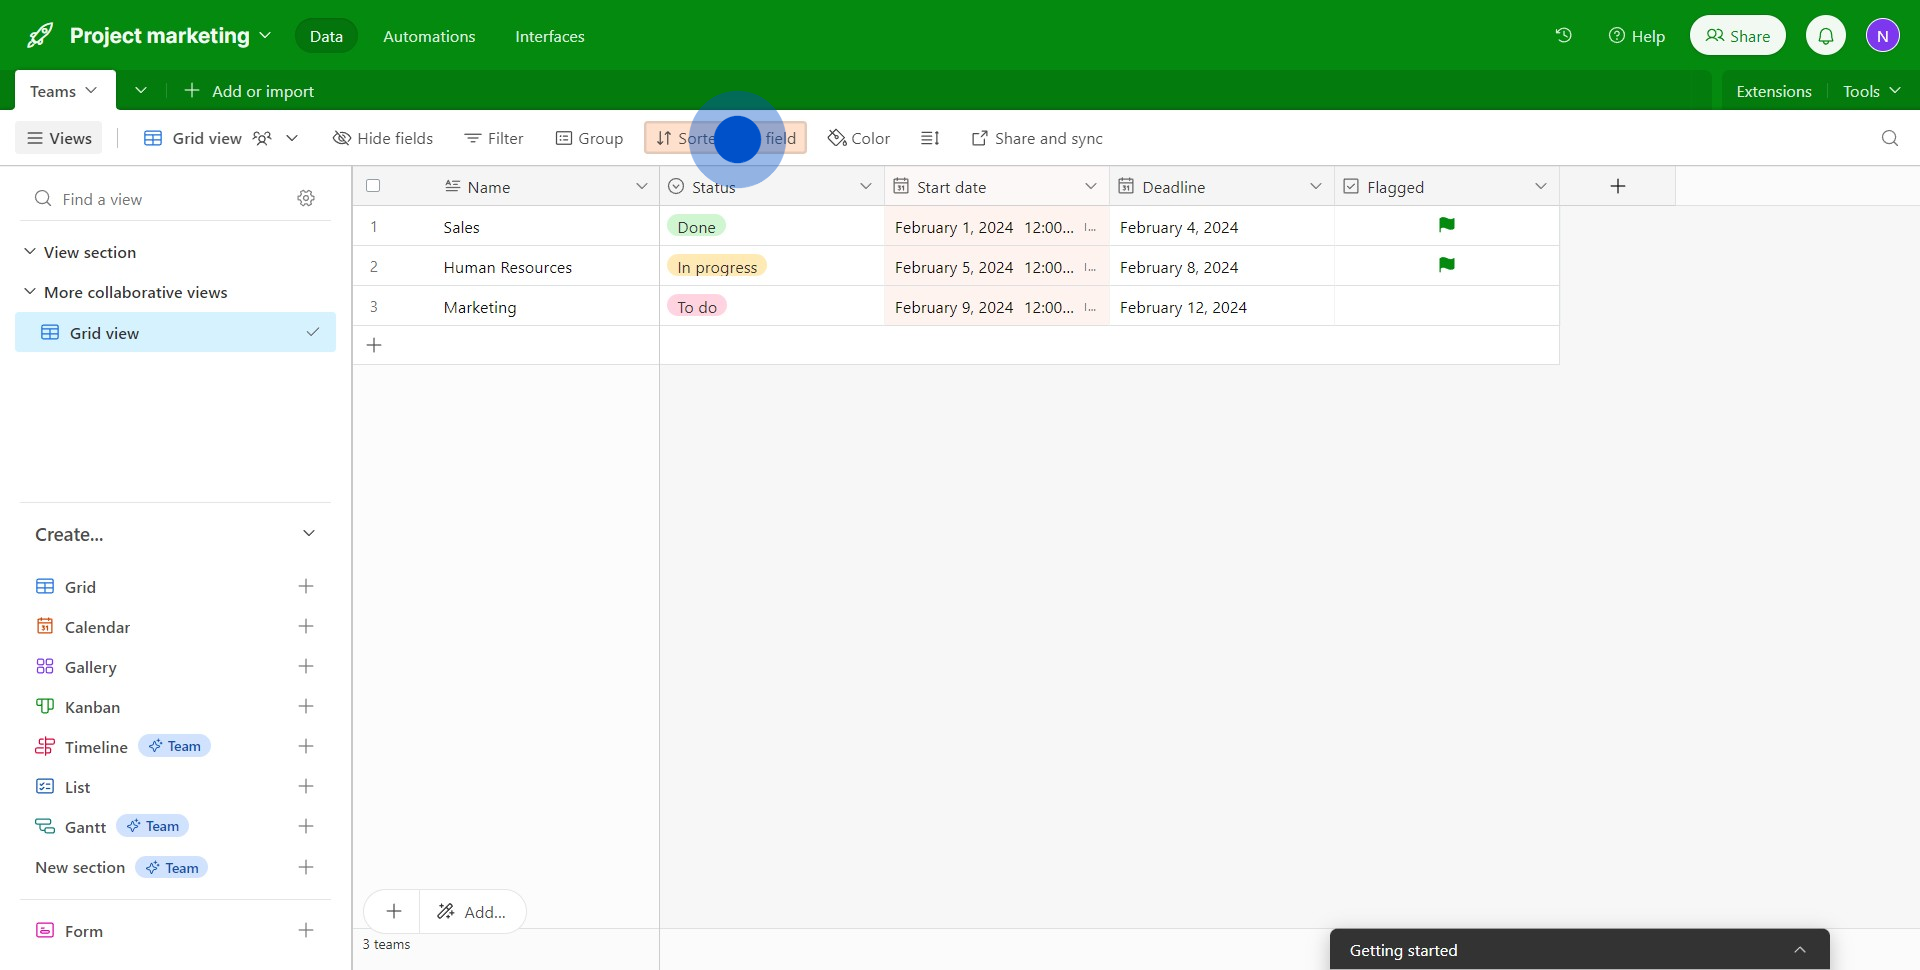
1. Choose the field you'd like to sort from the drop-down menu.
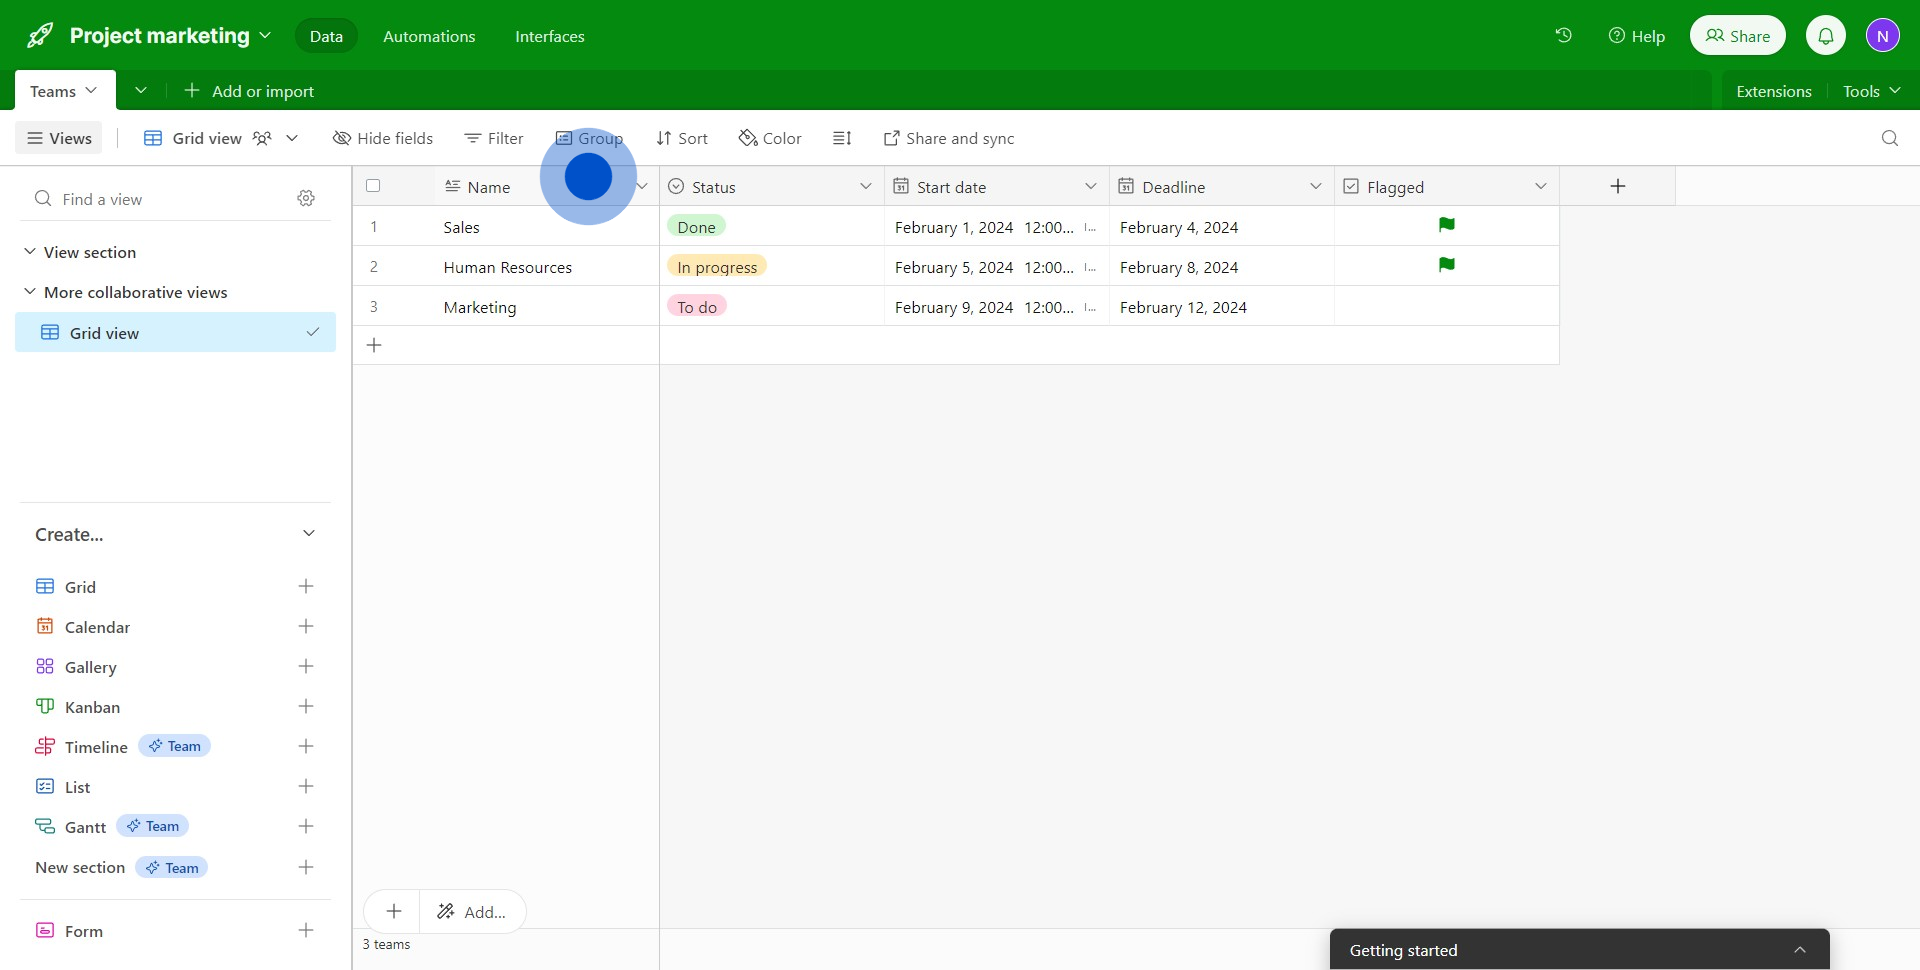
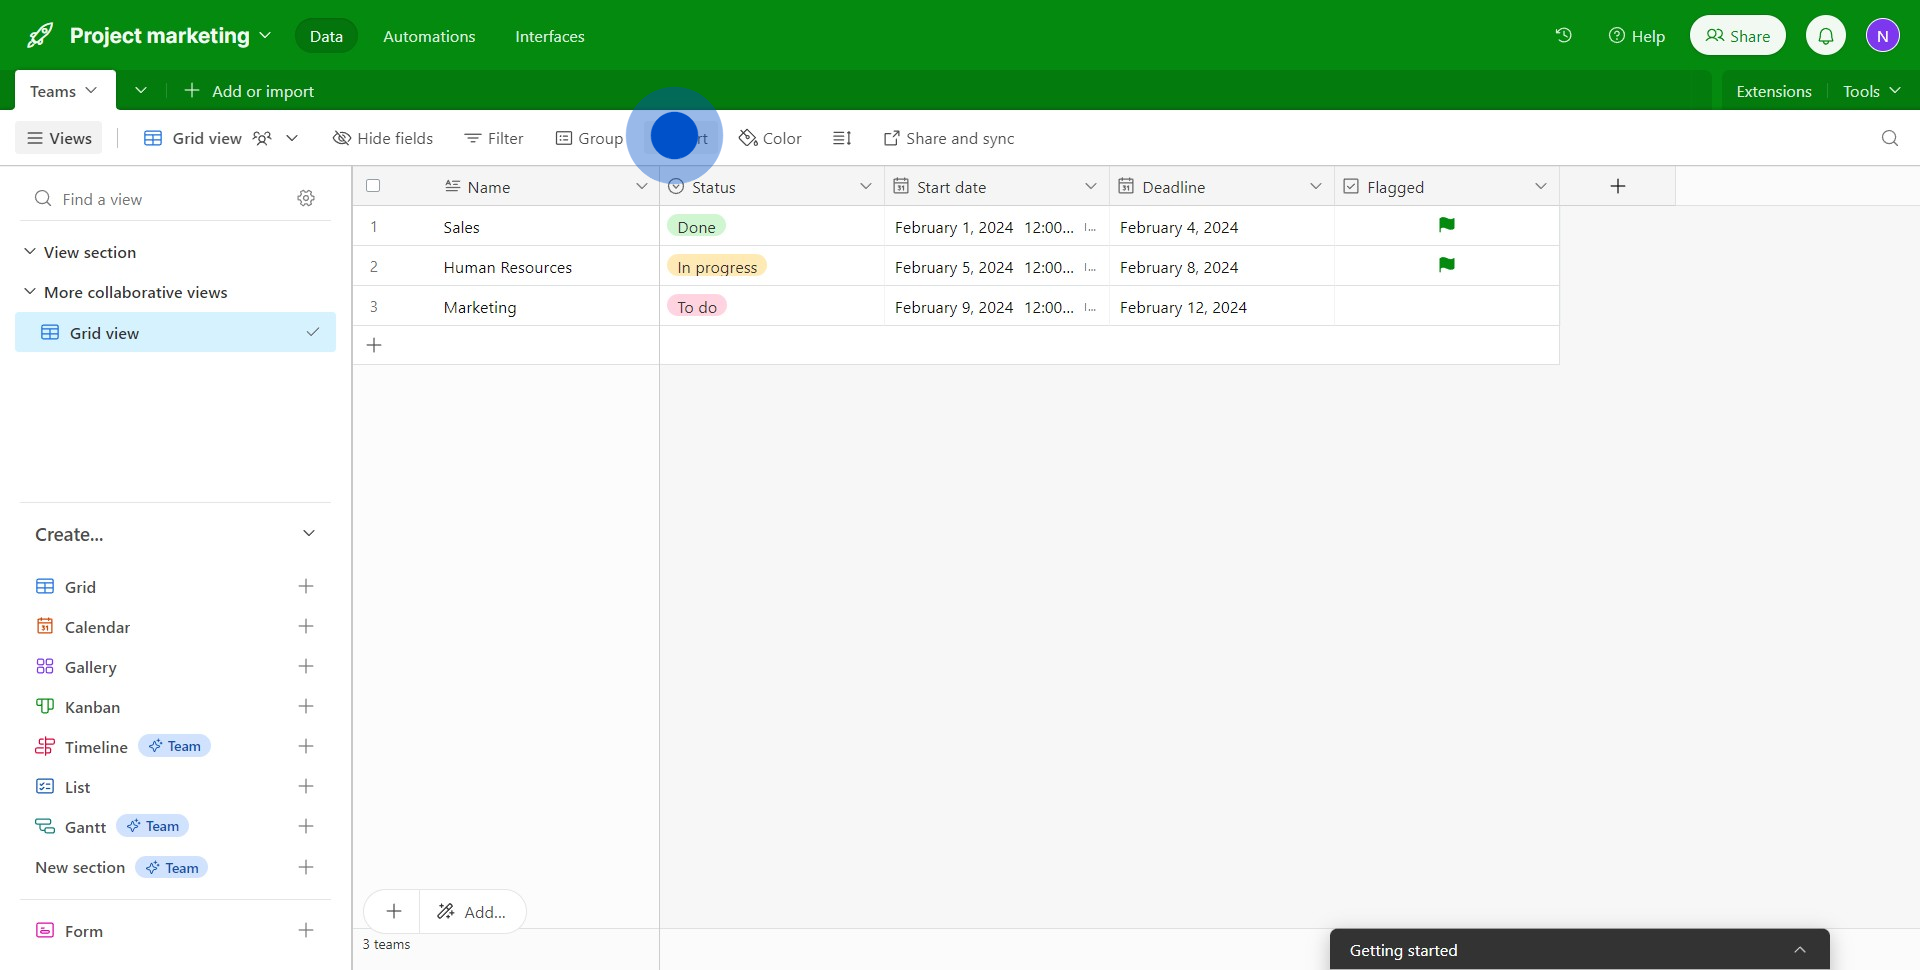
2. Find and select the 'Sort' option.
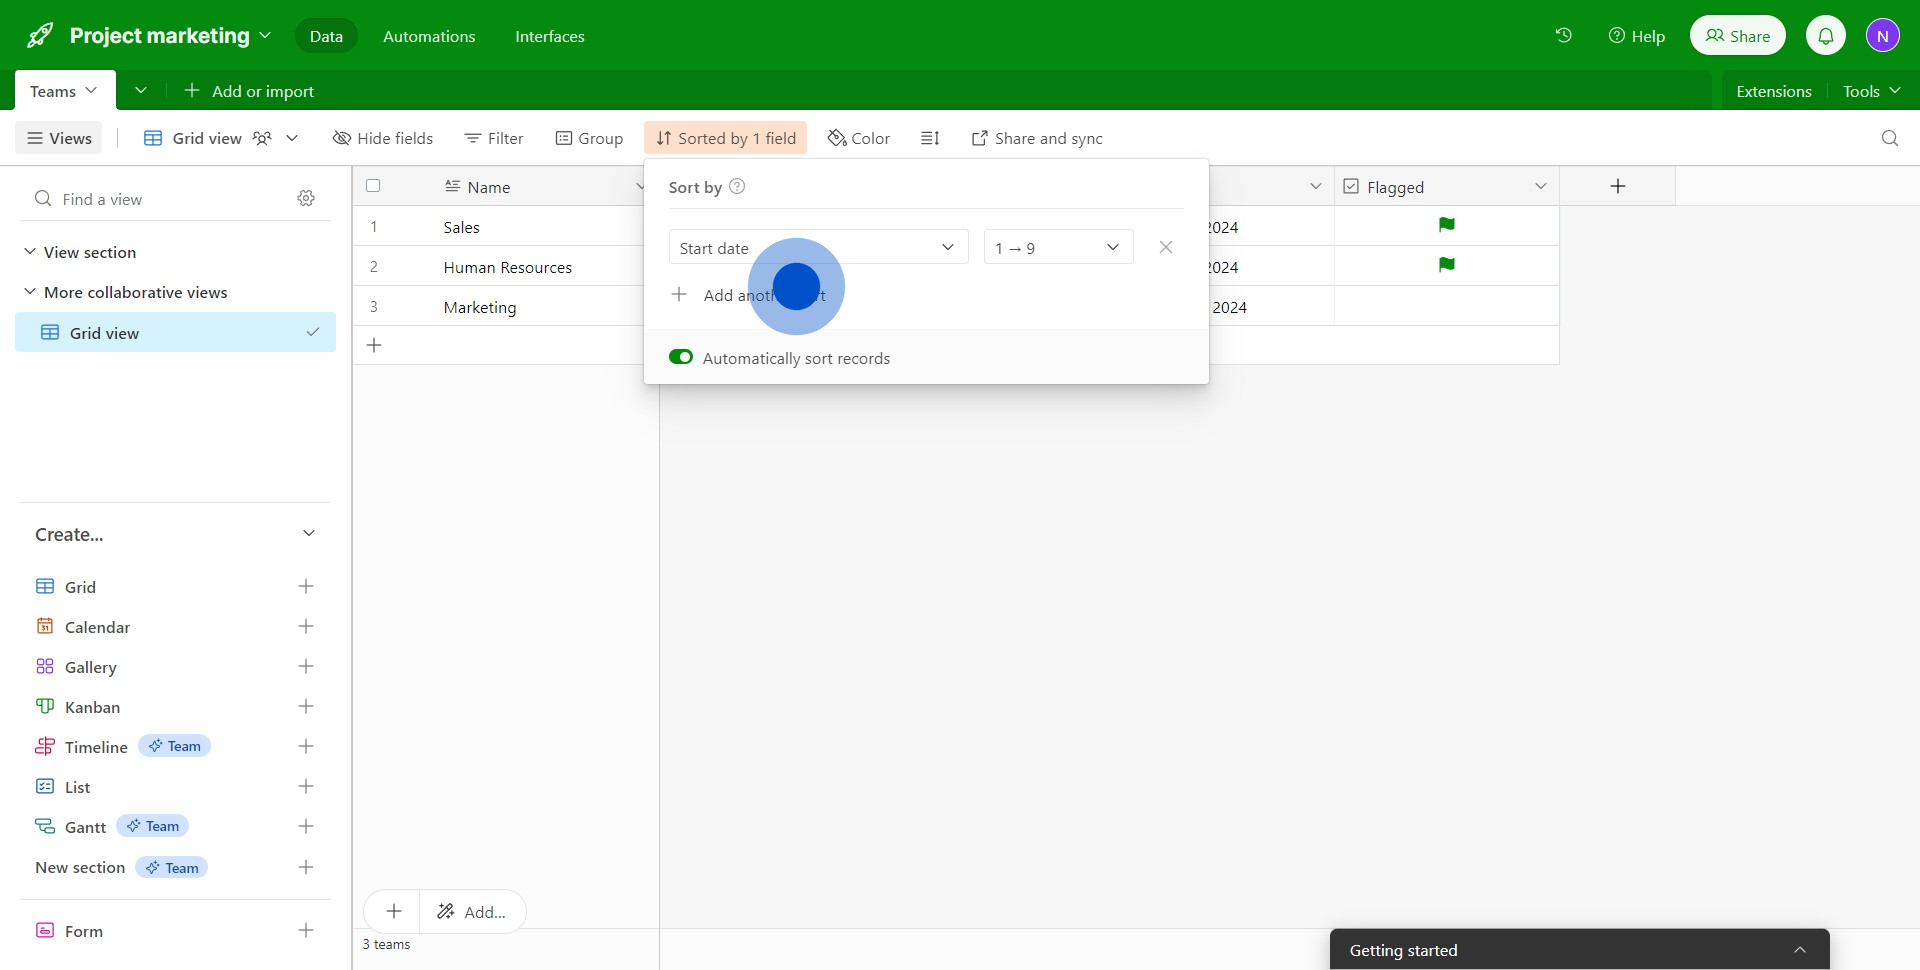
3. Pick the specific items you want to arrange.
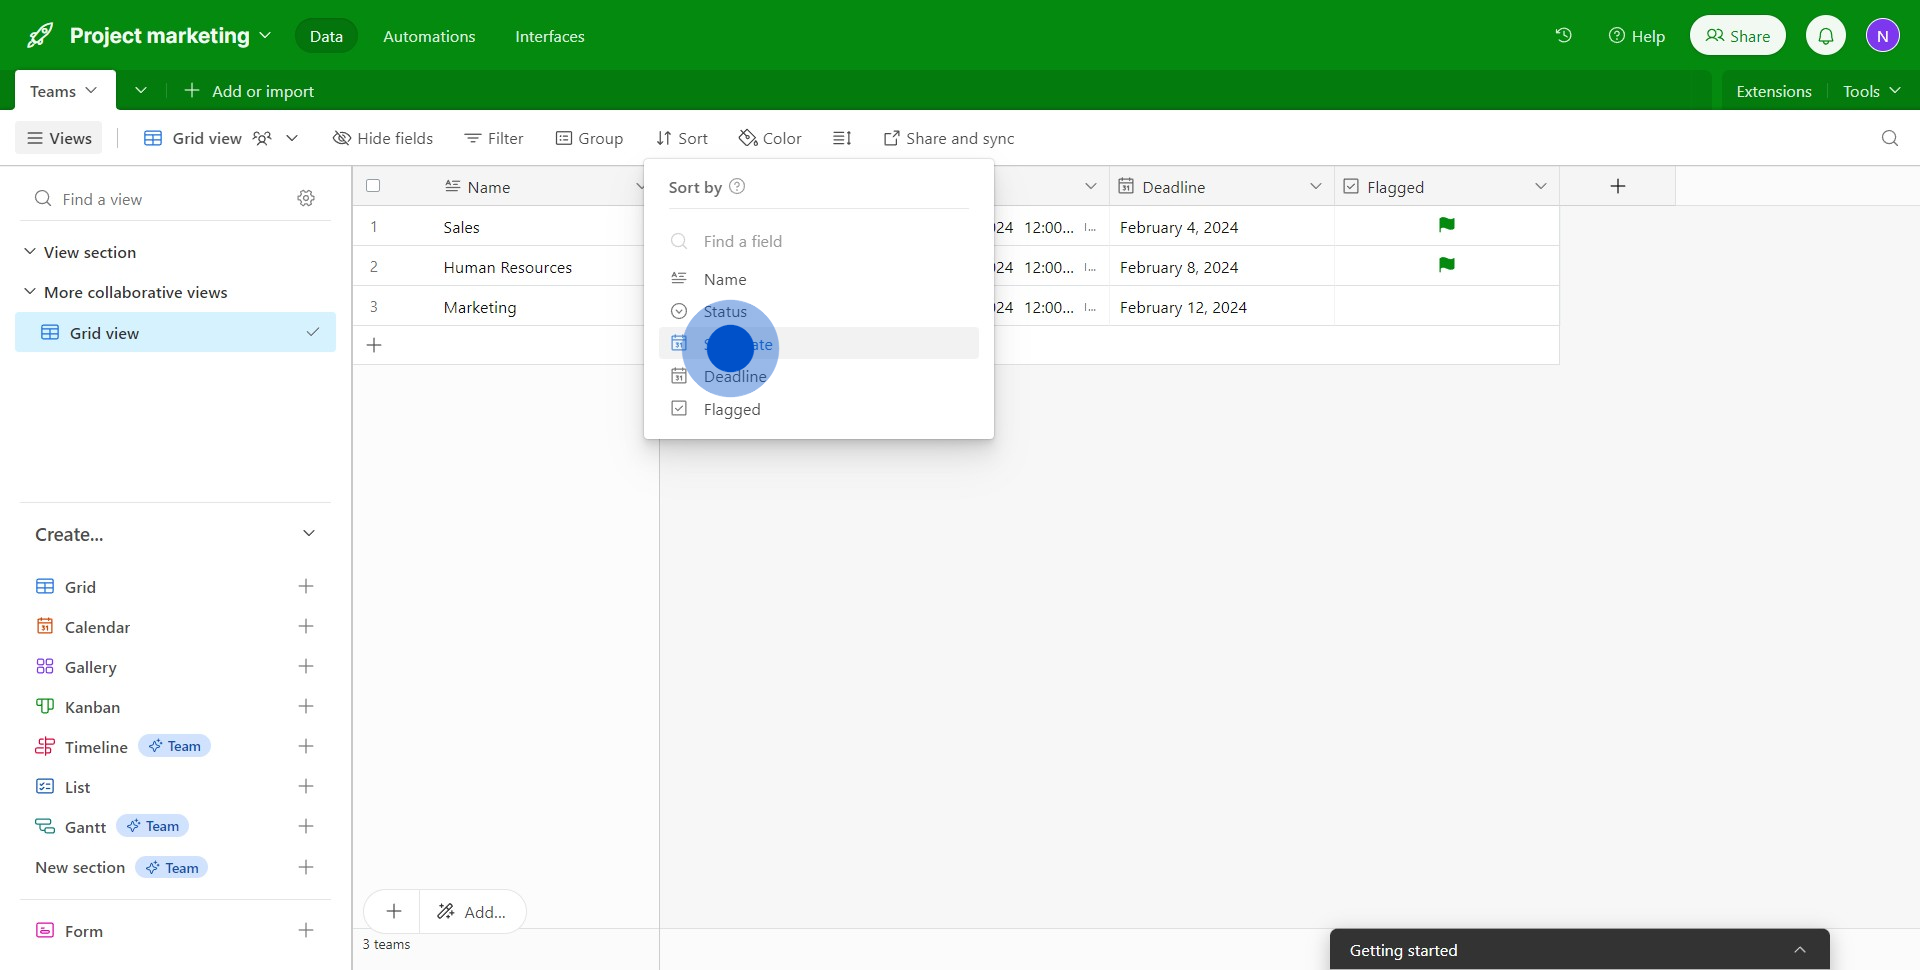
4. Adapt the sorting parameters to your liking.
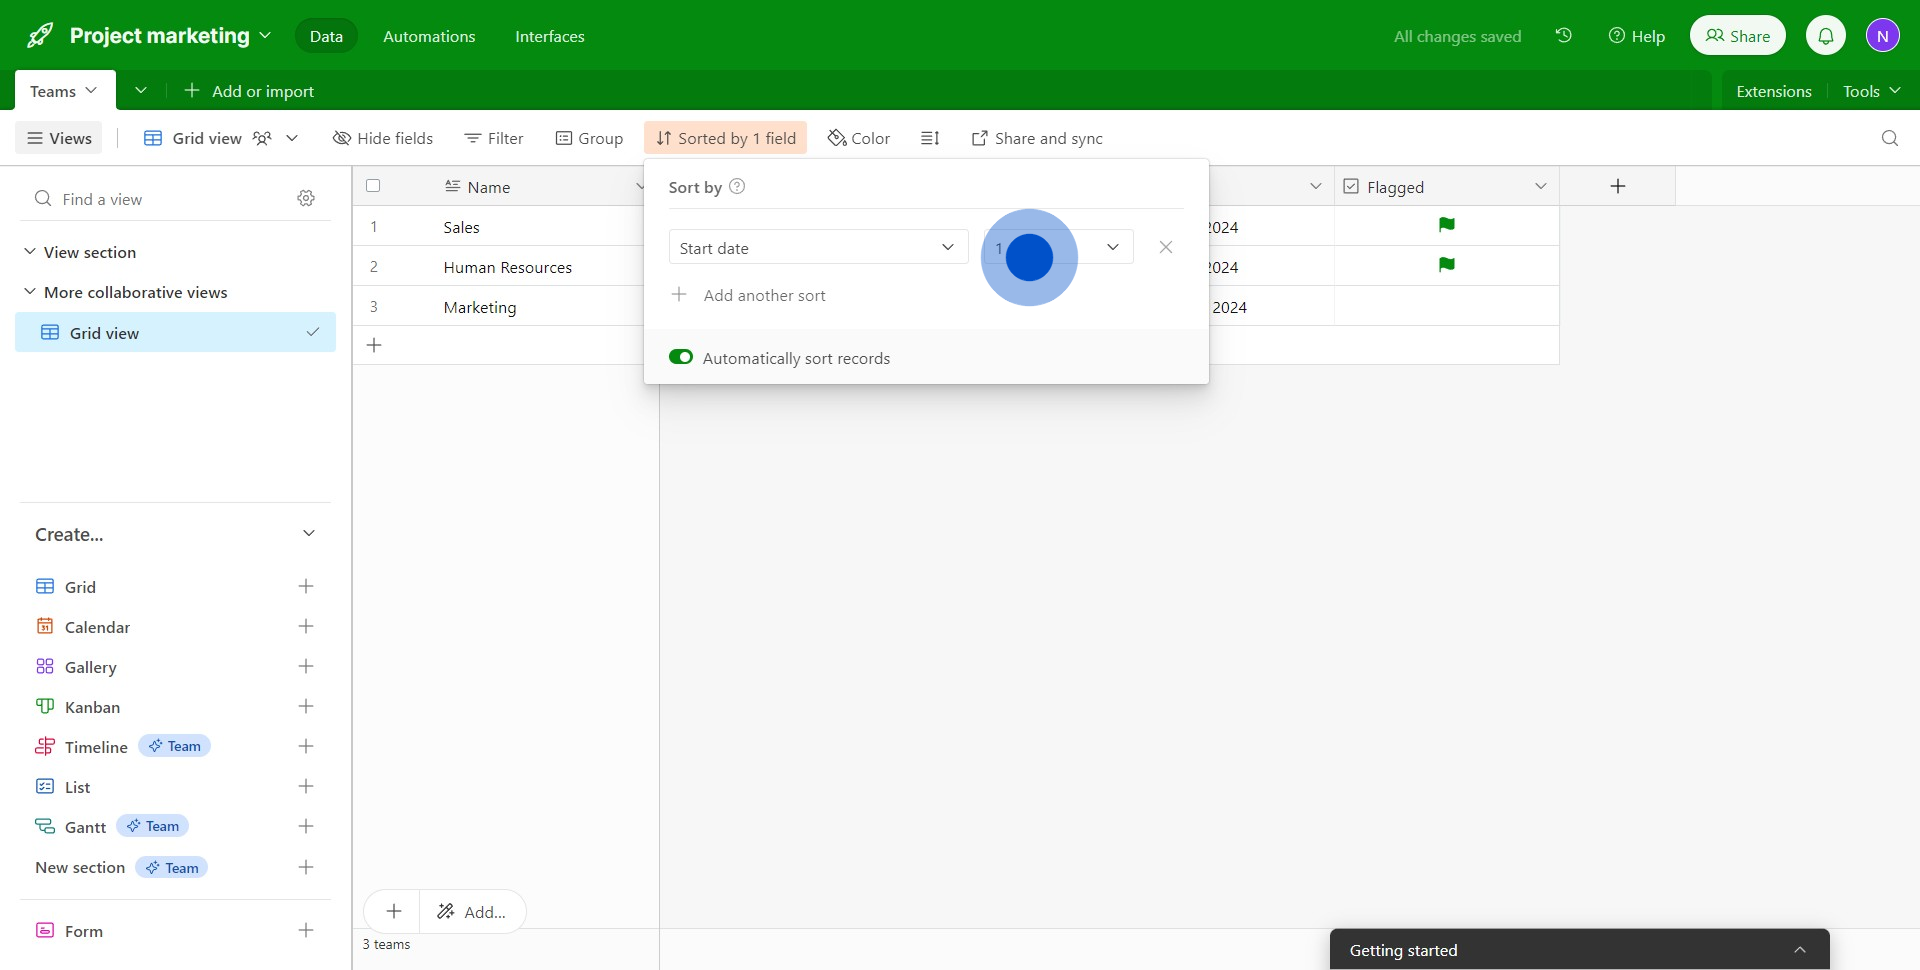
5. Confirm your selection to re-arrange based on your criteria.
6. You have the option to add another layer of sorting.
7. Identify the next field you wish to sort.
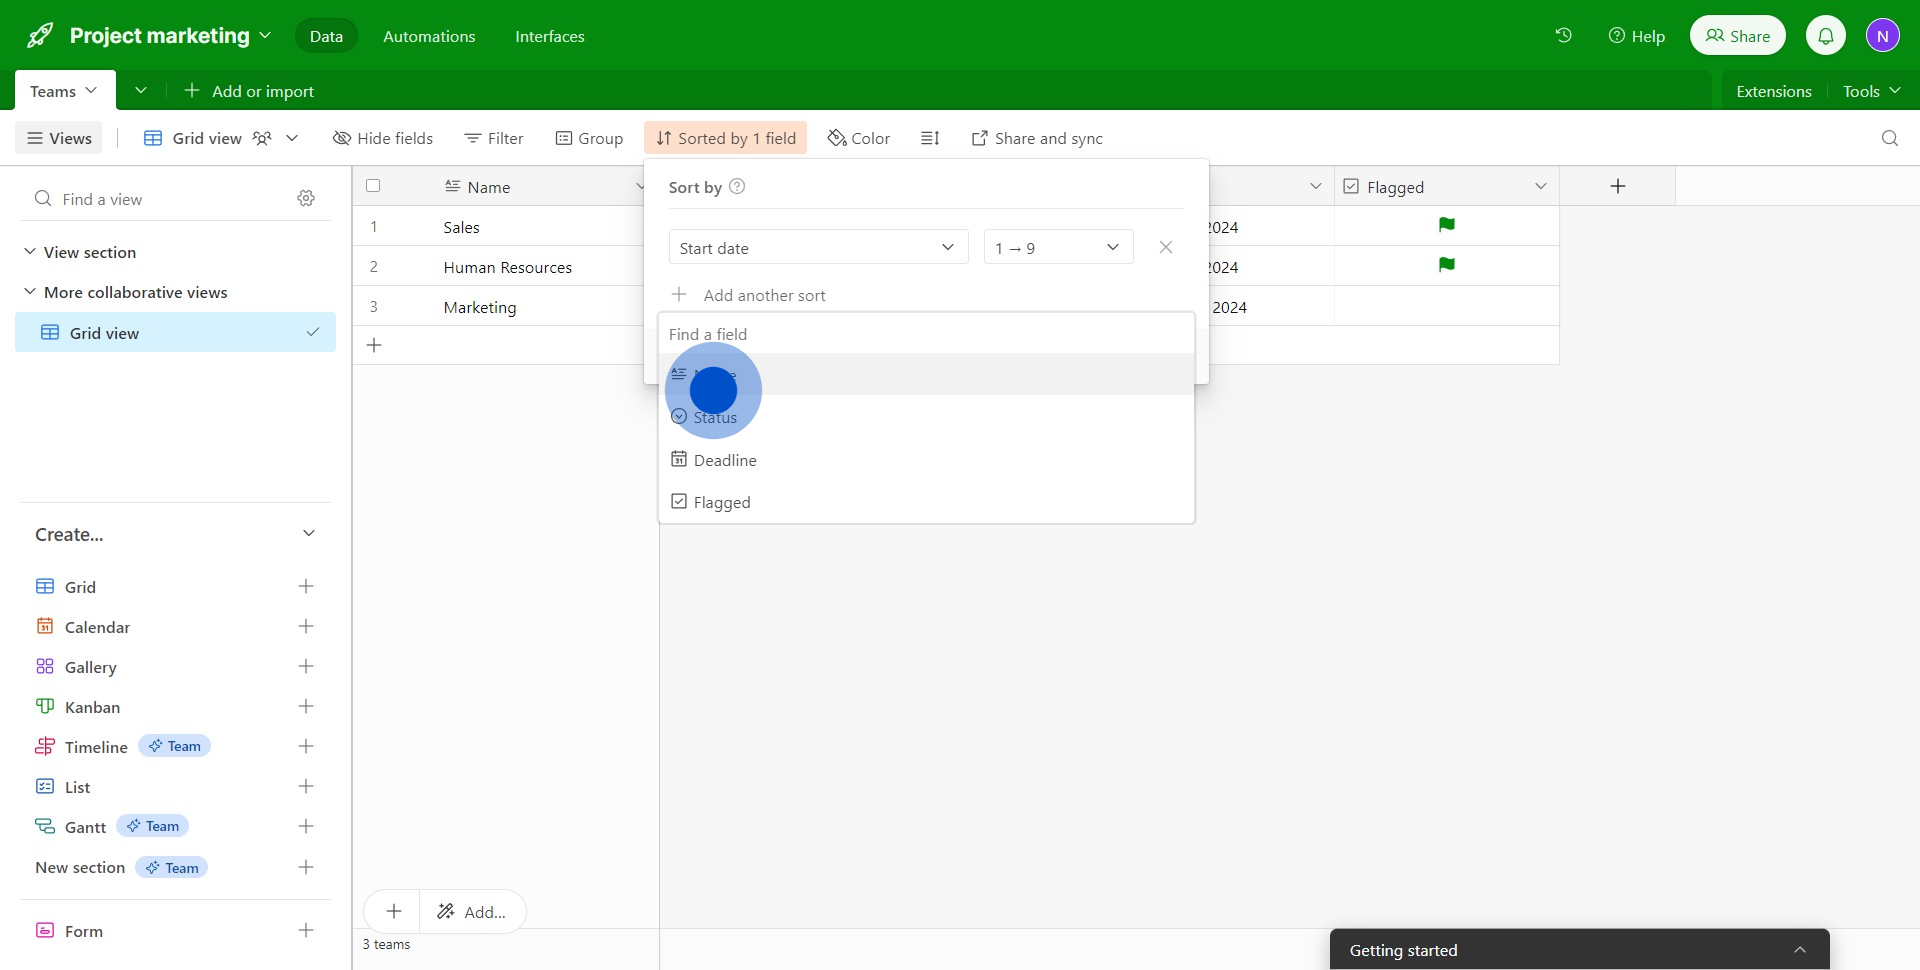
8. Customize the next sorting preference you've selected.

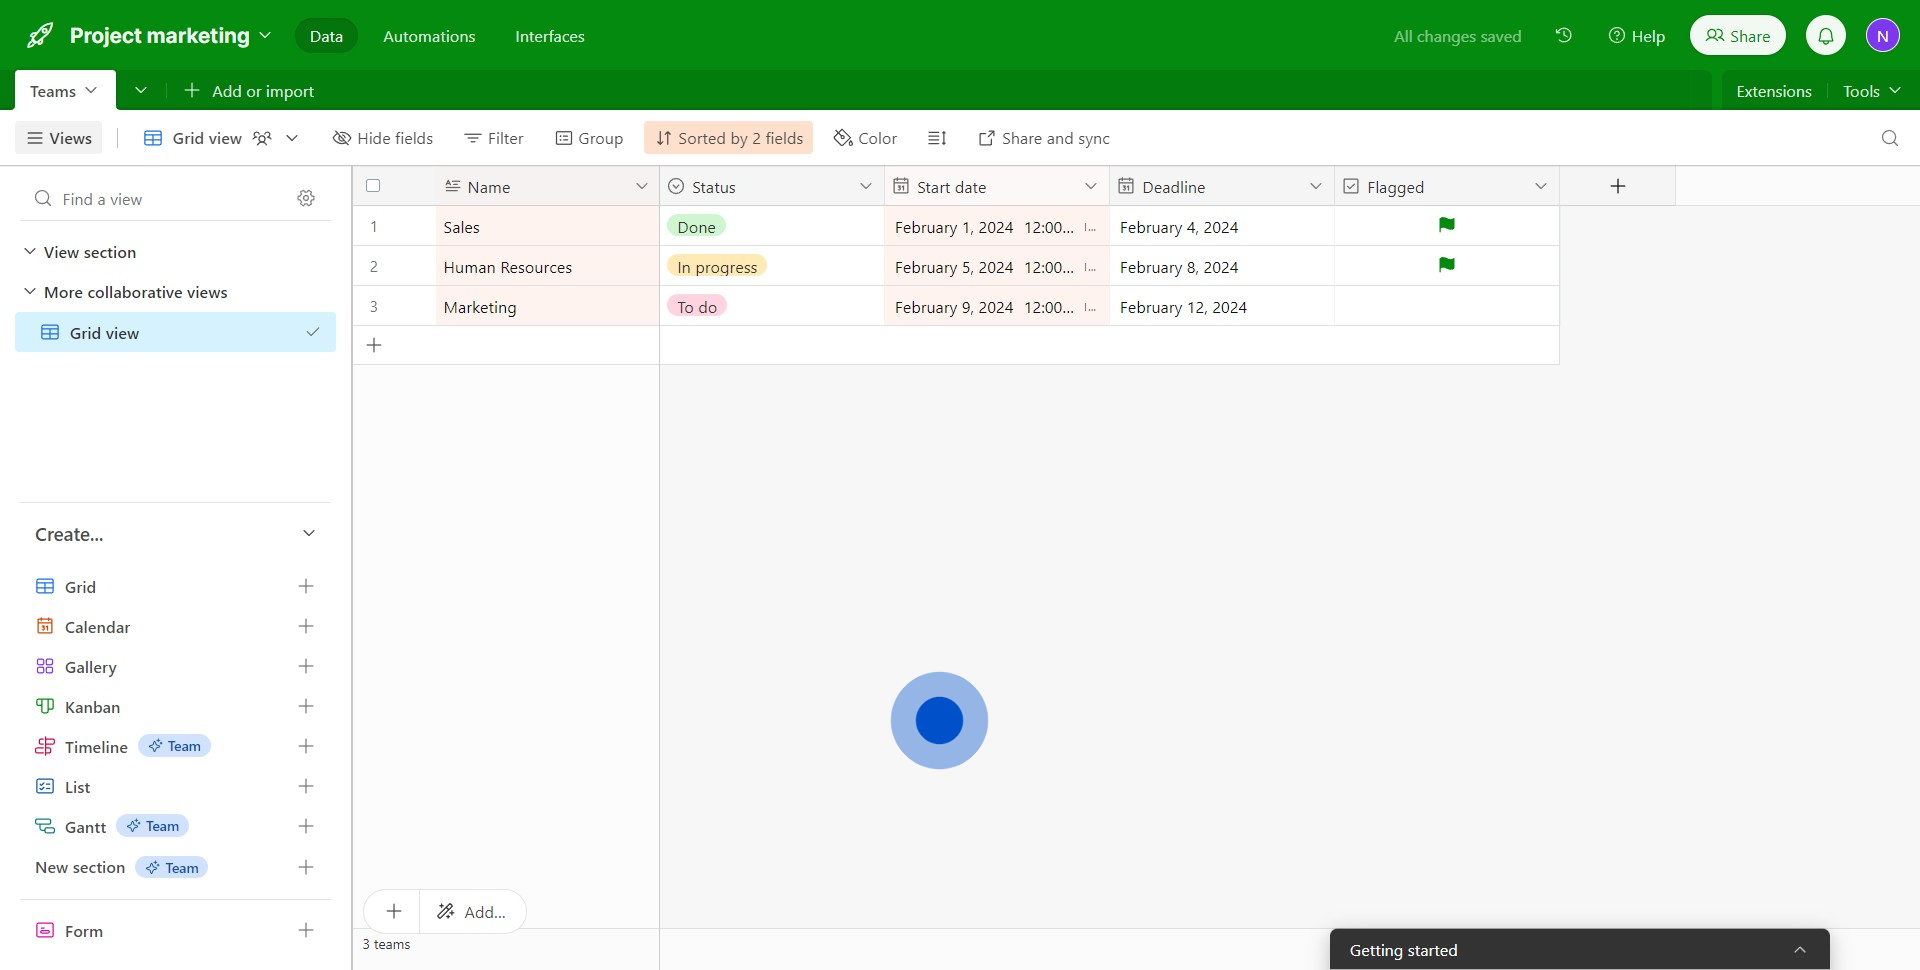
9. Finish the action and enjoy your newly sorted fields.
Create your own step-by-step demo
Scale up your training and product adoption with beautiful AI-powered interactive demos and guides. Create your first Supademo in seconds for free.
